DIY Halloween Window Silhouettes
How to make DIY Halloween window silhouettes the easy way! A fun and low cost holiday craft the whole family can participate in.
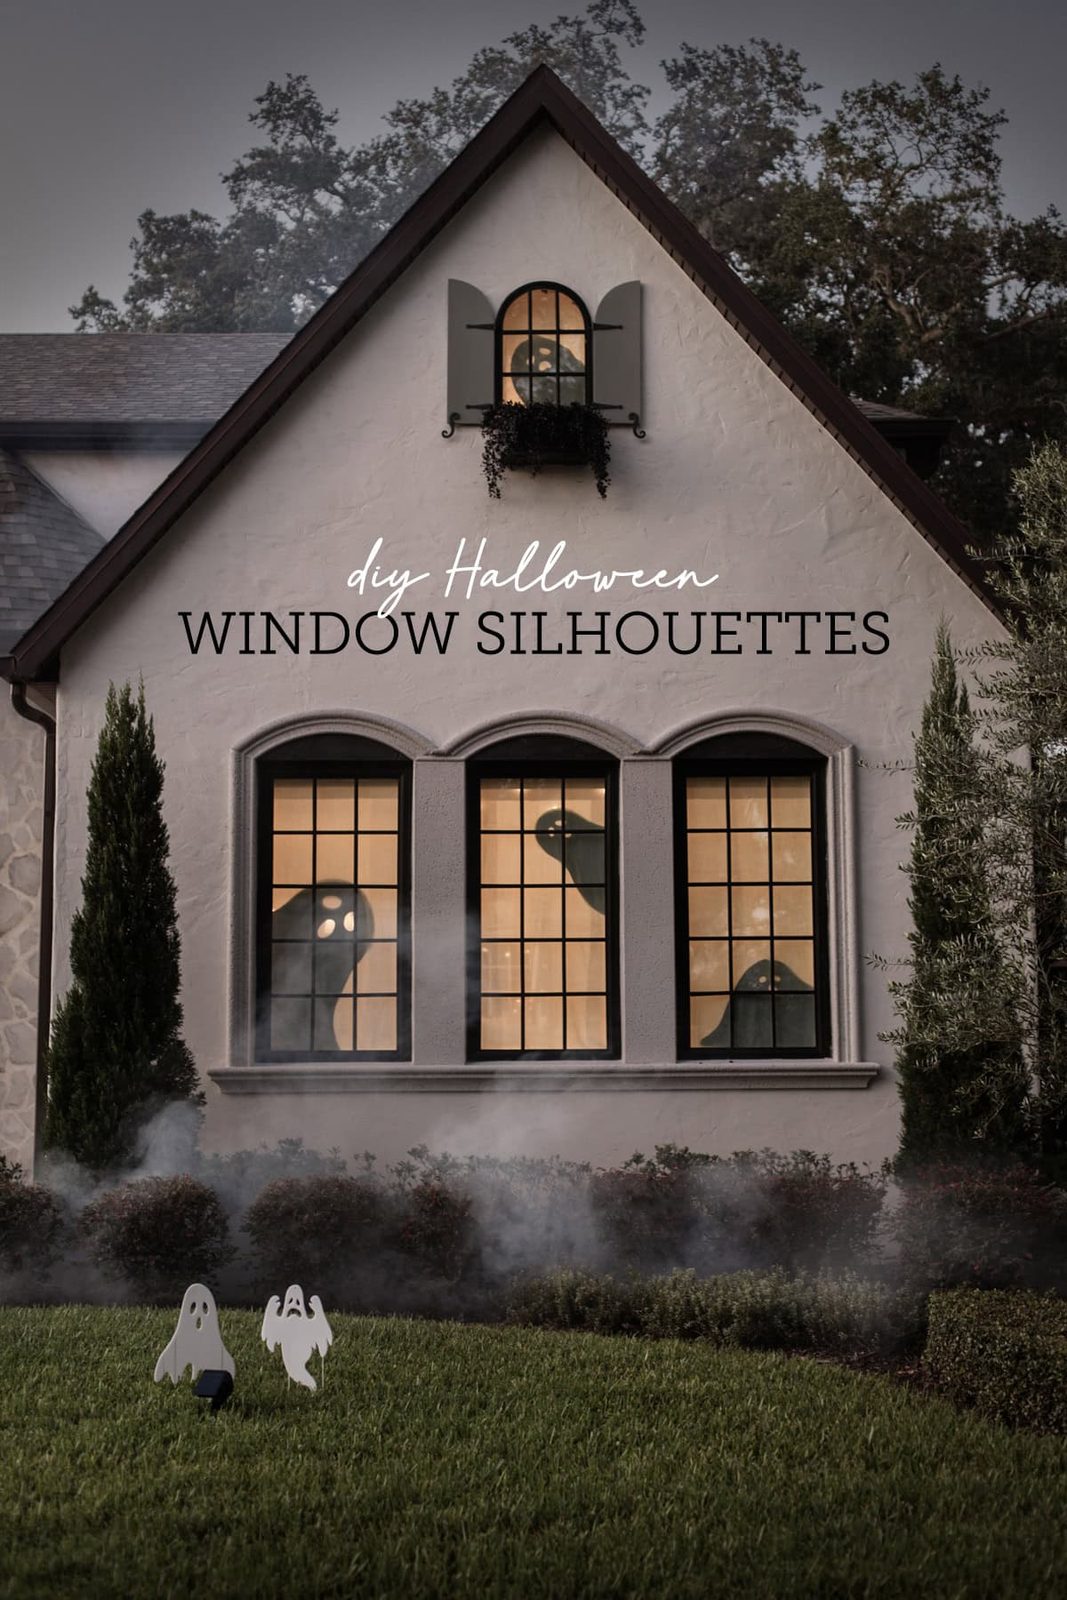
If you are looking for an easy, fun and inexpensive Halloween decor idea, try these DIY ghost window silhouettes! They are particularly unfussy to make but pack a ghastly fright factor. You will be the spookiest house on the block!
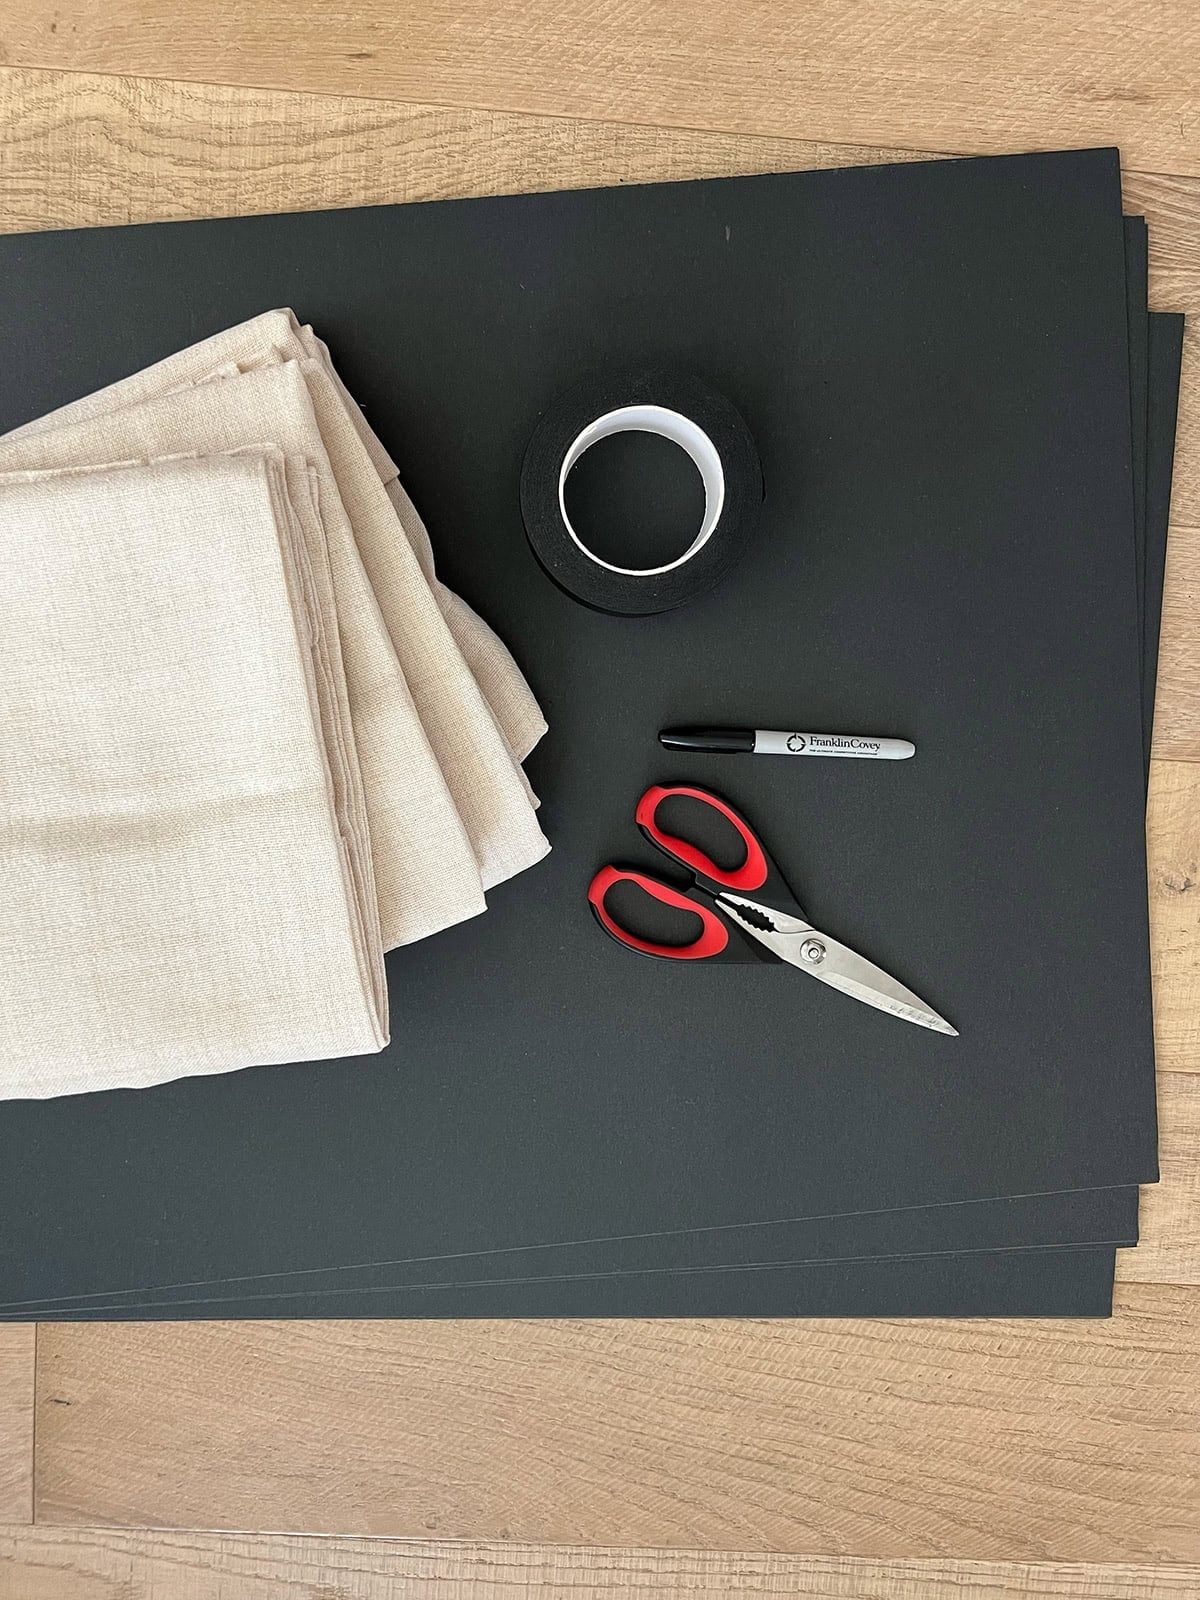
These window silhouettes are the ideal Halloween craft for the whole family. You do not need any special tools or artistic ability, and you can customize them to any shape you'd like! Here is what you will need:
Supplies
- Black poster board
- Black masking tape
- Scissors and pen
- Curtains/fabric (optional)
How to make Halloween window silhouettes
There are several different methods you can use to get this effect, but this one was the simplest and easiest option I tried. For more complex silhouettes, a projector is recommended. I chose unfussy ghost shapes that could be done freehand.
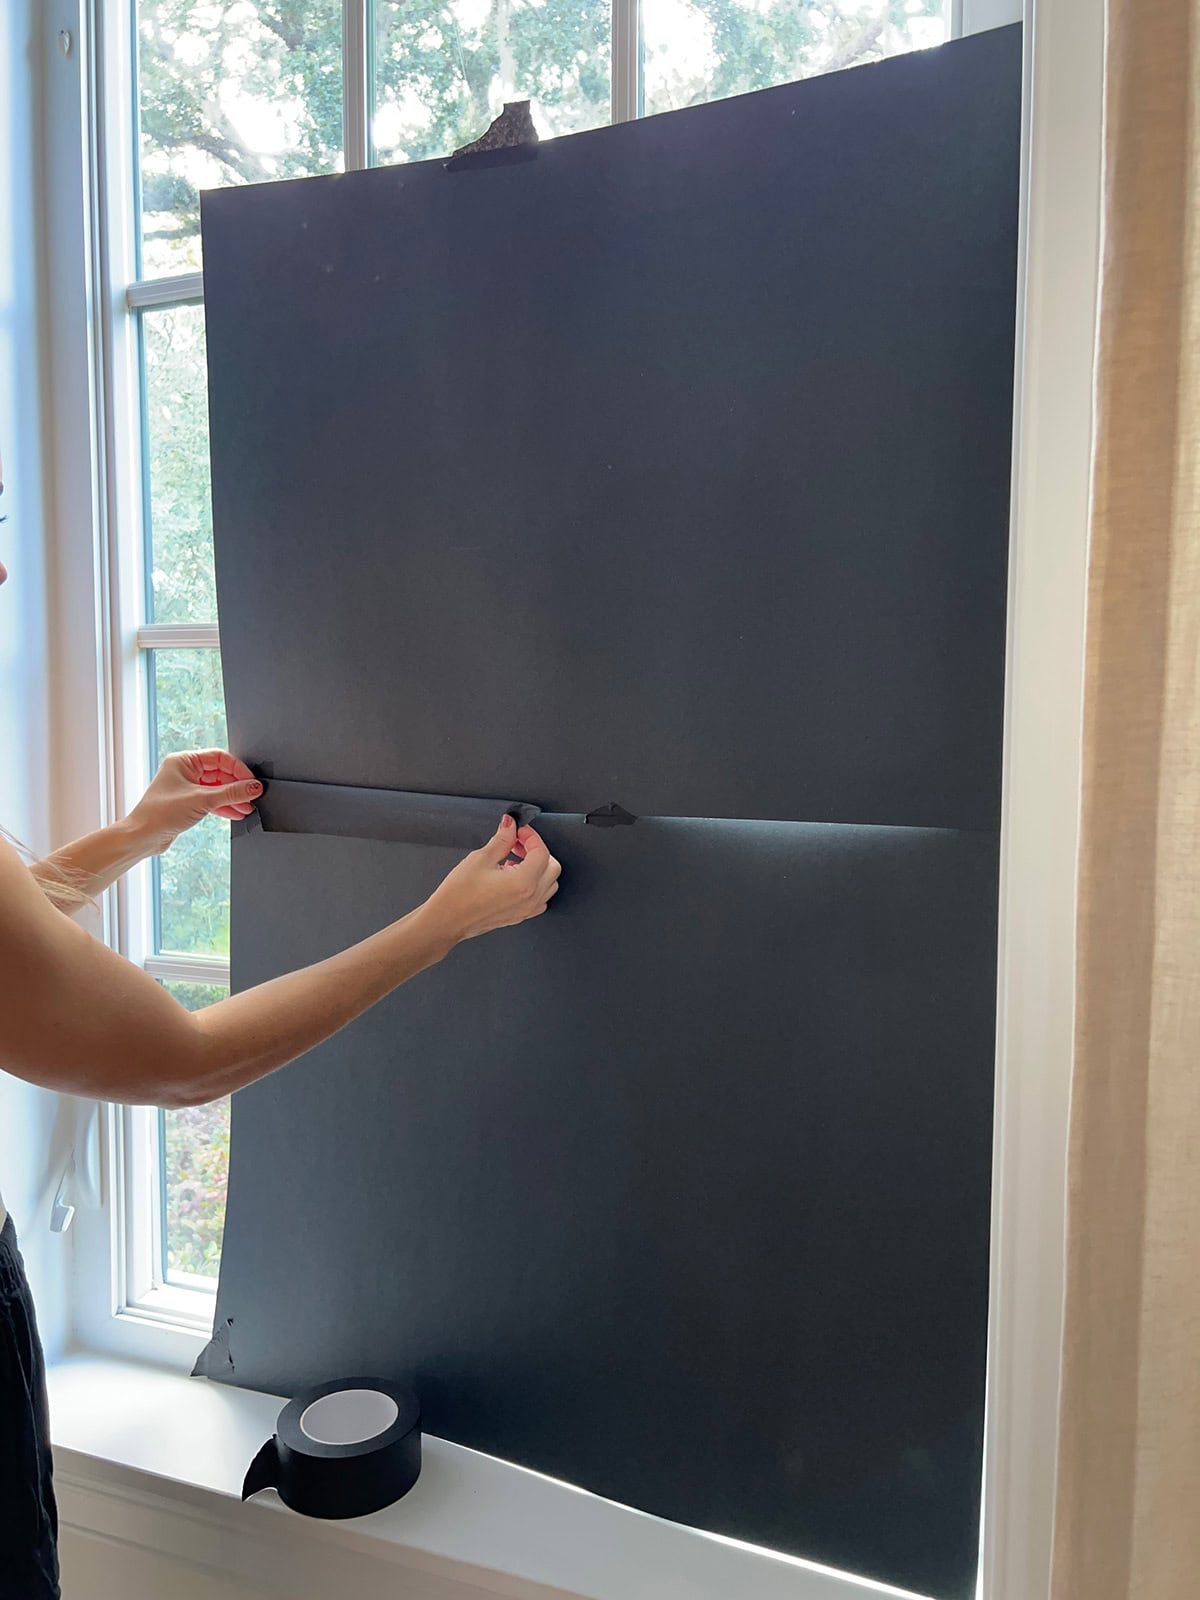
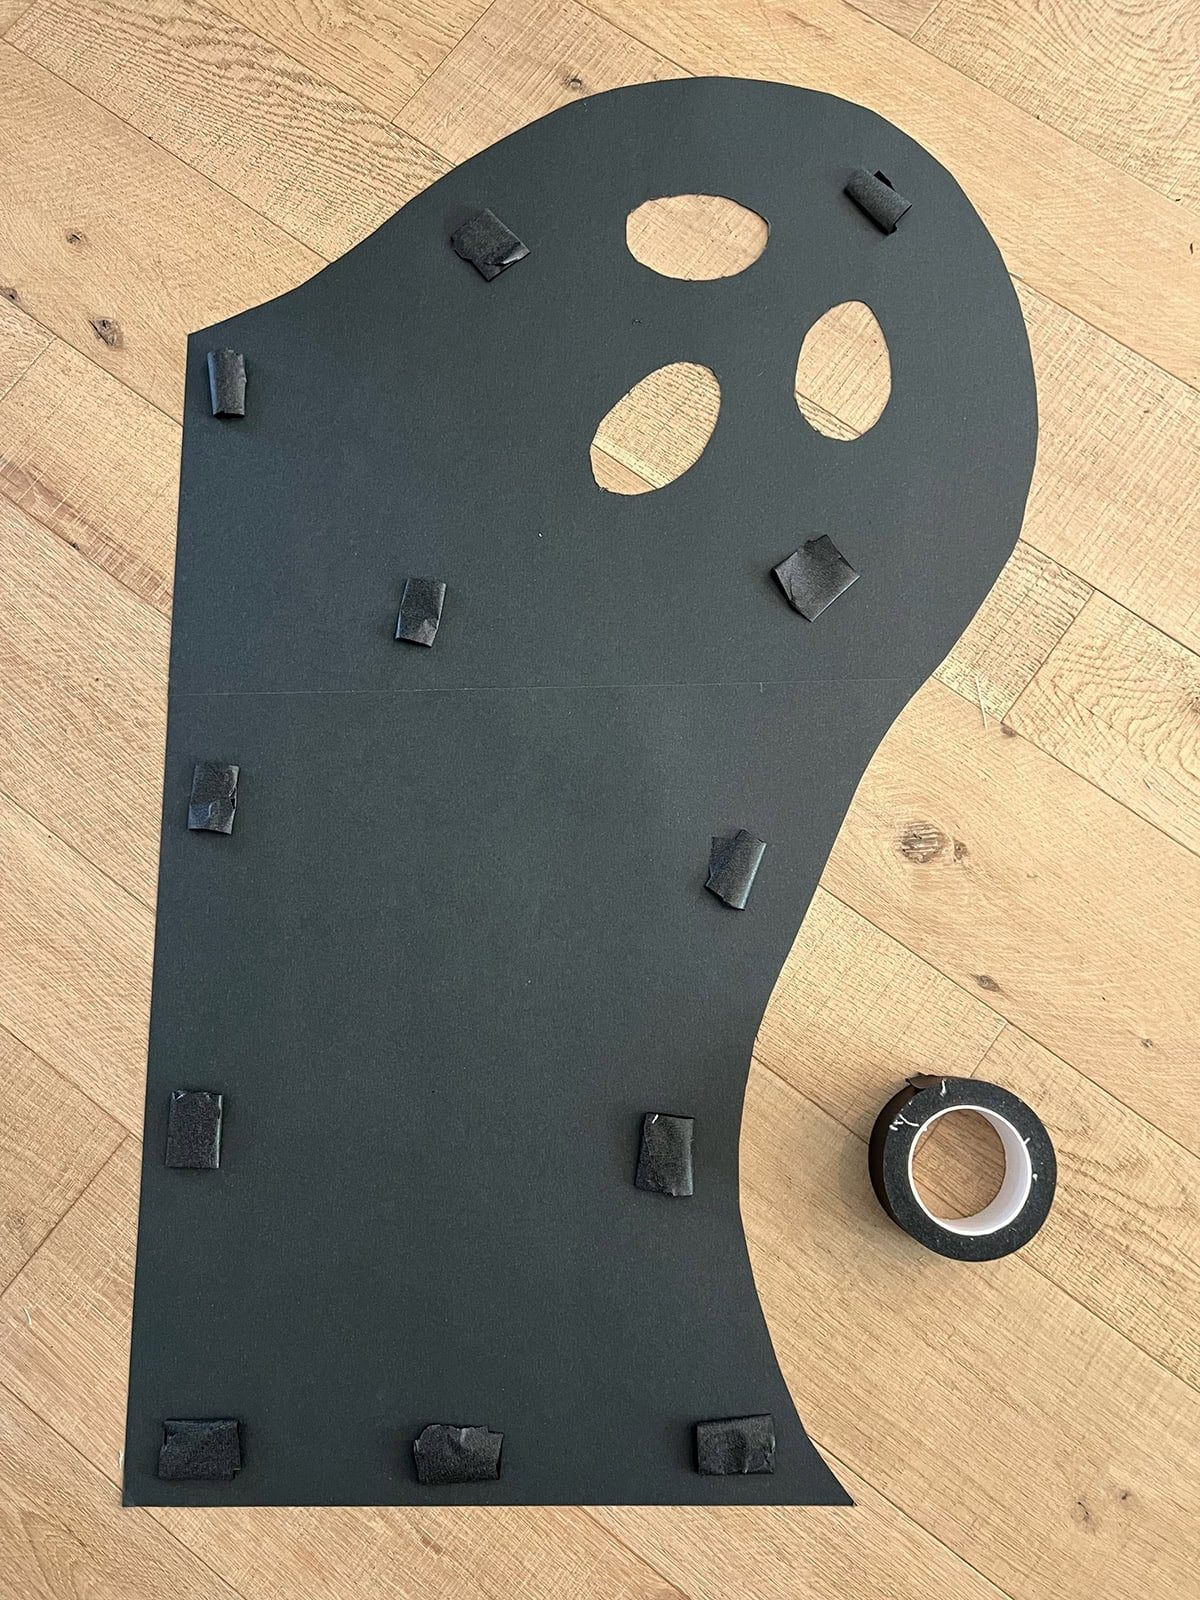
Tape poster board to window and draw shape
Our windows are on the larger size, so I used one or two 20×28″ poster board sheets to create my silhouette. I first taped them to the window to help visualize how they would look in place.
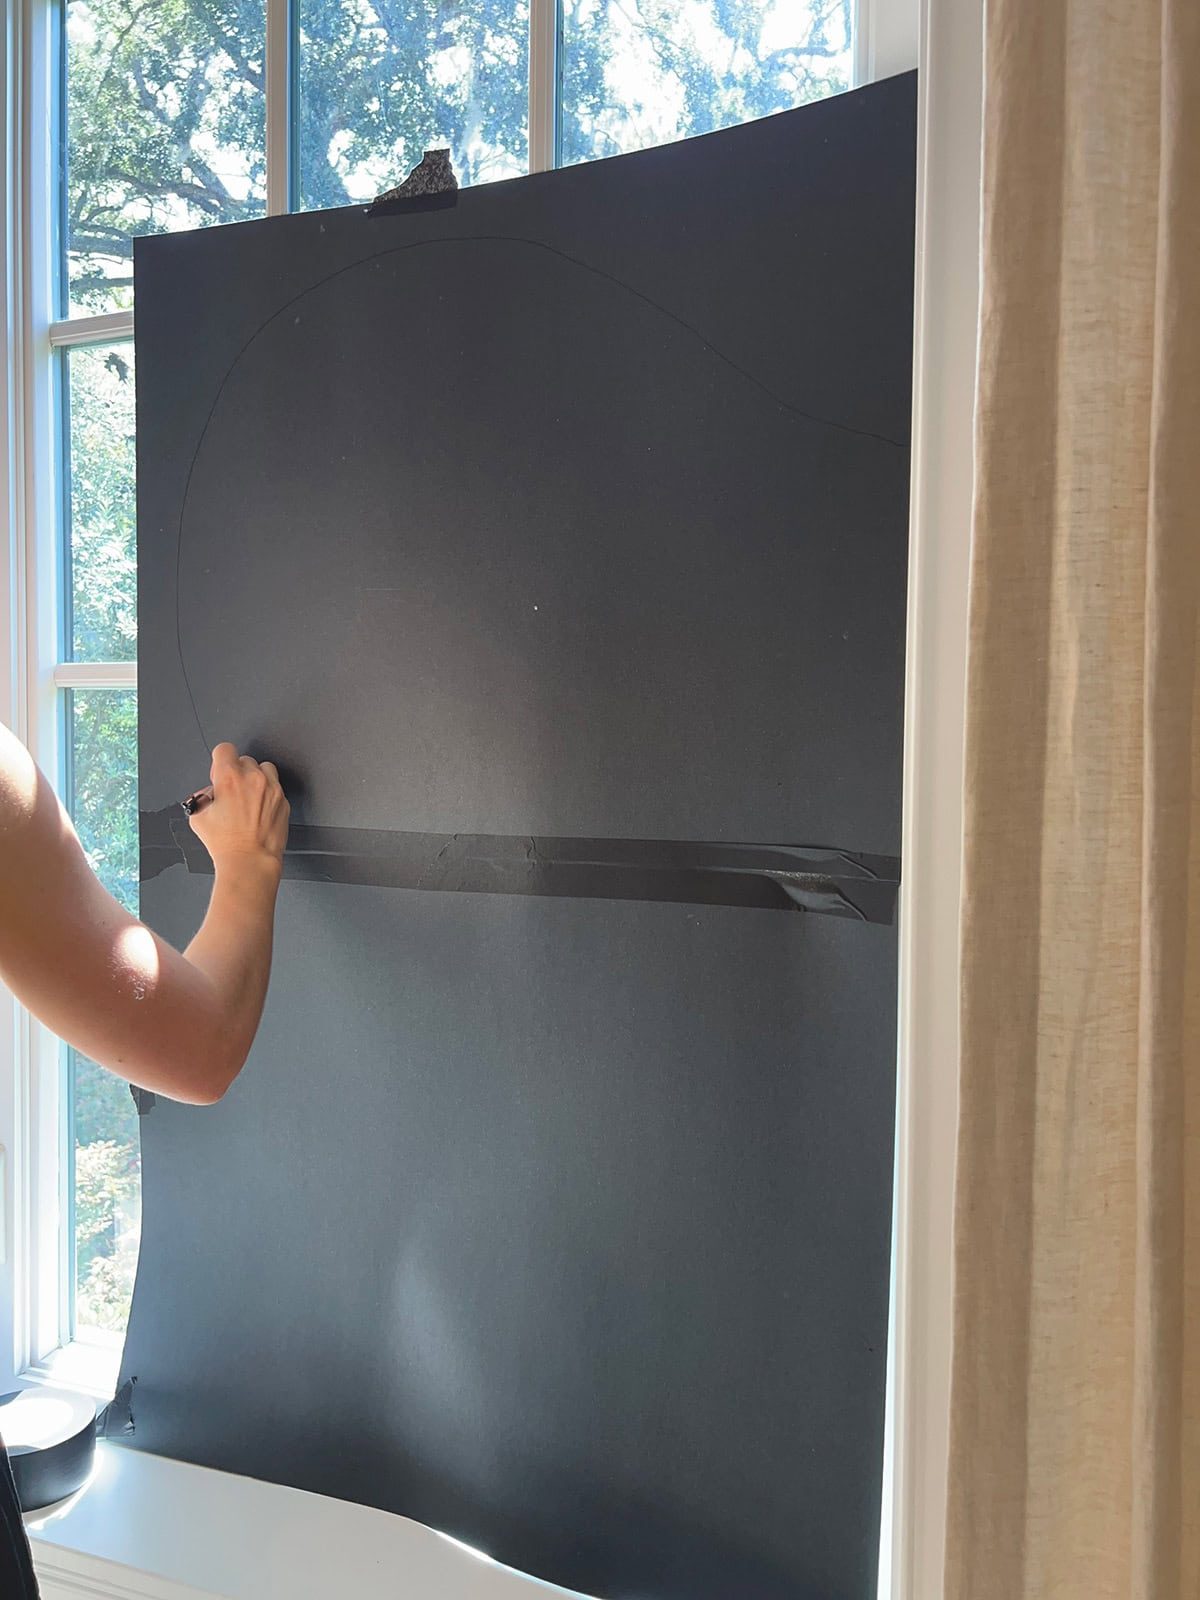
Using a marker, I freehanded a ghost shape. There is genuinely no right or wrong way to do it!
Cut out shape
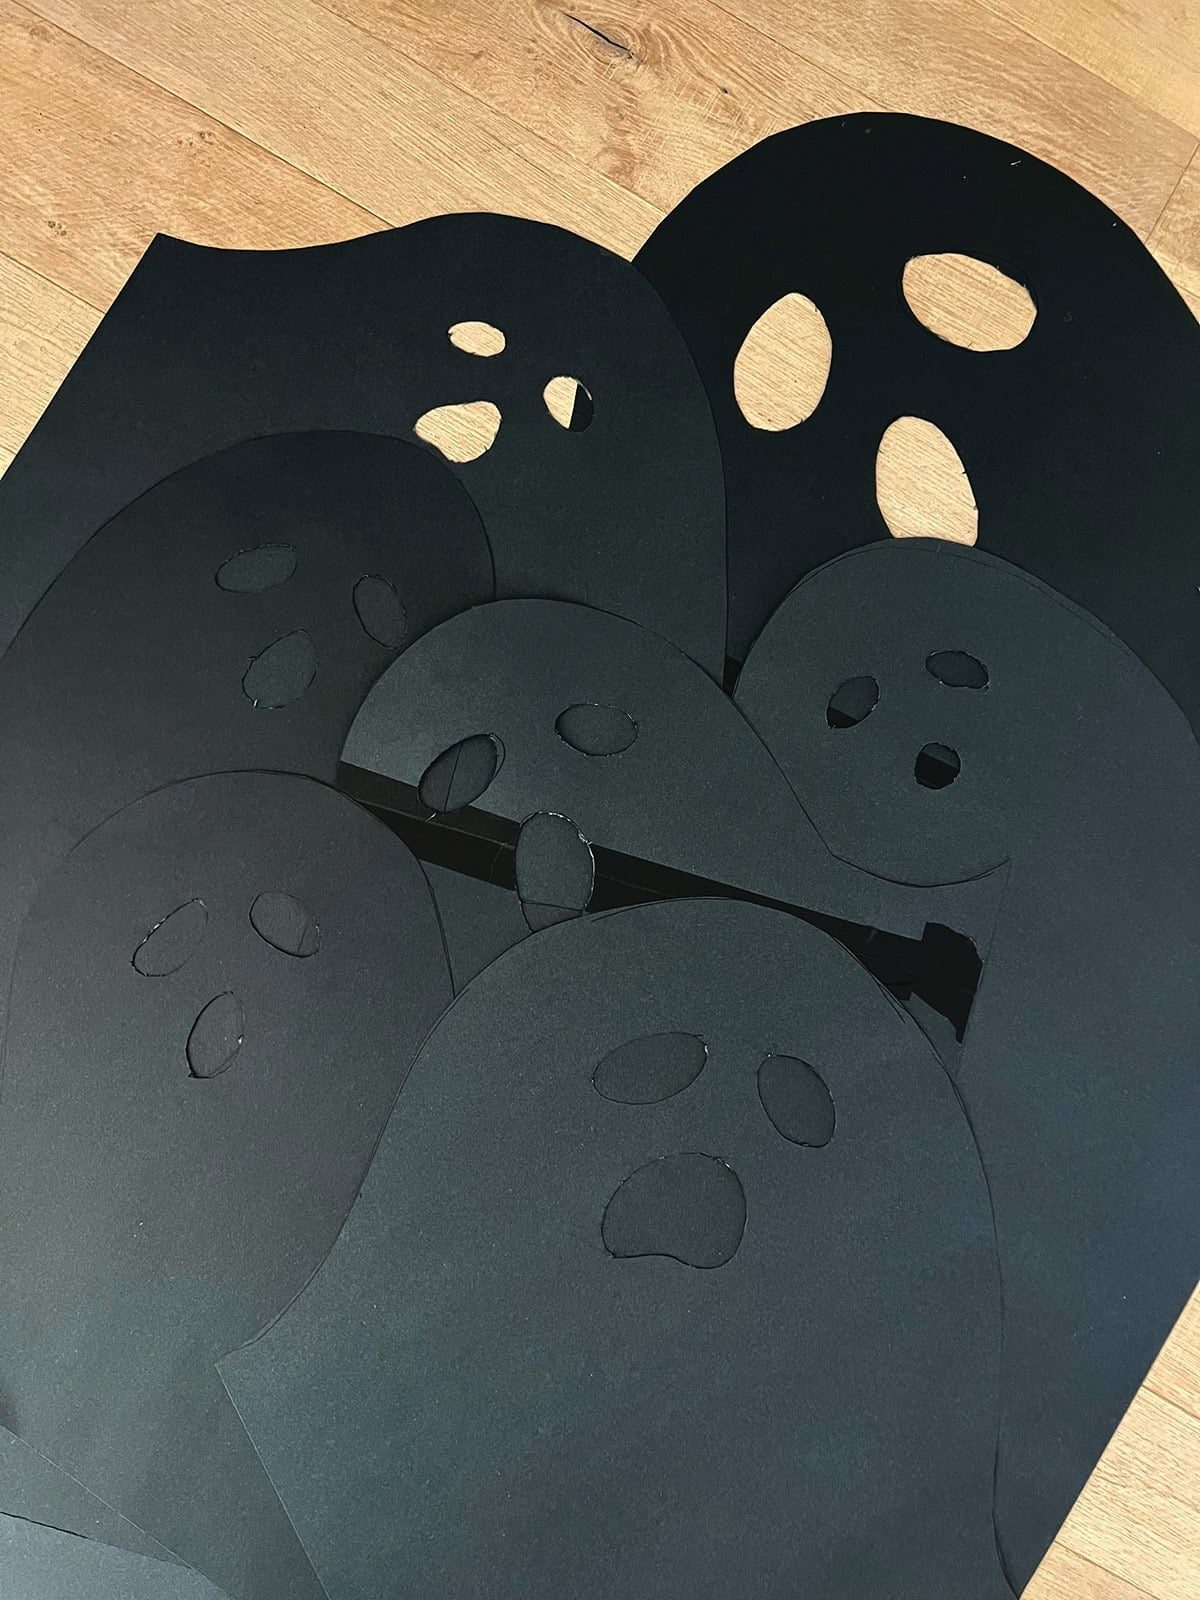
After drawing eyes and a mouth, I removed the poster board from the window and cut out the shapes.
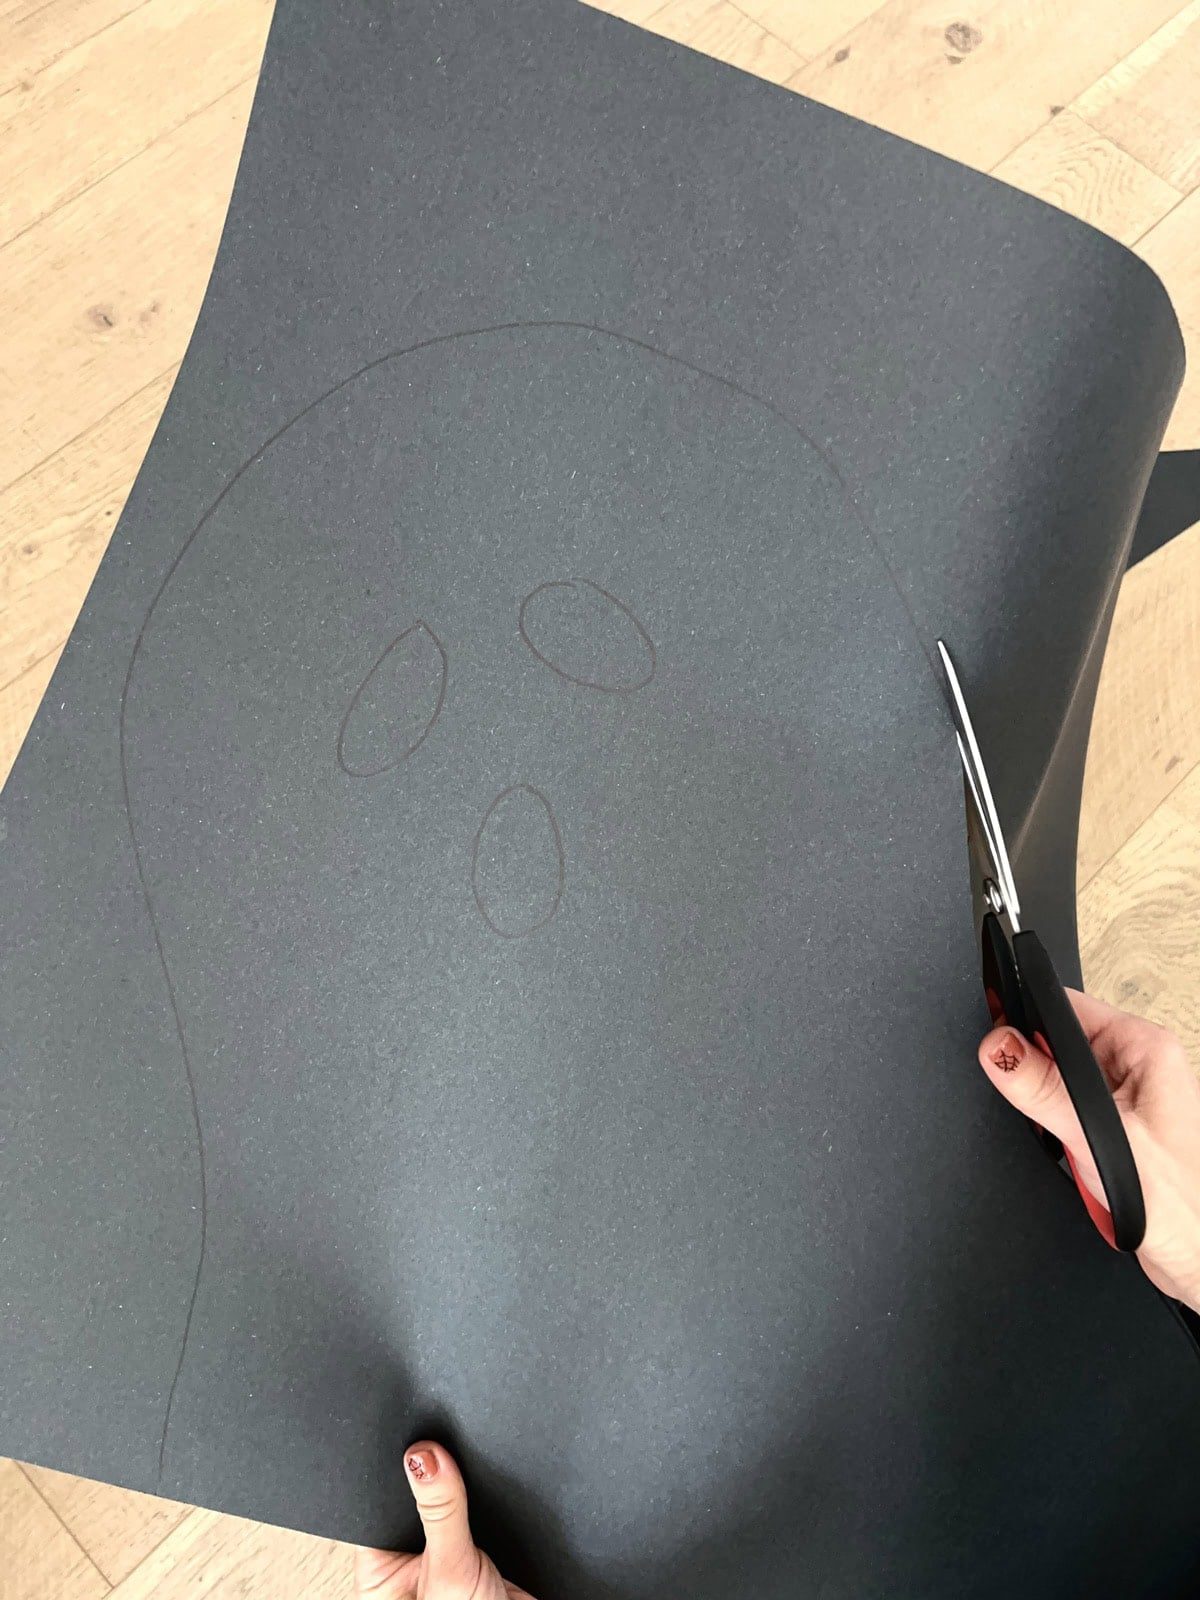
If you plan to reuse these for next year, it is helpful to label each window on the back. I made one for each window visible from the street—12 in total.
Cut fabric to fit window
These next steps may be optional, depending on your existing window treatments. I wanted the light to shine through with privacy, but some of our windows have blackout shades.
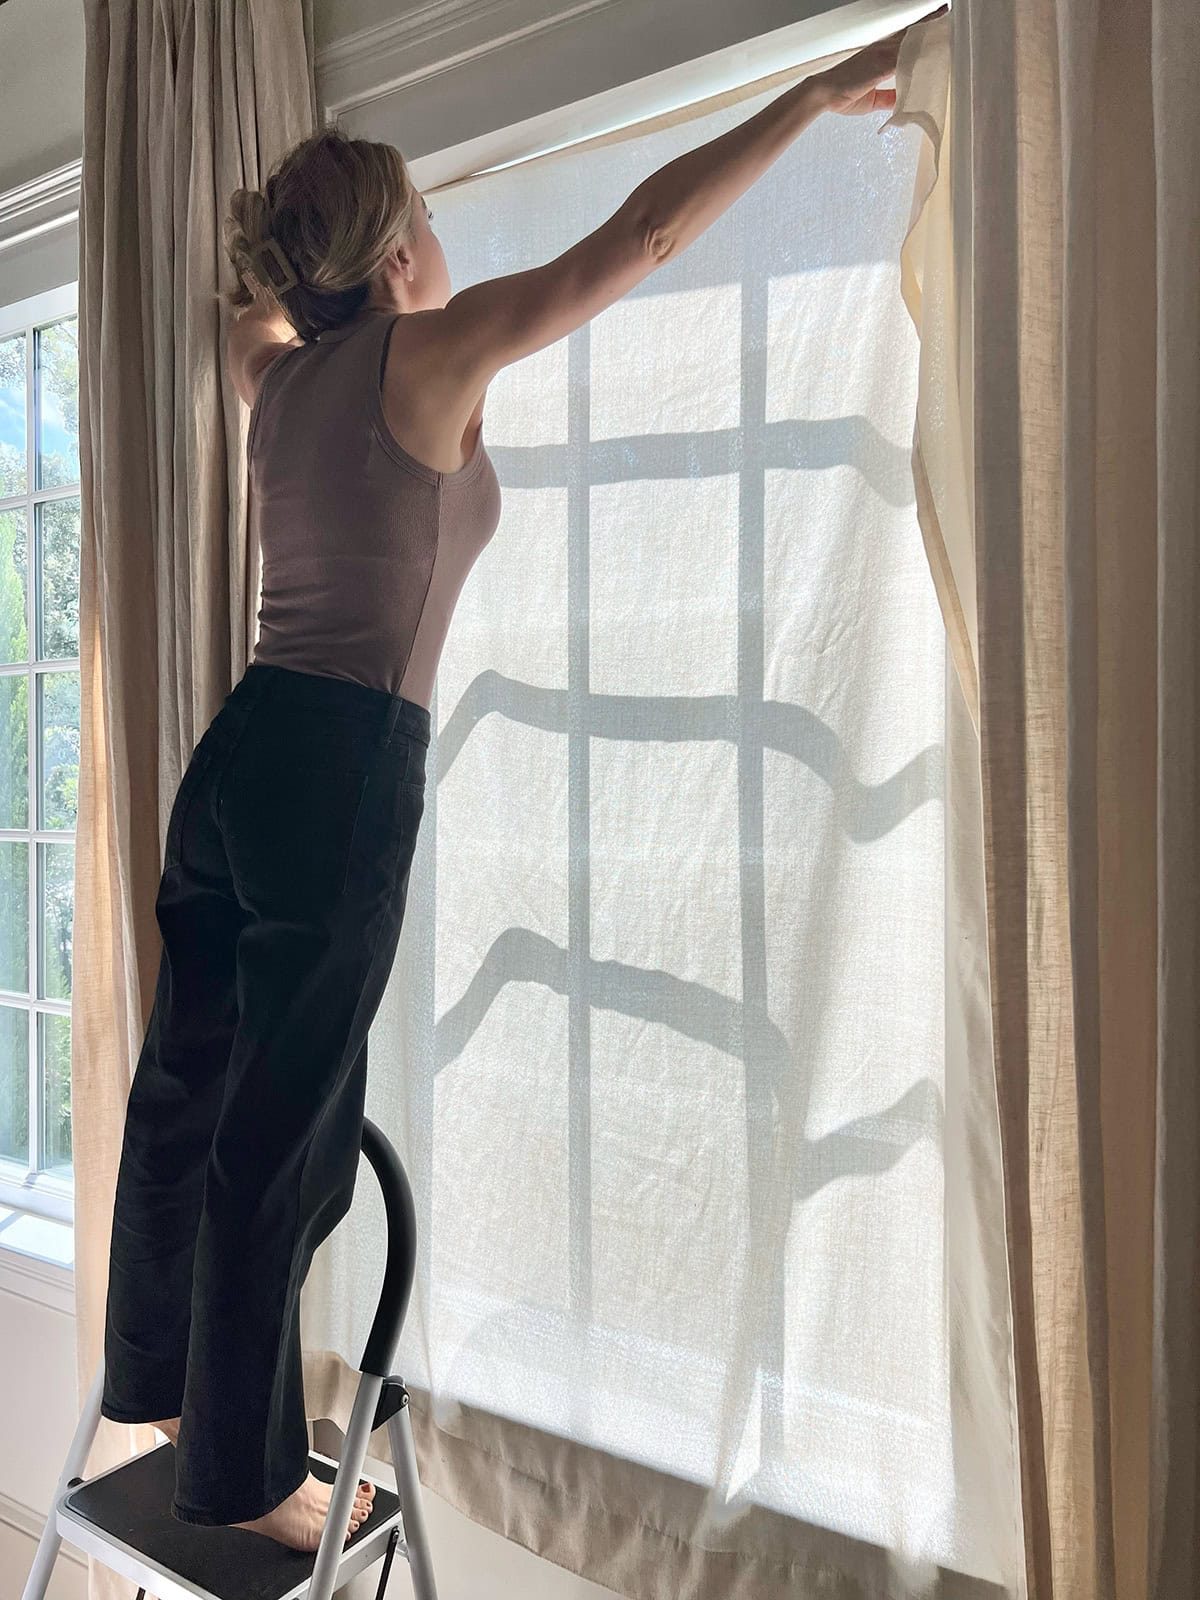
To keep them all consistent, I bought these inexpensive curtain panels for each window and cut the width to size. You could also opt to go without curtains/blinds entirely if you do not mind the lack of privacy.
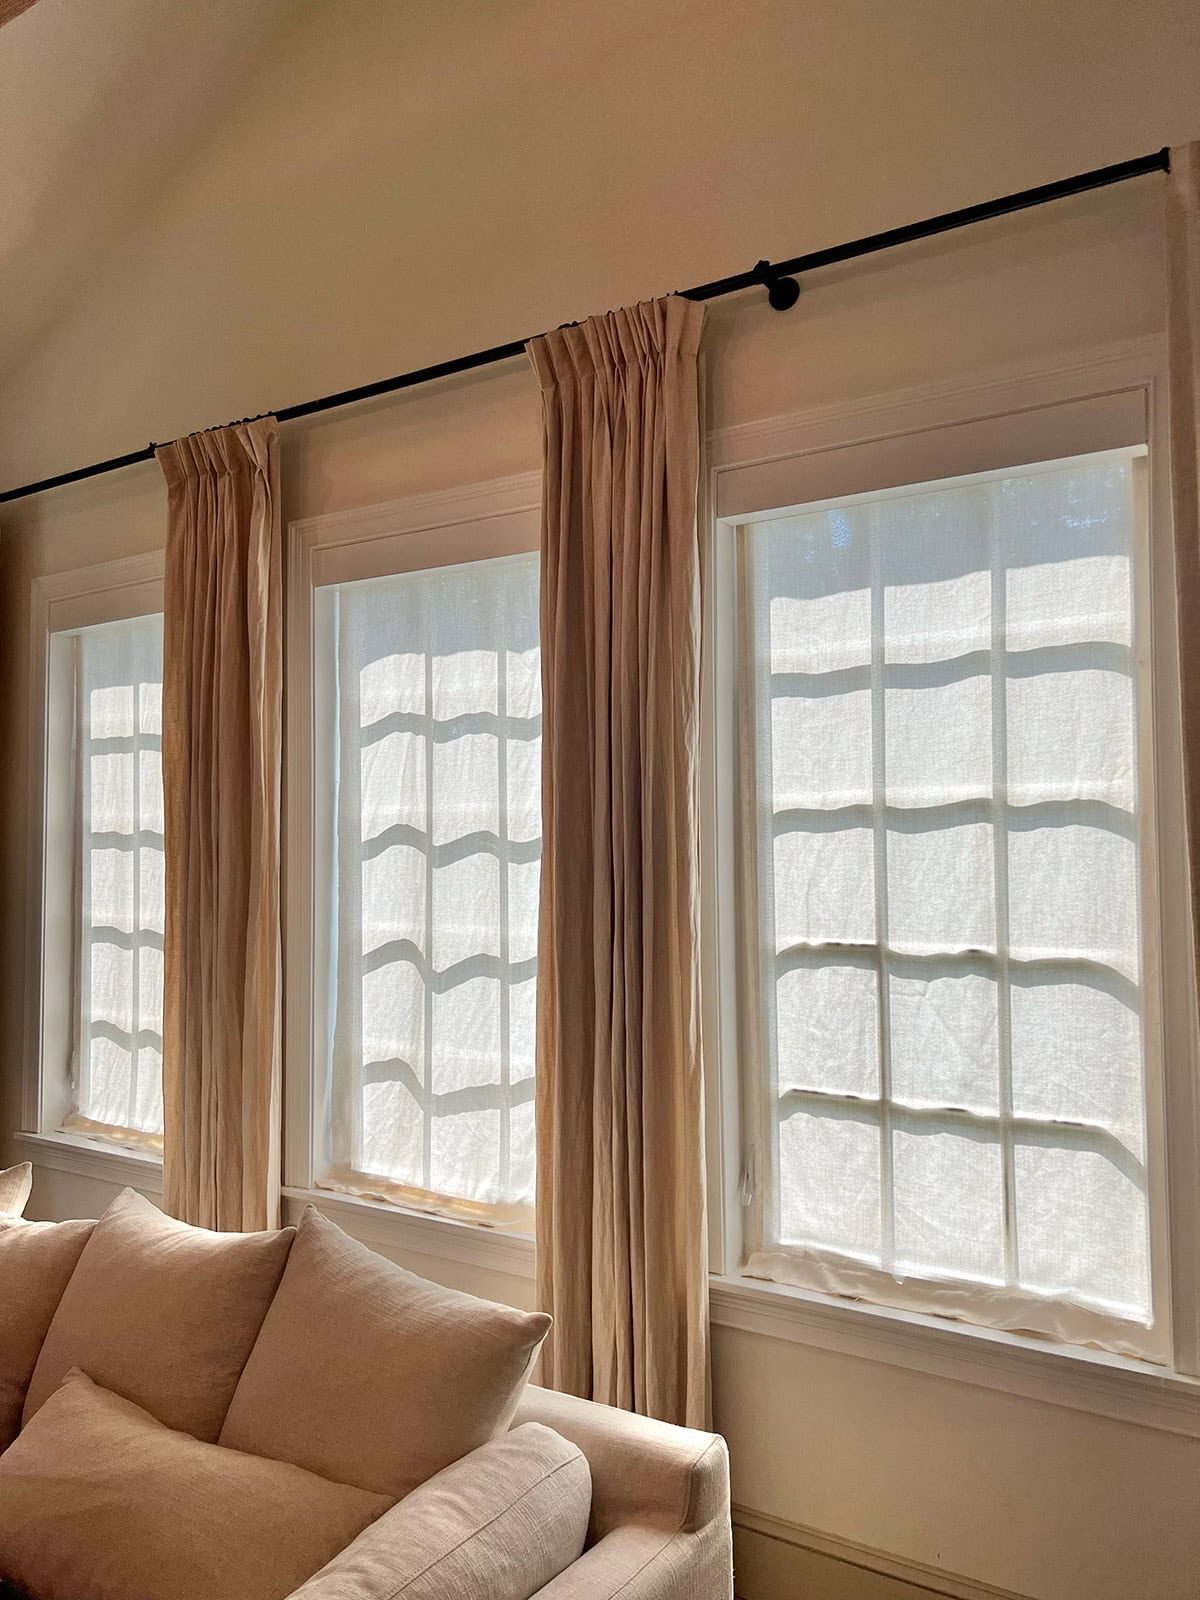
We still needed our shades to be accessible, so I taped the fabric directly to the windowsill along the top (you may need to use masking tape or duct tape for a stronger hold).
Tape window silhouettes to fabric
Once the window shades are in place, the last step is to attach the silhouettes. I chose to tape mine to the back of the fabric instead of the front, which makes them only visible at night.
Taping them to the back of the fabric also softens the shadows for a more ghostly effect. Both options would work, though!
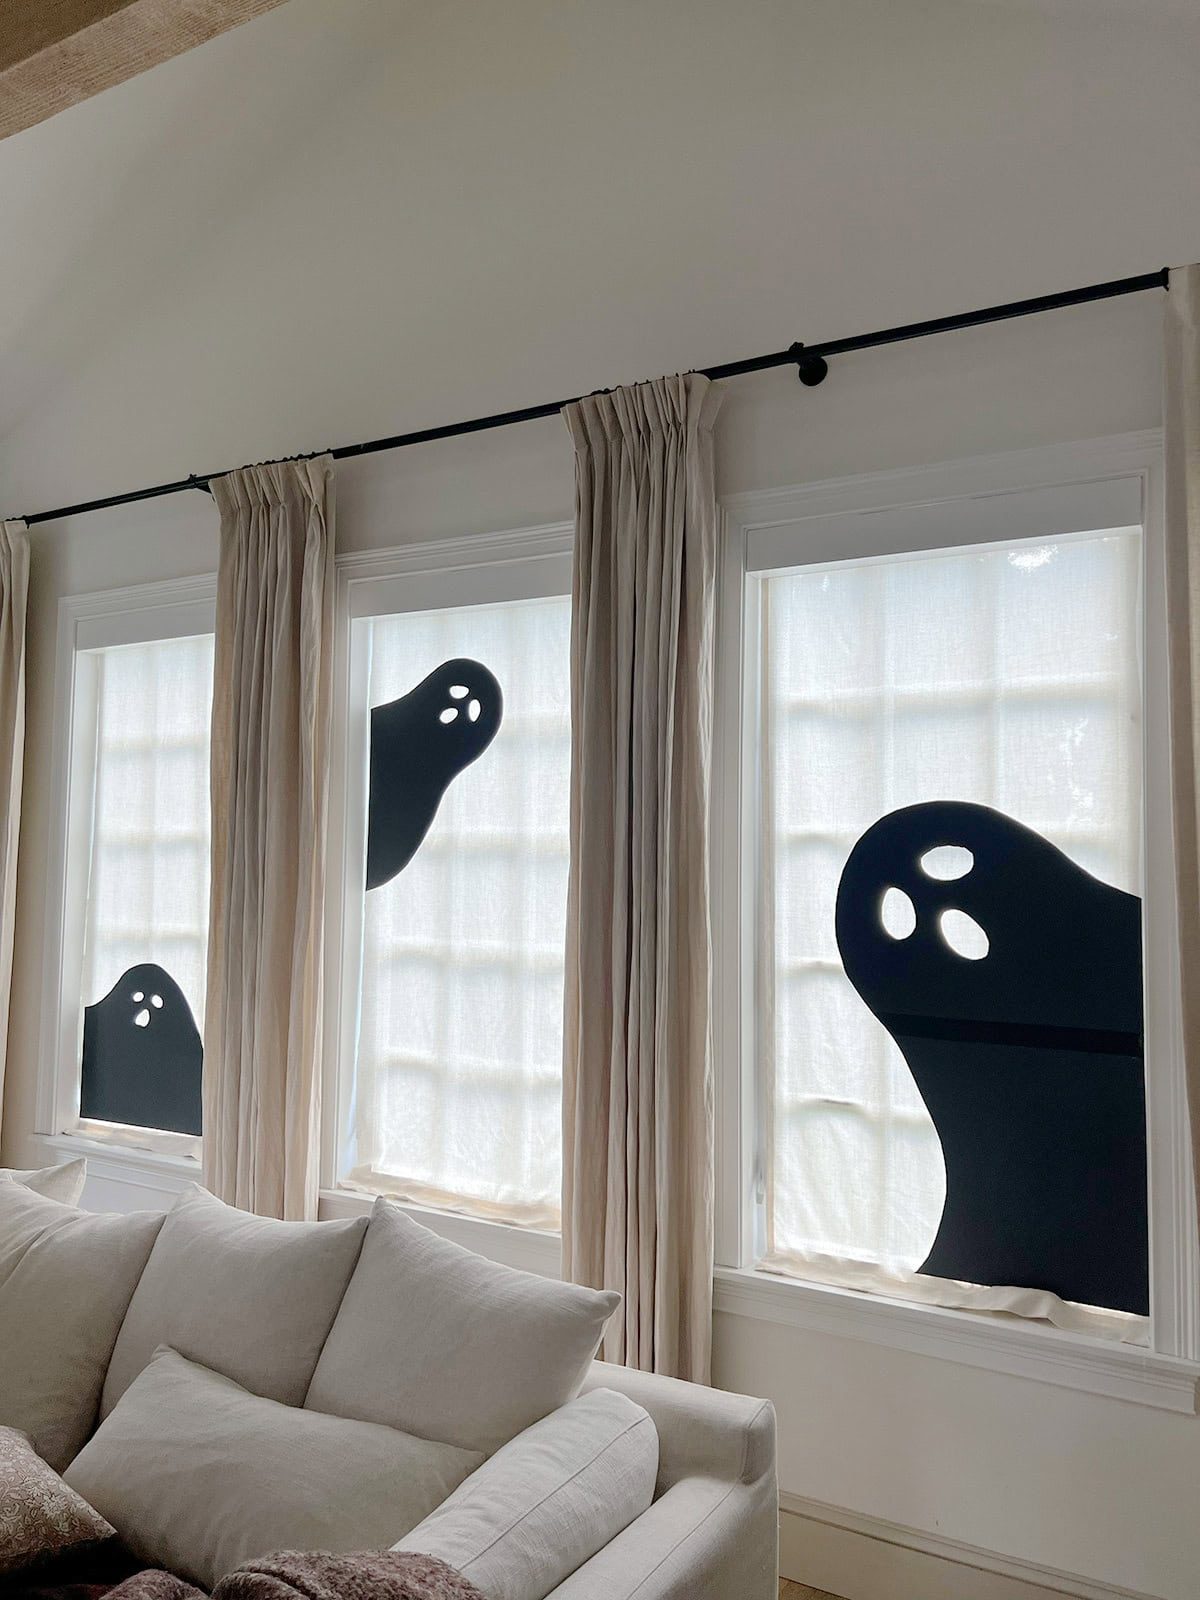
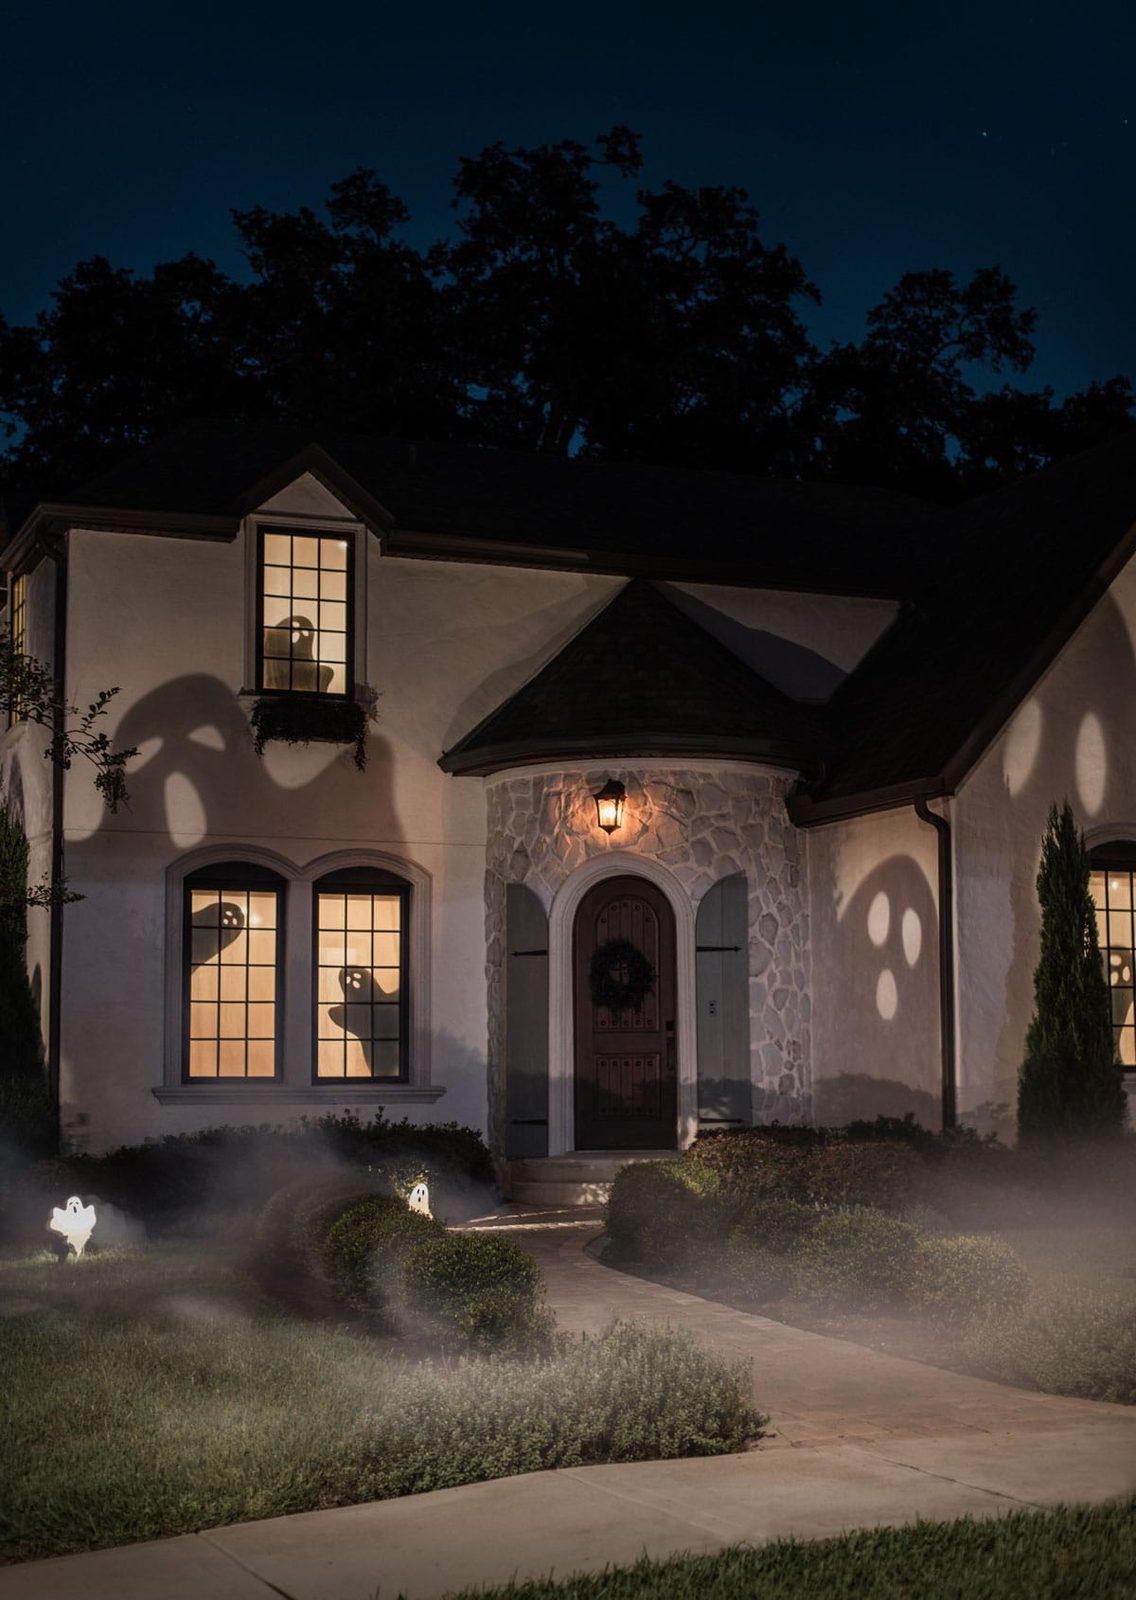
Spooky Ghost Window Silhouette Reveal
This is how they look at night—check them all out in my Haunted House of Shadows tour!
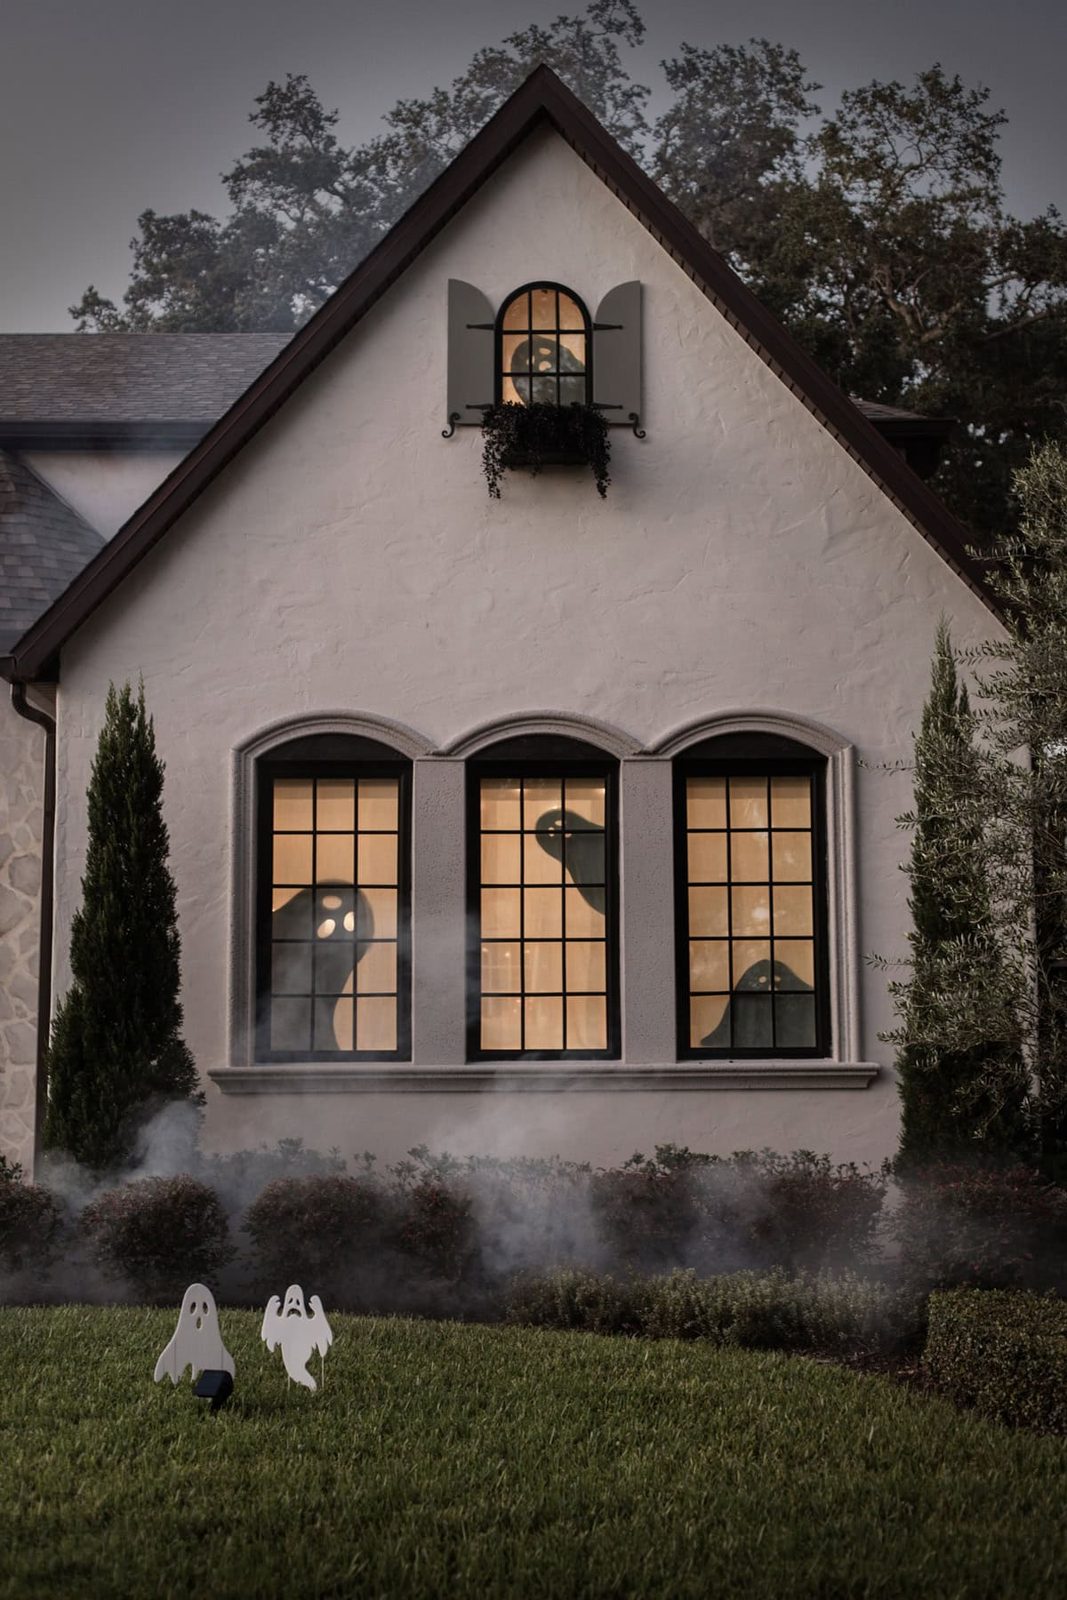
They fit in perfectly with our ghost shadow casters (stay tuned for that blog post coming up next!)
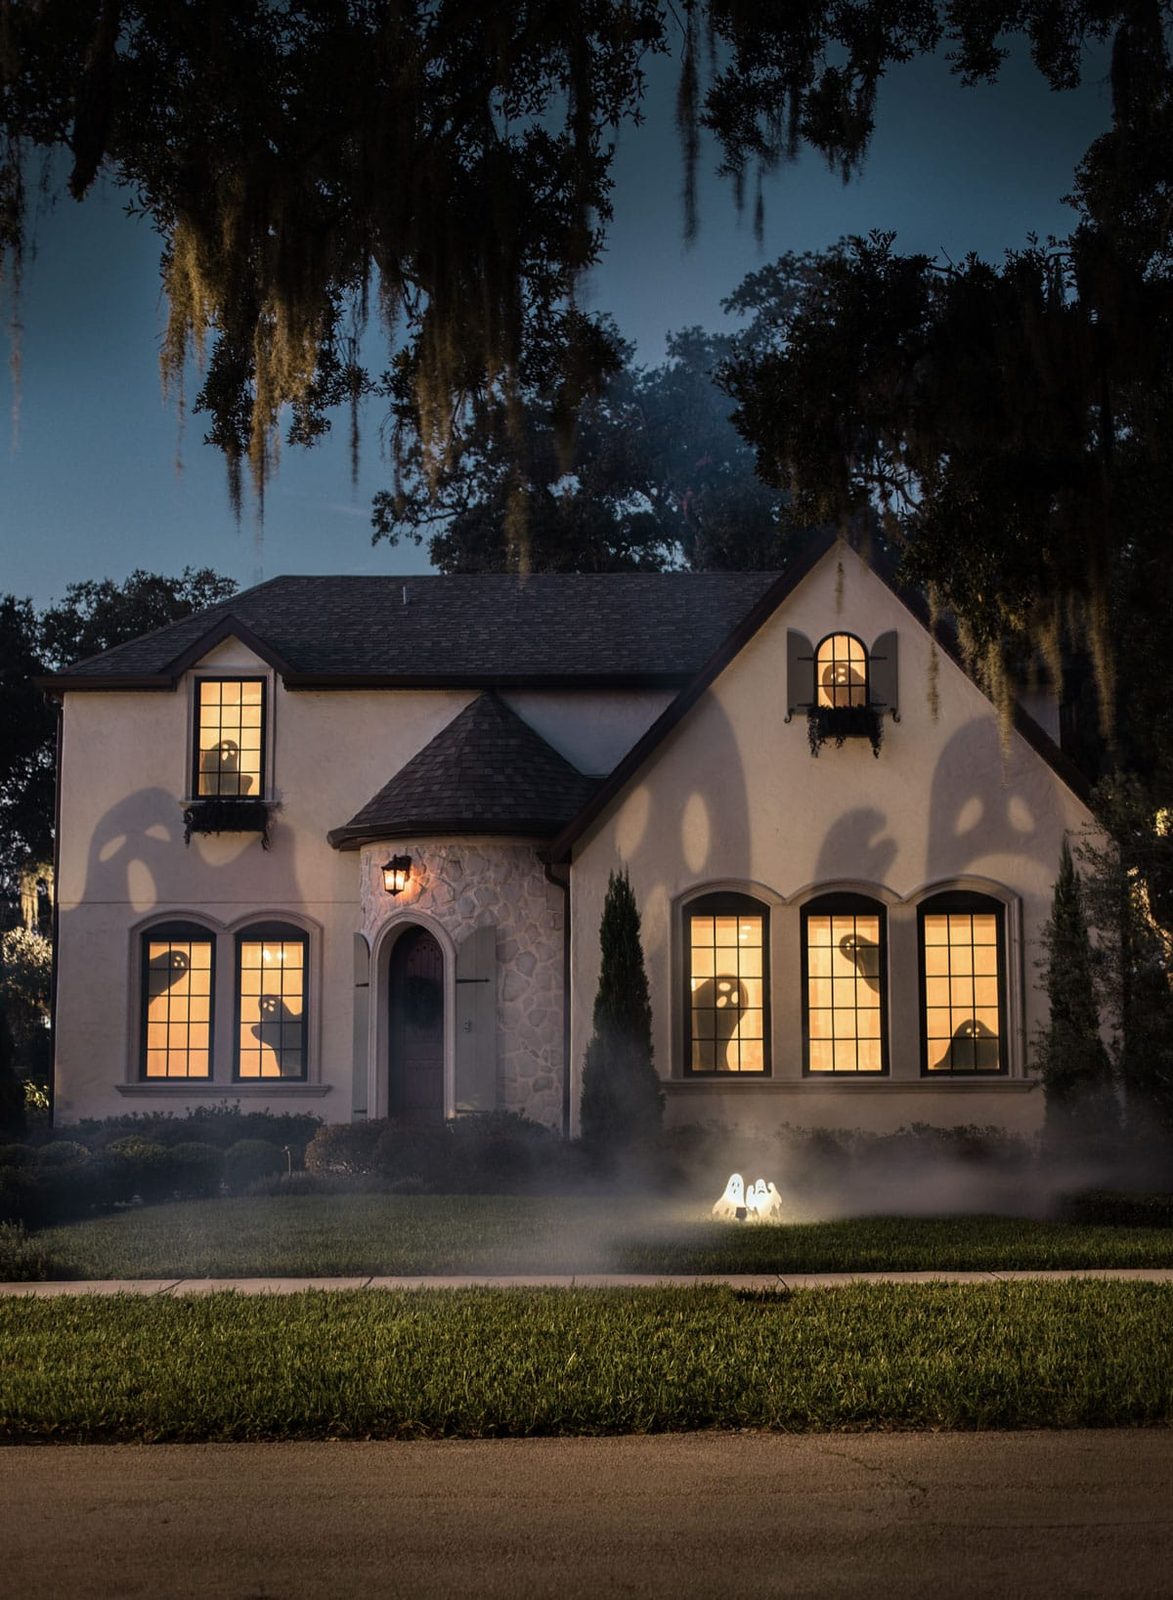
You can genuinely get creative with the theme, though more complicated silhouettes require some artistic skills or a projector.
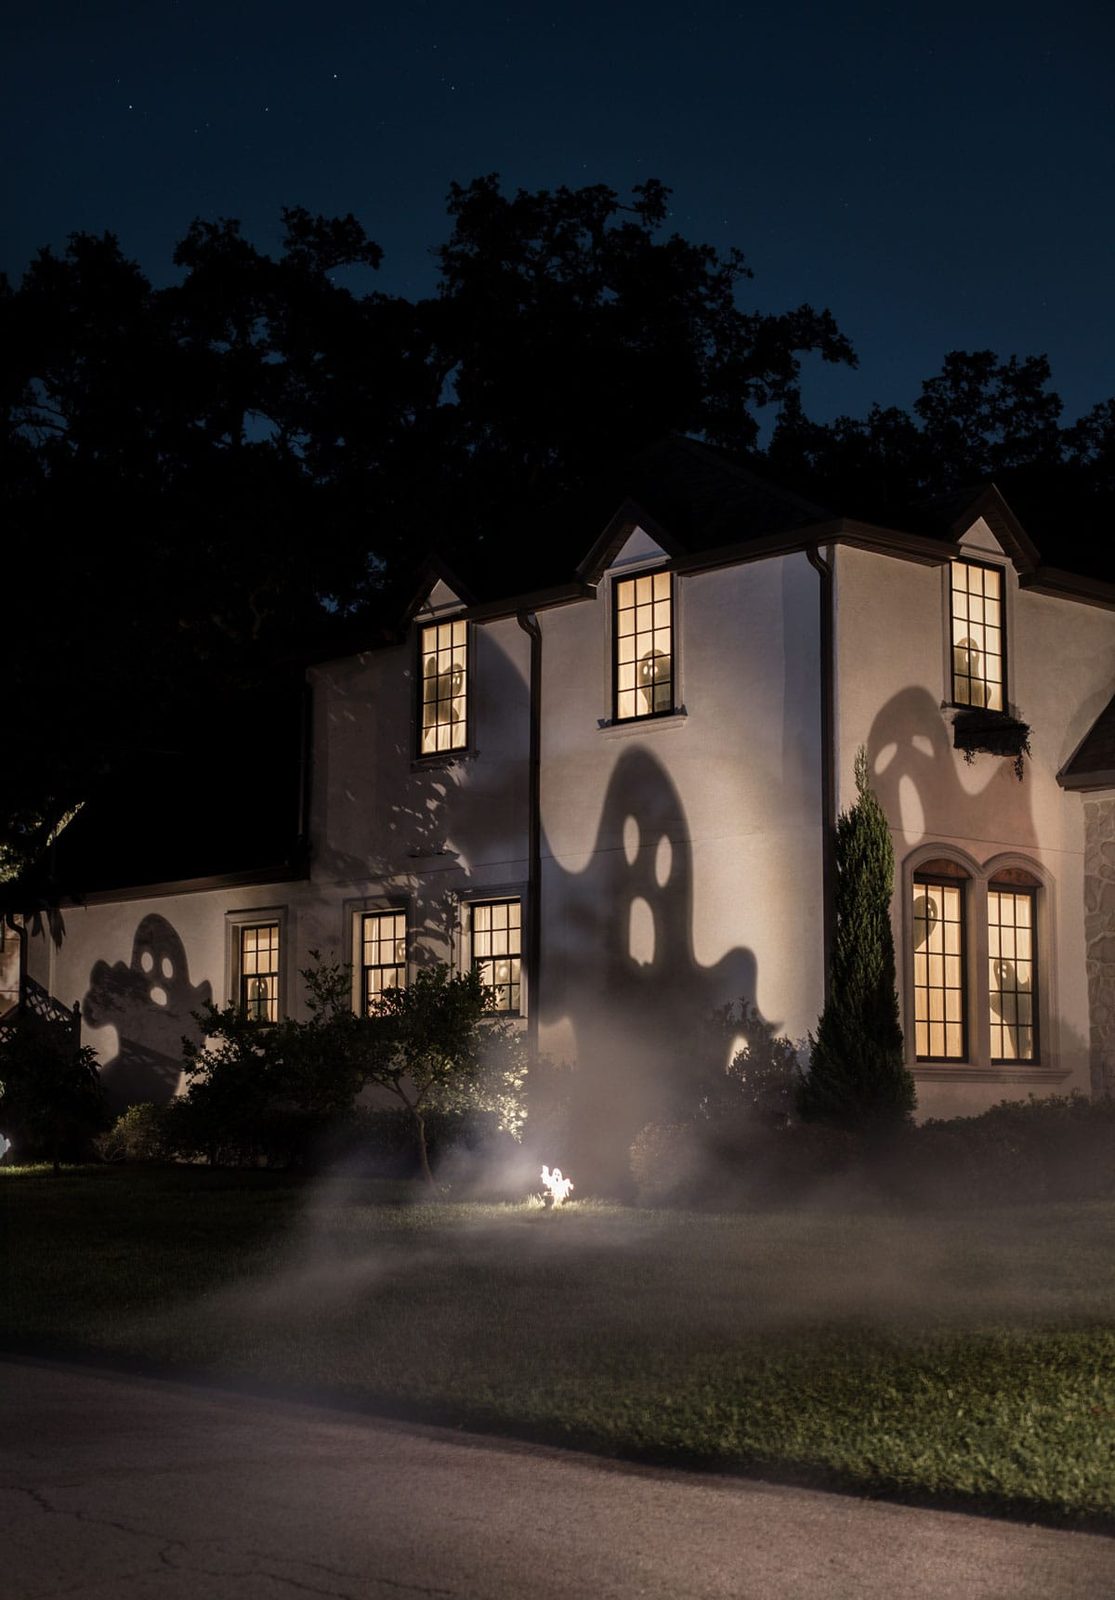
It helps to keep the idea of using ghosts because they are quick and easy, and you honestly cannot mess them up. The kids can even make their own for their windows, too!
Tips for Making Window Silhouettes
- Fabric is optional: If you already have light filtering curtains or blinds, you can tape the silhouettes directly to that instead (if you do not mind keeping them closed all the time) Or skip them altogether if you do not need the privacy.
- Inside vs outside: Taping the silhouettes to the back of the fabric means they'll only be visible from outside at night, with the lights on. It will also soften the edges for a more ghostly appearance (the farther away from the window it is, the blurrier and softer it becomes).
- Make it spookier with colored lights: You can tape colored LED or Christmas lights around the windowsill for an eerie glow. Orange or purple would be fun for a spooky effect!
- Non-DIY alternative: If you are not up for a DIY or want different silhouettes, you could also use black window clings for a similar effect. Try these: Monsters, Hocus Pocus, Witches, Cats and bats.
Let me know if you will be trying these DIY Halloween window silhouettes for your house this year. More to come soon!