DIY Matte Powdered Christmas Ornaments
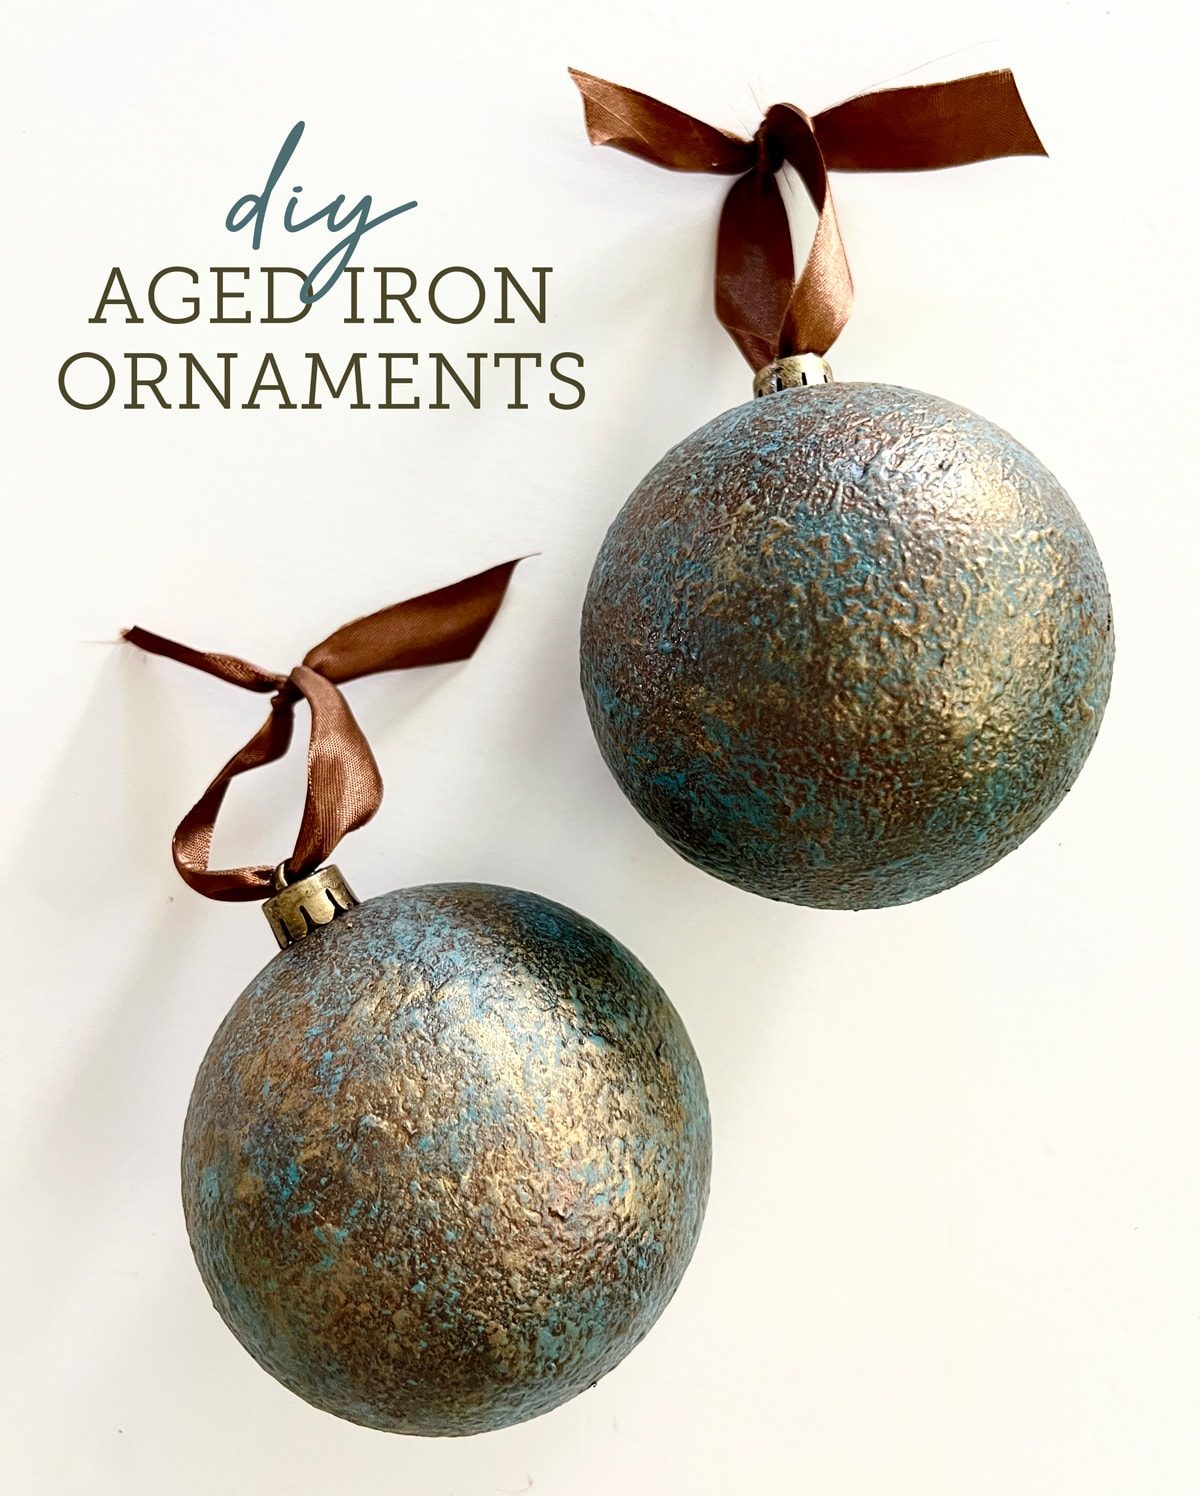
Here is another fun and easy holiday DIY—matte powdered ornaments! You can make these trendy distressed ornaments in any color, with supplies you probably have already…
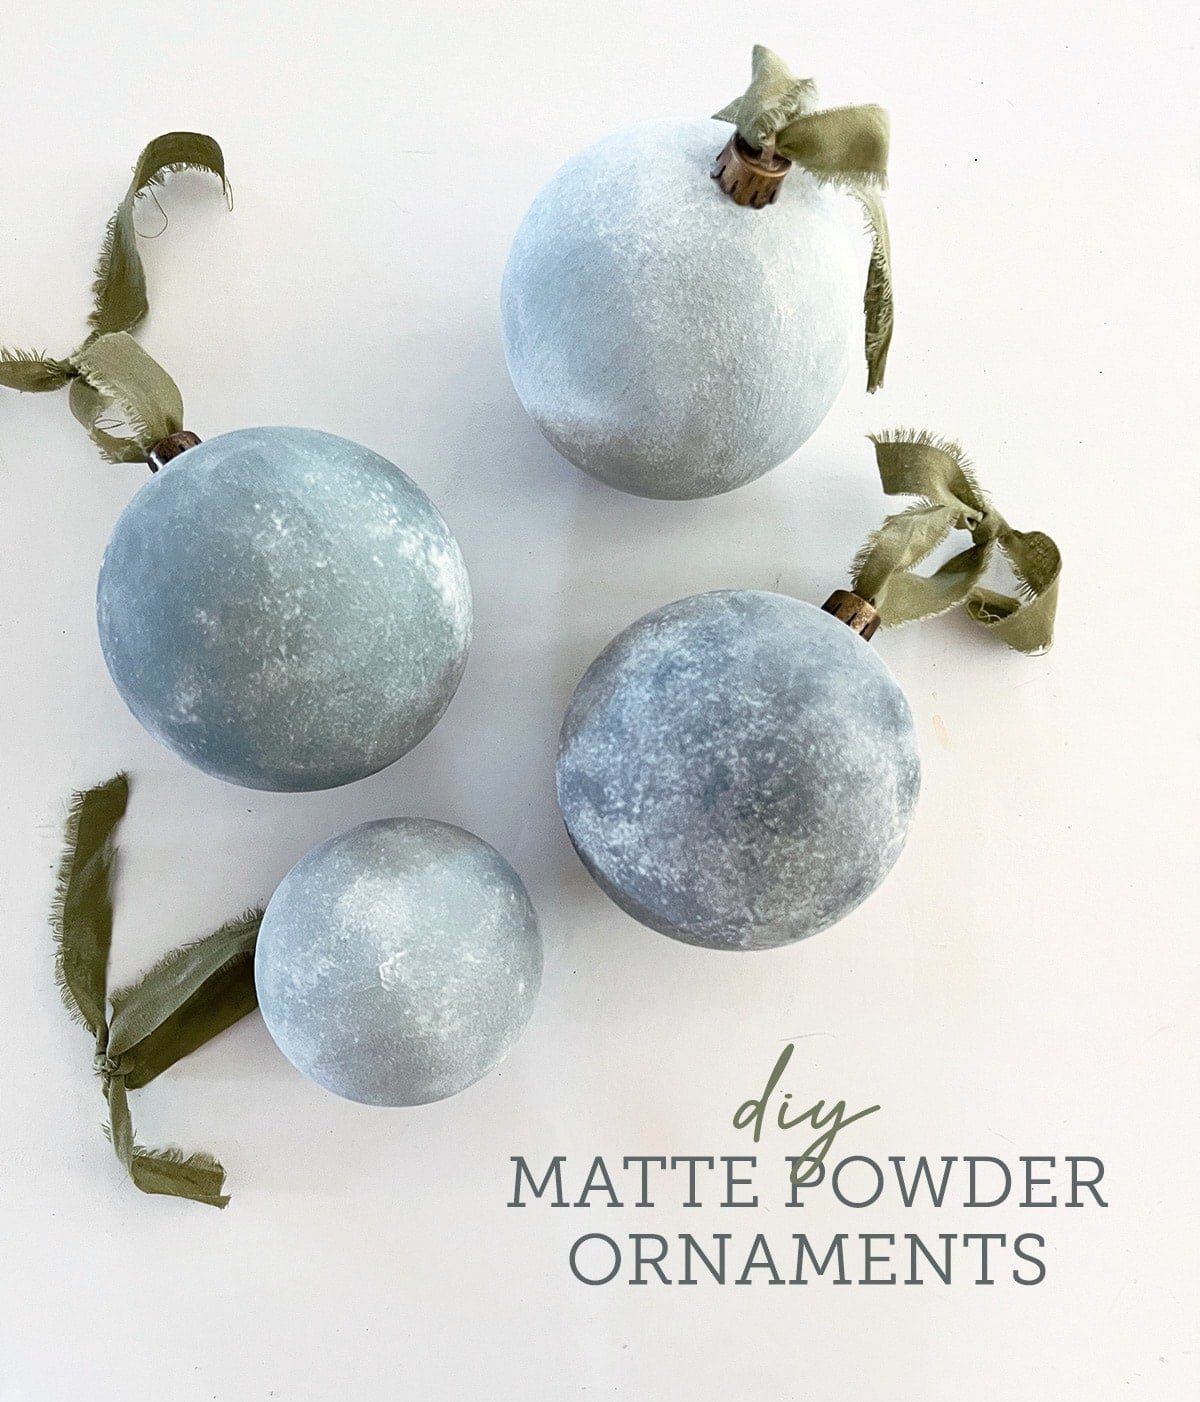
Here is another fun and easy holiday DIY—matte powdered ornaments! You can make these trendy distressed ornaments in any color, with supplies you probably have already at home. Keep reading to find out how!
I have been seeing these well composed matte powdered ornaments online and had to have some for our tree this year. It seemed like a pretty unfussy DIY, so I thought I would make my own and share the results with you.
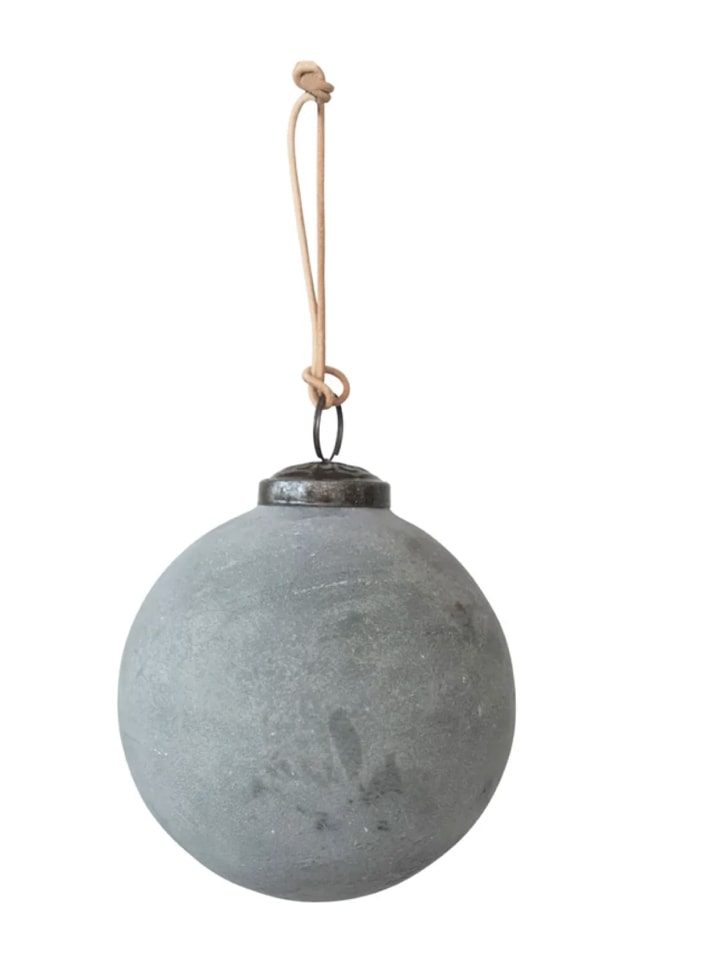

How to make aged powdered ornaments
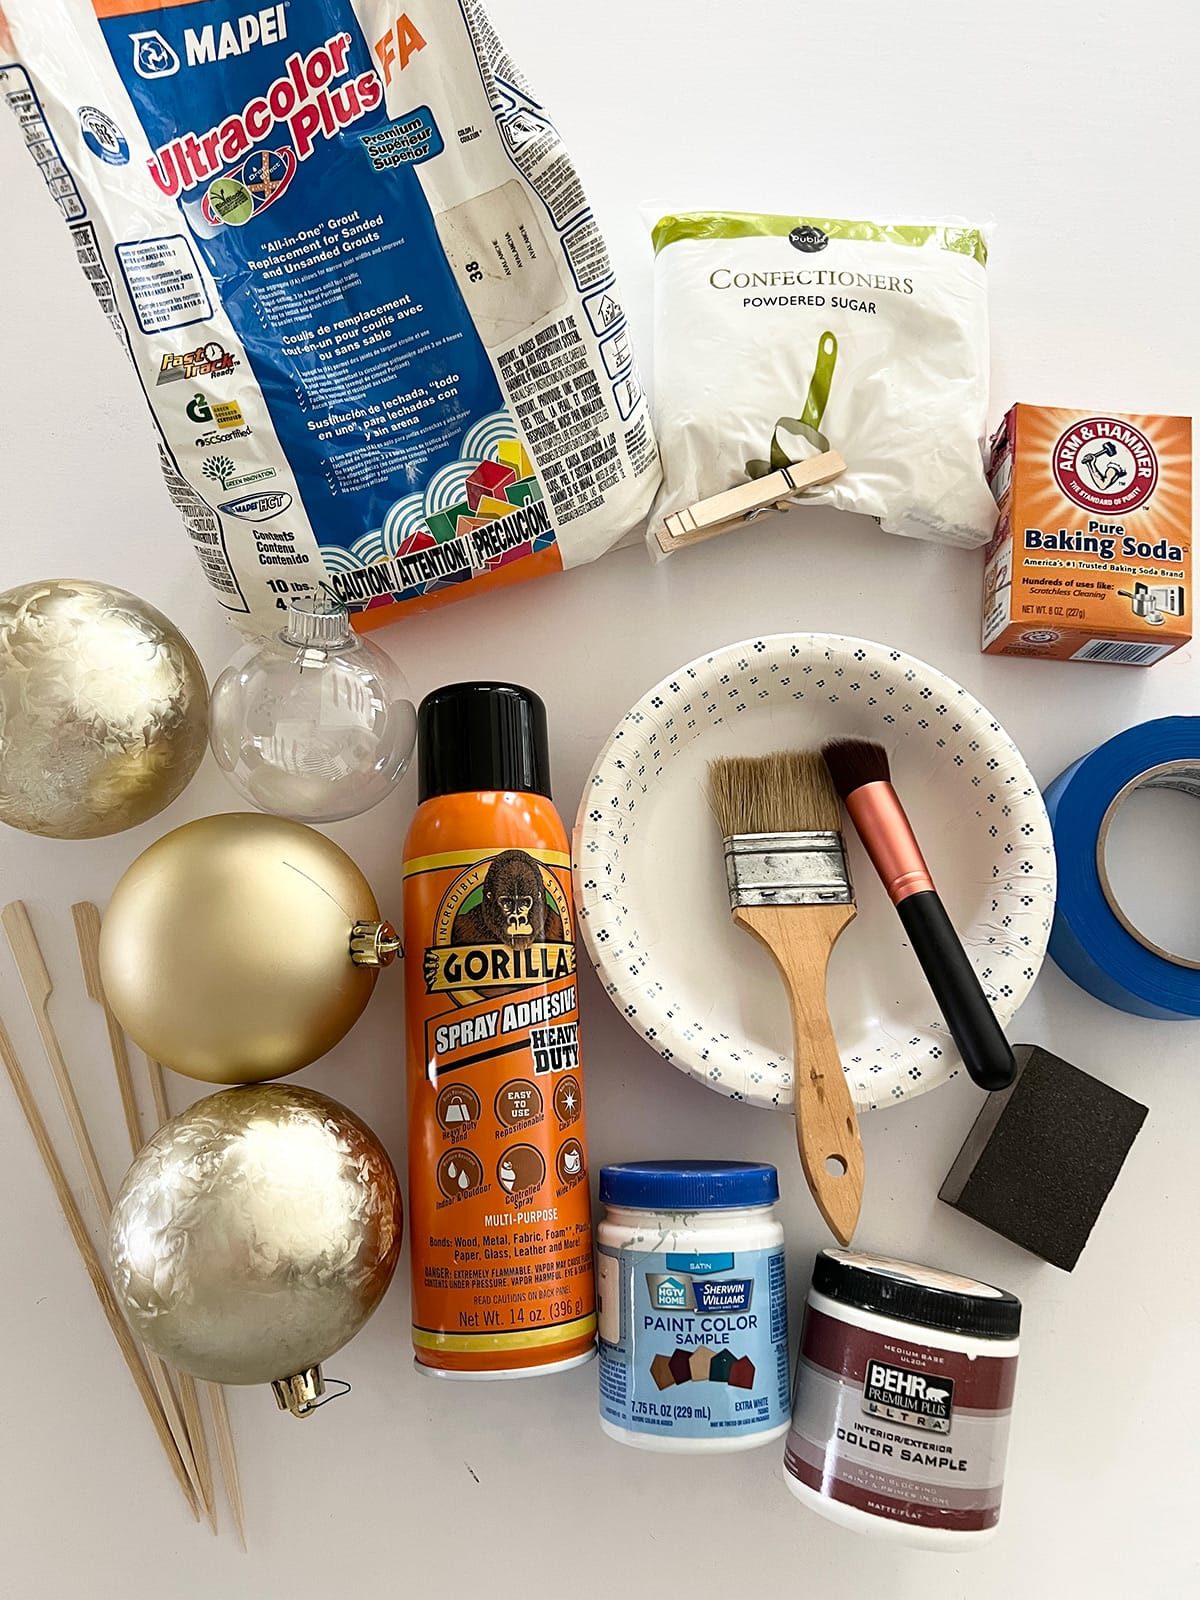
Supplies List
- Ornaments(I used 2.5-3.5″ round ornaments)
- White powder (flour, powdered sugar, corn starch, grout mix, etc).
- Spray adhesive
- Paint
- Baking soda
- Spray primer (optional)
- Paint brushes
- Paper bowls
- Tape and skewers
Step 1: Tape ornaments to skewer
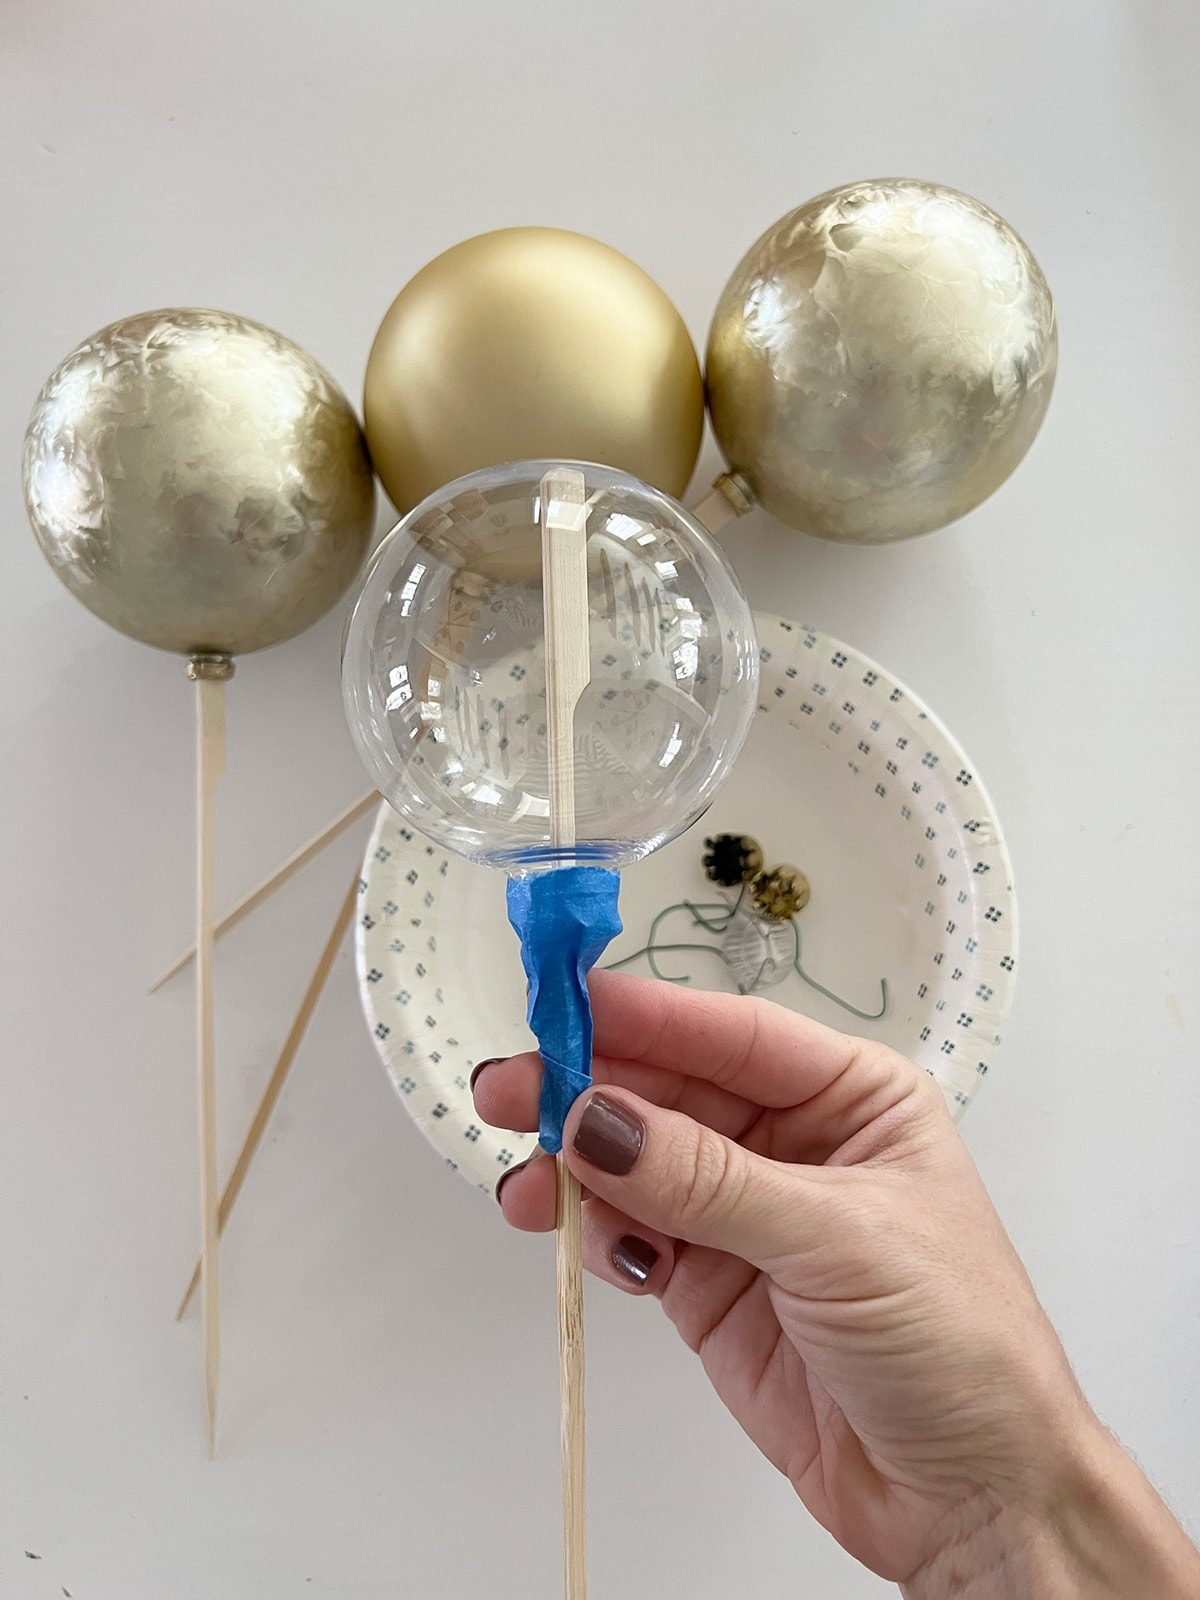
Remove the cap, place the end of a skewer inside the ornament, and wrap painters tape around the base to secure it to the skewer. This will give you a handle to hold the ornament steady without touching it, and also allow it to dry upright.
Step 2: Spray prime ornaments (optional)
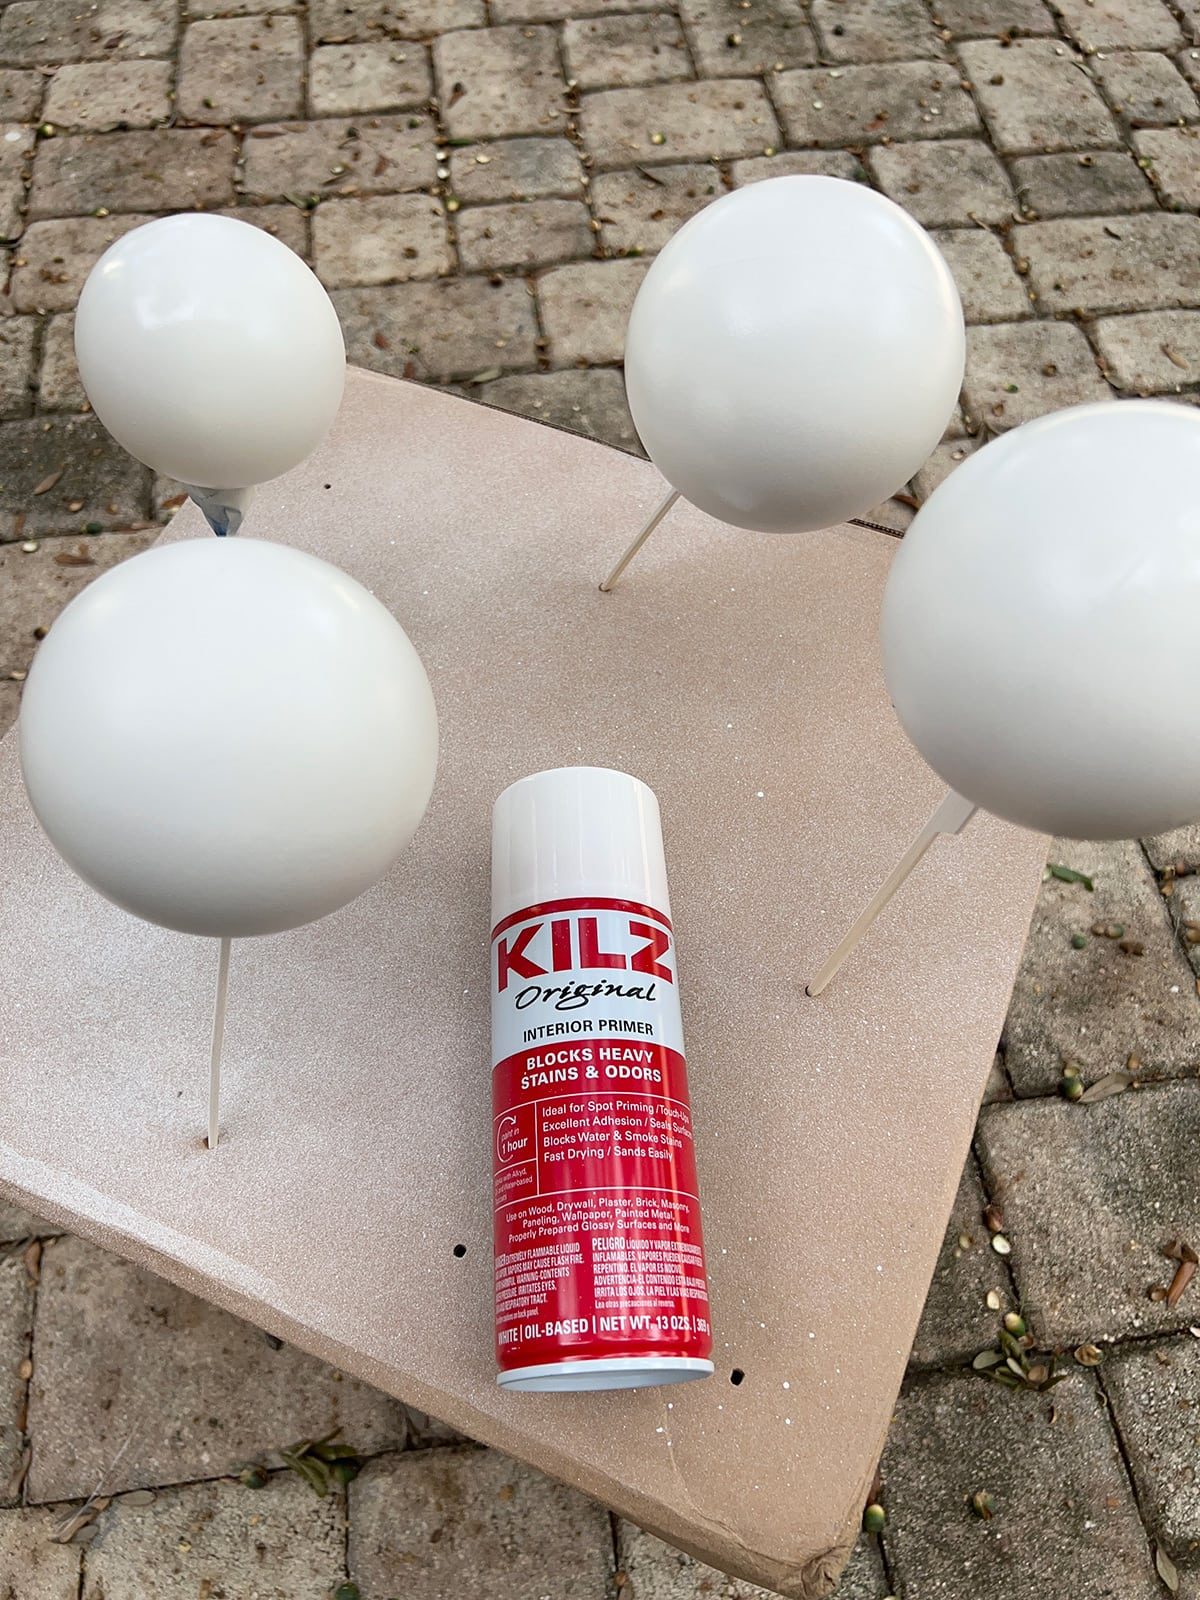
This step is optional, but an oil-based primer will help the paint adhere better to the ornaments, and make the finish more durable. Poke the end of the skewer into a cardboard box and allow to dry.
Step 3: Paint ornaments
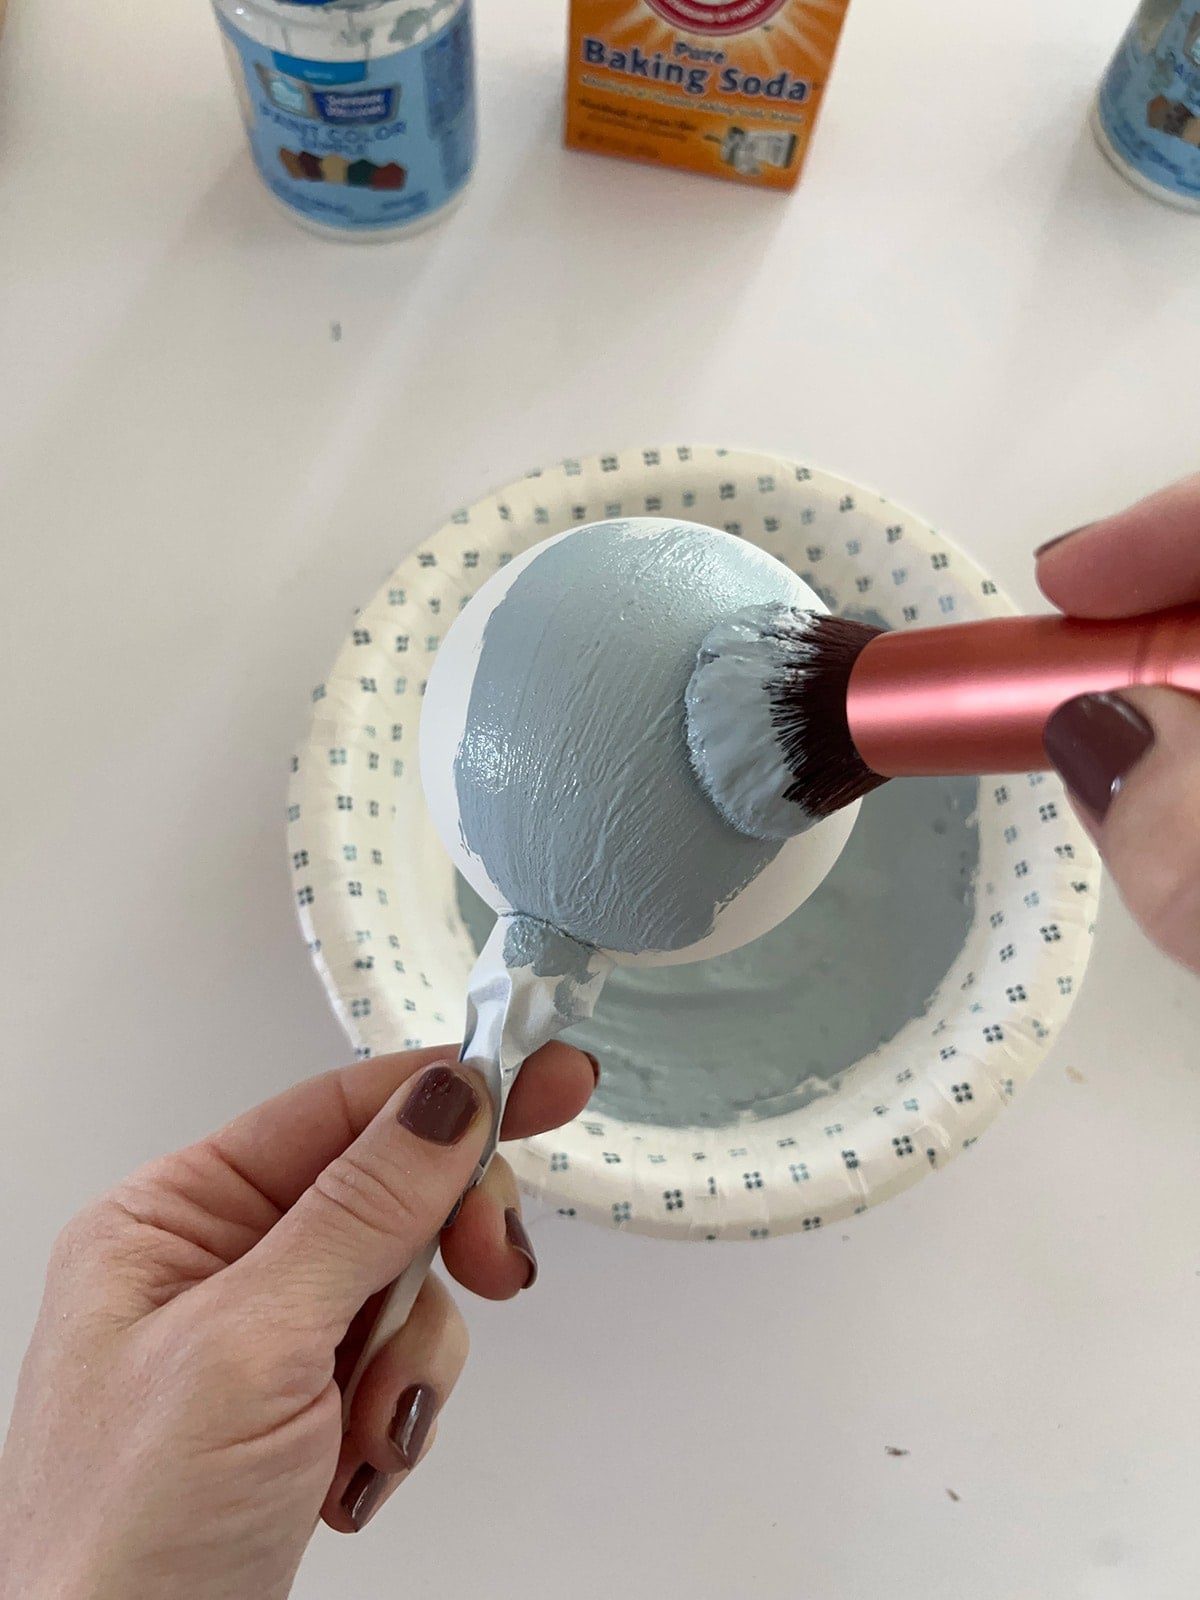
Once the primer is dry, paint the ornaments using a matte paint. Mixing baking soda with the paint will make it chalky and add texture, which will help the powder stick.

I used leftover paint samples and craft paint to mix three different shades of blue. It helps to keep using these inexpensive fine bristle makeup brusheswhich provide more even coverage.
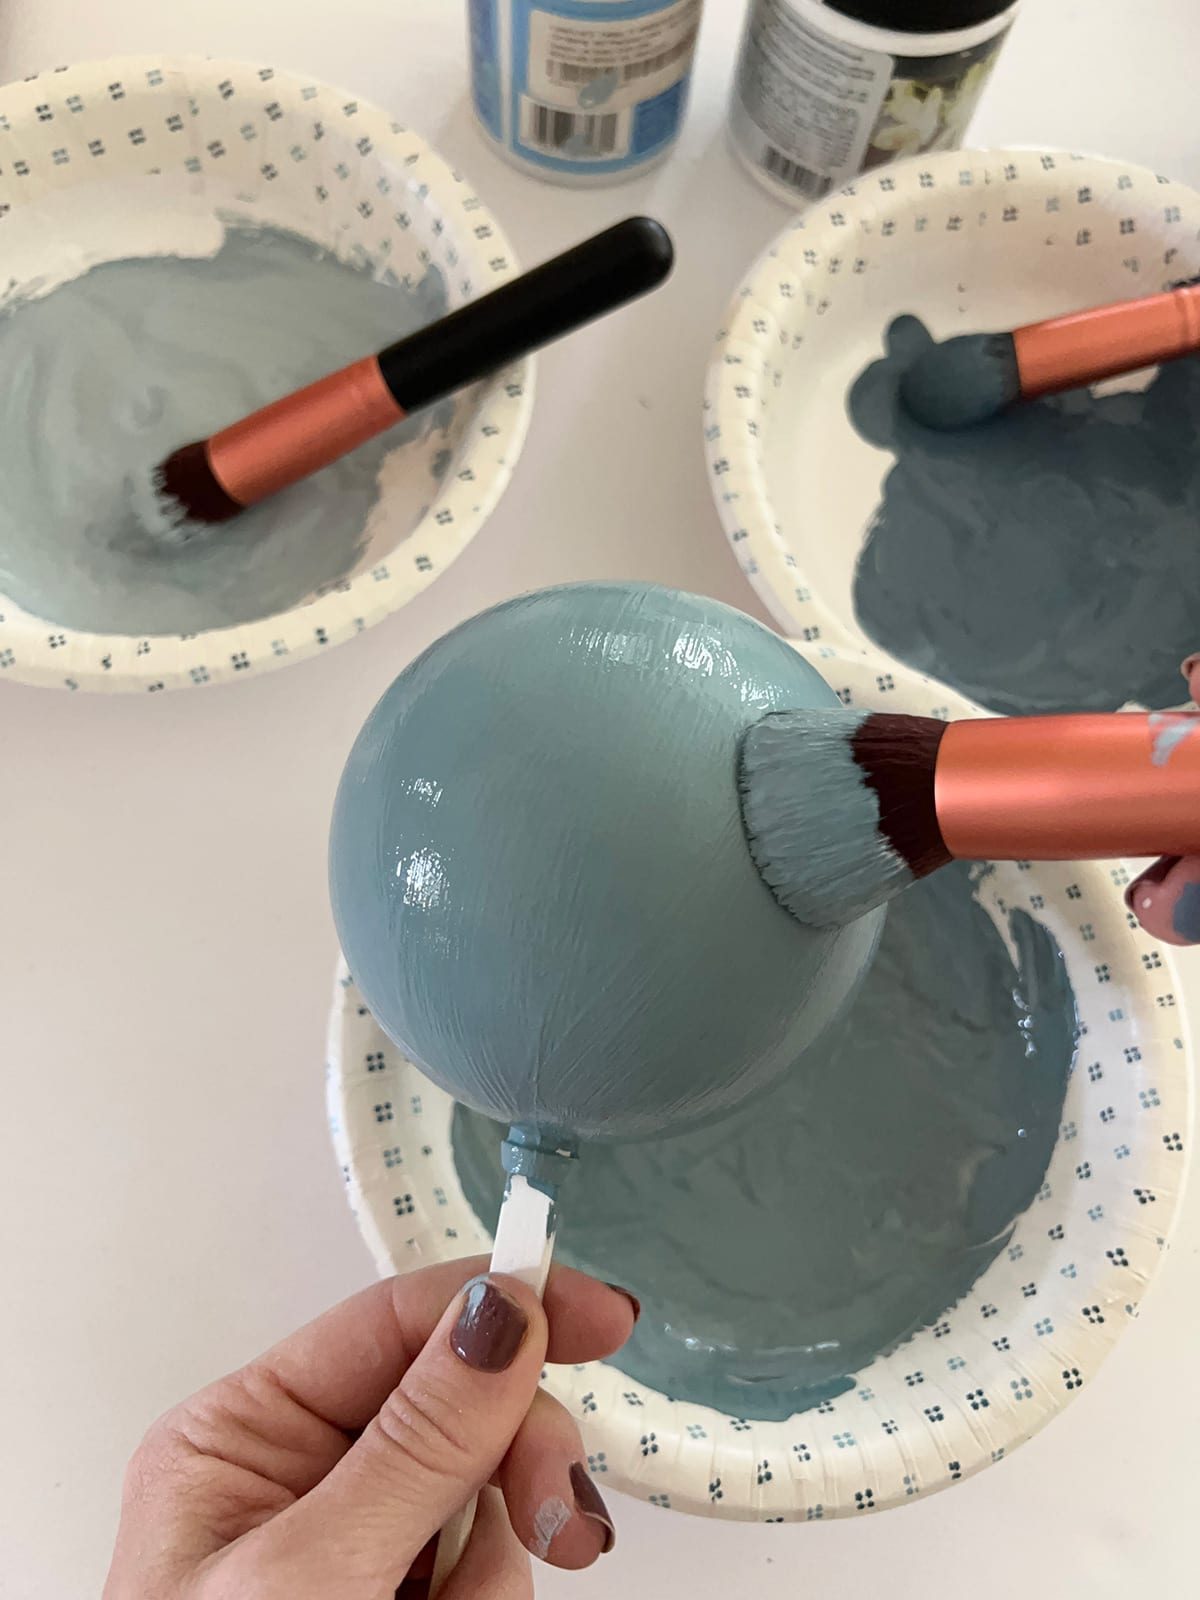
Allow the ornaments to dry completely.

Step 4: Spray adhesive
Fully coat the ornament with an even coat of spray adhesive. Be careful to avoid any drips.
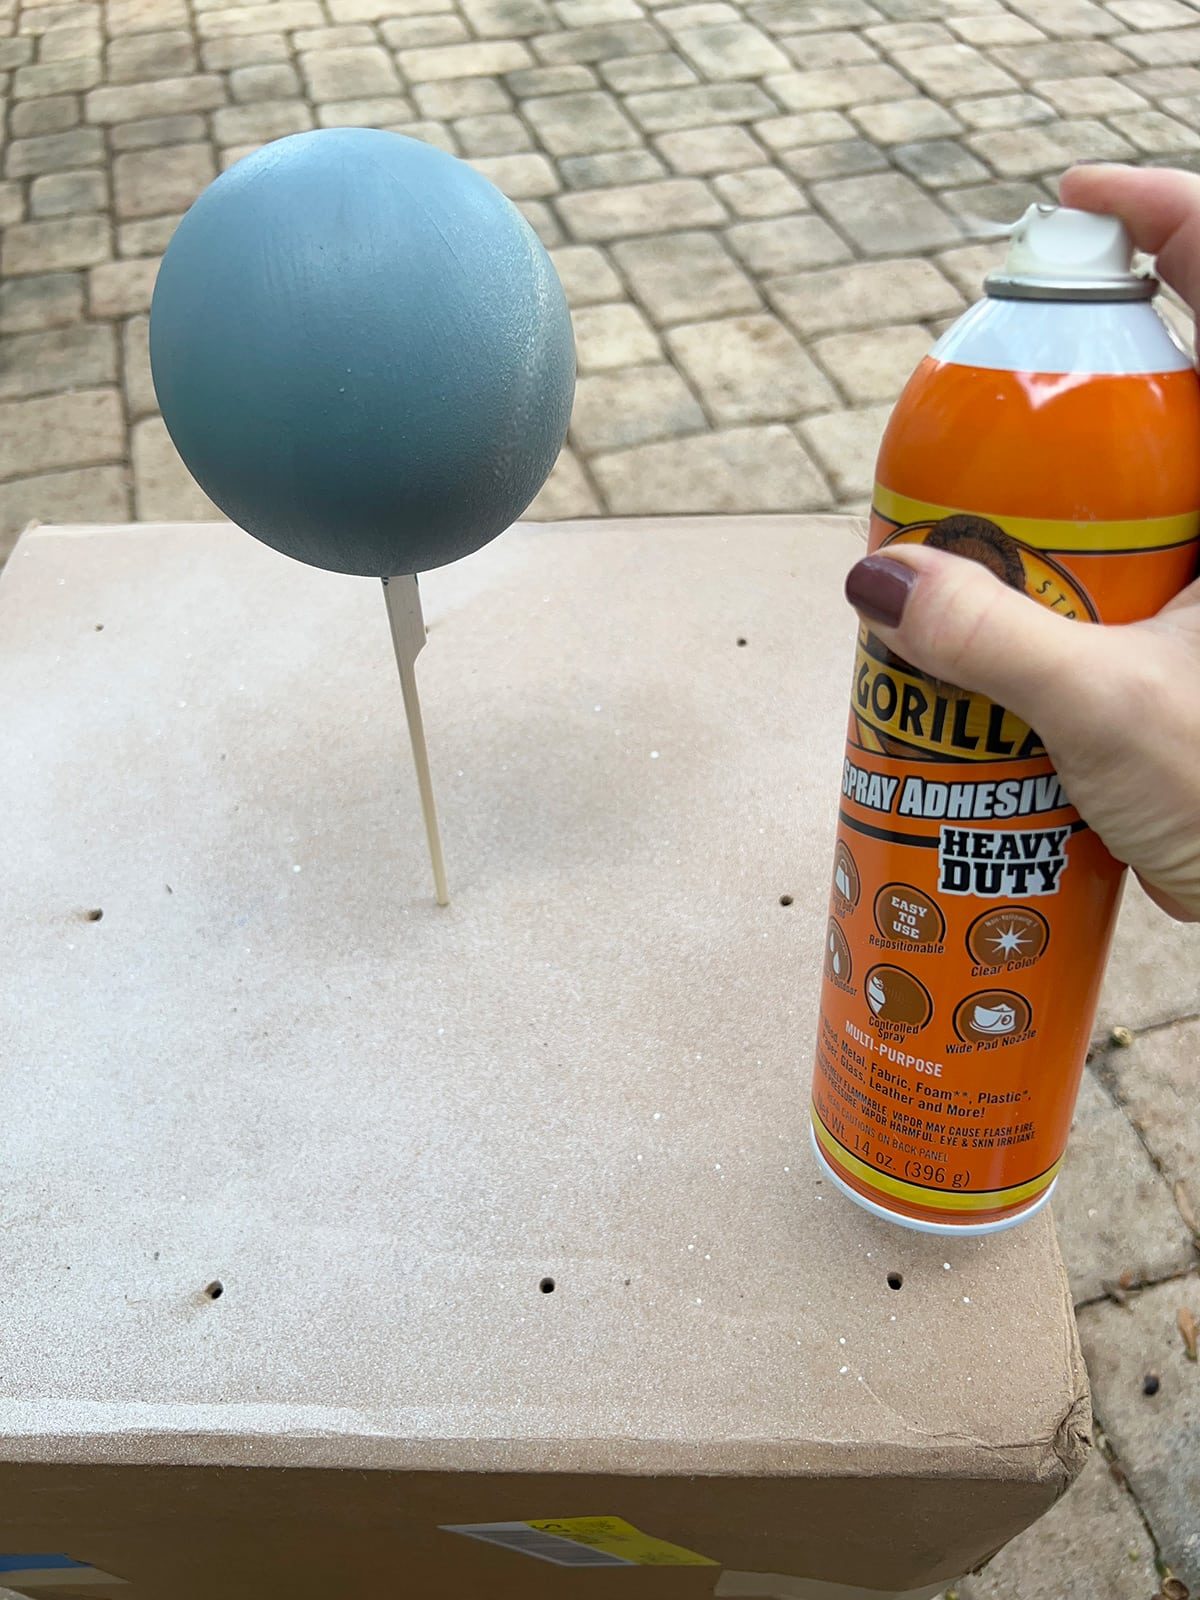
Step 5: Spray adhesive
Immediately apply your powder of choice. You cannot add too much here! Brush it on, then press and rub firmly into the surface.
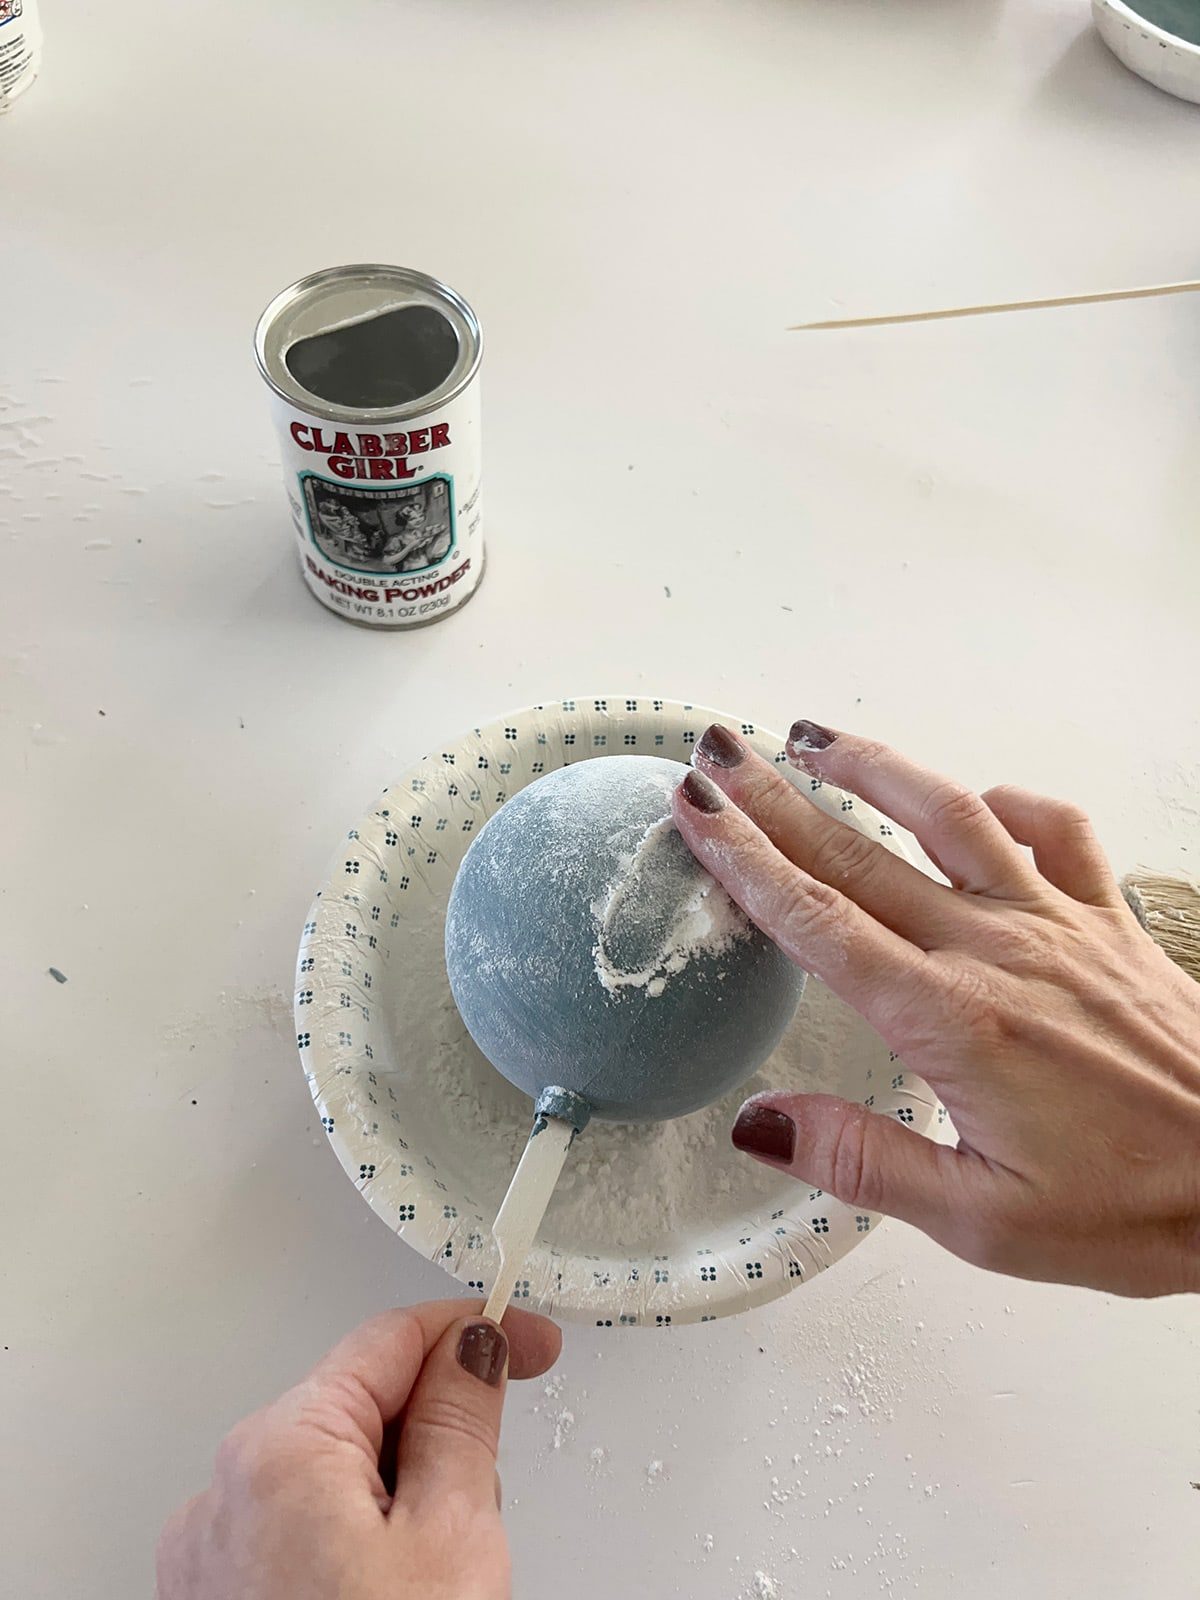
I tried powdered sugar, baking powder and white grout powder. They all produced similar results. If you'd like more coverage, you could try another coat of adhesive/powder. You can also use a fine sanding block to remove any powder.
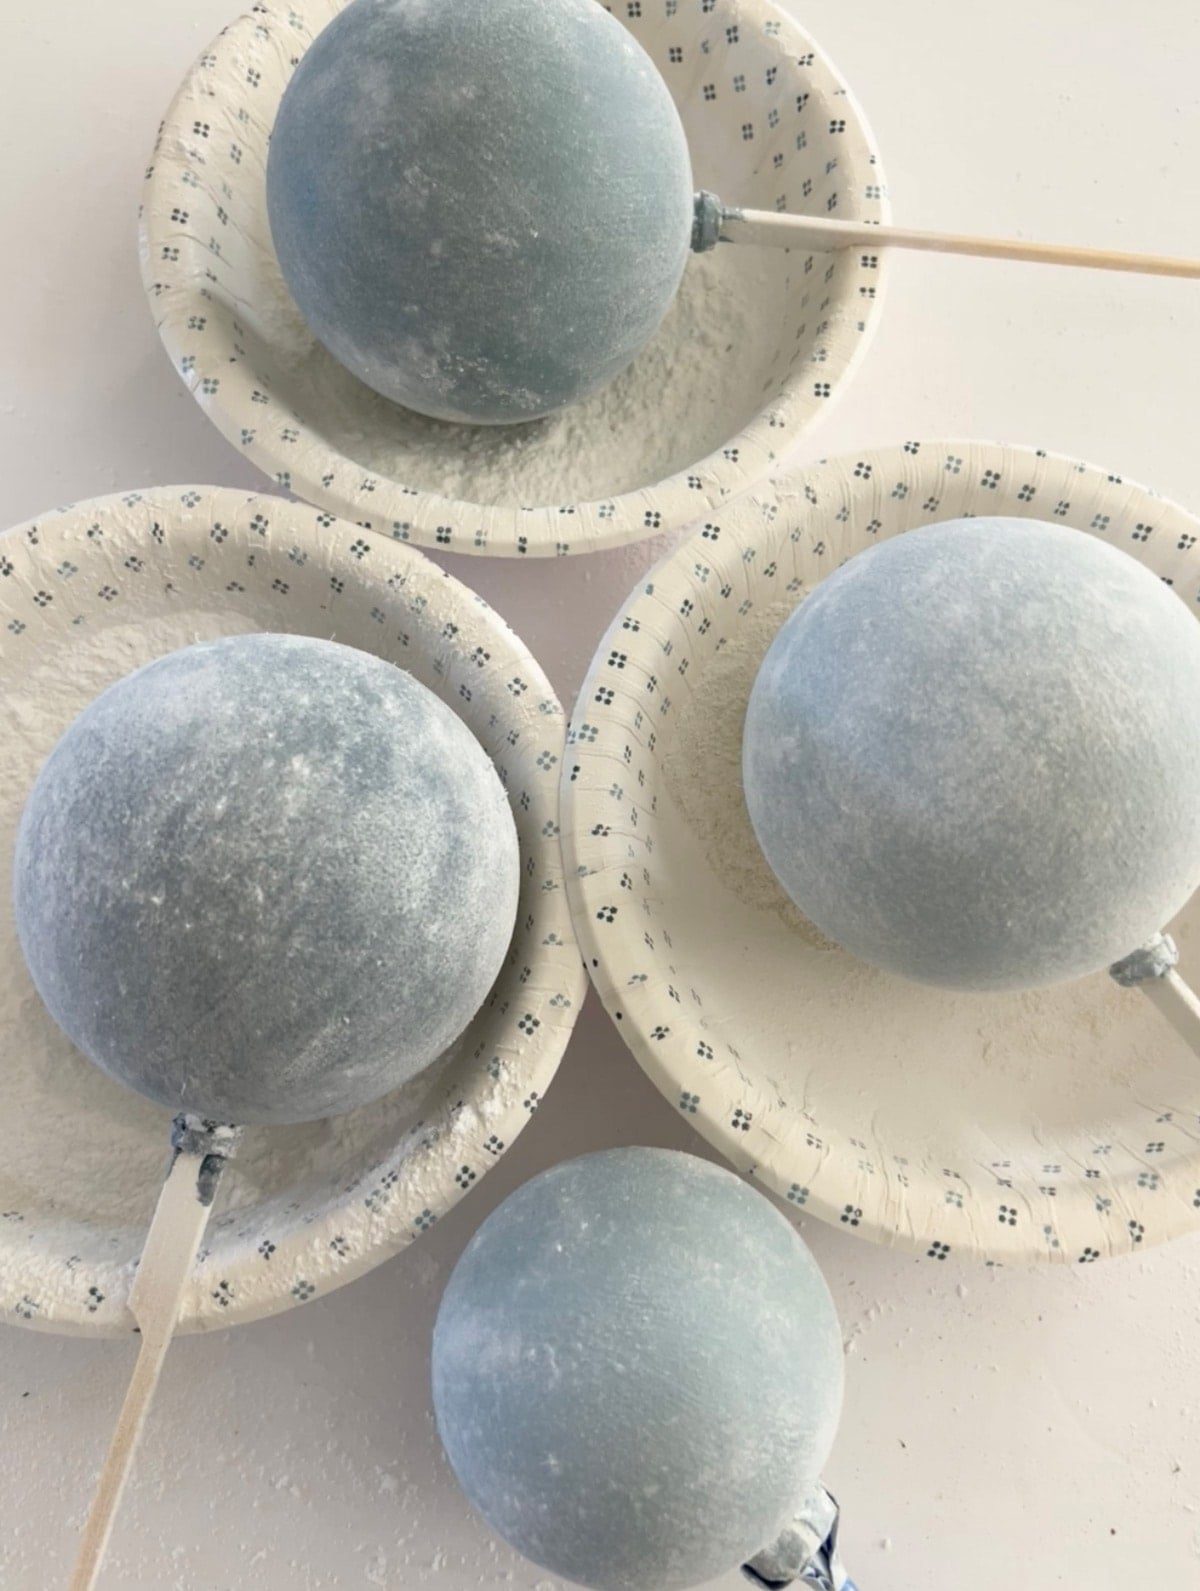
You may also want to use a clear matte varnishto protect the finish.
Step 6: Paint cap and tie ribbon (0ptional)
I gave my ornament caps a quick facelift with dark spray paint and a few dabs of Gold Leaf Rub n Buff. This gives them a nice antiqued look.

I finished them by tying frayed cotton ribbon.

This is how they look on our tree!

I am loving the addition of blue to my holiday decor this year—thank you baby boy for the inspiration 😉

You can see a detailed video tutorial of this process on my Instagram, in case you missed it! Stay tuned for one final fun ornament DIY—coming up next!