DIY Aged Iron Christmas Ornaments
How to make aged iron ornaments with a blue patina. A unfussy and fun holiday DIY craft. Easy and inexpensive!
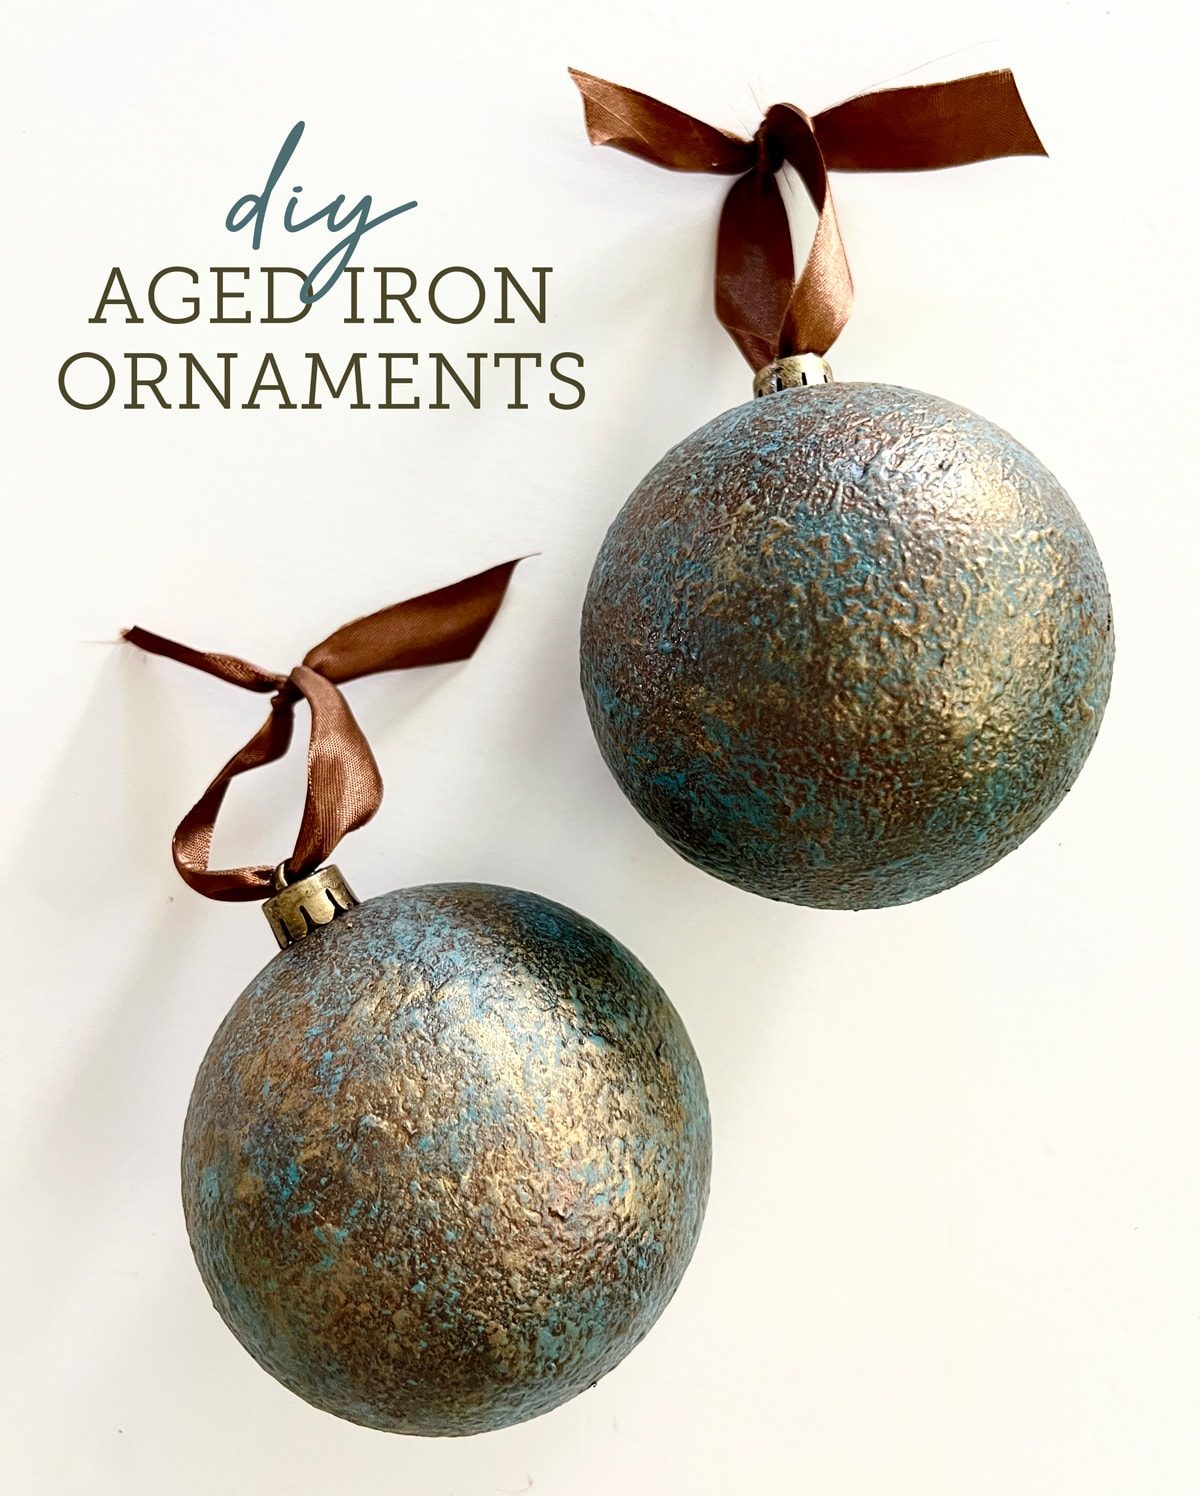
Today I am sharing my third and final DIY Christmas ornament tutorial! How fun are these aged patina iron ornaments?
This project was inspired by these striking aged glass & iron ornaments from McGee and Co, which sold out a while ago:

I thought this would be another great DIY to try and share, so I gathered up my supplies!
How to make aged iron ornaments
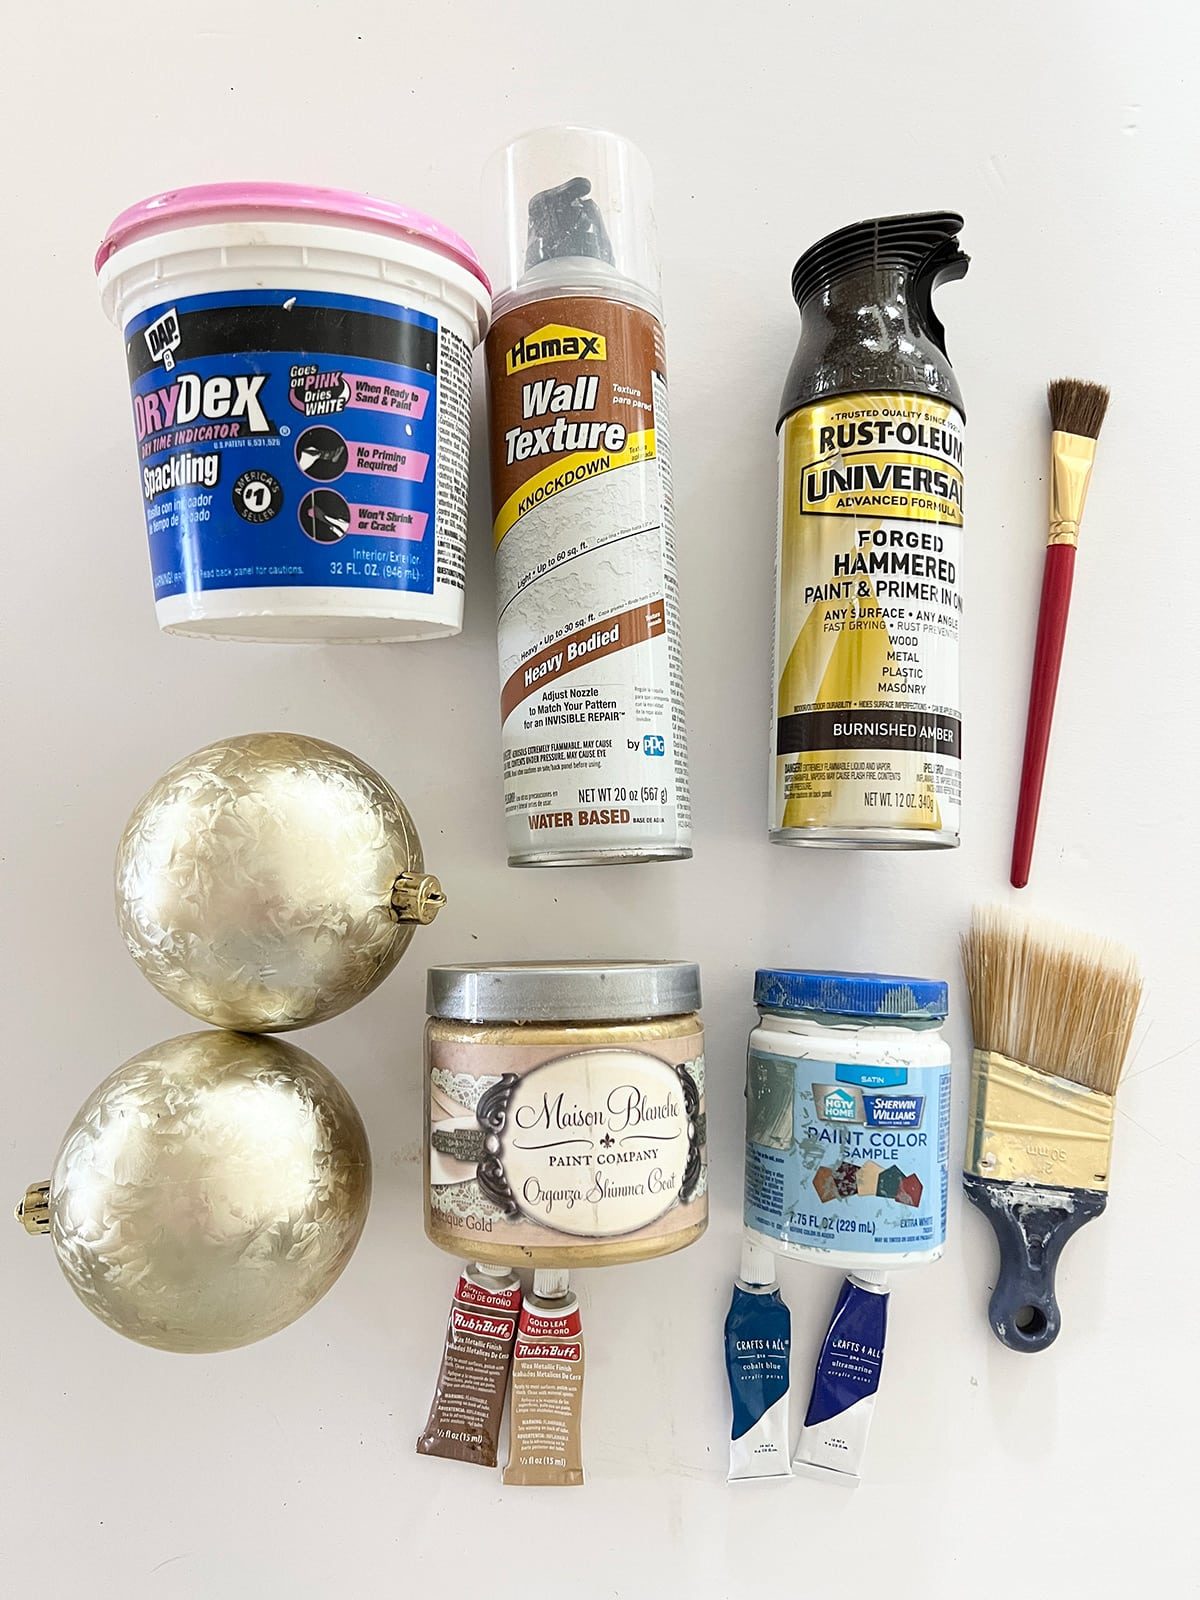
Supplies List
- Round ornaments(I used 2.5-3.5″ round ornaments)
- Drywall mud or spackling
- Black/dark spray paint
- Copper and gold paint (Rub n Buffis my favorite!)
- Teal/blue paint
- Paint brushes
- Paper bowls
- Skewers and tape
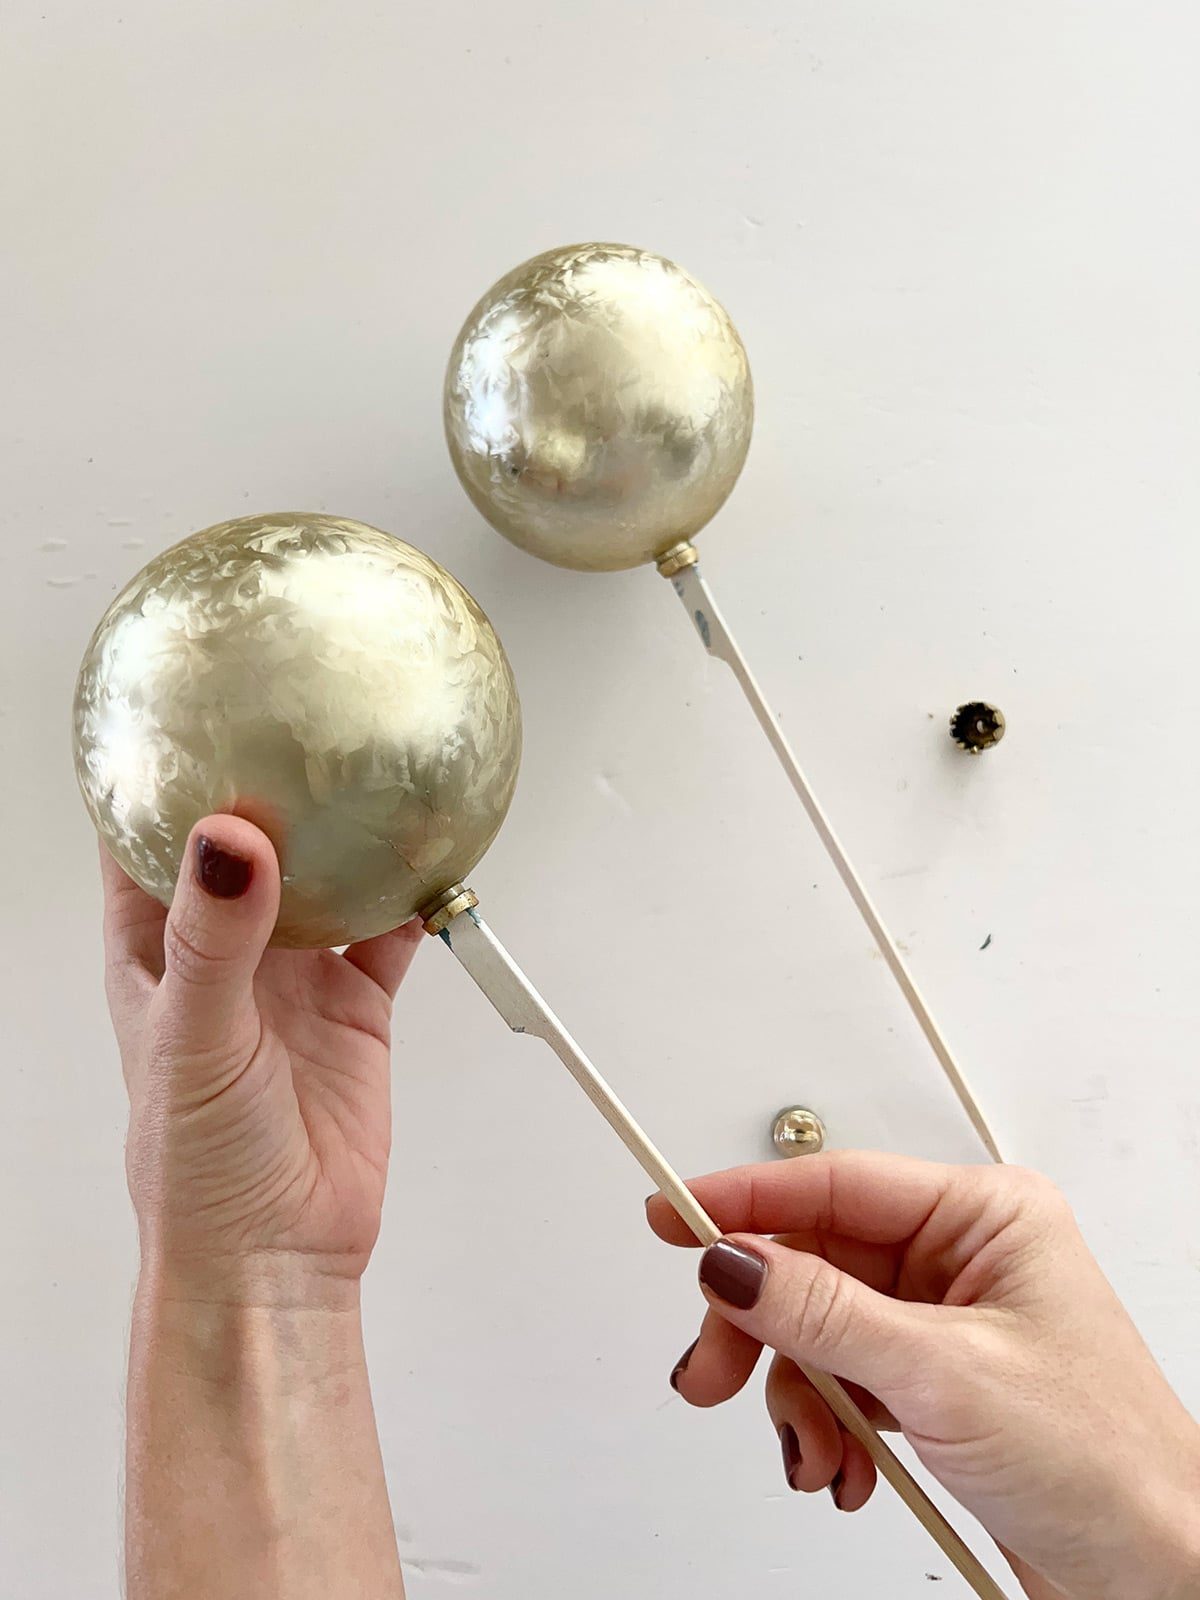
Step 1: Attach ornaments to skewer
Remove the ornament caps and place a skewer inside. The opening of mine happened to be the well suited size to fit snugly into the end of the skewer, but if yours is wider, you can use tape around the base (see how in this DIY ornament post).
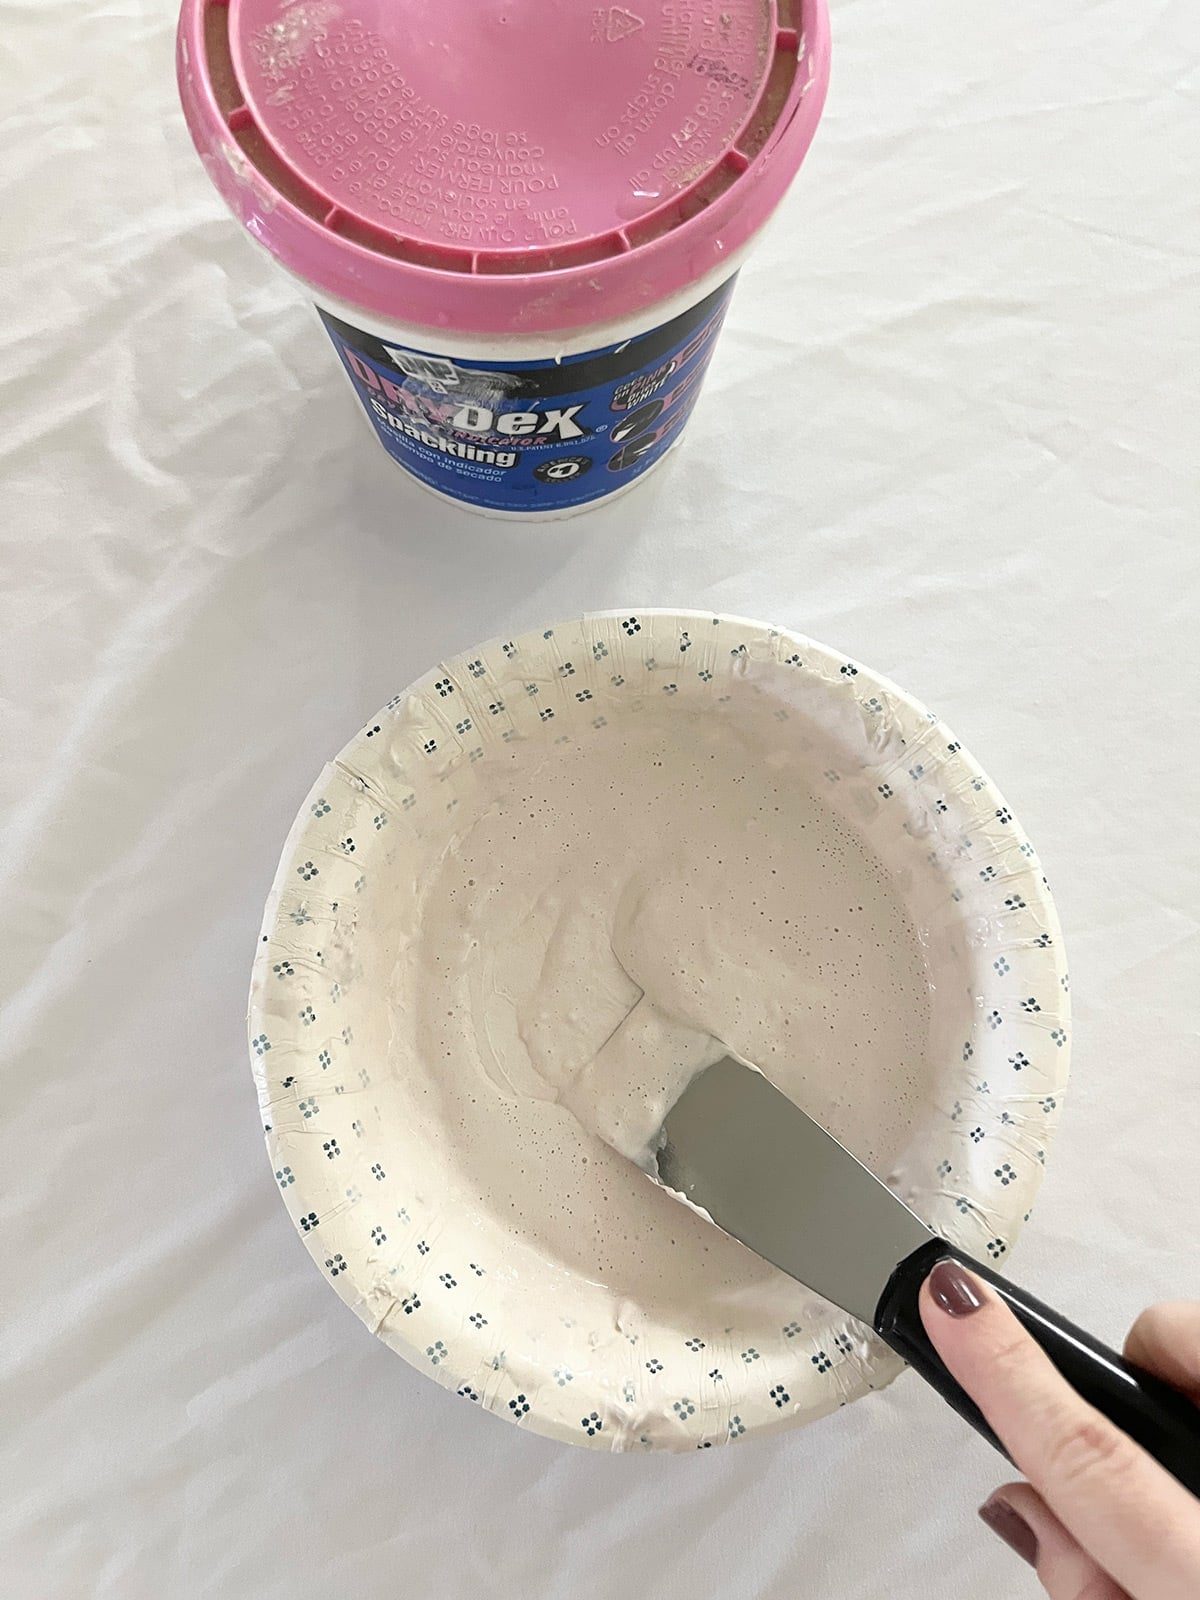
Step 2: Apply drywall mud texture
You can use any material that dries and hardens for this—joint compound, plaster, putty, etc. I used spackling and mixed it with water. You want it to be similar to a pancake mix consistency so it will splatter easily.
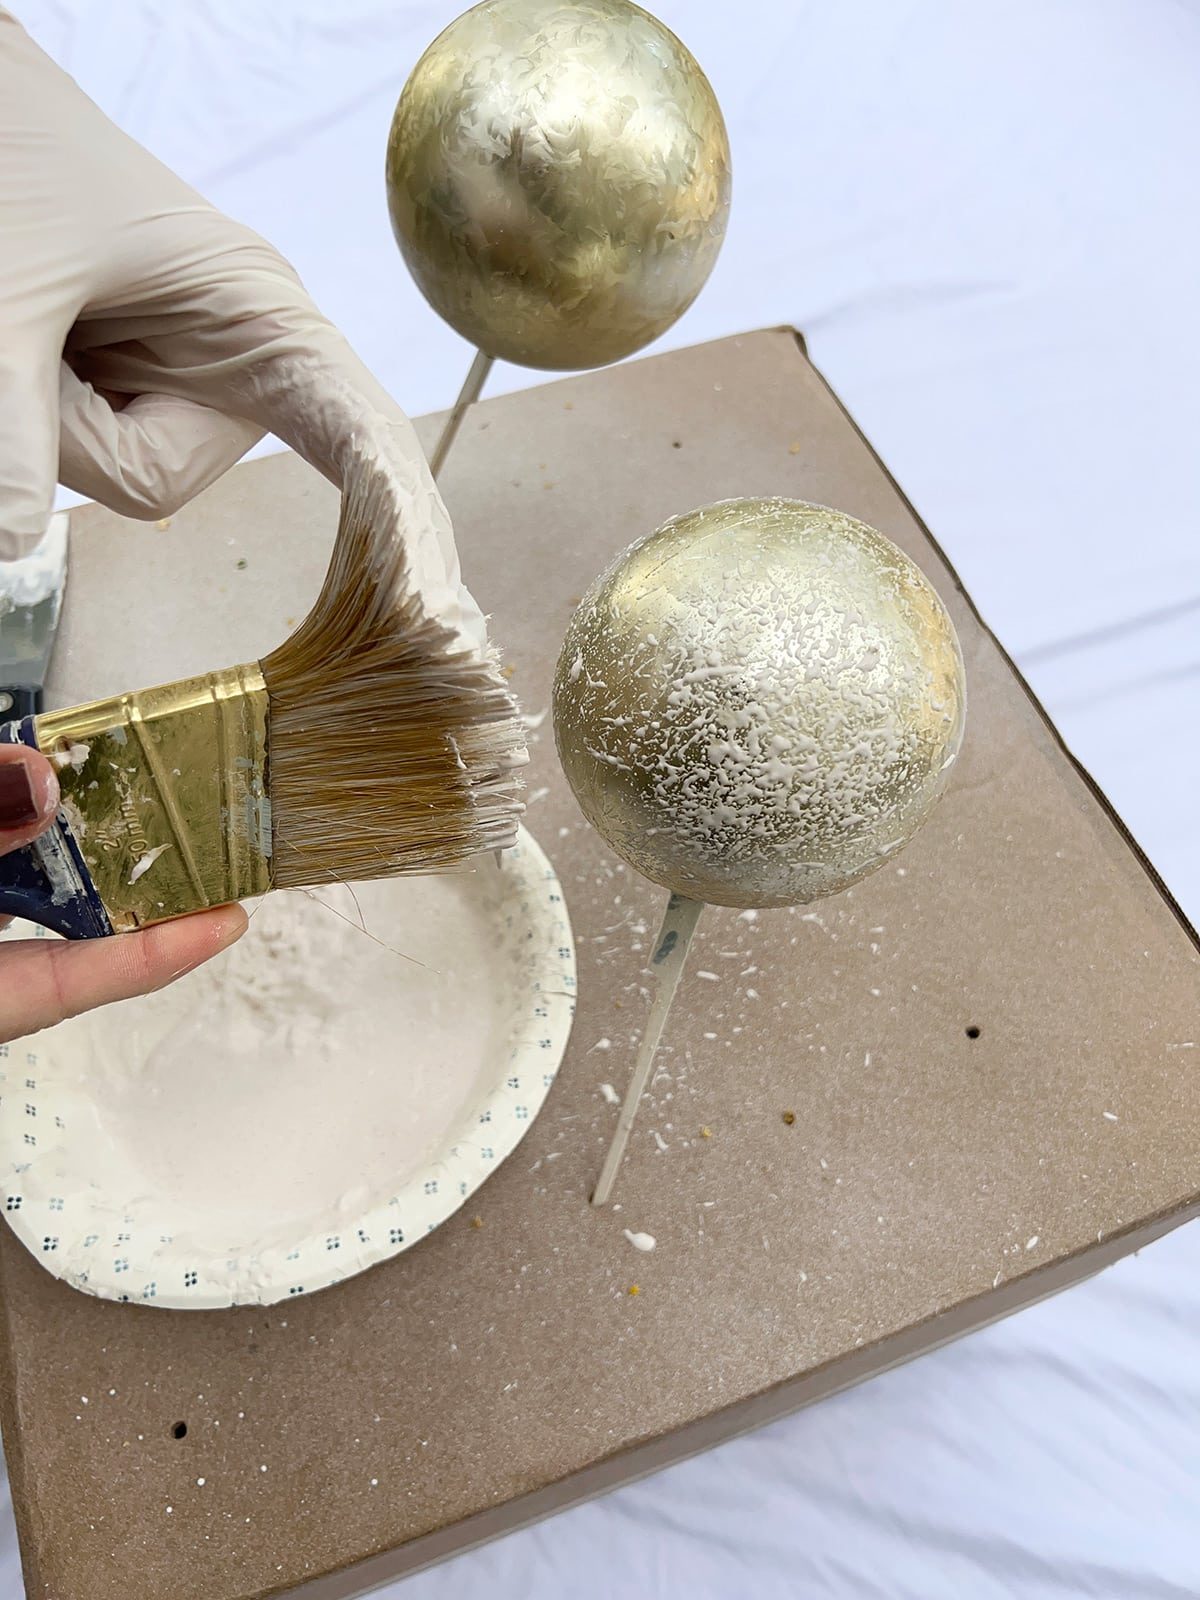
Poke the ends of the skewer into a box. Dip a stiff brush into the texture mix, and flick it to create a splatter pattern on your ornament. Cover the ornament until you are happy with the texture.
Step 3: Spray paint the ornament black/dark
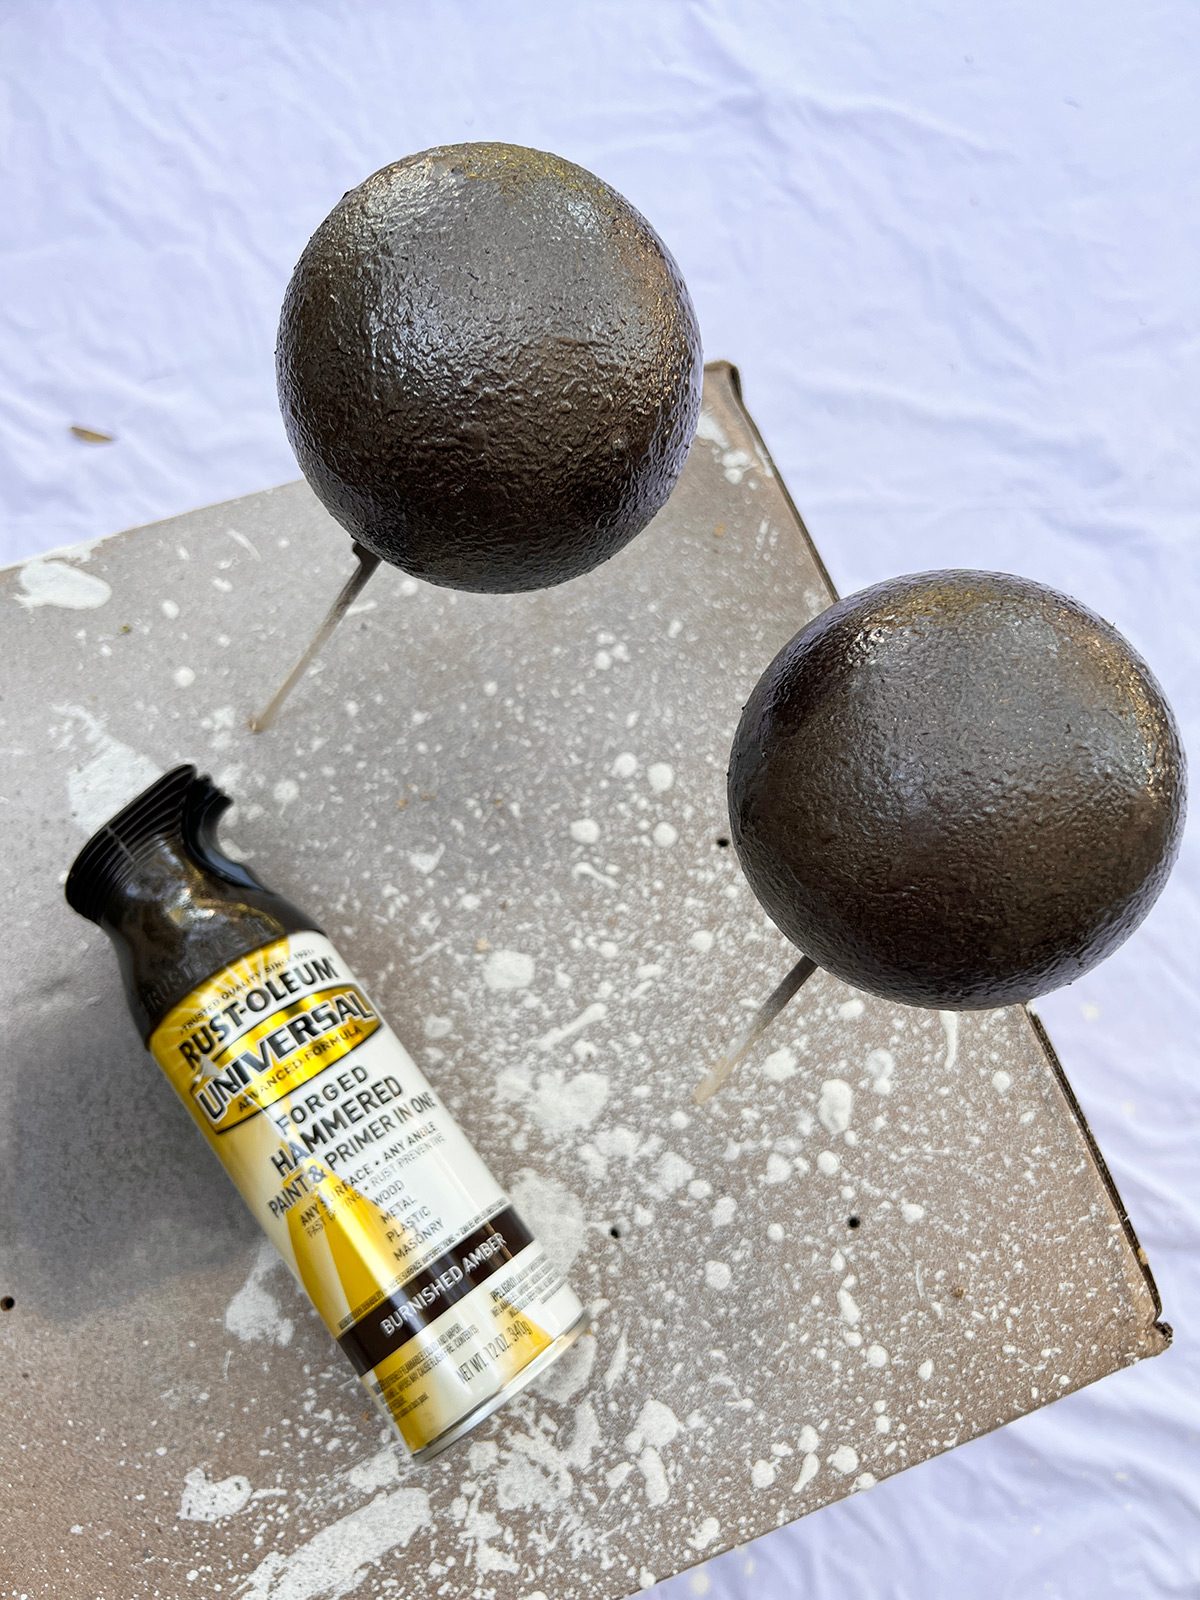
Allow the texture to dry completely (at least 1-2 hours). I used Rustoleum Hammered paint in Burnished Amber, thinking it might add a little extra texture. The texture was hardly noticeable, so any dark or black spray paint will work great.

Step 4: Add copper and gold paint/wax
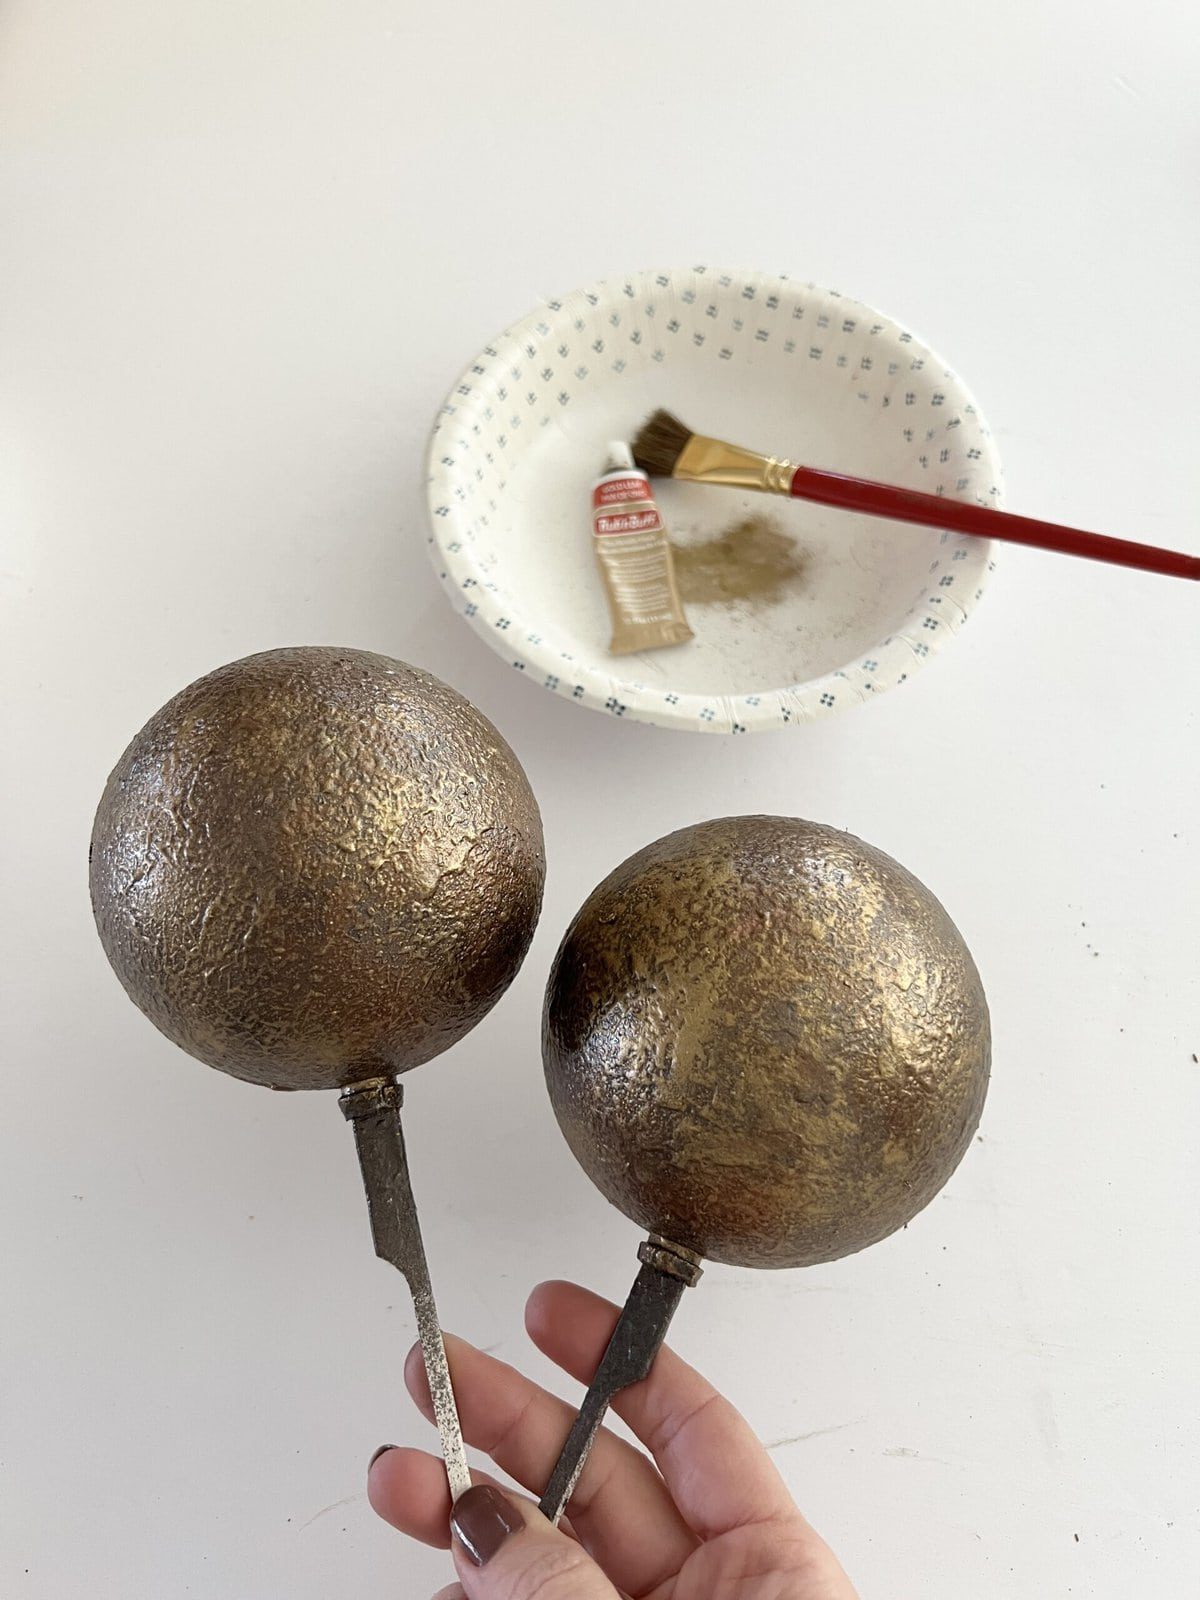
I searched my garage paint stash and found a couple old jars of gold/copper paint, but decided that Rub n Buff gave the best results. You will want to use two contrasting shades of gold here—a darker copper and medium/light gold.
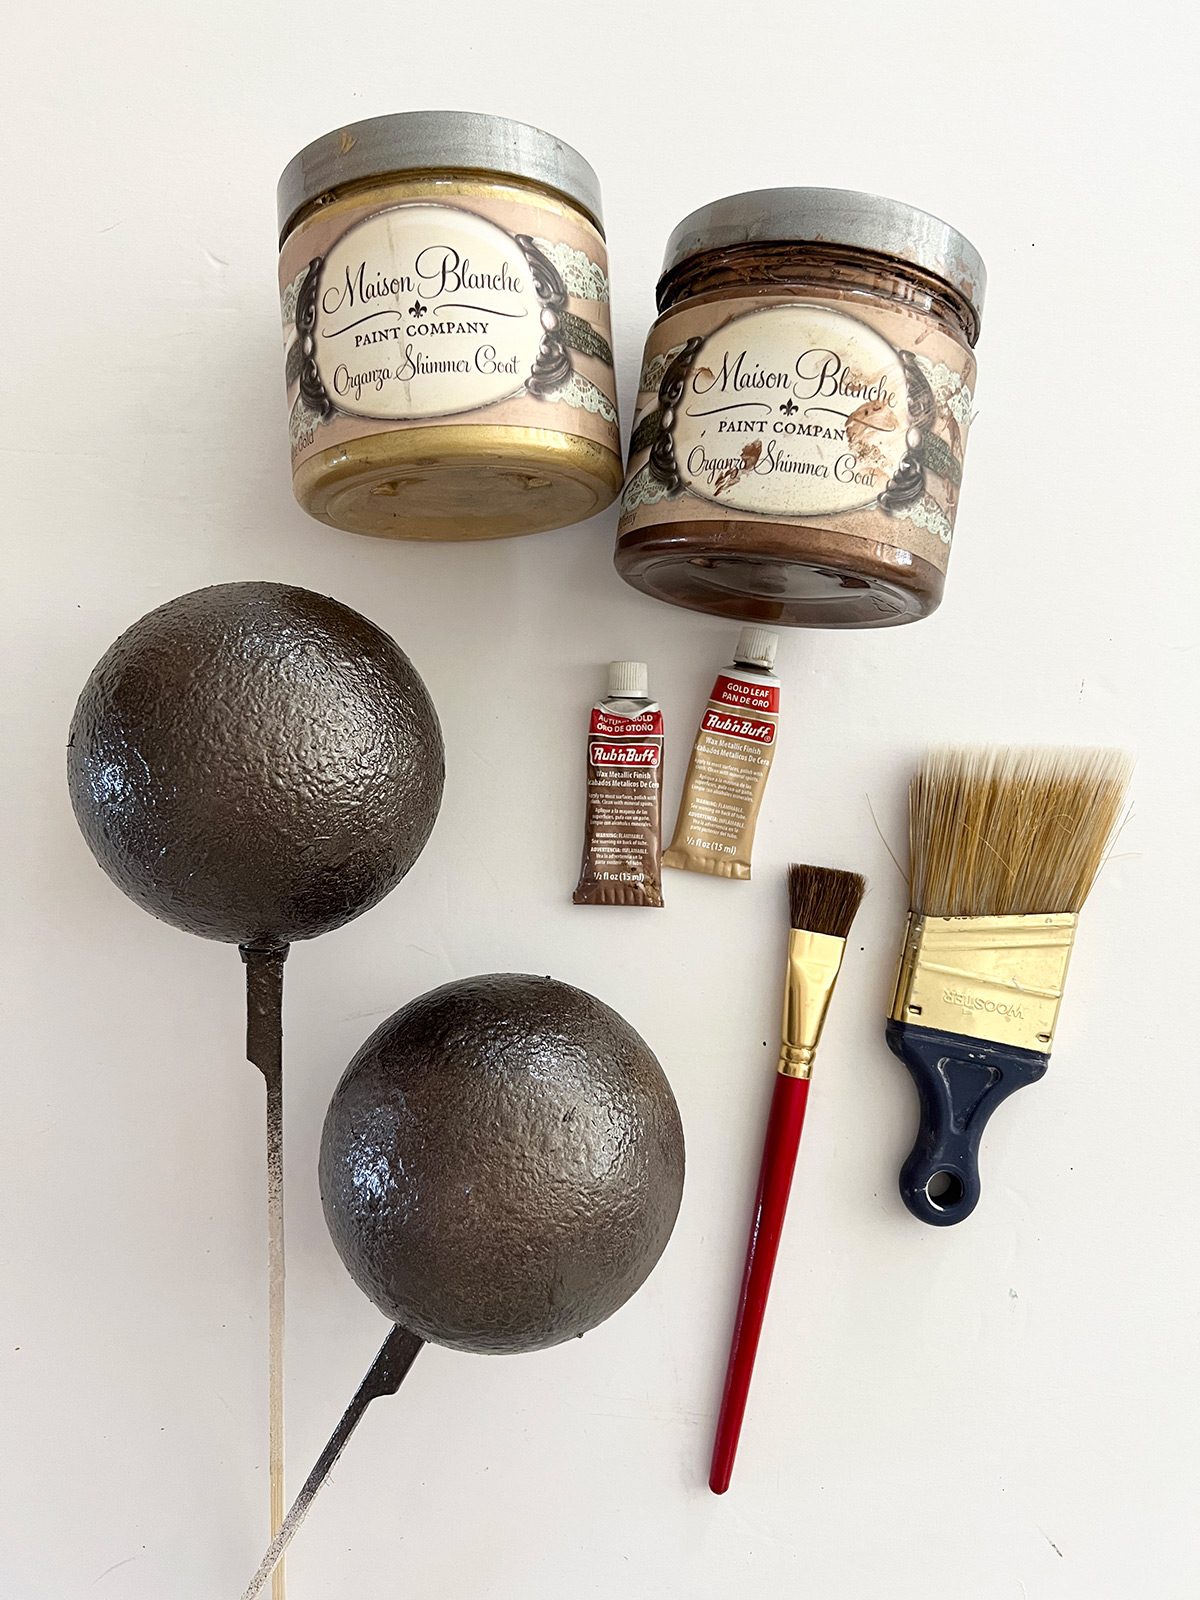
Rub n Buff Autumn Gold and Gold Leaf are great choices. Start with the darker color, and dab it on with a brush. Make sure to let some of the dark paint show through underneath.
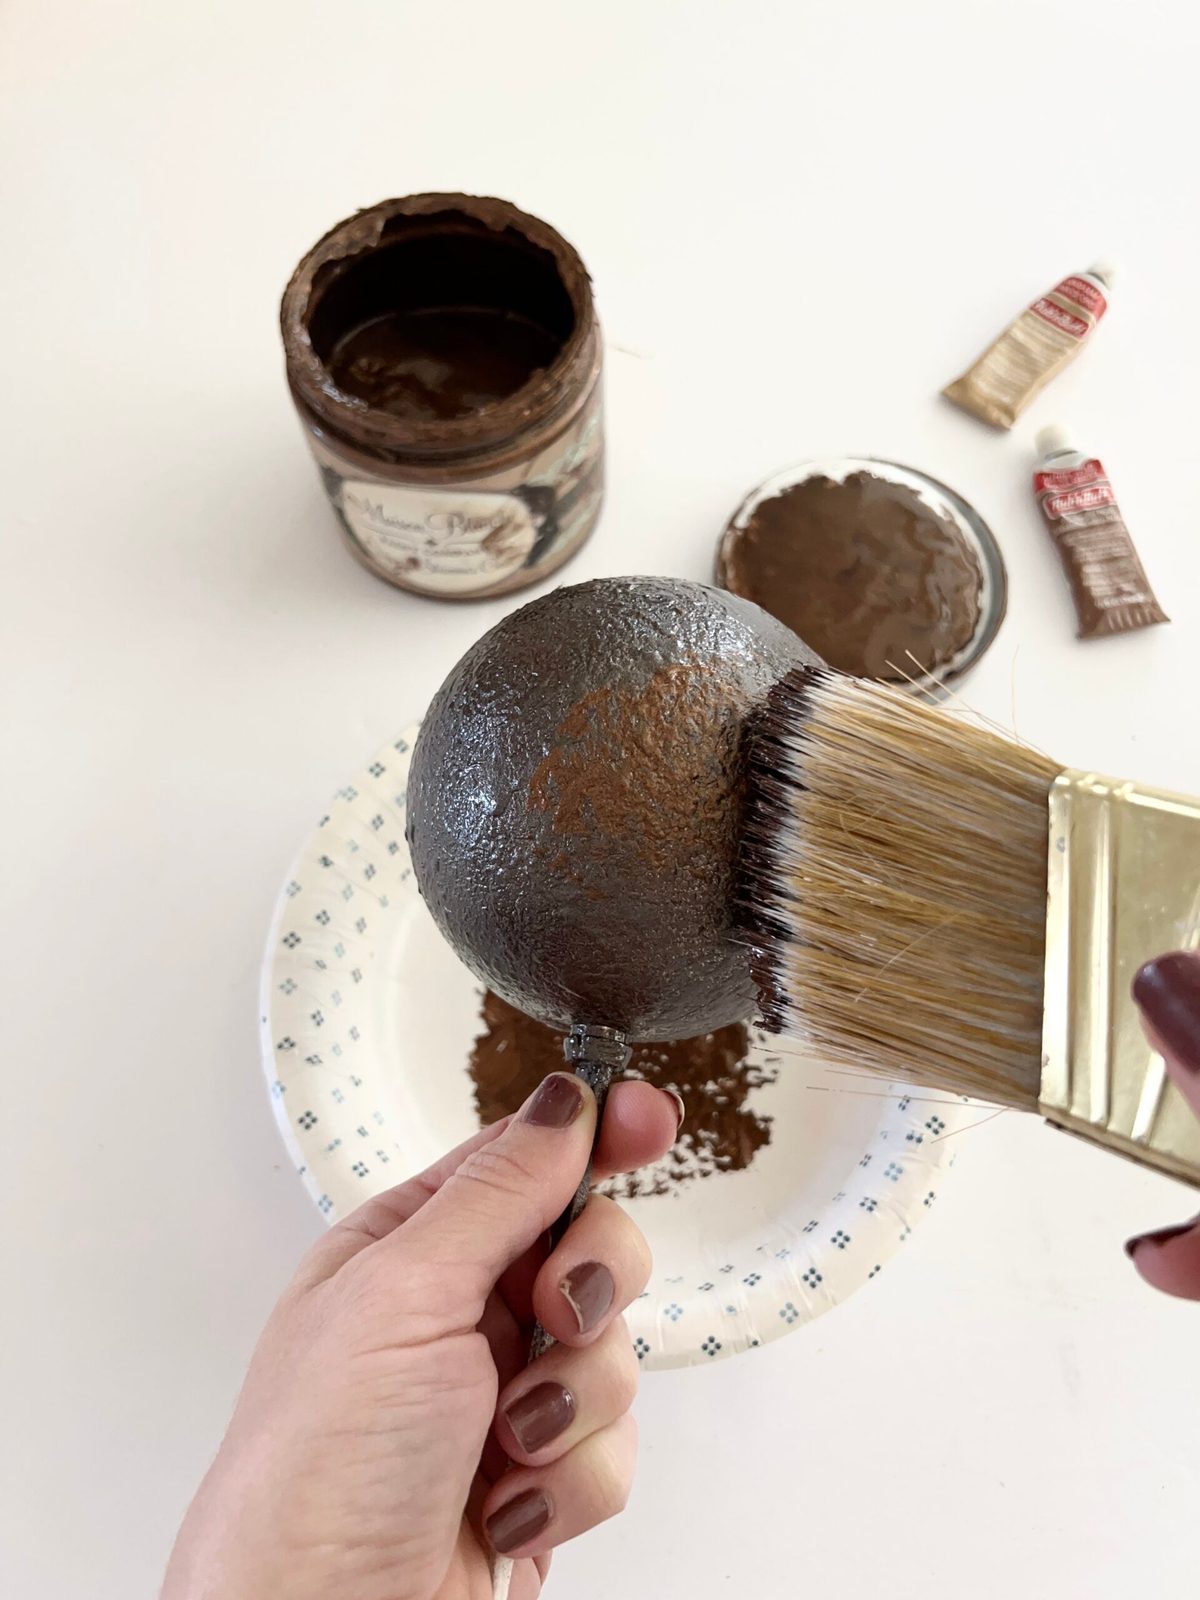
This is how they look after the copper coat:
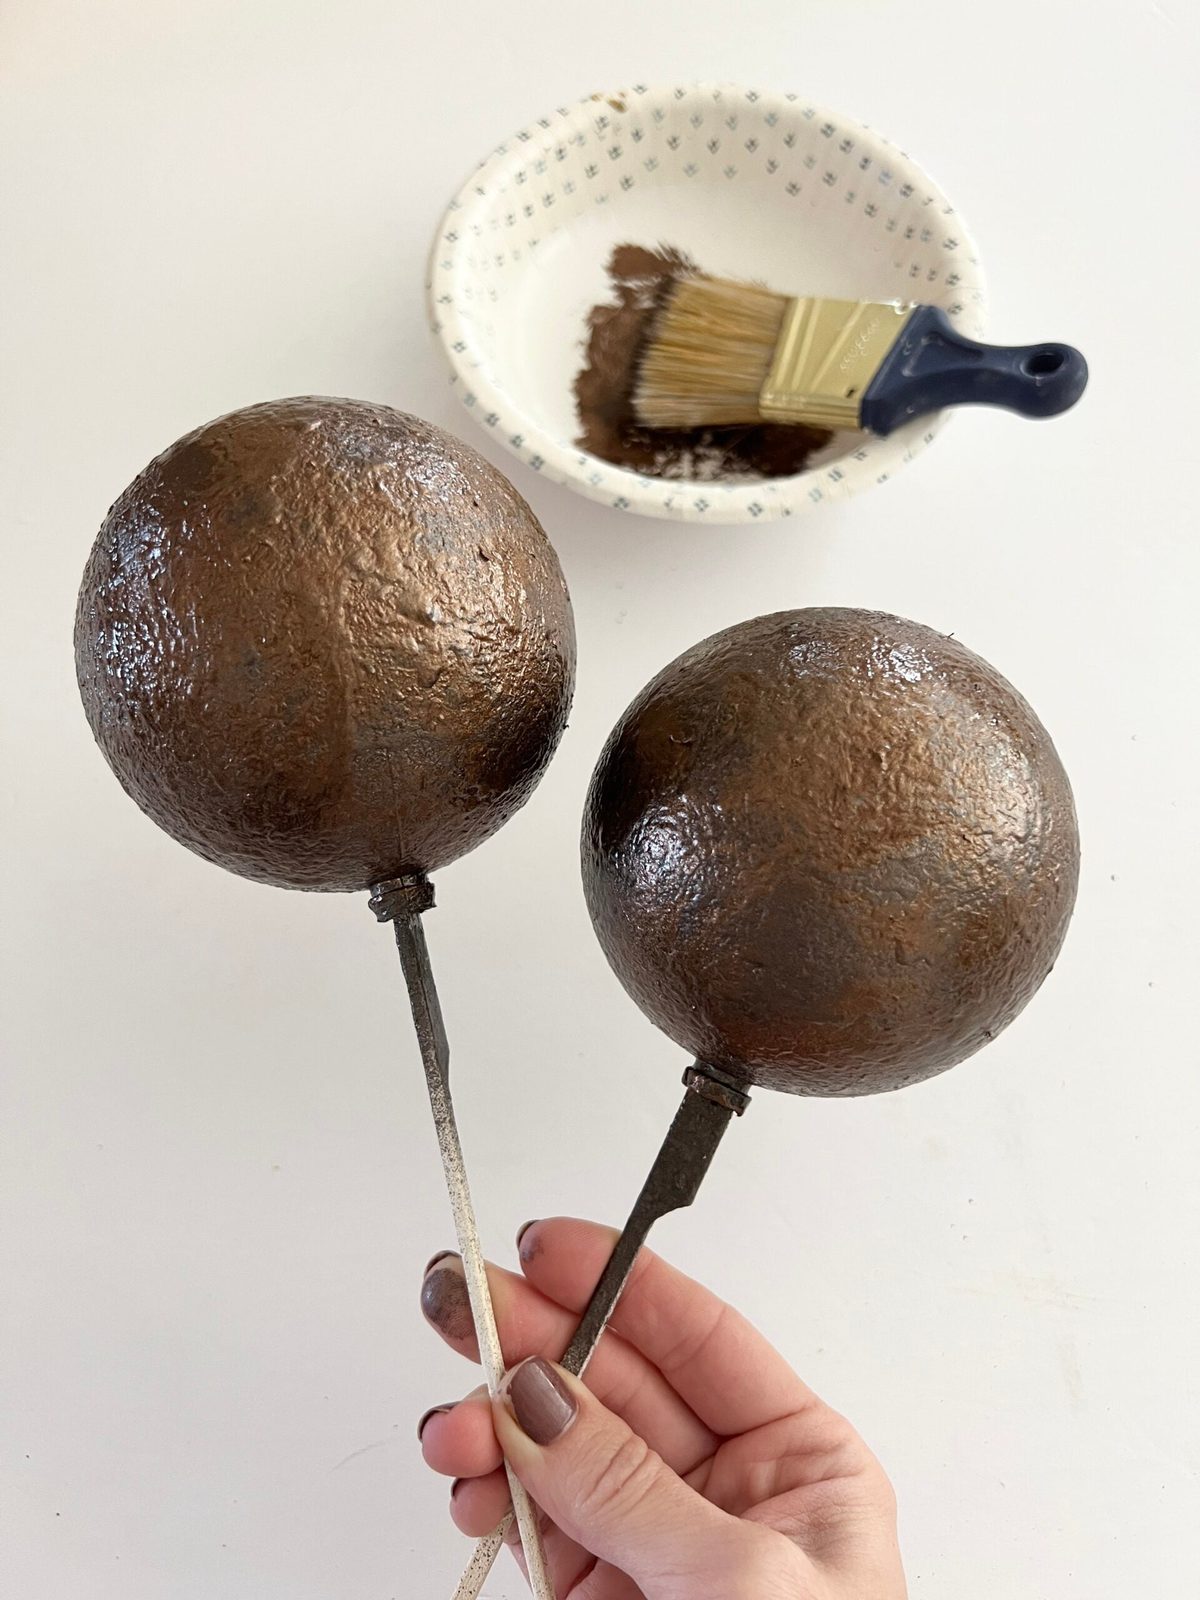
Next, add the lighter color. Apply it randomly and allow the underlying colors to show through in areas.

And your gold coats are done!
Step 4: Add blue patina
Real copper patina is a teal blue, so I grabbed the closest colors I had and mixed them together.

Lightly dab the paint onto the ornament, focusing more on some areas than others. Do not over think it!

I found that gently buffing the paint filled in the grooves and gave it a nice realistic effect.
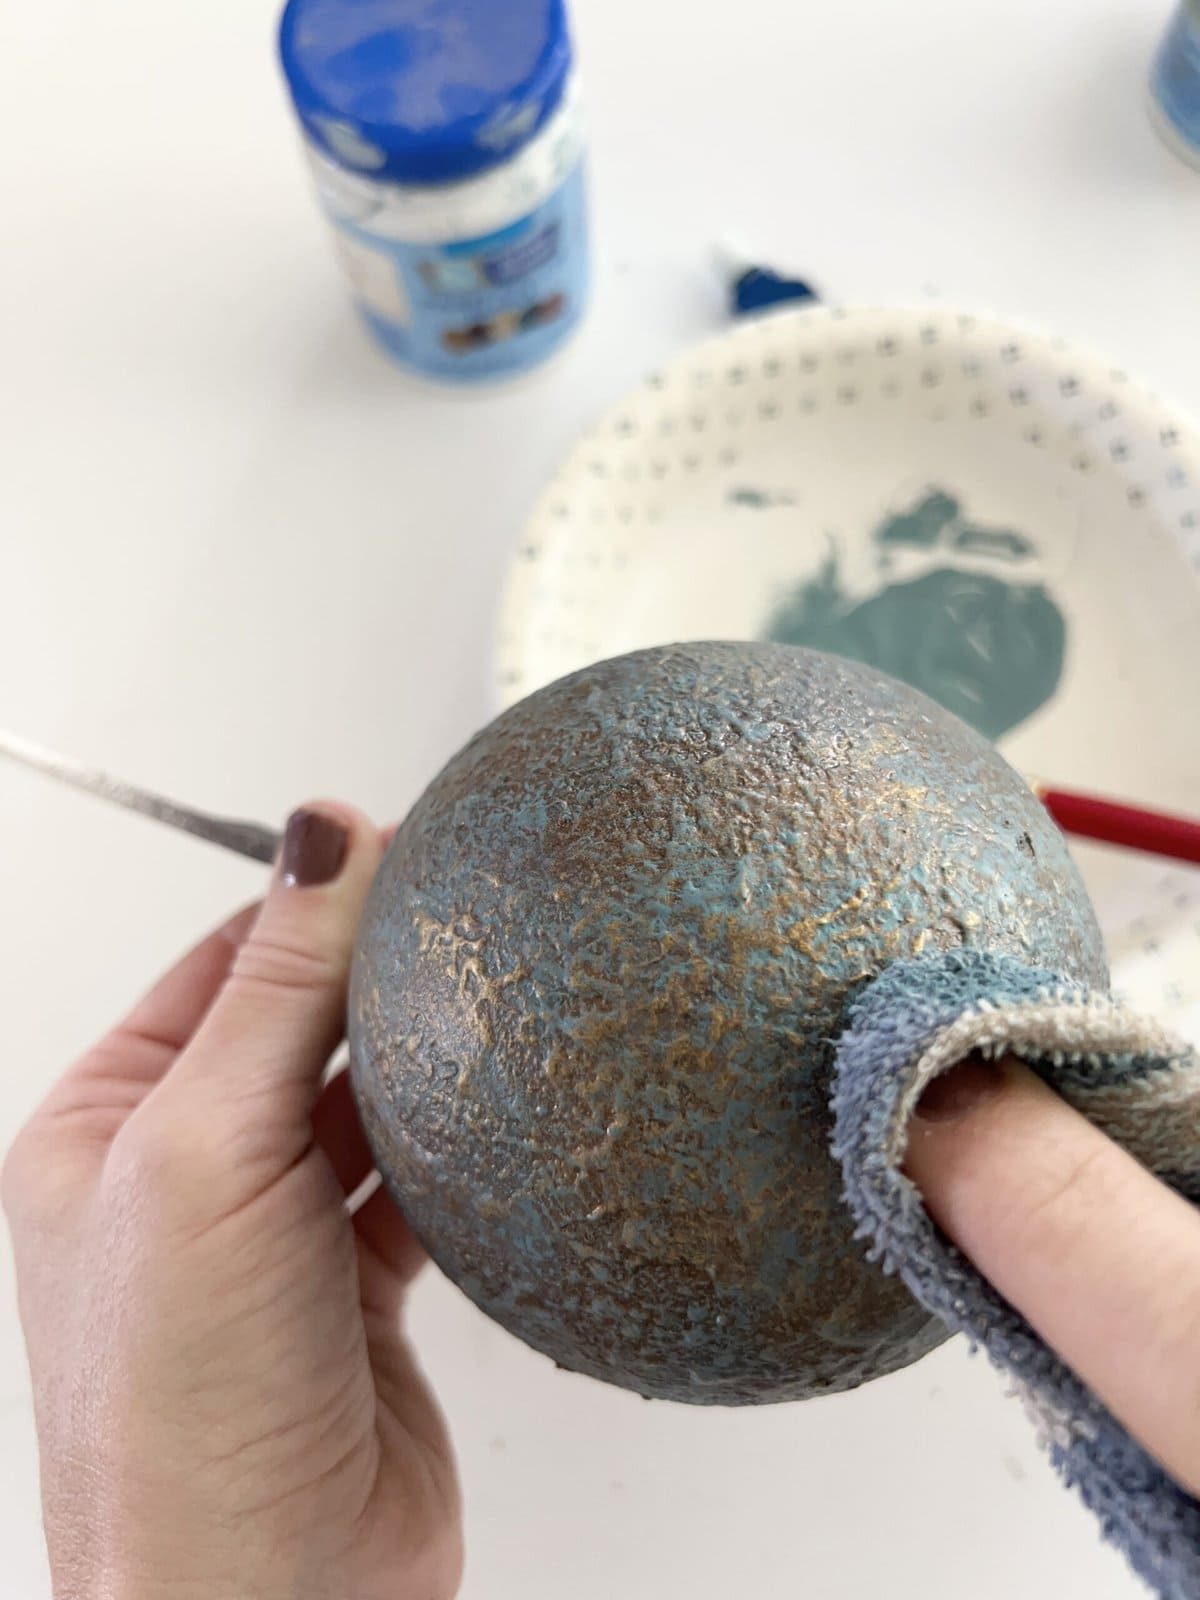
And you are done! If you'd like, you can use a clear matte sealer for added protection.

Step 6: Paint cap and tie ribbon (0ptional)
I gave my ornament caps a quick facelift with dark spray paint and a few dabs of Gold Leaf Rub n Buff. This gives them a nice antiqued look.

I finished them off by tying brown satin ribbon.

It helps to keep the look of these! What do you think?

Let me know if this is a DIY you'd try in the comments. You can also watch the video tutorial posted today on my Instagram!