Master Makeover: DIY Map Chart, Antlers & Chair Reupholstery
Today I am sharing a few quick and easy projects I completed this weekend while wrapping up the final details in our master makeover. Project #1: Hanging Map Chart. I…
Today I am sharing a few quick and easy projects I completed this weekend while wrapping up the final details in our master makeover.
Project #1: Hanging Map Chart. I have always loved these vintage school charts and thought it would be fun to recreate one…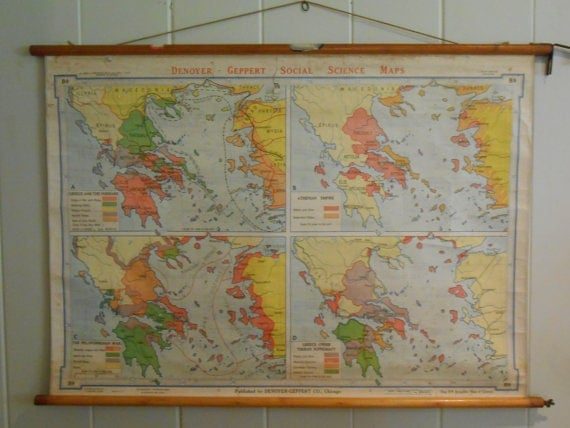 |
| Source |
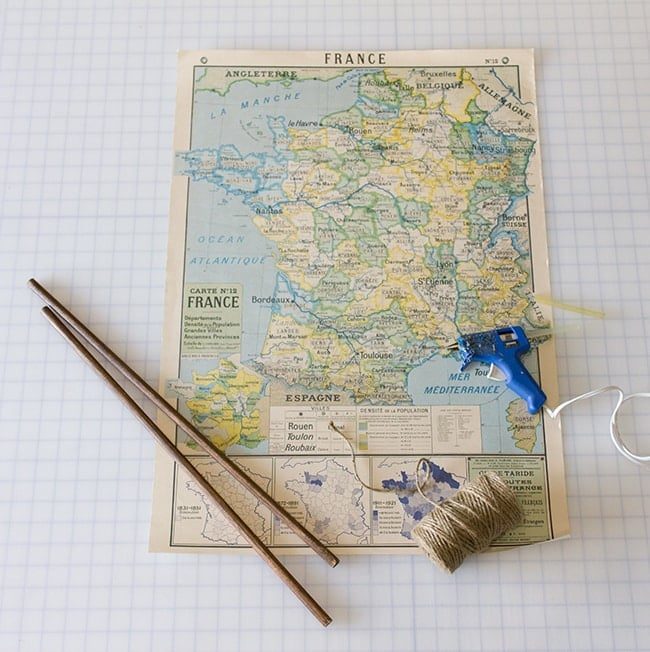
 So I gathered my supplies, which included two wood dowels from Joann's for around 80 cents each (which I cut to 20″ and stained dark walnut), some twine and hot glue (any strong glue will work).
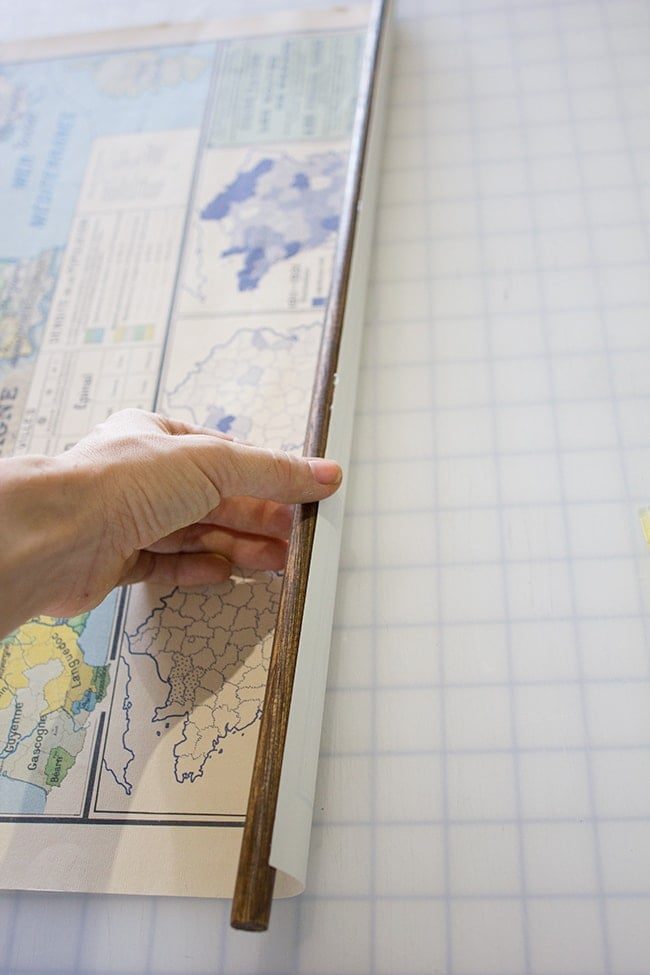
  I centered the dowel along the bottom, ran a bead of glue on the paper, and pressed them together firmly:
  For the top, I tied my twine on either end and trimmed the excess…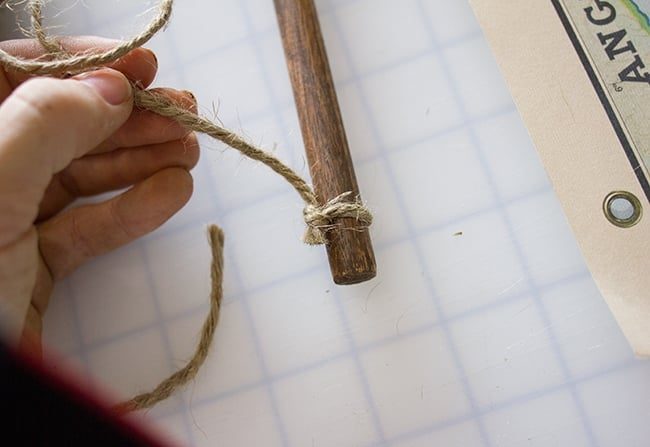
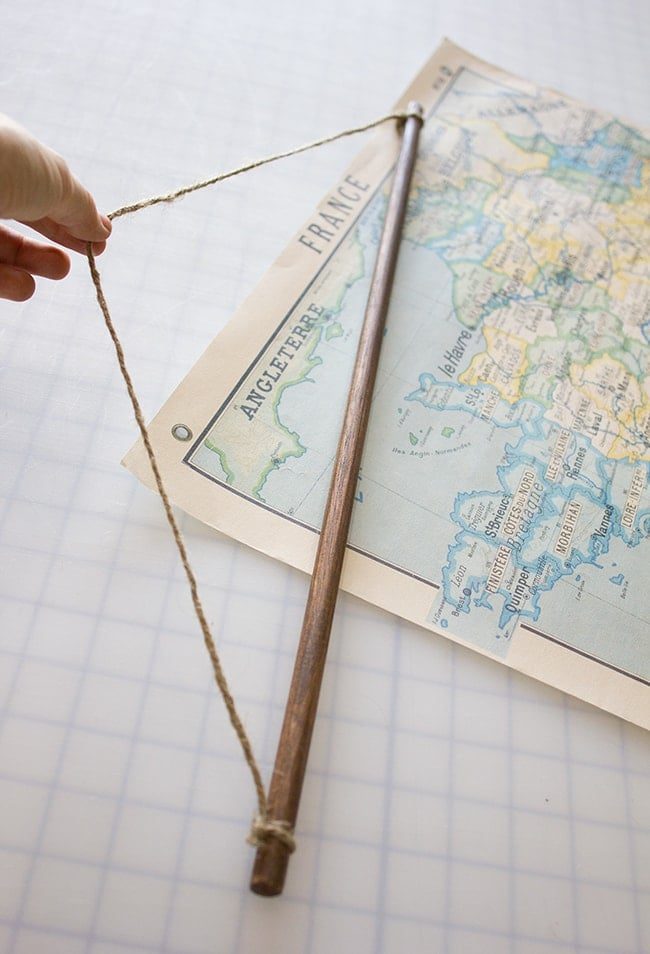 Then glued it to the top. Took all of 3 minutes.
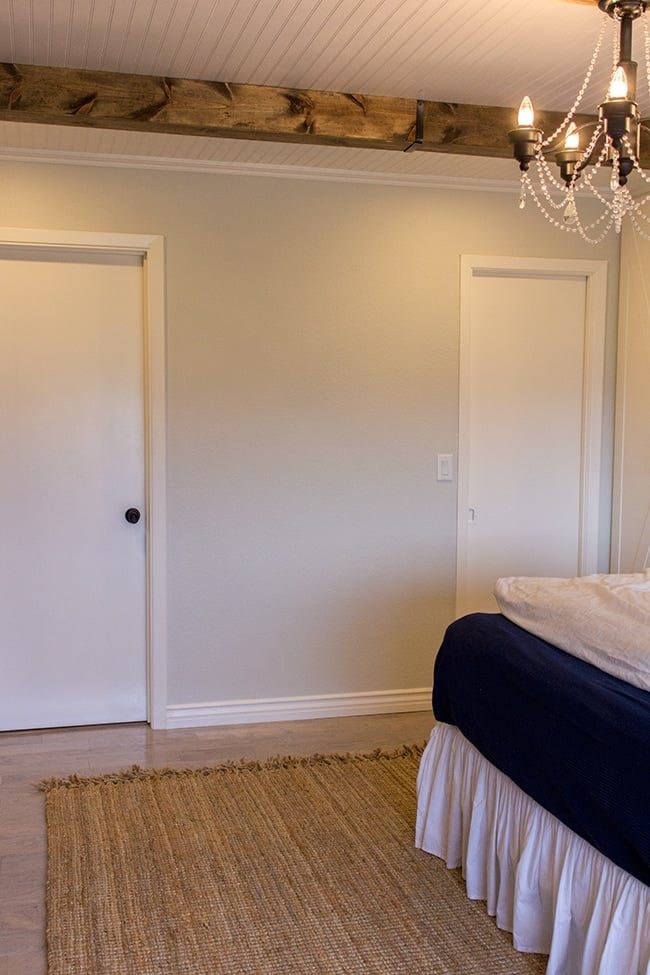
 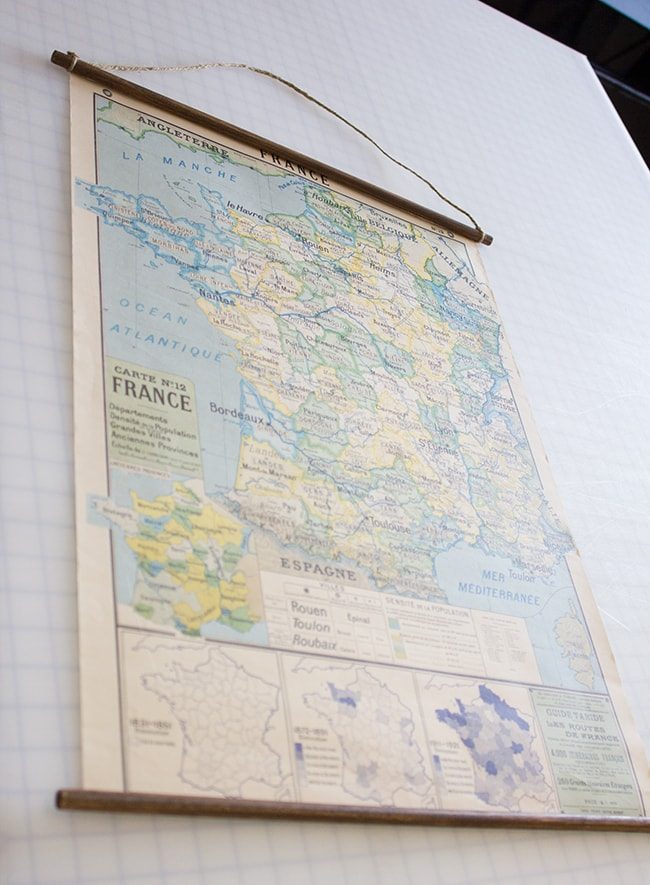 And I think it looks pretty authentic. It just adds a little something to break up that plain wall of doors and no color.
 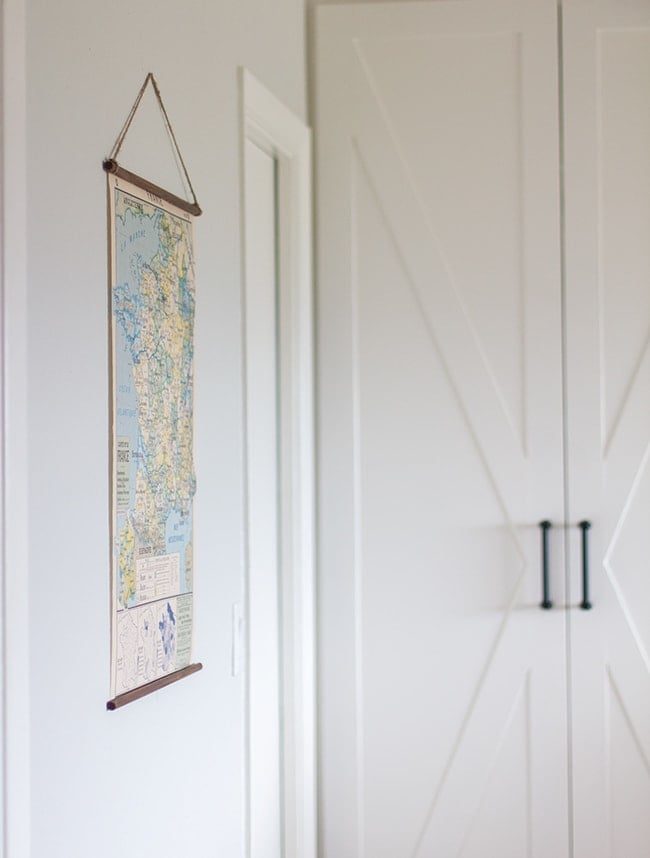 When we remodel the bathroom, the doors and that whole wall will be reconfigured, but for now I am enjoying the simplicity of it.
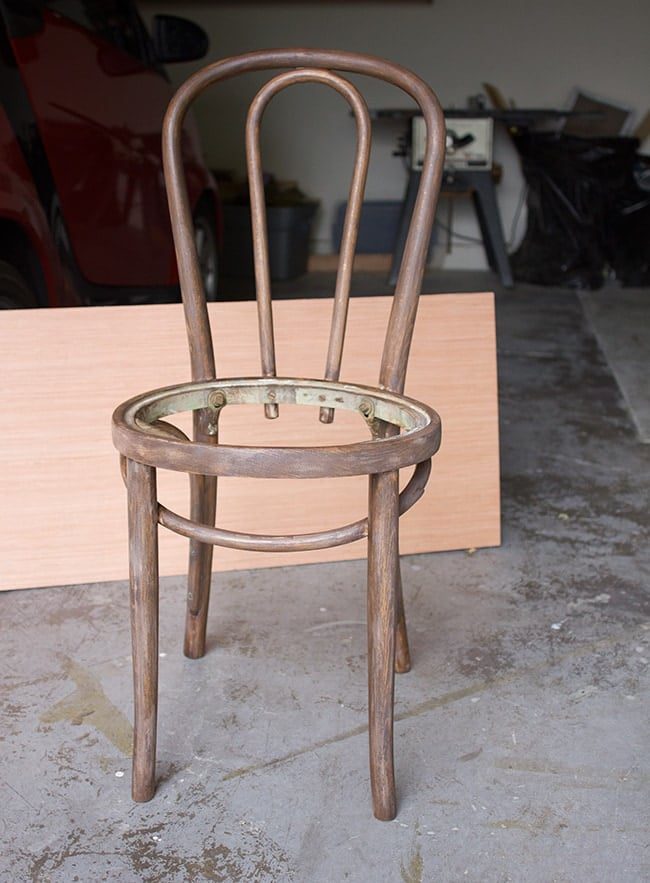
  Total project cost: $10 Alright… project 2: Chair reupholstery. If you can remember back to a couple weeks ago, I picked up this antique chair at our local flea market for $5:
  It makes for a sweet little accent next to the dresser. But it needed a seat, of course. First I sanded it down a bit and applied a dark walnut stain (mixed with a hint of gray):
  To make the template, I flipped the chair upside down on a piece of poster paper and traced along the inside as best as I could:
 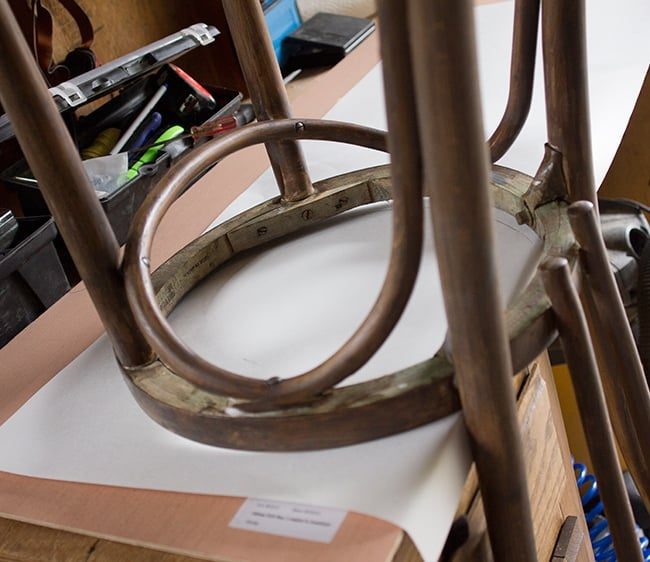 There is a decent sized lip on the inside, so I drew around the circle around 1/2″ or so, and cut it out. Then I traced that circle onto a piece of plywood.
 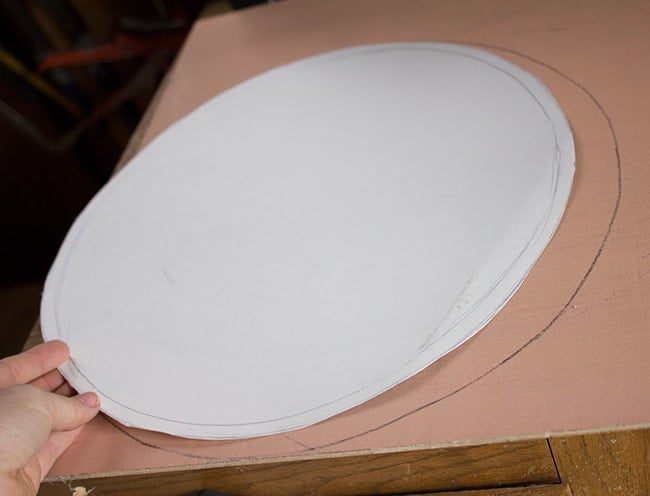 I cut the plywood with a jigsaw and set it down for a test fit…
 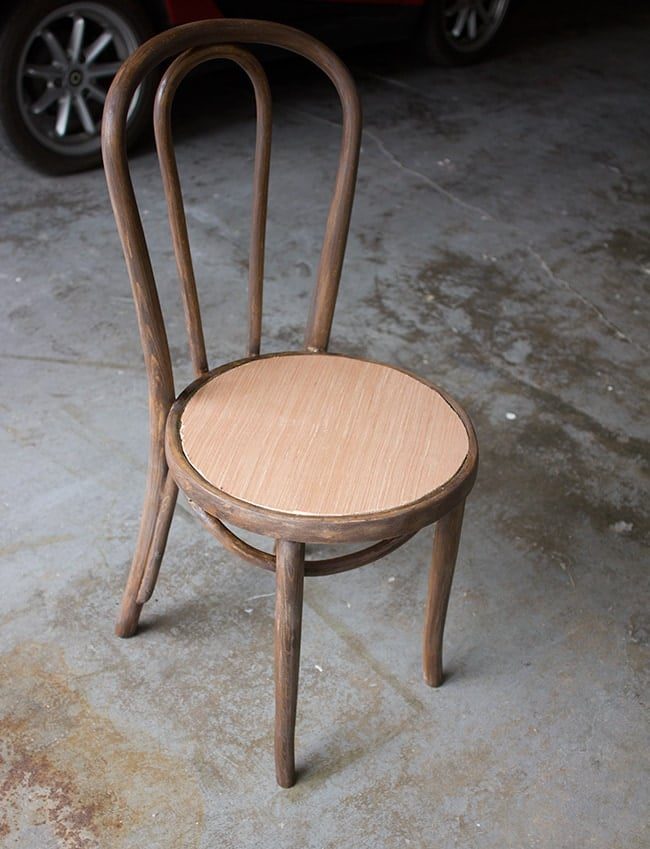 Good enough. It would be covered with foam, batting and fabric so it did not matter that it was not 100% well suited. I have a bunch of leftover foam and batting from our kitchen bench seats, so I used that along with a steak knife to trim it to size: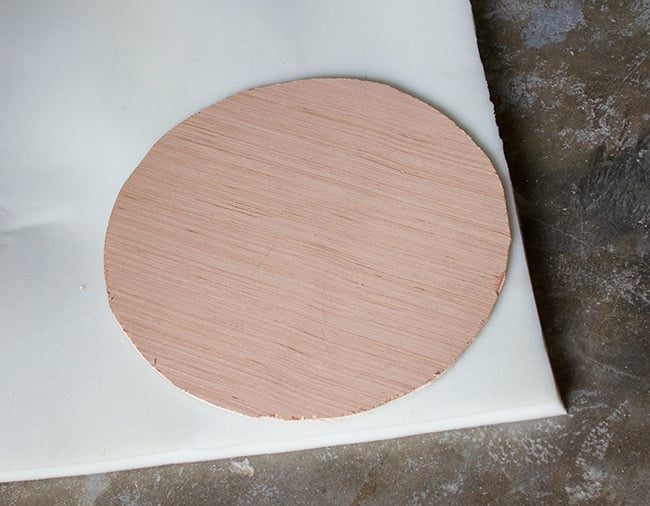
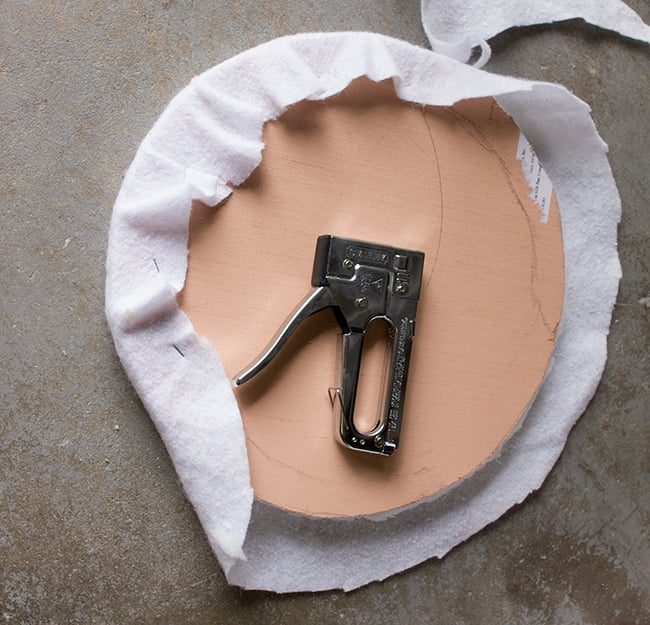
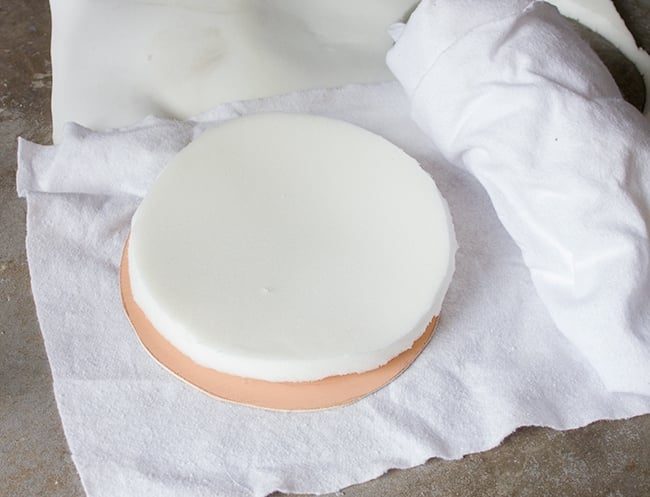 Then I flipped it over and stapled the batting onto the back.
  I picked up a 1/2 yard of solid navy fabric at Joann's for a couple bucks…
 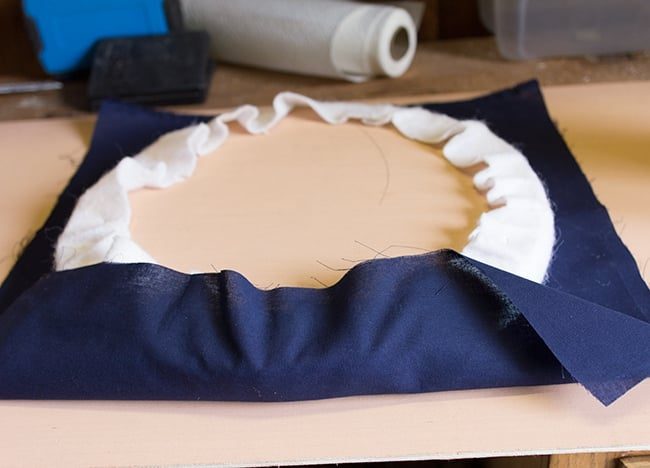 This part proved difficult since it was a round surface and pretty much impossible to avoid visible folds. I just did the best I could and used a ton of staples to try and flatten it out.
 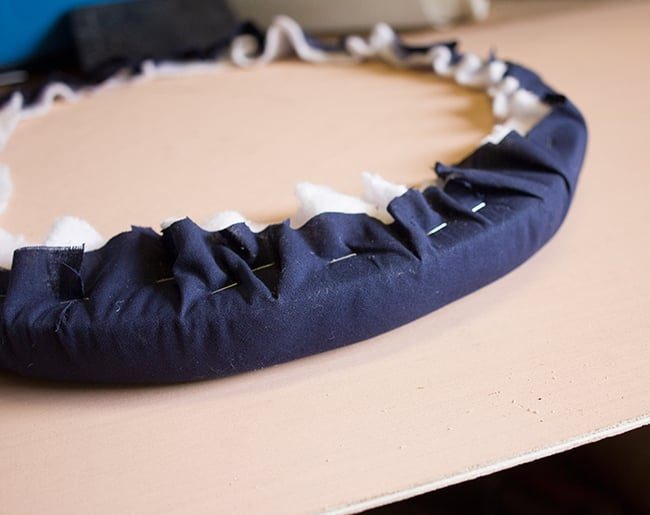 It just adds more character, right? To attach it to the chair, I flipped them both over and drove a couple screws through from underneath.
 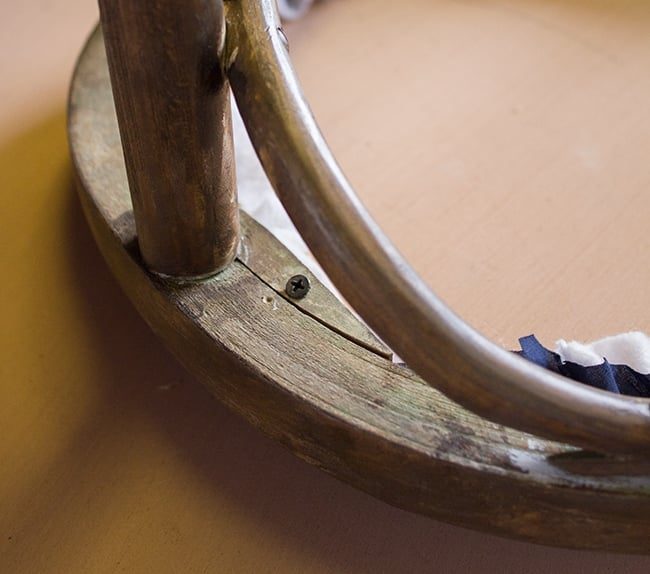 Ta-da. Susie gives it the seal of approval.
  I think this navy ticking stripe pillow works quite well with it.
 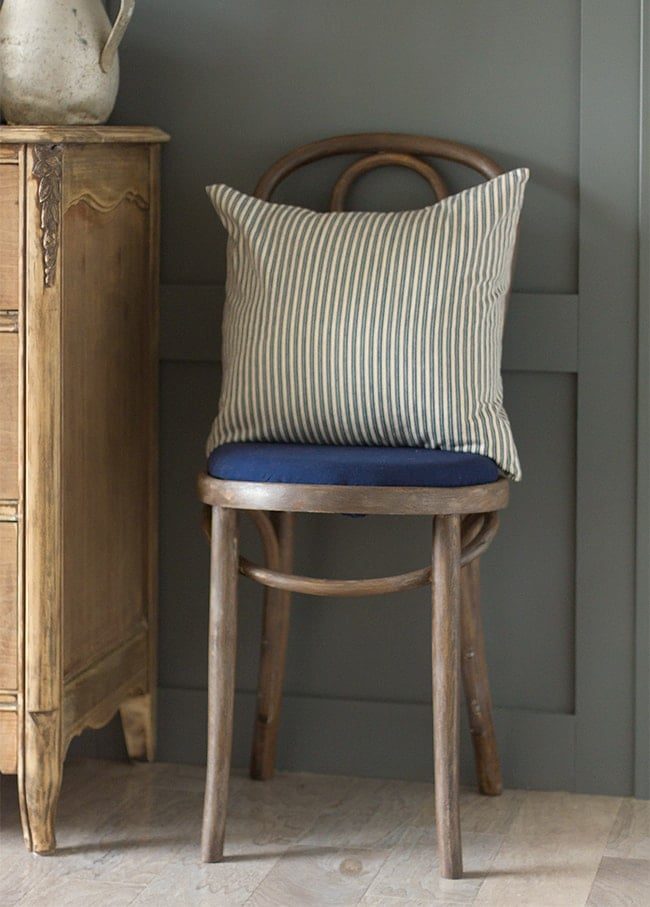 Total project cost: $7. Okay… project 3: DIY Antler Plaque. I scored a few old antlers at the flea market earlier this year in hopes of mounting two of them on a plaque (I think they were just a few dollars each—our flea market is the bomb). I thought our paneled wall needed something to take some of the focus off the TV and liked the idea of adding another rustic element, so antlers it is. A $2 wood plaque from Joann's, stain and a couple screws were all that was needed for this…
 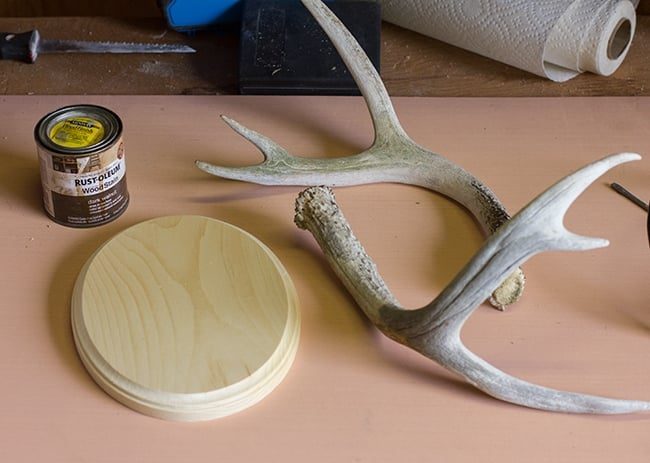 After staining the plaque dark walnut, I placed one antler in the approximate position I wanted it to be mounted and made a small mark underneath where the screw would be inserted. Then I found a couple screws that were the right size, grabbed the appropriate sized drill bit, and made my hole:
 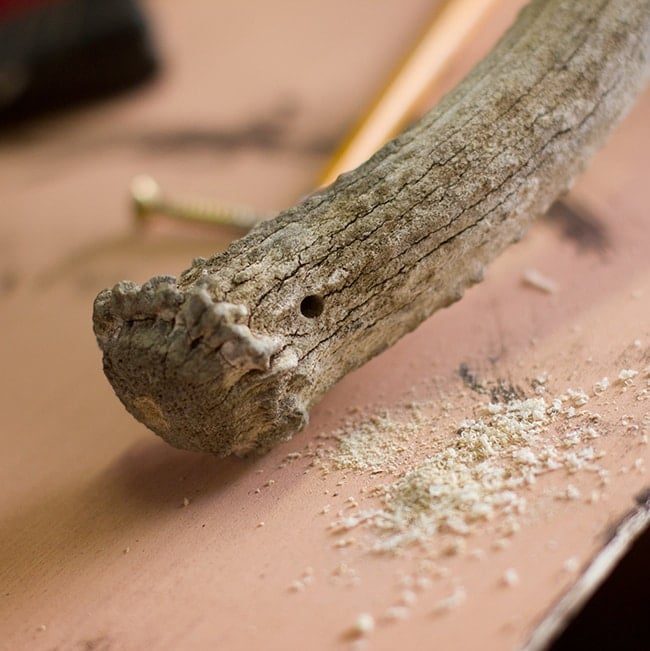 I thought the bone would be genuinely hard to drill into but surprisingly it went right through. Maybe because these antlers are older and less dense? After drilling into both antlers, I did the same on the plaque:
 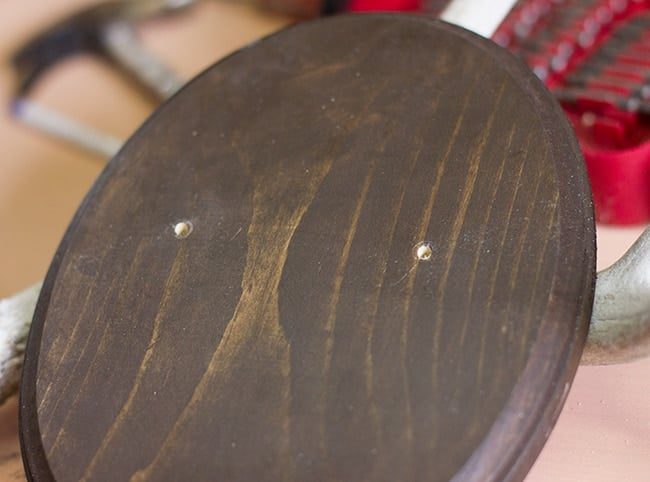 Then from the back I inserted the screw partially, placed the antler on it and finished driving the screw in until it pulled it tight:
 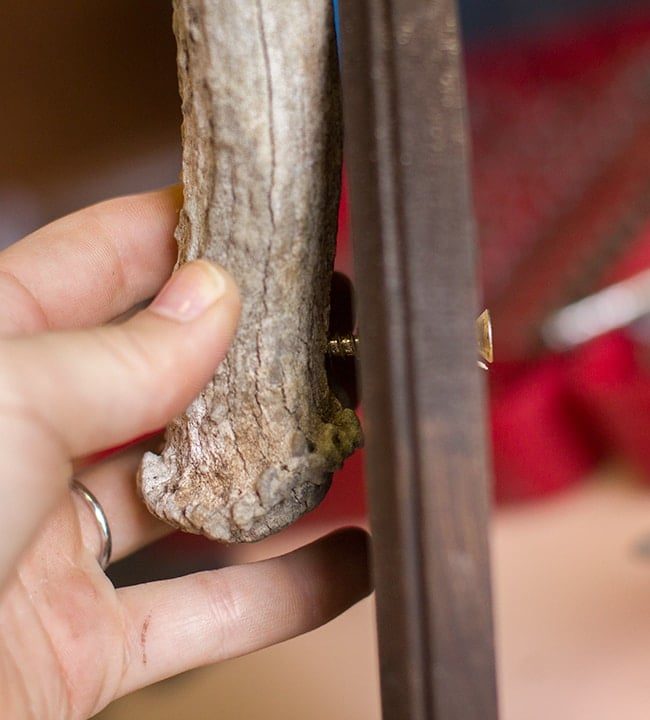 Easier than I thought!
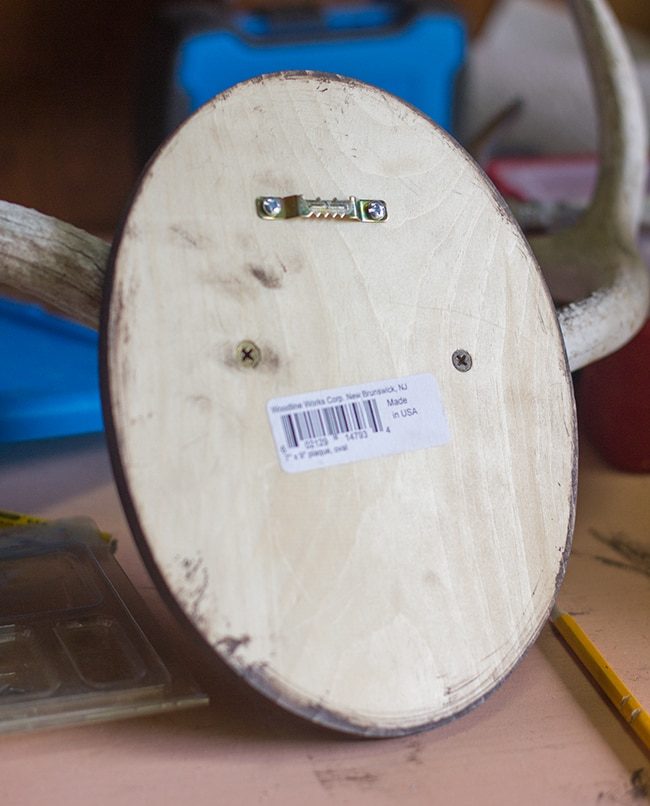
 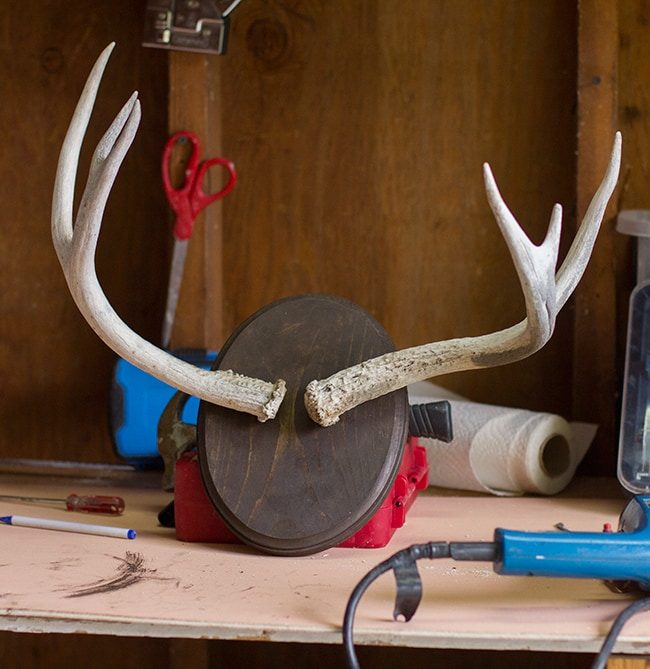 Finally, I added a sawtooth hanger on the back to mount it.
  And here it is.
 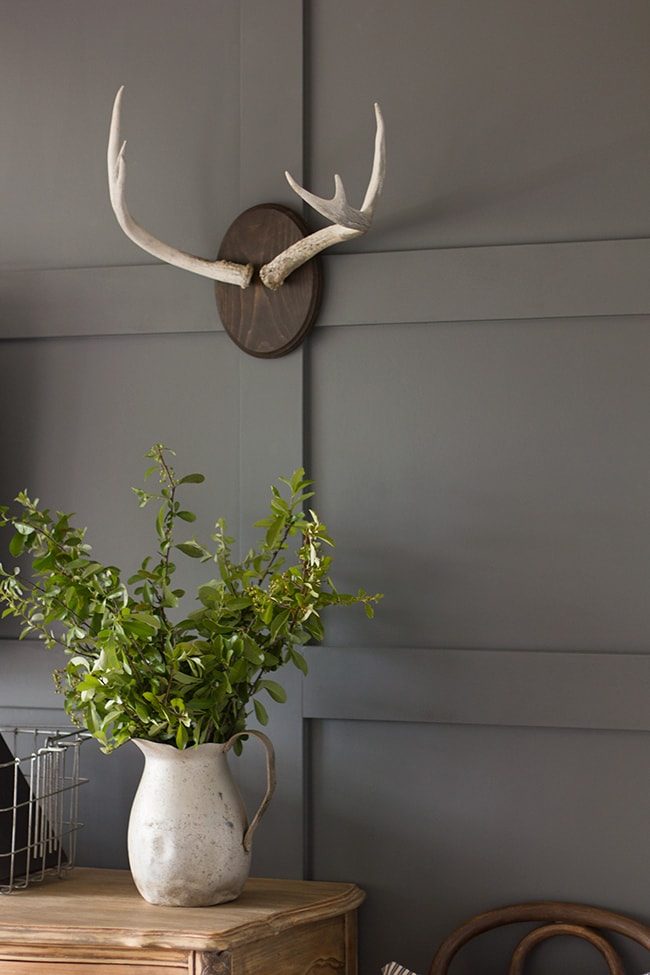 Total project cost: $8.
 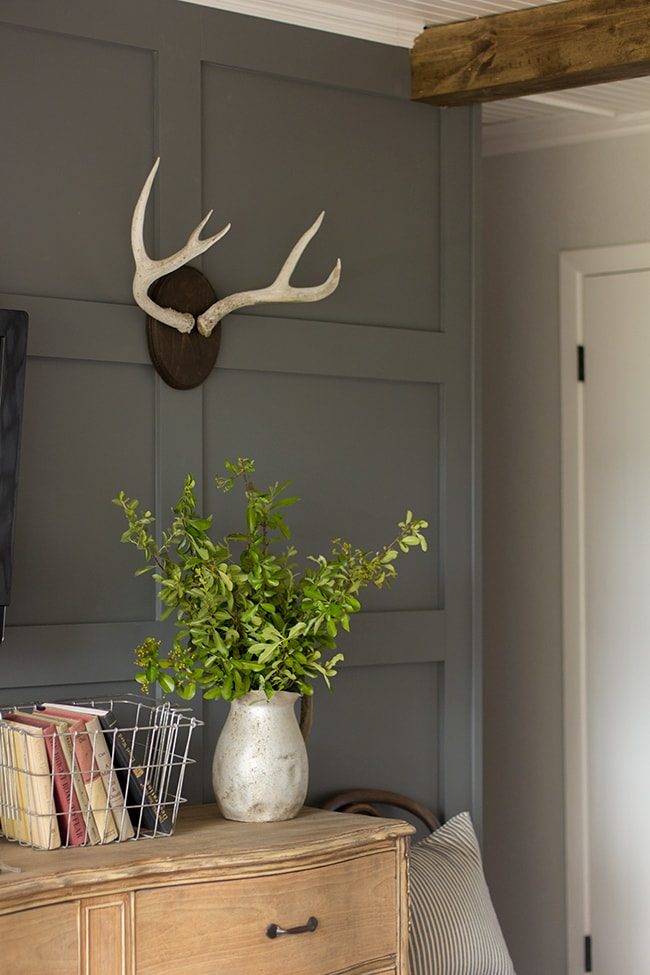 And there you have it… 3 projects for a total of $25. Gotta love bargain shopping + DIY'ing.
 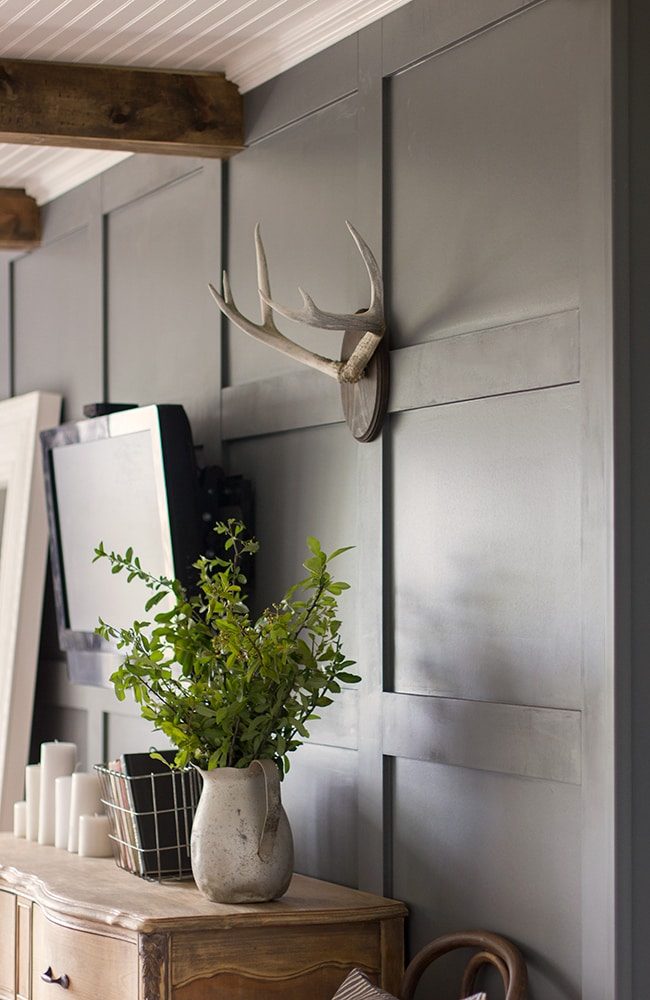 And that is all you get until the reveal 😉 Over the next few days I'll be working on organizing the inside of my wardrobe/vanity area, which of course I am particularly excited about. Check back Thursday for the details!