Hacienda Primary Bath Floor Tile Reveal
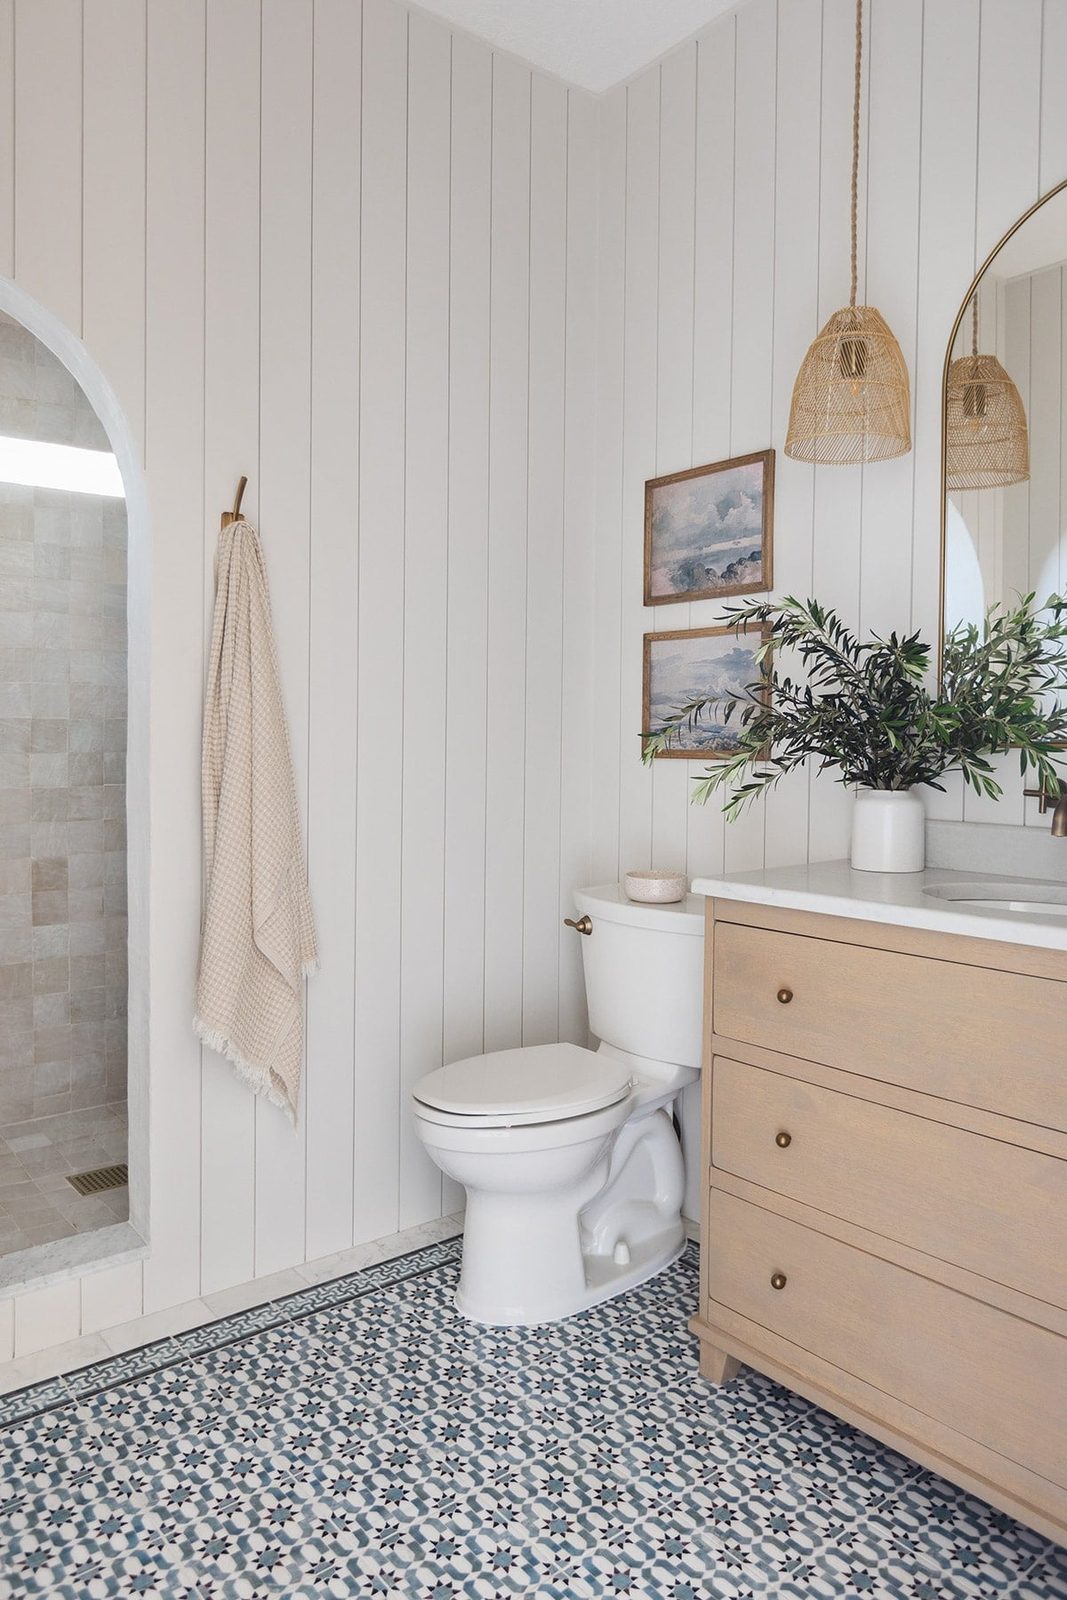
The first tile install at the Hacienda Hideaway is complete—and it is a stunner! Say hello to the new primary bathroom floors: In my last progress update, we gave the…
The first tile install at the Hacienda Hideaway is complete—and it is a stunner! Say hello to the new primary bathroom floors:

In my last progress update, we gave the walls a DIY microcement finish and built thearched shower doorway:
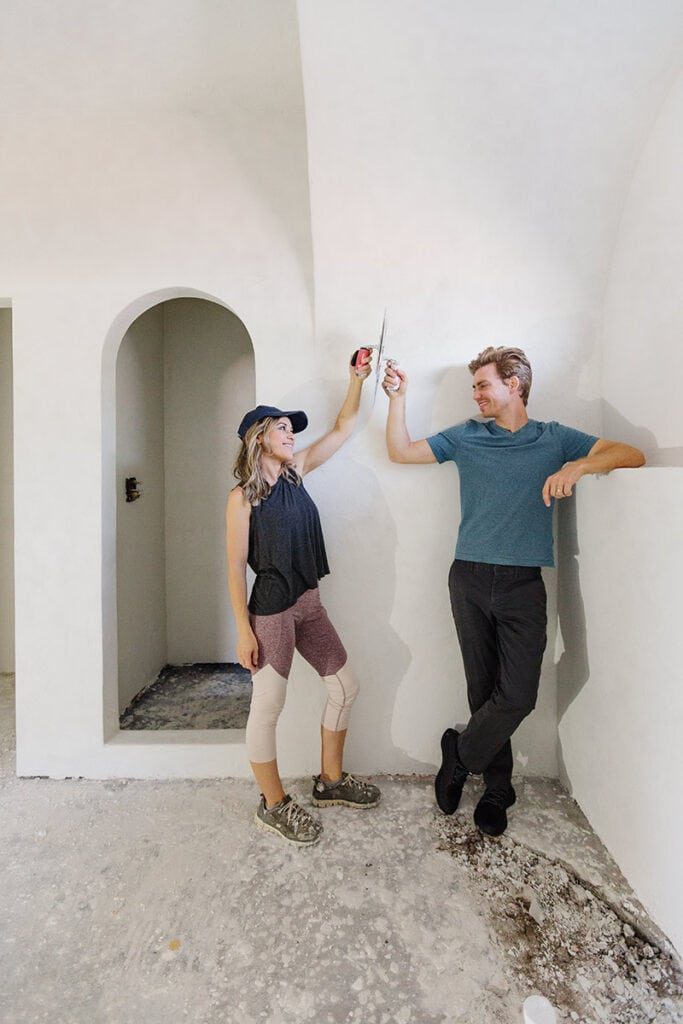
It took some time for the special order tile to arrive and to schedule installation, hence the 5-week delay. We opted to save time and hire out the install so we could continue focusing on the kitchen cabinet build (I have been posting updates in my IG stories!)
I first fell in love with star & cross tile years ago when I spotted the pattern on the floors of the Taj Mahal, and I have waited patiently for the well suited opportunity to use them. They were the first design element I chose for the Hacienda Hideaway:

I partnered with Zia Tile, and they shipped 150sq ft of their handmade cotto tile. Because each piece is made by hand, there are natural variations in size, texture and color, which give it that imperfect charm.
The installers worked fast, and I was only able to get one photo from them:
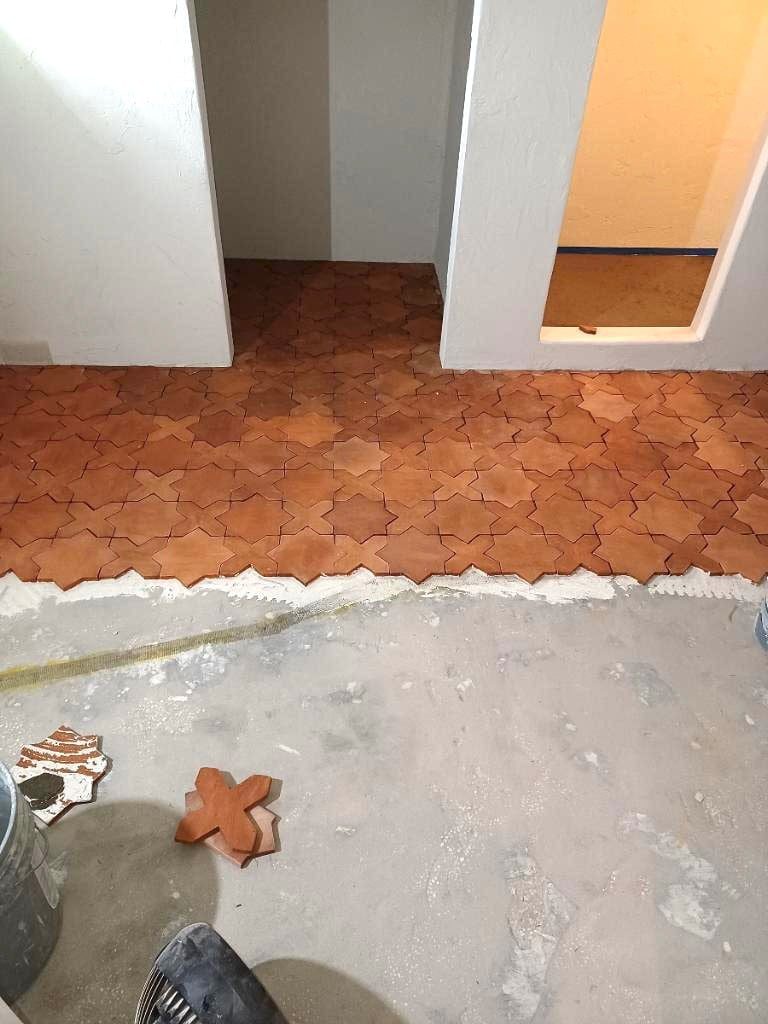
They finished setting the tile on the first day, and the next day I brought my mini-project manager to inspect their work:


There is a specific set of instructions to follow when installing handmade cotto tiles, and Zia Tile provides a detailed checklist. I ordered this natural stone cleaner in advance, along with this 511 Porous Plus Sealer. It is critical to seal these porous tiles before grouting, to avoid staining the tile.

Everything was looking good after sealing…


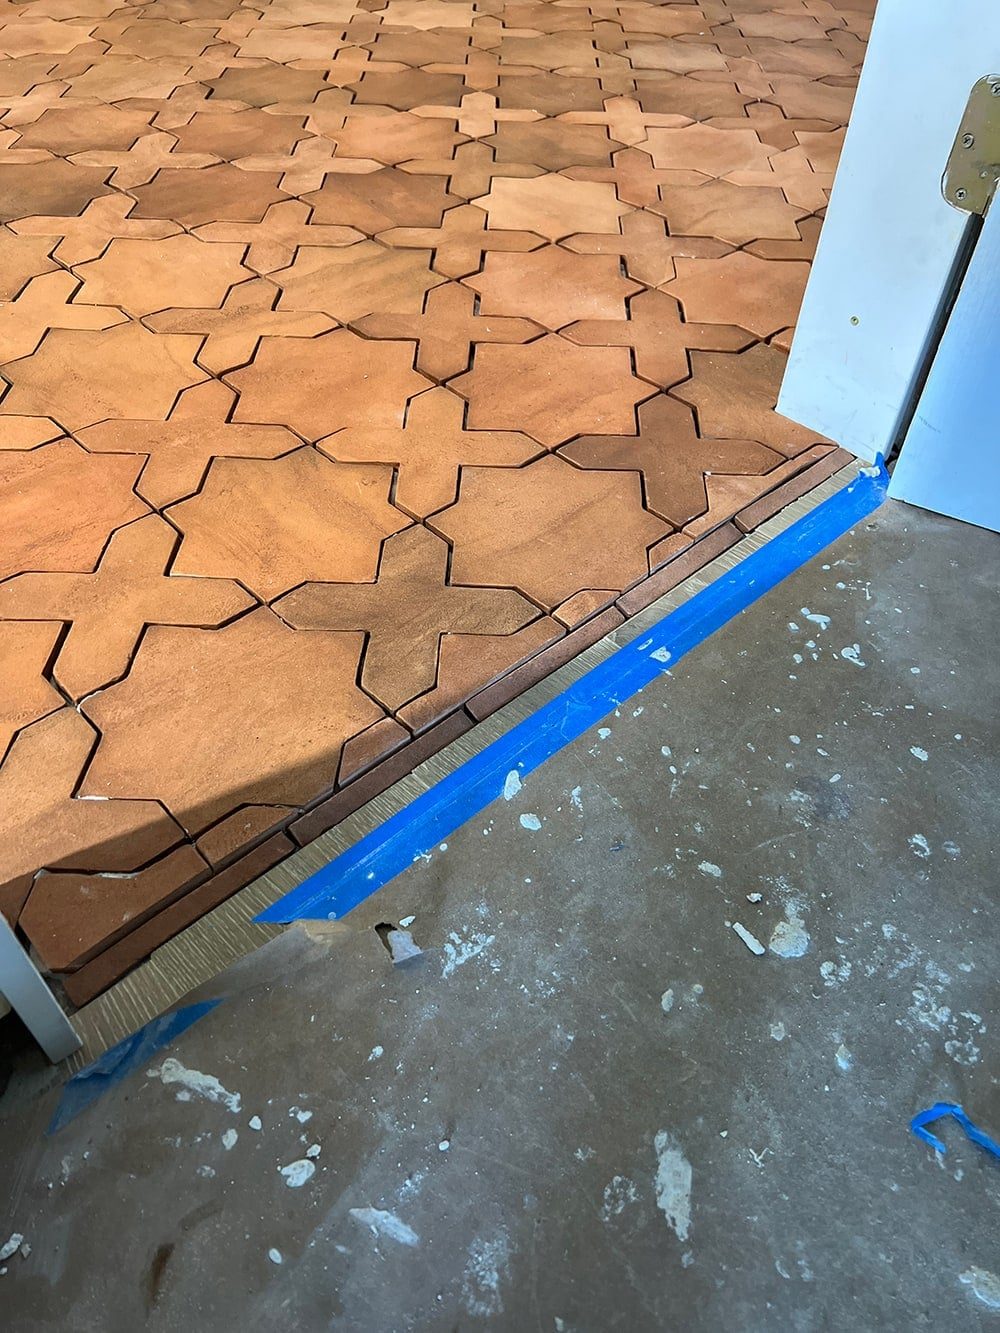
But, there was one unresolved issue: the floor transition. This tile is quite thick (5/8″) and our wood floorsare much thinner, so there was a large step up. Our floors did not come with any transition pieces, and it would be a pain to try to match the finish.
Lucas came up with the idea of cutting down pieces of scrap tile, and grinding them down at an angle so they form a small ramp:
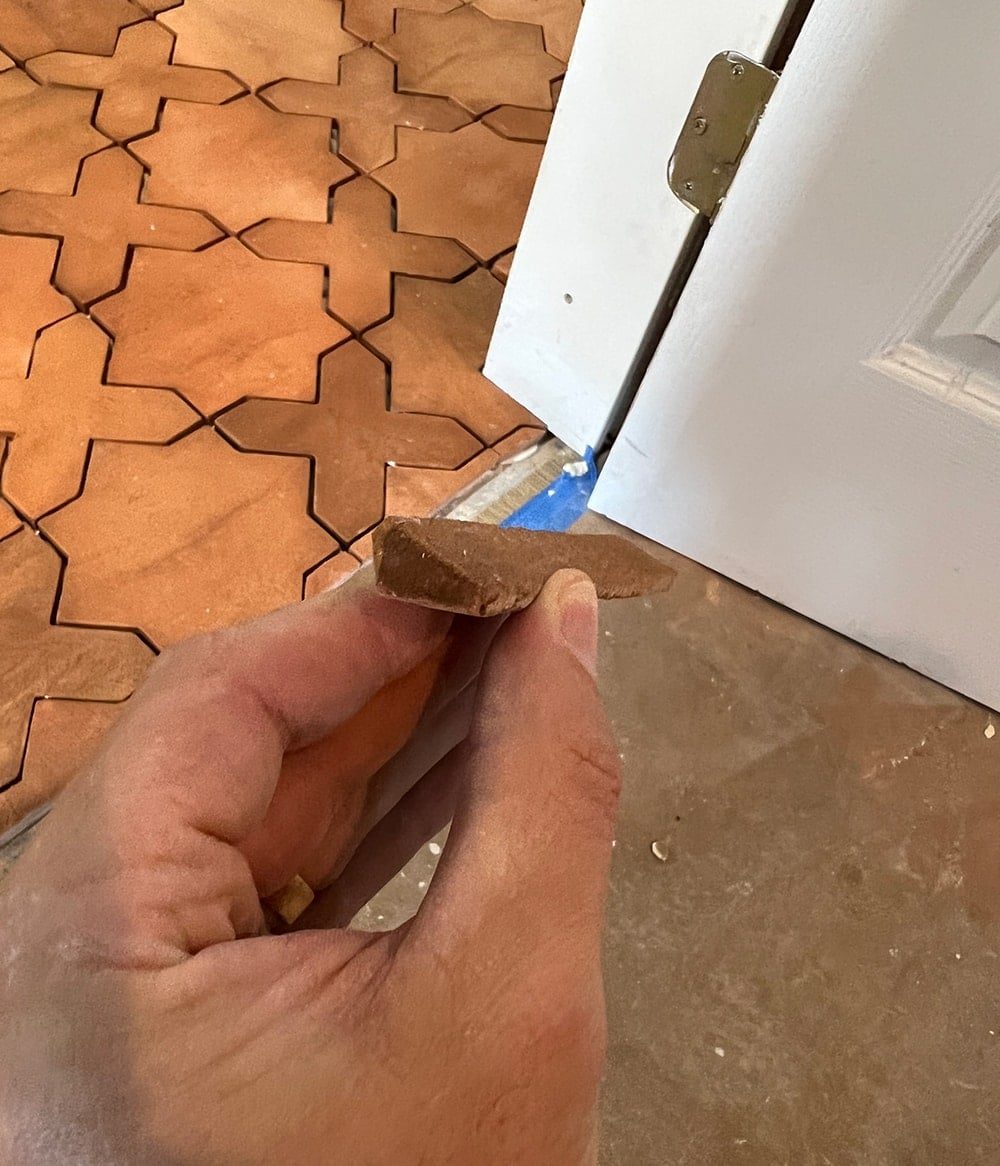
This worked like a charm, and did not take him very long at all! A much more elegant solution than a clunky mismatched molding strip:
With that problem solved, it was time for grout! Zia Tile recommended Mapei Flexcolor CQ grout, and I went with the color Bone. Truth be told, it looks darker online and I was a little disappointed when I first saw the install photos…
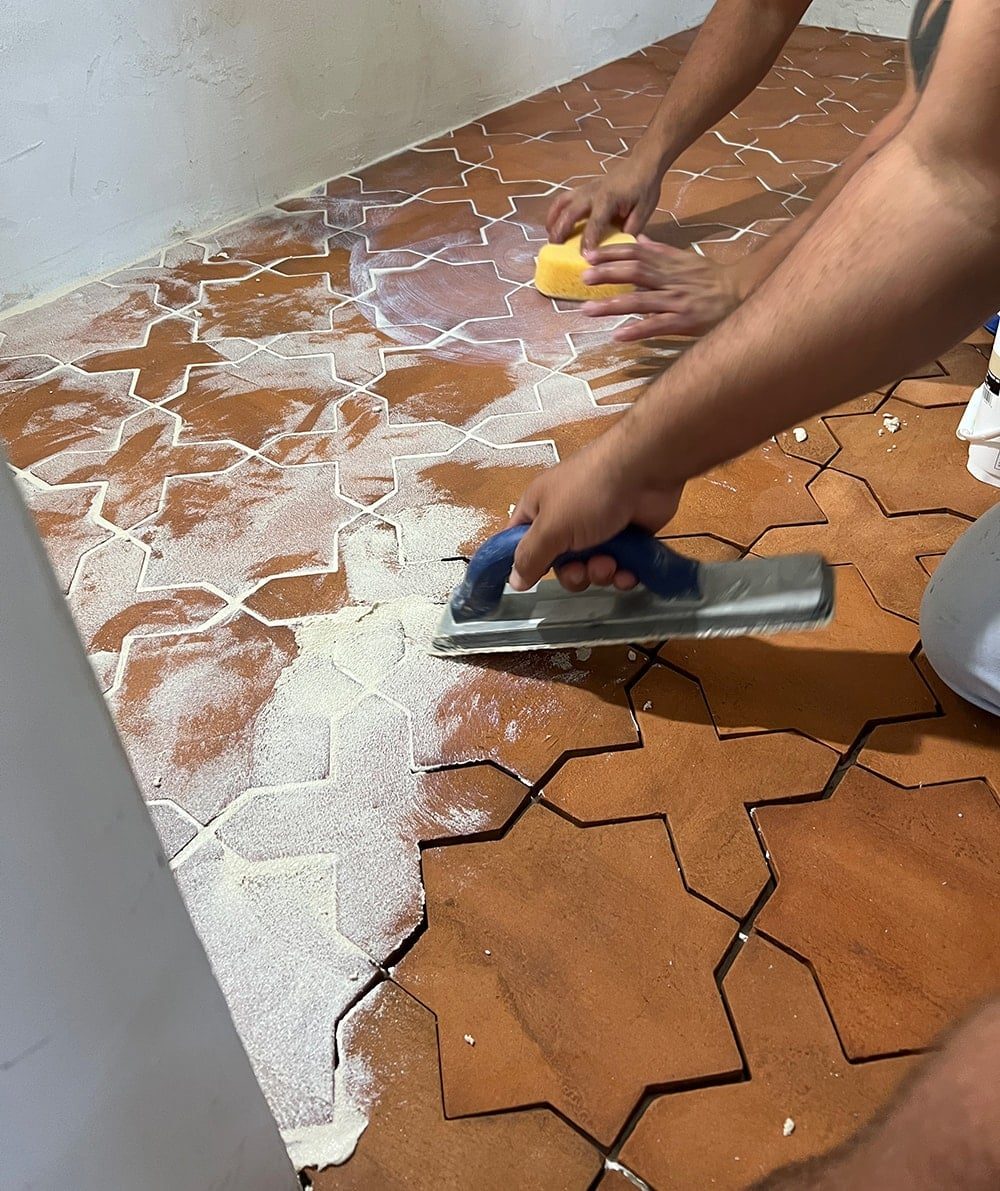
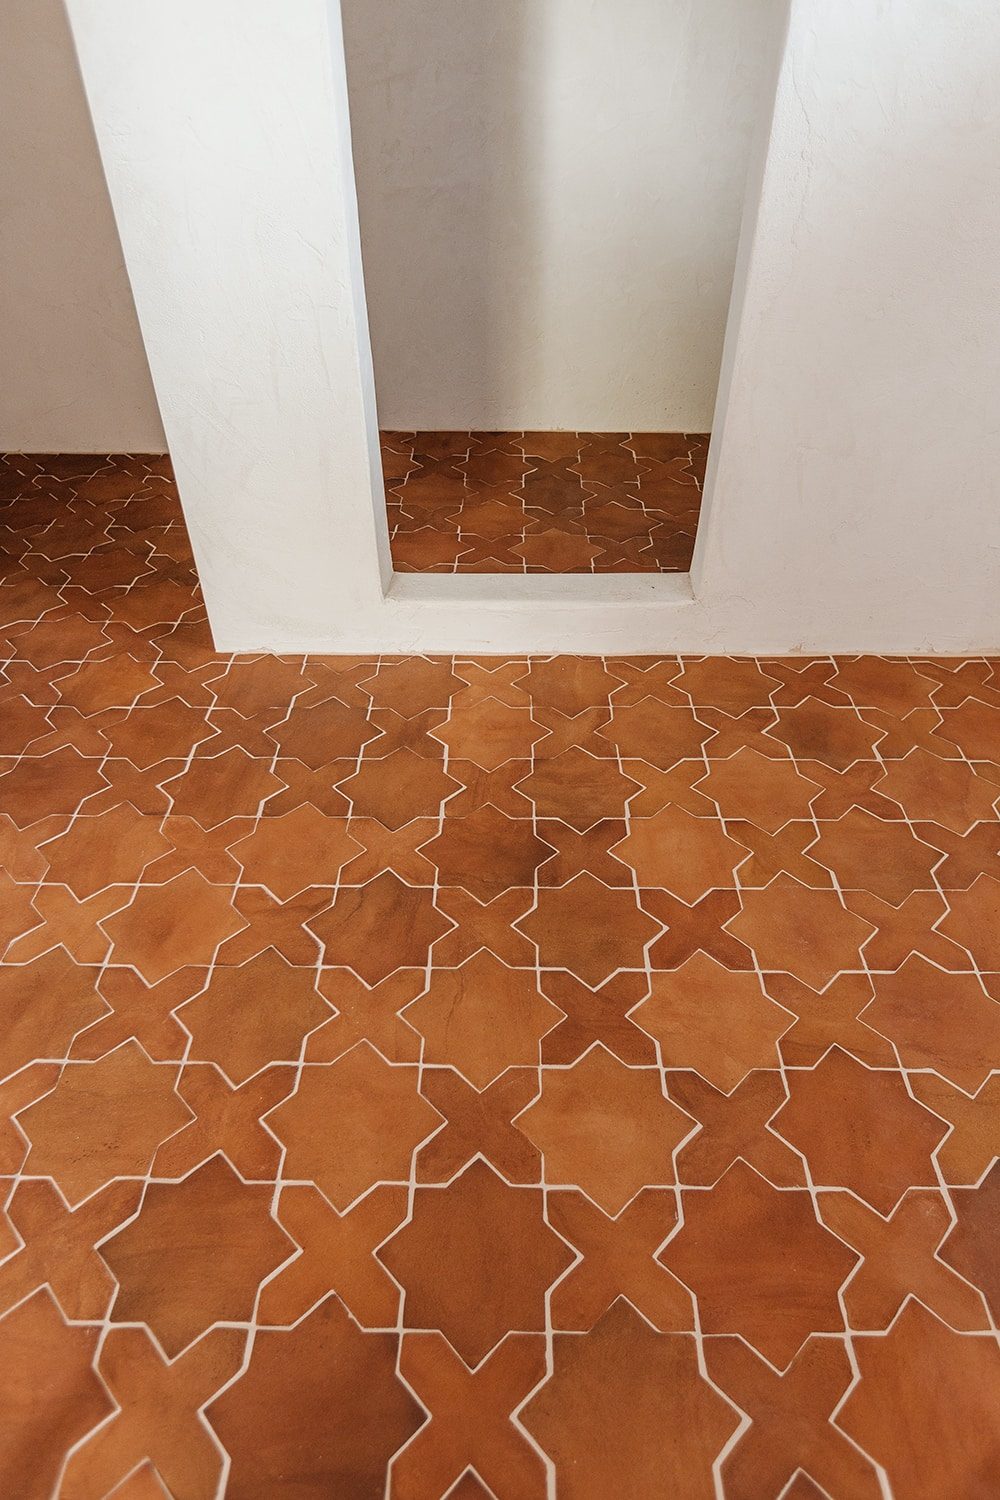
I wanted a muddy beige tone for a naturally aged over time look, which would also hide dirt/stains much better than a lighter grout. The grout is actually beige in the container, but looks ivory next to the darker tile. Just an optical illusion!

But honestly, you could use any grout color with this tile and it would still look striking. And I do like the way the lighter grout accentuates the pattern. My dream tile has come true!


We do not plan on adding any baseboard, so the lighter grout blends in much better to fill in gaps against the white wall.
The choice was to keep the flooring consistent throughout the room—shower included. Why change a good thing?
Next up: shower faucets, toilet and tub installation… and a whole lot more! Here is the price breakdown for this project:
Total cost
| Cotto Star & Cross Tile (150 sq ft) + shipping | $4,350 |
| Grout | $158 |
| Stone cleaner | $18 |
| Sealer | $130 |
| Labor/materials | $1,808 |
| Total | $6,464 |
In full transparency, I received the tile as a trade, so my actual cost was much lower. Certainly there were still cheaper options, but I have been dreaming about this tile for years and waited for the well suited opportunity to use it. When it is a permanent fixture in a house you plan to keep for a long time, sometimes the splurge is worth it 😉
Next week, I'll be revealing all of the tiles I chose for the Hacienda Hideaway. Follow along on Instagram for more updates in the meantime!