Hacienda Hideaway Porch Makeover
Going on 2+ years now, this Hacienda renovation has been a never ending saga—particularly when it comes to the backyard. Last week we had yet another major setback with…
Going on 2+ years now, this Hacienda renovation has been a never ending saga—particularly when it comes to the backyard. Last week we had yet another major setback with permitting issues on the pool/landscaping, and there seems to be no end in sight.
Update: Look at the final porch reveal here!
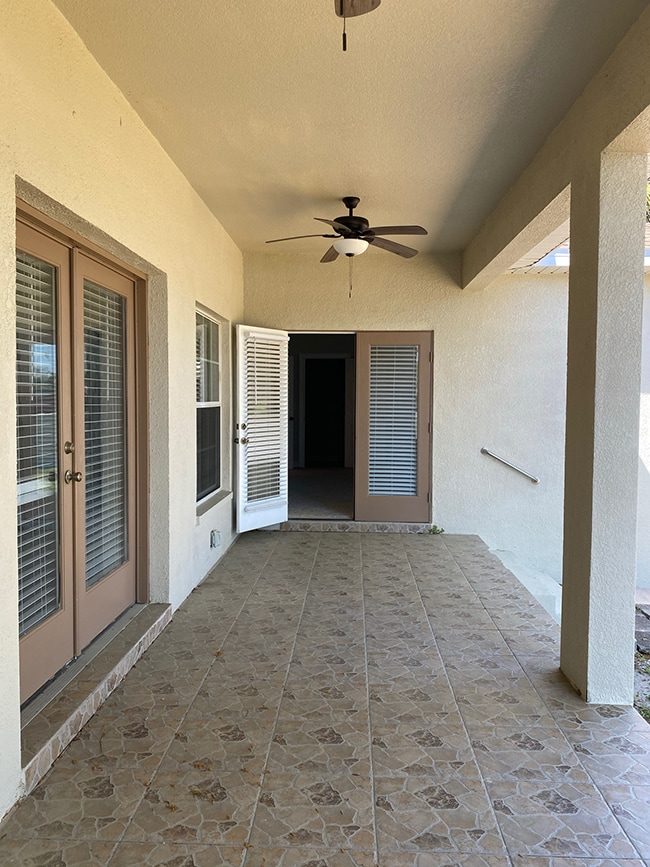
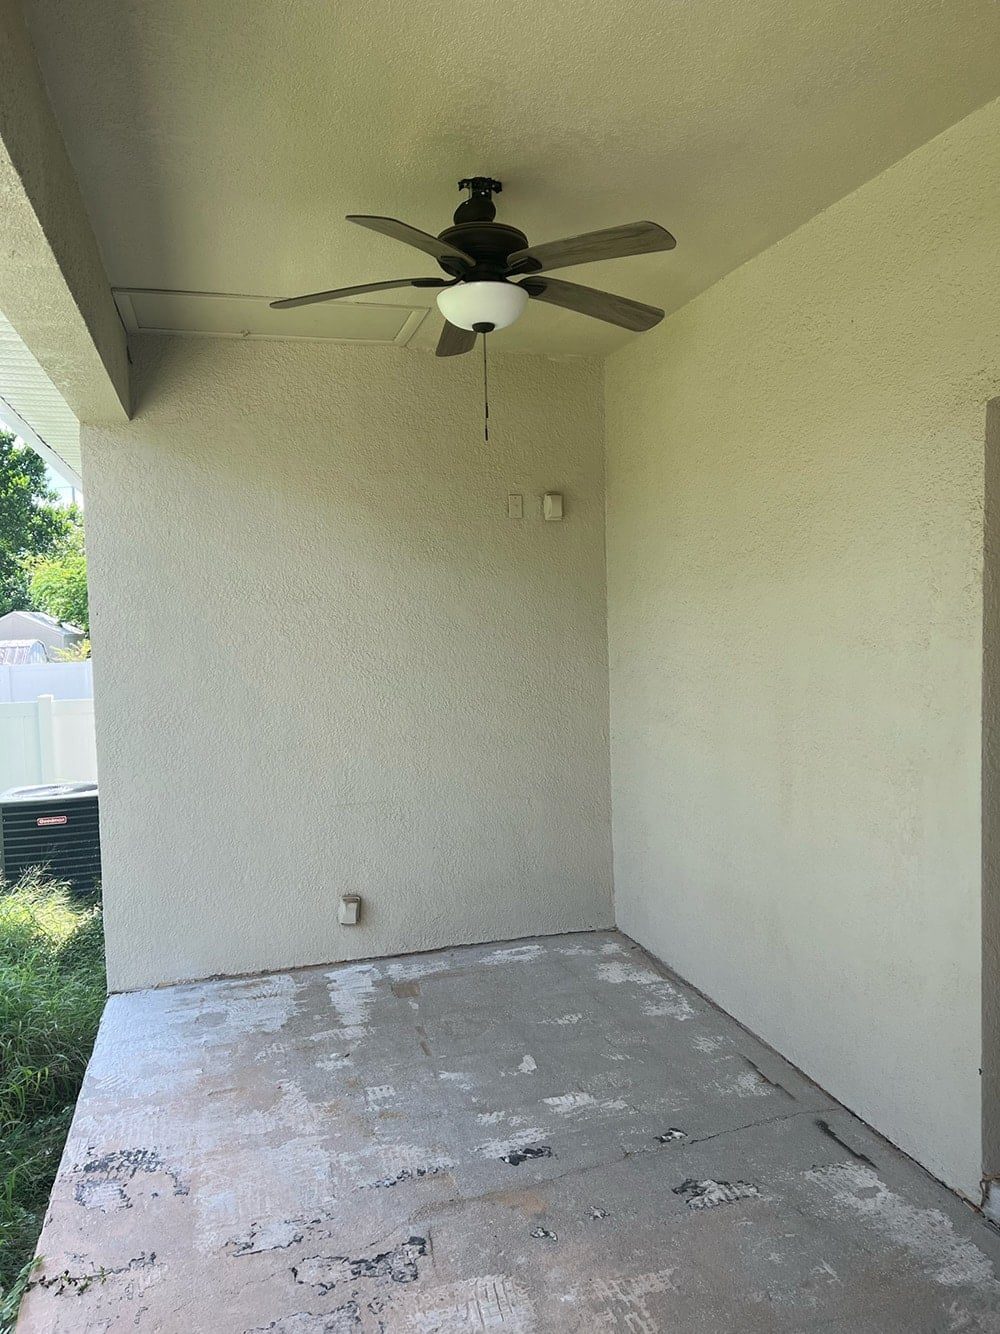
While it has been a frustrating year so far, we have made some great progress on the back porch—enough to warrant a progress update post! We started on this area back in August of last year, and have been slowly chipping away at it. This is how it started:
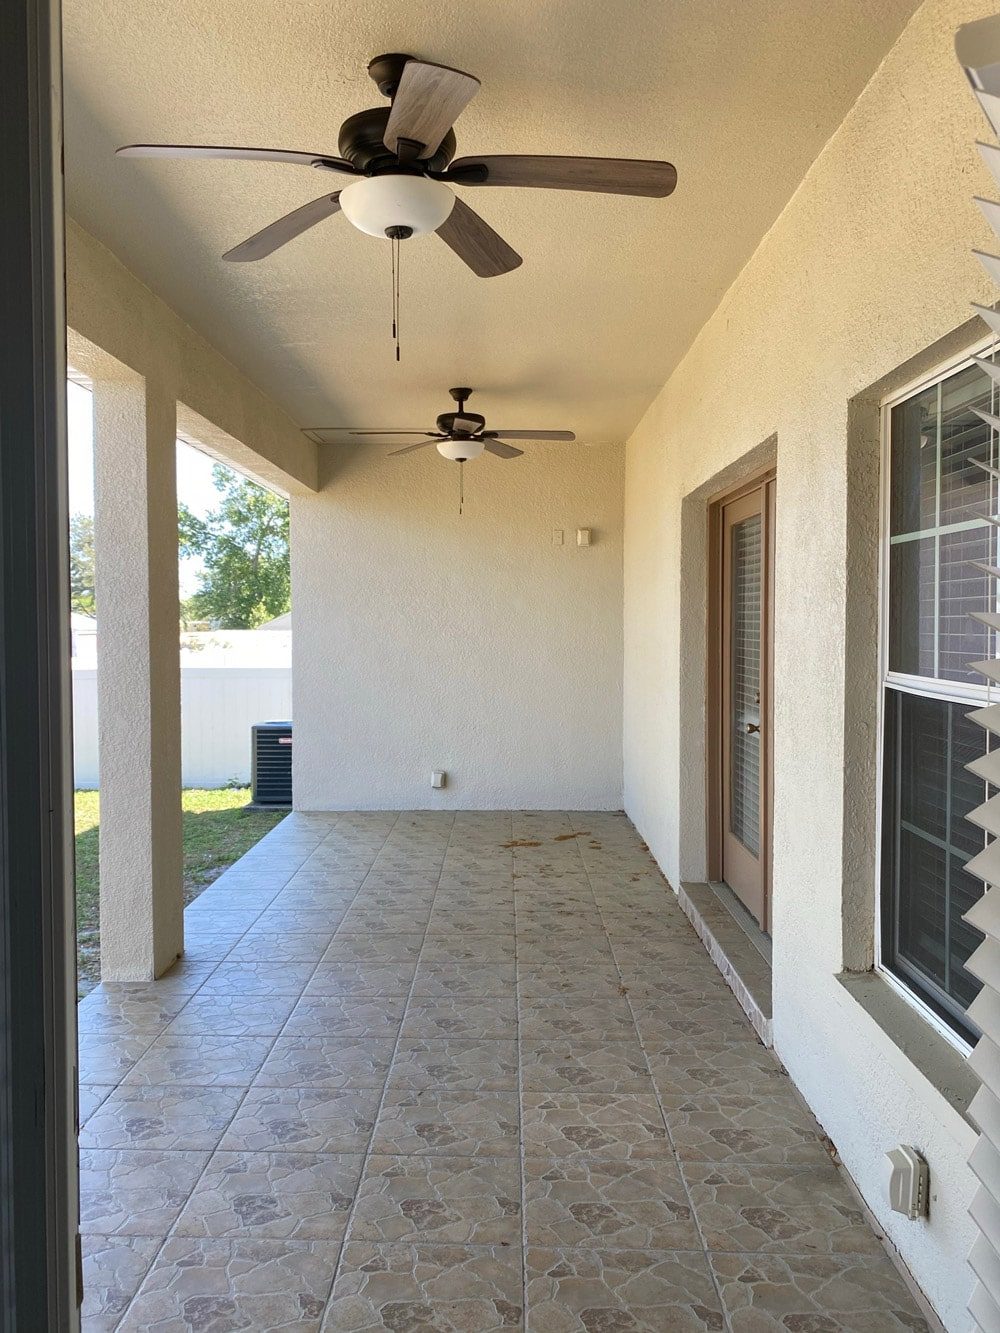
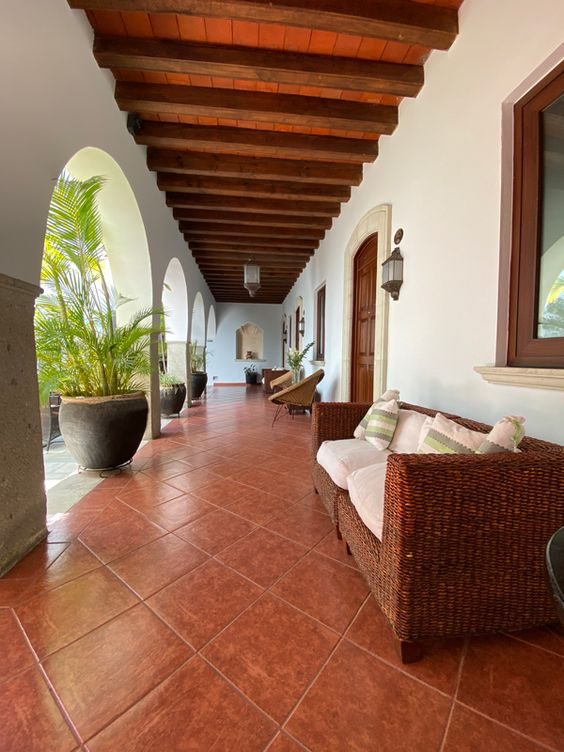
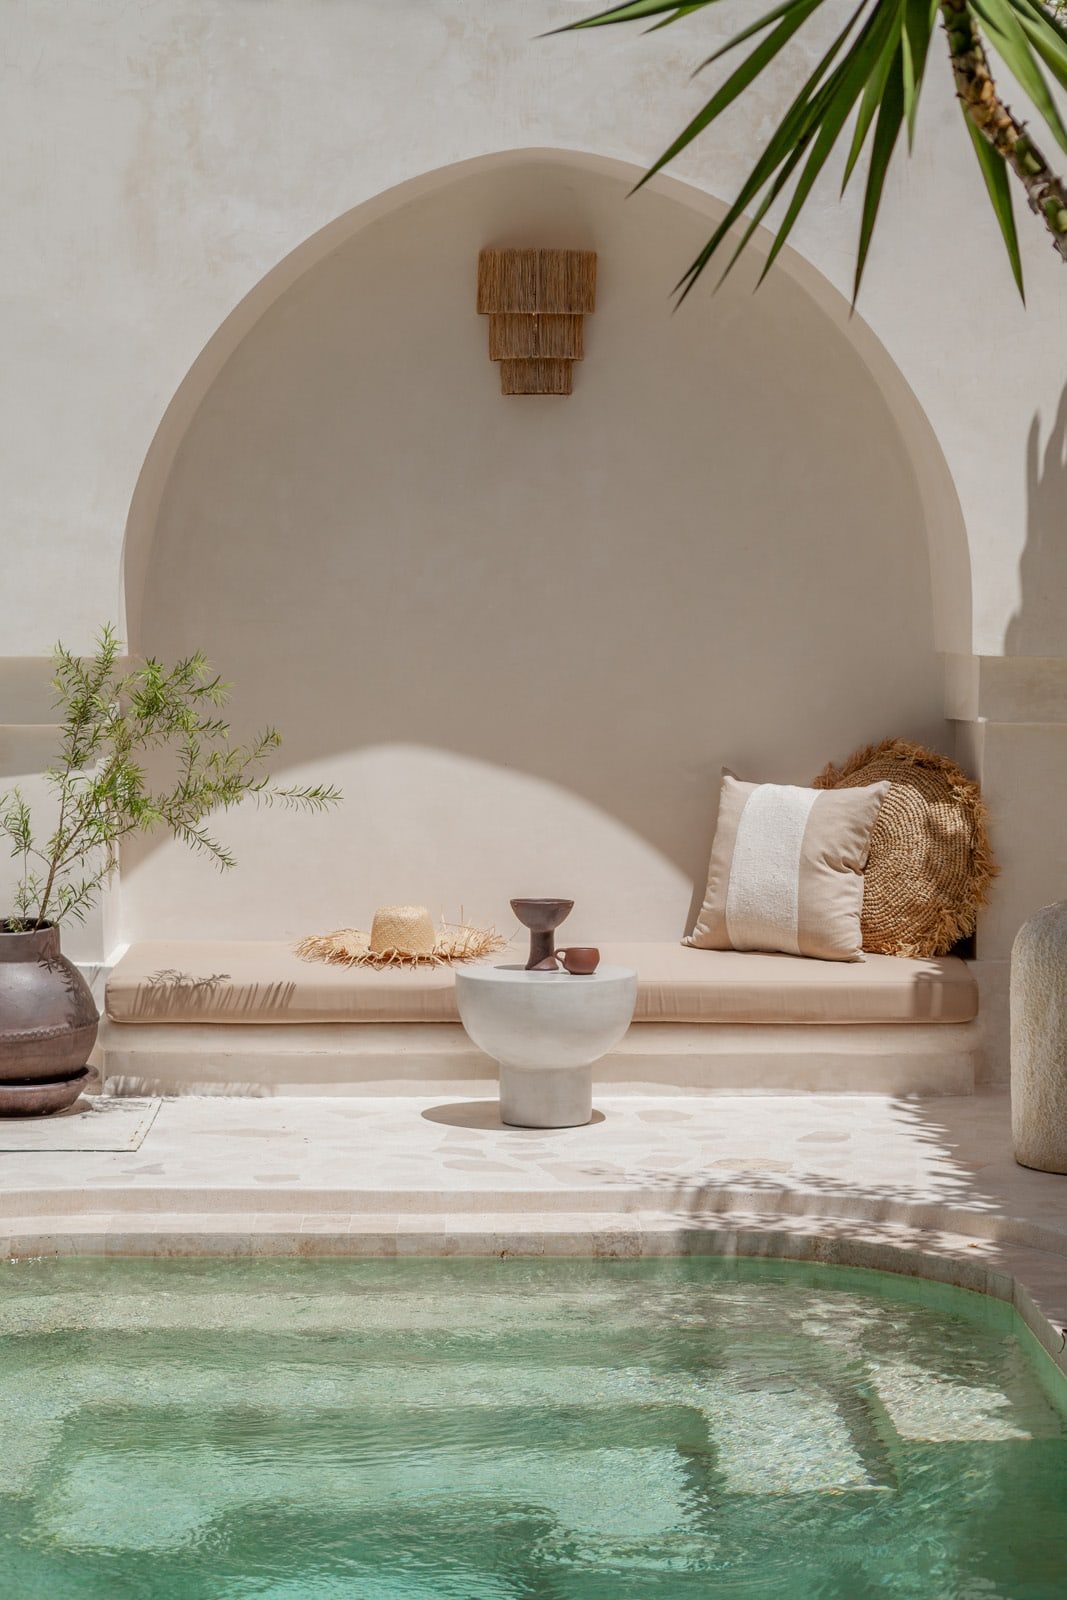
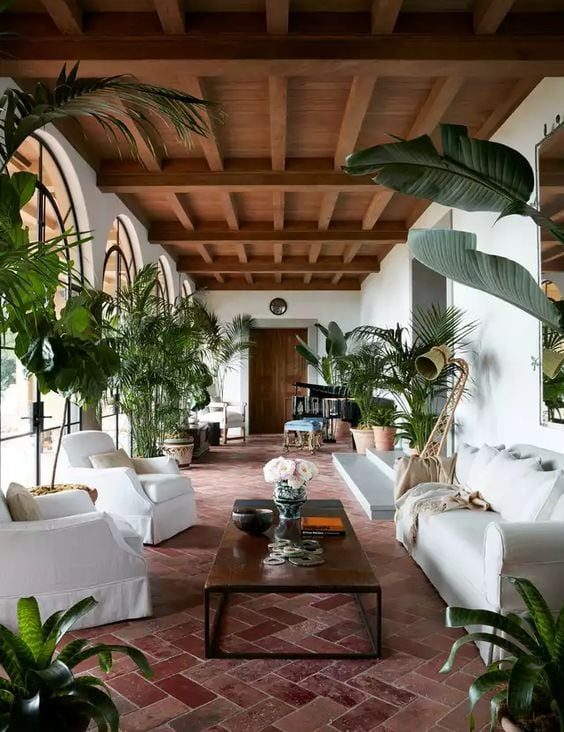
Originally I purchased a sectional sofa set for this space, but then I got a wild hair after browsing too long on Pinterest (per usual) and decided I just had to have custom built-in seating and lots of arches. Luckily, Lucas was on board! Here is the inspiration that started it all…


DIY Stucco Sectional
After measuring the space and mocking up a drawing, I came up with the plans and handed them over to Lucas to work his magic.
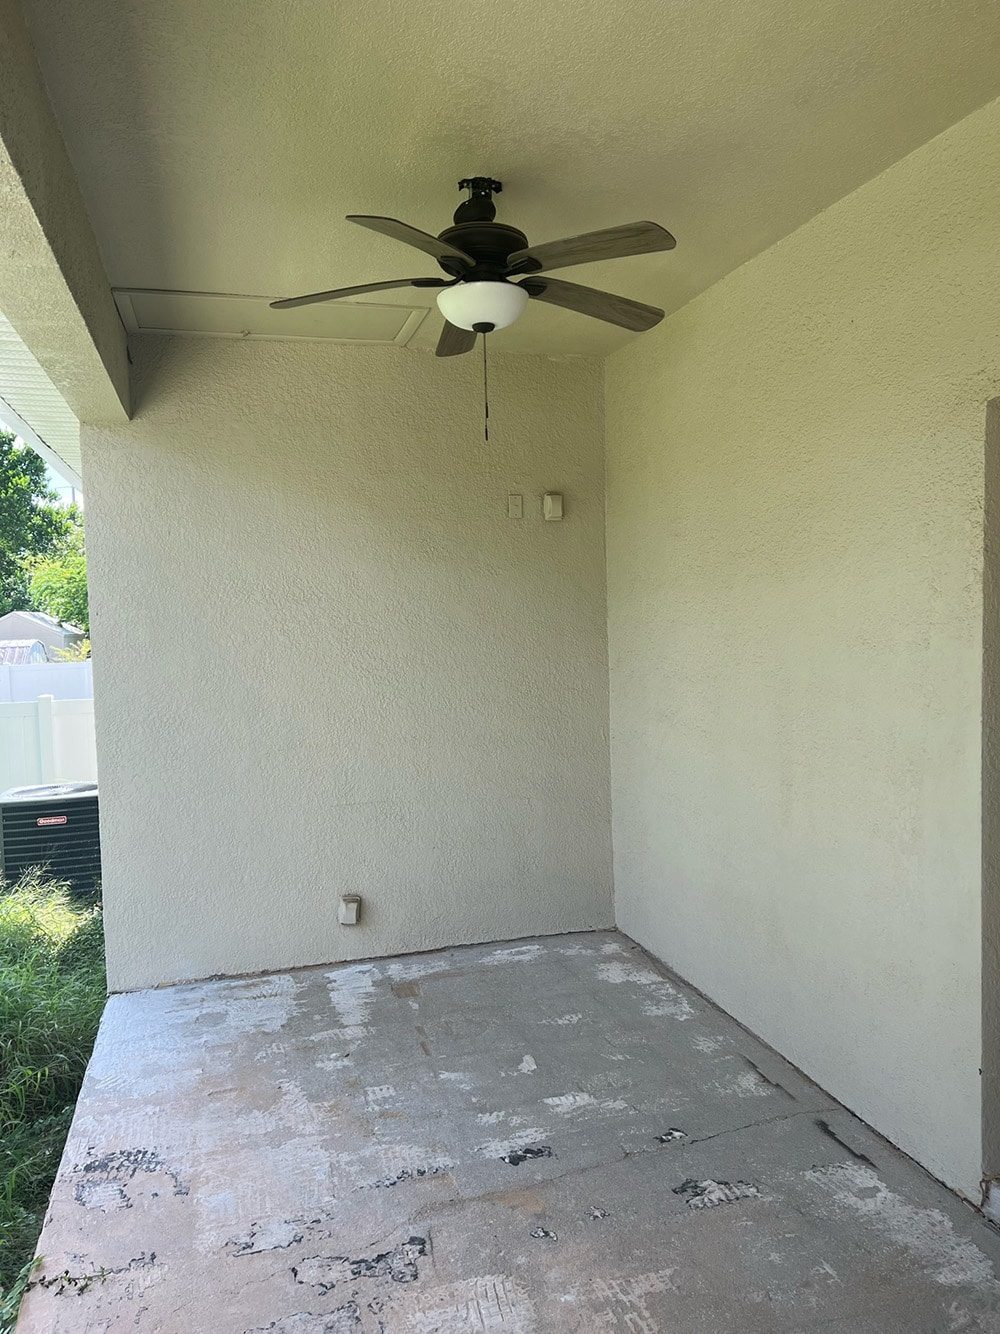
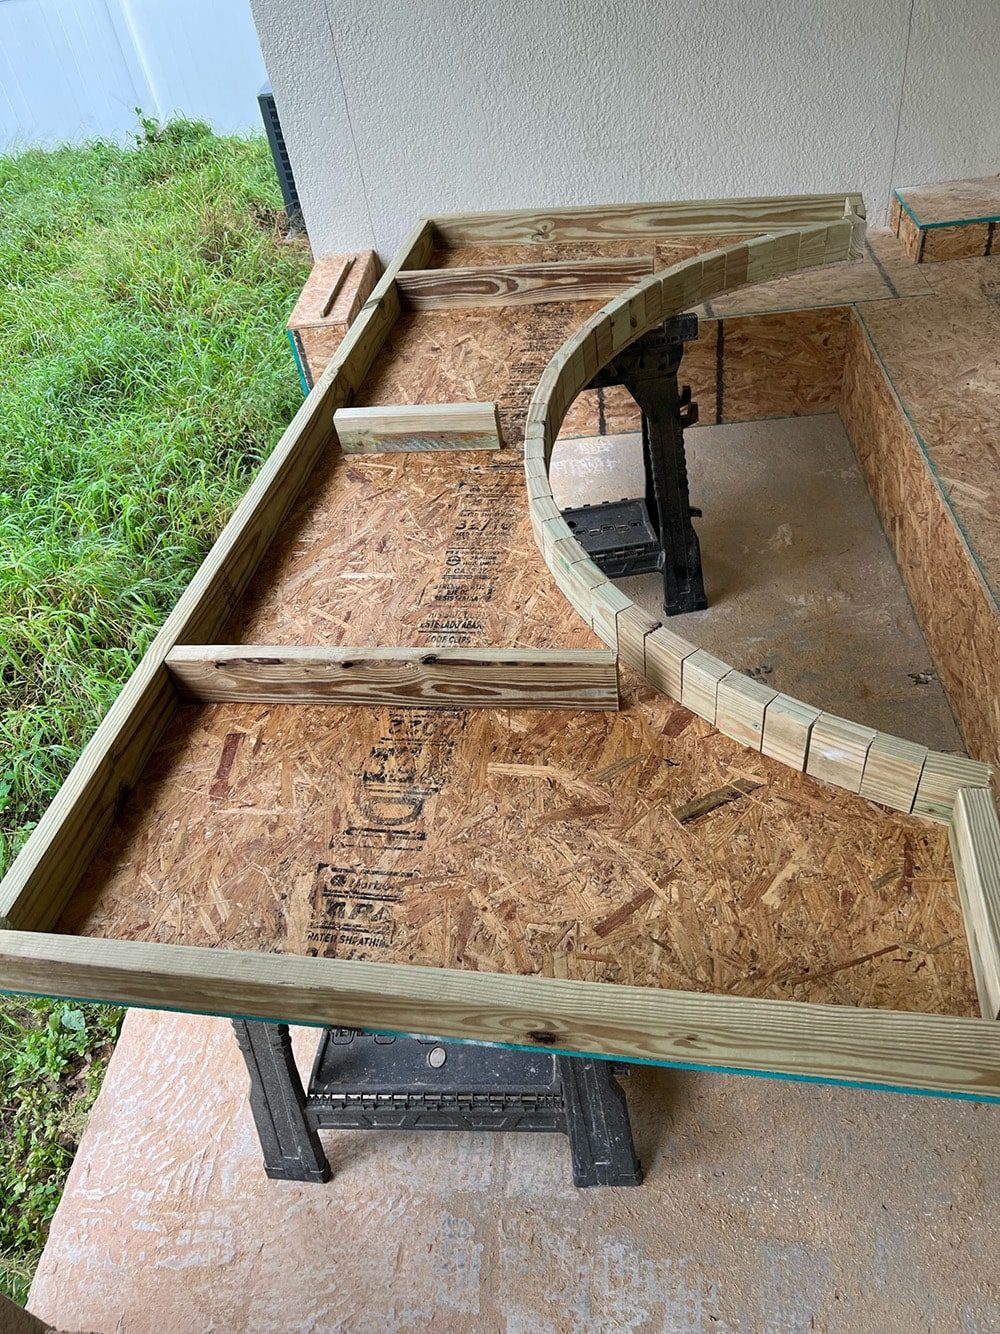
He started by building a unfussy 2×4' frame for the seating. This back wall is just over 8' wide and 9' tall, for reference.
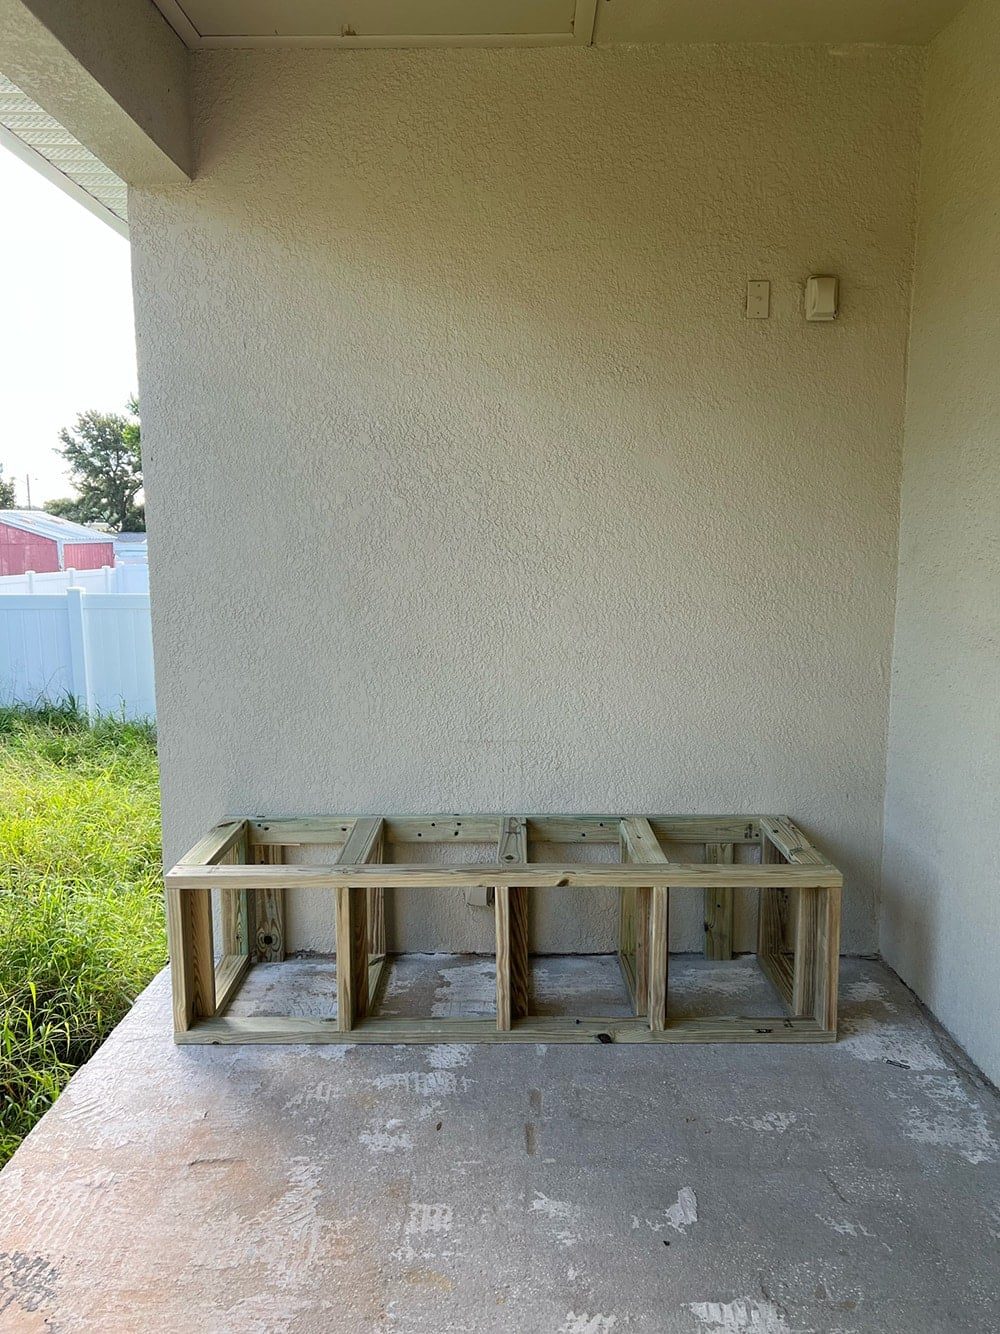
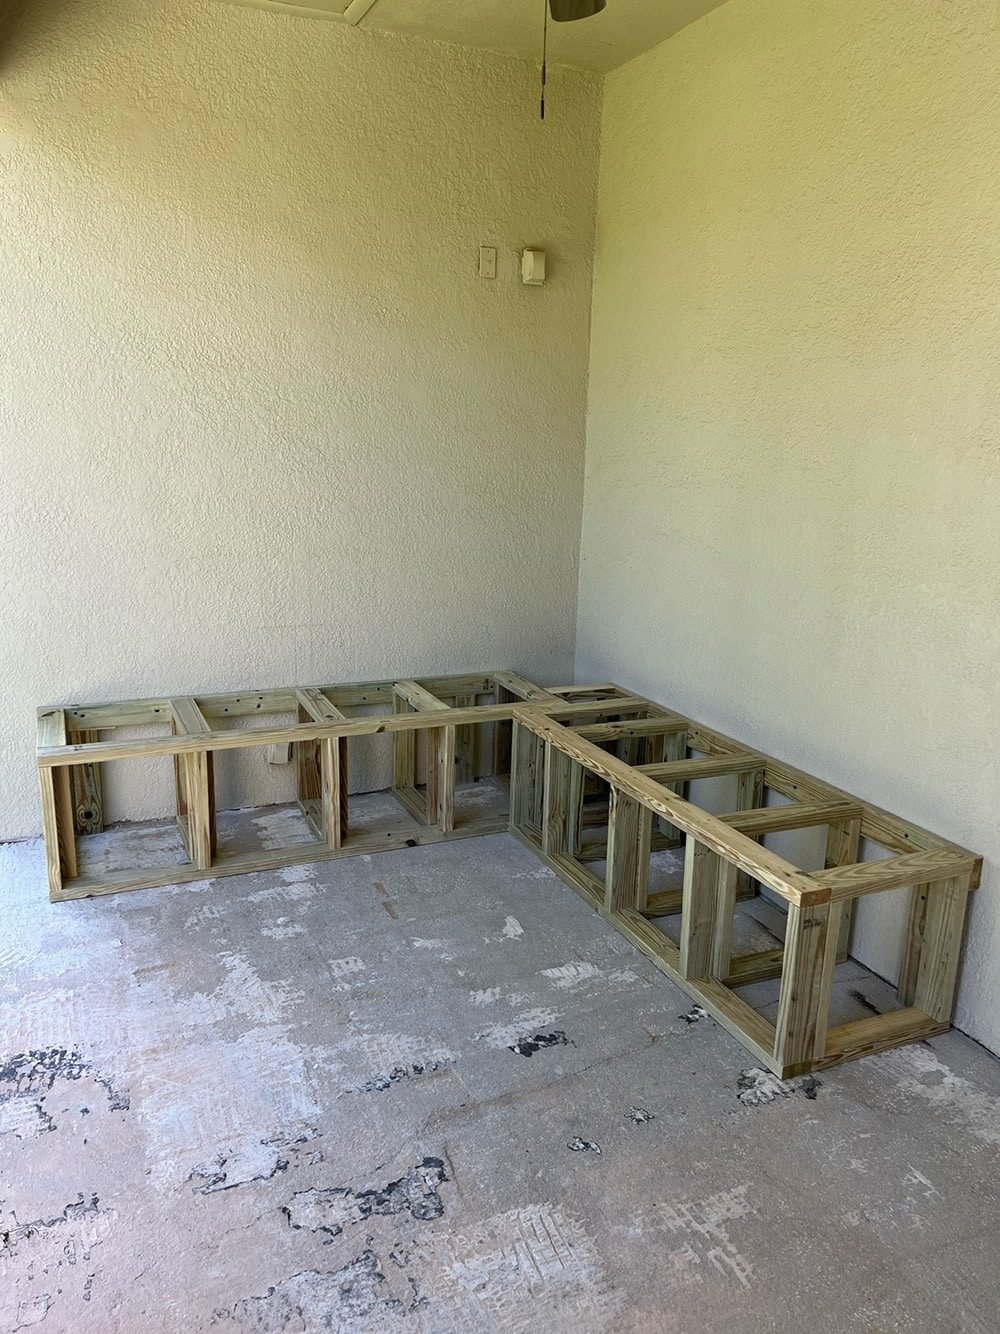
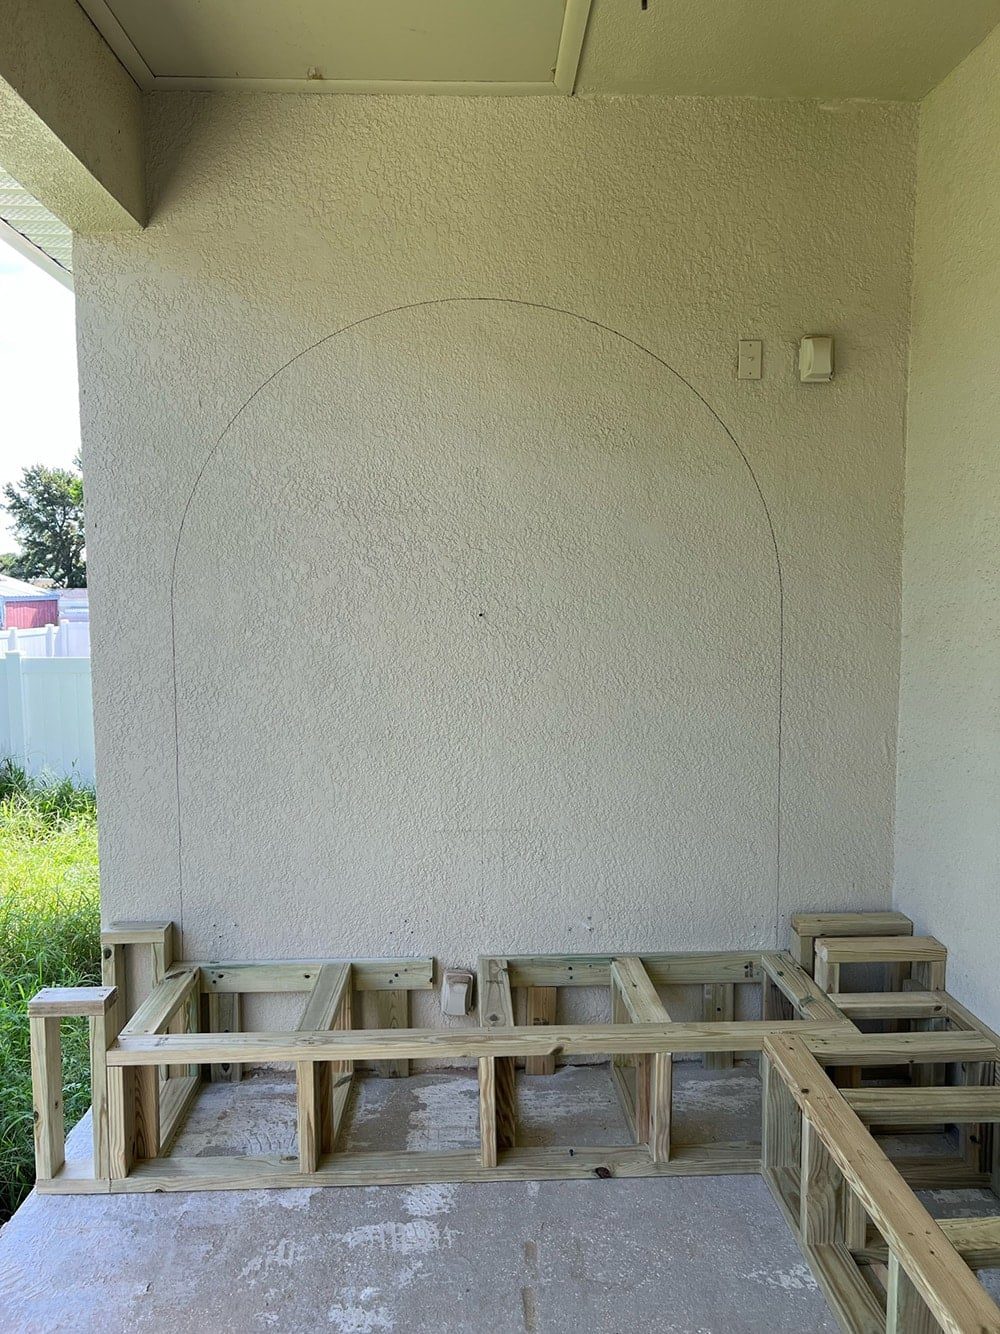
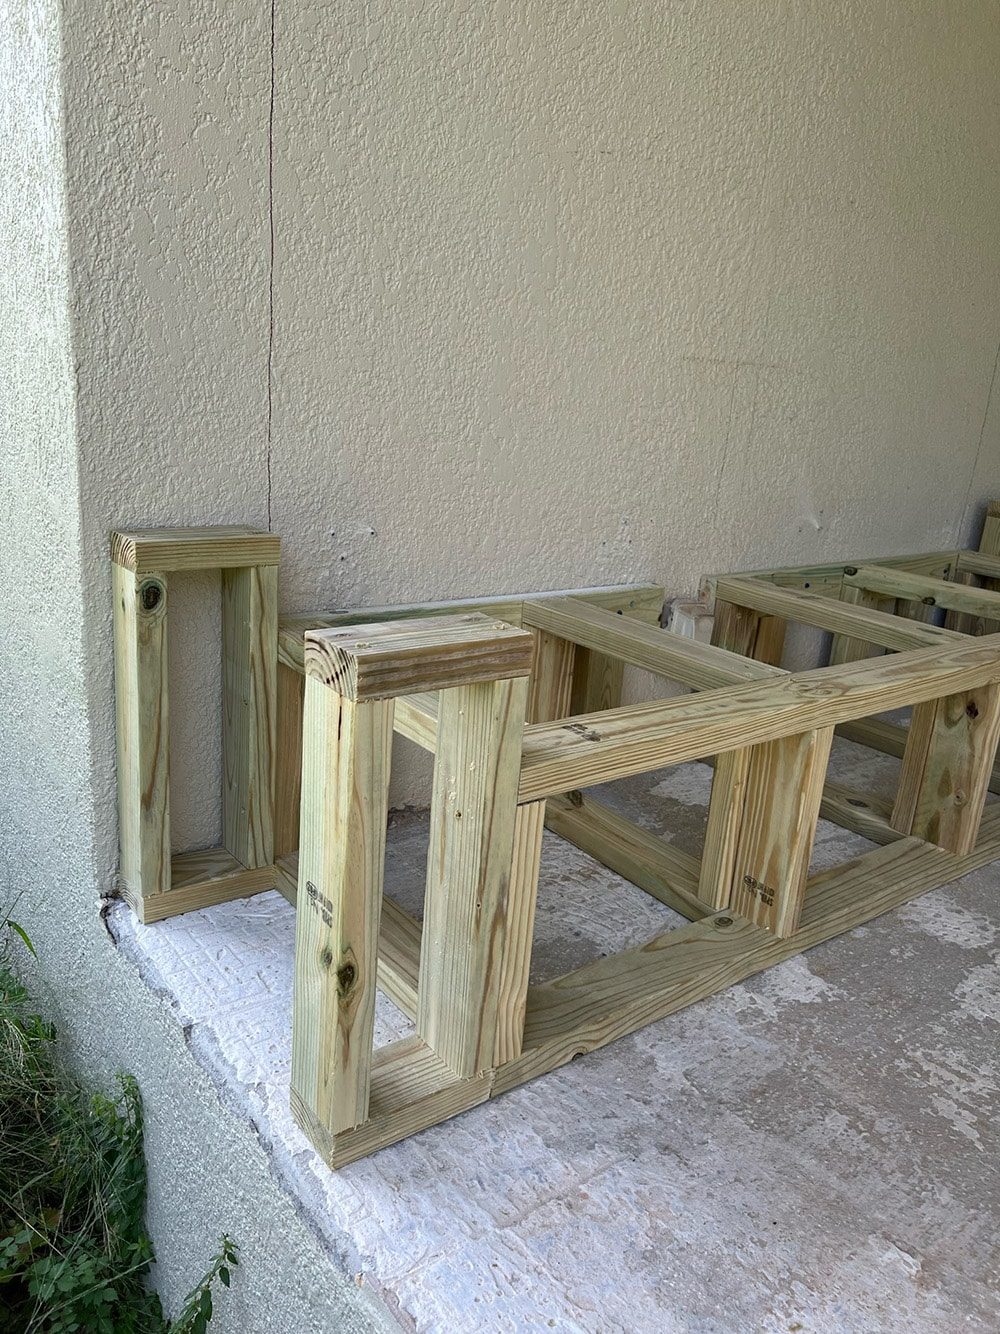
My design plan included ledges for built-in table top surfaces.
The benches were wrapped in OSB sheathing.

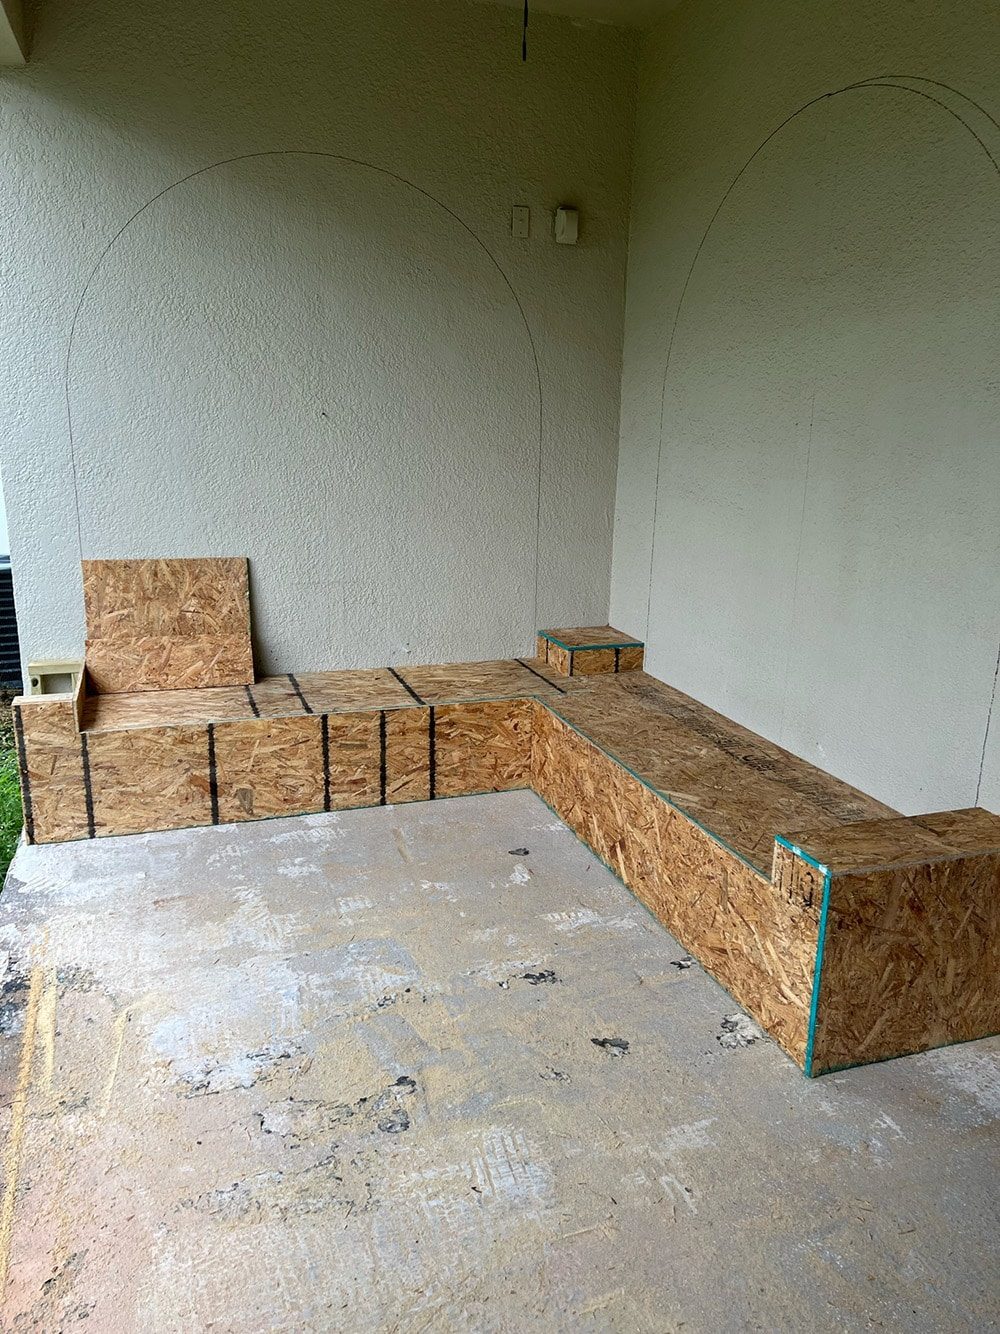
Then it was time to build the arches. Lucas drew a half-round arch on each wall (using the screw and string method) measuring 73″ wide and 94″ from the ground.
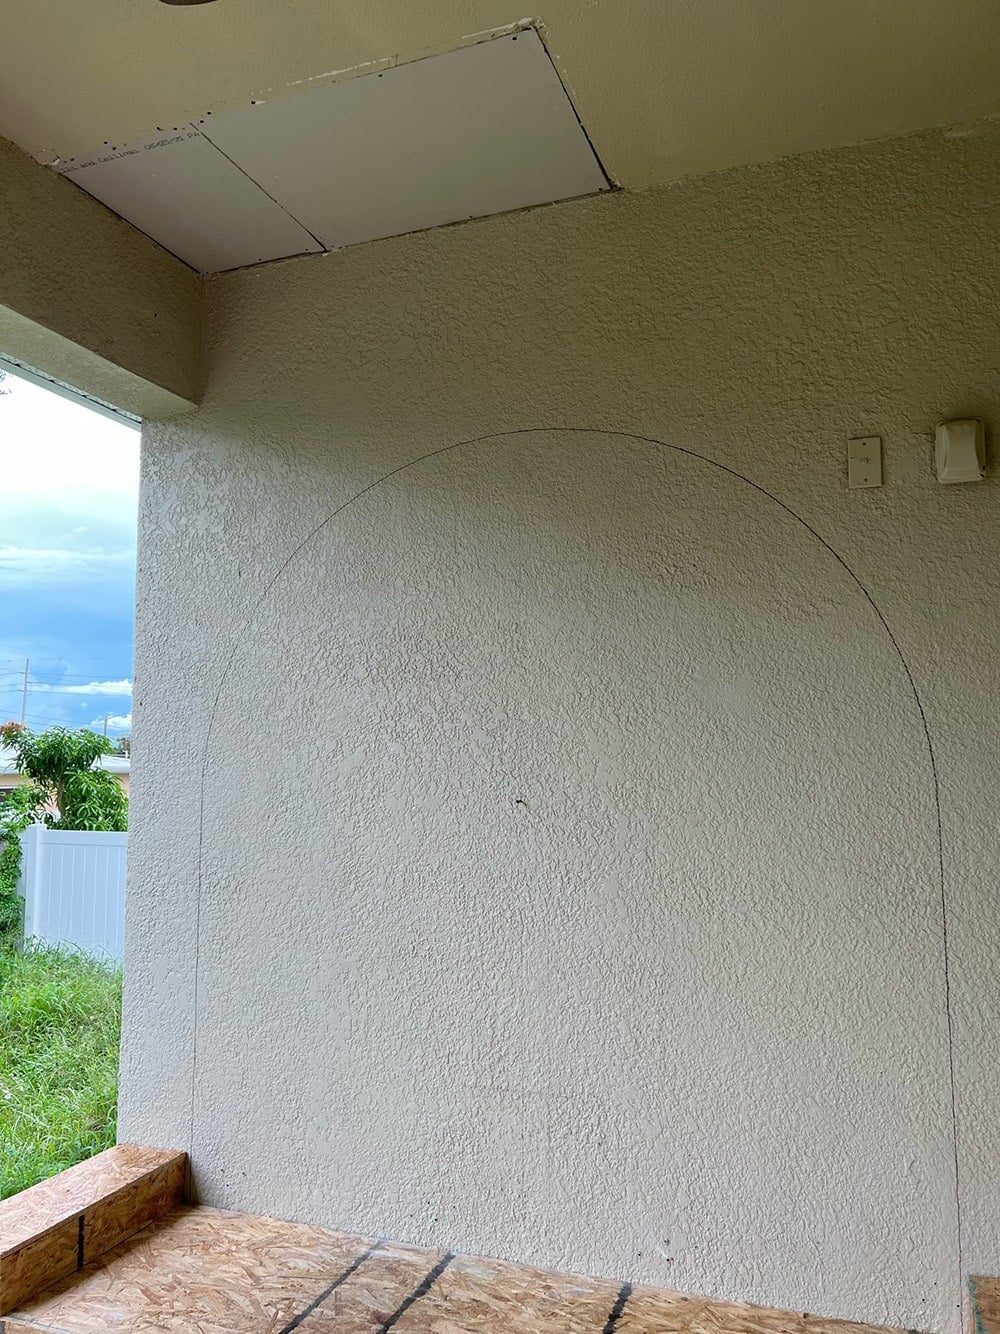
He cut out the shape on the sheathing, and held everything up for a test fit.
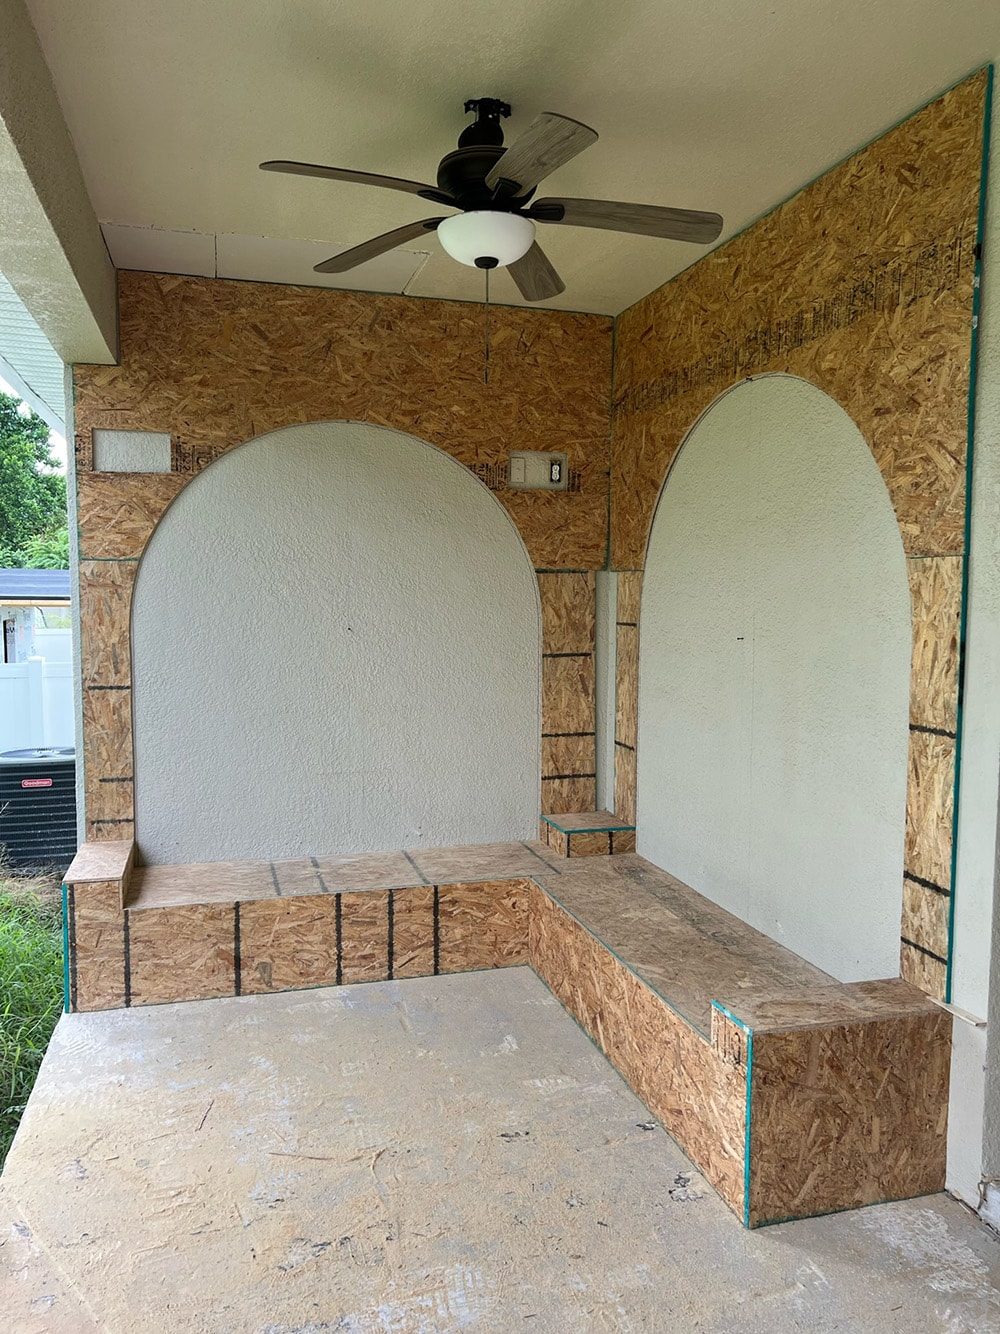
Next, he added 2×4 blocking to the back of the arches and attached it to the walls.
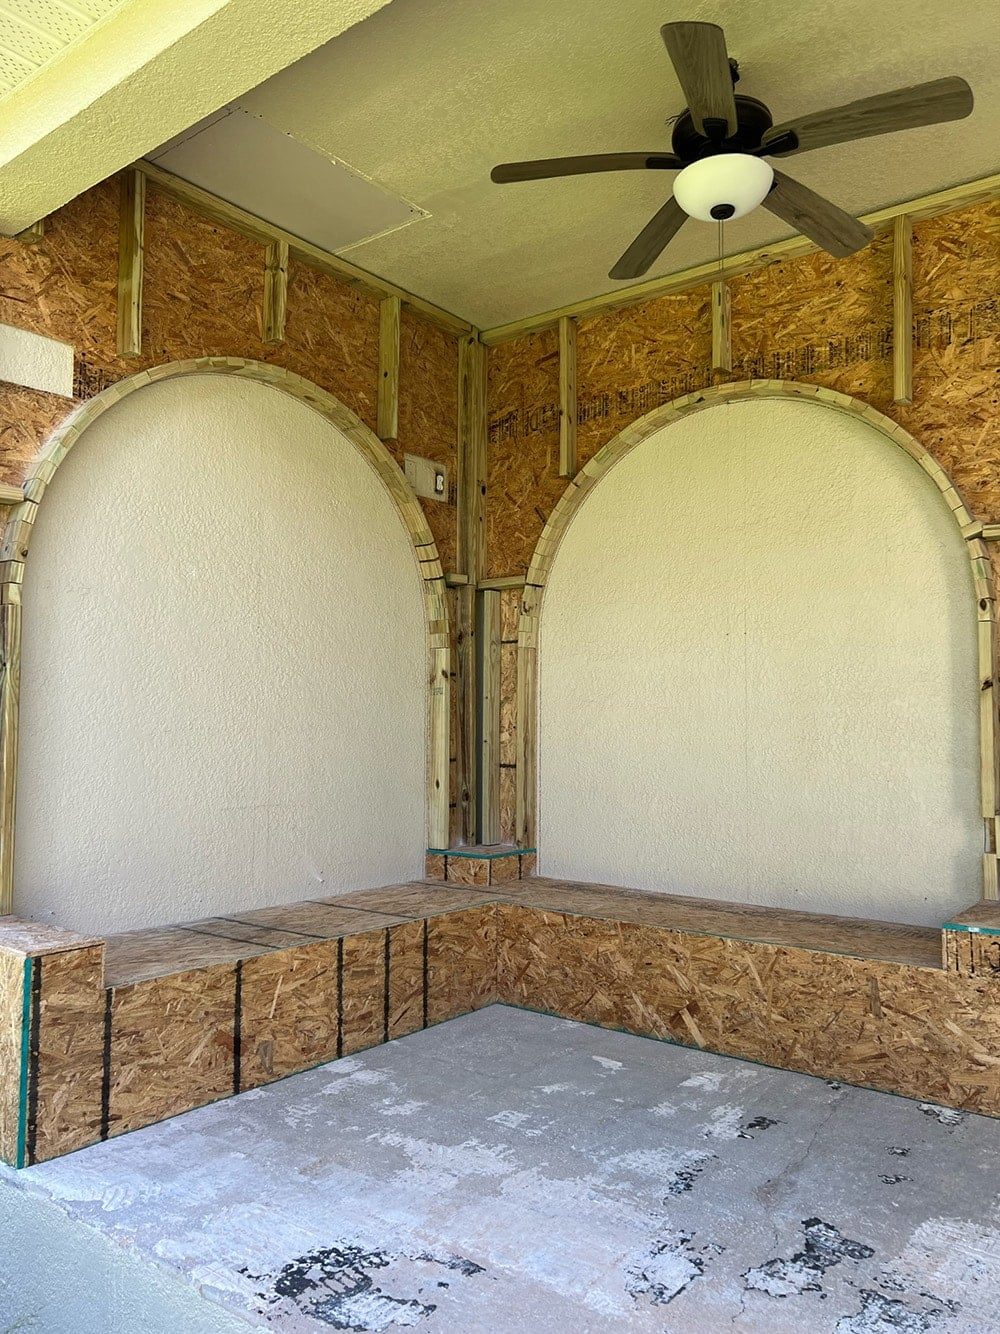
Finally, the front of the arches were covered with sheathing.
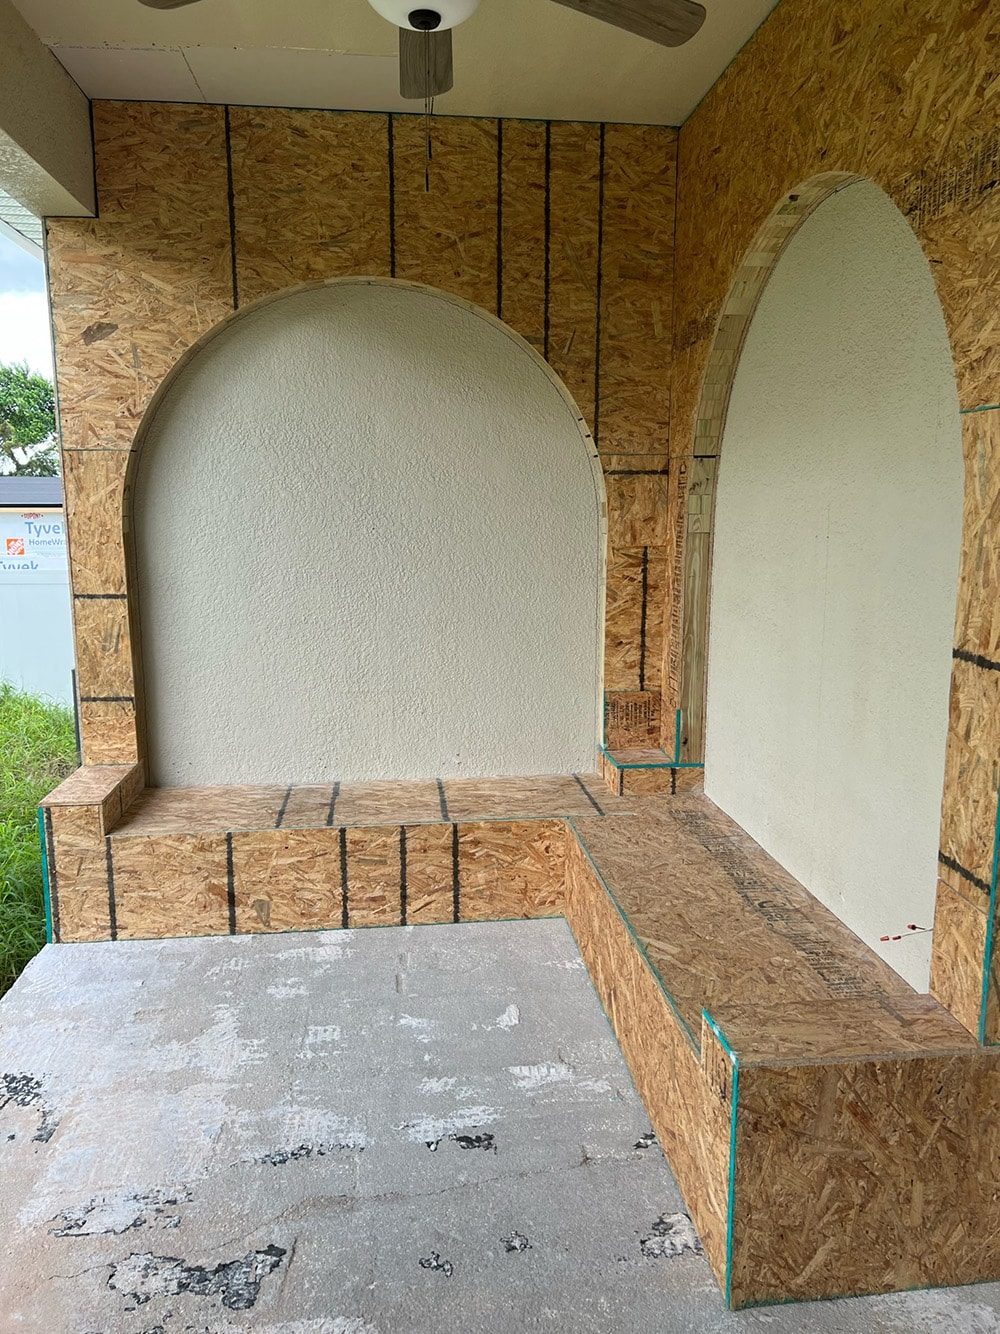
Arched Opening
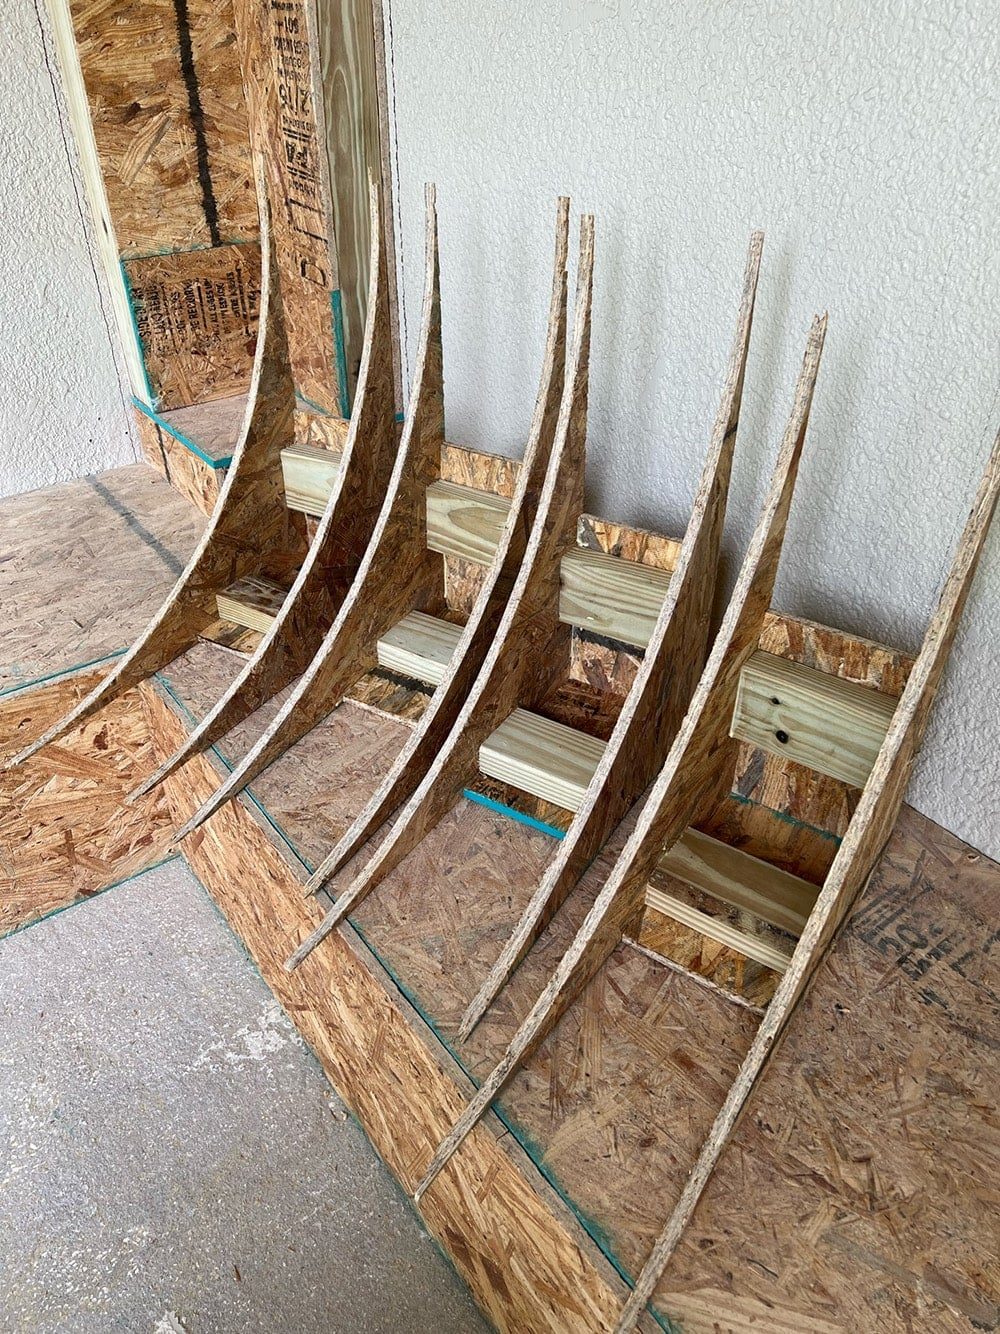
While we were adding arches to the patio, we figured we may as well make a few more for the top corners. The lackluster squared opening of the original house was just not working with the new design…

Lucas whipped up these arch sandwiches (you can find more details about how to build these in my DIY arched doorwaypost):

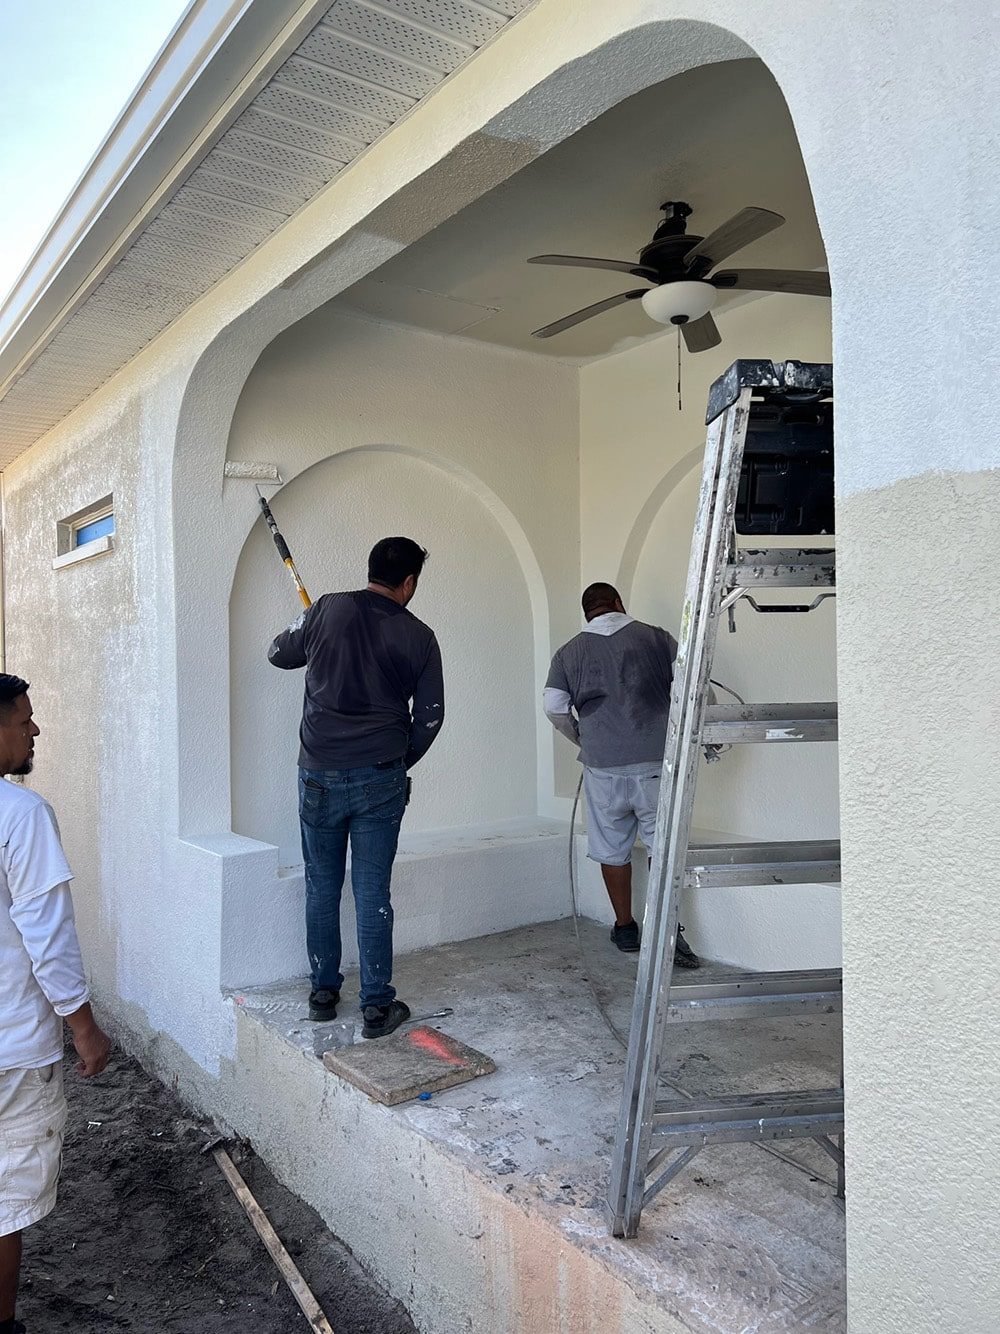
The next step is one we were smart enough to hire out: stucco. This requires several steps and expertise we do not have, so we were happy to leave it to the pros.
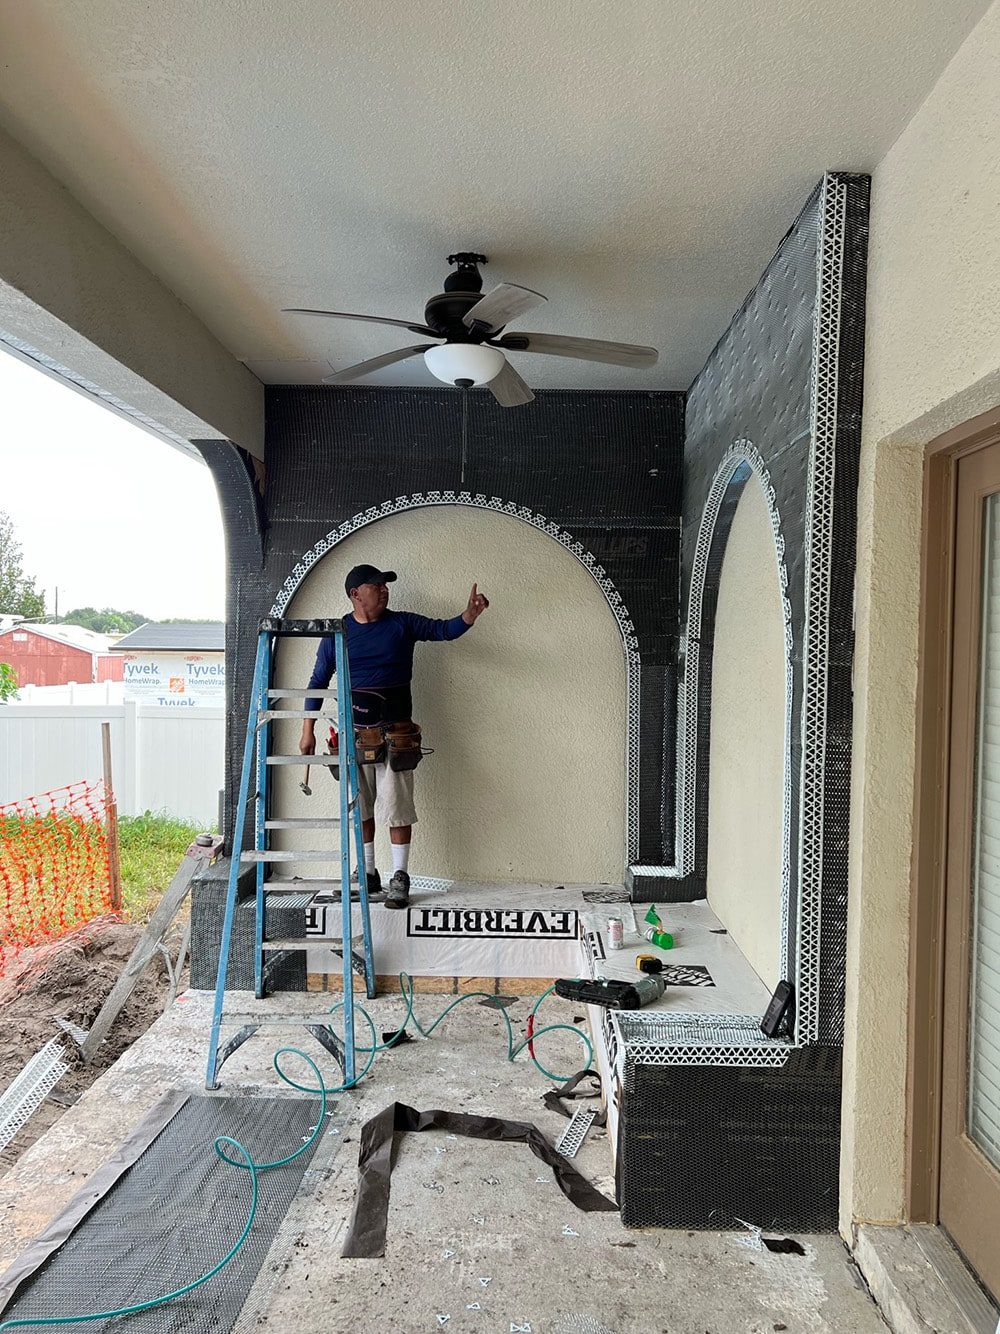
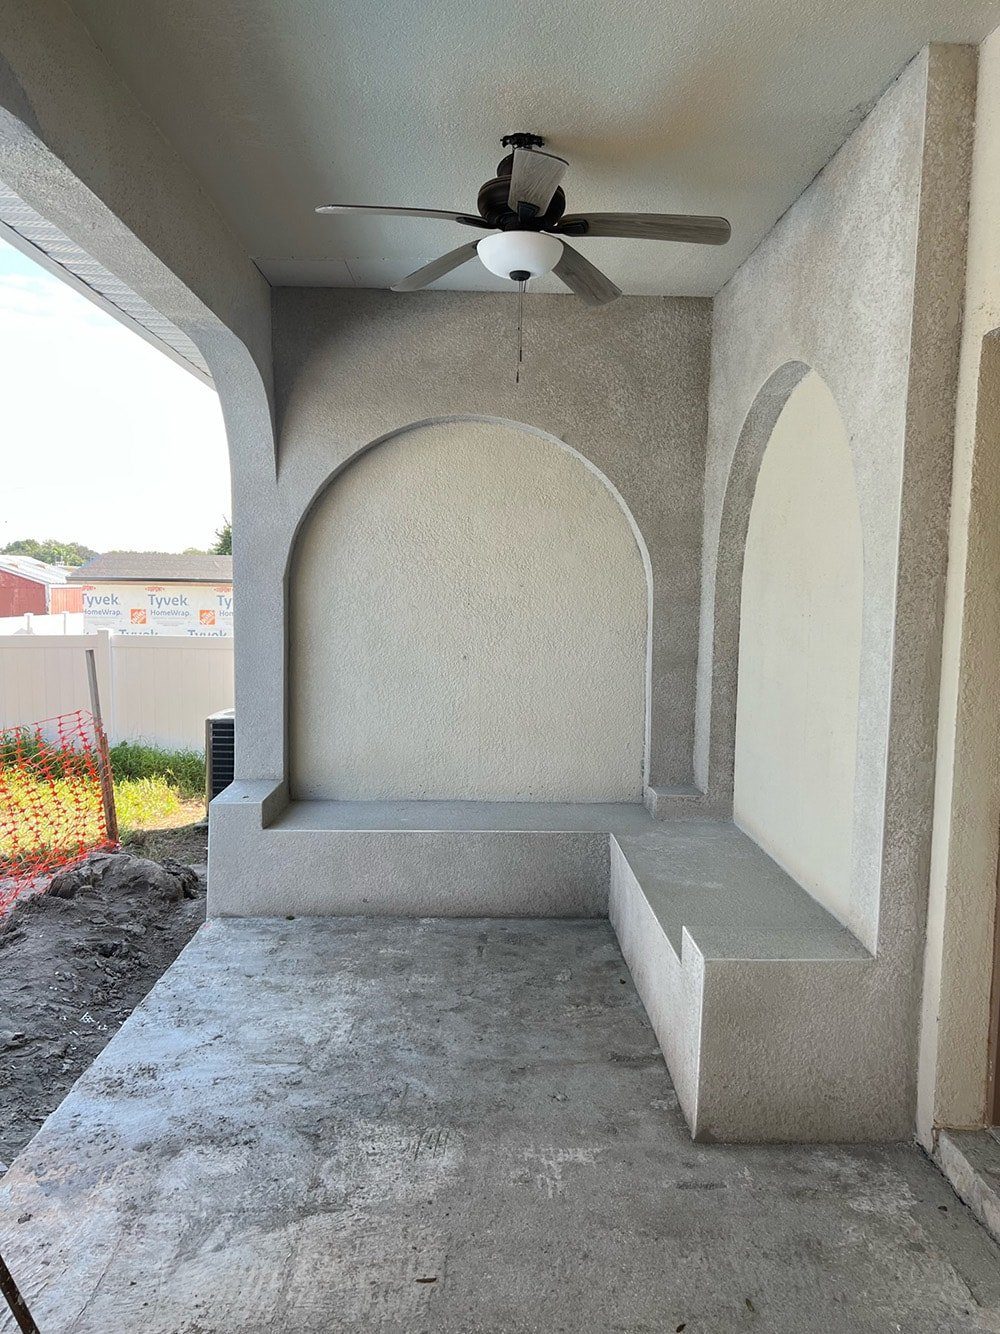
I cannot provide instructions for this part unfortunately, but here are some progress photos!
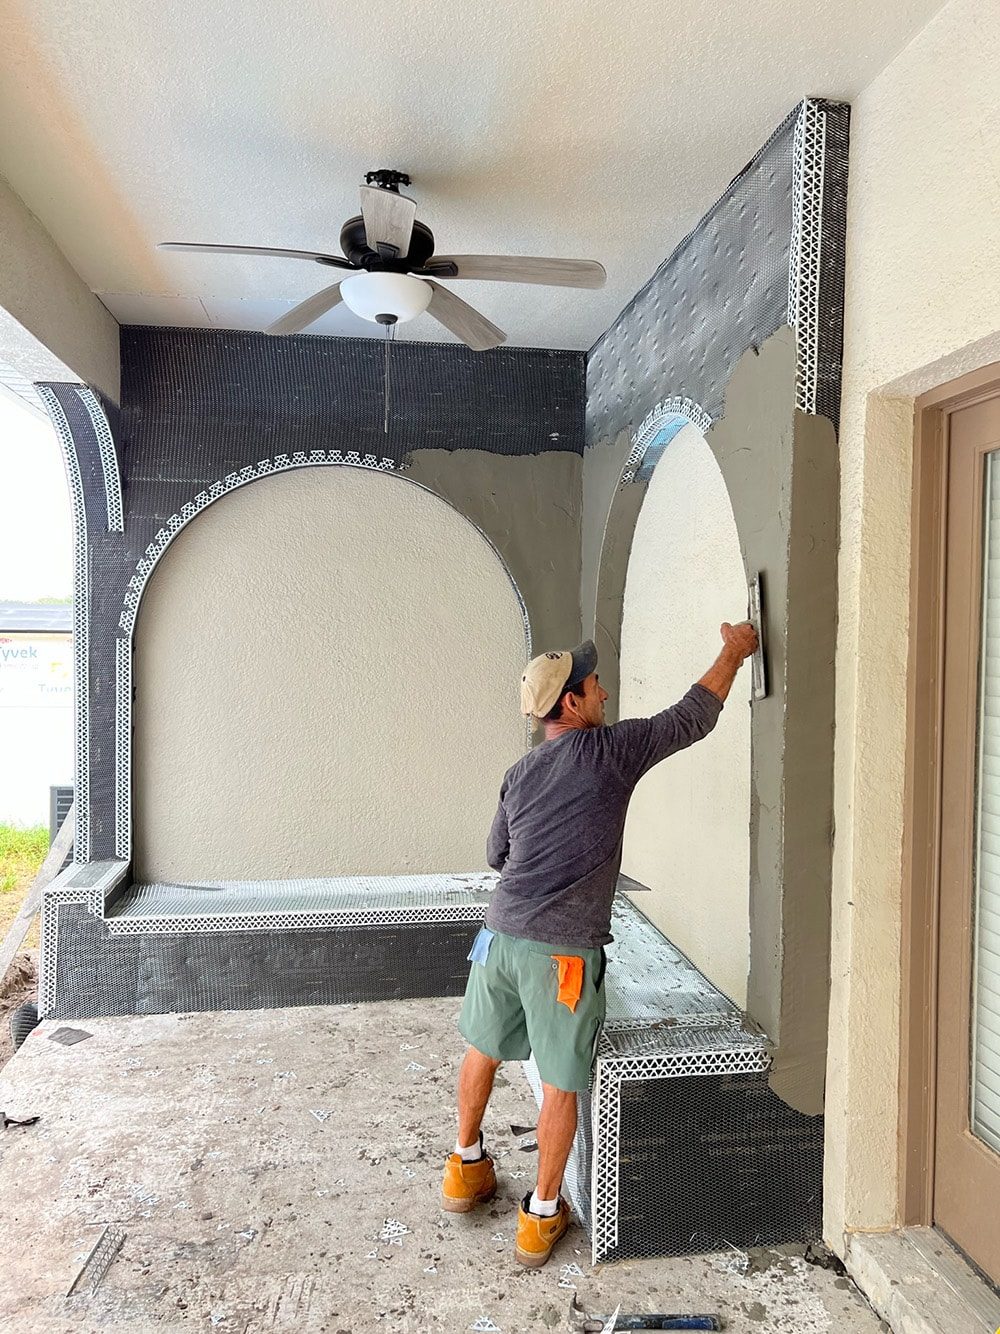
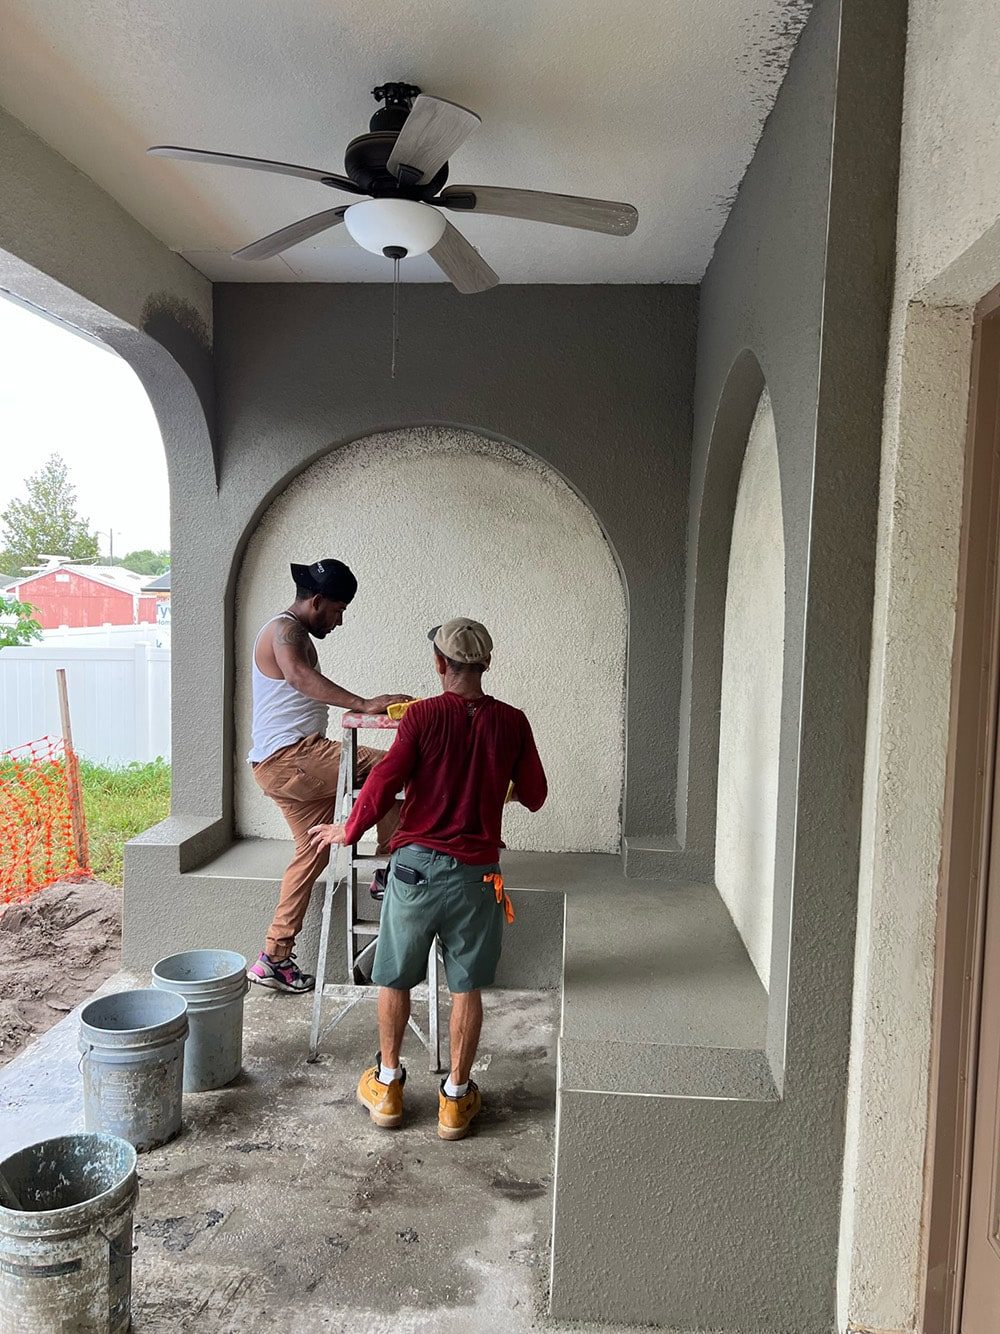
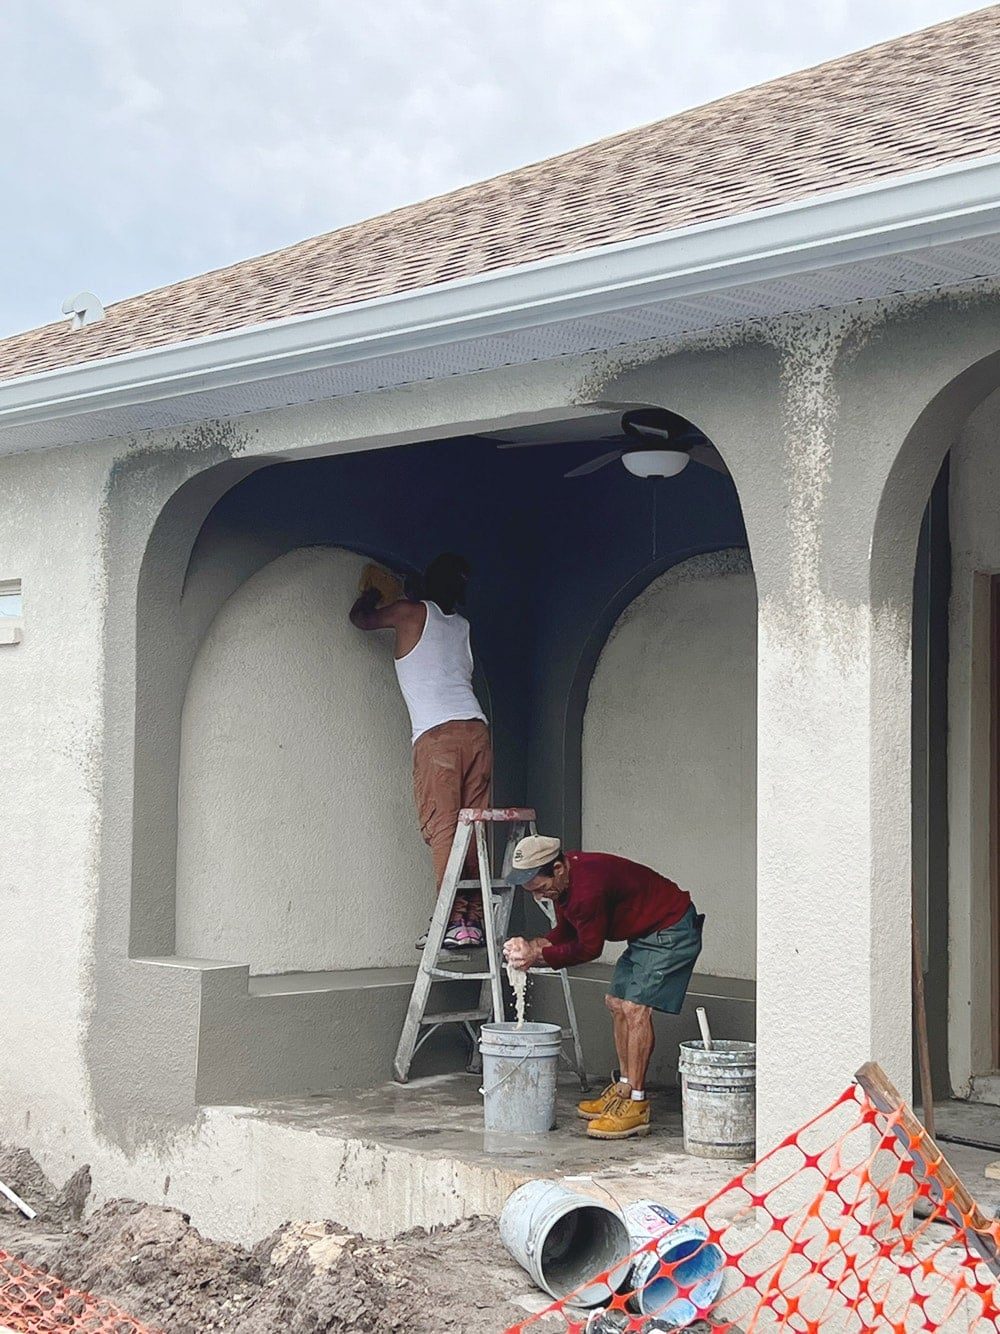
I was worried they would not be able to match the texture of the original stucco, but they did a great job.
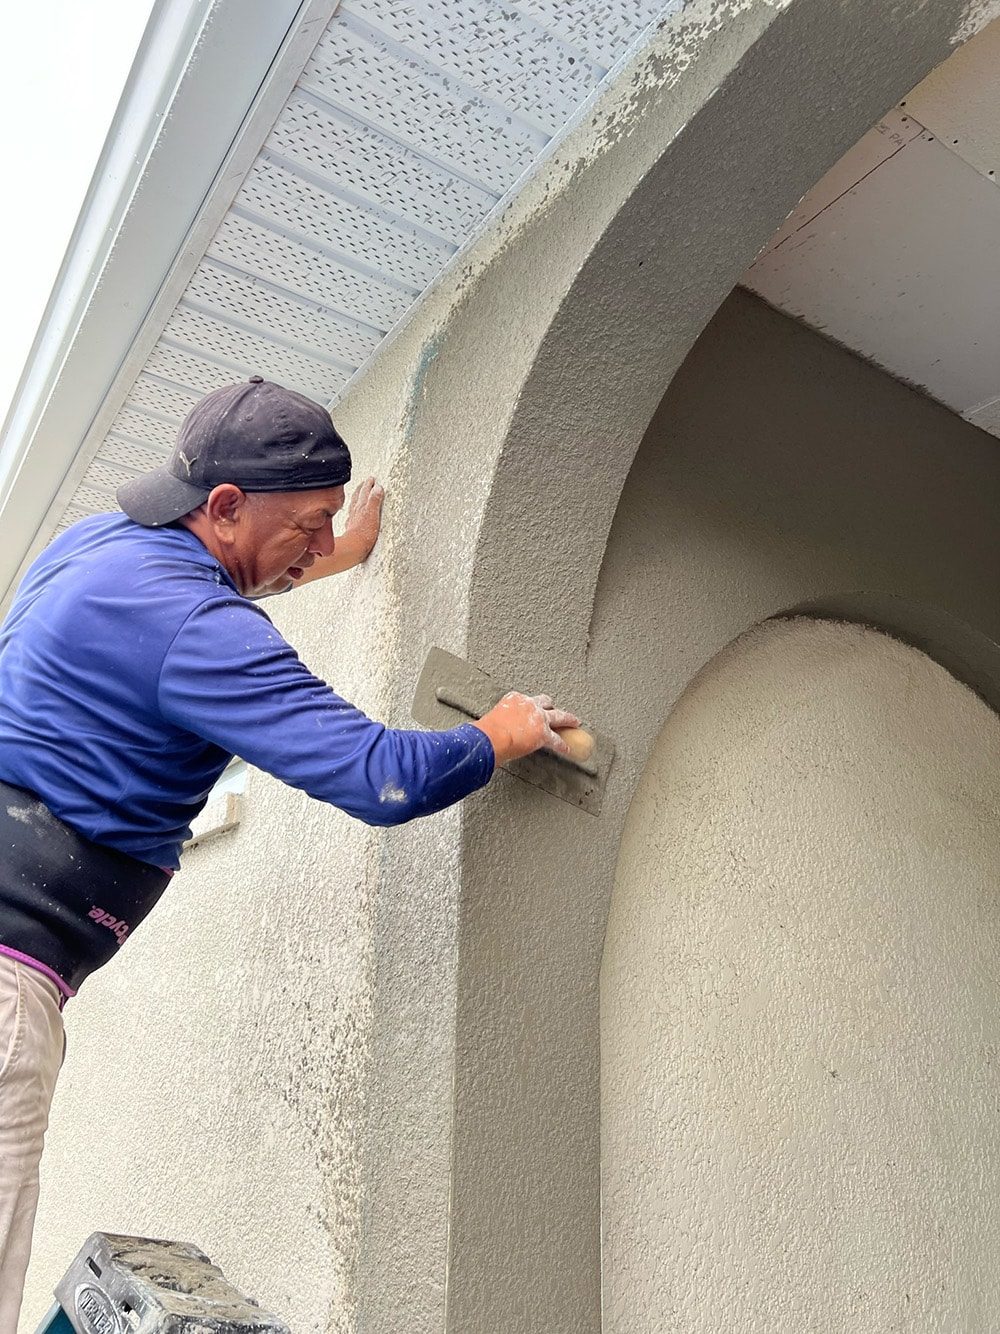
After testing out a handful of paint samples, I landed on my tried and true—Sherwin Williams Alabaster. This is also the color of the interior walls.

It genuinely is the well suited creamy white that looks good in every lighting.
I also grabbed two of these lanterns for a steal—they have unfortunately since gone out of stock!
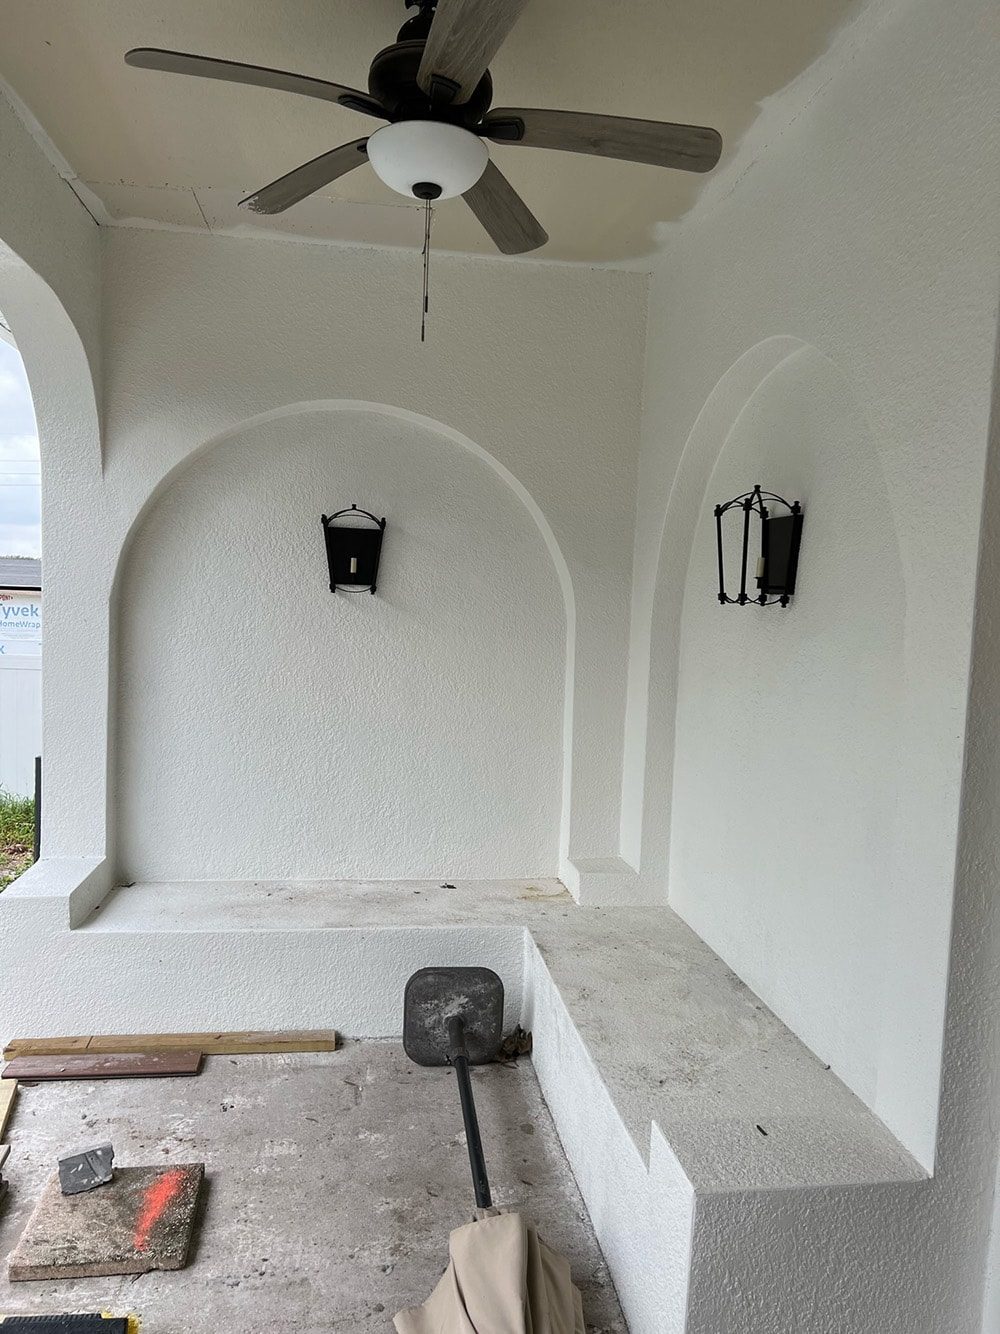
This portion was completed back in November, and the patio remained unchanged until last month, when Lucas began working on the ceiling.
Wood Ceiling Beams
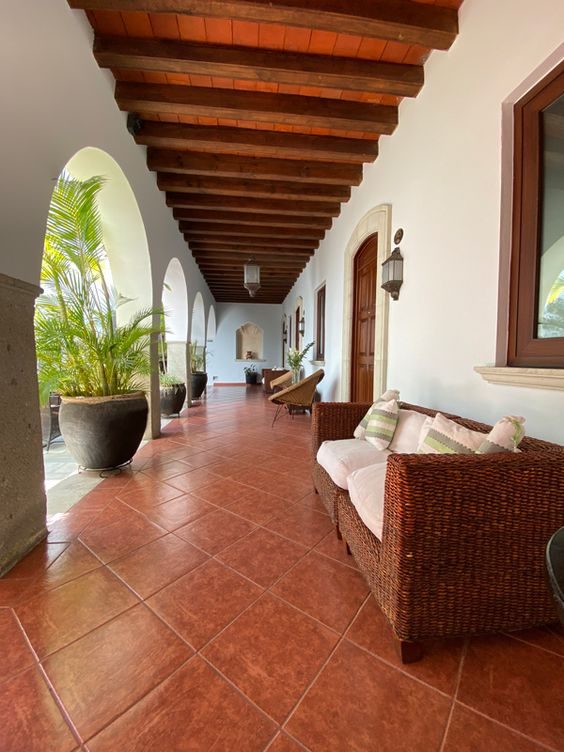
Inspired by the rich wood beam porch ceilings in traditional Spanish-style architecture, we set out to recreate the look with inexpensive pine lumber.
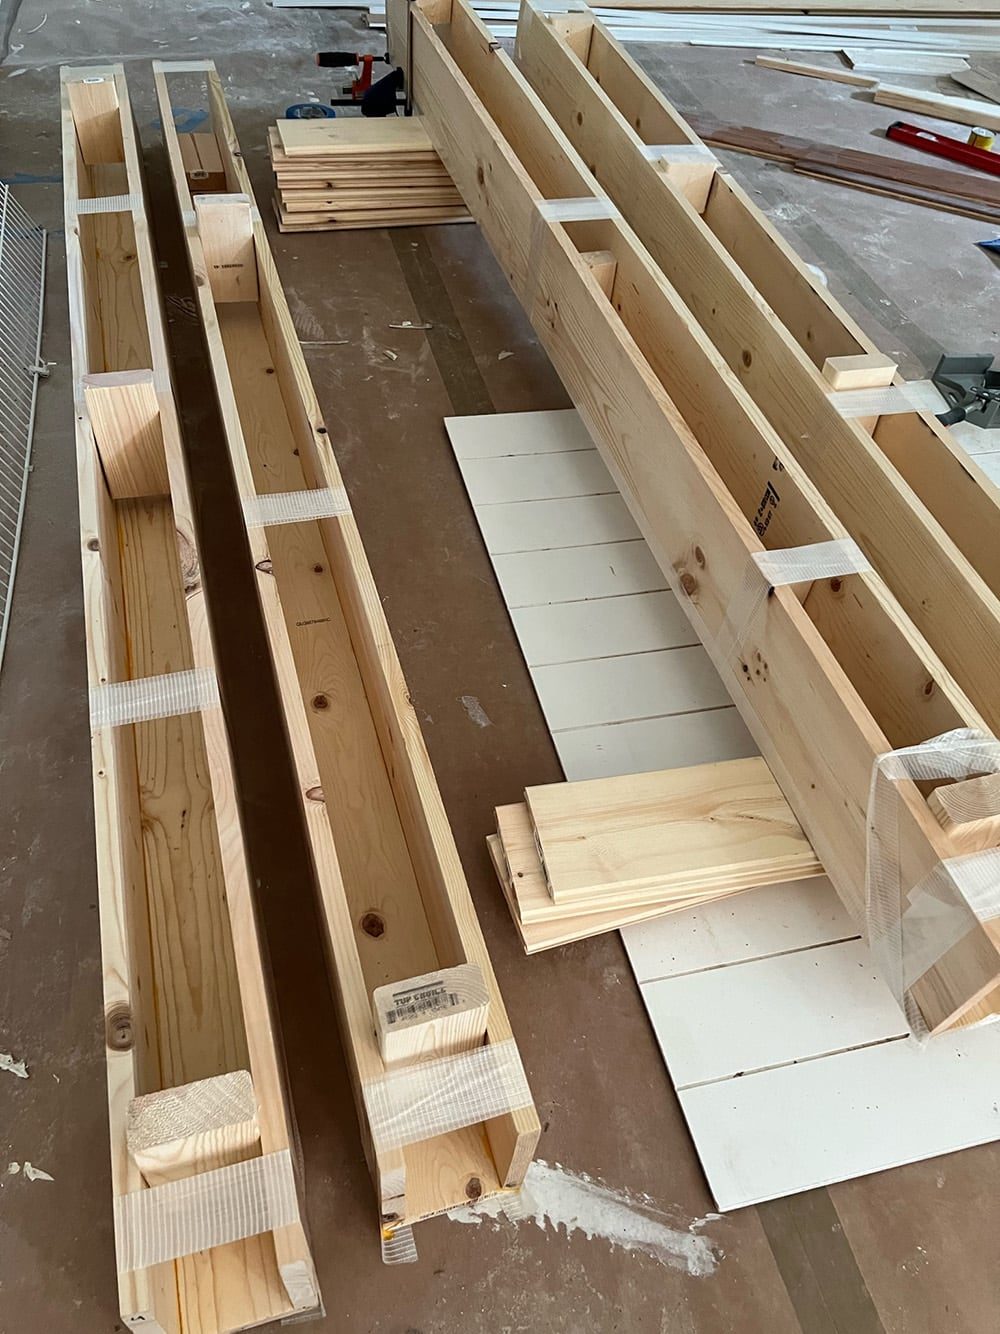
Lucas constructed the beams with our go-to method—you can find a detailed tutorial in my DIY box beams post.
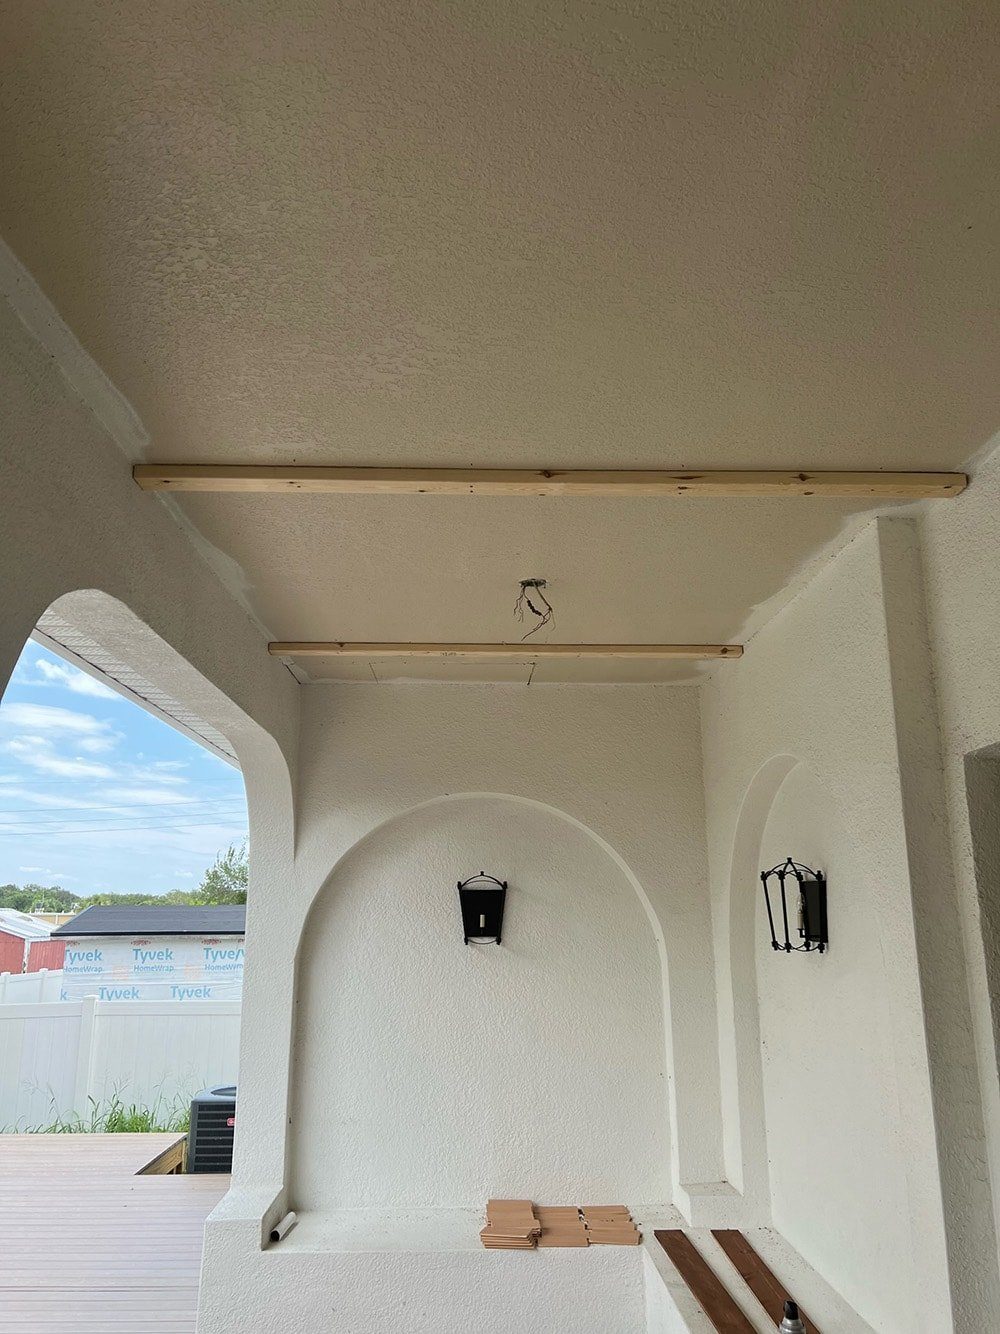
We also added tongue and groove planks, stained using Valspar semi-transparent exterior stain in the color Potato Skin.

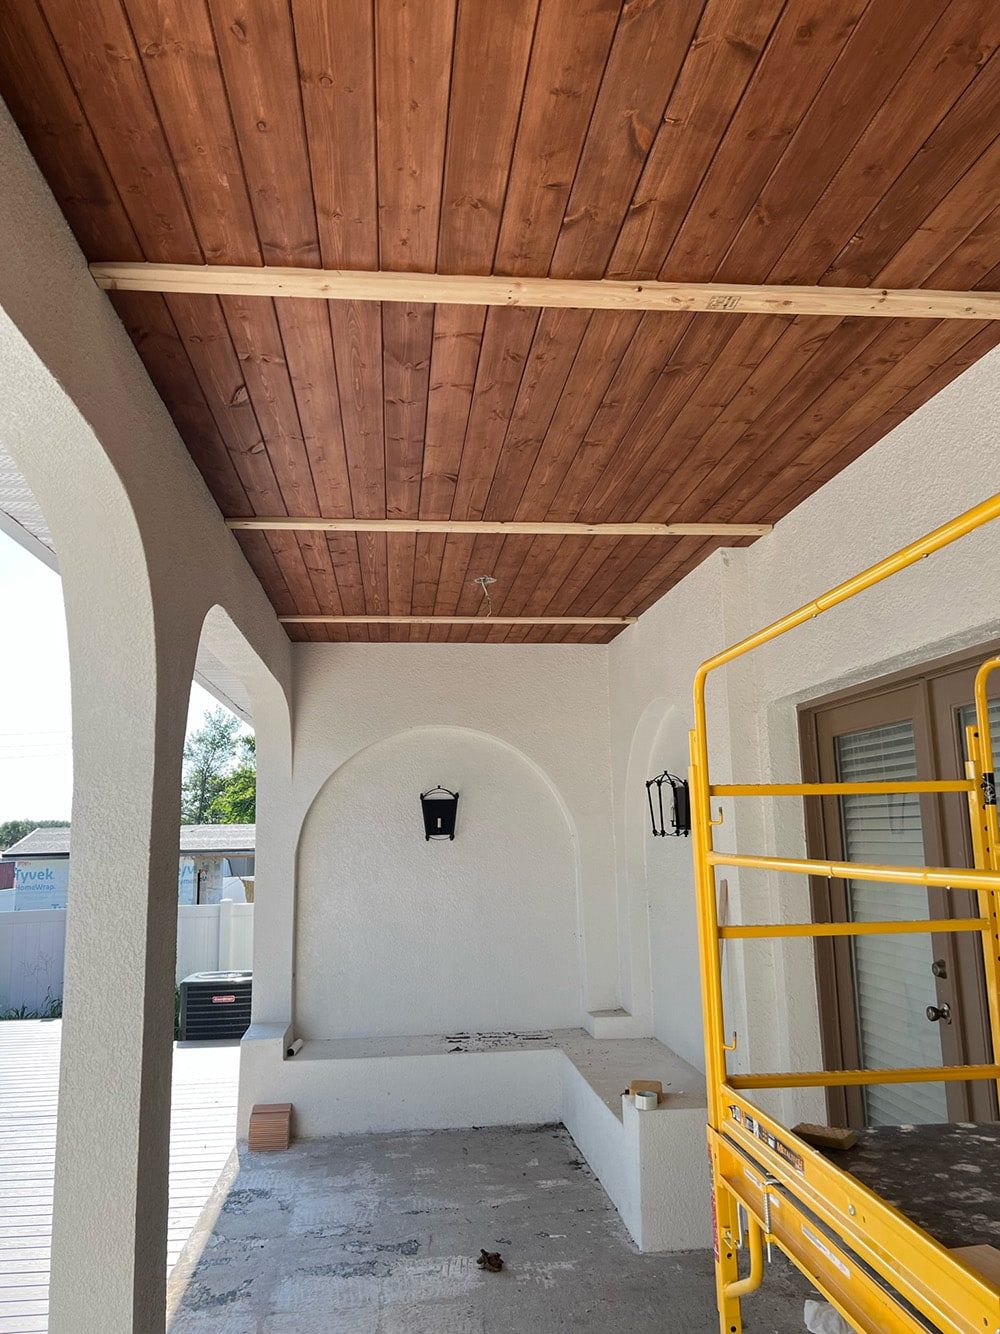
It cannot be overstated how much of a difference ceiling beams make—indoors or out! They completely transformed this patio.

We replaced the old outdated fans with these sleek 3-blade fans.
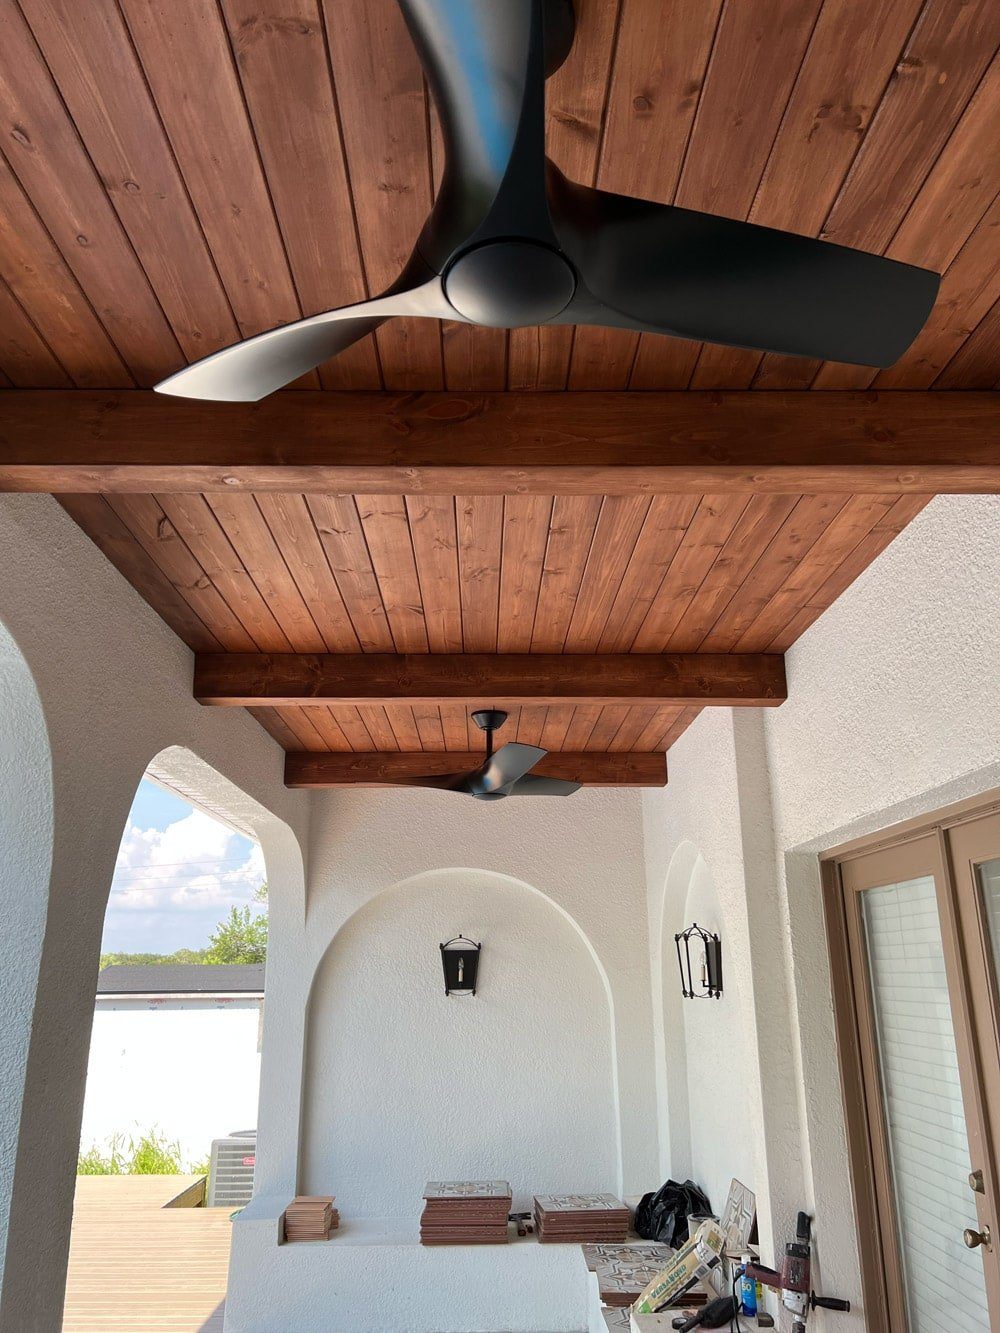
The ceiling was completed over the course of five days, and cost $1,102 in lumber and stain. It is my favorite feature, and 100% worth every penny and hour spent!
Floor tile
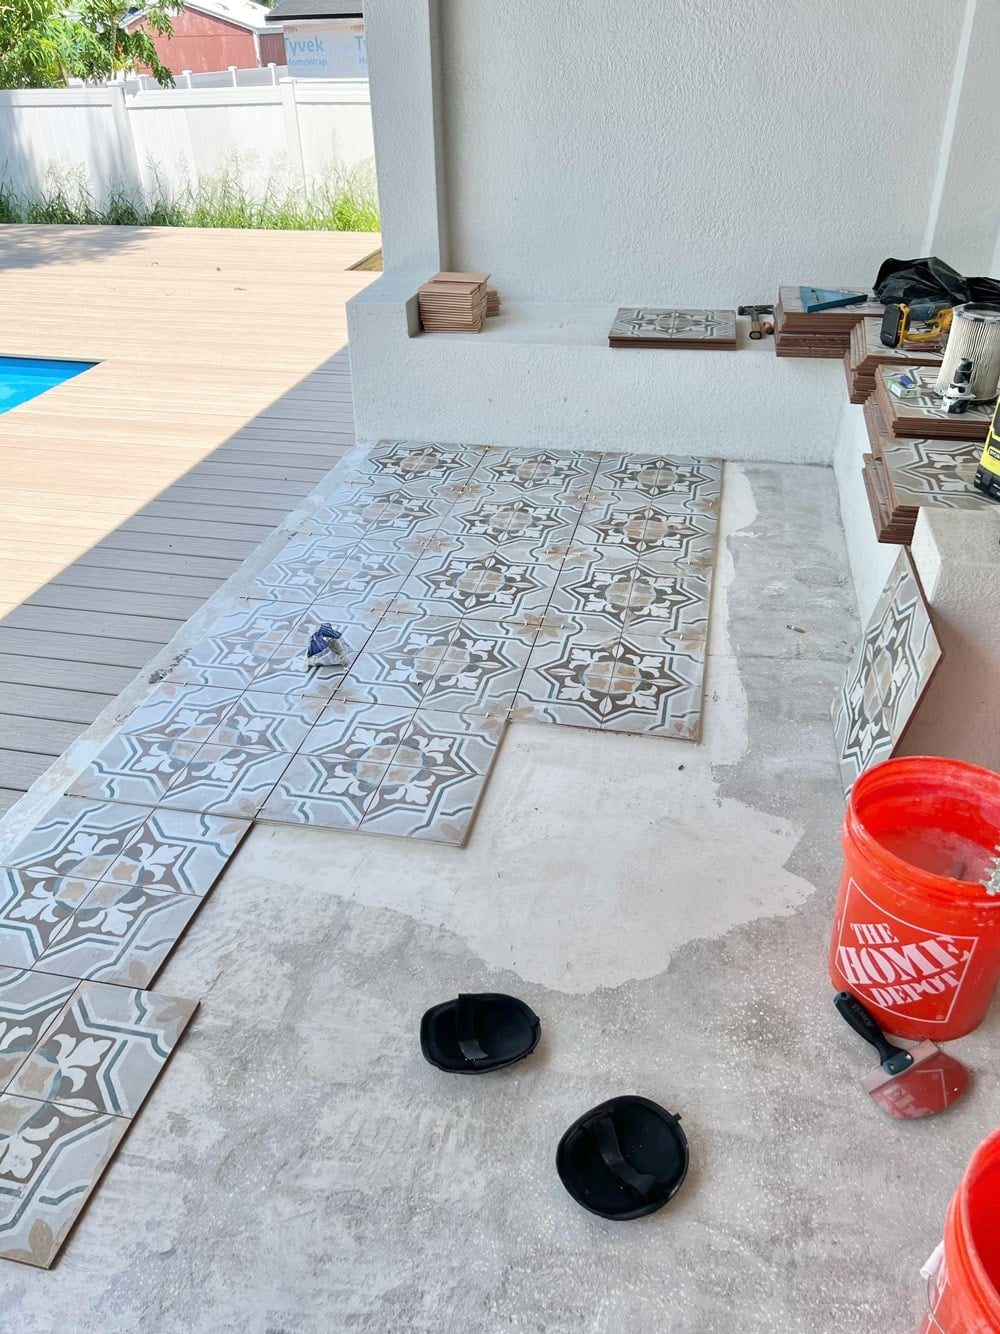
I went back and forth on the tile selection so many times, before finally landing on this fun patterned ceramic tile.The style is a mix of Spanish/Mediterranean, the colors coordinate with the interior of the home, and the design is eye catching and fun but not too trendy IMO.

The edge is lined with handmade terra cotta bullnose tile, which is also used on the front porch and steps.
Porch Reveal
The porch is about 90% done—this is how it looks today!

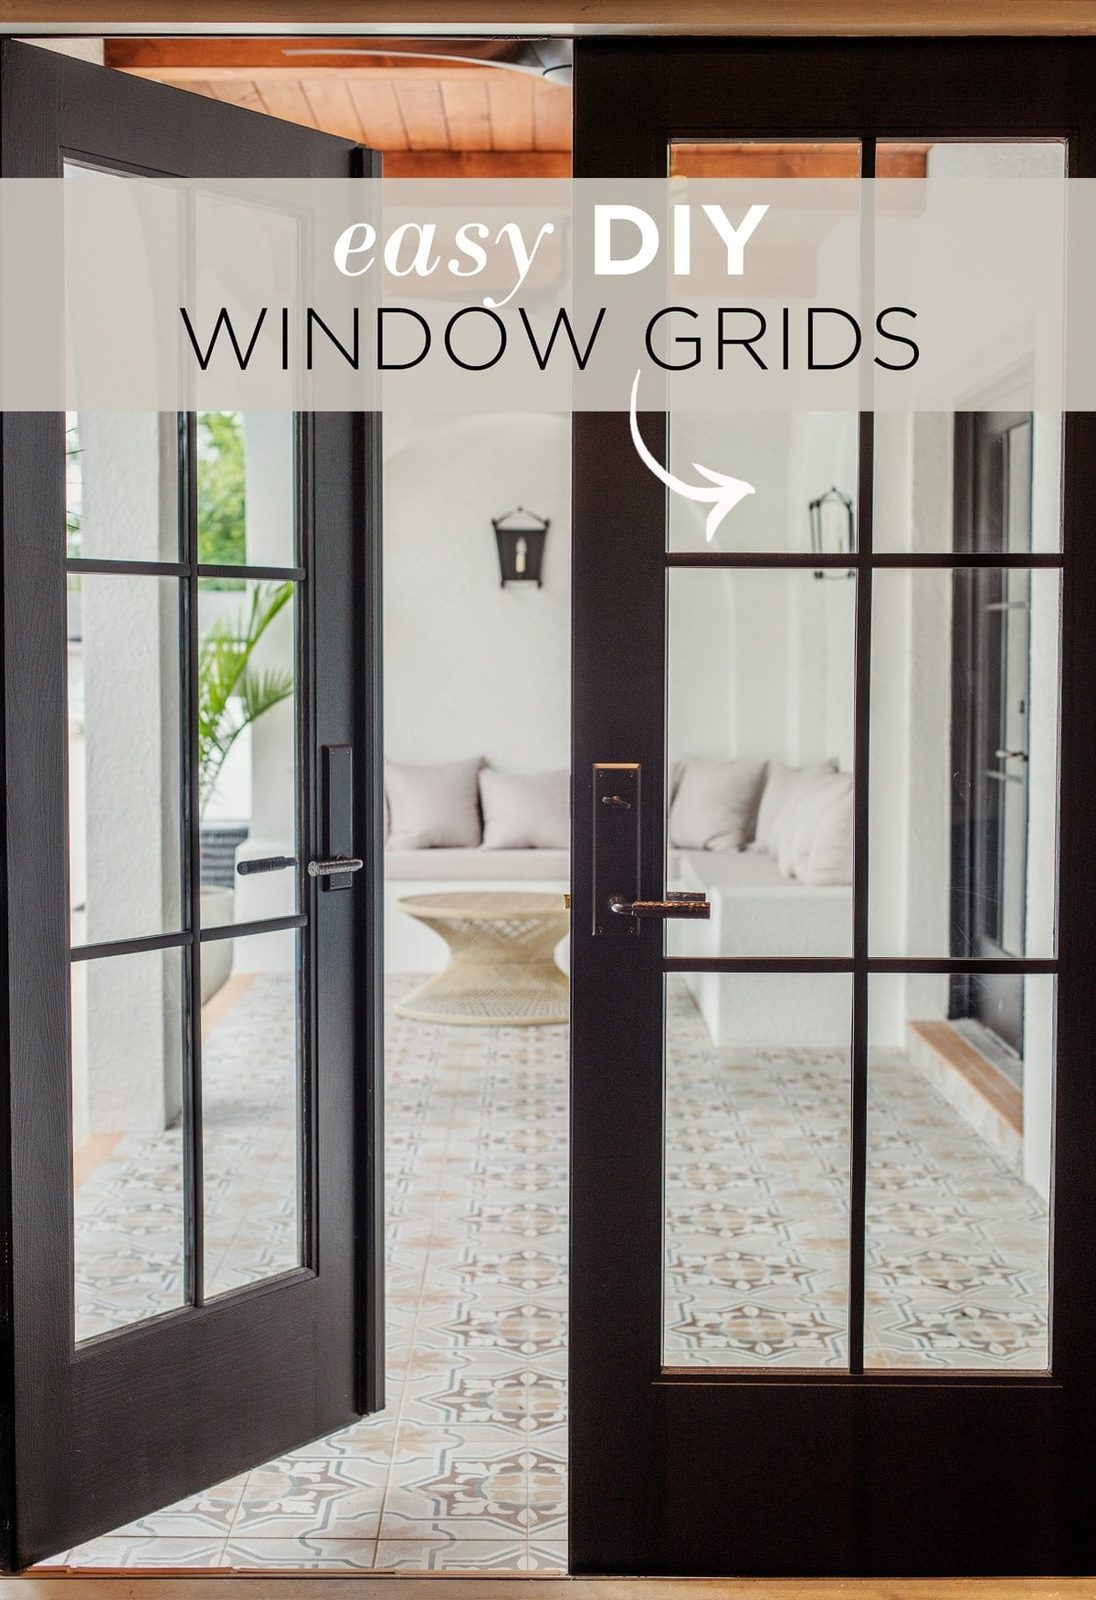
It helps to keep our new outdoor ceiling fansand they are on sale, too. We still have to update the doors and window, which we are starting on today. Update: check them out in my easy DIY window grids post!

I found a seller on Amazon to make custom seat cushions in the exact shape and size I needed. They were great to work with, and even made matching pillow covers in the same faux linen fabric!

I am so glad we spent the time and energy on creating this custom built-in sofa. The arches genuinely take it to the next level and make this space truly one of a kind.

As special as the interior of this home is, we envision the backyard as the main attraction and gathering area for our guests. This unique Mediterranean-style patio is one big step towards that vision!

Cost breakdown
| DIY sofa/arch supplies | $611 |
| Stucco (labor) | $1,750 |
| Paint (labor) | $1,100 |
| Wood beam ceiling | $1,102 |
| Sconces and fans | $955 |
| Tile | $3,300 |
| Tile install | $2,300 |
| Total | $11,118 |
This makeover is easily one of our top bang-for-your-buck transformations! Money well spent, and we will reap the rewards for years to come.
We are working on getting the door makeover finished in time to share next week, so do not go anywhere! Make sure you are following along on my Instagram stories in the meantime for sneak peeks 🙂