DIY Door Makeover: Hollow Core to Plank Door
Upgrade your hollow core doors with this DIY door makeover tutorial! Turn any builder grade door into plank doors with this unfussy tutorial.
If you want to transform your builder grade, hollow core doors with a sophisticated designer style, this tutorial is for you! Find out how we saved money with this unfussy DIY Plank Door upgrade.

What is a plank door?
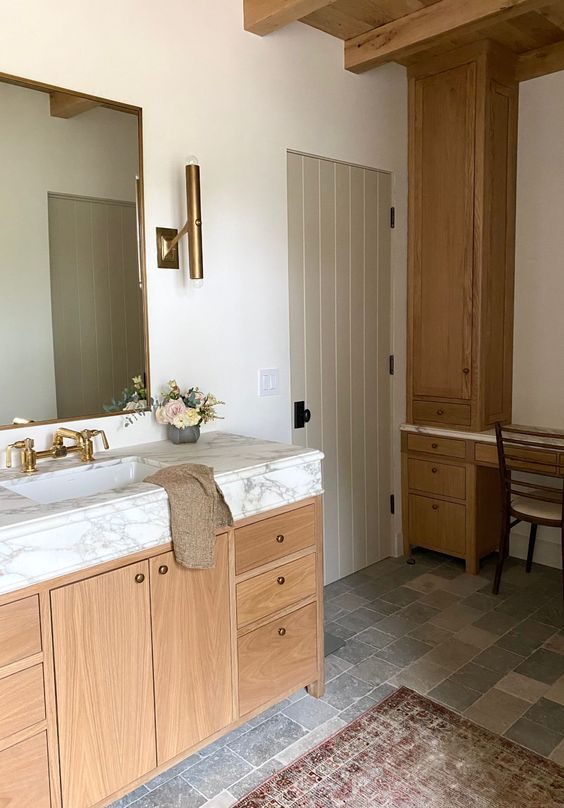
Plank style doors are the simplest and earliest types of door construction. Planks of wood are laid side by side vertically, and attached with horizontal strips through the back.
Modern plank doors are typically solid slabs of wood or MDF, with vertical grooves etched into the wood to mimic individual planks. You will often see this style used in high-end homes, from notable designers like Amber Lewis and Heidi Caillier.


Benefits of upgrading hollow core doors to plank doors
When considering door options for our Hacienda Hideaway remodel, I wanted something minimal and elegant to complement the architecture and design of the home. I kept coming back to the plank door inspiration photos I had saved, and thought I could find a unfussy solution to DIY our own (and save plenty of $!)
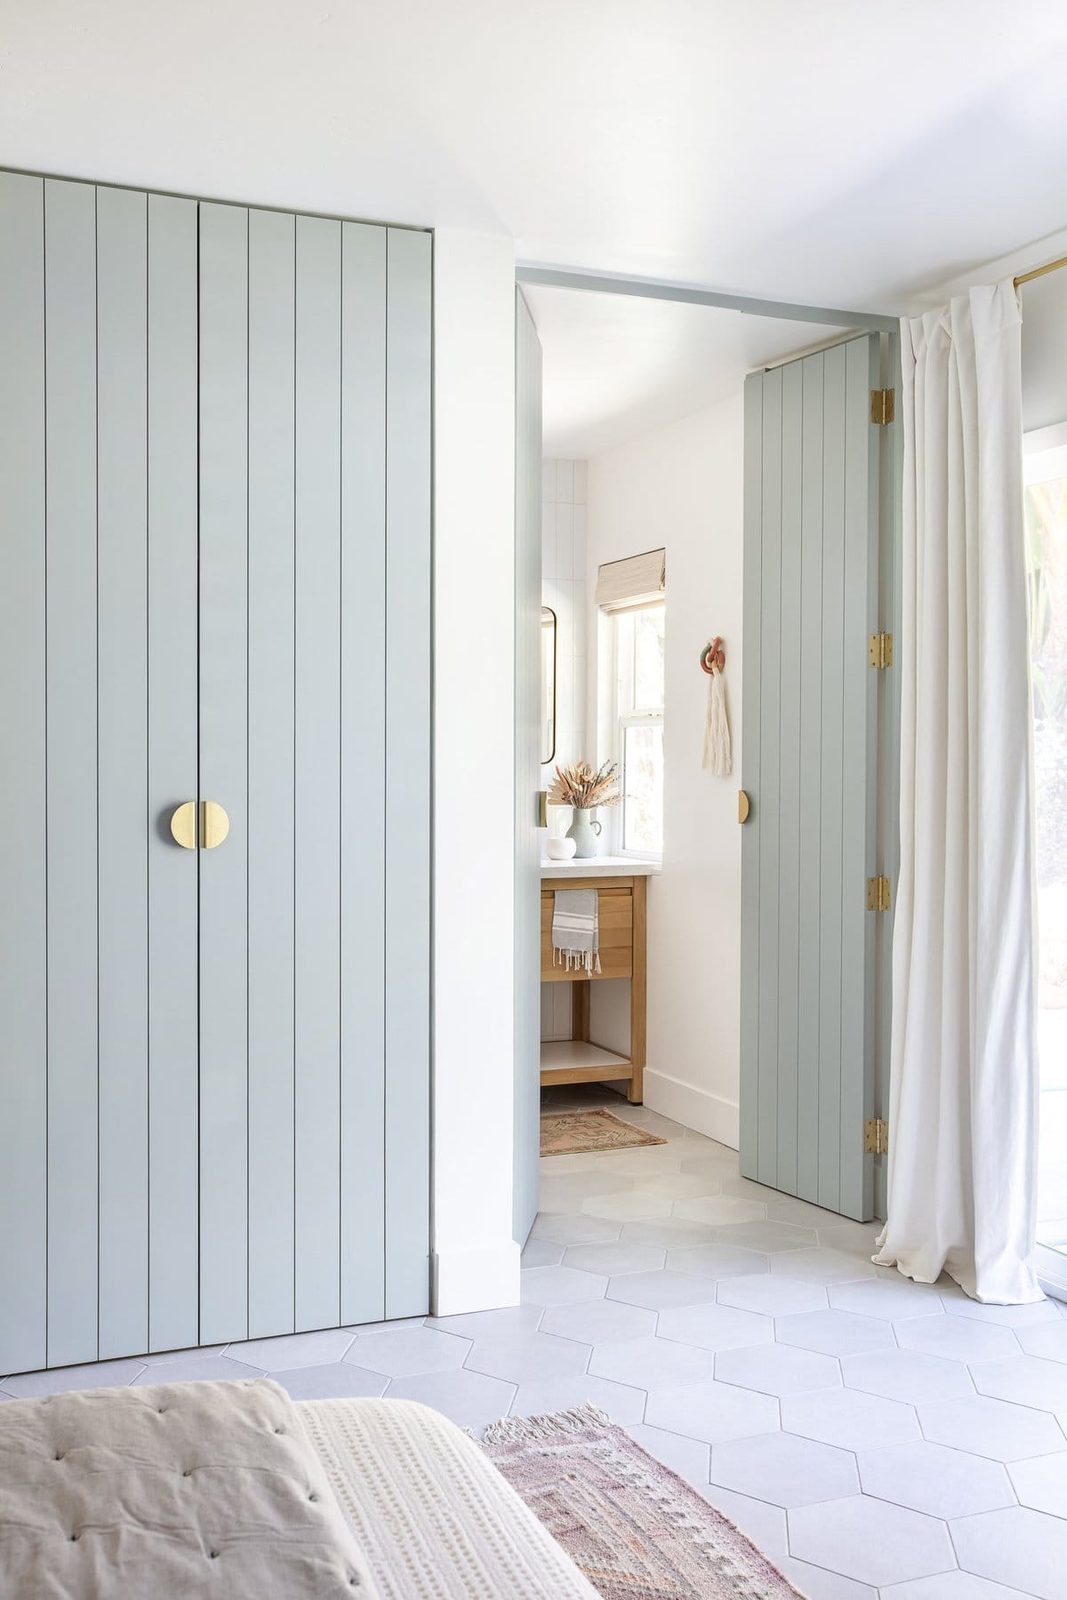
Keeping your existing hollow core doors not only saves money, but avoids the hassle of getting rid of the old doors and ordering new ones, and reduces waste. Beefing up the doors with extra material also provides added soundproofing, without the higher cost of solid core doors.
How to add planks to hollow core doors
This technique can be used with any style existing door, as long as there is no trim protruding out from the center. The panel needs to be able to sit flush against the outside border of the door. If your doors are solid core, make sure the hinges are secure enough to support the additional weight.
Looking for an even easier DIY door upgrade? Try this flat panel door makeover! →

Note: under special circumstances where door openings are much wider than standard door frames, a split jamb may be installed, where the door stop is permanently attached. This tutorial would not work in that situation.
Supplies List
- (2) 4×8' Shiplap panels
- Liquid Nails
- Finish nails
- Wood filler
- Caulk
- Oil based primer
- Paint
Tools Required
- Table saw or circular saw
- Nailer
- Drill
- Hole saw
- Electric Sander
- Clamps
Cost
With current prices, the total cost per door comes to around $80 (assuming you have the paint and wood filler/caulk on hand). If you door is 24” or less, you should be able to get away with just one 4×8' panel for half the cost. The price has gone up a bit since we purchased last month, so ours came in closer to $70/door.
Step 1: Remove the door and prep the surface
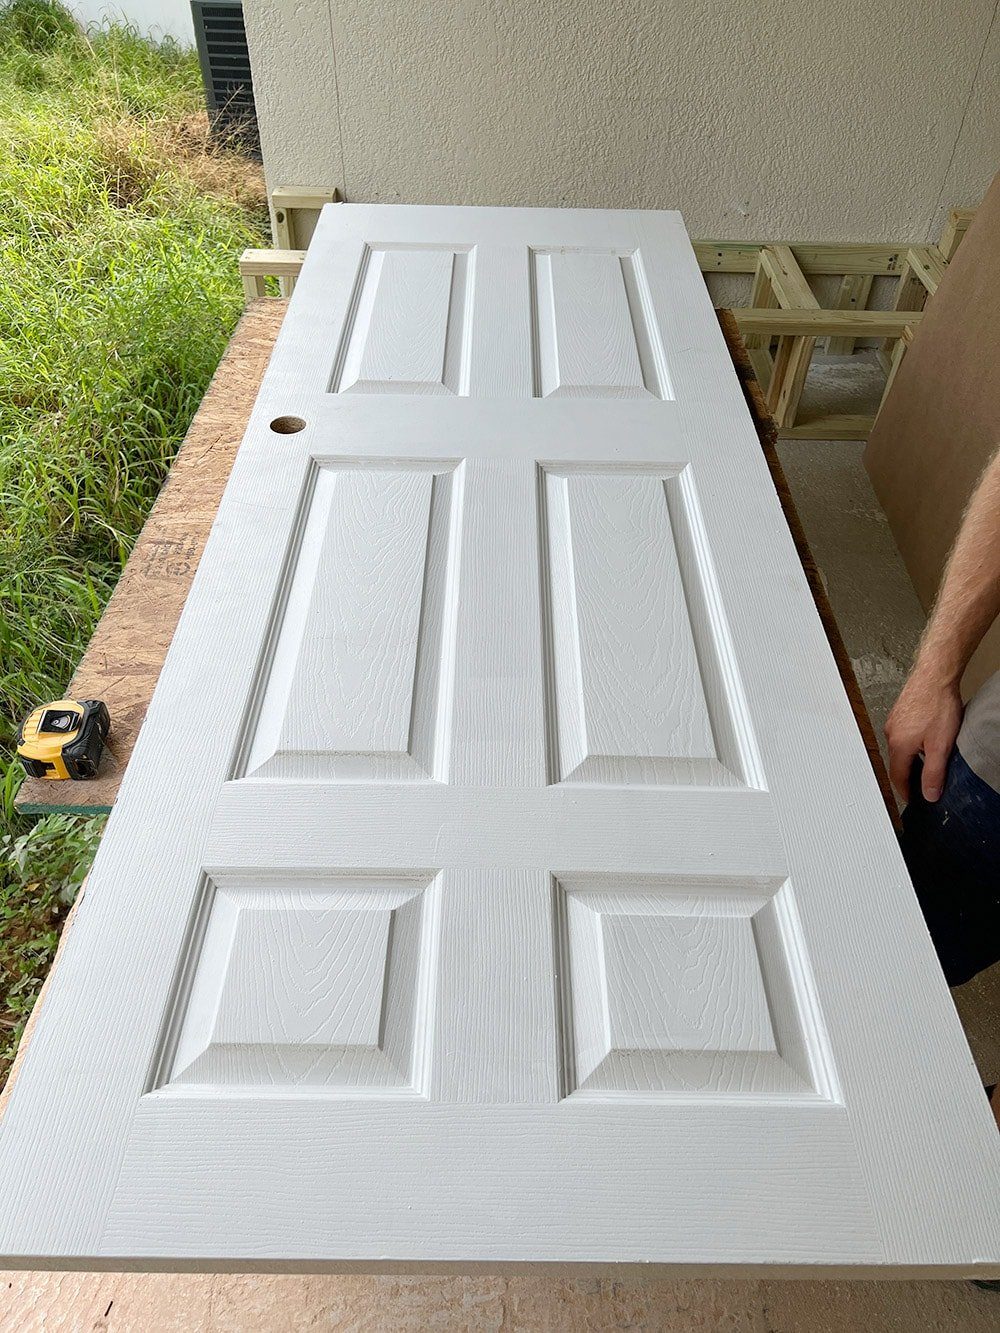
Lie the door on a flat surface and make sure it is clean and free from debris. We gave ours a quick pass with the orbital sander to remove some dried paint along the edges.

Wipe down the door so it is clean to maximize adhesion. We just did one side at a time.
Step 2: Measure and cut the shiplap panel
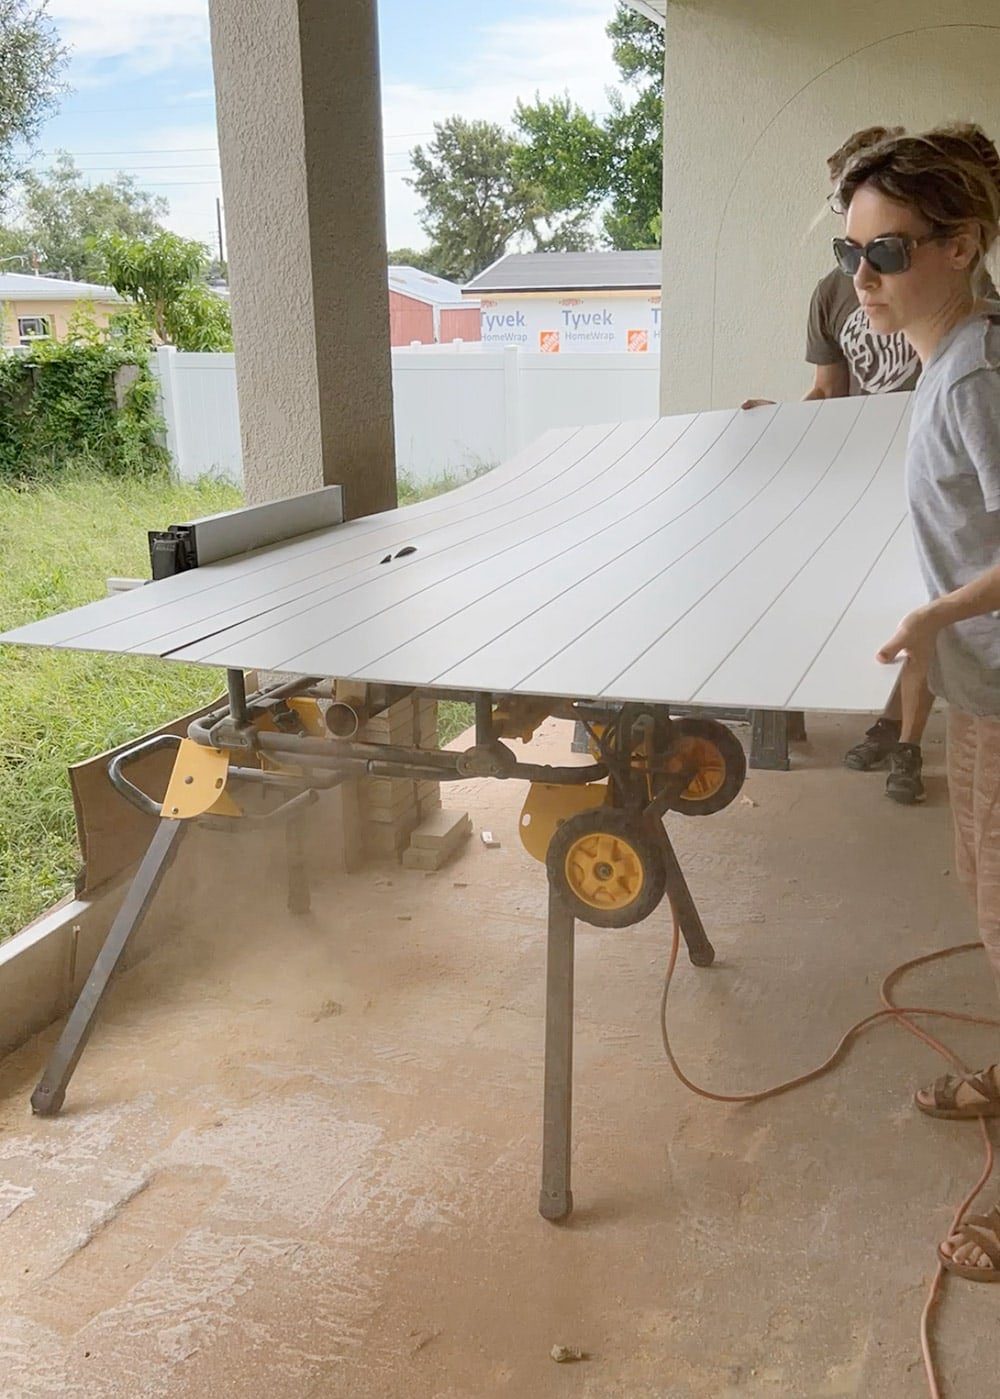
Place the panel on top of the door and center it. You could instead line it up on one edge, but we wanted the vertical grooves to be centered. After centering, mark both edges of the doors on your panel for your cut lines.

Next, run the panel through the table saw on both sides. If you do not have a table saw, you could use a circular saw with a guide to cut a straight line.
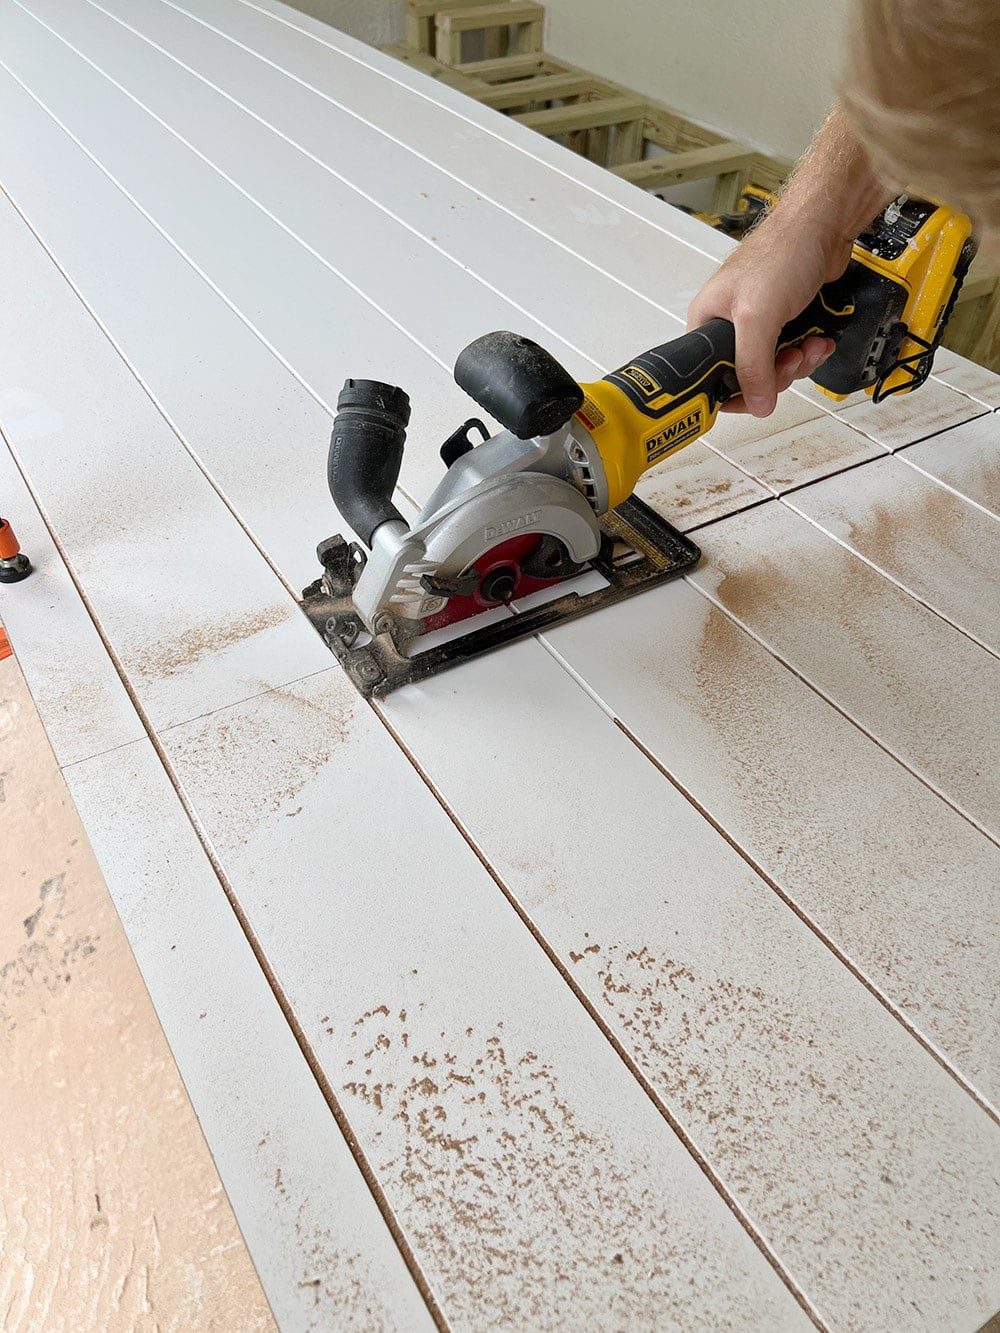
Position the panel on the door and line up along the sides and bottom edges, clamping it in place. Use a straight edge to draw a line along the top edge of the door.

Then, cut along the line using a circular saw (we love this handy tool!)
Your panel is now cut and ready to attach!
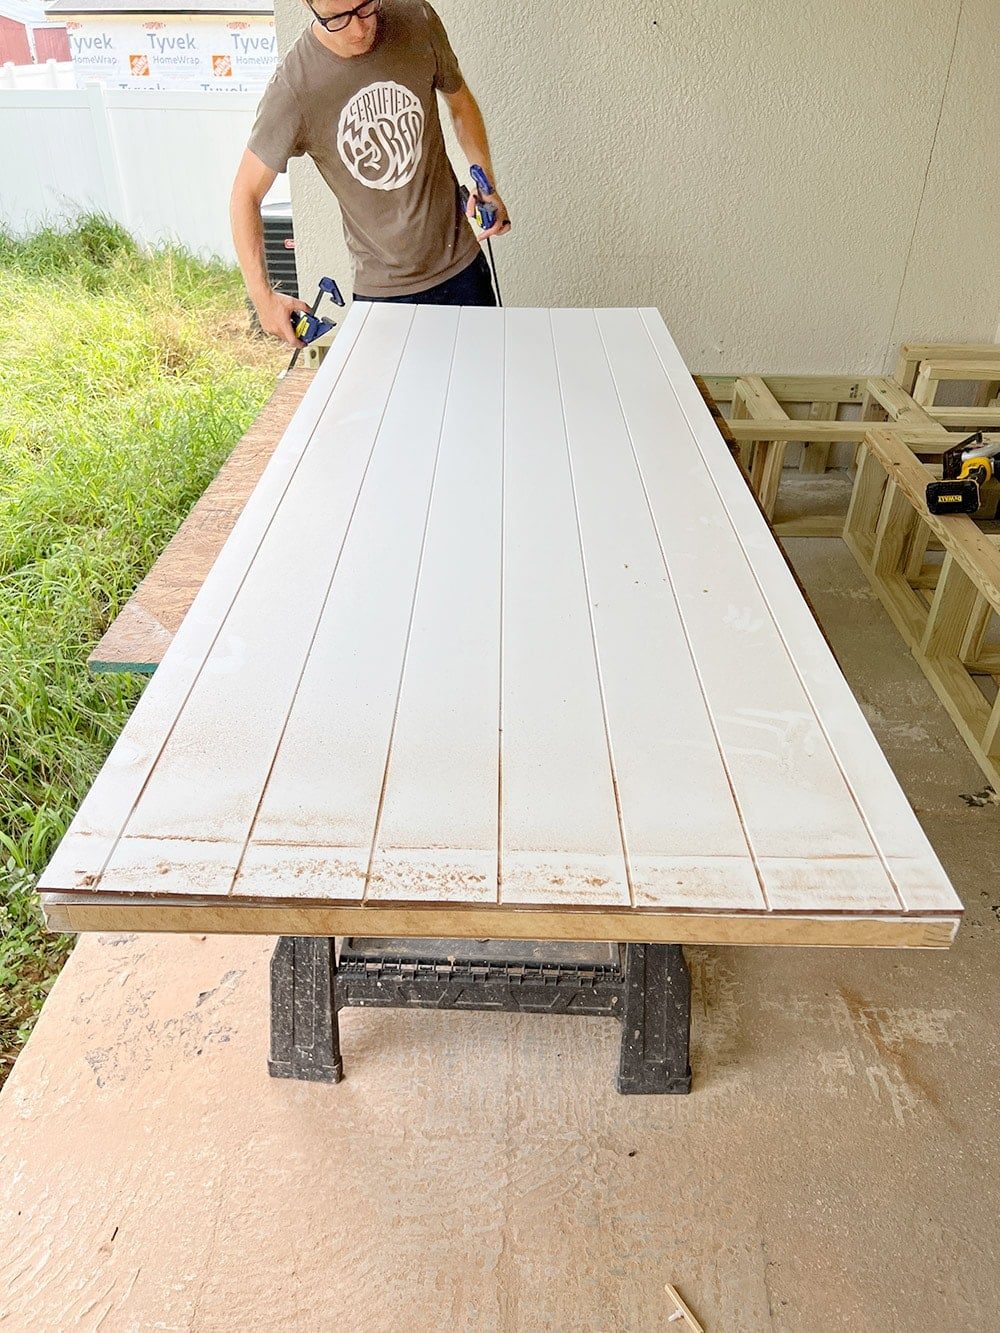
Step 3: Glue and clamp the panel to the door
Apply a liberal amount of liquid nails to the raised areas of the door, focusing on the outside edge and around the doorknob opening (but not too close to the edge).

Place the panel back onto the door, aligning the edges and clamping it in place. The more clamps you can use, the better! We only had 4 on hand but more would have been ideal. You want the panel to be as tight to the door as possible, and the finish nails will not pull them closer, only hold them in place.

Step 4: Nail the panel to the door
With the door clamped in place, shoot finish nails along the outside edge every 10-15” or so. Hollow core doors have a wood frame along the outside, so you want the nails to go into that.
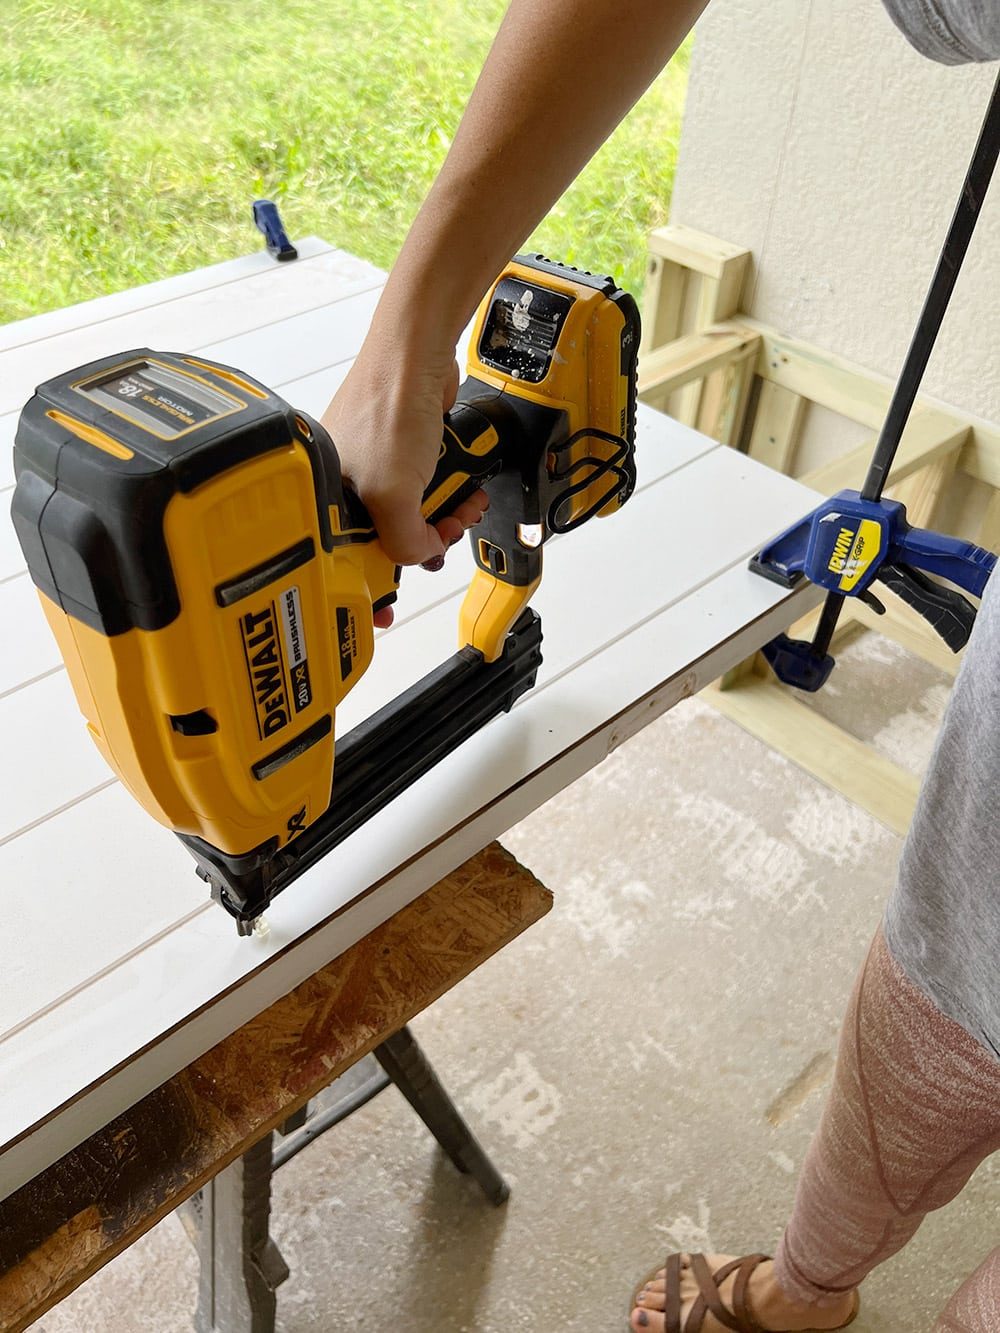
Step 5: Drill a hole for the door handle
Flip the door over and use a hole saw with an arbor that matches the bore opening (ours was a standard 2 1/8”, as most are).
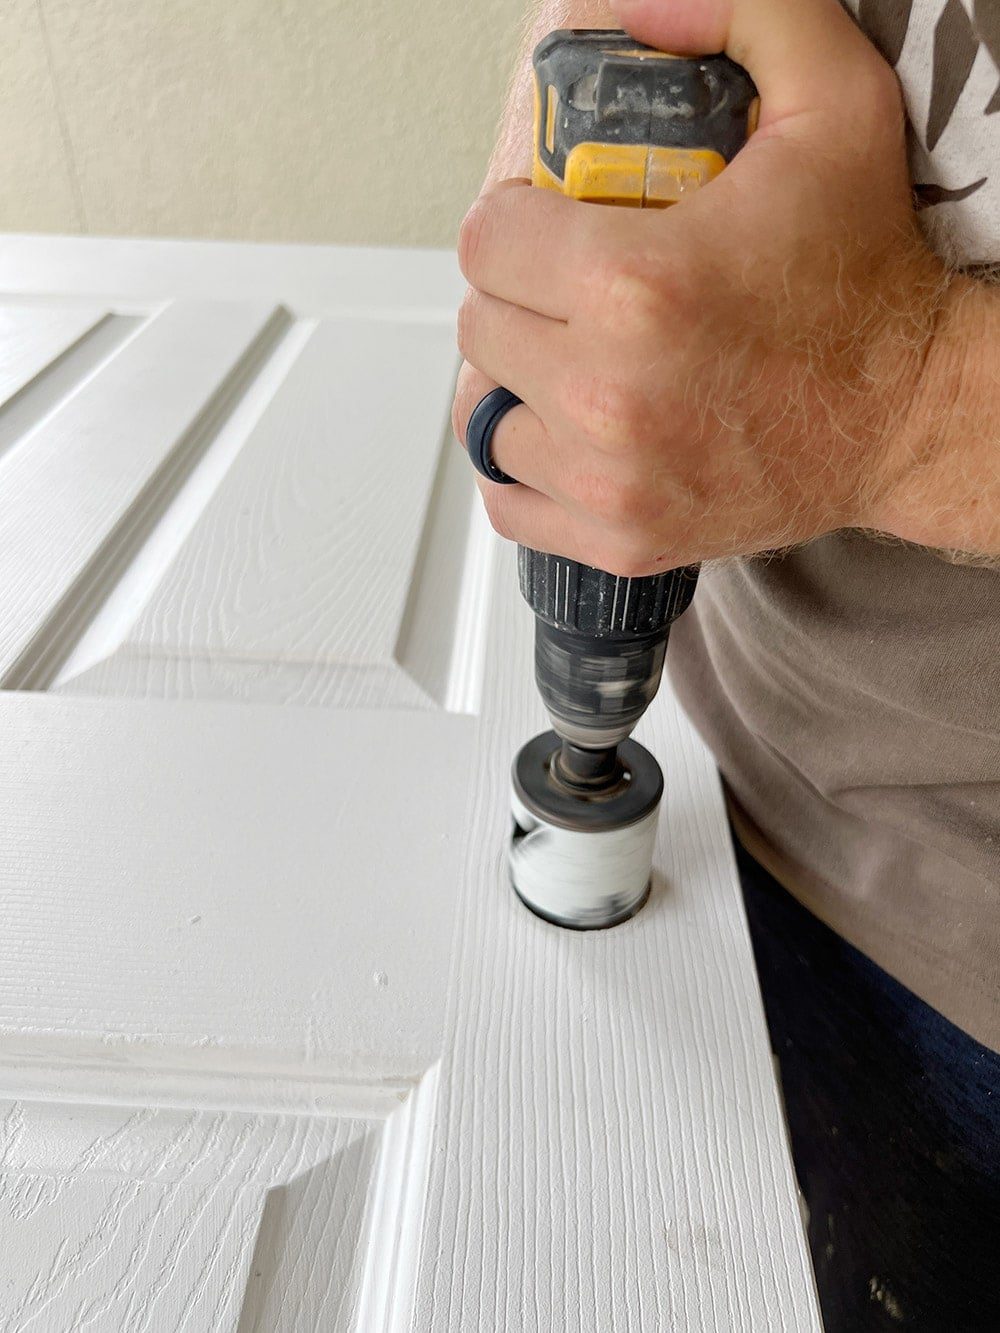
Step 6: Repeat Steps 1-5 on the other side of the door
Flip the door over and repeat the same process.

Step 7: Rehang the door
Before hanging the door, you will need to remove the door stop trim along the inside of the door jamb. Since your new doors are thicker, the door stop will need to be moved slightly. To remove it, use a sharp utility knife to cut along both edges and a blade to scrape off the old caulk/paint.
Fully reinstall the door with hinges and latch hardware. Close the door, place the door stop up against it and draw a line along the edge to mark the new location.
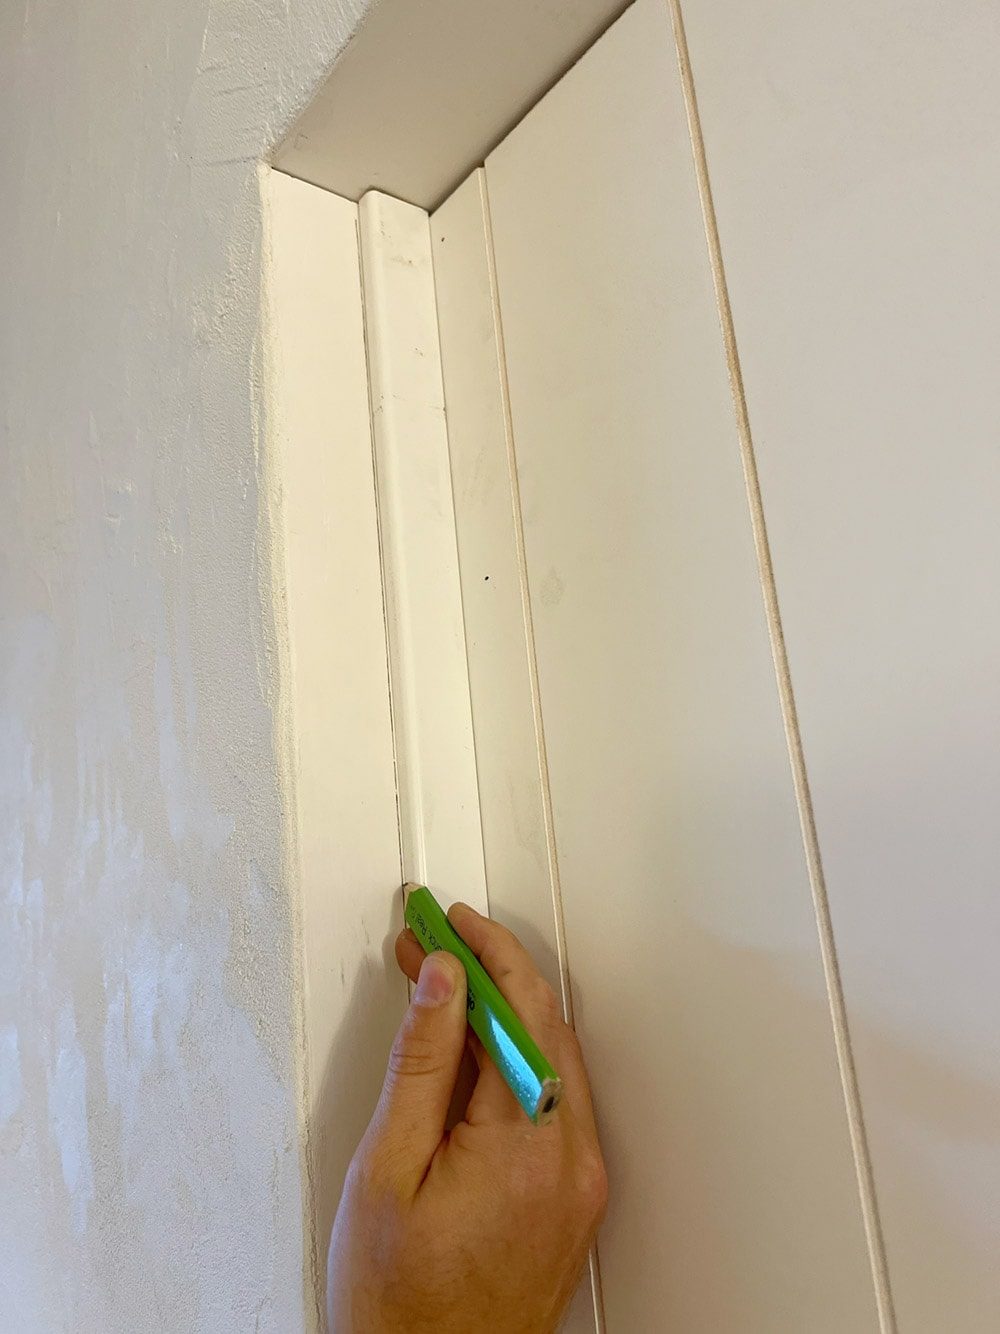
Hold the door stop along the line and nail it in place. Repeat for the remaining two pieces.

Step 8: Patch, caulk, prime and paint
You are going to have quite a few nail holes to fill, and a good wood filler is key. DAP Plastic Wood is our go-to for almost every project.

We had some small gaps between the door and the panel, so we also filled those. Do not skip this step, because any gaps become very noticeable after paint!
Fill all of the nail holes, use an electric sander to smooth everything out once dry, and caulk along both edges of the door stop last.

When dealing with cut edges of MDF, an oil-based primer is a must. Water-based paint reacts with the fibers in MDF, causing it to swell and become rough in texture. Doors are also high-touch surfaces, so you want to make sure the paint has the best possible adhesion to avoid scratching. We used Zinsser Cover Stain primer, which is one of the most recommended and widely used.
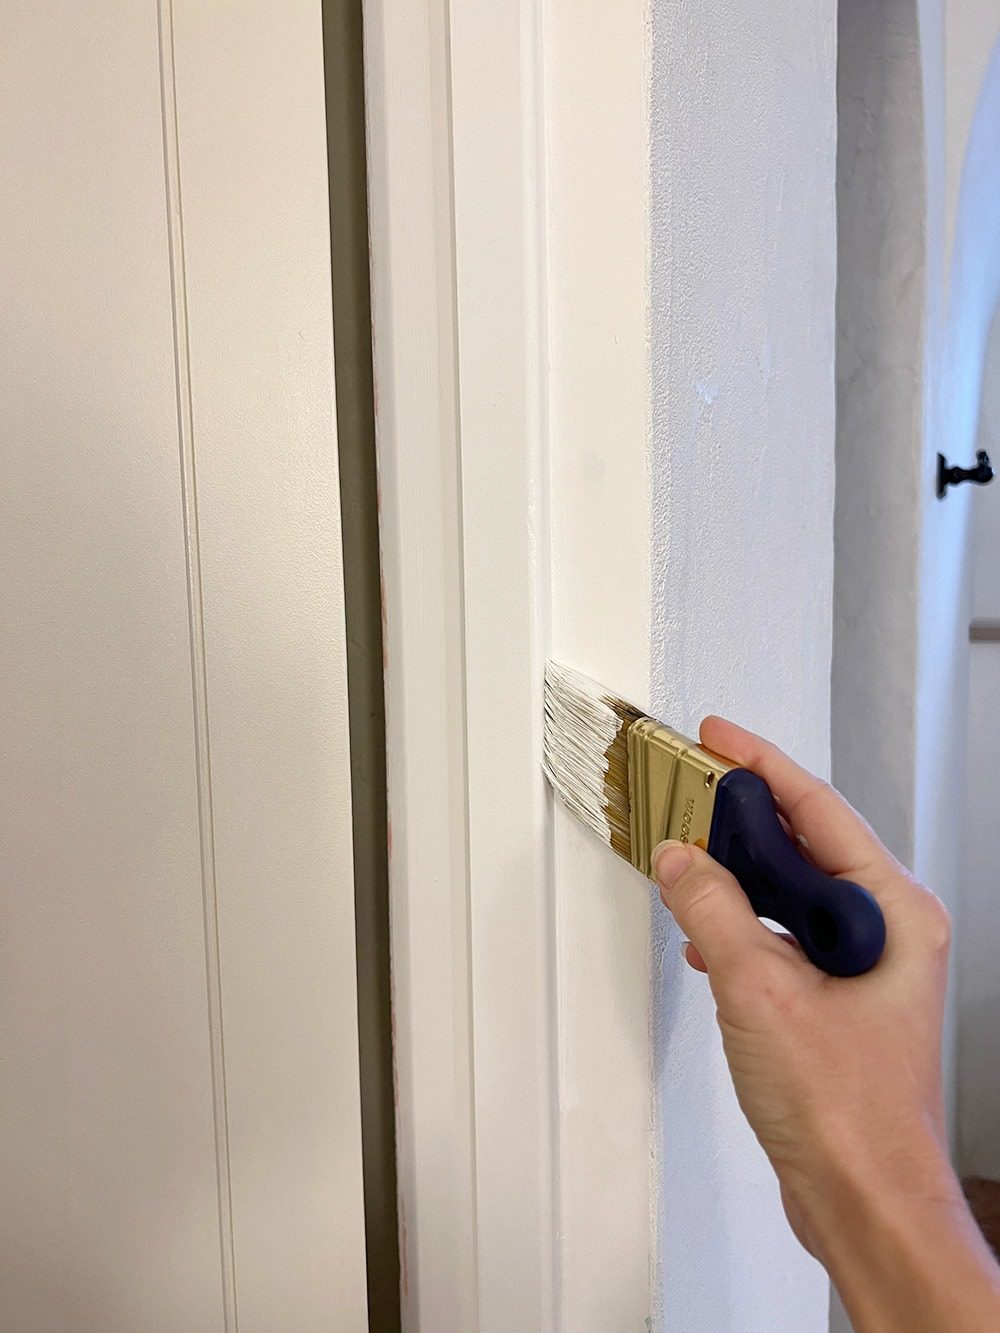
I tested out several different samples of ivory, all Sherwin Williams:

Ultimately, I landed on Canvas Tan (in satin, Emerald Urethane). It was the well suited creamy ivory-beige without looking too yellow, pink or gray.
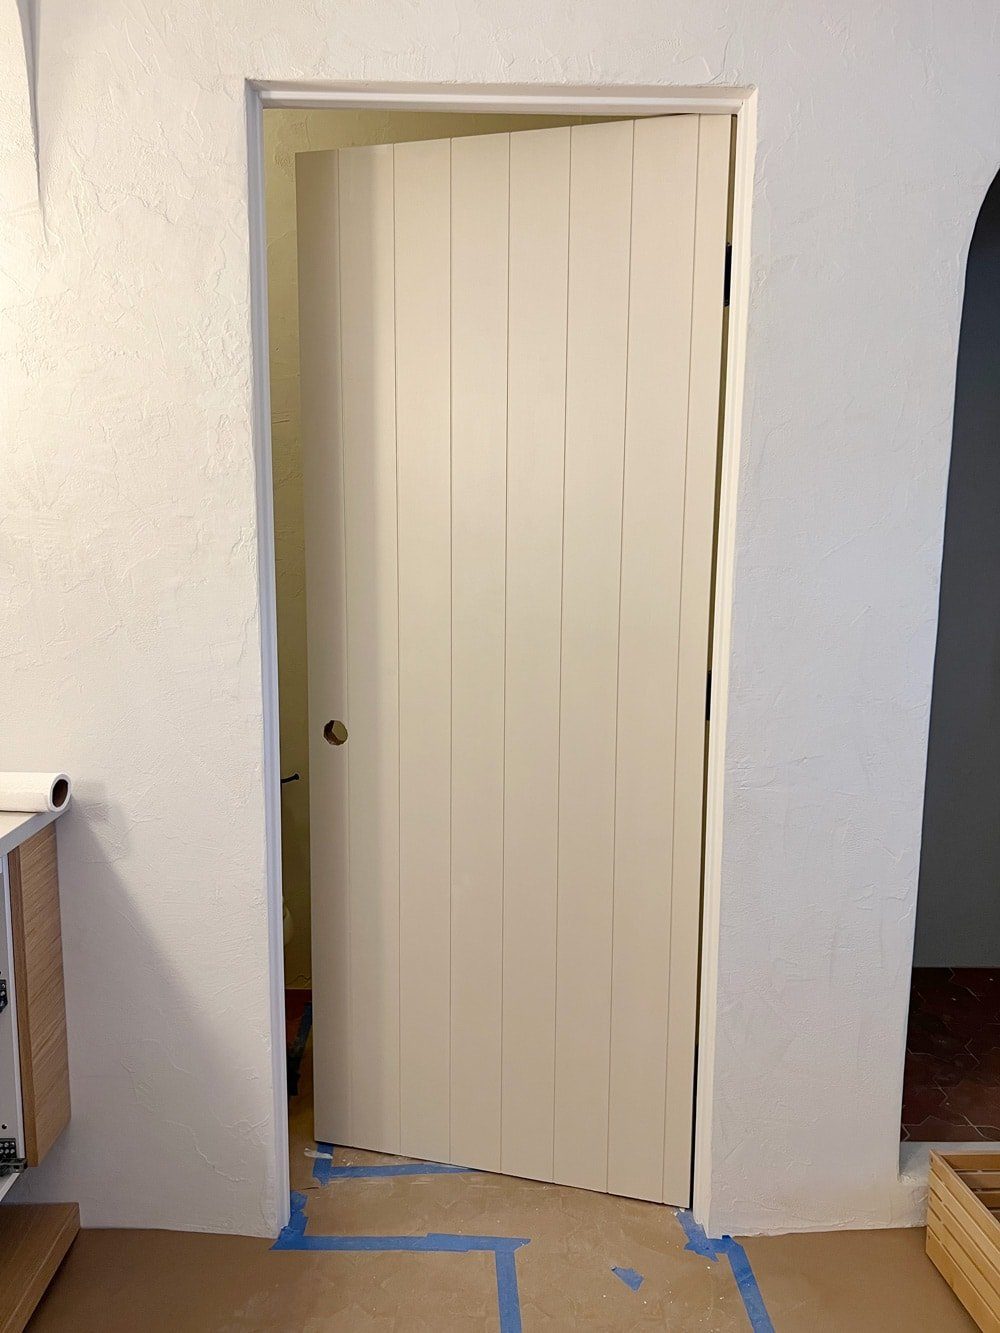
Plank Door Reveal
What a difference! I think the minimalist style fits so well in this space, do not you?

Make sure to look at the full Modern Mediterranean bathroom revealwith links to sources.
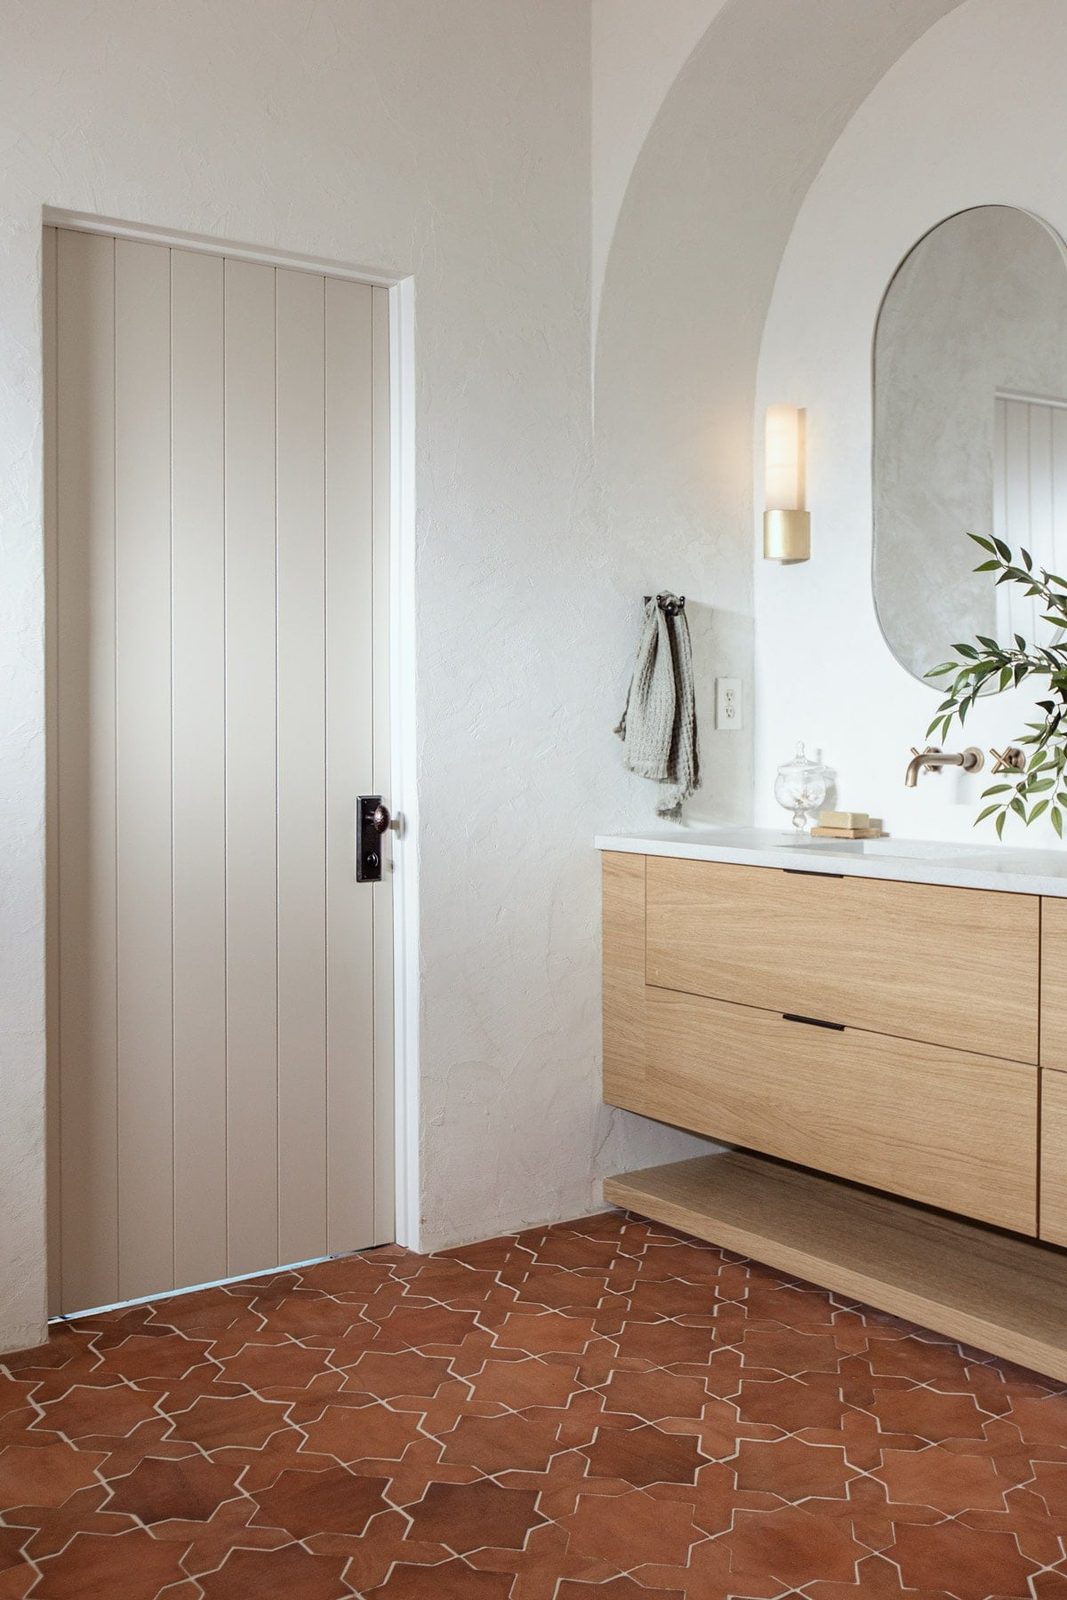
The striking hardware was provided by Emtek. I chose their Quincy sideplates and hammered egg knob in oil rubbed bronze. It has such a cool rustic/Mediterranean vibe, and will be used throughout the house.

Let me know in the comments if you'd try this DIY at home!