DIY Unfussy Wood Shelves
Remember how we had planned to install PAX wardrobes in the storage room? And then we had to scrap the entire plan because they ended up being too tall and deep for the…

Remember how we had planned to install PAX wardrobes in the storage room? And then we had to scrap the entire plan because they ended up being too tall and deep for the room? Sometimes when things do not go to planned you end up with something even better. I knew that was the case when I saw this striking open shelving from my friend Shayna at the Wood Grain Cottage:
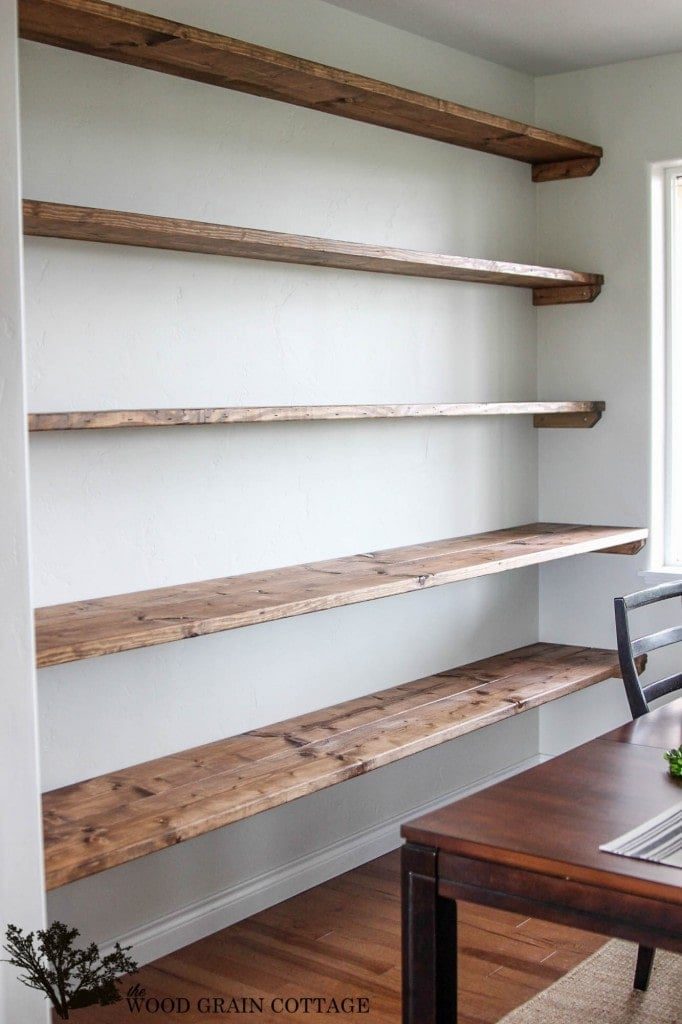
I mean, how unfussy and well composed is this? And so inexpensive. Lucky for us, she posted an easy to follow tutorial which I studied carefully then adapted to fit our storage room. Let us recall what it looked like after we installed the beadboard wall and tile floors:

As this room is dedicated to storage, The aim was to maximize every inch of space so I settled on three shelves spanning the length of the room (92″). They could not be too deep since the room is so narrow (despite the disorted wide angle lens photo above) and we need room to walk. So I made them 15″ deep (using two 2×8's for each shelf). All of the side supports were cut from one 2x3x8' and the total lumber cost was around $60. You genuinely cannot beat that!
I got Brad on board to help and we knocked it out in one afternoon. This is how it all came together.
I cut my 2x3x8' into six 14.5″ pieces for the side supports. By making it a bit shorter than the shelves instead of the same length, you will not notice if they are not exactly aligned and I also think they just look better inset.
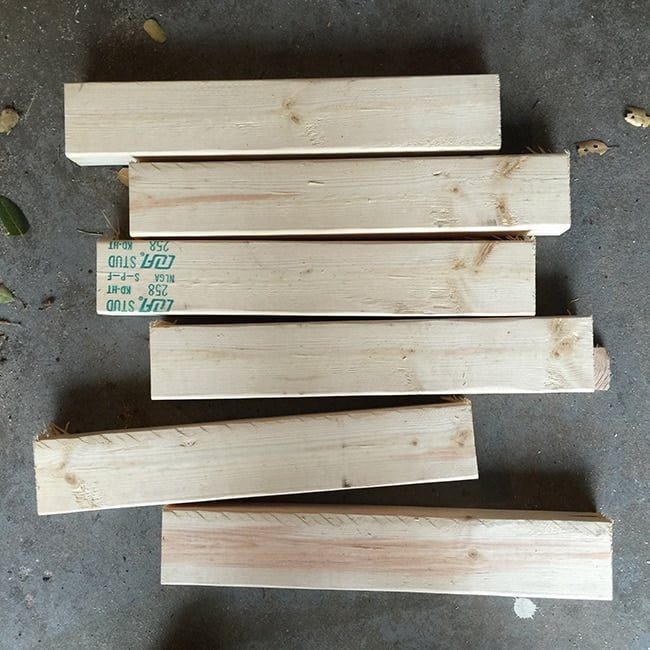
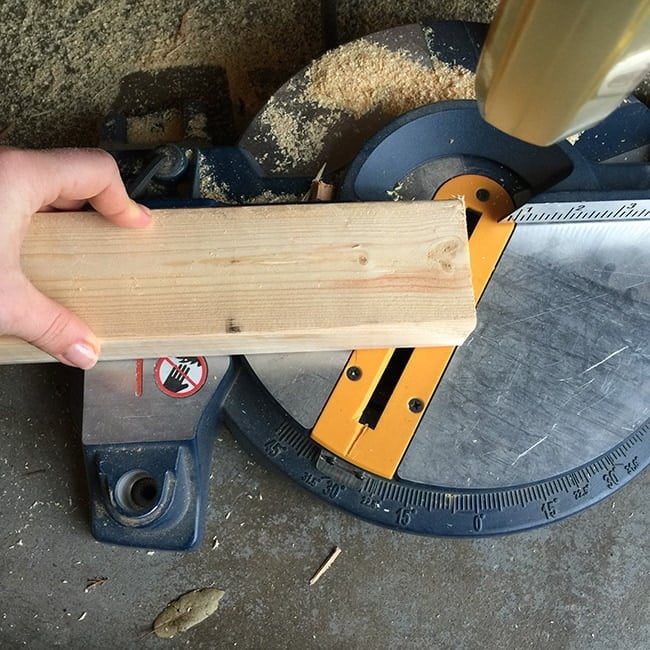
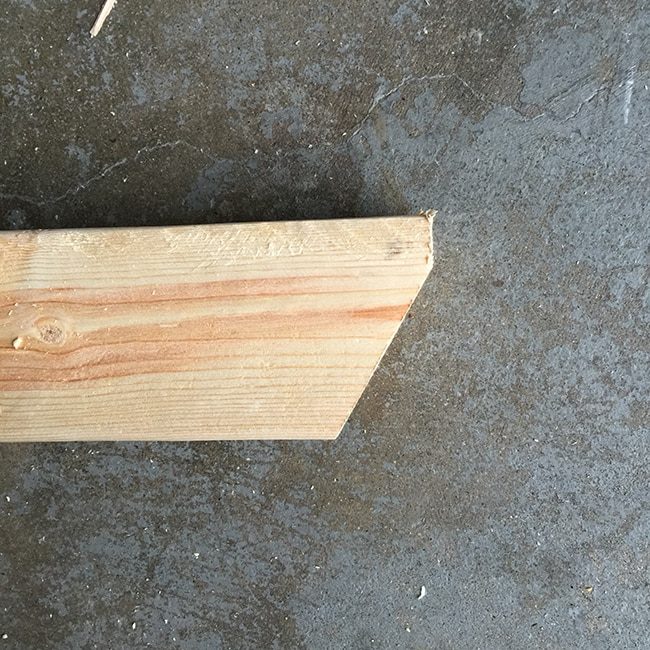
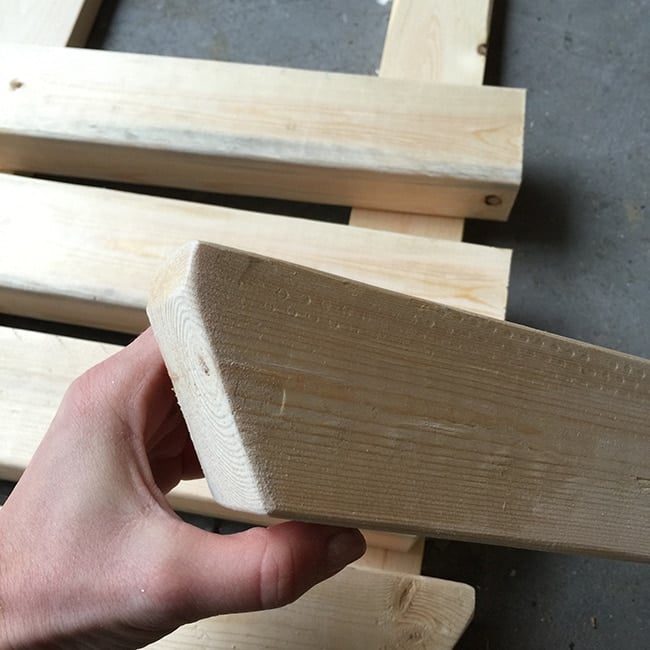
I loved the way Shayna had the ends cut at an angle, so I set my miter saw to 30° and did the same to each one:
Next it was time for sanding. You always want to smooth the hard edges on wood. I also took this time to go over any rough spots on my 2×8″ boards.
Then it was time for stain. I used this Cabot all-in-one stain + sealer in Aged Leather. I had used it on my DIY outdoor planters and loved the results (and the fact that I did not have to do any extra steps!)

Here it is on the 2×8's:


After letting the stain dry overnight, we were ready for installation! The choice was to space the shelves out 22″ apart, so we extended the tape measure, leveled the support on the wall and drew a line to mark it.

Once we had our marks it was time to find the studs. On the right side of the room we got particularly lucky because there were two studs 10″ apart—no anchors needed! While the support was level on our line on the wall, we used a drill bit to make a pilot hole (very important so the wood does not split).

After both pilot holes were made, it was as unfussy as screwing it in. We love using these deck screws because they have a special star head bit that does not strip out like typical phillips screws tend to do.

We also use a good impact driver which honestly makes a WORLD of difference. Not sure how we ever lived without one of these—screws go in like butter!
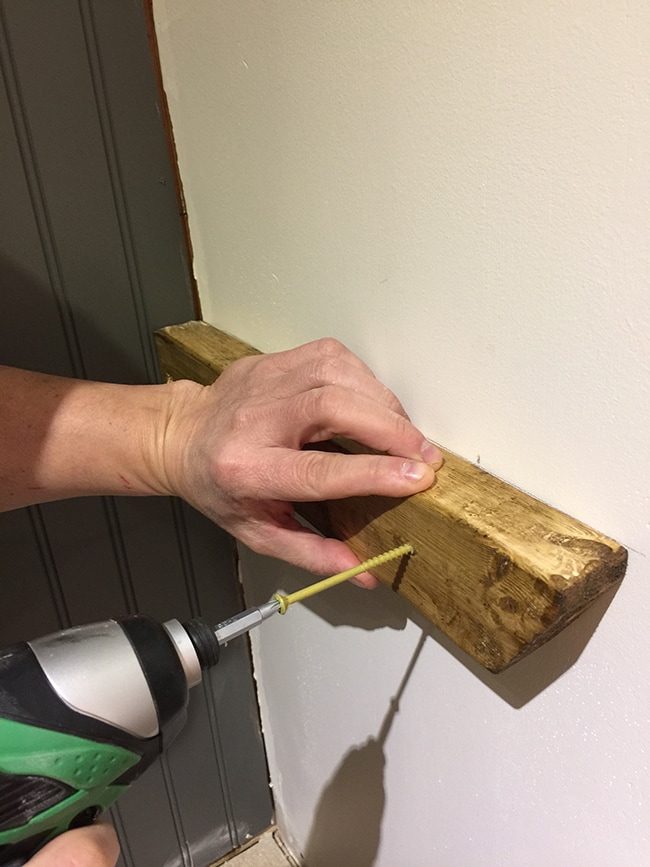
The wood is so soft that we did not bother with a counter sink hole—the screws will keep going in as long as your finger's on the trigger so we sunk them in just a touch.
The three supports on the right wall were a peice of cake, but then we remembered the left wall had concrete behind the drywall. We did not have the right supplies for this so Brad ran to Lowe's and bought a masonry bit and concrete anchors.
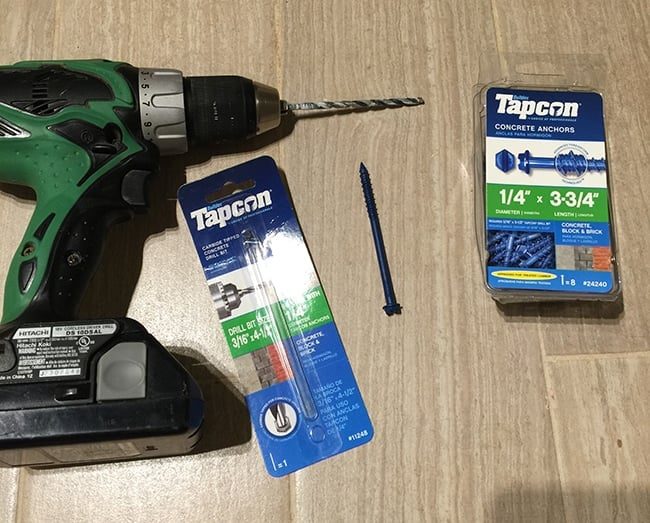
The process was similar, but instead of a wood drill bit we used the larger concrete drill bit to go through the wood and mark a hole in the drywall. We ended up counter sinking these since the screw head was so large (and bright blue).
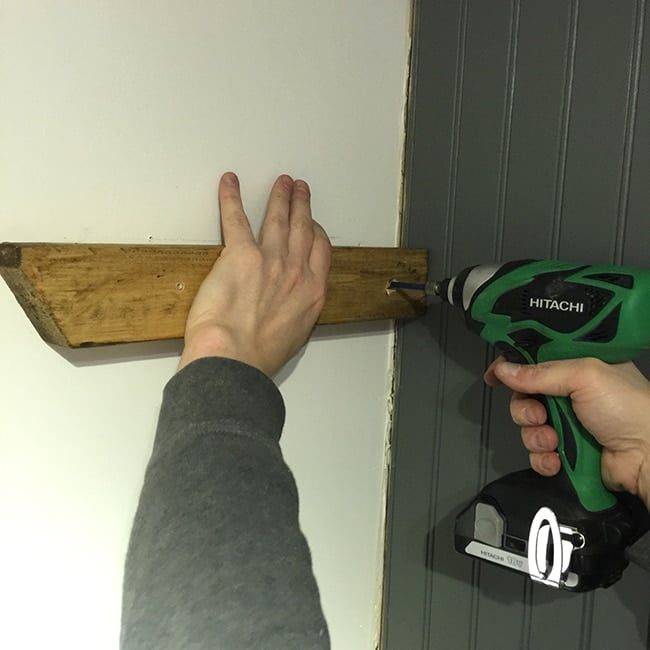
Once the hole was marked, Brad came back in with the concrete bit to drill it all the way through.

Then we placed the supports back on, lined them up and secured them onto the wall.
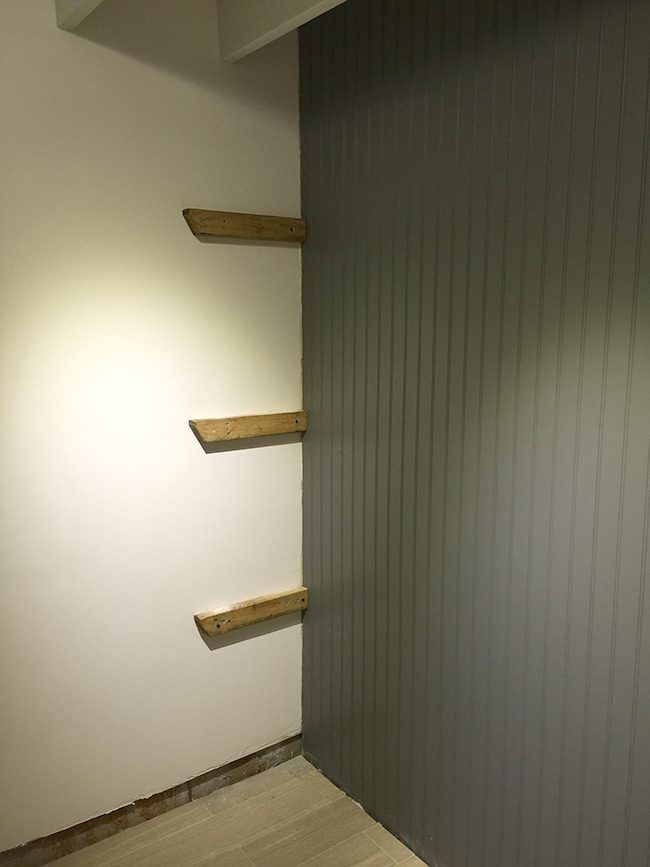
Well suited! Brad climbed up the wall on them to make sure they were secure—these babies are not budging.
Next came the fun part—adding the shelves! We measured the wall carefully and cut them about 1/8″ shorter so that they would slide right in without damaging the wall. No one will notice a 1/16″ gap on either side.

Once the first row was in, we drilled a pilot hole through each end of the boards…
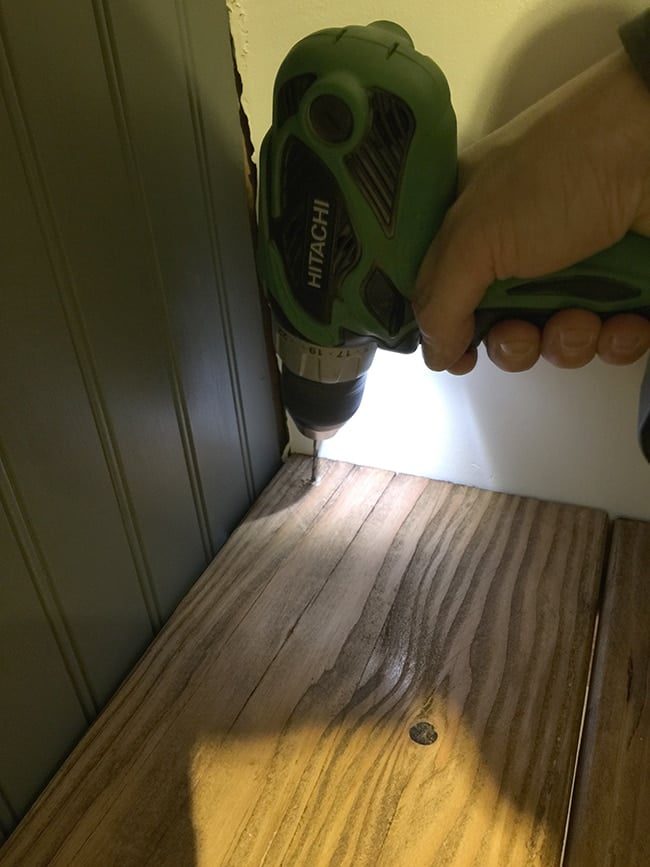
Then secured them to the supports (do not mind the one missing screw in this photo… we did not forget 🙂 )
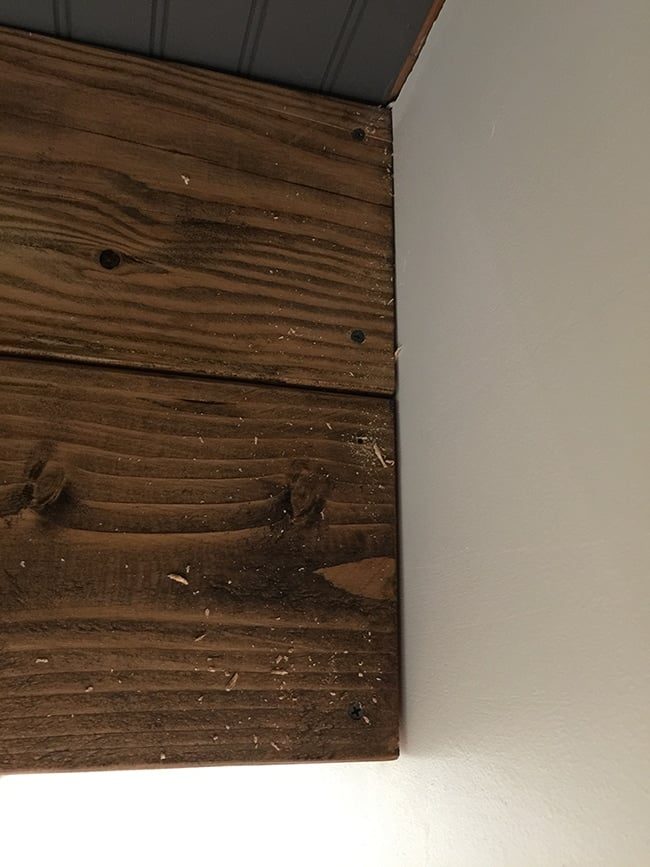
It was so exciting to see it all coming together!
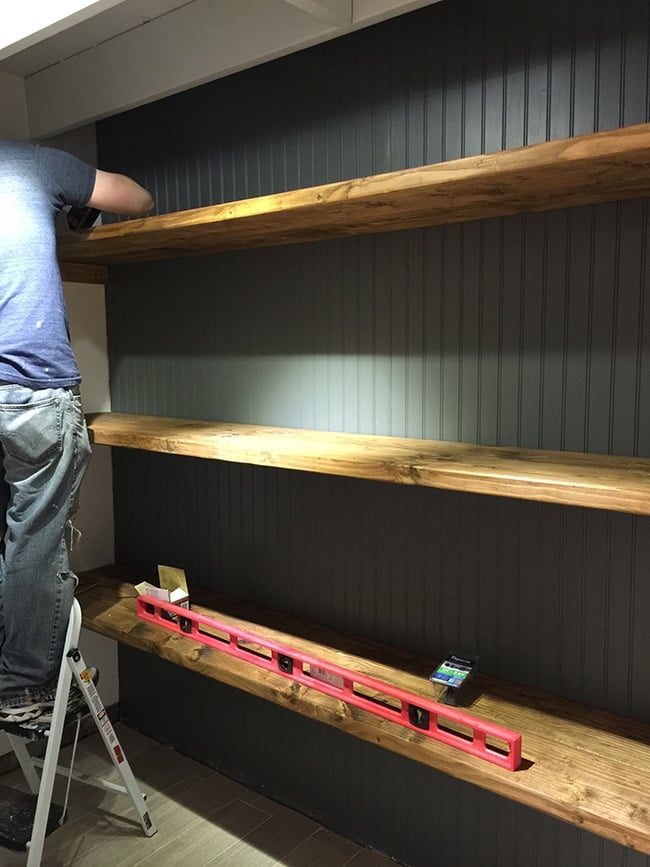
I am loving the contrast of the natural wood against the dark gray beadboard.
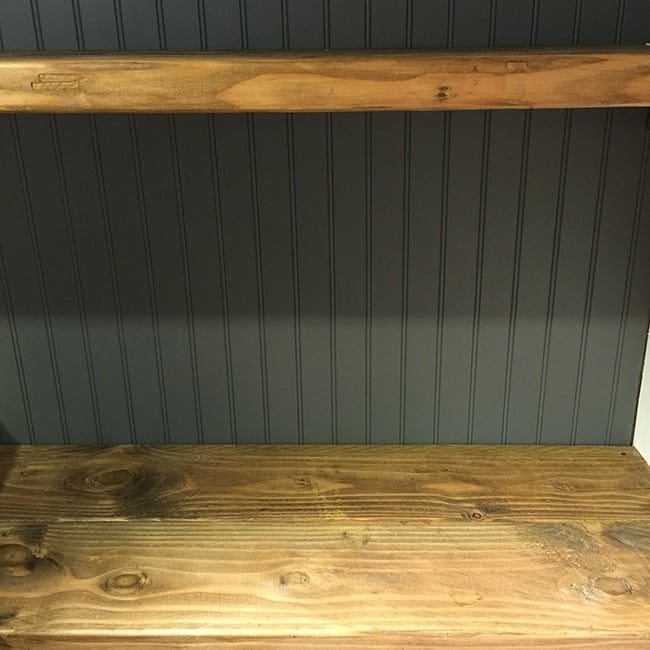
We still need to add quarter round trim to the corners where the beadboard meets the wall, which I'll do after we get the baseboard in.
Finally… bringing a bit of life to this laundry room!
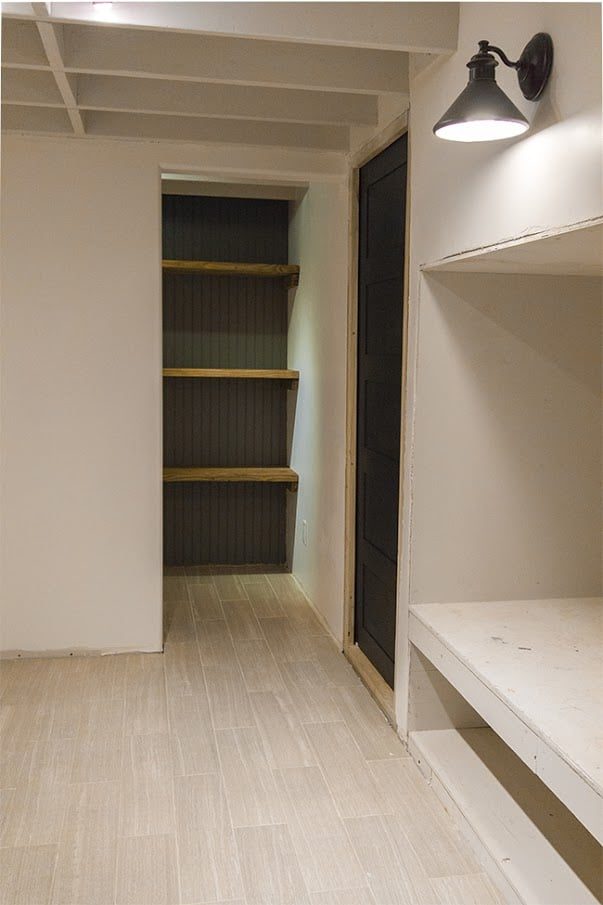


Even though this is not an accurate representation of the size of this space, I had to throw in a wide angle shot so you can see everything at once:

I am going to have some fun organizing in here.
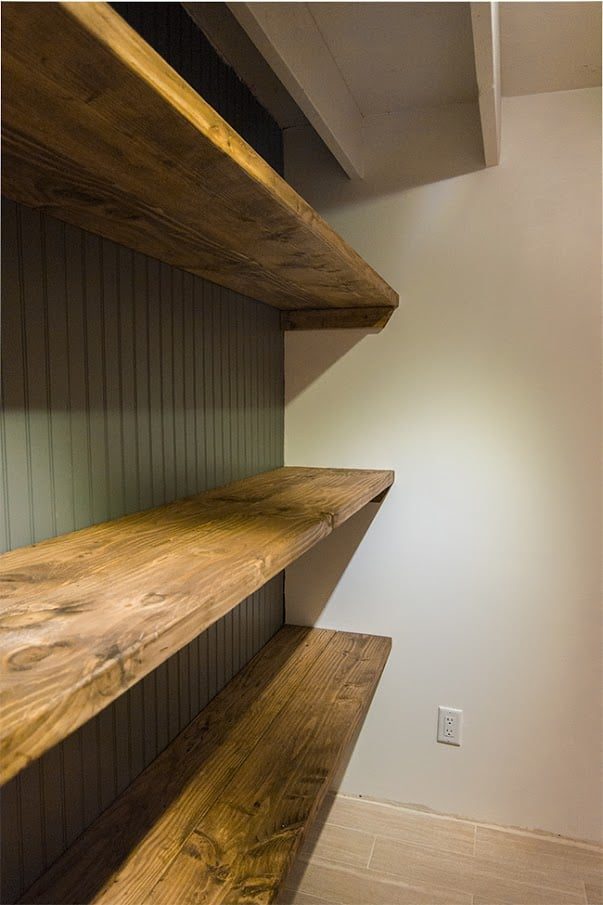
What you do not see are the matching picture frame ledges we built on the opposite wall. They might be the easiest wood project ever and I cannot wait to show you how to build them, and the full finished (for now) storage room photos later this week! I am trying to resist the urge to start filling up those shelves right away so I can save it for the big reveal… but I have a feeling I'll lose that battle 🙂
Check back in Thursday for more DIY storage/display solutions!