DIY Textured Canvas Art
How to create your own easy DIY textured canvas art! Upcycle your old thrifted canvases with this affordable and fun weekend project.
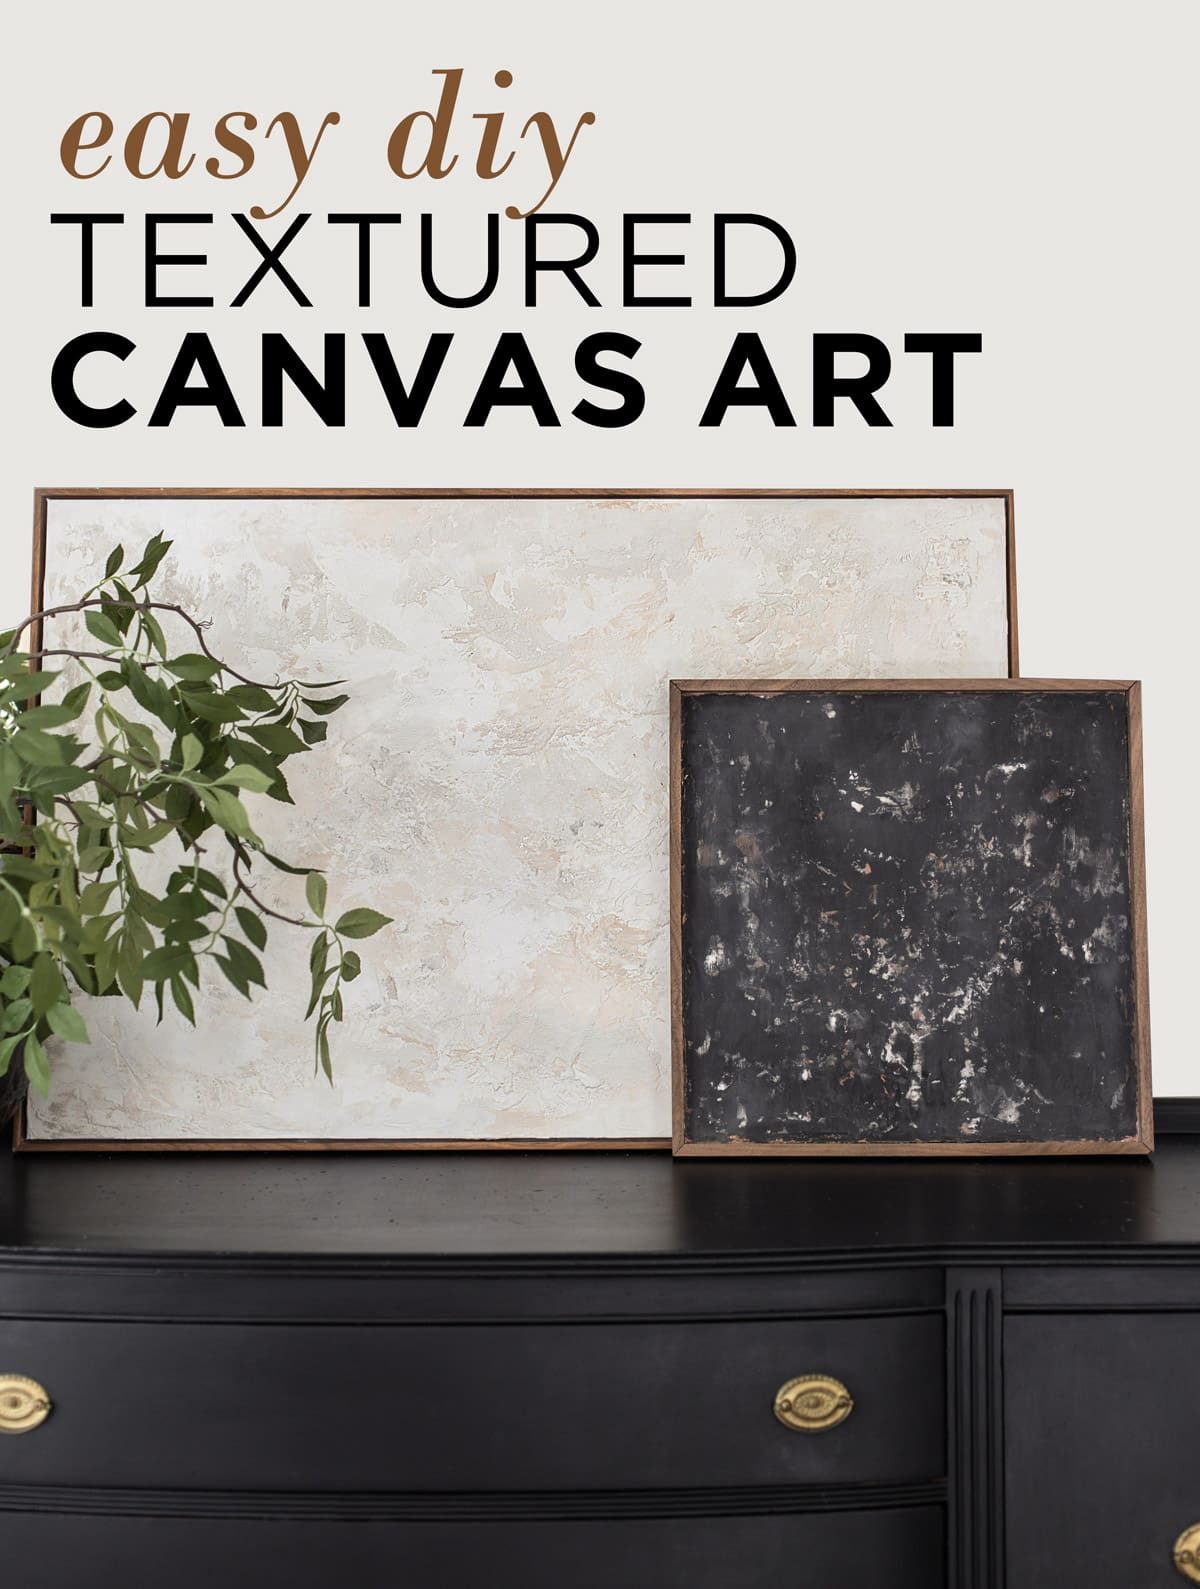
If you are looking for an inexpensive and unfussy way to fill your walls, or just a fun weekend art project, this tutorial is one you will want to save! It is incredibly easy to make your own DIY textured canvas art—no artistic ability required. The possibilities are endless!
Inspiration
This type of art certainly is not new, and has been done by many artists and DIYers alike. When searching for inspiration, I came across Kaleen Cameron's work and fell in love with her style.

The layering of different colors and textures also looked like a genuinely fun process, and something you could not genuinely mess up. My type of DIY!
Supplies
- Framed canvas or painting (or make a DIY floating frame)
- Joint compound or plaster
- Primer (optional)
- Acrylic paints
- Putty knives or painting knives
- Matte sealer
- Painter's tape

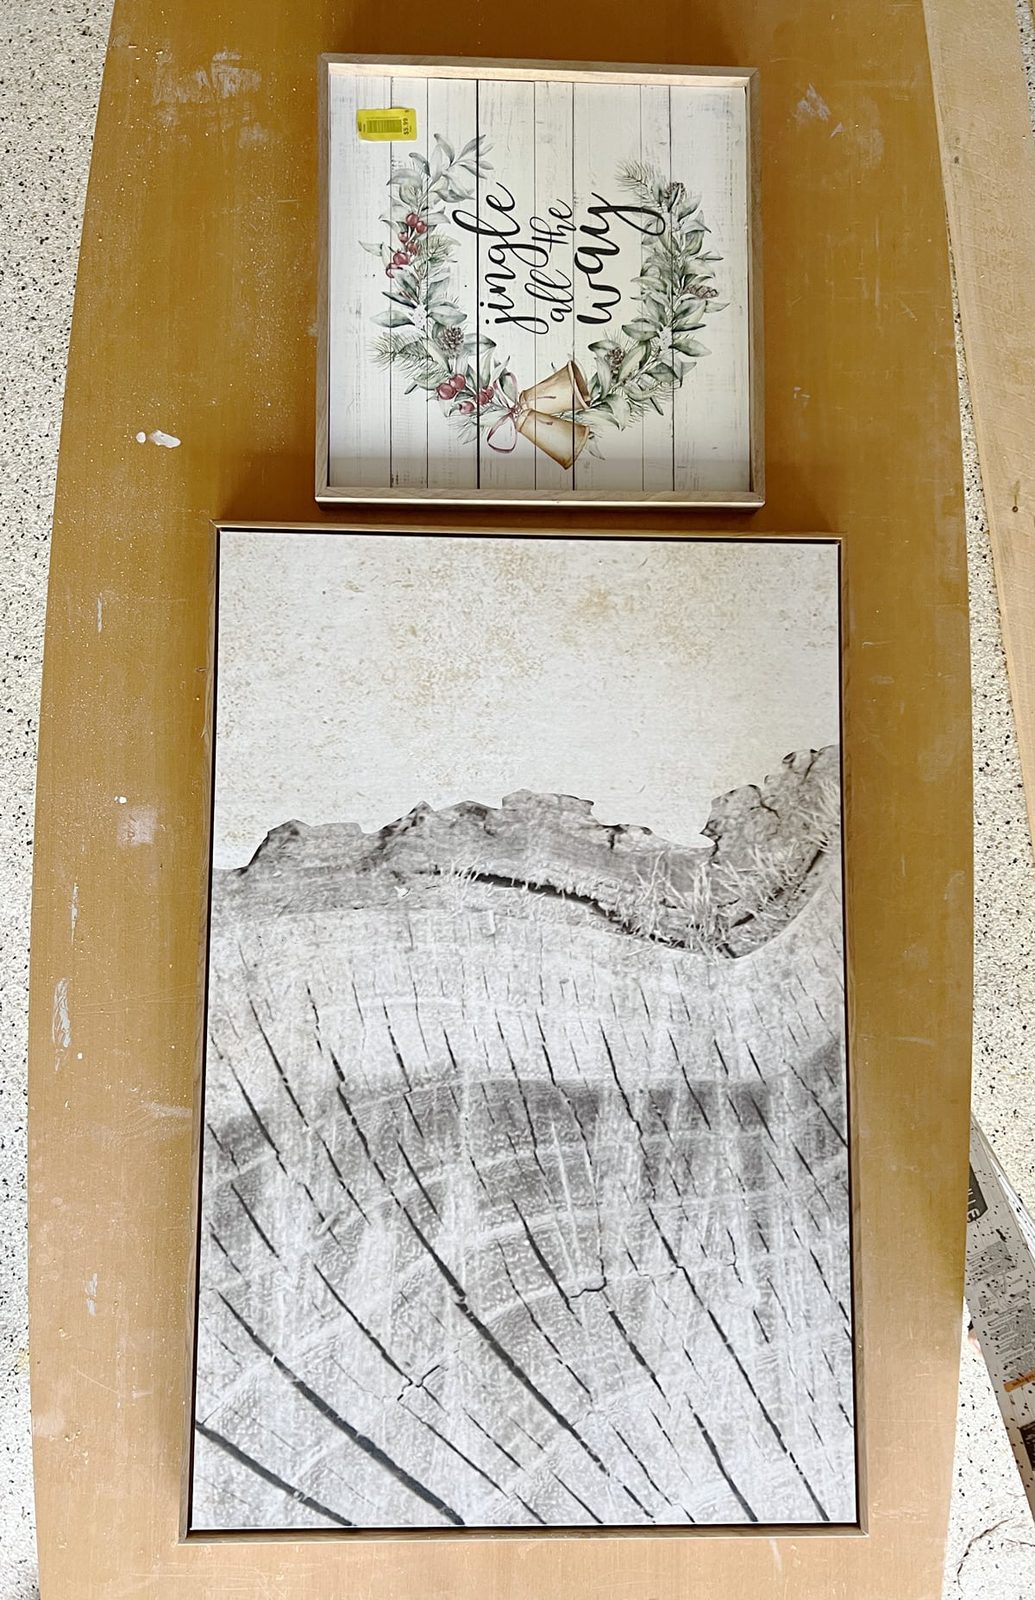
You can use a new canvas for this project, but I highly recommend browsing your local thrift stores or Facebook marketplace for a cheap used one. Make sure they are framed for a more finished look (or make your own frame with my DIY floating canvas frame tutorial!) I picked up these two at a local thrift store for $18 total.
Step 1: Tape off the frame
If your canvas is framed, you will want to tape it off to protect it. One of my 'canvases' was actually wood planks attached to a frame, but it still works great for this project.

Step 2: Prime the canvas
This step is optional, but if you are painting over a used canvas with an existing design, it will help prevent it from bleeding through. You can also use white paint in a pinch. Brushing it on works, but a spray primer is quick and easy. Make sure to get the edges, too!

Step 3: Apply a base layer of plaster
The choice was to try both joint compound and plaster for this project, as both are commonly used for this type of art. I was curious to see which worked better, and I have opinions on each now (keep reading til the end).
For my large canvas, I used plaster of paris. I accidentally bought the powder that you mix with water rather than the pre-mixed, so it just added an extra step. Once mixed, plop it down and start spreading.

I enlisted the help of my four year old daughter, who thought it was a blast. If she can do it, you definitely can 😉

Plaster dries genuinely quickly (at least the powder mixed formula) and can become difficult to spread. It is best to mix enough to cover the entire canvas in one batch. You do not need a whole lot.

For this first layer especially, there are no rules or certain technique to follow. You just want to make sure the whole canvas is covered, and no more than 1/4″ thick or so. I also tried to make sure the edges were relatively smooth, and there were no visible trowel marks.

For my smaller canvas, I used joint compound. I wanted a darker design, so I mixed some brown paint in for my base layer.


Joint compound goes on particularly smooth like frosting and takes a very long time to dry.

It does not have the grittier texture like plaster though, which is closer to my inspiration art.
For larger canvases, a trowel or wide putty knife is ideal. For smaller pieces, painting knives work well.

Once both canvases were coated, I let them dry overnight.
Step 4: Apply second layer
After the mud was fully cured, I hand sanded some of the rougher and raised areas of the piece. I did not want the knife marks to be too noticeable.

For this next layer, I applied a bit of white plaster, plus some mixed with grey-brown acrylic paint to give it a rougher texture. I liked the added dimension of two similar colors here. My little helper was eager to join again.

On the large canvas, I also applied two light plaster colors in random areas. It was a bit too dry for my liking, so I went over it with a wet brush to blend a bit more.

You could use water, paint, plaster, joint compound or whatever you want for this step. Experiment and see what you like!
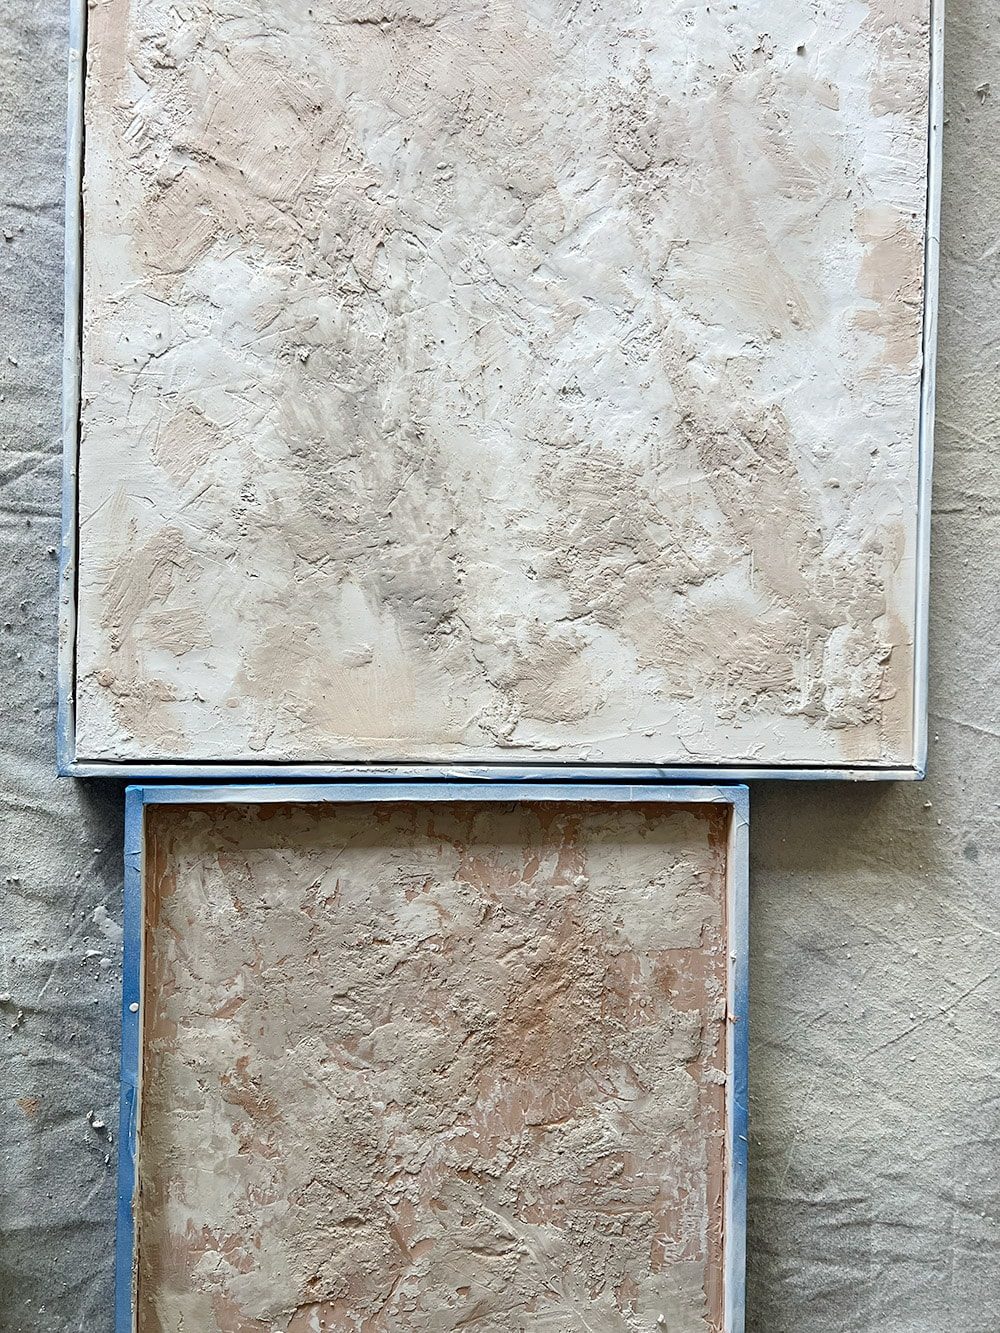
This art project could easily end here, but The choice was to take it one step further.
Step 5: Apply final layer
After letting the art dry overnight again, I came back for the final round. On my large canvas, I spread a more diluted mix of plain white plaster, covering random areas while still allowing some of the underlying layers to peek through.
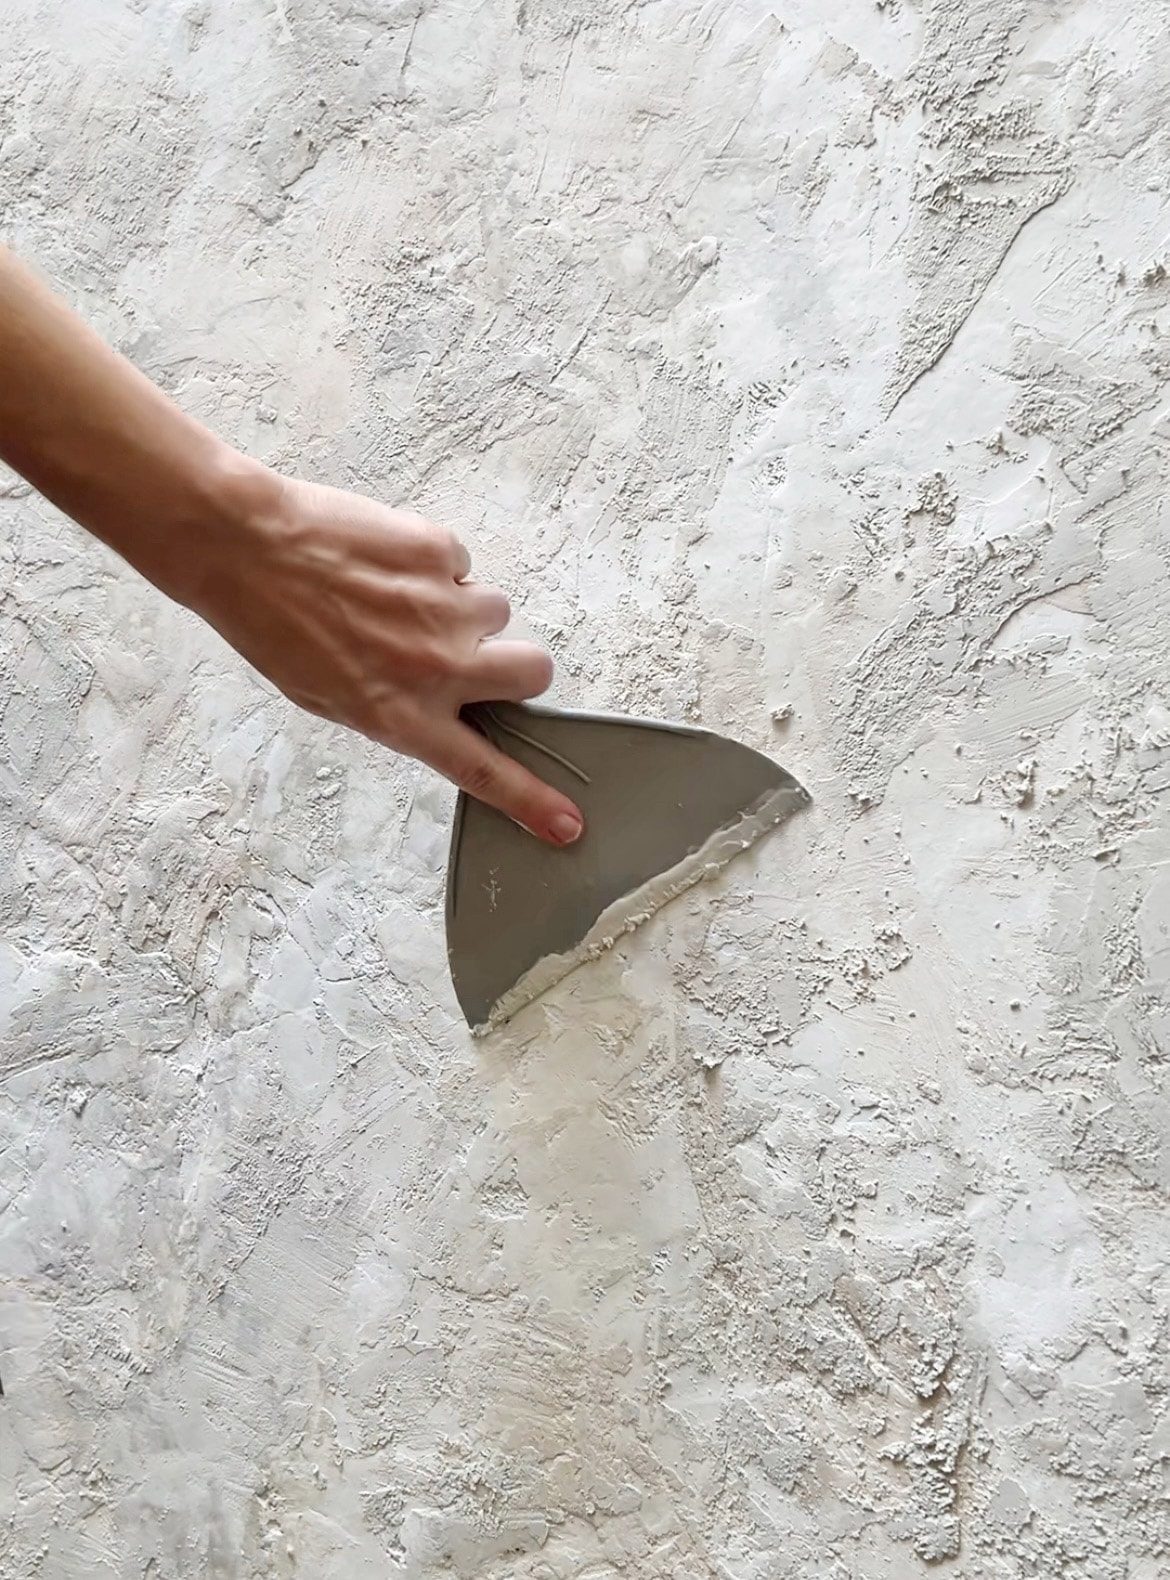
On the smaller piece, I mixed black paint with joint compound and spread it over the entire canvas.

I did not worry too much about the texture, as that would be sanded down in the final step.

Step 6: Final sanding and sealer
Now for the fine tuning! After drying overnight, I smoothed out the top layer with 150 grit sandpaper.

After removing the dust, I went over everything with a wet brush to blend it a bit more. Unlike colored plaster, water will soften dried joint compound and the paint will bleed.

Both canvases got one final sanding, and then a matte spray sealer. You could also brush on a liquid sealer, which would actually be easier to cover evenly and provide better protection. Note that the sealer will darken the artwork!

Here is the finished product! Do you have a favorite?

Textured Canvas Art Tips + FAQ
If you want to try this DIY but are not sure whether to use plaster or joint compound, consider these pros and cons:
Plaster of Paris
- Coarser/grainier texture (can be adjusted if using a powder mix)
- Dries quickly and very hard
- Can add multiple layers and complete the project in one day
Joint compound/drywall mud
- Smooth, creamy texture
- Easy to apply and beginner friendly
- Takes a long time to dry (overnight)

Does the plaster/joint compound make the canvas very heavy?
Not at all. Joint compound is very lightweight and will not make a noticeable difference. The plaster is heavier, but it should not be enough to need additional hanging hardware, unless it is a very large canvas. I was still able to easily lift my larger canvas with one finger.
Do I have to prime the canvas first?
It is not required, but helpful to prevent bleed through if you are painting over existing artwork. It is not necessary at all for new canvases.
How many different colors/layers should I add?
This is entirely subject to personal preference, but I think 3-4 shades is ideal to get that nice aged patina. For more of a minimalist look, two different tones in the same color works well.
Will the texture crack?
It is possible for the art to form cracks over time—particularly with temperature changes or if the layers are applied too thick. To prevent this, it is recommended to add flexible modeling paste to the plaster.
What is the best way to protect the artwork?
After the art is fully cured, apply a matte poly (oil or water based) to the entire surface. A liquid formula brushed on (at least 1-2 coats) will provide the best protection. Note that any sealer applied will darken the surface.

Let me know in the comments if you've tried this DIY before and have anything else to add, or if you are pumped to go thrifting this weekend for a used canvas! We have got plenty of empty walls to fill in the new house, so I do not think this will be my last canvas art endeavor 😎