Easy DIY Window Grids
How to easily add DIY window grids in with no paint, glue or power tools required. Transform your windows and doors in just a few hours!
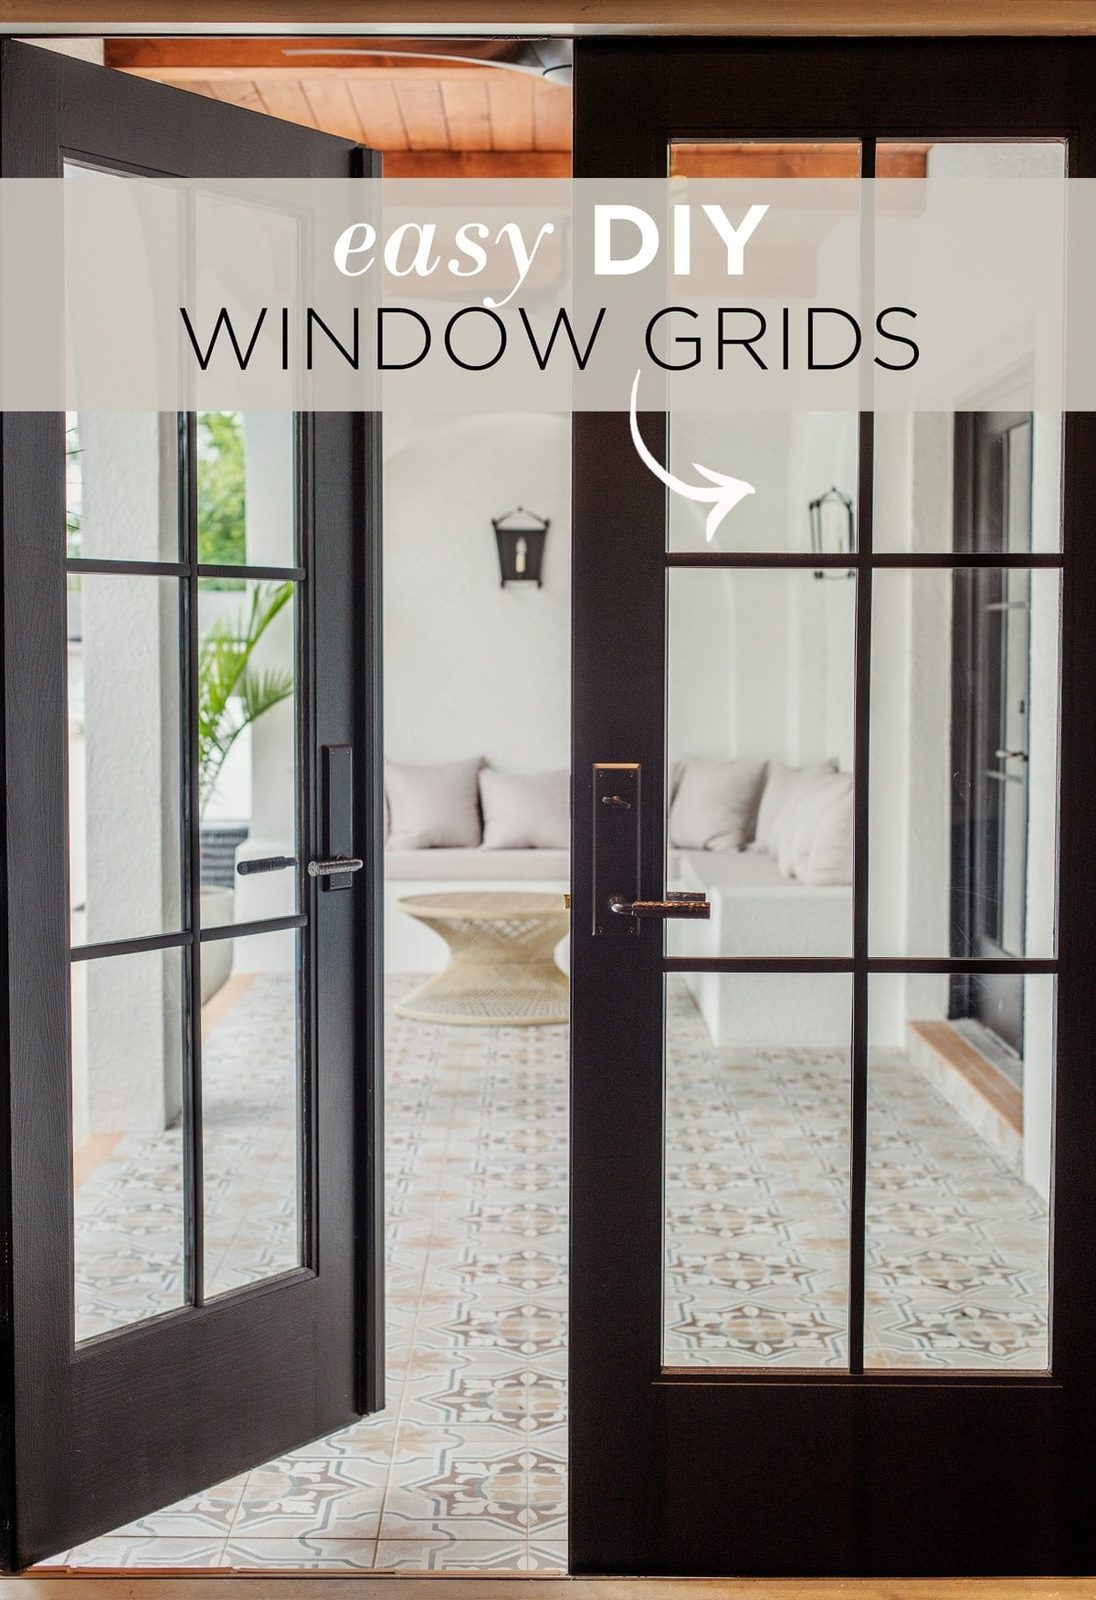
Do you want an easy way to transform your plain doors and windows without spending a fortune to replace them? Follow this tutorial to add DIY window grids in three unfussy steps—no painting, gluing or power tools required!
The final step of our Hacienda Hideaway Porch makeover was another great bang-for-your-buck—and this one requires no DIY expertise.
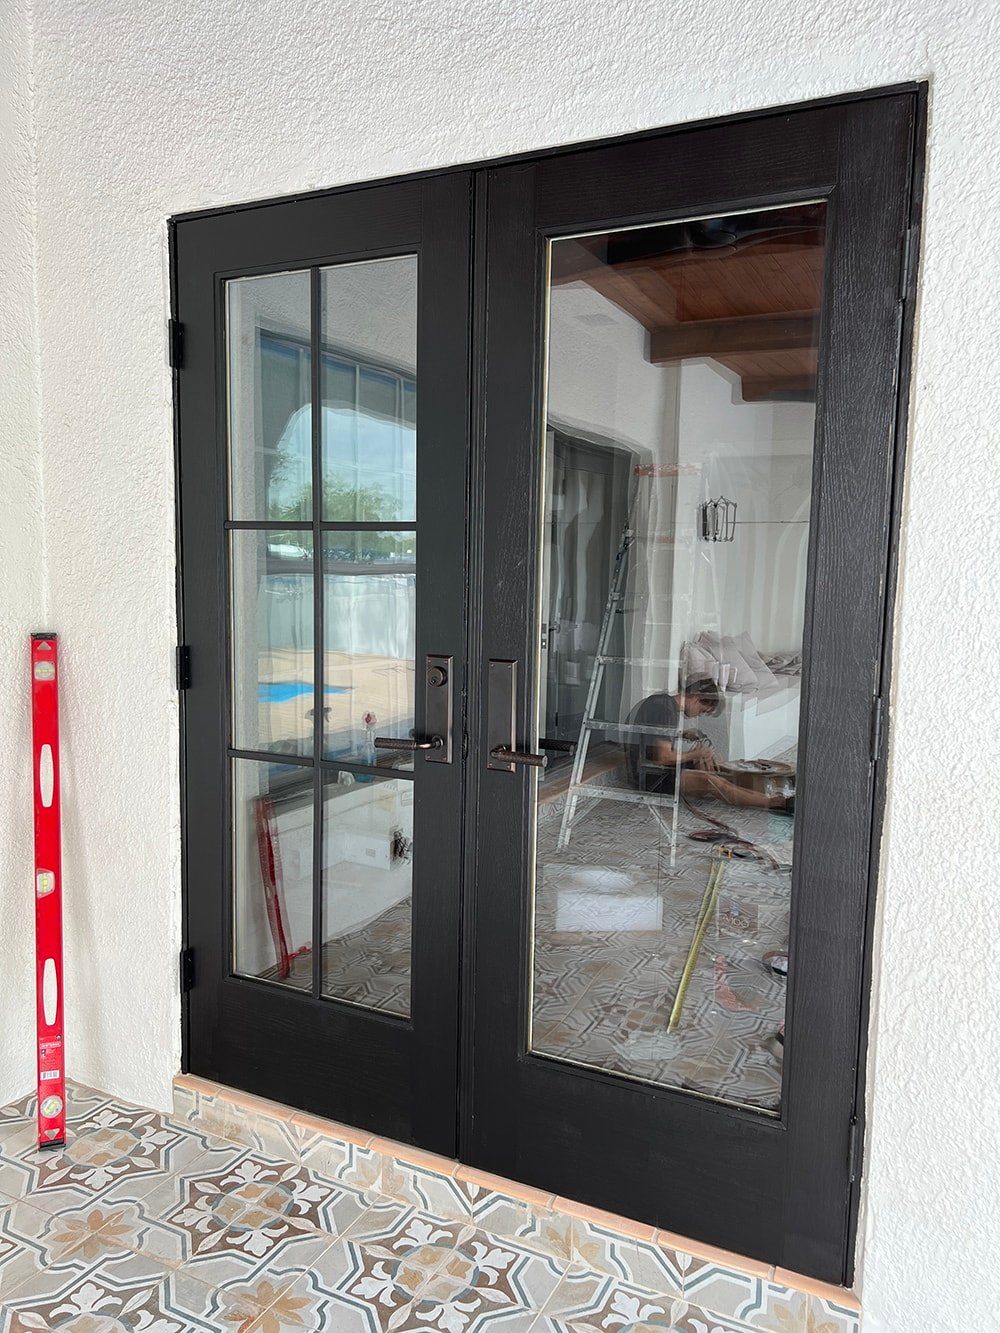
I knew that transforming these builder grade doors and window would make a big difference, but I am still blown away at just how high end and custom these look. You'd honestly never know this was a DIY—it looks like they came this way from the factory.
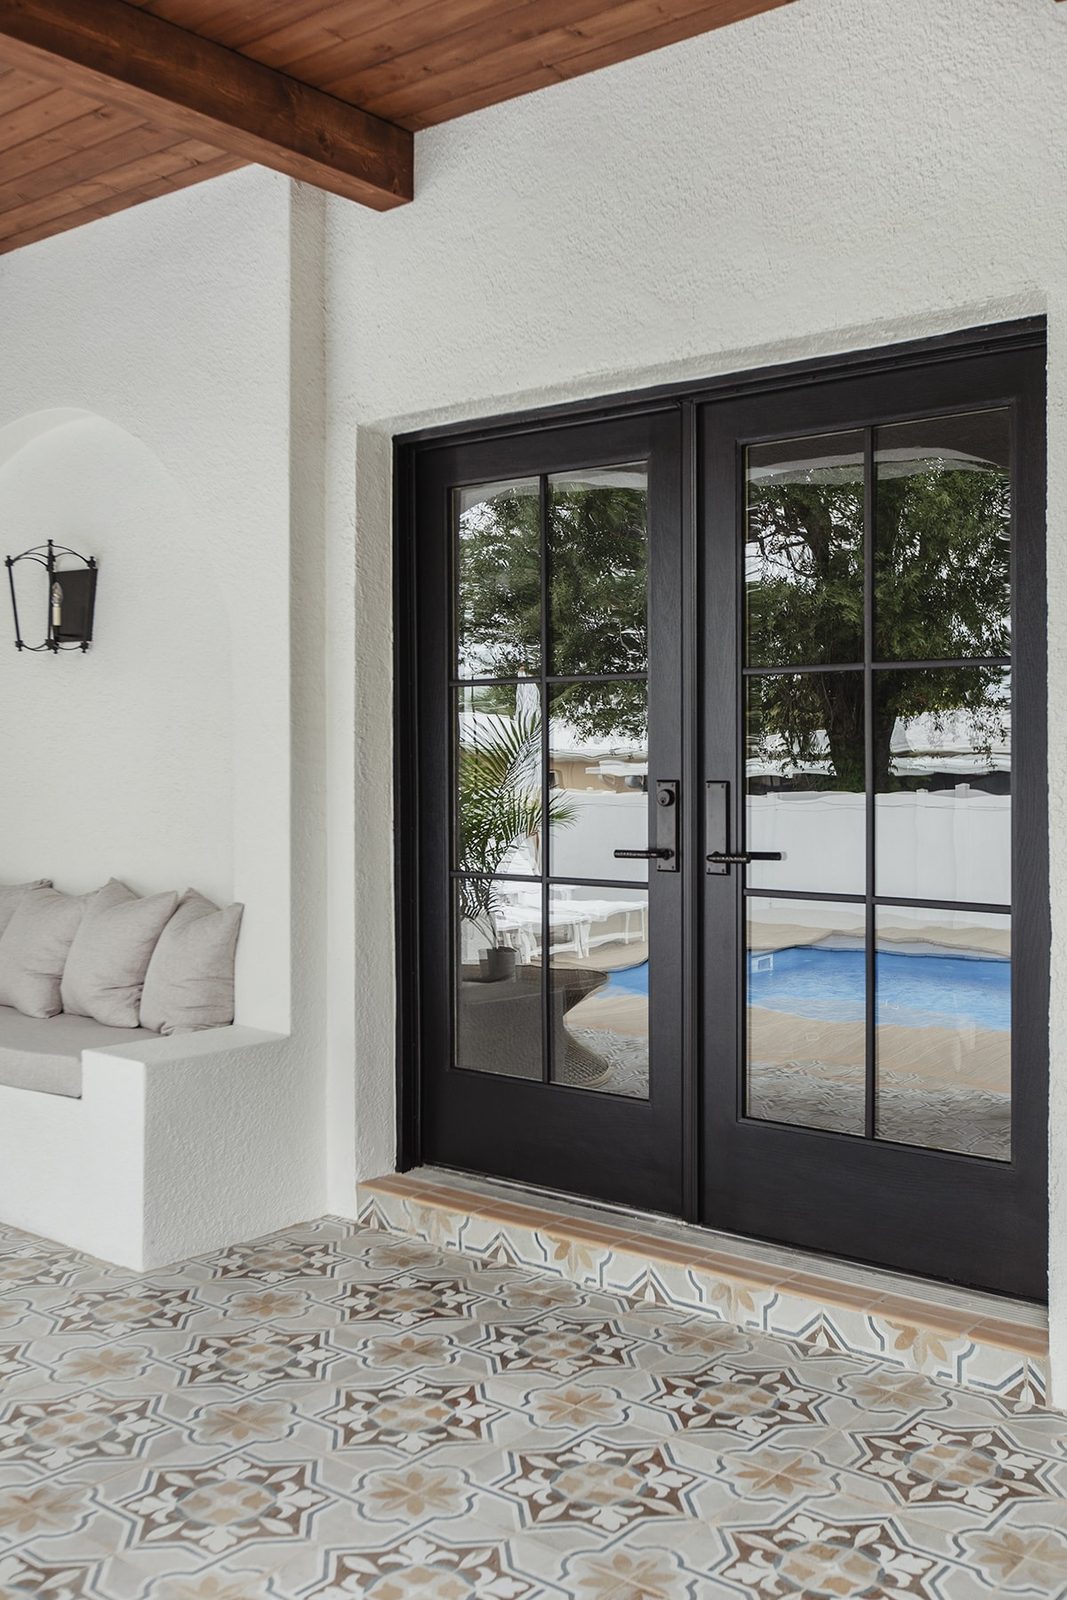
Before taking on this project, I spent some time researching all of the different ways to make DIY window grids, and came up with an idea that I have not seen before—automotive molding. This is the well suited solution if you want to add black grids, and save yourself plenty of time/steps.
Window grids, grilles, mullions and muntins explained
Muntins are typically made of wood, and separate individual panes of glass in traditional divided lite windows. Mullions divide the larger openings between windows and doors.
The terms “grids” and “grilles” are often used interchangeably, though grilles is the technical term. It can be used interchangeably with muntin, but it can also refer to a decorative grid pattern that does not actually separate the glass (simulated divided lite).
This tutorial shows how to make a DIY window grill that is attached to the face of the glass (SDL).
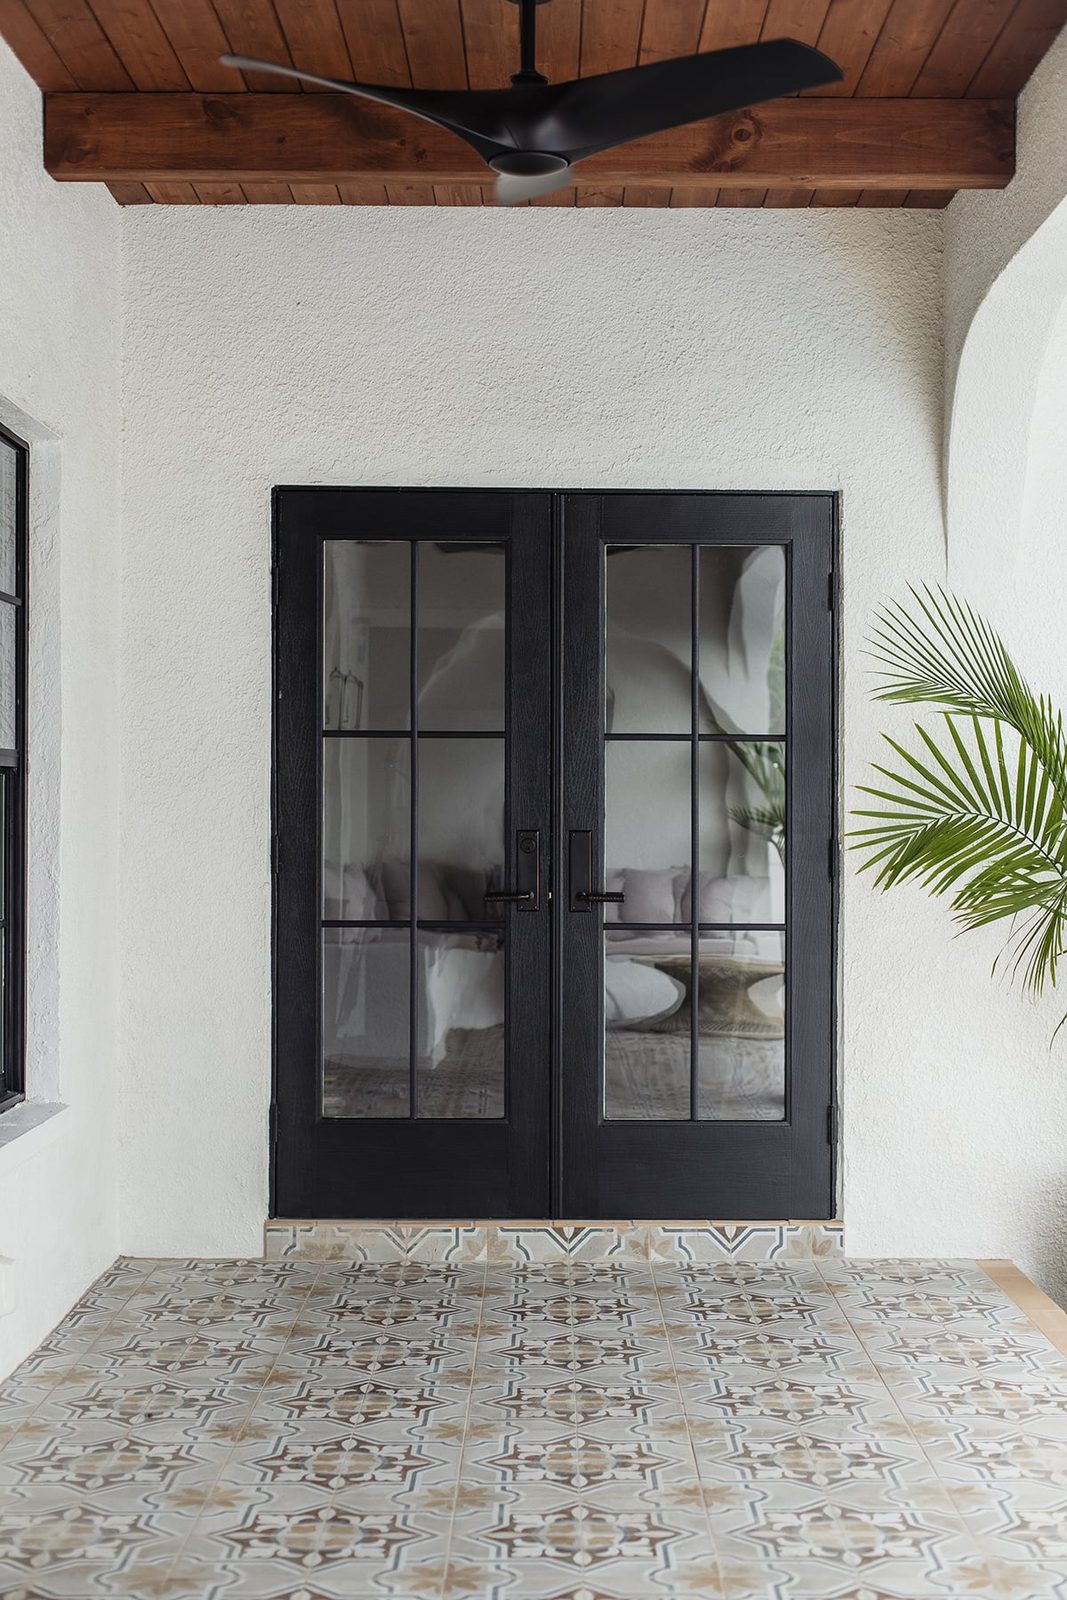
Can you add grids to existing windows?
Absolutely, and it is simpler than you might think! However, here are a few considerations to keep in mind:
- Will it match the rest of the windows/doors? If you are adding grills to an existing window or door, it should probably match the others within view. This is especially true for the exterior of a home where they are clearly in view. You want to make sure it all looks cohesive.
- Interior vs Exterior: Do you want the same window grill color throughout? For this project, I used black grids on both sides of our patio doors, but only applied it to the exterior side of our patio window and kept the white grid inside.
- The back of your trim will be visible through the glass. The thicker the glass, the more noticeable it will be. Therefore, both sides of your molding should look finished, and you will need to choose your adhesive carefully.
Now that you've decided you want to take the plunge and make your own DIY window grids, here are the different ways it can be done:
Ways to make DIY window grids
- Electrical tape: The cheapest, quickest and easiest option. Personally, I would not use this as a permanent solution, but it is not a bad idea as a way to test out the look if you are undecided.
- Wood/pvc molding: This option provides the most flexibility, as you can choose any size/style of molding, and paint it any color you'd like. It also requires the most steps though—sourcing the molding and adhesive, using a saw to cut the trim, priming and painting. I would go this route if I wanted the grid to be a color other than black or white.
- Window molding kits: If you are not the DIY type, there are companies who sell the trim kits and make it particularly easy to install. The color options are limited, however, and it can be more expensive than other routes.
- Self adhesive trim: This is a convenient solution to save the step of gluing, and the flexible material can be cut with a knife or sharp scissors. It is also ideal for black window grids to skip the time consuming priming and painting, and it will be more durable in the long run.This is the option I chose!
How to install DIY window grilles
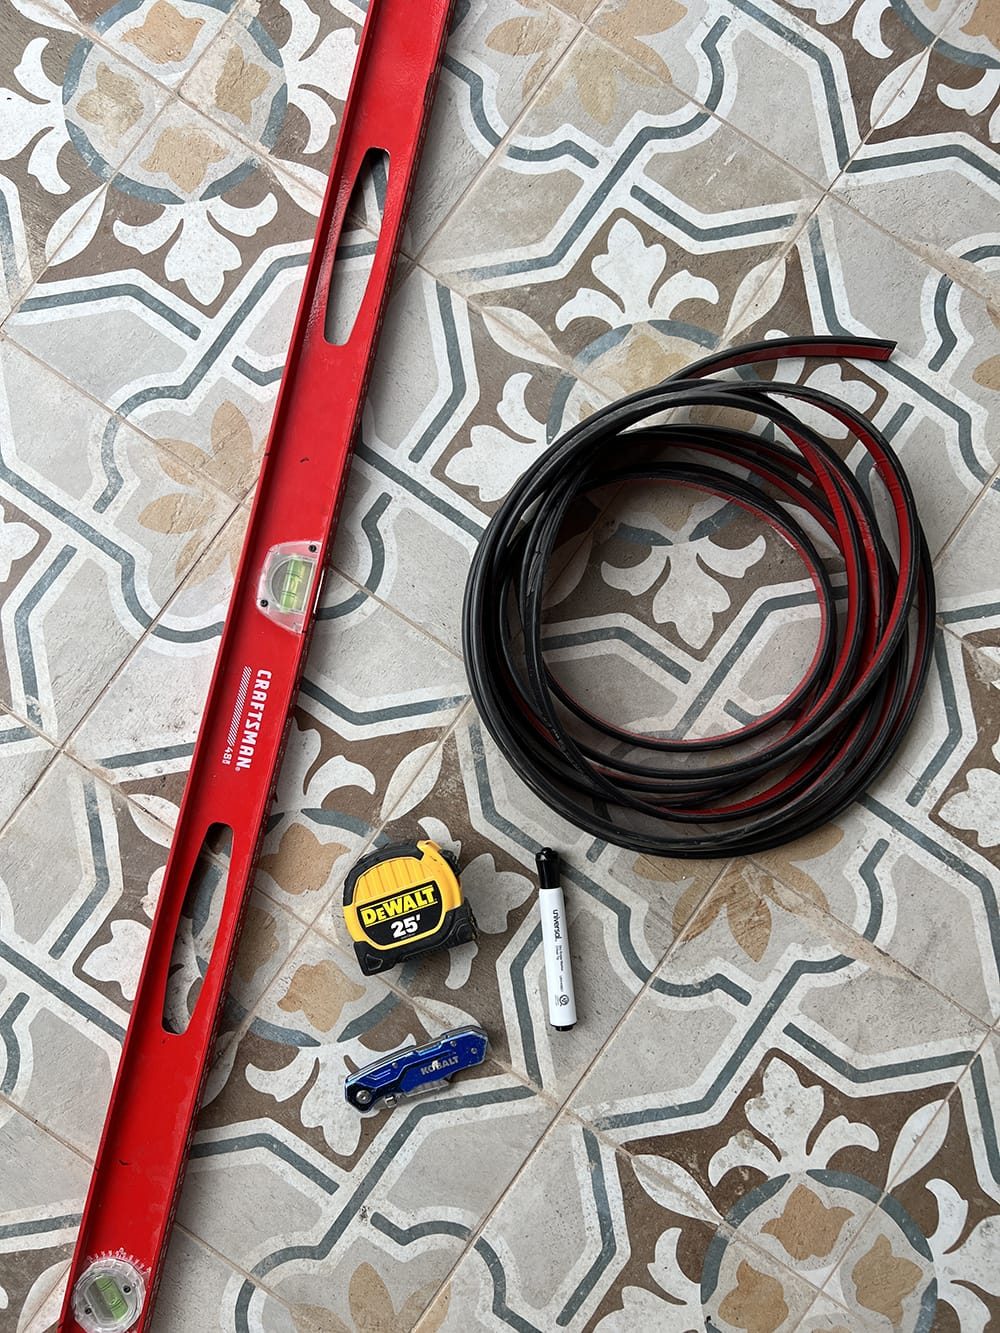
Supplies
- Paint/primer (if repainting the door)
- Self-adhesive molding
- Tape measure
- Level or straight edge
- Utility knife
Step 1: Prep the door/window frame
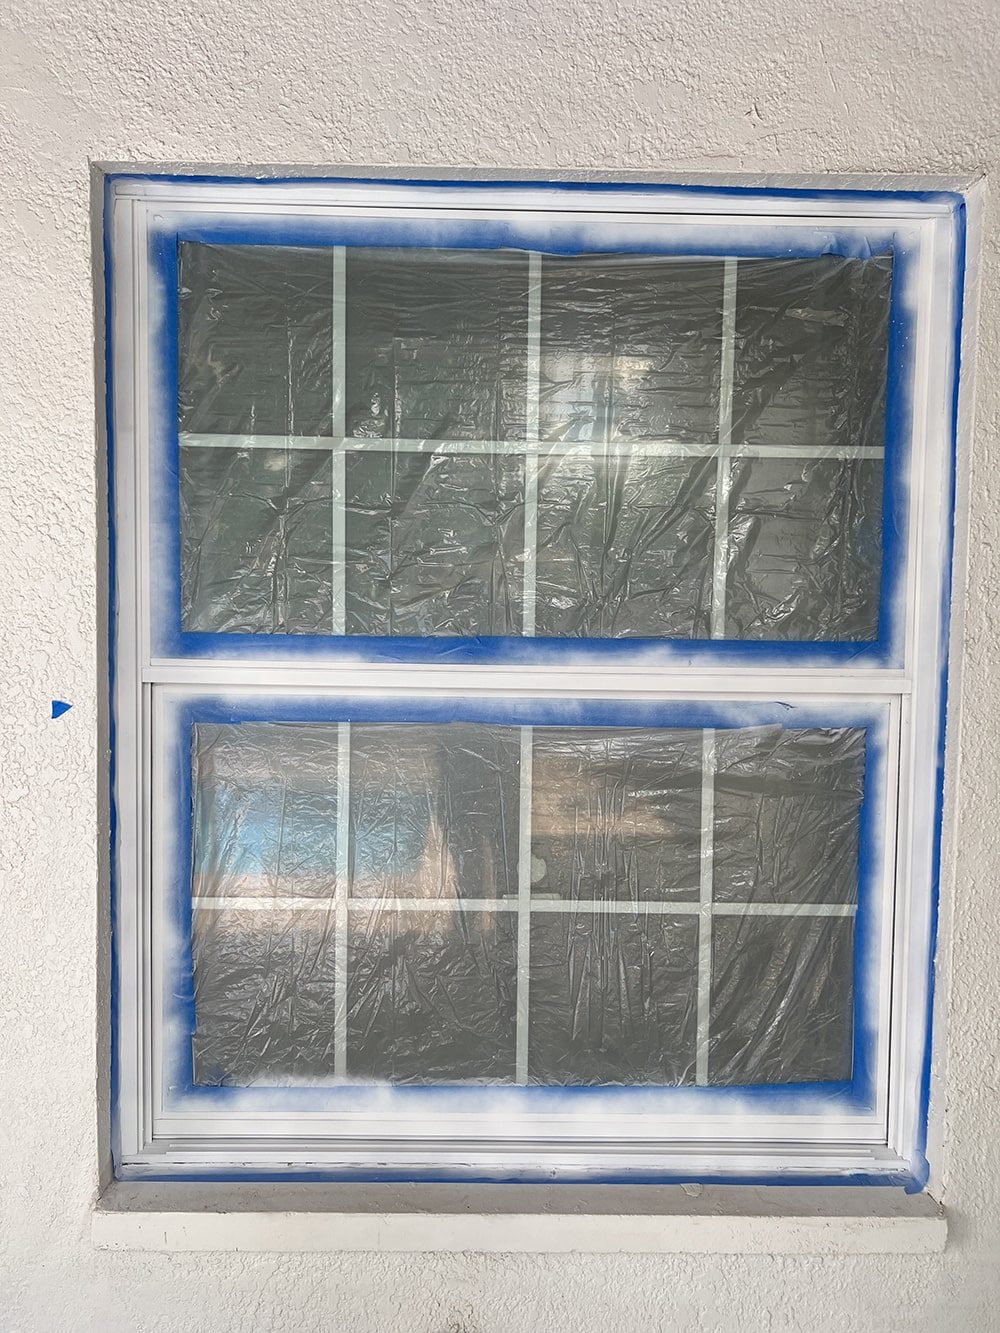
Our existing patio doors and window were pretty beat up from all of the construction wear and tear over the past couple years. They needed a good sanding, priming and painting.

After cleaning the doors and applying Mask & Peel, we used Zinsser Cover Stain, which is an oil-based interior/exterior primer and favorite among professionals. I have used it for years because of its excellent bonding and durability. For the window, we taped it off and used spray can primer.
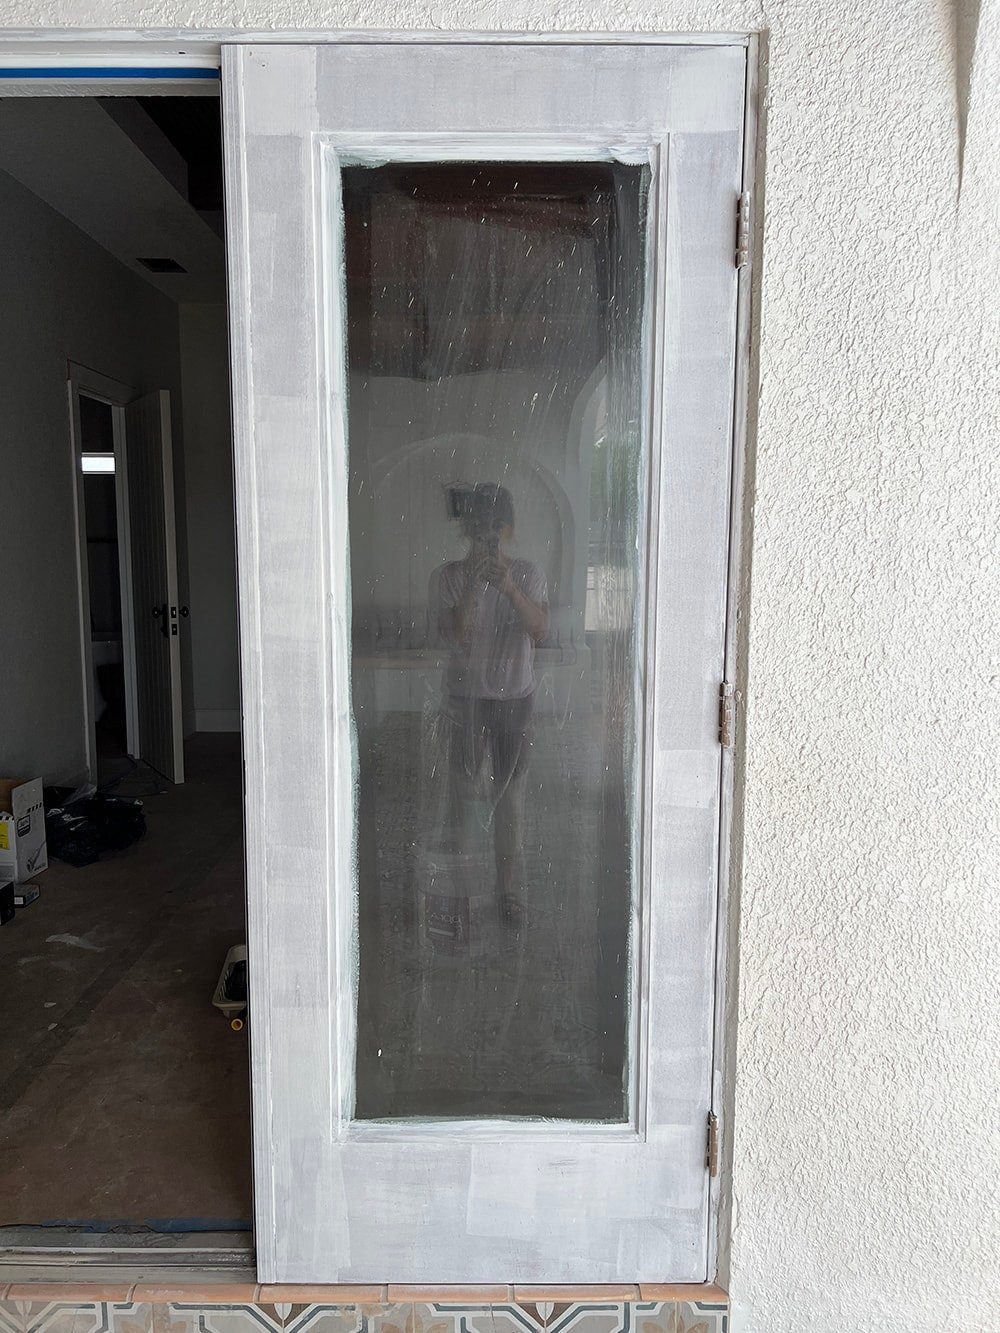
After priming, we painted two coats of Sherwin Williams Tricorn Black in an enamel oil-basedformula. Because this house will be a rental, the finishes need to be as durable as possible, so oil-based was the best option.
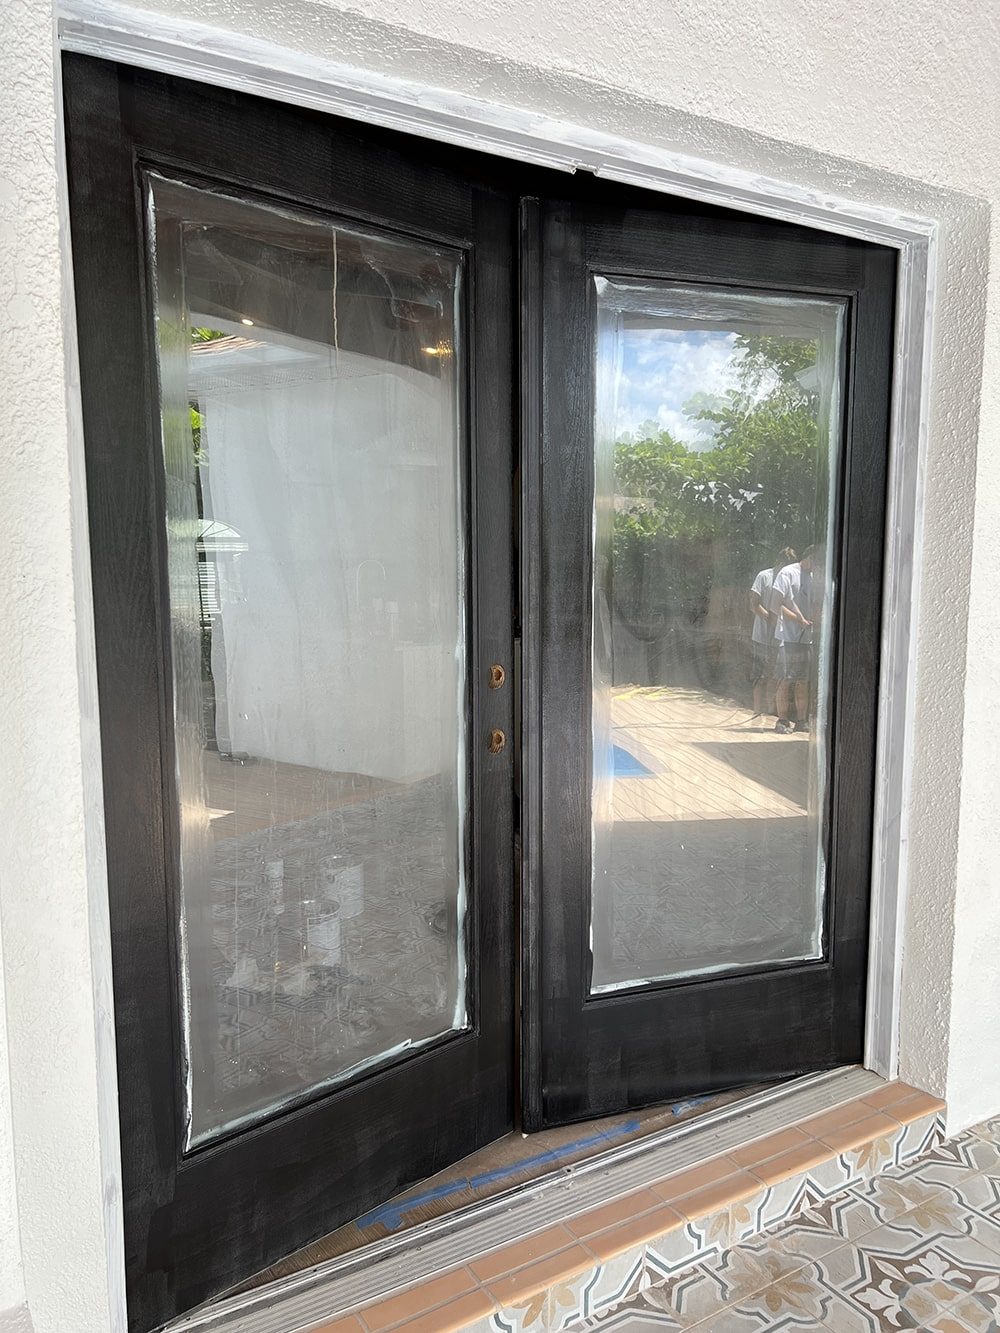
Tricorn Black is a deep, true black with no tint, and is my go-to rich black.
The old knobs were also replaced with thesefancy handlesetsfrom Emtek. Do not underestimate the power of new hardware to instantly elevate the look of your doors!
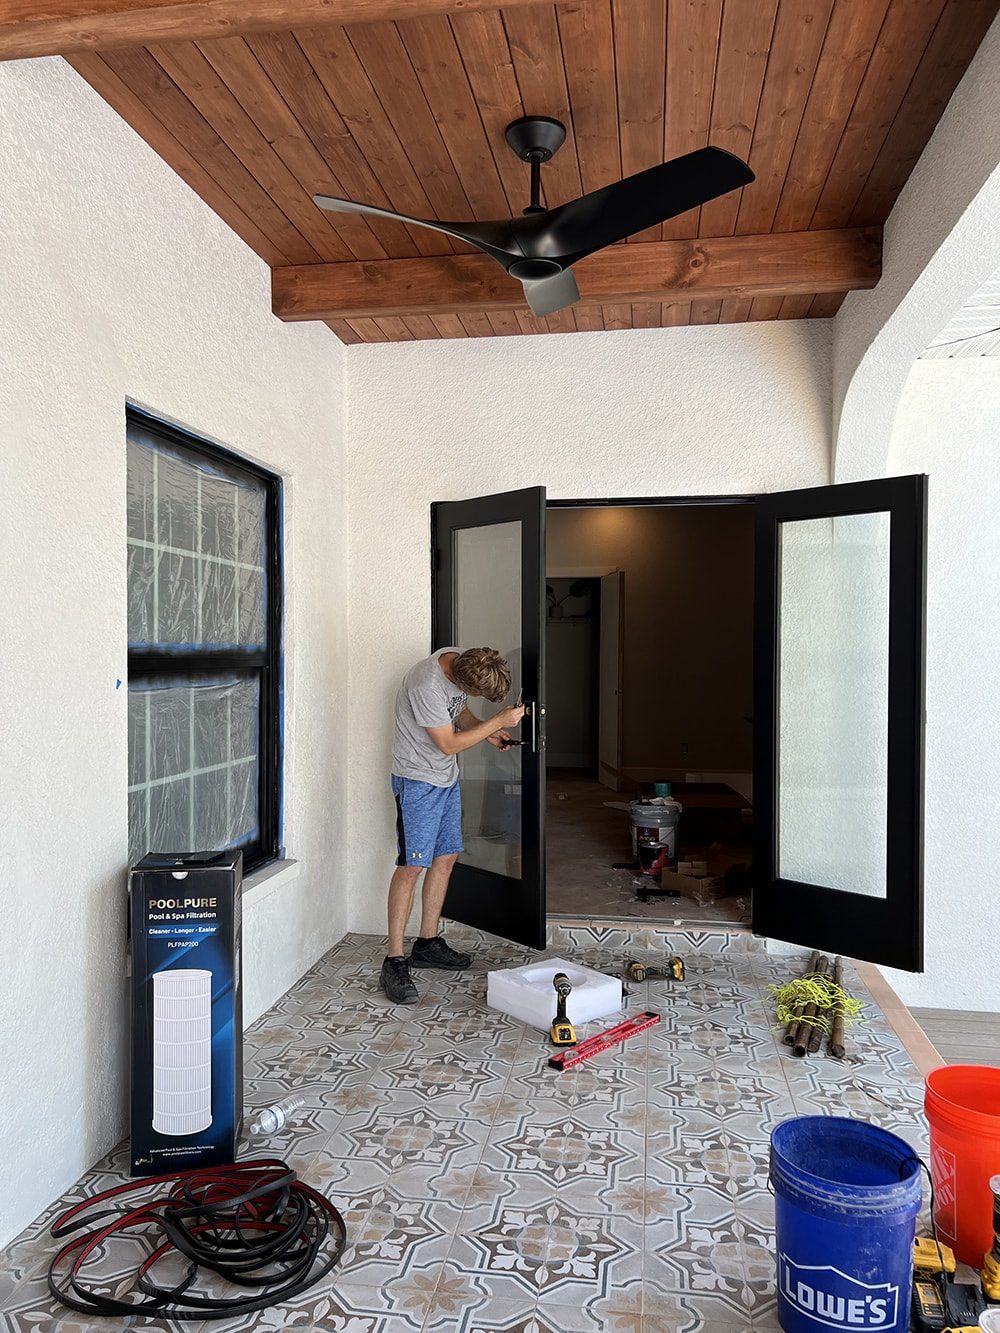
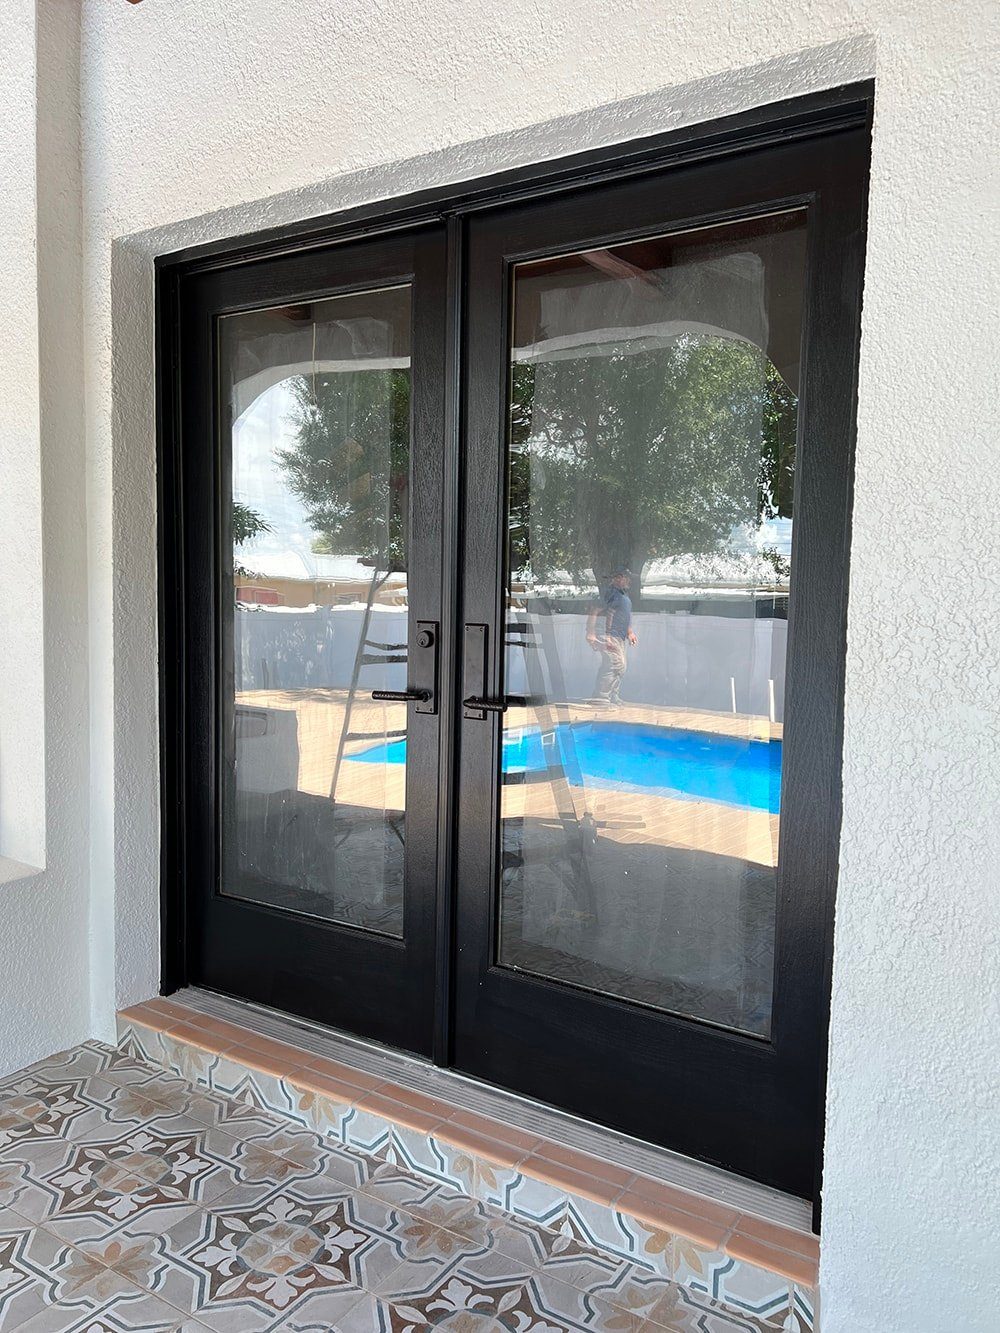
Step 2: Measure and mark the grid lines
Once the window is prepped and cleaned, it is time to add the molding. First, decide on a grid pattern. I did a quick mockup on Instagram and landed on one vertical divider, and two horizontal dividers:
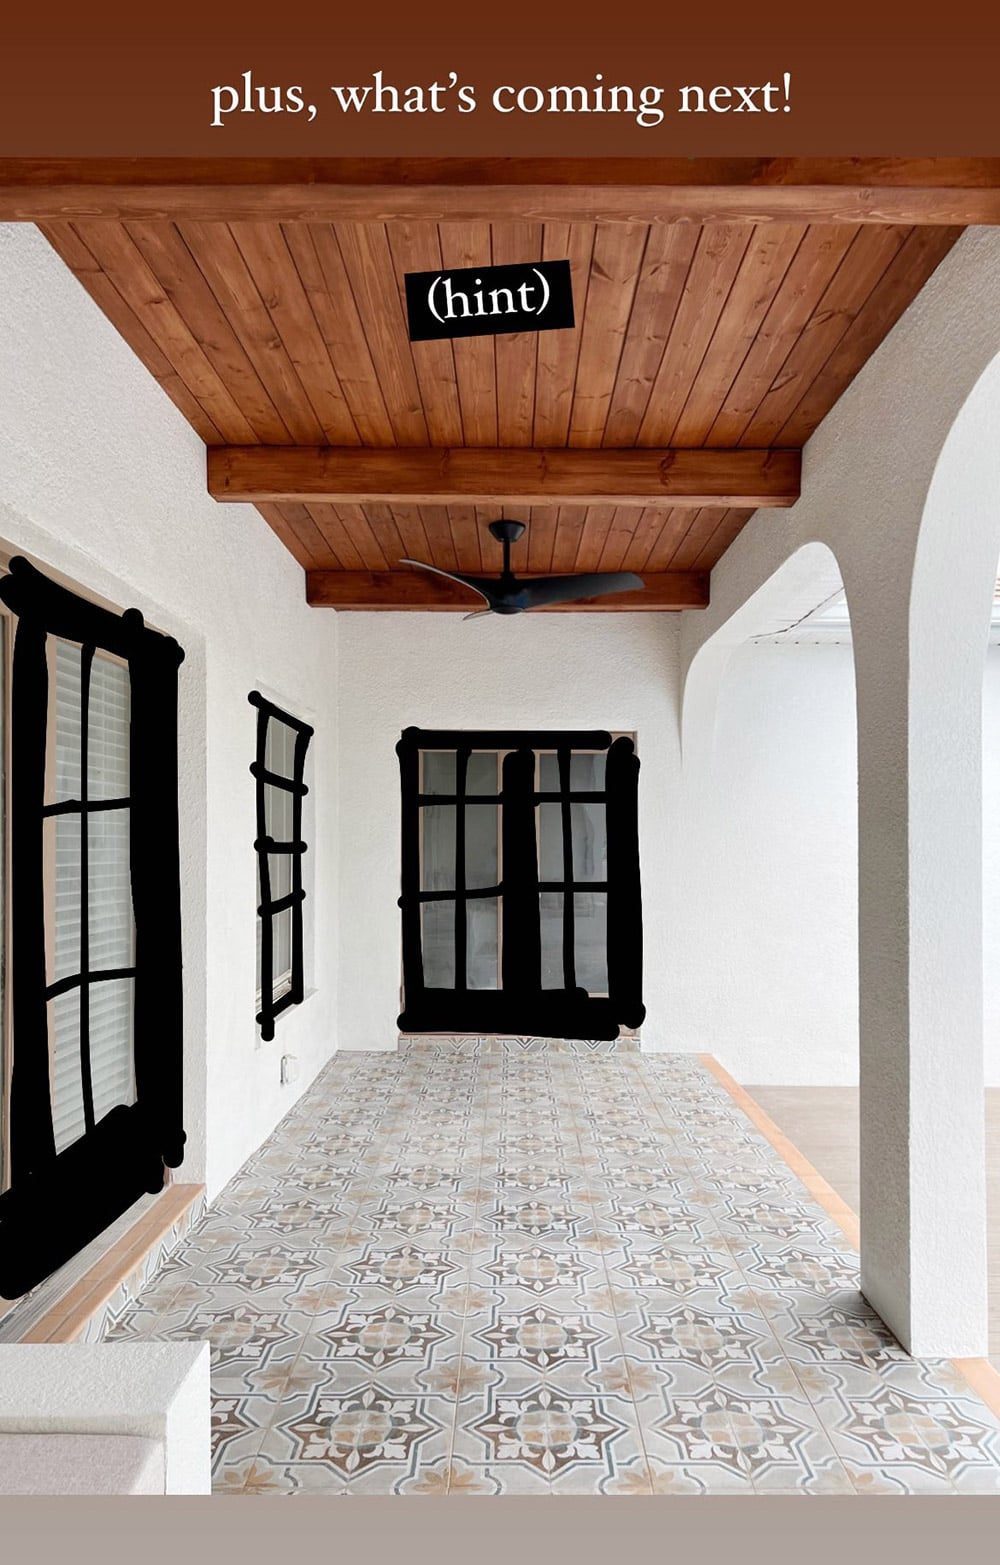
A simpler grille represents a modern style, whereas more window panes are common in traditional styles. My grid of six lands somewhere in the middle, which suits the mix of old and new design styles in this house.
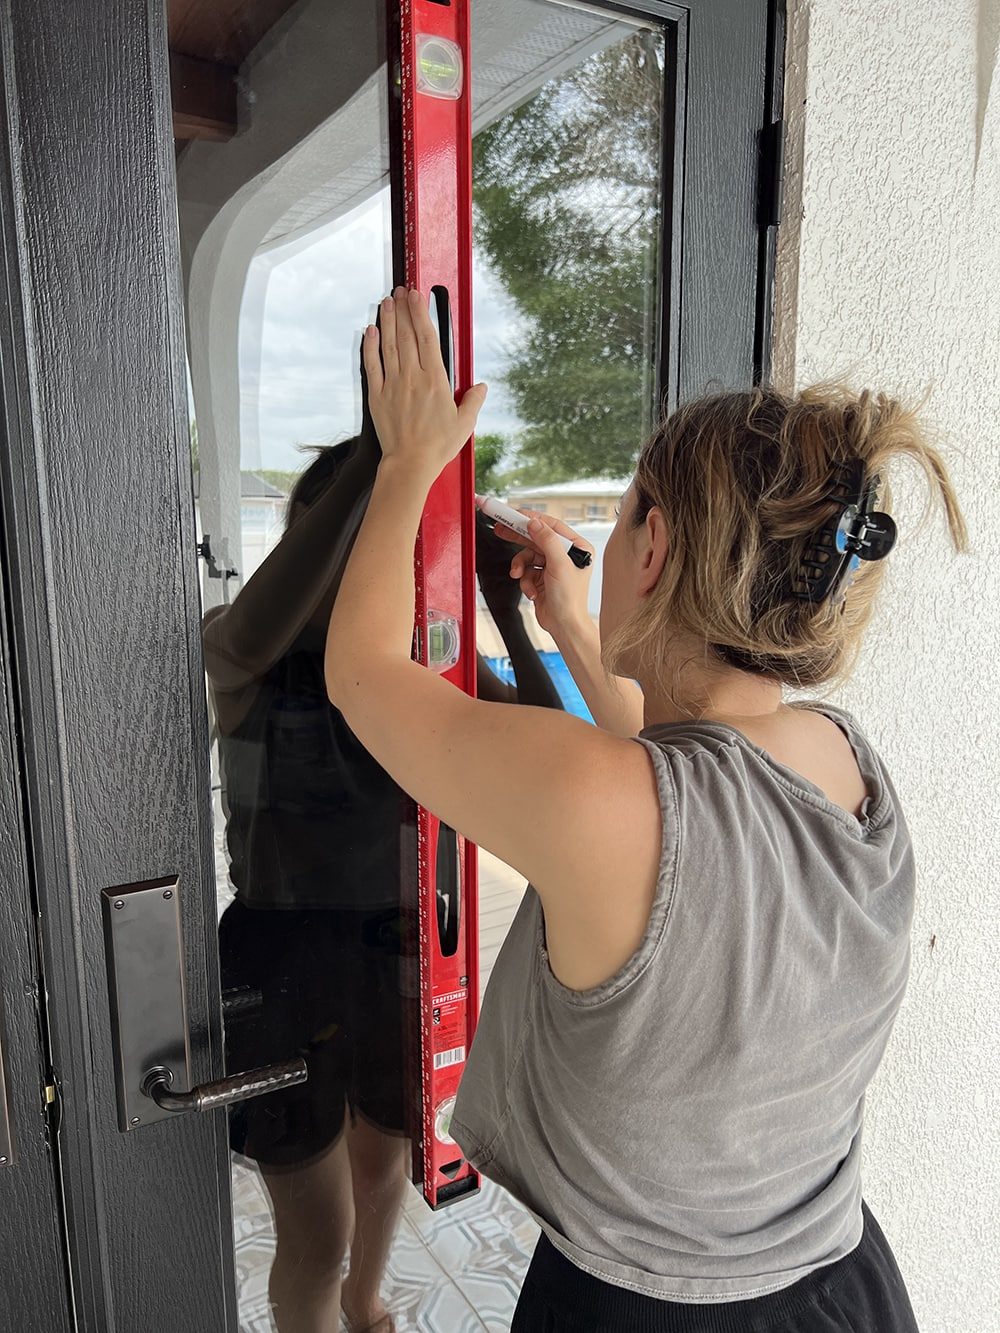
For the vertical line, we measured the width of the glass, divided by two, then subtracted half the width of the molding (3/4″ / 2 = 3/8″). We'd use this line as a guide for the edge of the molding. Using a black pen and a level, I marked the vertical line on each window.
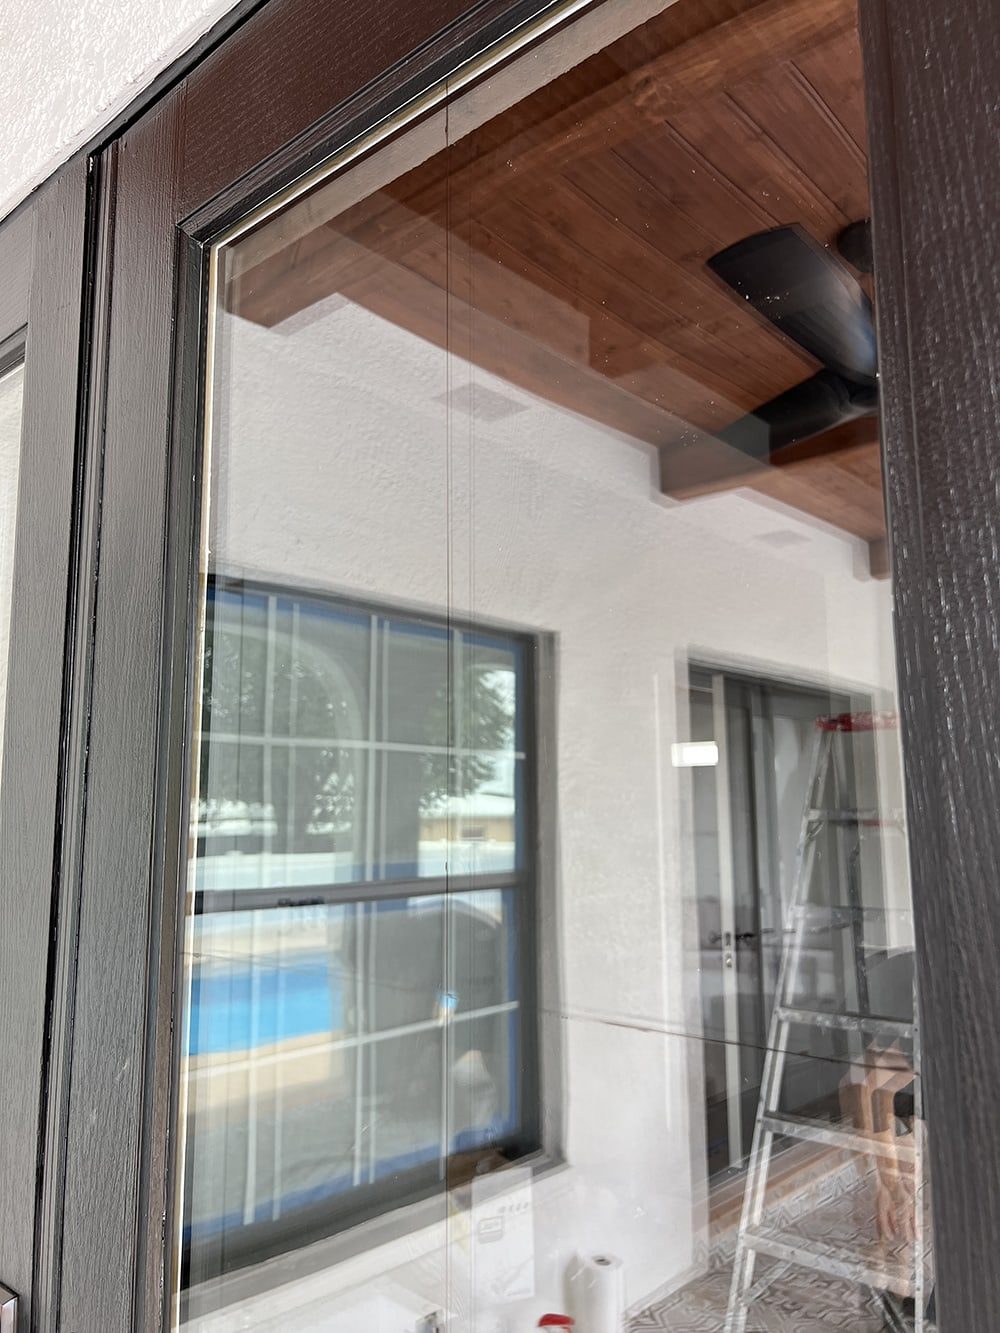
Next, we divided the window height by three, subtracted half the width of the molding again, and marked the horizontal divider lines. You can use any pen (including a Sharpie) and it will wipe right off afterwards.
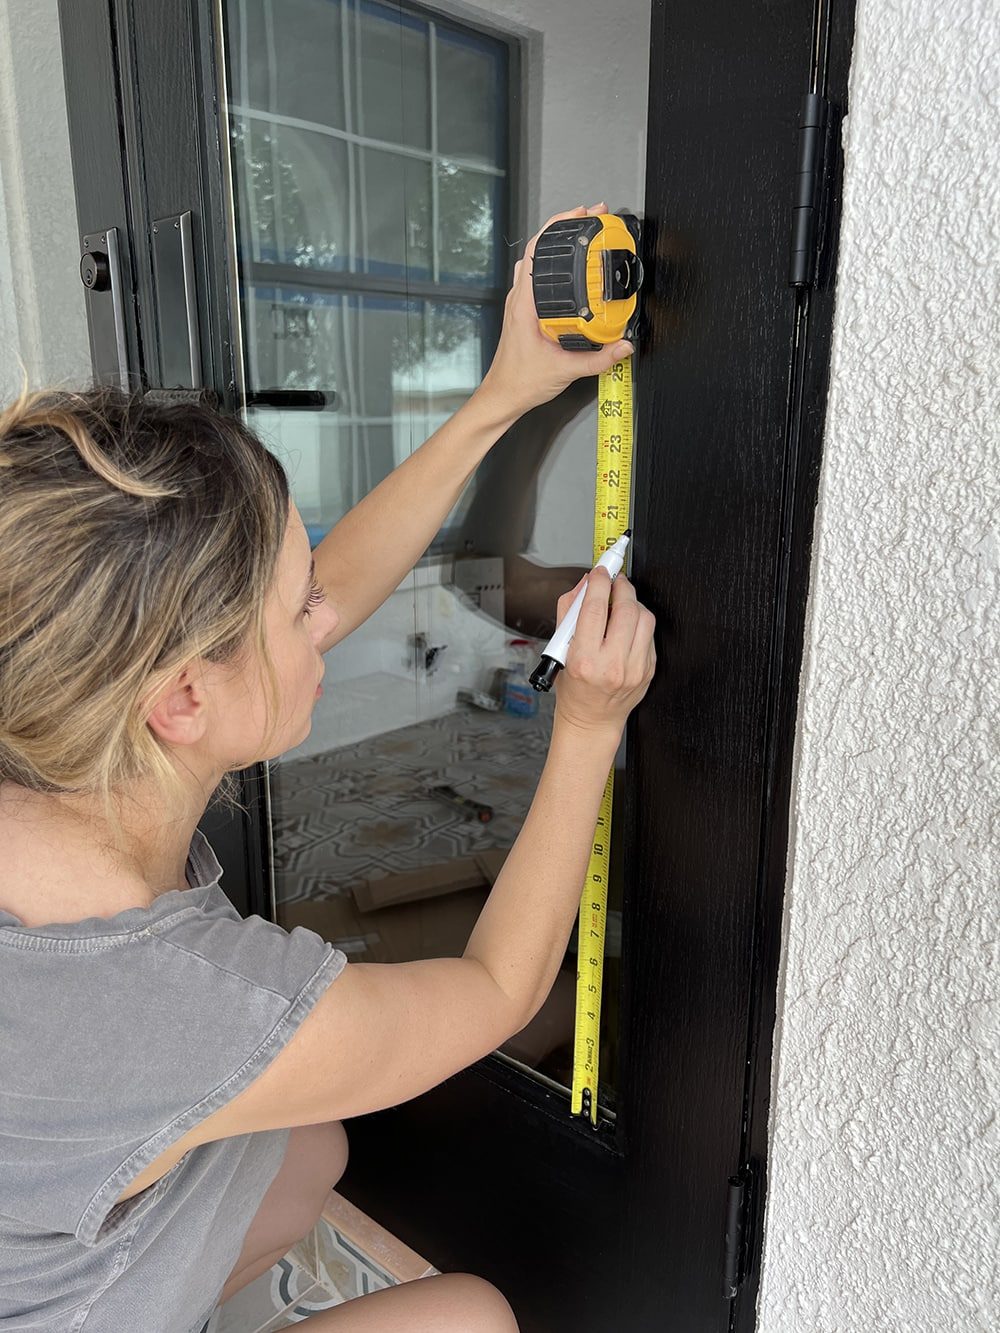
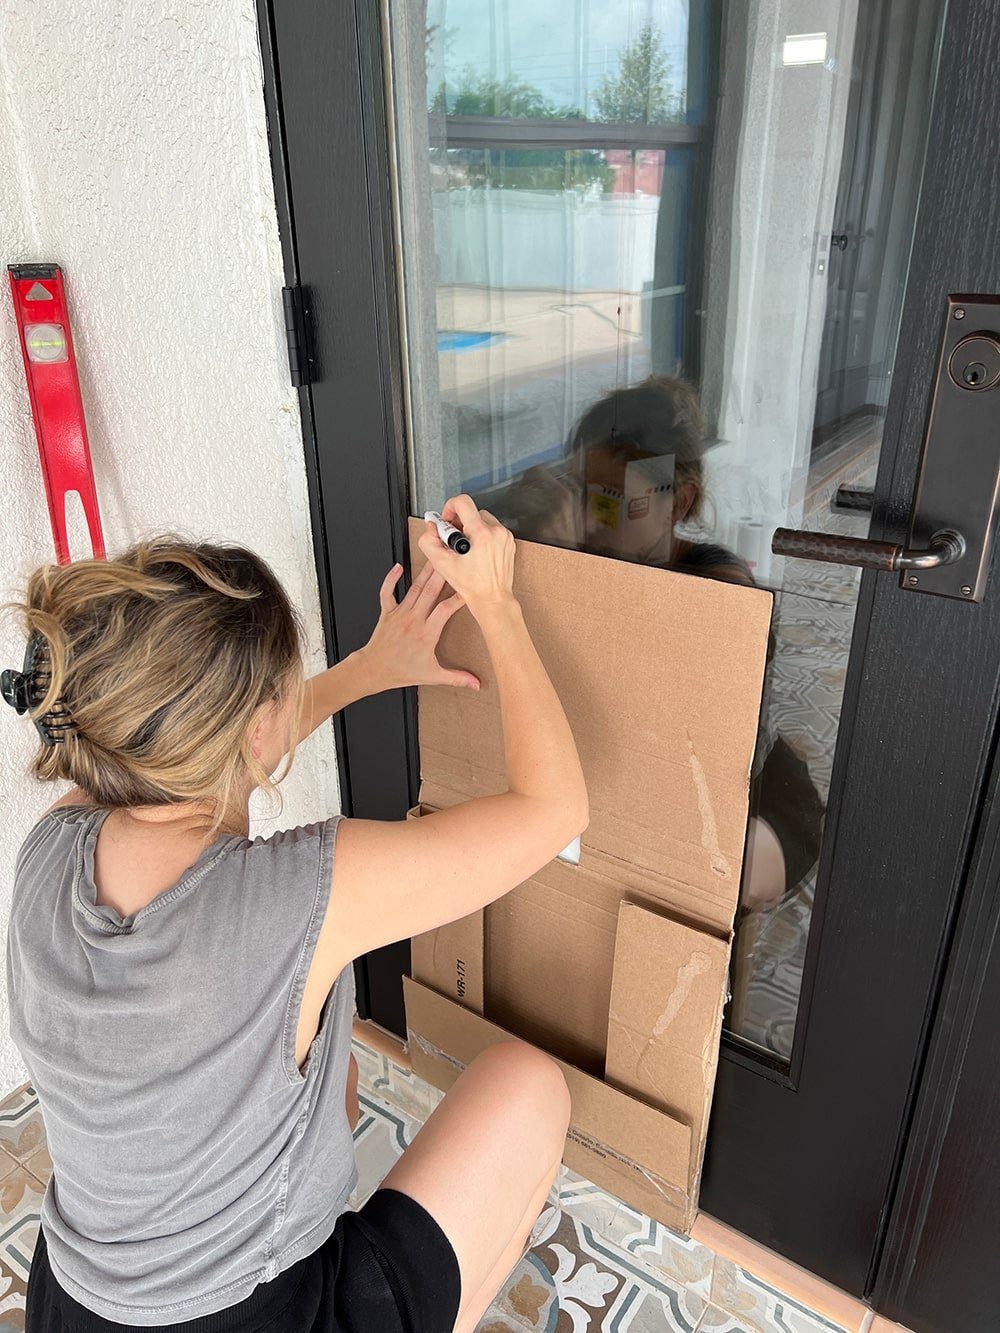
A little hard to see in this photo, but here are our guide lines:
Step 3: Cut and attach the trim
After an exhaustive search, I found this auto body trim, which was the best option for several reasons:
- It is 3/4″ wide, which is wide enough to cover our existing window grille, and a common width for real grids.
- It is black on both sides, which eliminates the need to paint (and the color will not wear off!)
- It is self-adhesive, which saves the step of gluing it on and provides a cleaner look.
- It is designed for cars, so it will easily withstand the elements.

I ordered a 42 feet for $66, and used just over 30 feet for four doors and one window. I highly recommend this trim if you are going with black windows/doors!
Update: if it is sold out on Amazon, you can also find molding in 1″ here, here and here, or 3/4″ glossy here.
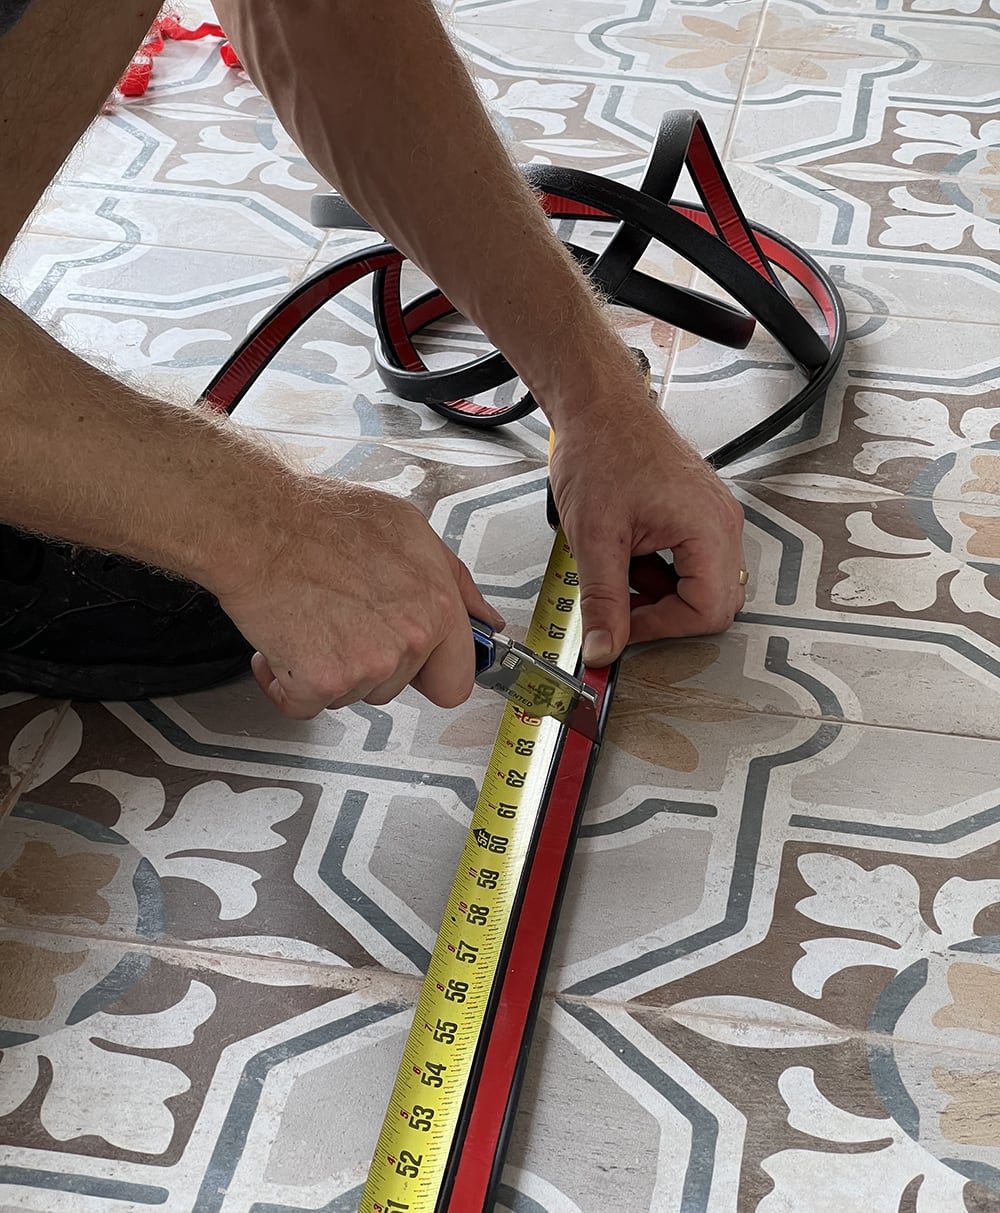
Start by measuring the height of your window, add a couple extra inches, then cut with a utility knife. We found it easier to trim it to the exact size after attaching, as our molding has some flex and ended up longer anyway. It is easier to cut on the door when there is enough excess to grab onto.
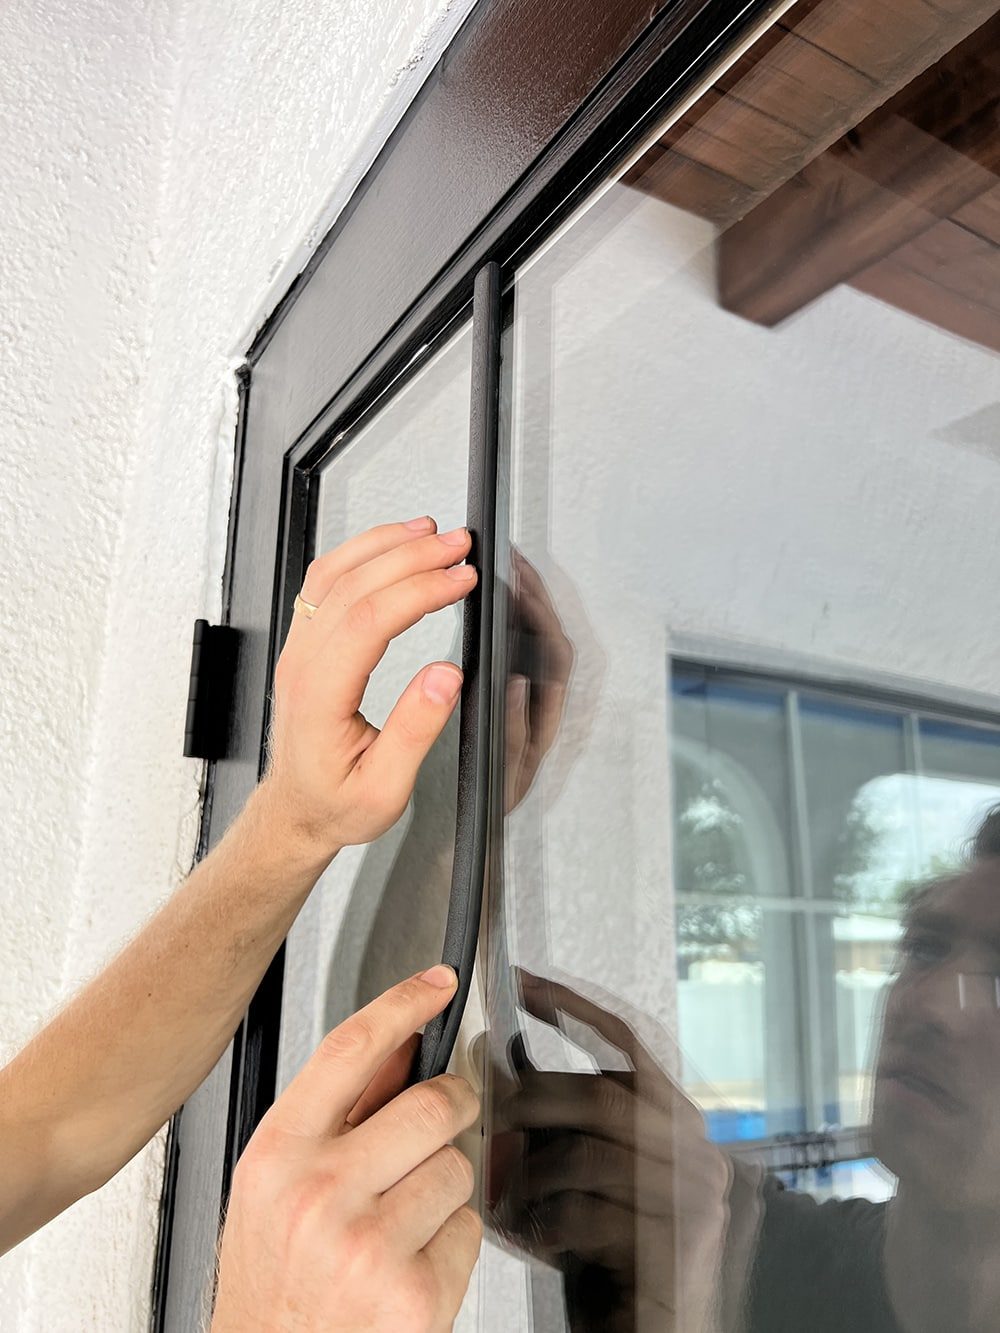
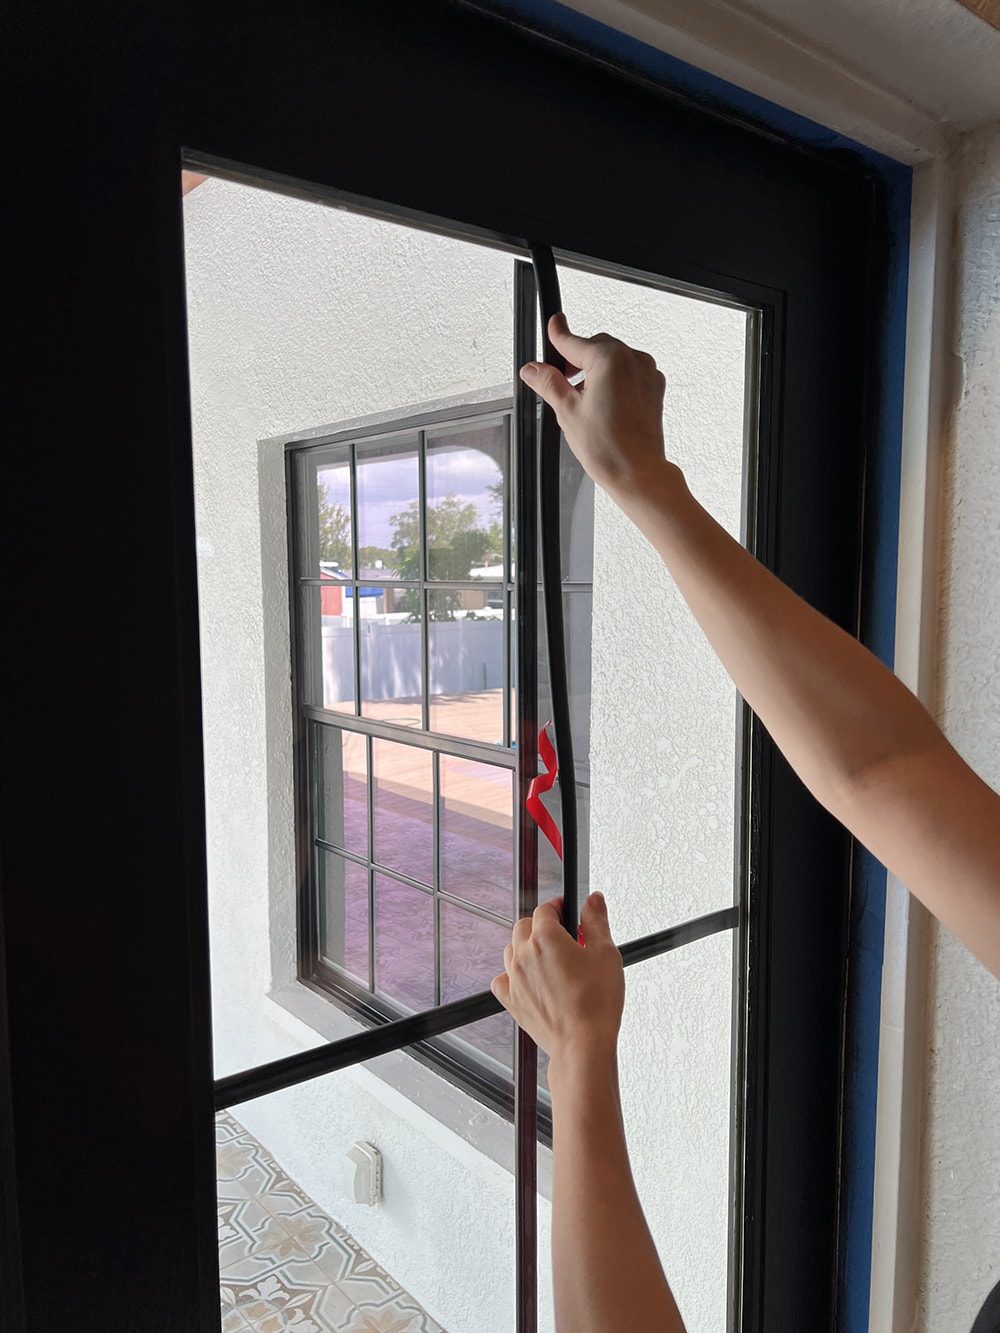
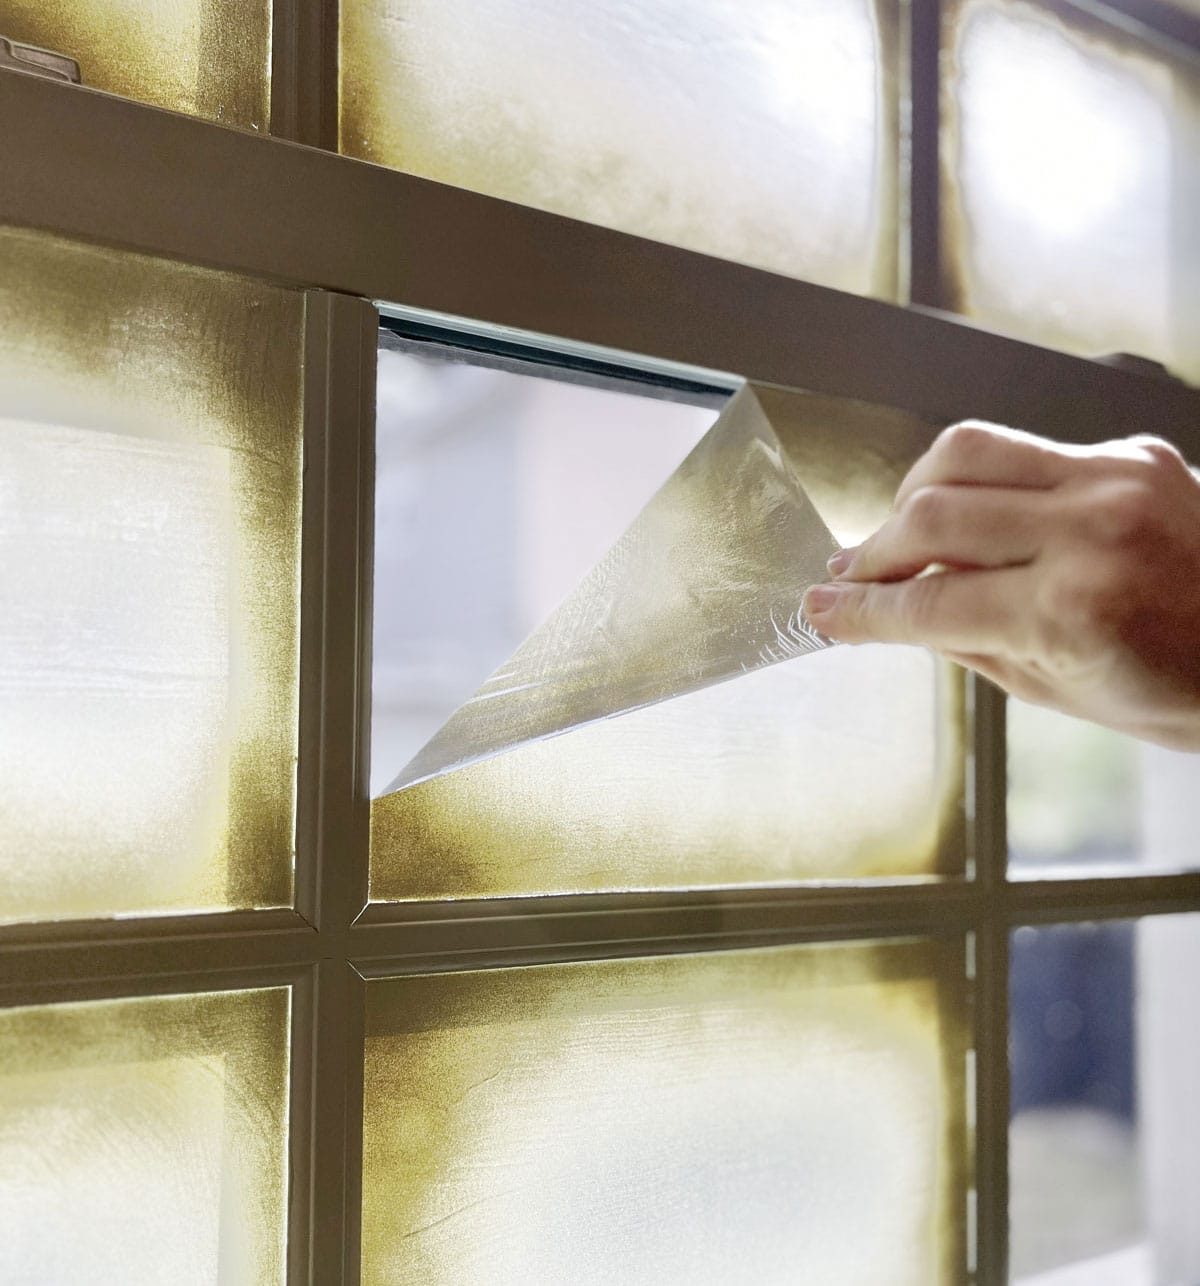
Starting at the top, align the edge of the molding to your guide line and begin to peel back the adhesive tape. The self-adhesive genuinely makes this job easy!
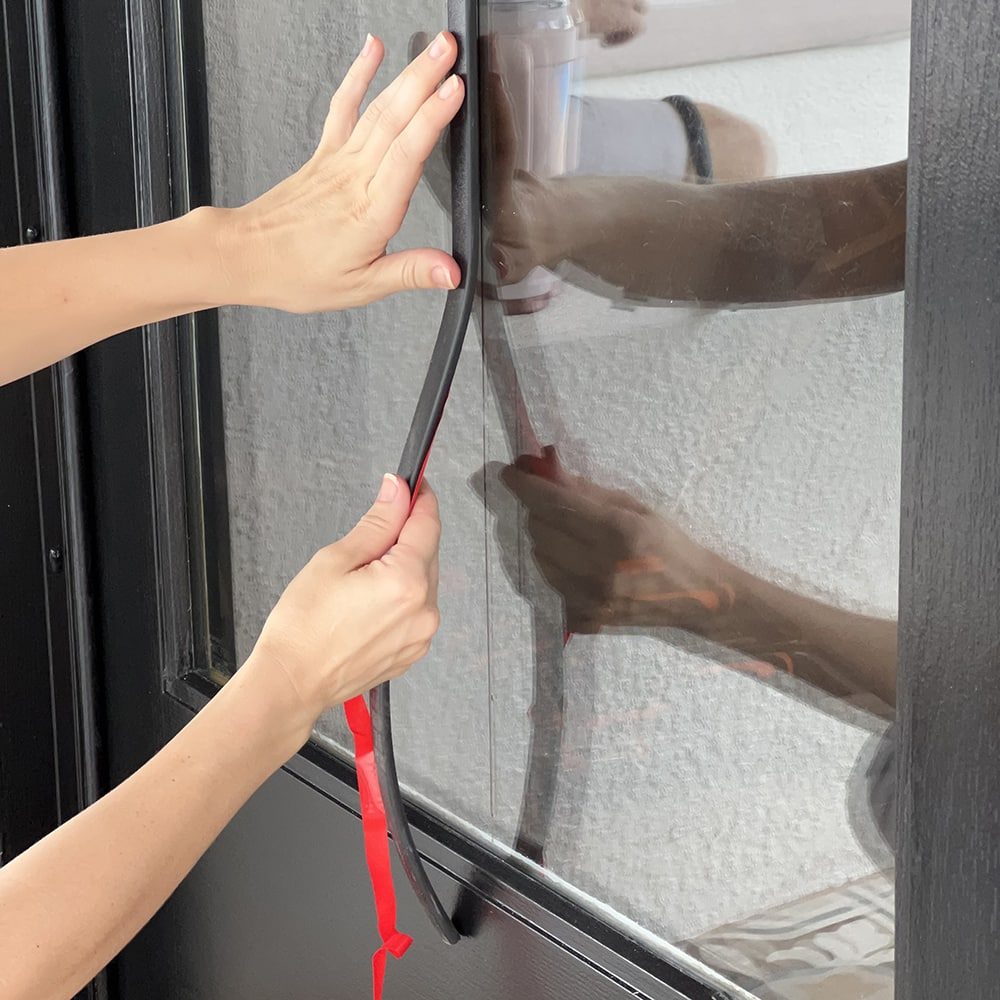
Slowly work your way down the glass, ensuring the molding is straight and even. If it starts to get crooked, you can carefully remove and reposition it without damaging the adhesive (I had to do this a few times).
When trimming, note the angle of the edge that meets your molding, and cut the molding to match that angle for the cleanest look. It is not an exact science, but it will look a lot more professional if there is no visible gap where they meet.
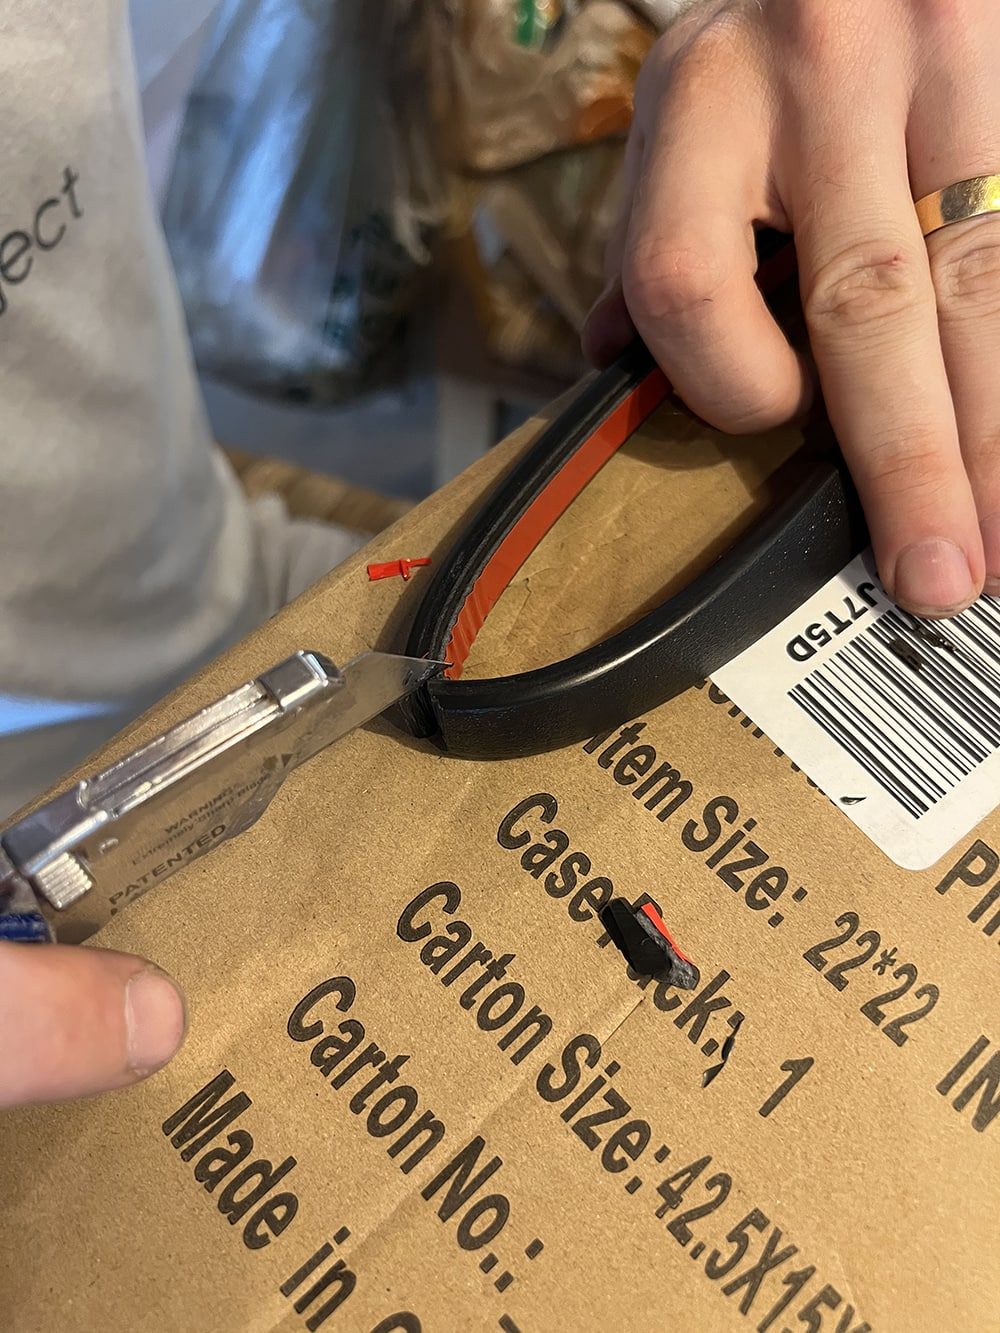
Once the vertical divider is complete, measure and cut the smaller sections for the horizontal strips. We also cut both sides of these at an angle to match each end.
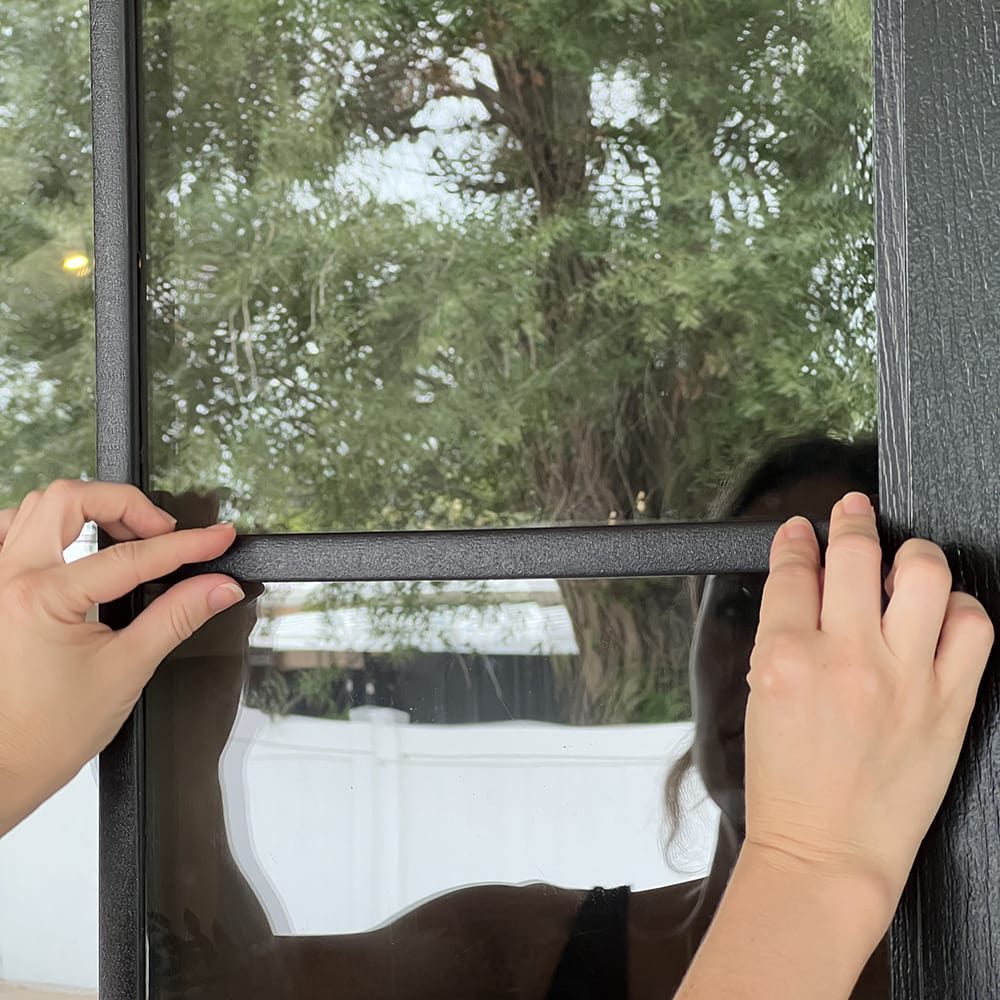
One door complete! What a difference:
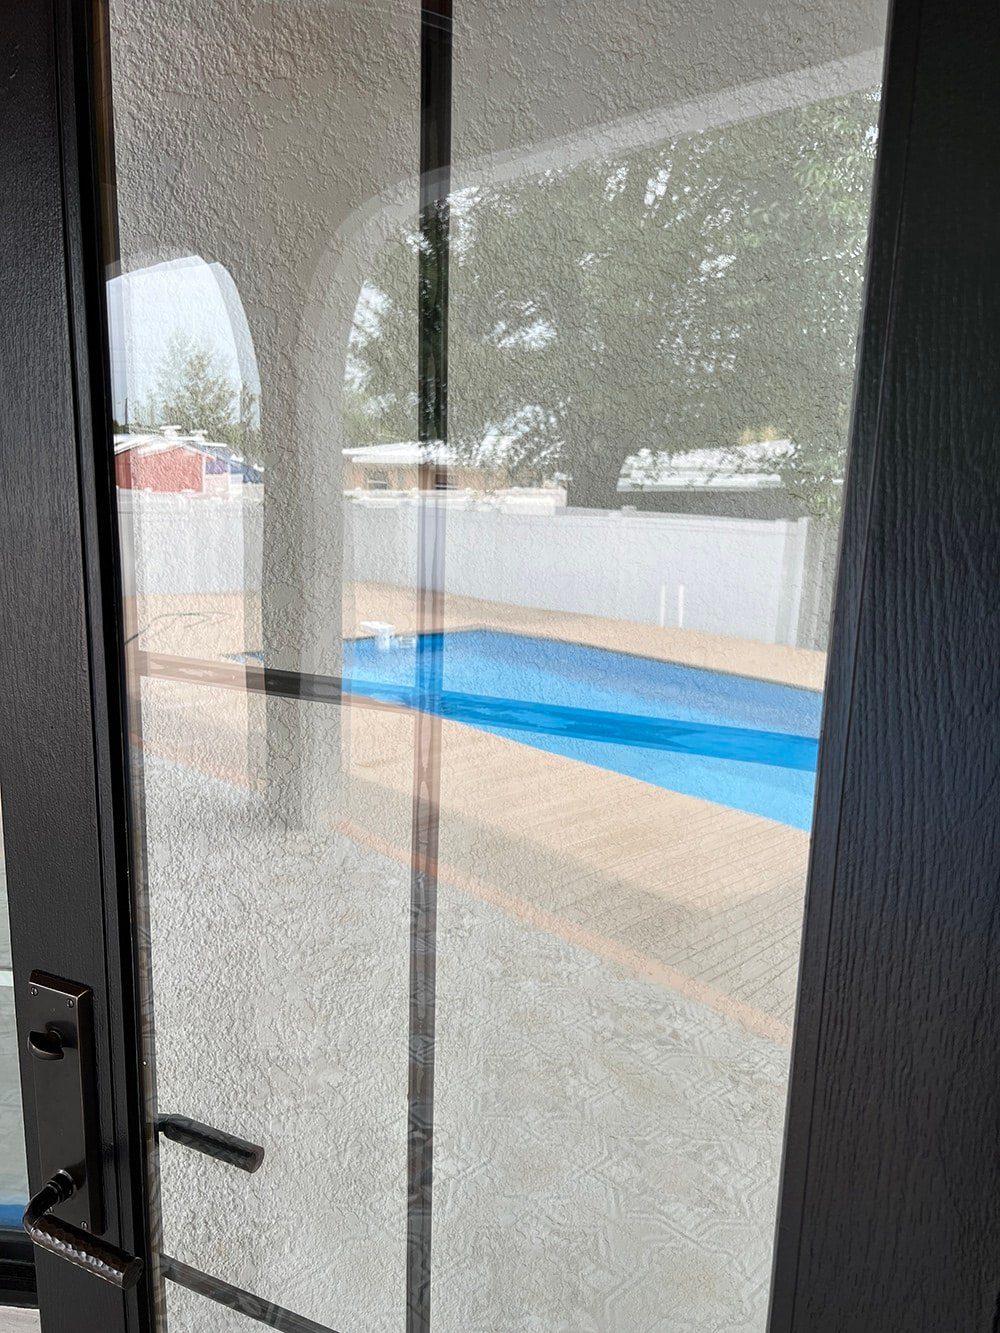
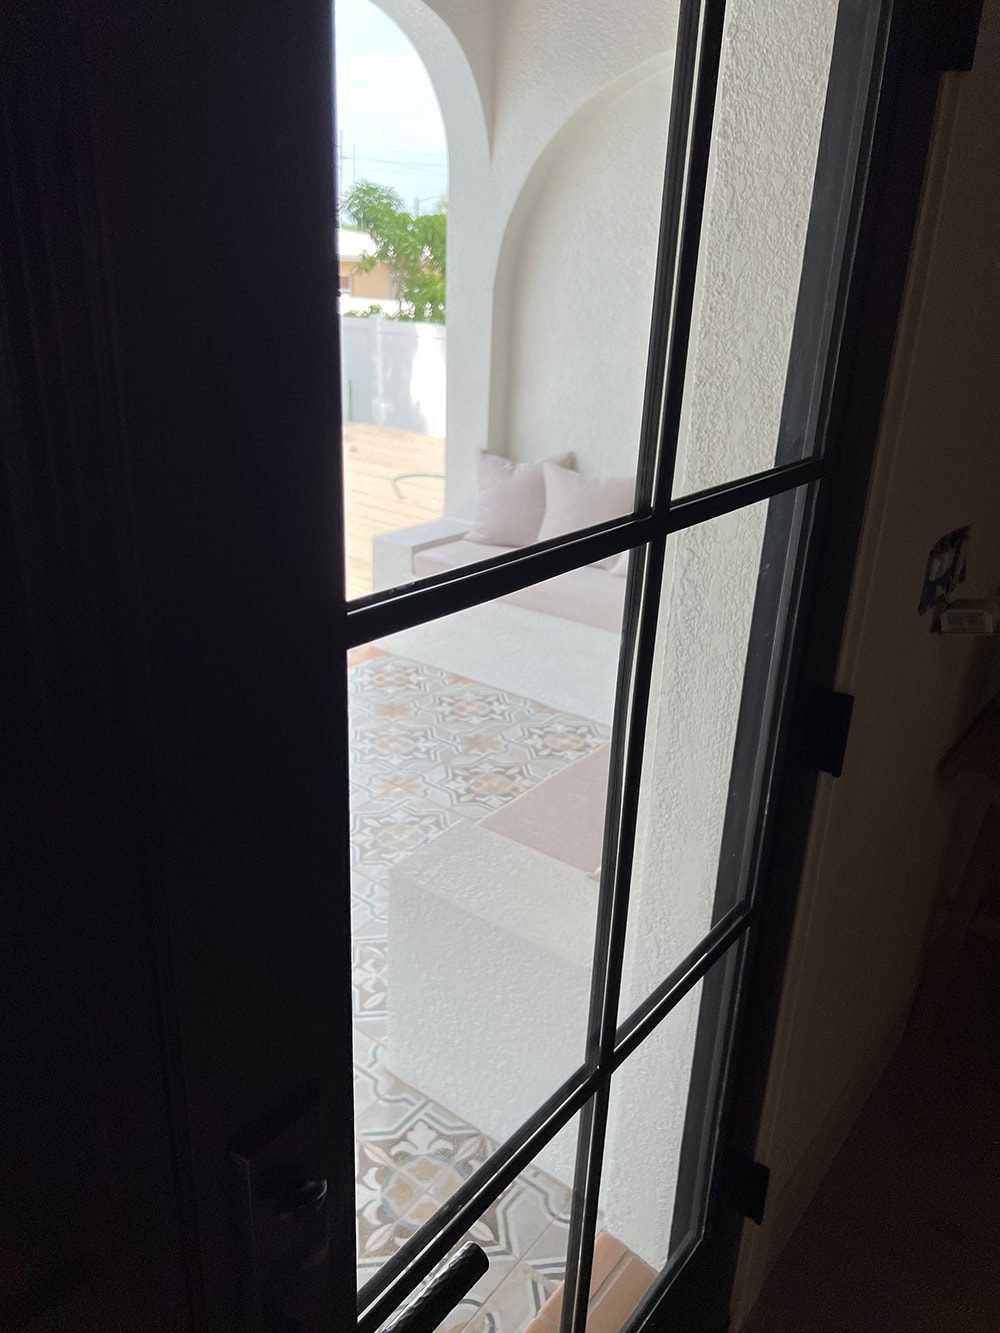
This is how it looks from the back of the glass—you can see the adhesive:
Applying trim to the back of the door goes a lot faster, since you do not have to measure and mark. Simply line it up with the molding on the opposite side.
From an angle, you will be able to see the back of the trim, which is why it is important that both sides look finished. The thicker the glass, the more noticeable the back will be. This is the case with all SDL (simulated divided lite) windows.
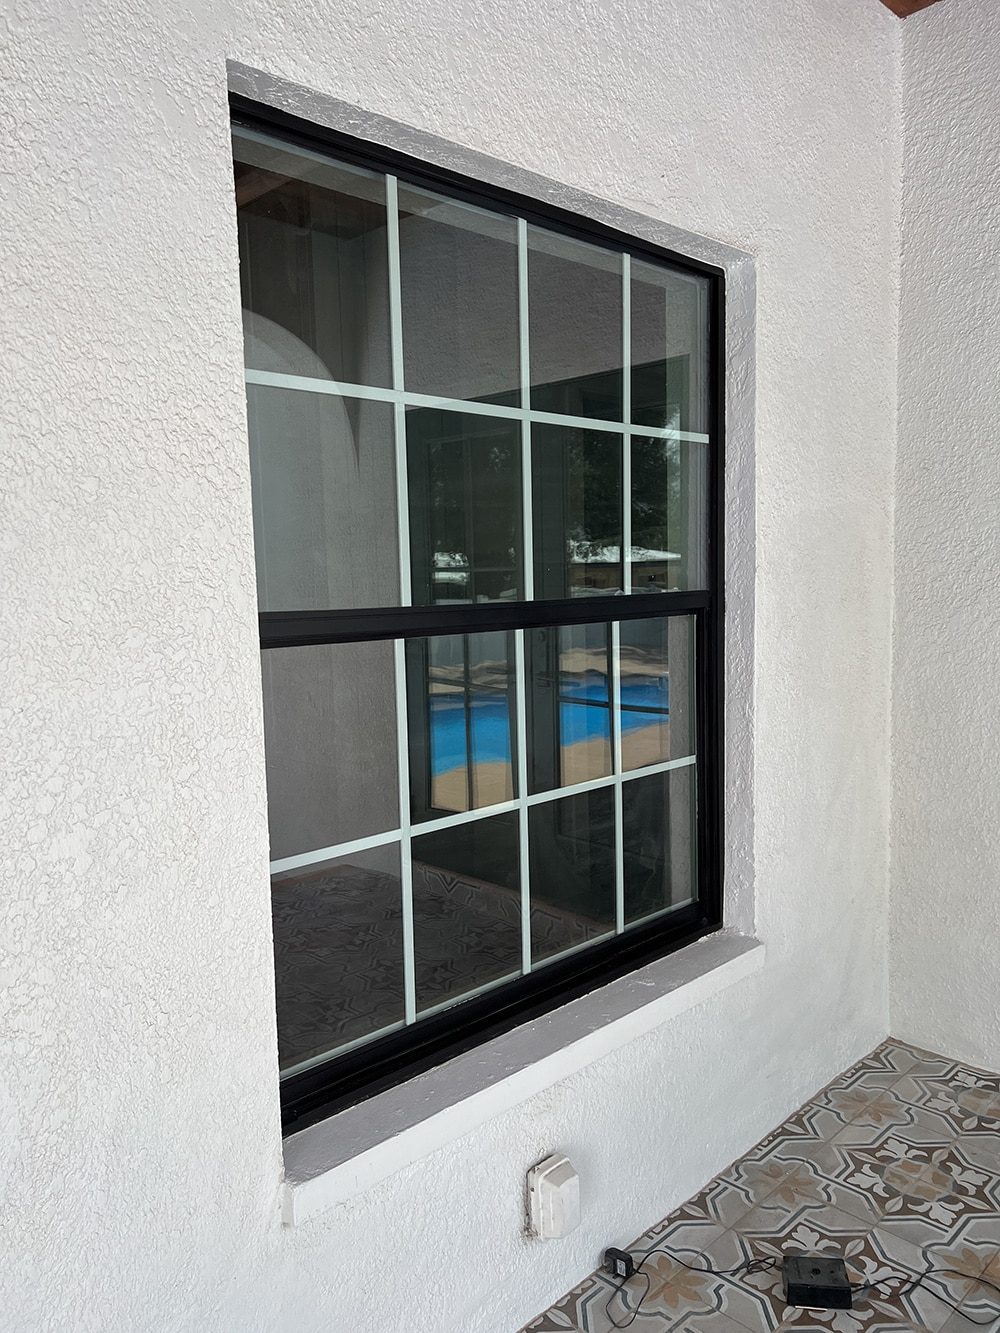
Our window has the grille between the glass which cannot be removed or painted, so I simply applied the molding to the outside of the glass to hide it.
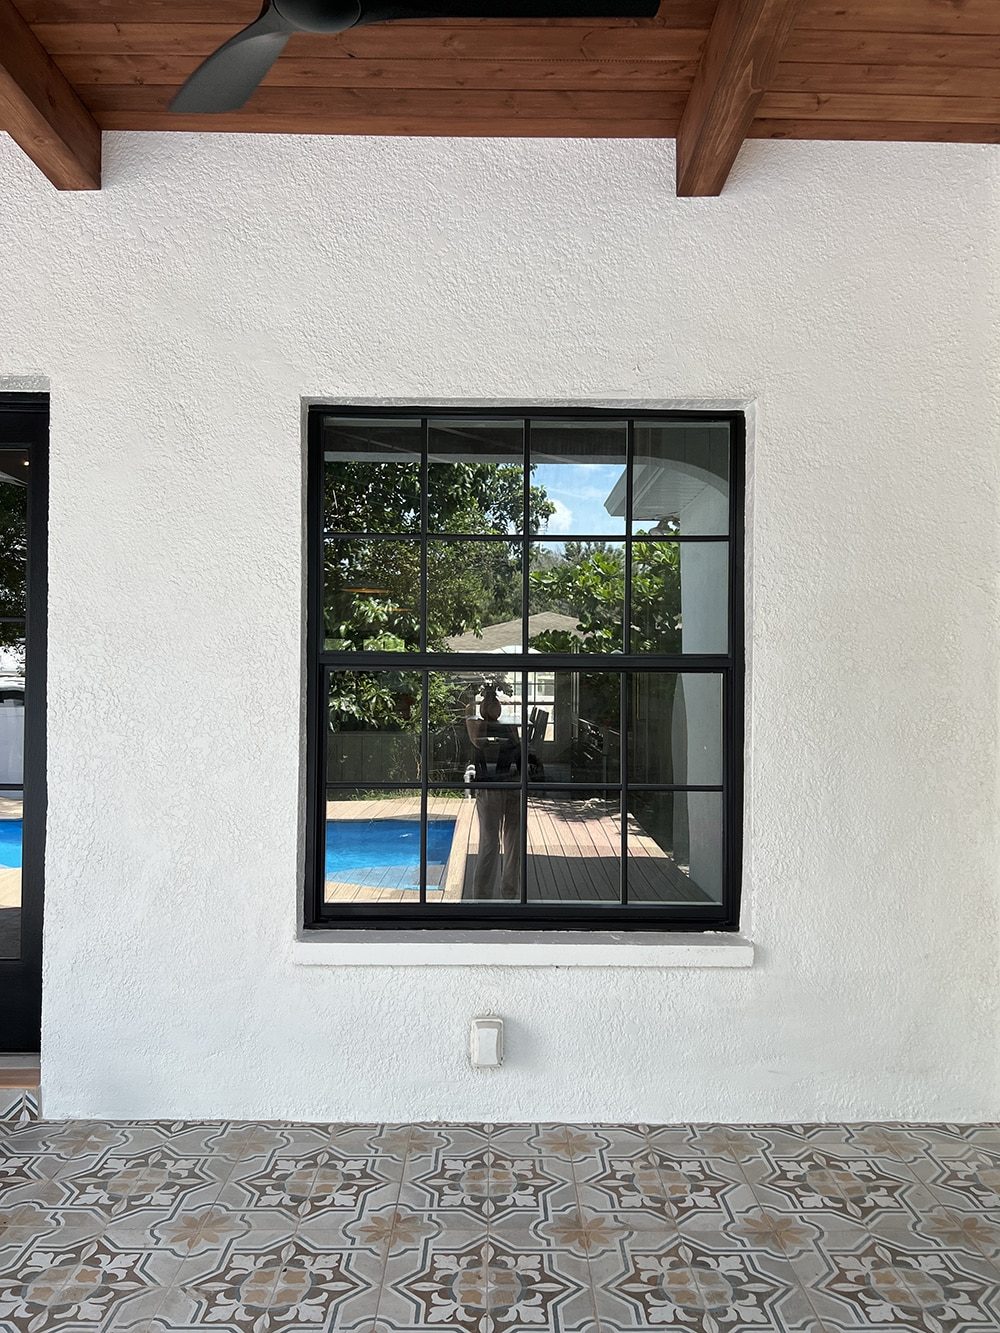
I kept the interior of the window white to match the rest of the windows in the house.
Want to paint your vinyl windows? Follow this tutorial!
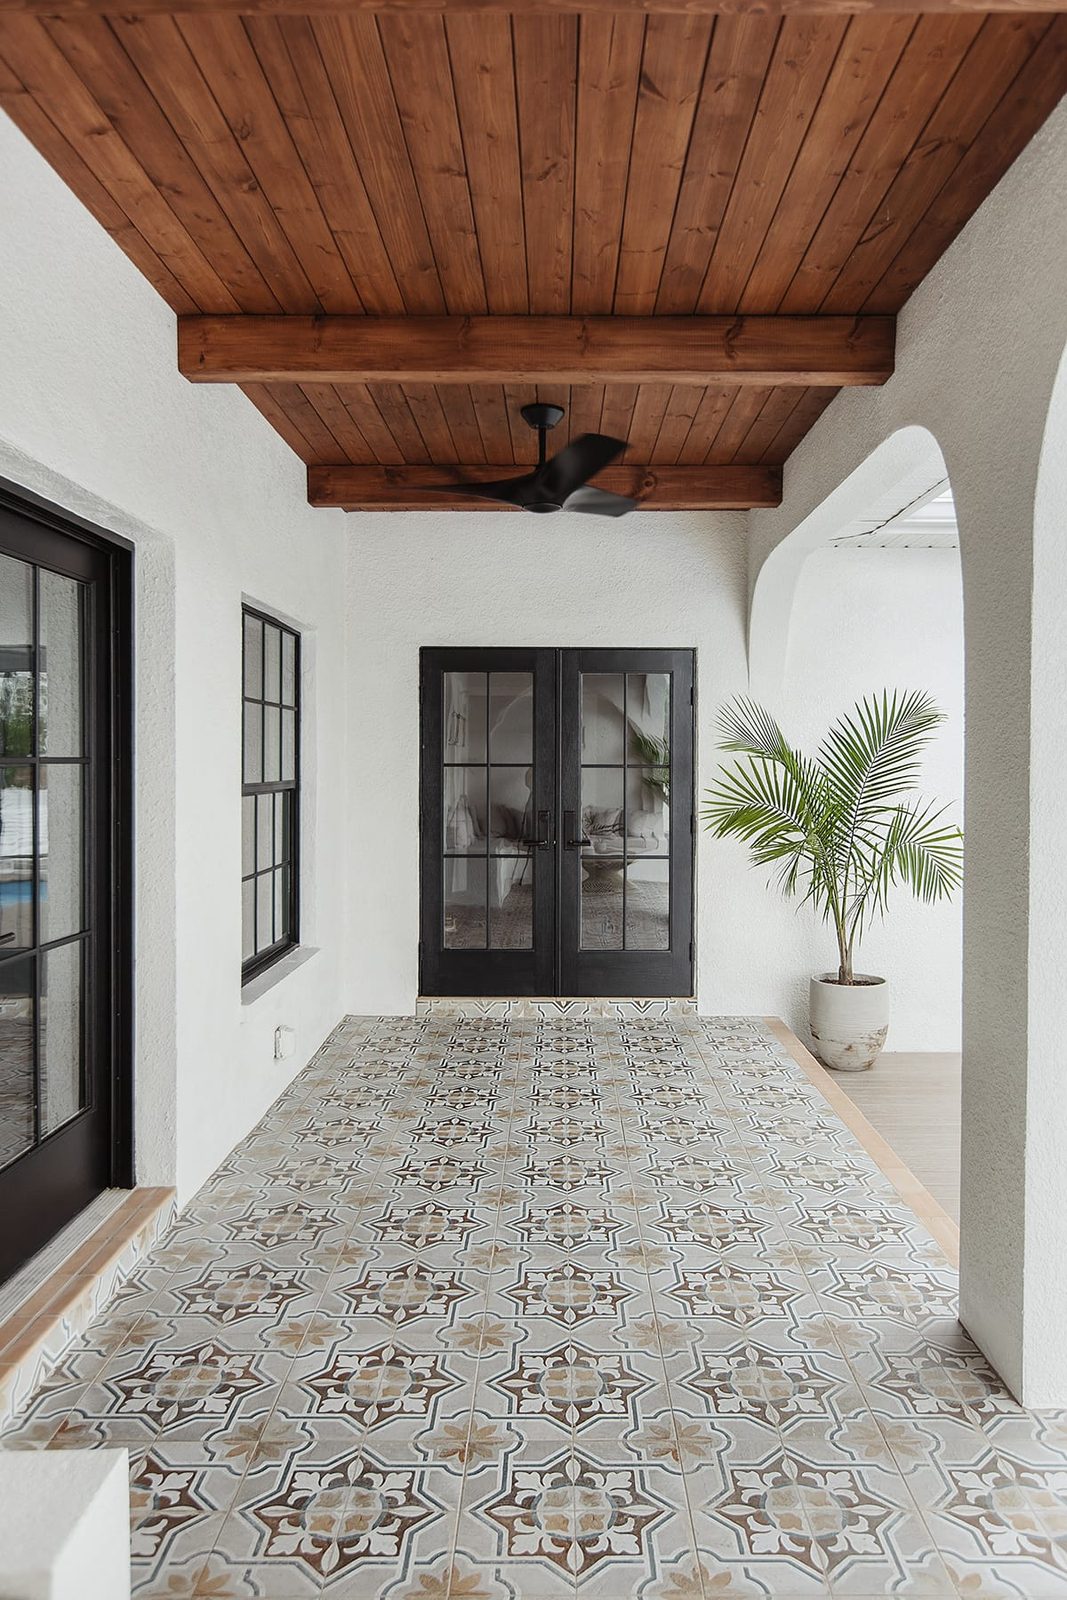
Reveal
Our Mediterranean Porch makeover is finally complete!
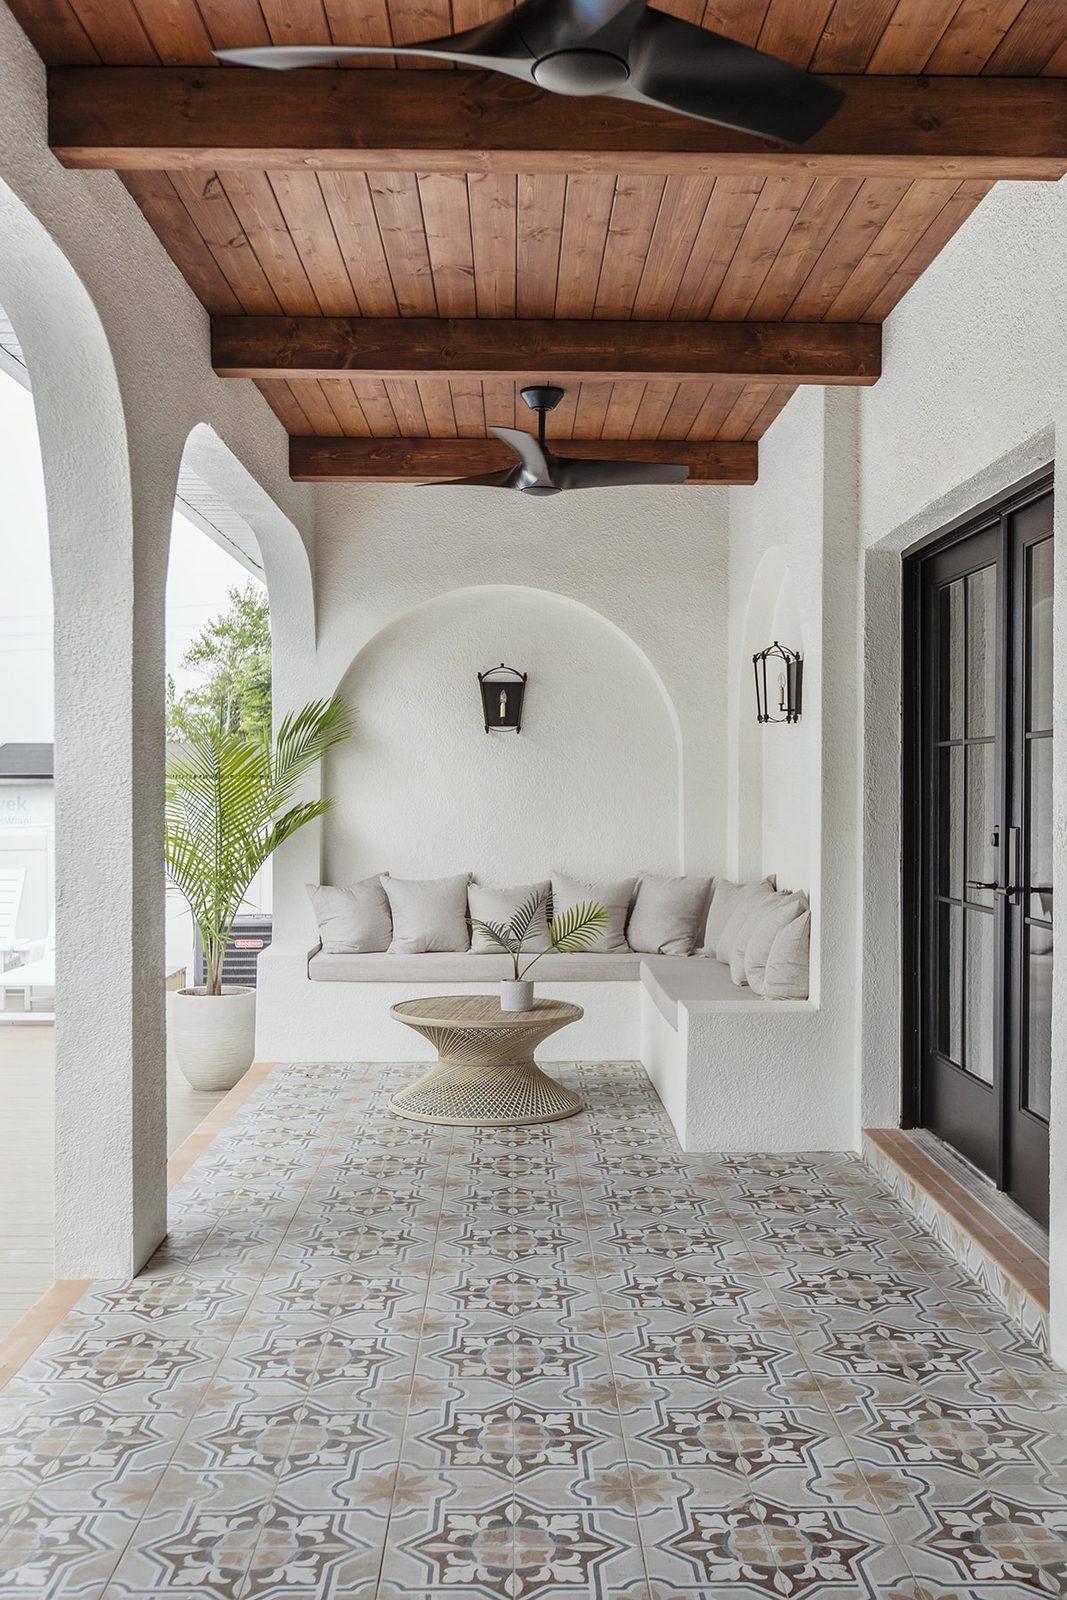
We are still working on the rest of the backyard, and I'll have more to share soon.
The trim adhesive has held up great over the past week, through the summer heat and humidity. I am confident it will last!
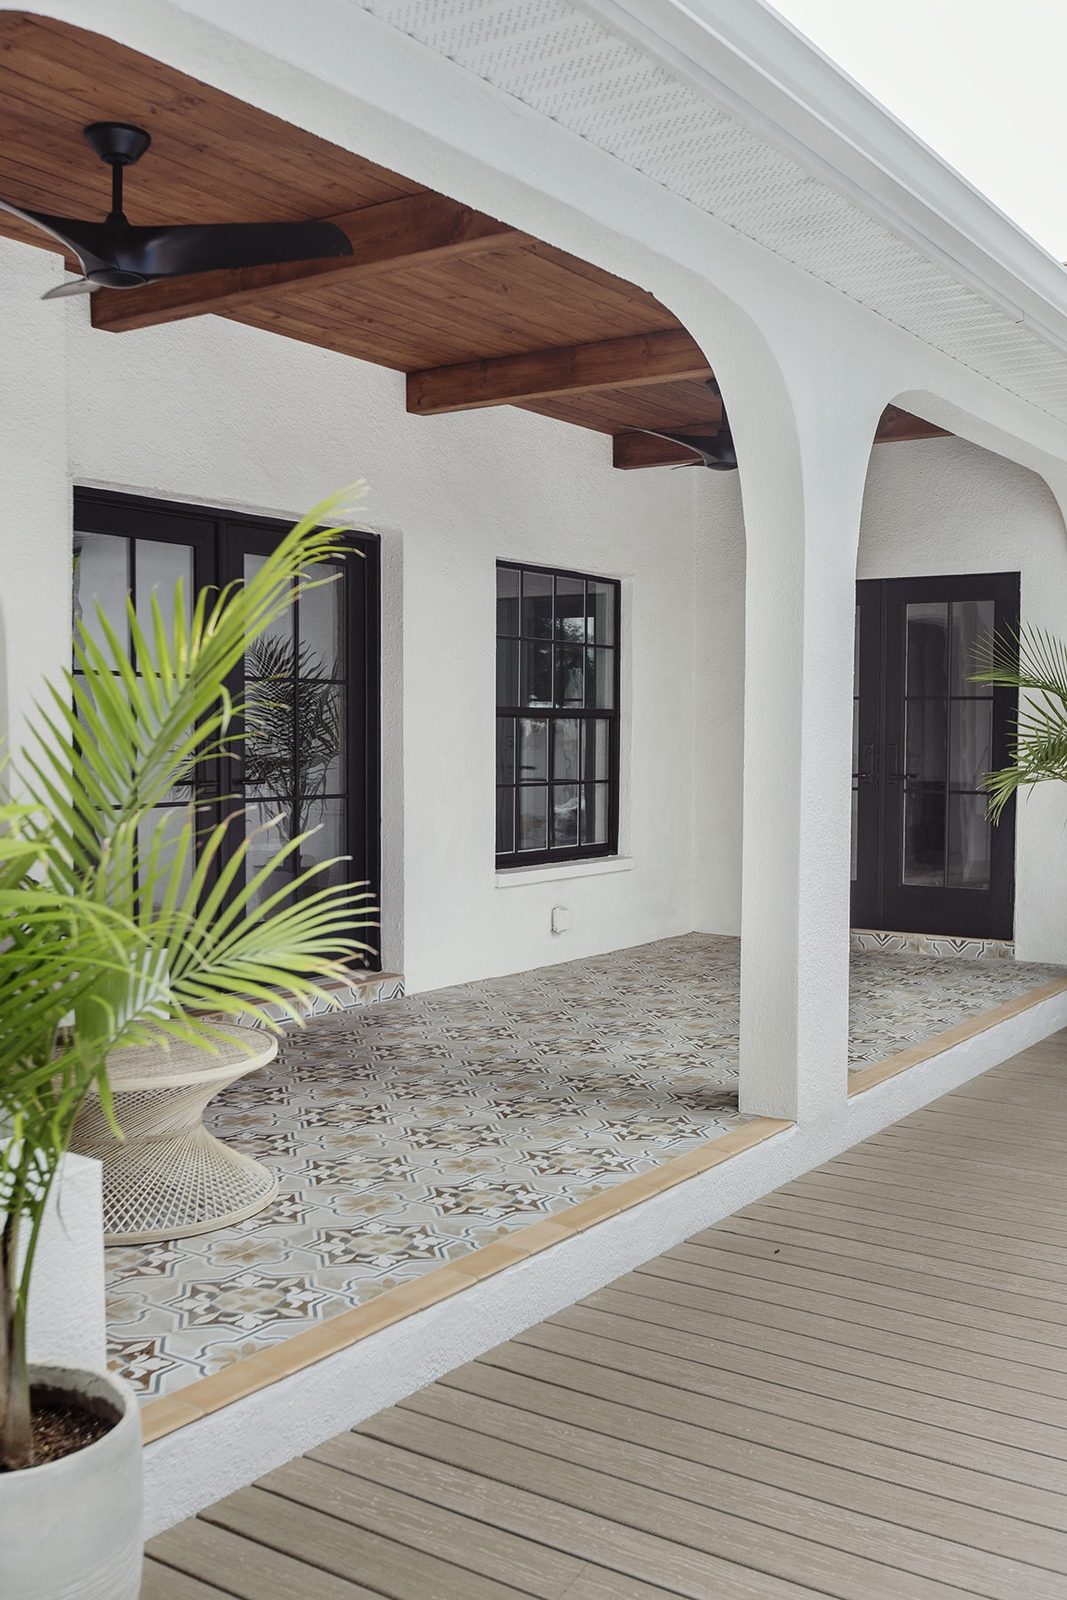
We had friends over last weekend and tested out the pool. I can confirm that this house is shaping up to be an memorable hangout spot! Who wants to be our first guest??
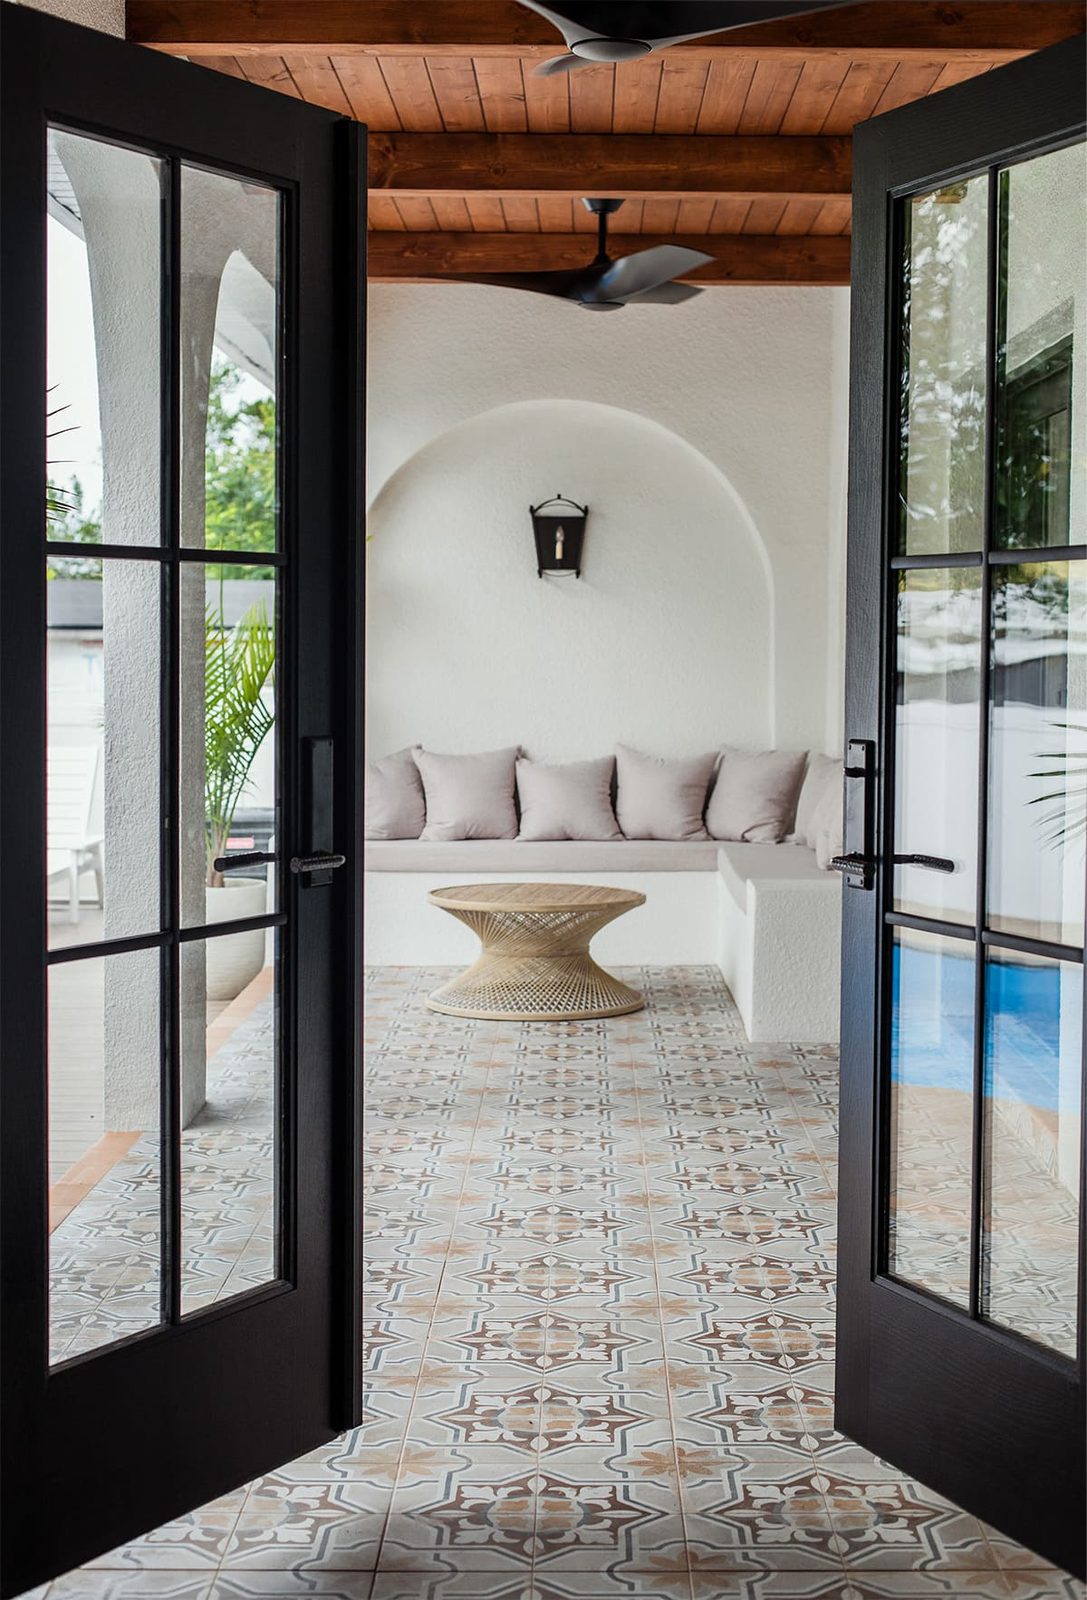
I genuinely cannot get over how much of a difference paint, hardware and trim has made. The black is so sharp and elegant.
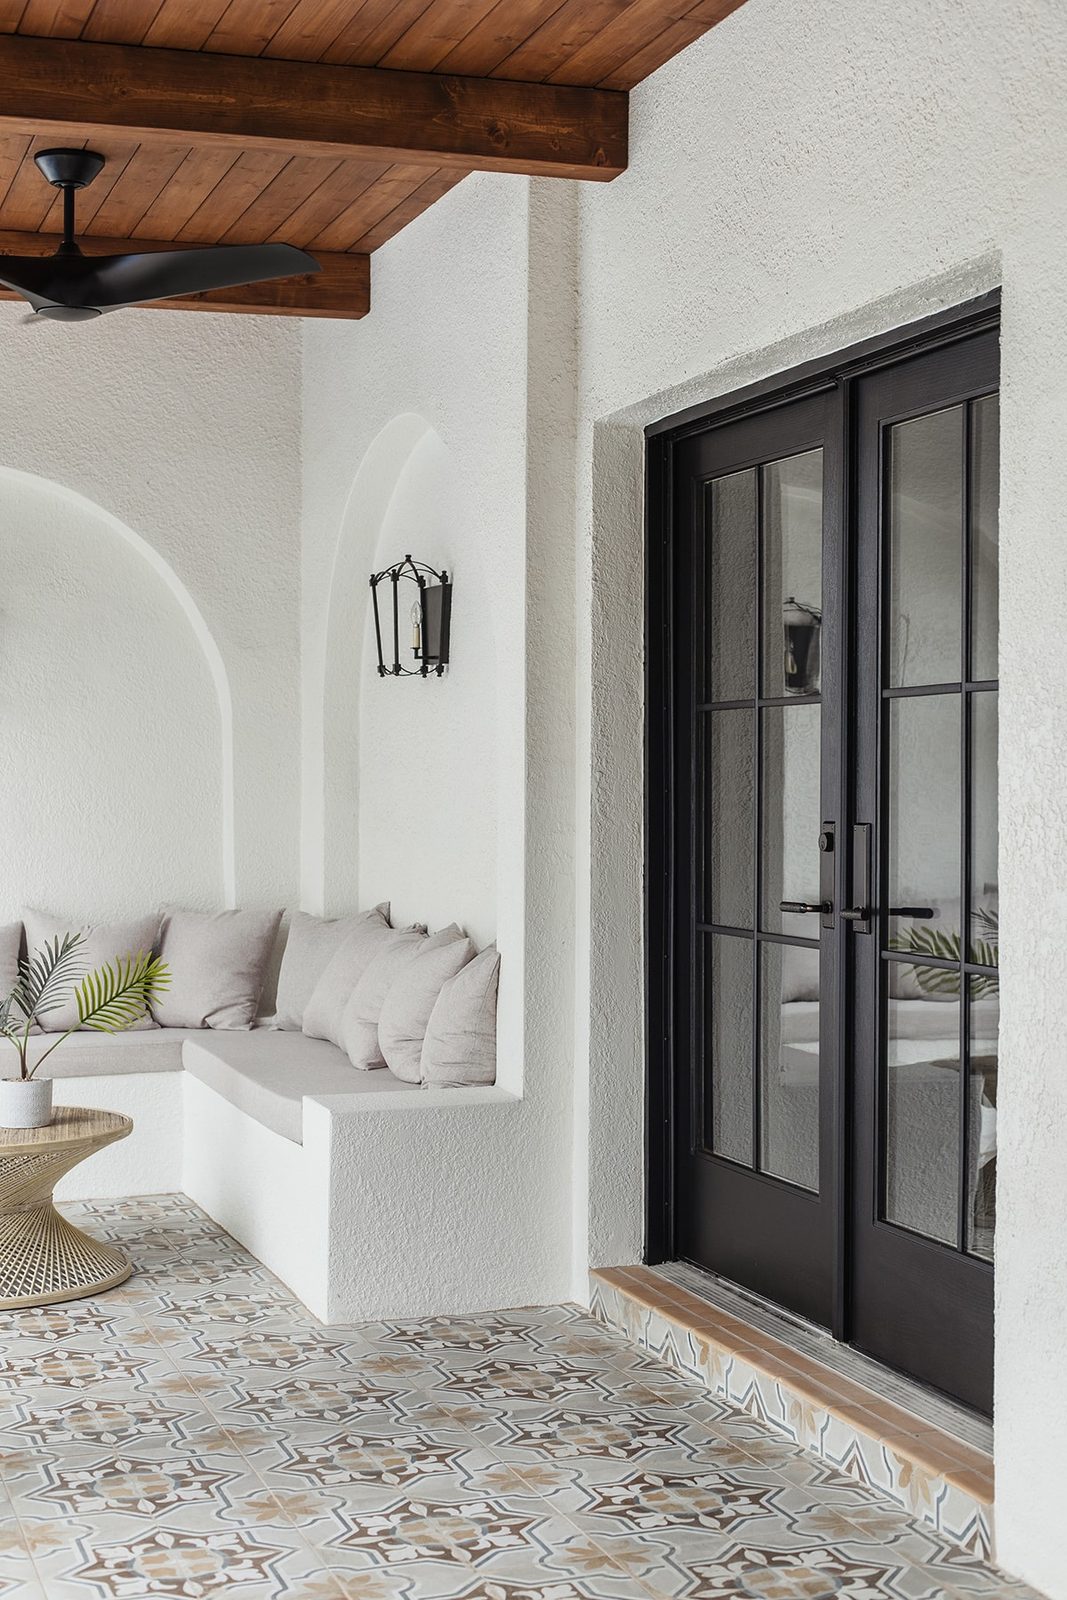
I cannot choose a favorite angle!

Let us pause to appreciate these Before & Afters…
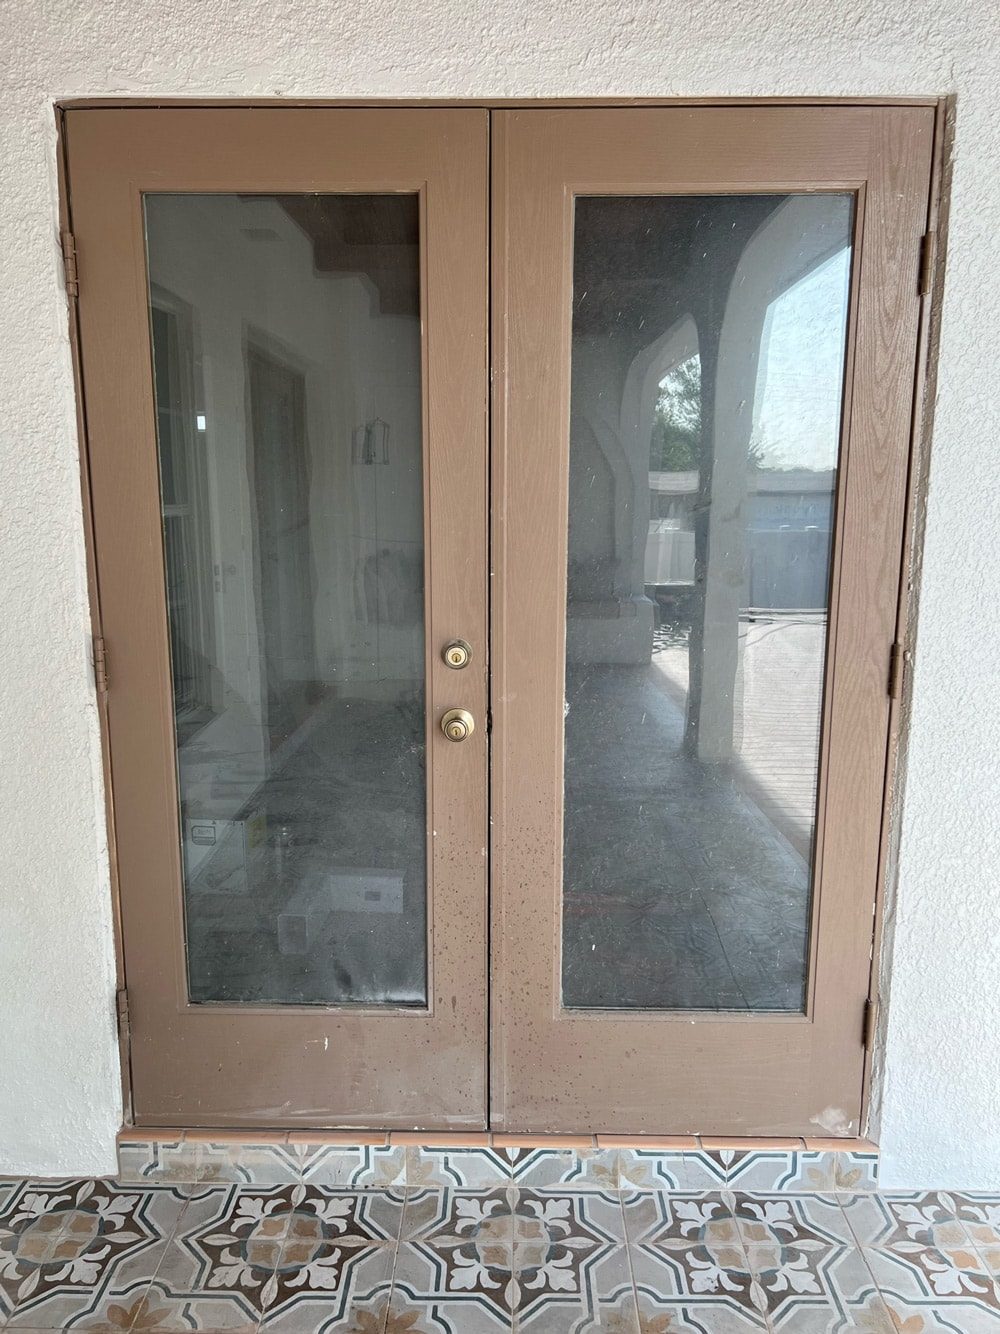


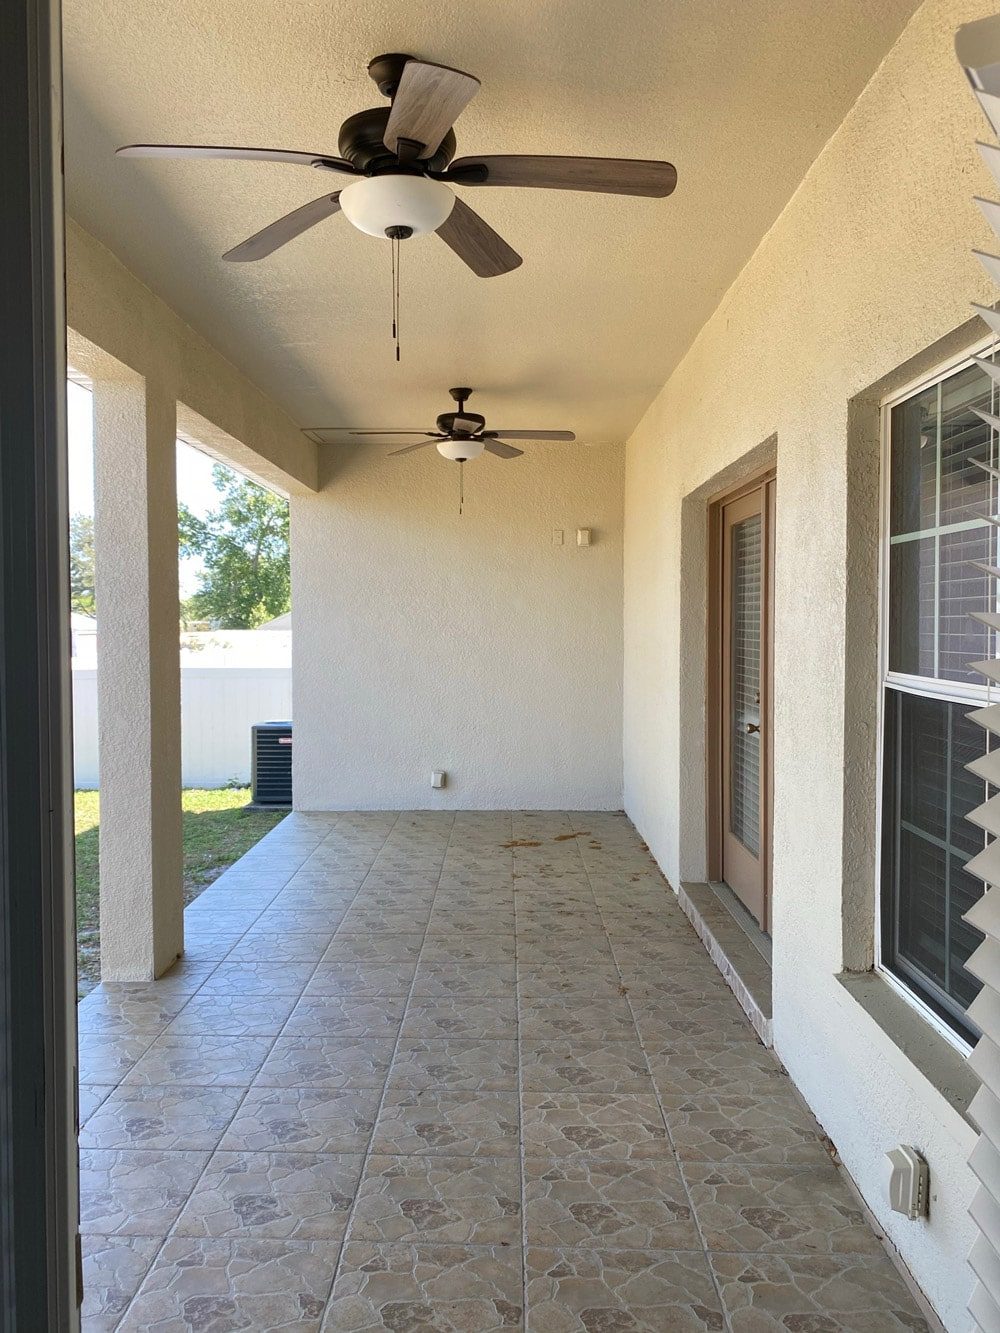
Next week, I have got another fun DIY door upgrade to share—this time it is the front door! Make sure you are following me on Instagram to see it all go down before the next blog post 🙂
Update: look at the Backyard Reveal Postwith sources and a cost break down!