DIY Closet Door Trim Tutorial
If you've been keeping up with my instagram stories, you know what a crazy, busy, DIY-filled weekend I just had (still recovering from it). 14 interior doors trimmed and…
If you've been keeping up with my instagram stories, you know what a crazy, busy, DIY-filled weekend I just had (still recovering from it). 14 interior doors trimmed and painted over the course of 2.5 days—about 20 hours in total spent (literally) running around the house trying to beat the clock—that is the drawback to living 4 hours from a flip and being on a tight schedule. I was a woman on a mission, and let me just say: MISSION ACCOMPLISHED.

Sorry, I am just relieved it is over (and surprised I was able to pull it all off). There were two projects this weekend—the DIY closet door update (which I am sharing today) and a second style DIY door trim for the bedroom doors, which I'll be sharing next week.
Originally I planned to tackle the closet doors last weekend and the interior doors next weekend, but my sister is coming into town from Florida next weekend and I did not want to spend 15 hours working at the cottage instead of with her, so I pushed myself to get it all done at once. You hear that, sister? You are welcome. Also, I had to stop every 20 minutes to take videos and pictures and snapchats and update you on instagram, so I did this for you guys, too 😉
Okay, back on topic! Here is the latest video update from the flip including the closet door tutorial, so you can see exactly how it all came together:
https://www.youtube.com/watch?v=T53yEbAZkFU&feature=youtu.be
Before we get to the doors, a quick update on the rest of the house: the carpeting has been removed downstairs!
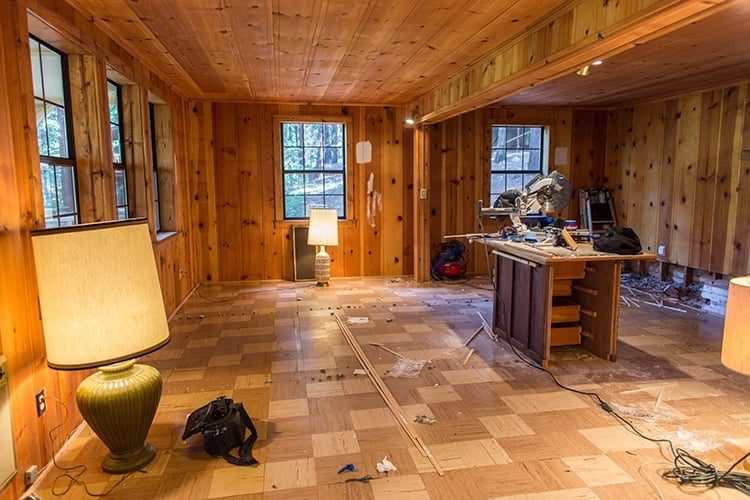
Now the house is almost entirely orange wood or wood-like materials. Strong.
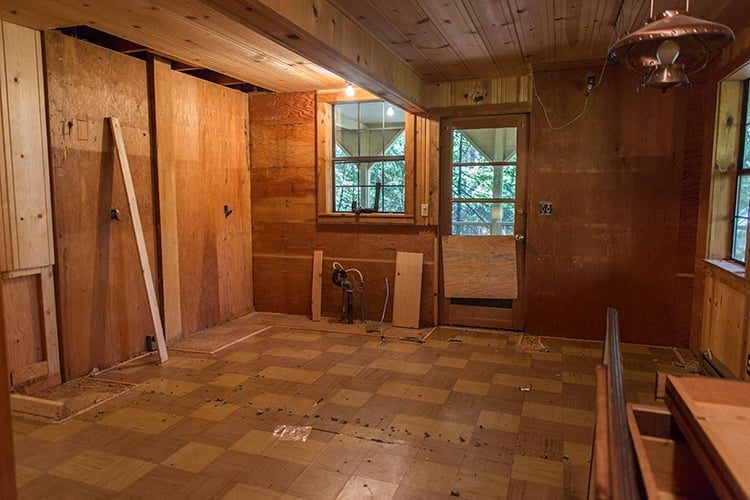
The future kitchen:
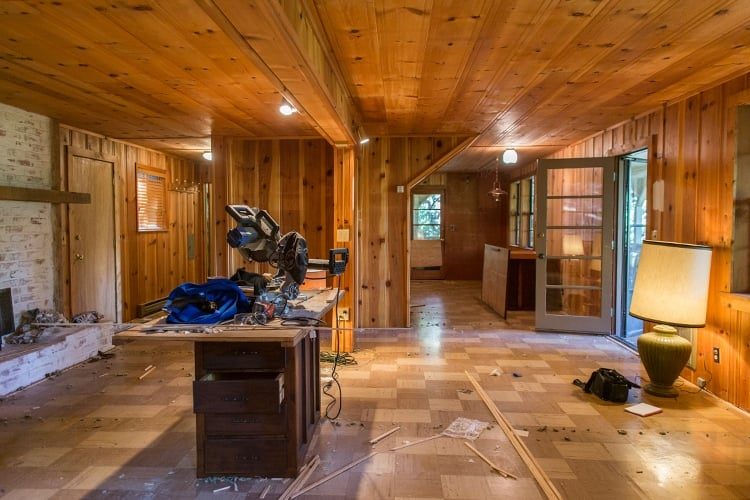
The living room has been converted into a makeshift work space:
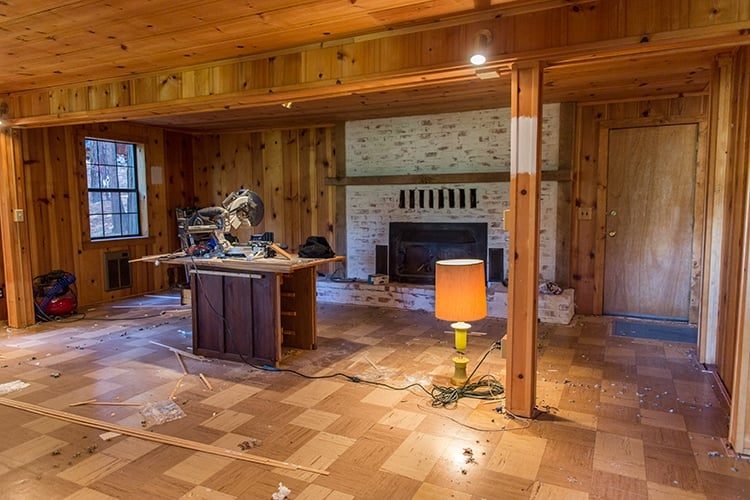
Hey there, well composed fireplace:
Not much else happened, aside from meeting with several contractors, getting the work schedule lined up, and kitchen design finalized (I'll share those plans in a couple weeks!)
On to the tutorial!
There are two bedrooms with flat panel sliding closet doors. I have never been a fan of the look but new doors are most definitely not in the budget, so molding and paint was the answer (it is the answer to plenty of things, surprisingly).
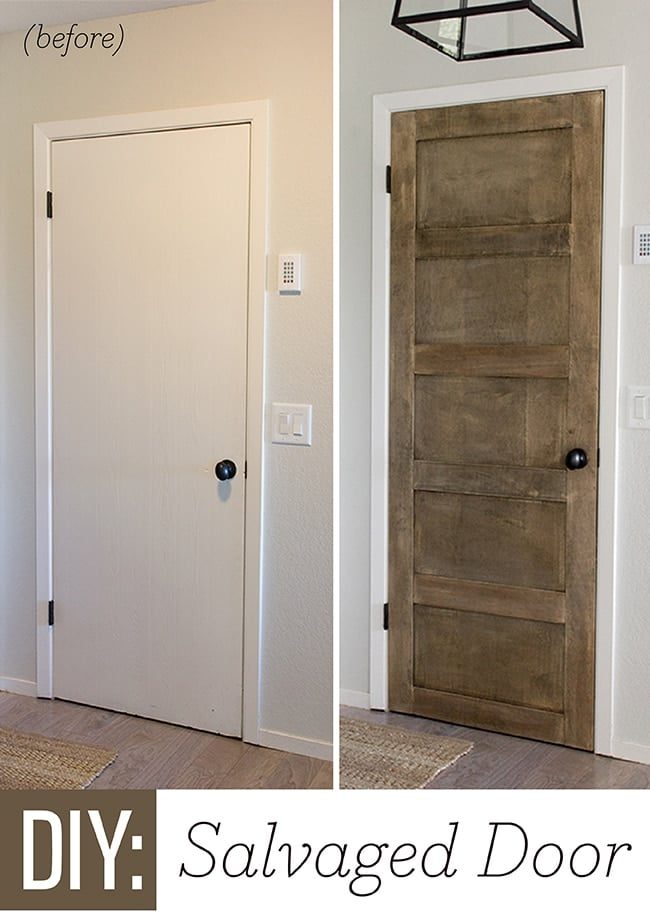
I have done my fair share of flat panel door transformations in the past—you may remember this first one:
Then the Ikea wardrobe door hack:
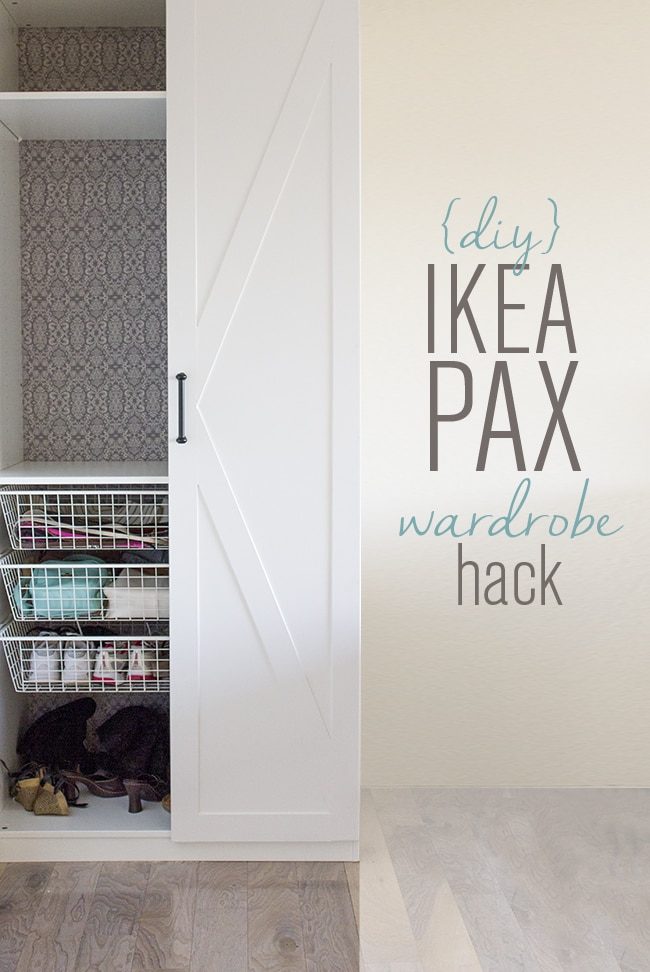
And one of my most popular posts ever, the plain to paneled door:
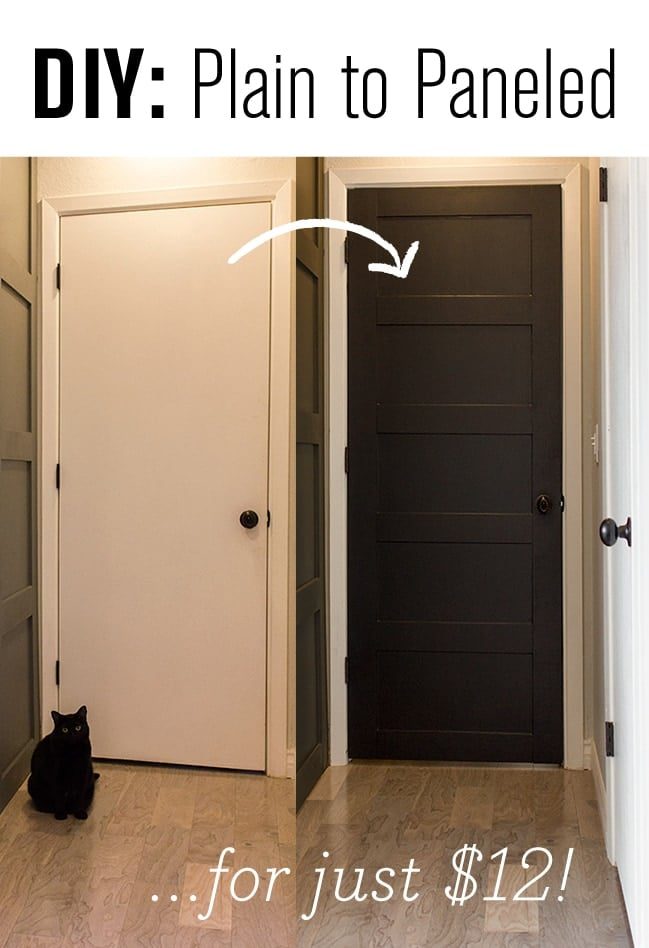
And then the quickest and easiest of them all:
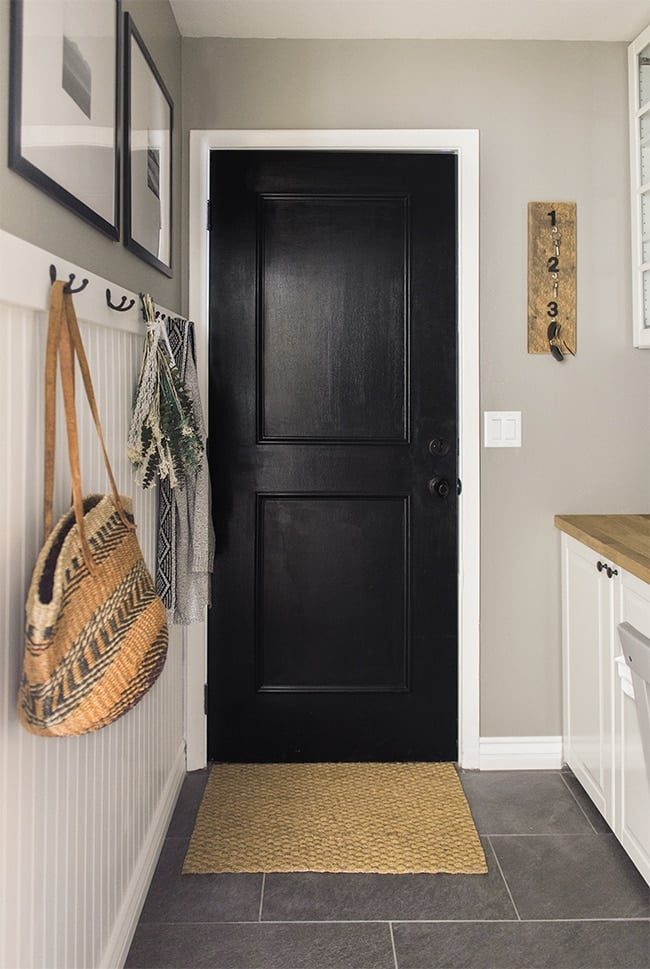
It was time to add another door style to the collection. These sliding doors are a bit limited as far as molding options, because a) there is a narrow gap where they overlap, so your trim cannot generally stick out more than 0.25″, and b) there is a track along the top and bottom so you cannot add any trim there. I actually did not even consider that second point until I had bought all the trim and had to change my design plan on the fly—oops.

Once you have the right size molding, you can create any design you'd like with it. I considered going with one or two rectangles to keep things nice and unfussy and match the bedroom doors, but ultimately was drawn to an “X” formation. Gotta keep things interesting, right?
I found this molding from Lowe's that was the well suited size, and a great price at just 60 cents/foot:
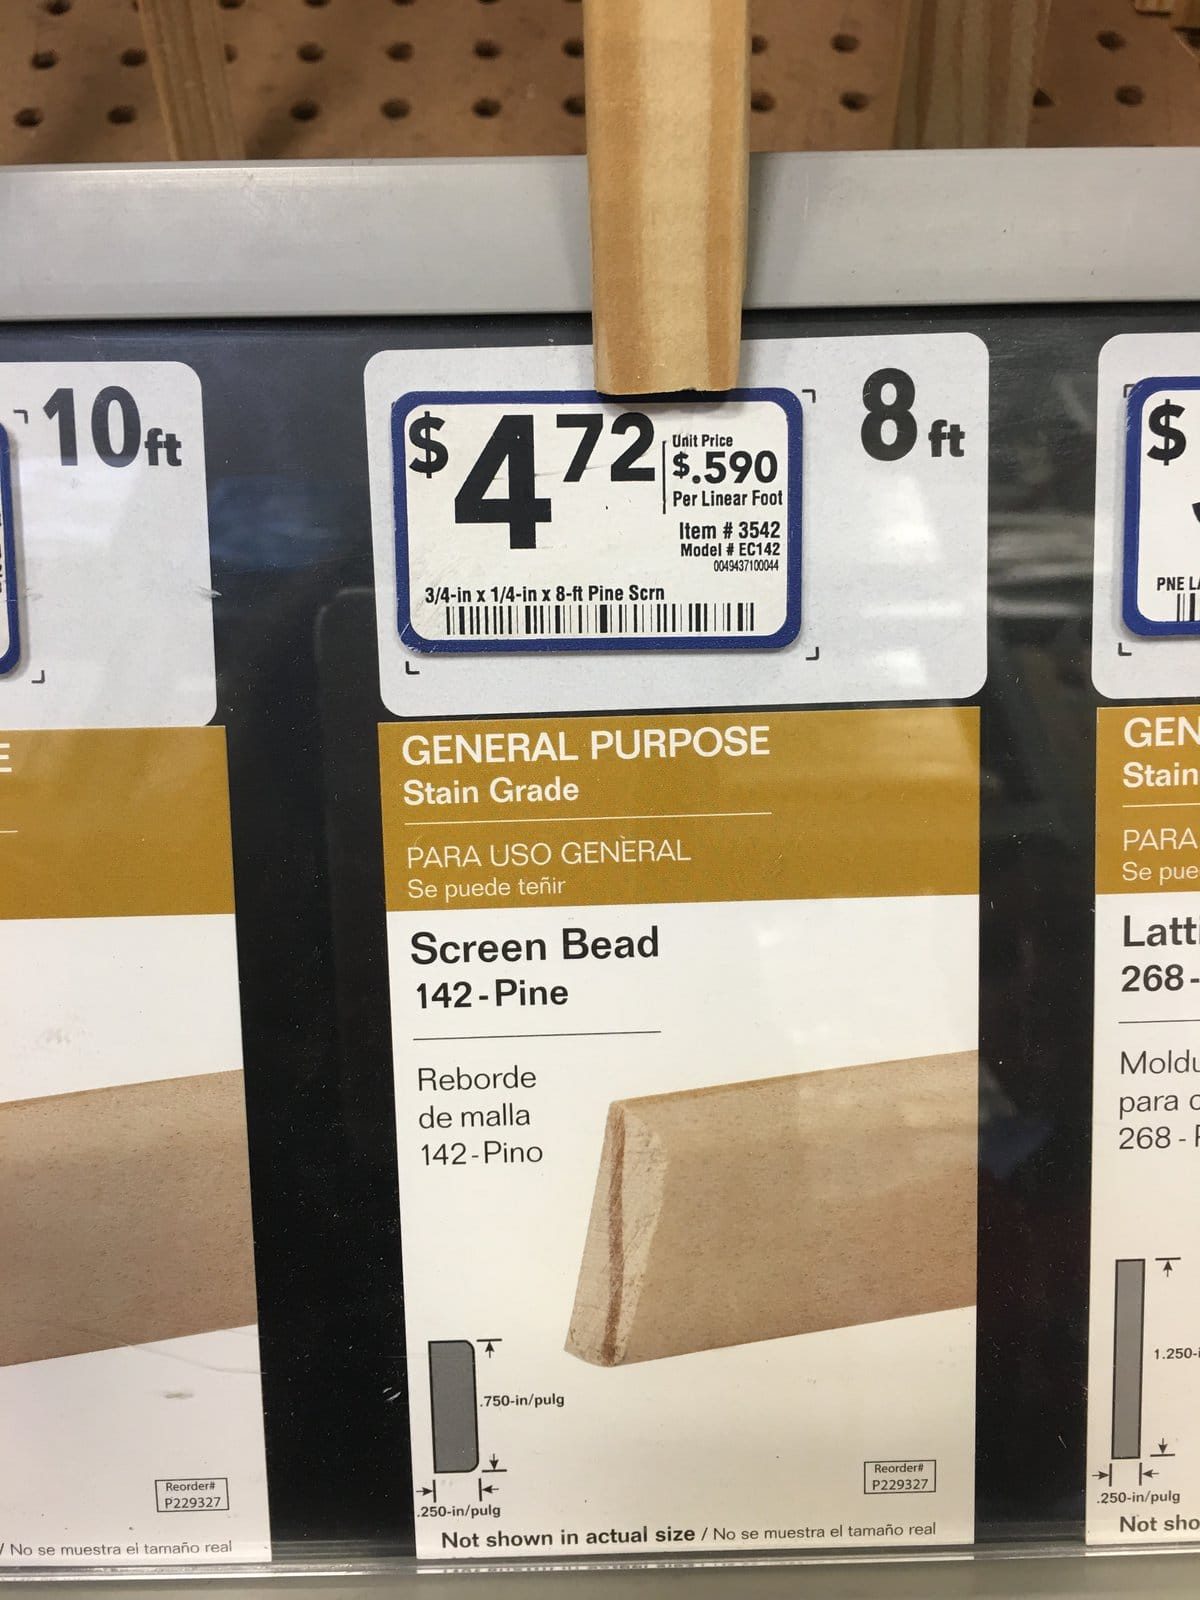
Tip: look them over carefully and make sure to select the straightest ones, and always buy an extra or two! My design plan called for two 8 foot pieces per door (I had 7 doors total). That makes each door cost just under $10 (not including paint/supplies).
Then I grabbed the rest of my supplies (and posted it on instagram):
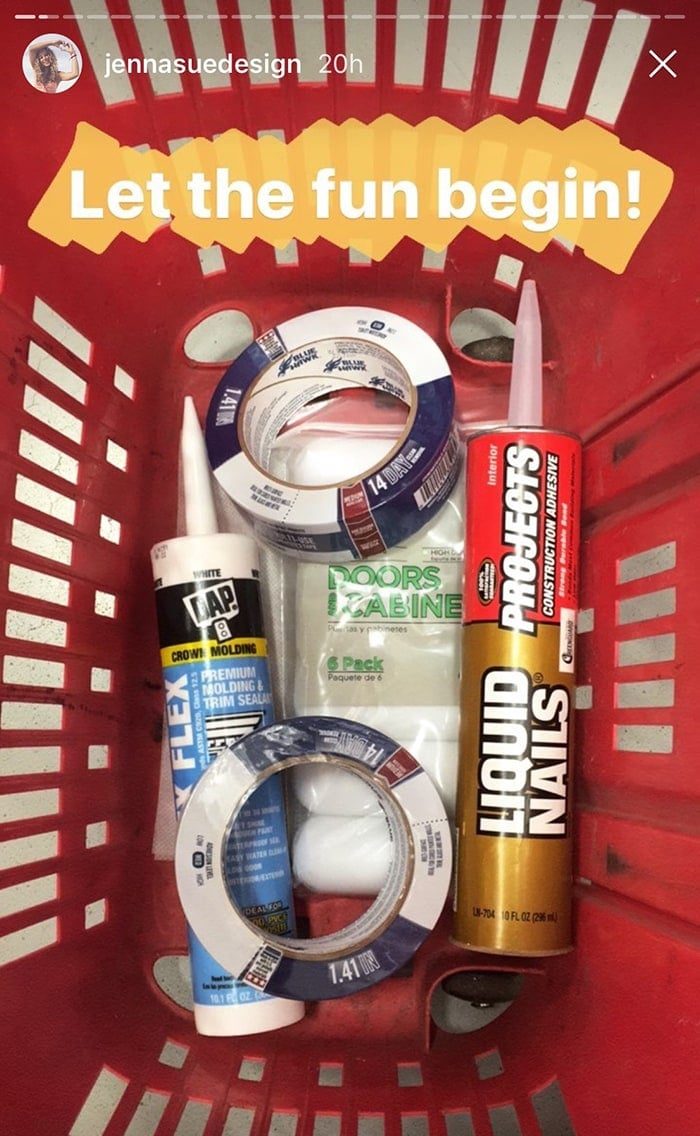
The caulk was for my other door project, but you will want to have some spackle or wood putty handy.
First you want to mark your door at wherever you want your pieces to end. With my design, I chose 2″ from the top and bottom to clear the tracks, so I marked all 4 points of each door. Then I held my trim piece across it and lined it up corner to corner, tracing the angle of the cut:

No fancy tools were used here, so if you are looking for a specific science with numbers and such, spoiler alert: this is not the right tutorial for you. That level of craftsmanship is above my pay grade, folks.
I have come to find that with these types of projects, you genuinely cannot tell if the measurements are off by a little when it is all said and done—and I tend to be a perfectionist, so I'll let you be the judge.
Anyway, once your molding has been marked in both places, it is time to cut it. I used my miter saw for this, which was quite the challenge since the angle was larger than the 45 degree max—so I had to attempt to hold it in place with one hand and try to prevent it from shifting while operating the saw with the other:
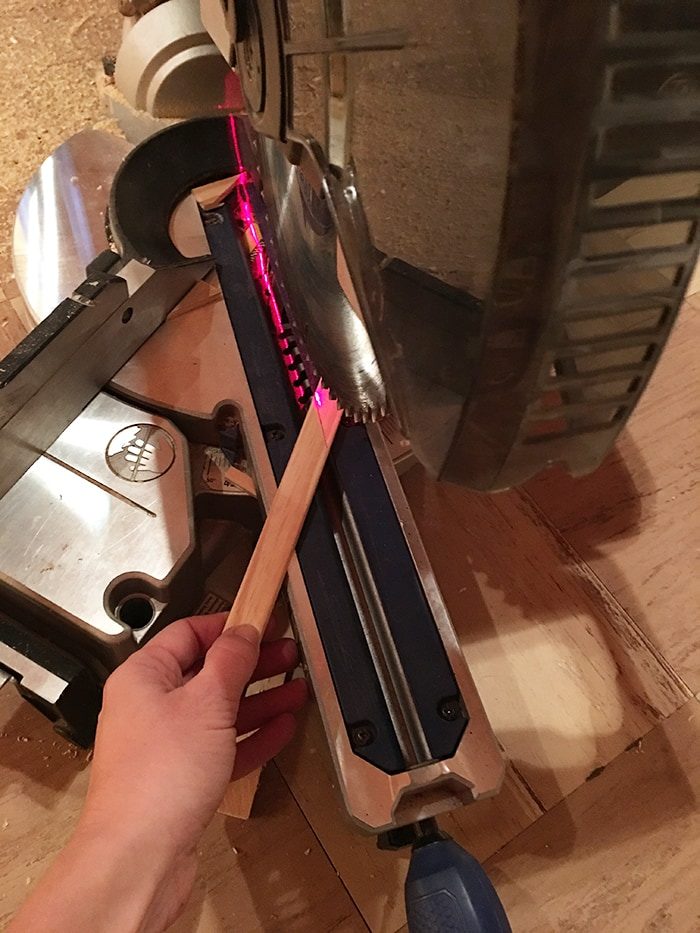
Not gonna lie, this part was not fun at all. I am sure there is a better way to do this, so feel free to consult your local carpenter. Fortunately there is this brilliant invention known as a grinder, which solves almost every problem in the world (see the video above for reference).
Now that your first piece is cut, apply a line of liquid nails to the back and line up each edge to your door marks, like so:

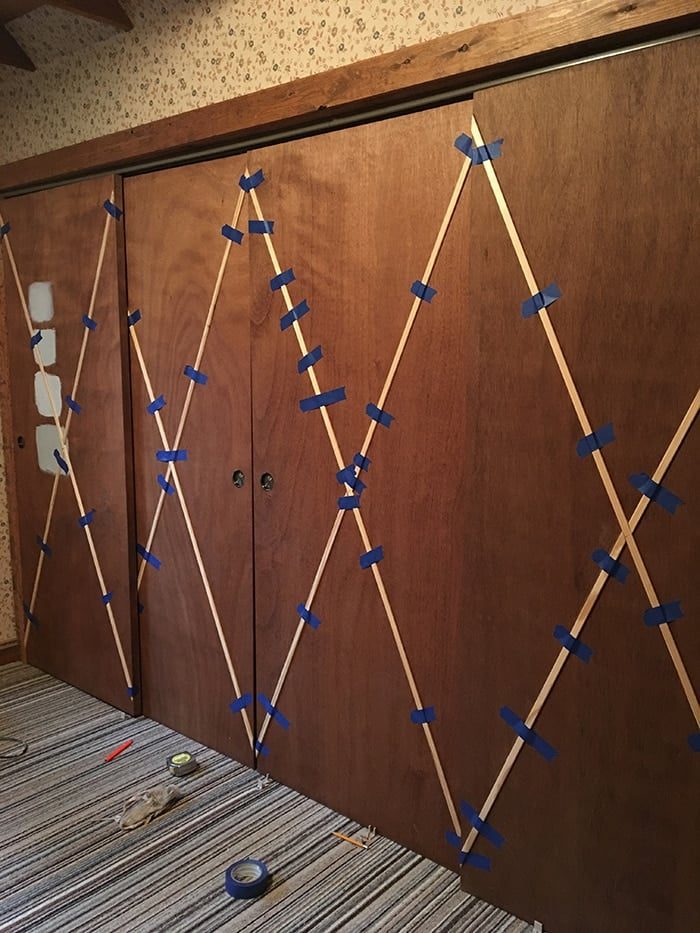
Then you will want to tape it in place while the glue dries, so it does not shift. If your trim is warped and will not lie flat, tape will not fix this—you will have to nail it in either via nail gun or a small brad nail and hammer.

Wipe off any excess glue using any combination of a sponge, putty knife or wet rag:

I did all of my long pieces first.

Now, onto the first cross piece. I wanted mine to cross at the center of the door, so I measured and marked that location:

Then I lined the second piece up to my marks, traced the angles, glued & taped it in place—same process as the first piece:

And the same thing for the final cross piece:

Now you can sit back, relax, and let the liquid nails dry overnight:
For the second bedroom I cut all my pieces at once—here is what the trim lineup for 3 doors looks like:
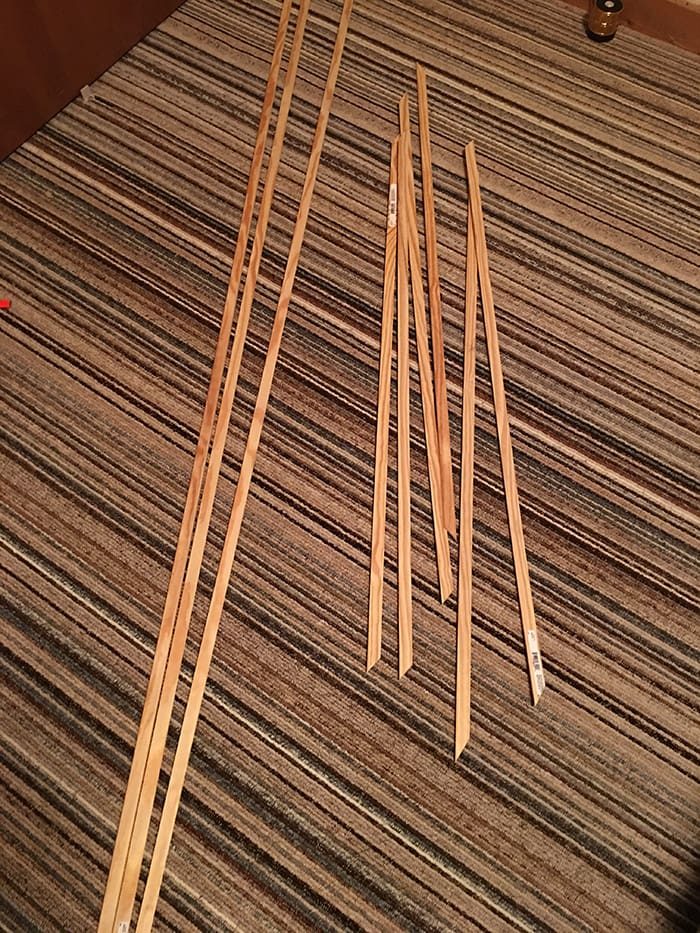
And here they are, pre-paint:
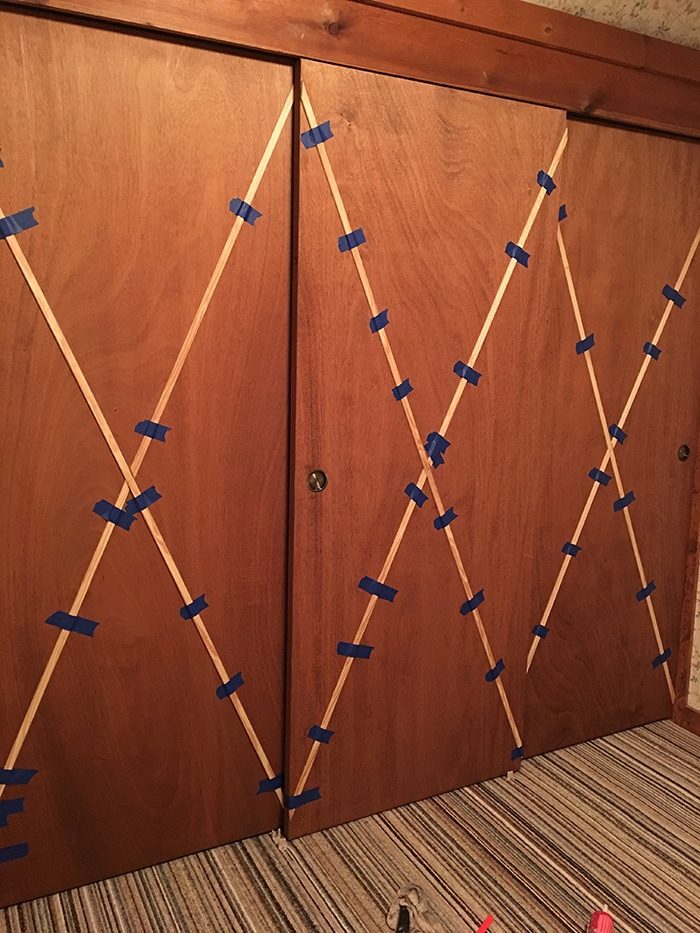
The next day, it was time for paint! I had tested a few soft grays (all Valspar) the week before, and made my decision pretty quickly…
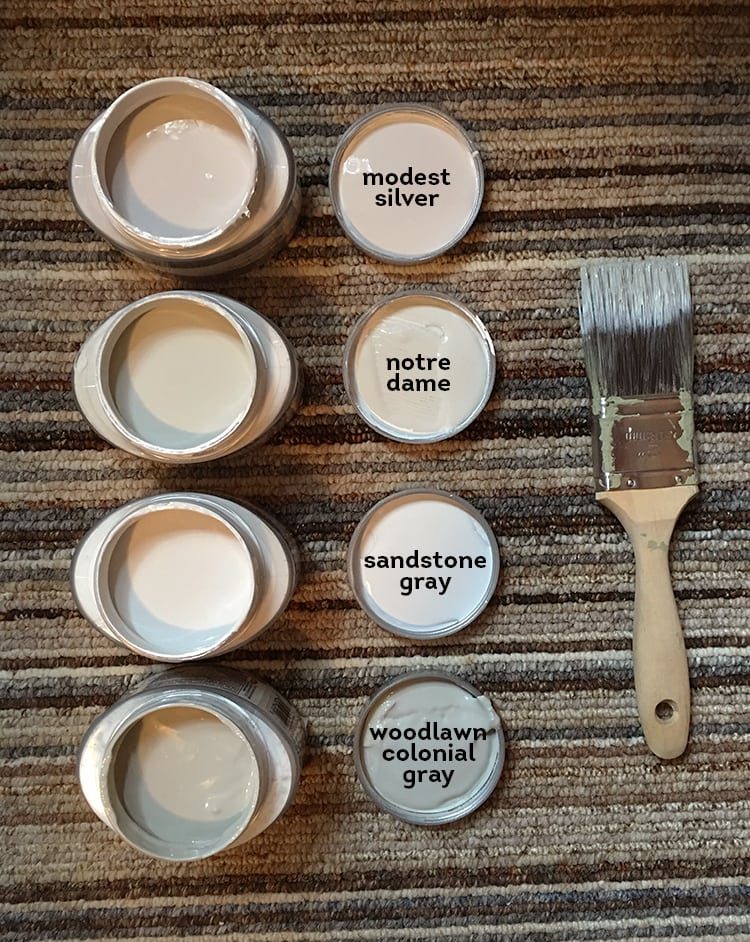
Modest Silver was the winner. It is a soft putty gray—not too blue or yellow.
I found it best and most efficient to use a brush to paint around the molding…
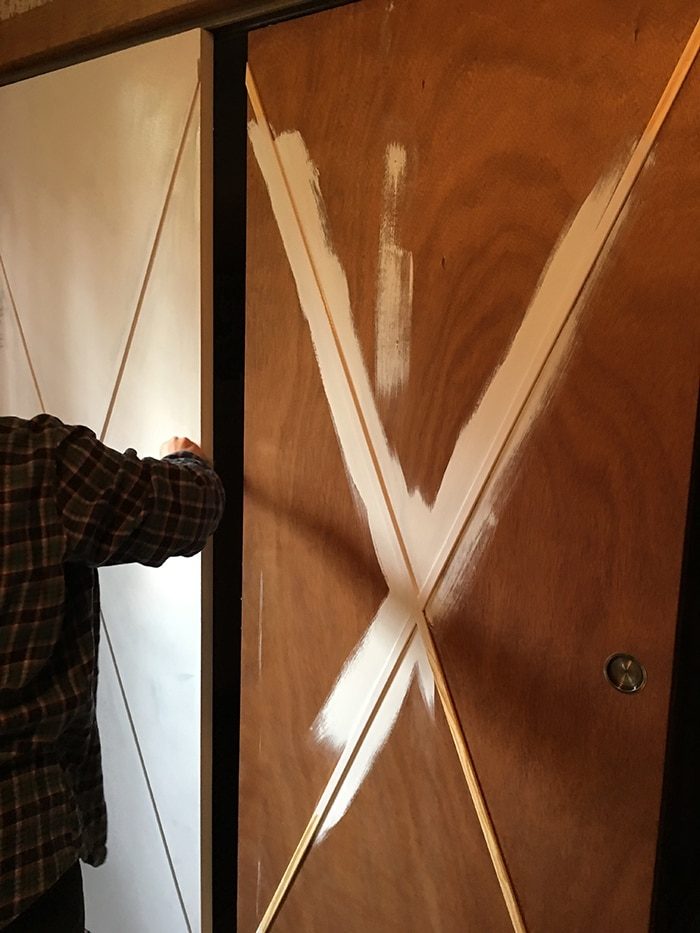
And a smooth roller for all of the flat parts.

Look at those beauties. The color reads pretty white on screen, but they'll look more gray once the surrounding walls are painted white.
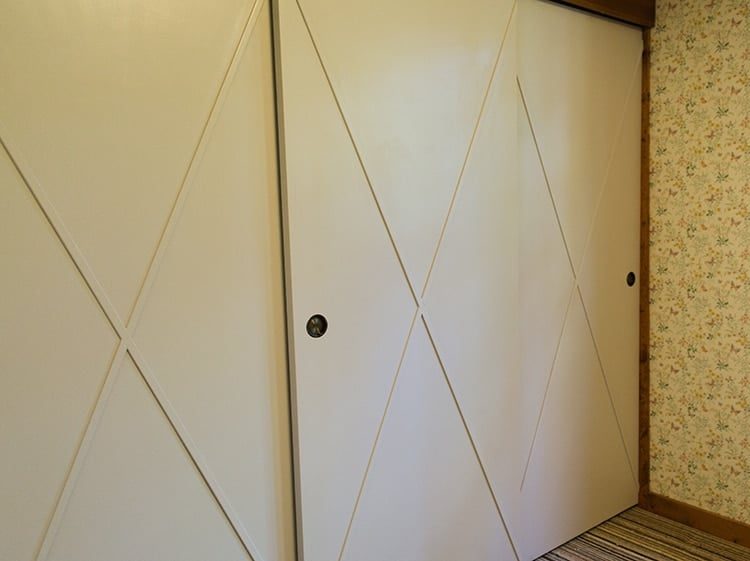
I would do it all over again in a heartbeat.
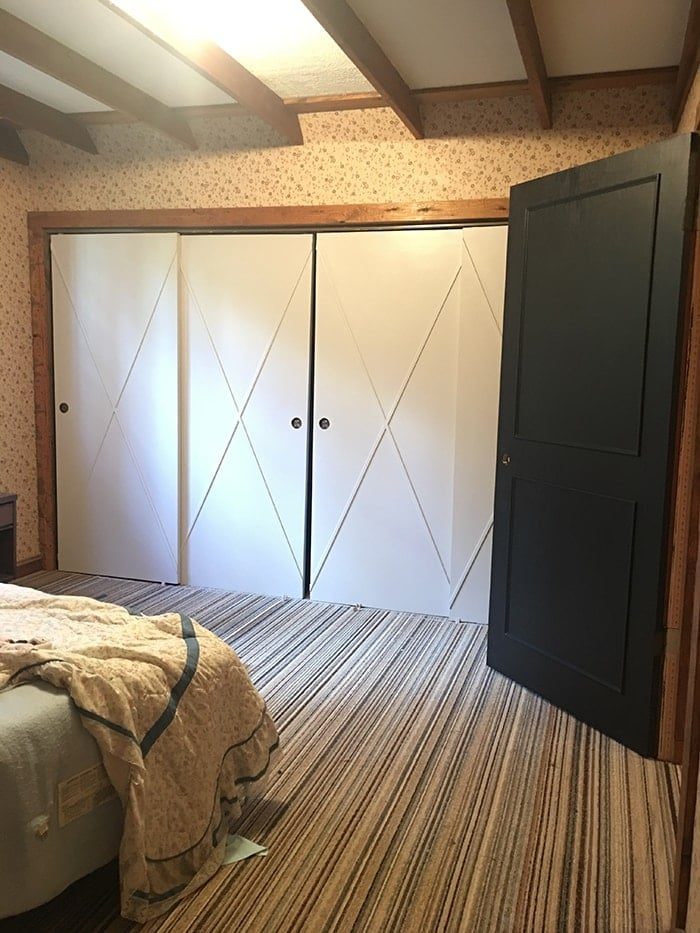
Here is the end result:


Do not forget to subscribe to my YouTube channel so you do not miss any of the tours & tutorials! See ya soon..