DIY Easy Door Upgrade Tutorial
If you did not get enough door makeover inspiration last week, today is your lucky day because I have got another tutorial for you! Before we get into that, how about a…
If you did not get enough door makeover inspiration last week, today is your lucky day because I have got another tutorial for you!
Before we get into that, how about a quick flip update?
I am happy to report there is been some nice progress, as the carpeting has been completely removed and we now have recessed lighting downstairs.
The kitchen is down to the studs and hopefully that door will be gone and replaced with framing next week.
It has not all been smooth sailing, though. My electrician discovered the wiring is not to code and he's going to have to install new breakers, and run a gas line to the kitchen for the stove.
Not only that, but when the wood paneling was removed from the ceiling & wall to run the wiring, most of them broke and I have no replacements so it is looking like I'll have to hire a drywall guy to redo the kitchen ceiling.
I am also dealing with huge work estimate increases that came out of left field today, so this has not been the best week. It is all part of the process though and what I signed up for, so let us just head upstairs and focus on the good parts…
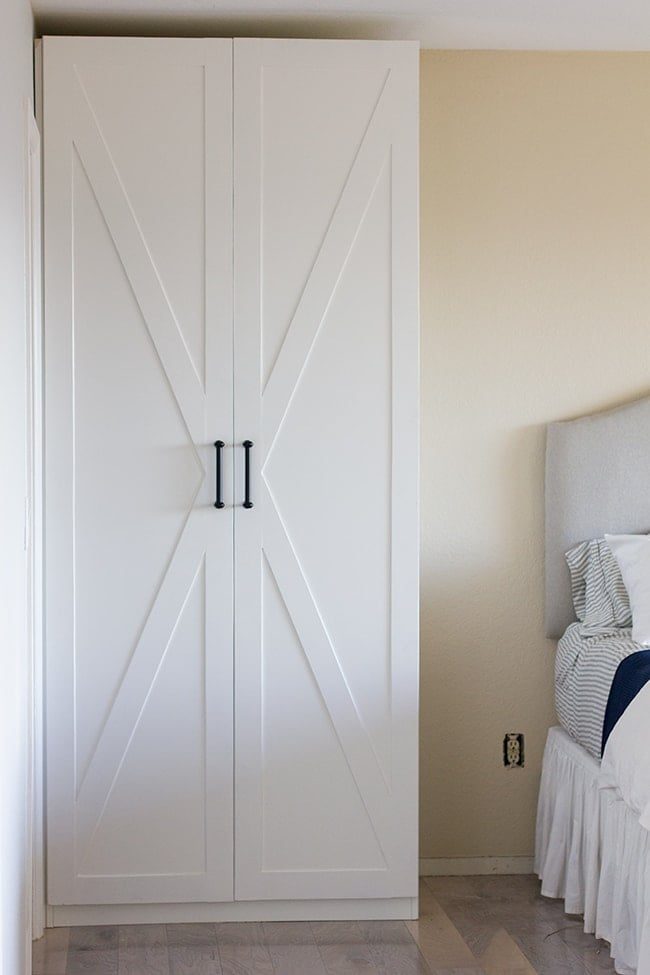
Like my fabulous new doors! I actually did a quick tutorial for these earlier this year, but now I have a particularly helpful video:
Just like the closet doors, the bedroom doors also started as flat panel wood:
Since I had 7 doors to makeover (6 bedrooms and a bathroom) and only a day or two to complete everything, I needed the fastest and easiest solution possible. This option definitely fits the bill.
Before starting, I measured my doors and laid out my plans (in Illustrator):
I know that is a whole lot of numbers—so let us break it down. The 1-6 represents each bedroom (they have been assigned a number from the beginning to make my life easier). WC = Water closet aka the bathroom. The numbers on the doors are the width of each door.
Above the door, I have listed out the cut list and number of pieces needed in total (for both sides). The 28″, 29″ and 30″ doors all had the same cut sizes to keep things unfussy, as did the 35″ and 36″ doors. You will notice there is 8 identical horizontal pieces, 4 longer vertical pieces and 4 shorter vertical pieces for the different size rectangles. I aimed for approximately a 5″ gap around the door edges, although this varied between doors.
In total, I bought 35 pieces of 8' trim, and at around $5 per trim piece, that brought each door total to around $25 (not including materials/paint).
Now that we have got our numbers down, let us move on to the process!
I chose this wood molding from Lowe's, because I liked that it was flat on one side:
With my cut list in hand, I proceeded to cut all 112 pieces with a miter saw (luckily my dad was there to help out for a few hours!)
I listed these tips in my last tutorial, but they are worth repeating:
- Measure to the outside of the cut, triple check your mark and use a saw with a laser
- Cut on the outside of the laser line, not directly on it to account for blade width
- Make sure the saw base is locked into the angle you set it to so it does not shift
- Make sure the trim is lying flat and flush up against the gate
- Pay attention to the direction the molding is facing!
Here is what the molding looks like for one full door:
Before beginning, I marked the center of every door 5″ from the top, along with the center point of my top trim piece so I knew exactly where to line it up:
After applying a thin bead of liquid nails, press it into place. The first piece is the most critical, and once it is straight you can tape it into place and move right along.
The easiest way to align the vertical pieces is by measuring where it falls at the top, and then marking that same distance farther down on the door.
Repeat the process for the second vertical piece, and then slide that lower piece in to complete your first rectangle:
Duplicate those steps for the lower box. I wanted a 5″ gap between them, so I simply marked 5″ from both edges and aligned my top piece:
Easy peasy!
Make sure to wipe off any excess liquid nails before it dries, and use painters tape to keep the trim from shifting. Once they are stable enough, apply a bit of caulk in the seams before painting.
After getting my rhythm down, I was able to complete each door in under 30 minutes—so this can definitely be a weekend project (especially if you have help!)
If you follow me on instagram you may remember my real-time updates…
After returning the next day, I was ready for a full night of painting. The color I chose was Valspar's Cracked Pepper (which I hear is their richest black) and it went up so smooooth on those wood doors.
With my favorite short handled brush for the detail around the molding, and a foam roller for the flat parts, I knocked them all out in a matter of hours (using one thick coat or two thinner coats for full coverage).
Then I found these antique brass beauties on Lowe's and fell in love:
They are currently my favorite thing in the house.
I live for the little details.
And this concludes the story of how my doors rose to greatness from humble beginnings.
Already a vast improvement from just a few weeks ago, right?
Now to get rid of that wallpaper! Fresh white walls, coming right up.
Next week I'll be back to share all the details of my future kitchen! I have got some new and exciting plans in store, and I am anxious to see what you think.
As always, you can stay up to date via instagram, snapchat (@jennasuedesign), Facebookand my YouTube channel. Have a happy Halloween weekend!
Disclosure: Some of the products listed were provided via sponsorship—all of which I selected and fully approve of.