Easiest flat panel door update ever!
Update: You can find another (very thorough) blog and video tutorial in this post! Throughout the life of this blog you've witnessed many DIY door transformations, like…
Update: You can find another (very thorough) blog and video tutorial in this post!
Throughout the life of this blog you've witnessed many DIY door transformations, like my salvaged wood look…

My frosted and decaled laundry room door…

Or this budget-friendly plain to paneled door:

But when it came time to update the garage door, The aim was to try something different. Something even faster and easier. So I took to Pinterest for inspiration and found this tutorial right away:

If you watched my very first vlog a couple days ago, you saw snippets of this process in action, but I also wanted to provide a step by step breakdown. I cannot seem to find a proper Before photo of the inside of the door, but here is a sliver of it from the beginning of time, to jog your memory:
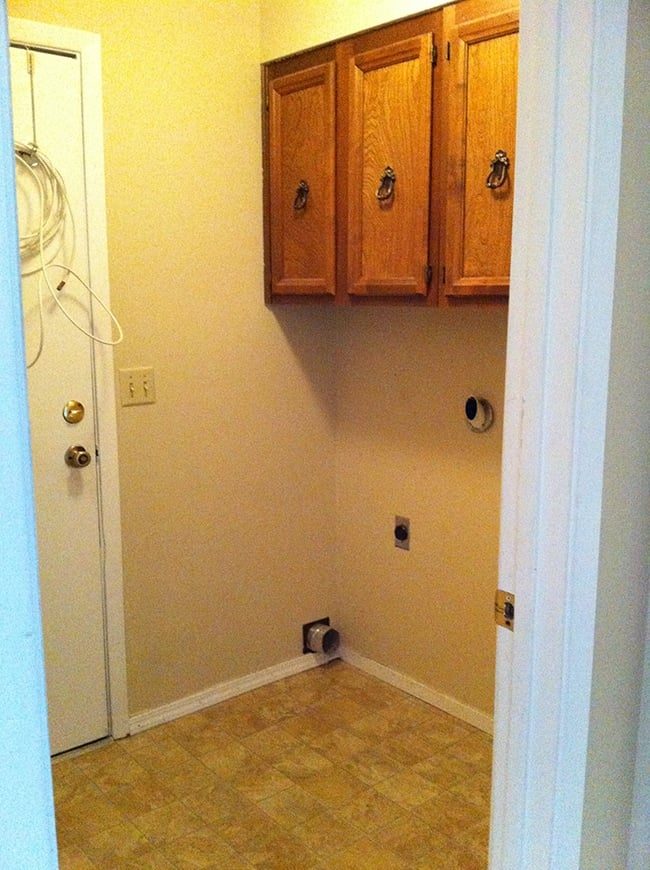
Just your average plain Jane flat paneled door. The garage side had been painted brown and was even more of an eye sore:
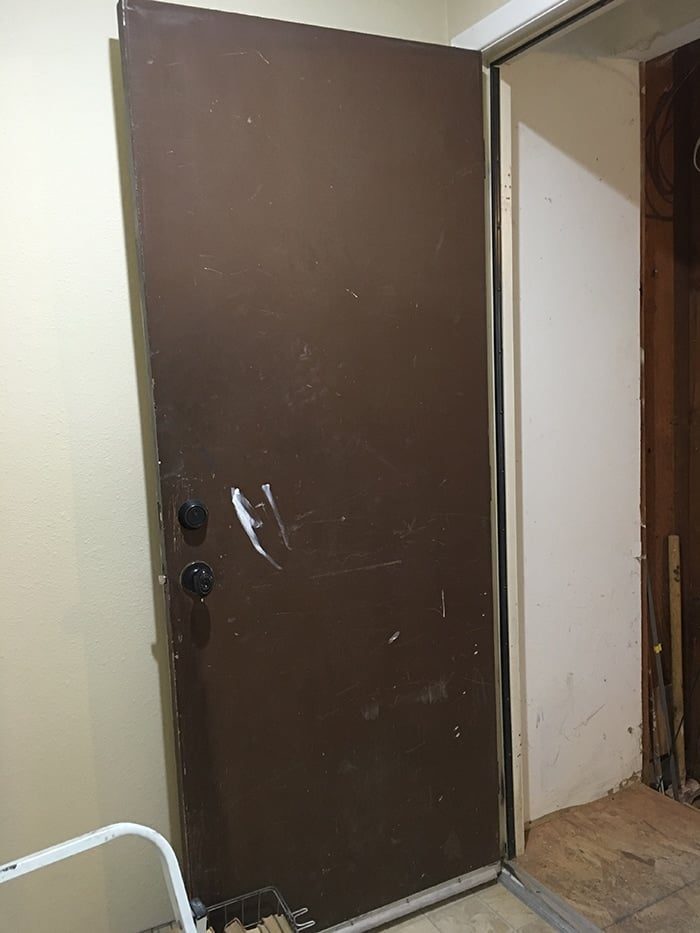
Here is what you will need for this project
- Molding (I used five pieces of this $4 8' drip cap)
- Adhesive
- Caulk
- Tape measure
- Level
- Miter saw or miter box
- Paint
Step 1: Find your molding. This can genuinely be whatever your heart desires. I needed five 8' long pieces and wanted to keep costs down, so I found this “drip cap” trim—the cheap lightweight polystyrene stuff at Lowe's.
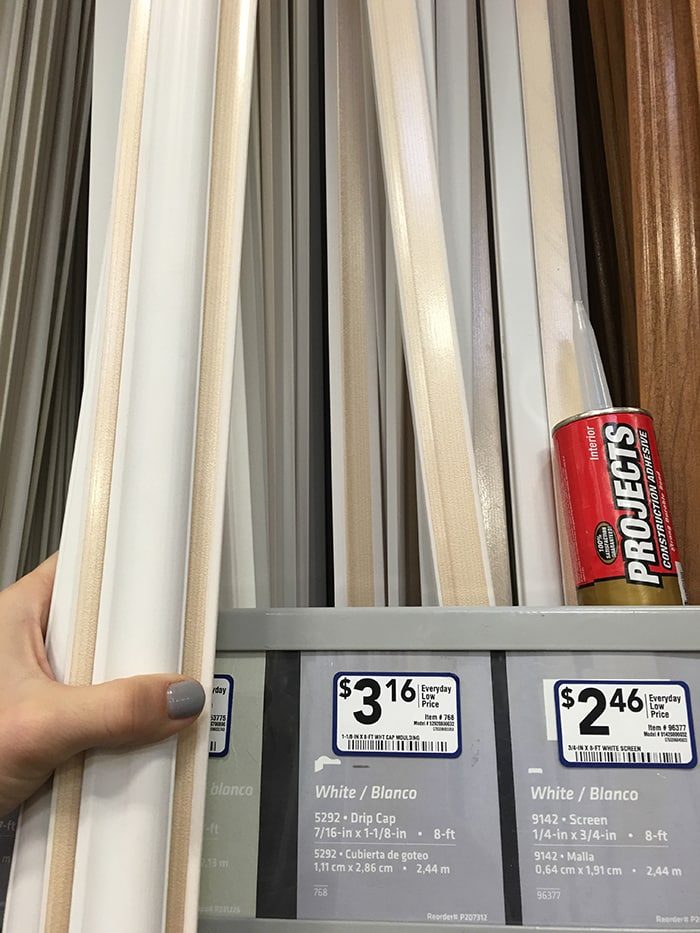
The underside was not flat which was not ideal, but it was the best compromise I could find so I made it work. Since the trim is lightweight, liquid nails was strong enough to hold it.
Once my pieces were unloaded, it was time to measure and cut. You can make your rectangles any size you'd like here. After some research I concluded that most doors in this style have a taller rectangle on top and a smaller one below, so I followed suit, making my measurements and miter cuts.
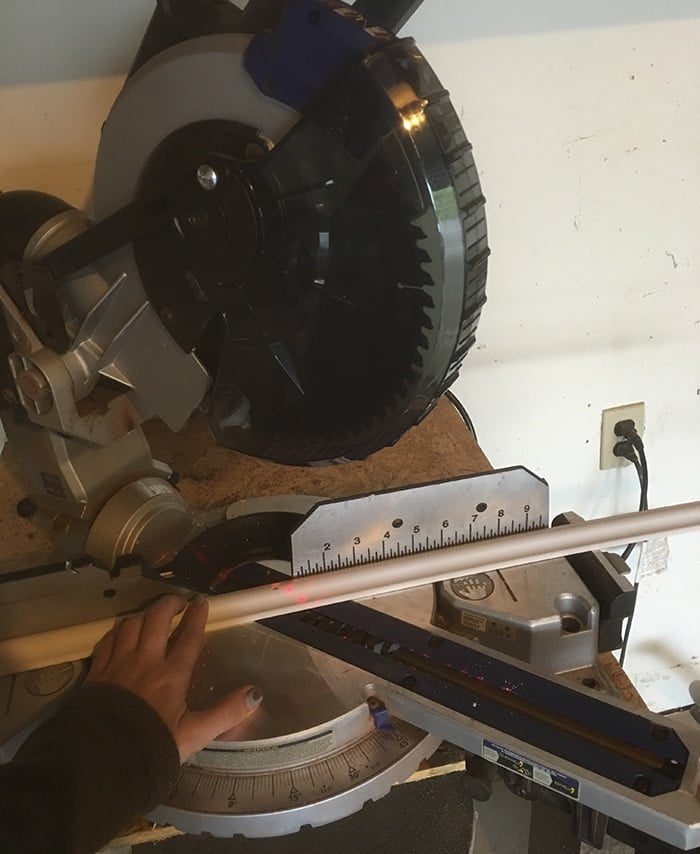
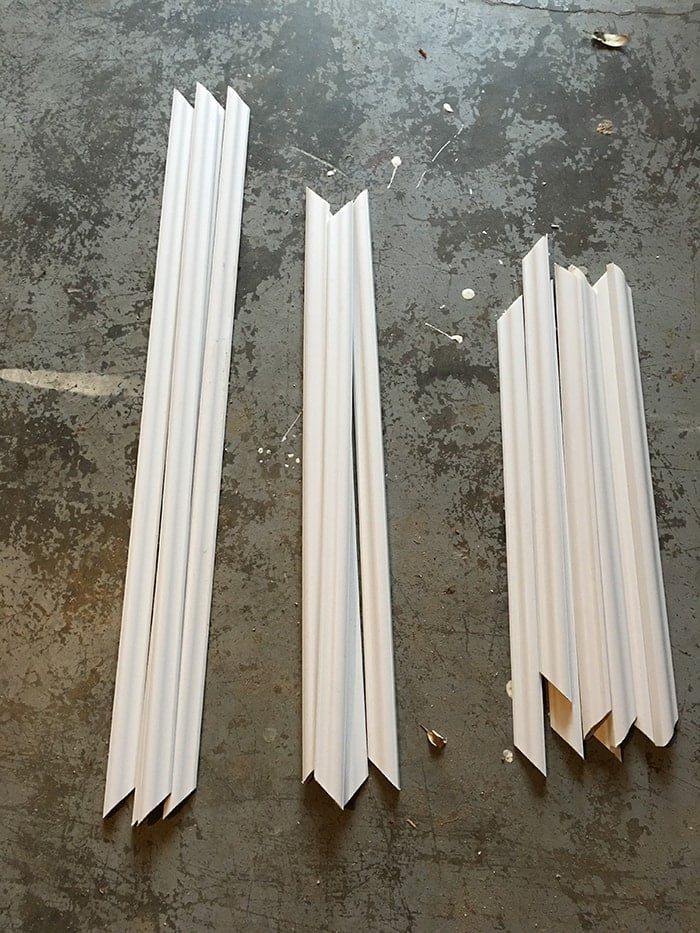
This part can be tricky for you novice miter-ers, particularly because you have to be mindful of the direction the molding is facing since it is not a unfussy flat piece of wood. The grooves all have to line up, which means 45° left cuts on one end and a 45° right cut on the other.
If I had made one incorrectly facing or improperly measured cut I would have been in the car headed back to Lowe's, but fortunately this is not my first miter rodeo so I took my time and double checked each piece. It worked like a charm.
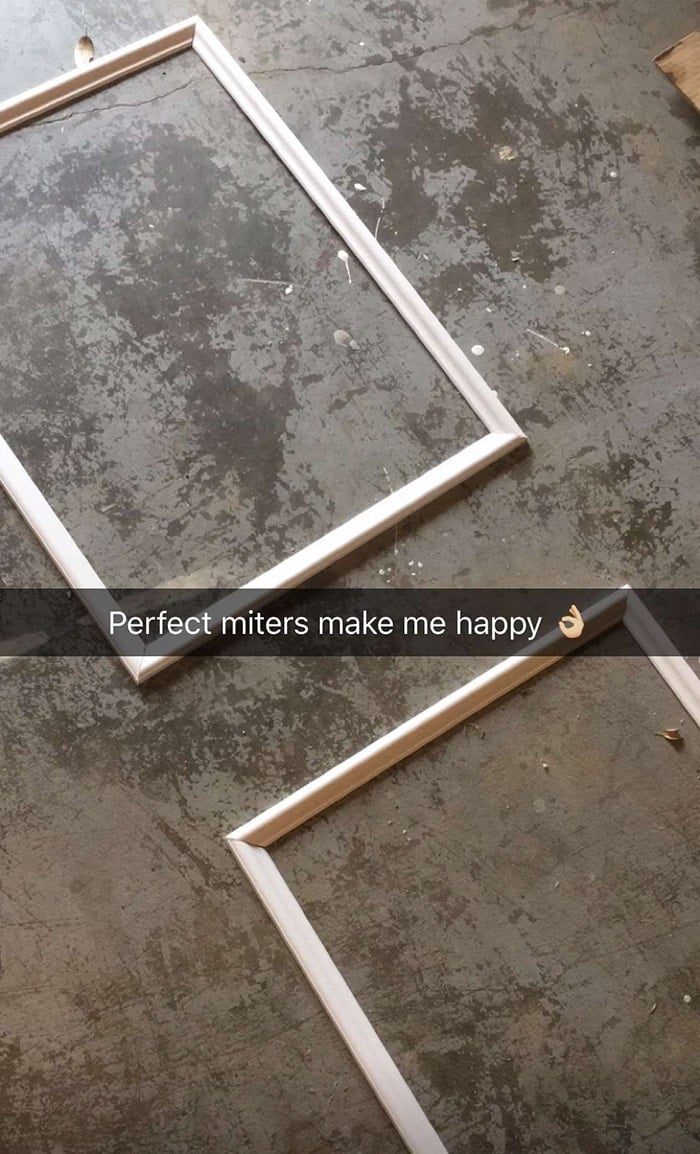
Here is some advice which I have learned (the hard way) over the years for well suited miters with a miter saw:
- Measure to the outside of the cut, triple check your mark and use a saw with a laser
- Cut on the outside of the laser line, not directly on it to account for blade width
- Make sure the saw base is locked into the angle you set it to so it does not shift
- Make sure the trim is lying flat and flush up against the gate
- Pay attention to the direction the molding is facing!
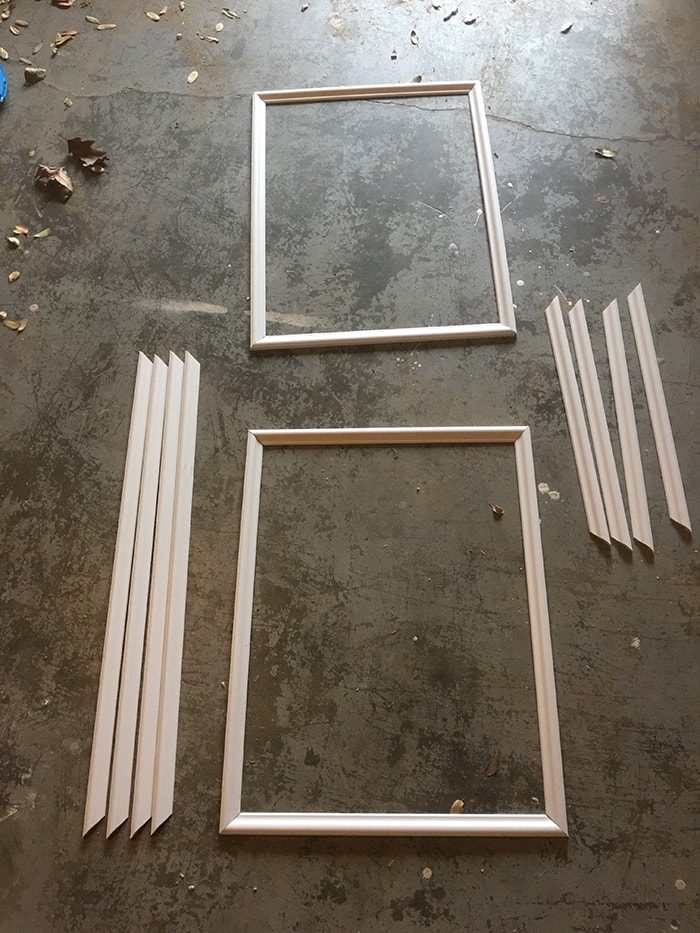
Here is my final pieces—four at 33″, four at 26″, eight at 20″.
I measured where the molding would align on the center of the door and used a big level with a straight edge to mark my lines. You could also just use a yardstick/ruler and a level separately but this saves a step.
Apparently I was too busy instagramming/filming my progress to take photos of this part but it is pretty self explanatory. One piece at a time—the order does not matter.
I applied beads of liquid nails along the backside…
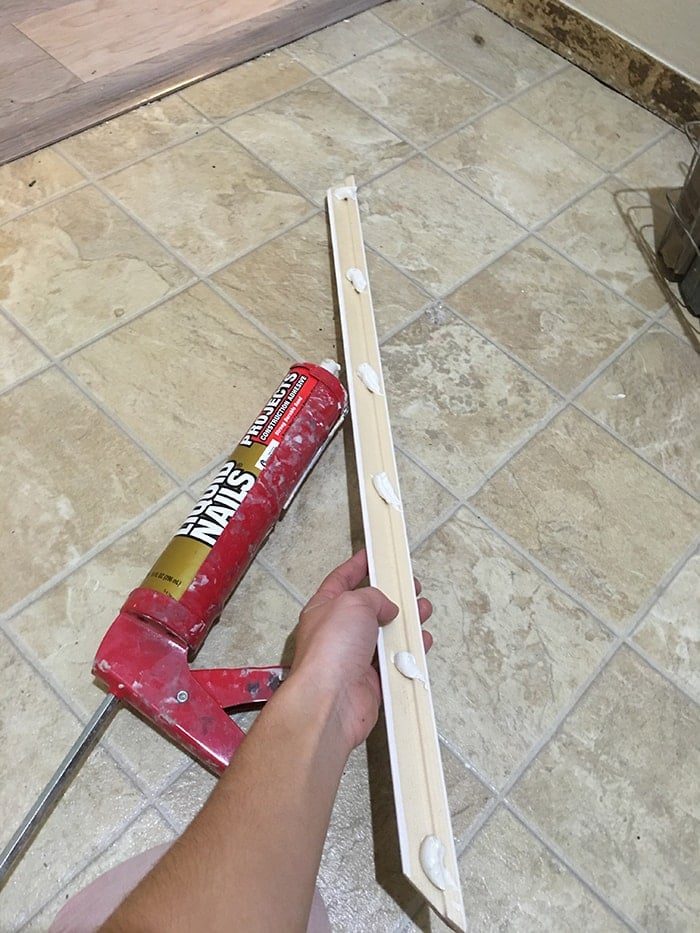
I had to go back in later and fill in a few gaps where it was loose so I would suggest using a bit more than I did (better yet, a solid line of adhesive instead of globs). Any excess was wiped away with a damp sponge before it dried.
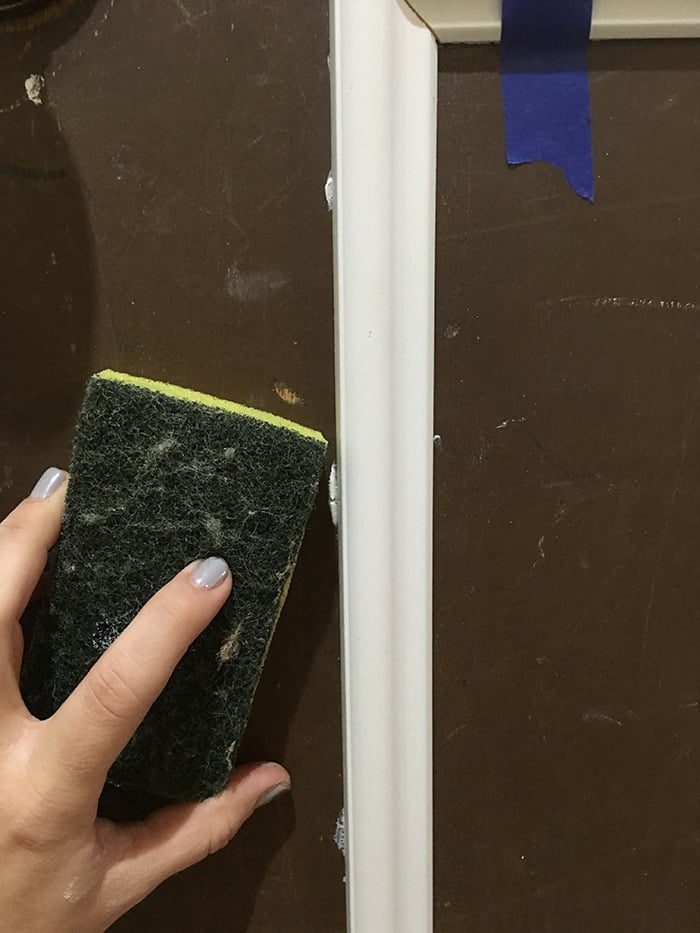
To keep the molding secure against the door and prevent shifting, I used painters tape to hold it in place.

And here is the front side….
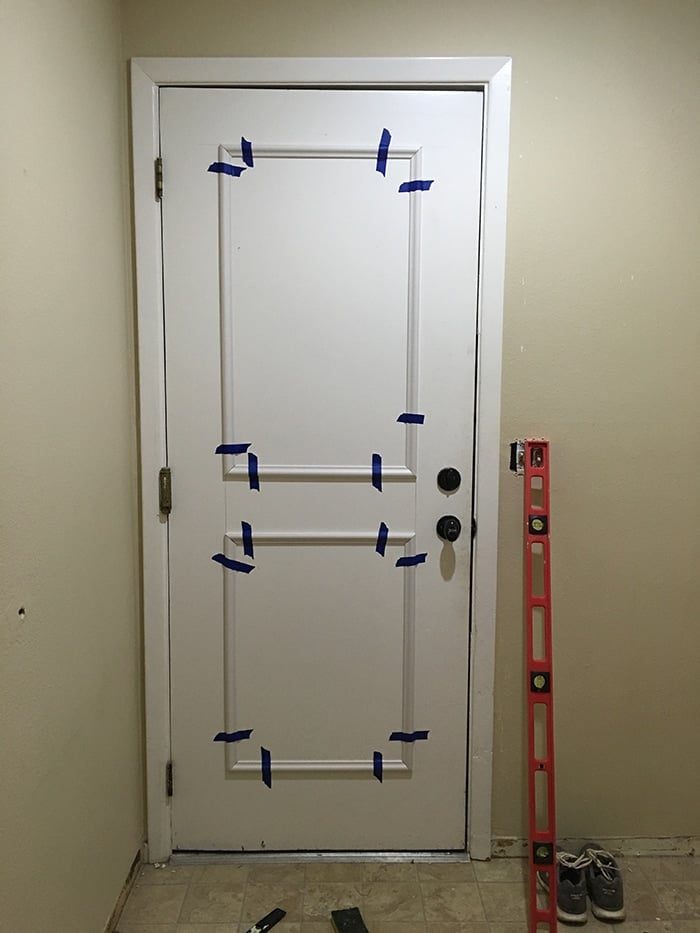
Finally, I caulked the miter joints (this is required to make them look seamless!) Caulking the edges alongside the door is not necessary.
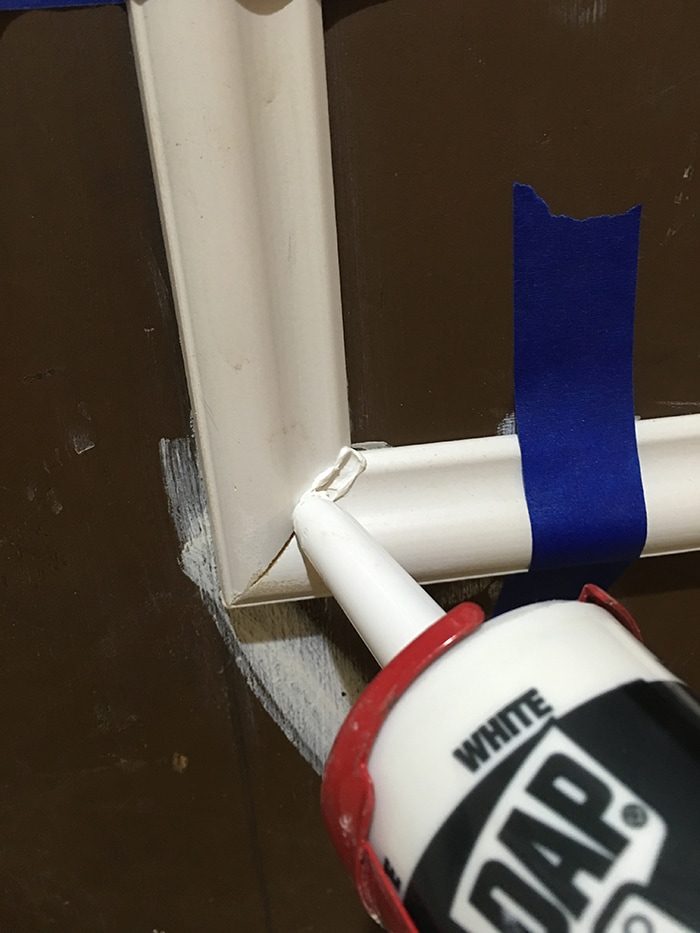
The next day everything was dry and ready for paint, so I applied a few coats of the same black I use on all my doors—Valspar's Dark Kettle Black (in exterior grade gloss, just for the extra durability)
Boom. Easiest door makeover yet, under $20 too.
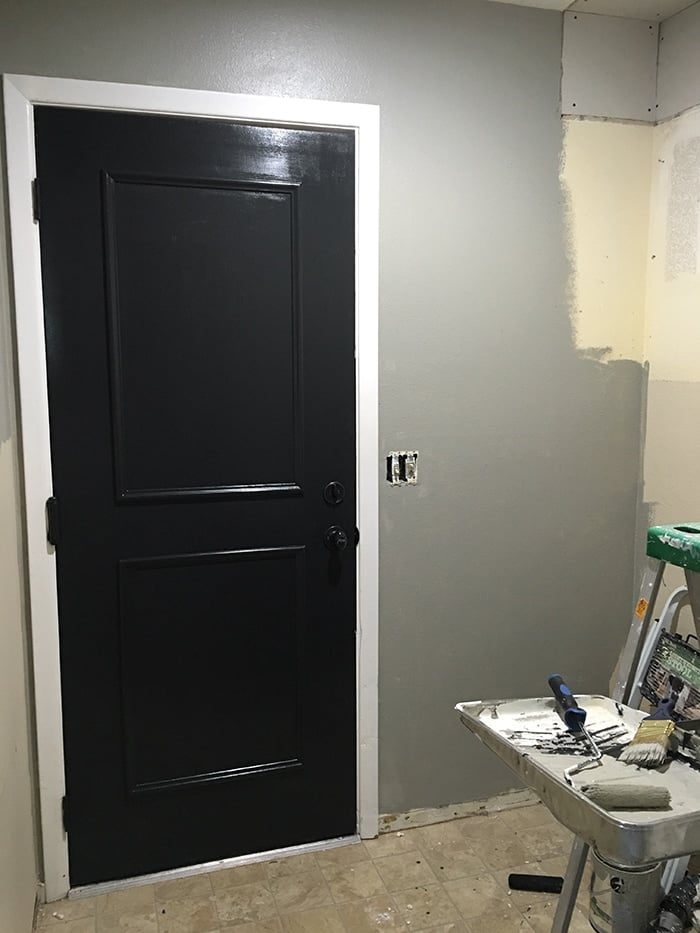
Then as you can see, I wasted no time painting the walls using Gray Silt from Valspar's Reserve line—the same paint used on the guest bathroom walls. The lighting in here is cooler so the paint looks much grayer than the warm taupe undertones from the guest bath, but it is a well composed color either way.
Next stage — cabinets! These glass doors were actually my third choice—they ran out of my first and second at Ikea but now that they are in, I could not be happier. The glass makes it look more high end and also opens the room up, and cannot wait to fill it up with bins and baskets and pretties.
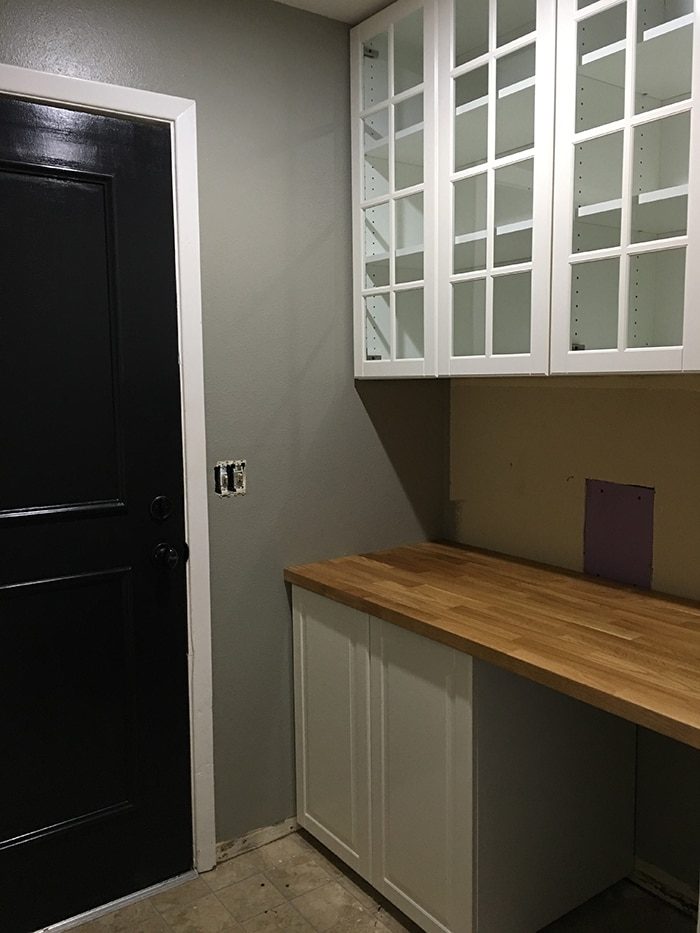
This room is just about halfway done, so hopefully in the next two weeks I can check it off the list and begin the big master bath transformation. Exciting things ahead! Do not forget to follow me on Instagram and YouTube for more tutorials!