DIY Faux-Real Indoor Tree
Have you ever dreamed of having a well composed, large indoor tree that would require zero maintenance, last forever and would not cost an arm and a leg? Fellow black…
Have you ever dreamed of having a well composed, large indoor tree that would require zero maintenance, last forever and would not cost an arm and a leg?




Fellow black thumbers rejoice, I have found the solution. If you followed my Instagram stories during the making of this tree, you know I ran into a few challenges and this project was a lot more work than originally planned. I had my doubts up until the very end, but then it all gloriously came together at once. Lucky for you, I made all the mistakes so you do not have to repeat them 🙂

Materials
- Faux stems (like these inexpensive ficus stems)
- Real tree branch
- Saw and pruning scissors
- Quick concrete mix + bucket
- Brown floral tape
- Hot glue
- Drill/drill bits (optional)
How to DIY a realistic faux tree
Time needed: 1 day
Directions:
- Locate a tree and cut down a branch with the general size/shape you want
Cut it slightly larger than you think you need
- Prune any leaves off of the branch and trim away unwanted branches
- Place the tree branch into a bucket with quick setting concrete mix, allow to dry
- Use hot glue and floral tape to wrap the stems to the end the branches
- Continue until you are happy with the shape of your tree
I wish I could take credit for this brilliant idea, but I saw it circulating on Instagram recently and on Pinterest even before that. I just had to try it for myself, and as much as I like the 8' olive tree in the living room, it was time for a change.

So I tracked down a couple ficus trees ($25 for both) on FB marketplace and we were off to the races.

I was not married to the idea of a ficus tree, but for some reason, about 90% of the faux trees I found on marketplace were ficuses. These looked realistic enough and the price was right—the only problem was, all of the leaves on the second tree were red underneath (I could not genuinely tell from the photo online).

That was not the look I was going for, but I had already set aside the day to make this tree so I figured I would just paint them green. Seemed unfussy enough, right? But first I had to trim all the leaves off with wire cutters.
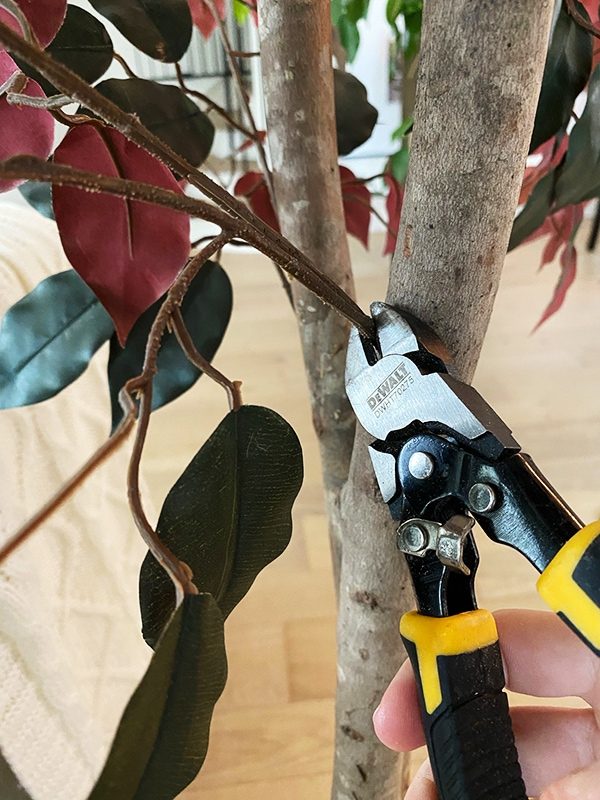
Before painting them, I stripped back the plastic at the bottom to expose the wire, which would later be inserted into the new tree branch.

With all of the branches cut and trimmed, it was time to get rid of the red.

I dug up some old paint samples and a couple tubes of acrylic paint to mix the color to the right shade.
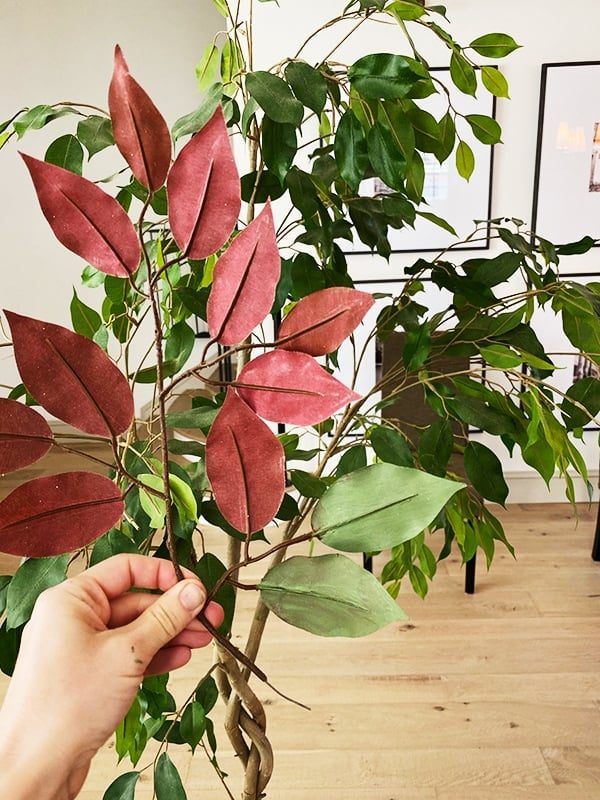
As it turns out, the right shade of green required plenty of yellow paint, and I did not have enough.
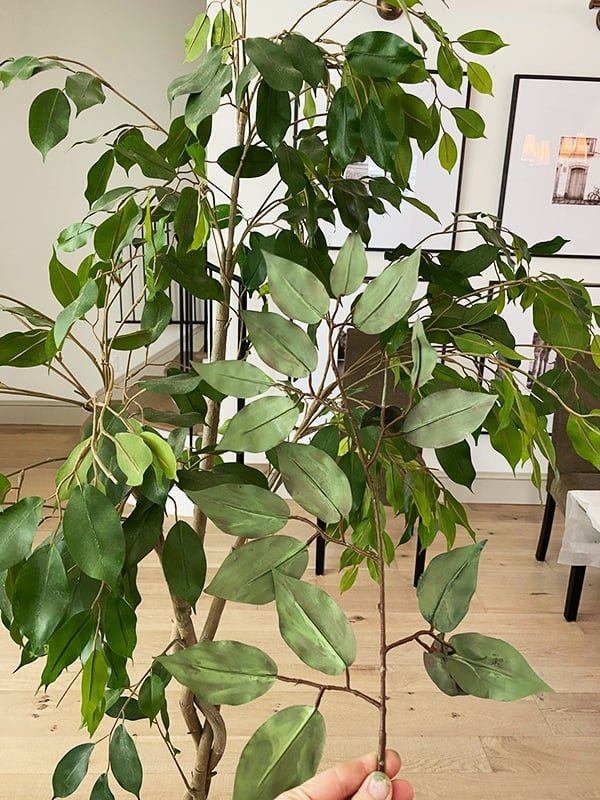
As it also turns out, painting leaves is a messy job and I could not prevent it form getting all over the front of the leaves.

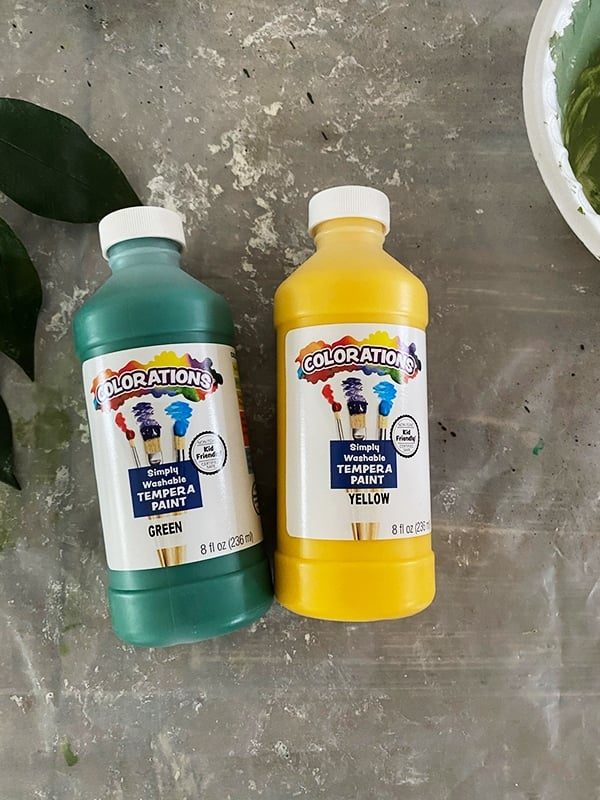
I went on a mission to find more paint that would possibly be less permanent so I would not have to spend hours scrubbing dried paint off the front of the leaves. I found this washable tempera paint:
It seemed to be going pretty well at first…
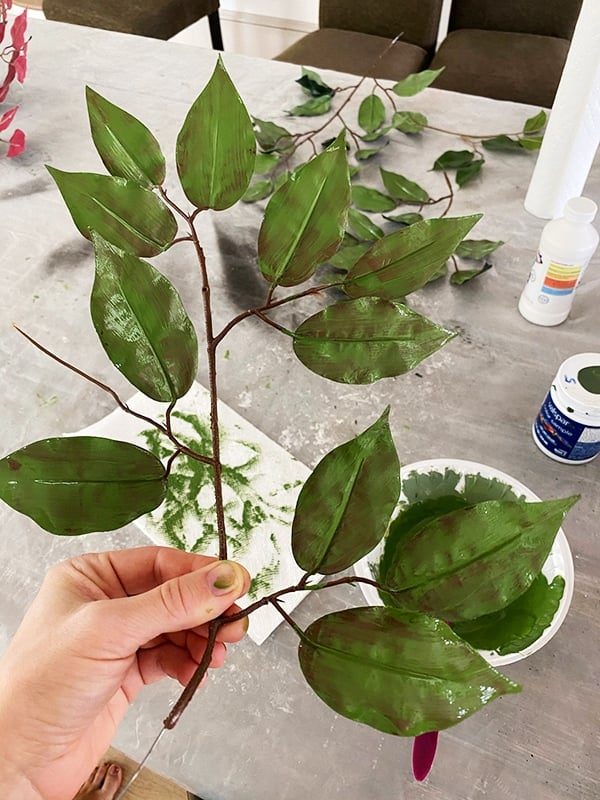
Until the paint started to dry, and disappear before my eyes.
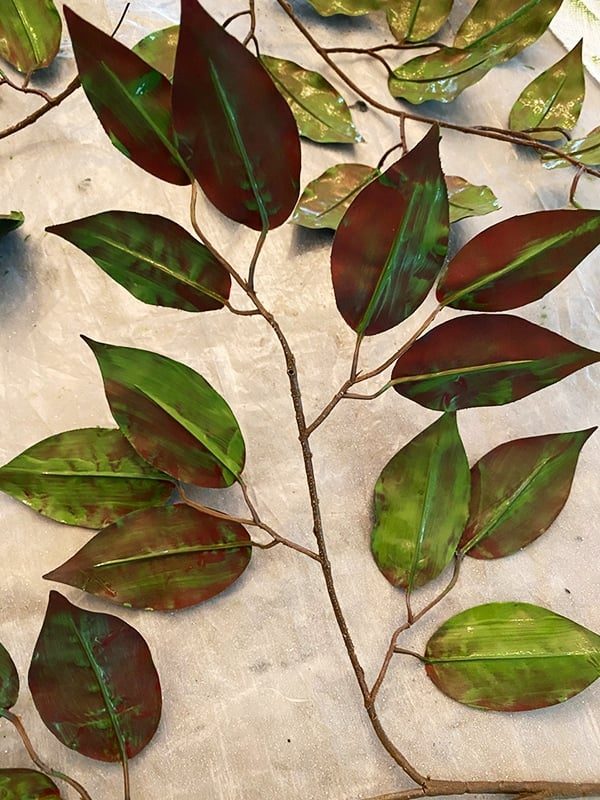
At this point, half the day was gone and I hadn't even touched 90% of the branches…

So I gave up on Plan A and moved onto Plan B—find a new ficus.

Fortunately they are not hard to find around here, and $40 later I had a new tree to work with the next morning. There was just one problem with this one…
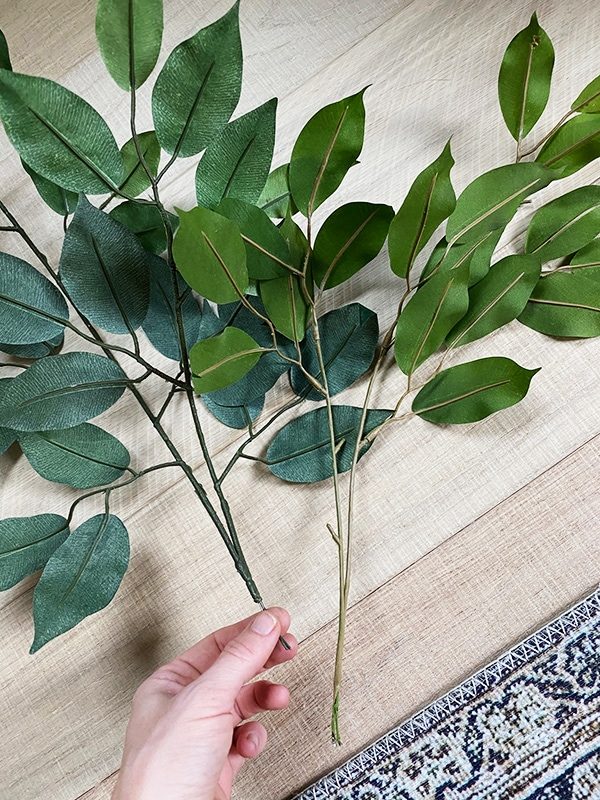
The stems were a dark green, which is not as realistic and did not match the other stems (on the right). Time to break out the paint again…
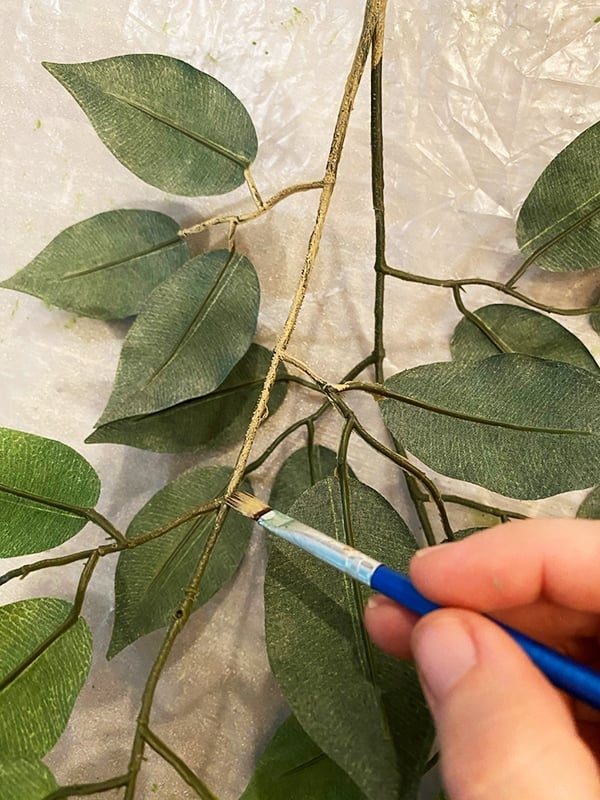
Fortunately, painting stems is much easier (and cleaner) than painting leaves. I spent an hour or two and got through about 70% of them before my hand started cramping and I decided my tree did not need any more leaves.
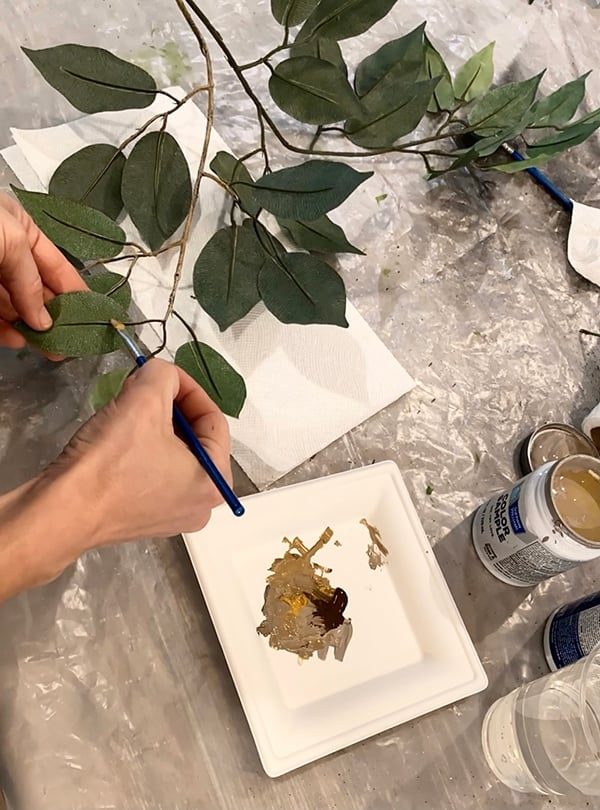
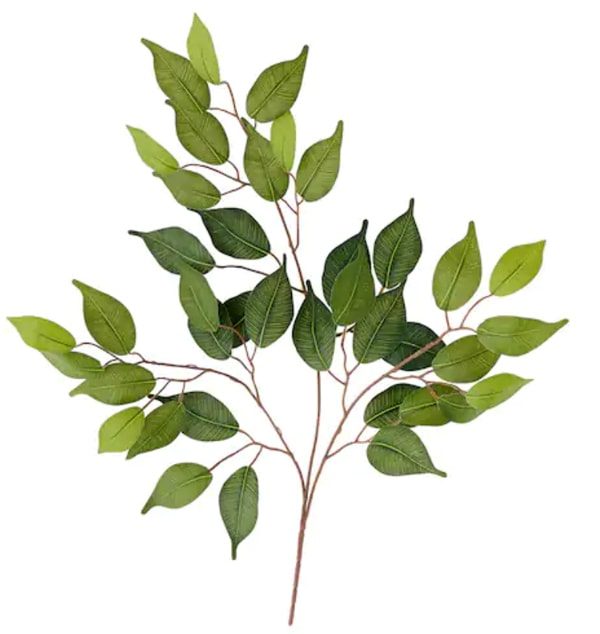
Tip: someone pointed out that Michael's sellsficus sprays for around $1/stem!You can save yourself a ton time/money and just get these. I would guesstimate 30-50 stems are needed, depending on the size of your tree.
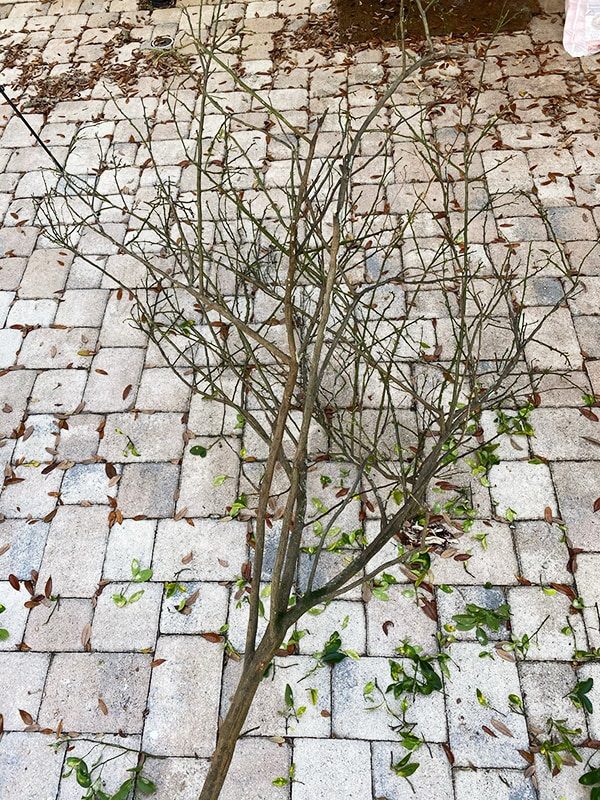
With the leaves out of the way, it was time to find a tree branch to cut down! This is the key to creating a particularly realistic looking faux tree. We only had one tree on our property that could work, so I carefully examined each limb to find one that was relatively upright and balanced.
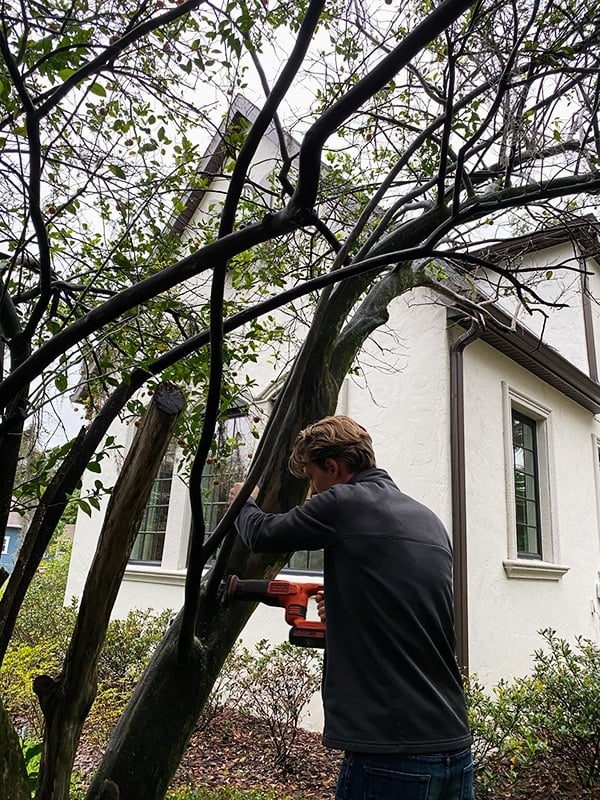
Here it is!
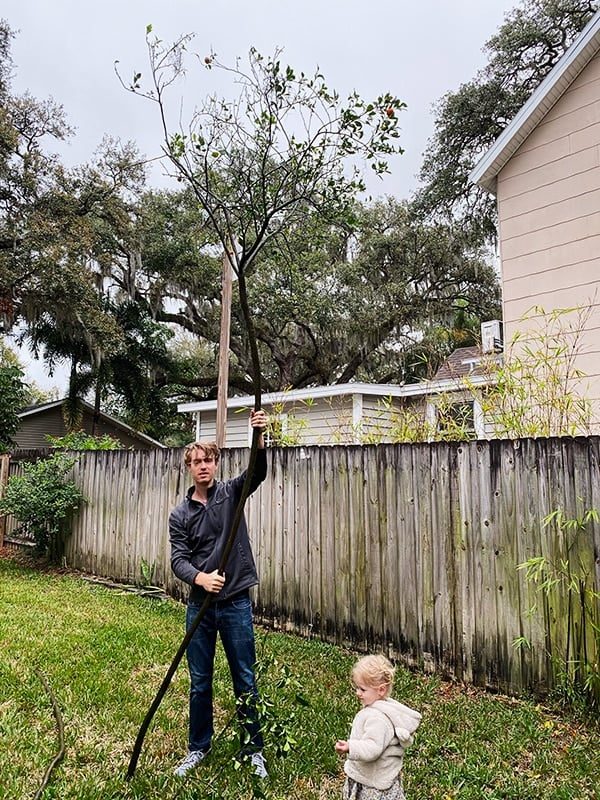
I cut it down to approximately 100″, which is slightly taller than the 8' olive tree it was replacing.
Update: Our tree ended up shrinking several inches over time as it dried out, so I would recommend letting your branch dry out for as long as possible before trimming it.
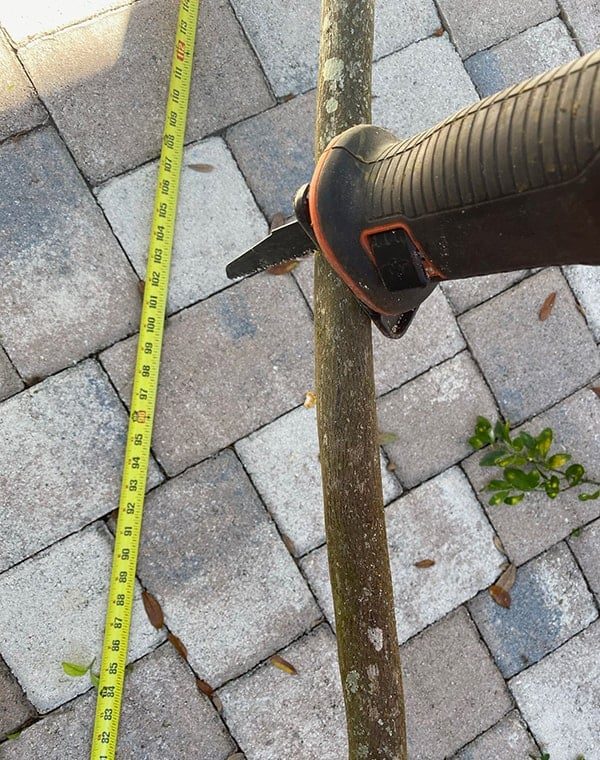
Then it was time to prune. This is another step that could be skipped if you live somewhere cold with leaf-less trees in the winter (I guess there is one benefit to living in the snow ;))
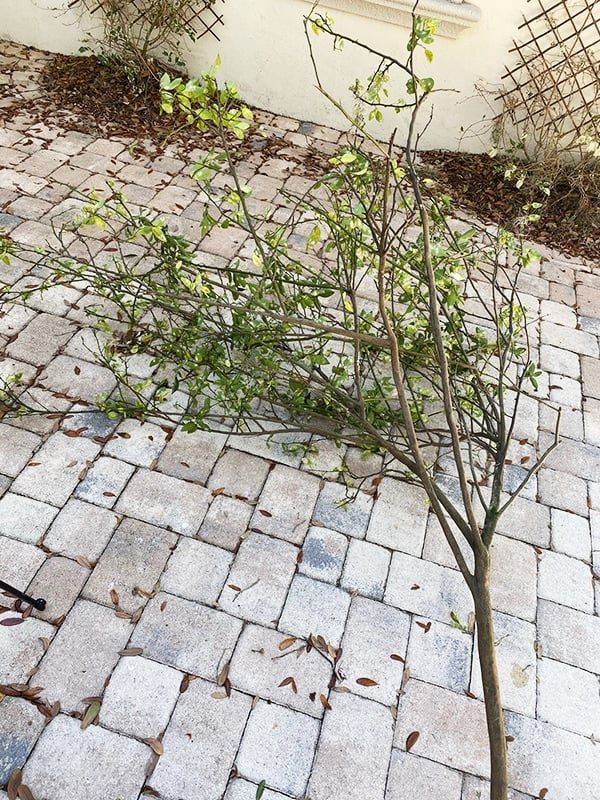
I left most of the branches/smaller twigs on at this stage—those would be later trimmed off after I filled the tree to my desired shape.
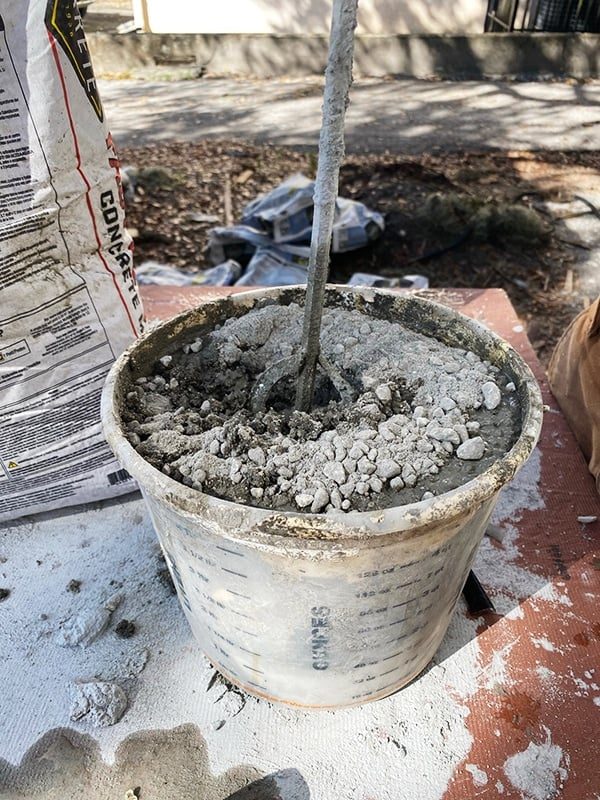
Next, it was time to plant the tree in a pot. I found an old bucket lying around and filled it with quick-set concrete mix.
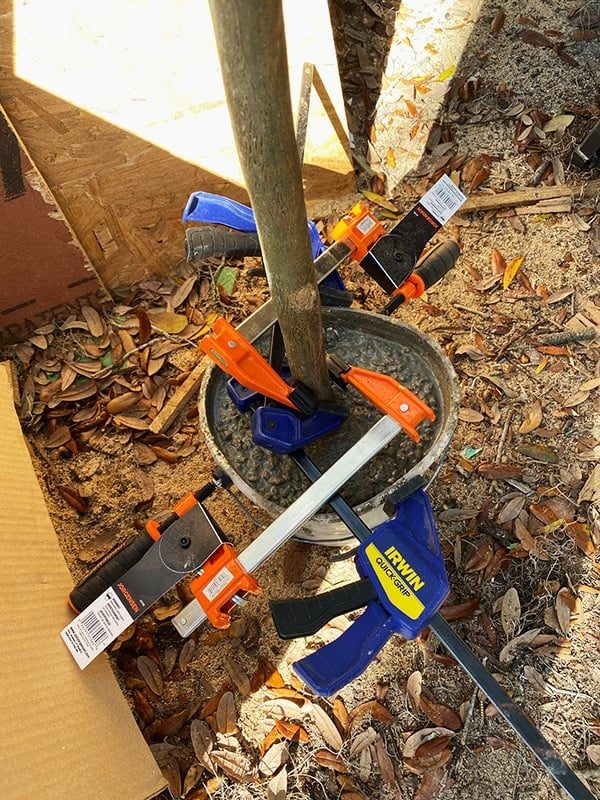
Then used clamps to hold the tree in place while the mix hardened. Tip: this is a great solution to re-pot/stabilize the base of any faux tree, since the pots they come with are so small!
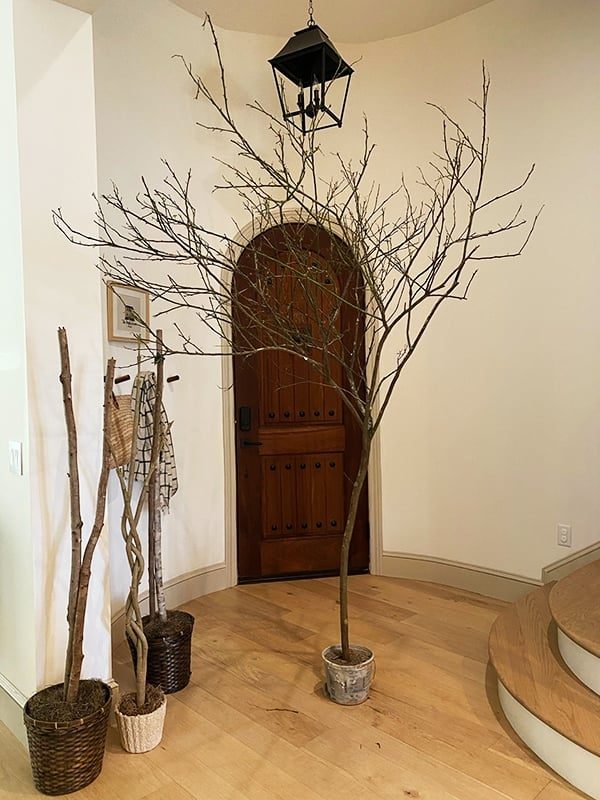
Once the concrete was set, I carefully transported my tree inside. Note the scale in comparison to the three fake trees—and the difference in shape. This is is why the end result of this project looks so realistic!
In the other tutorials I watched, they used a small drill bit (approximately the size of a single branch wire) to drill a hole into the branch…
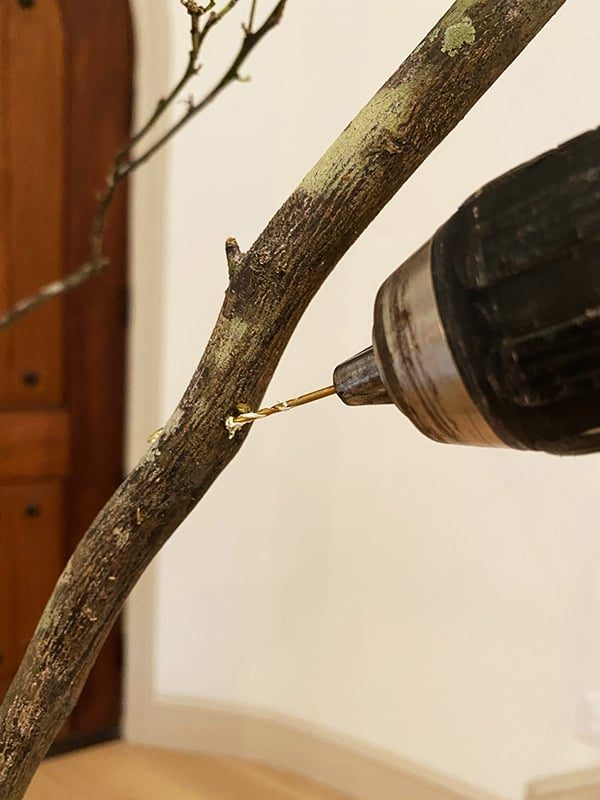
Then inserted the wire. I found this to be a little tricky, as it was tough to control the angle of the drill bit and it kept coming out of the other side.
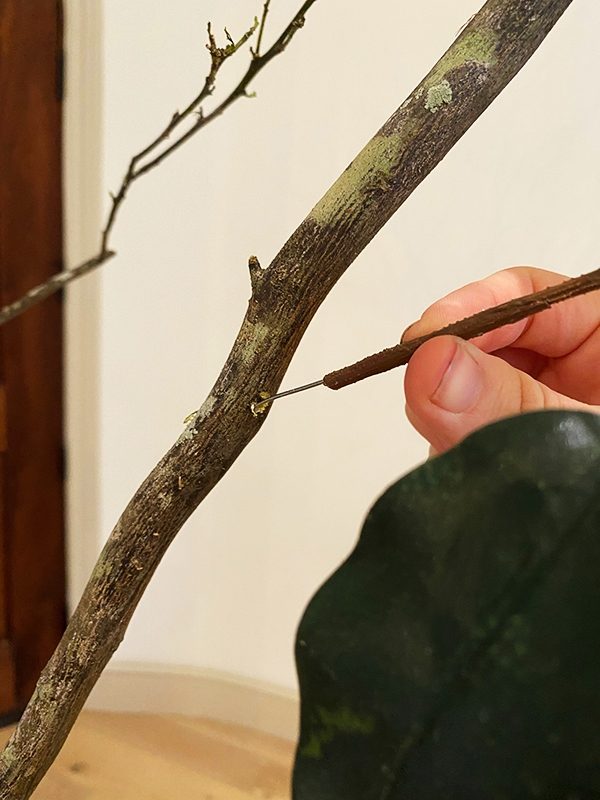
Nevertheless, this is the best way to attach the leaves to your larger branches and it looks very convincing. You can also use hot glue/gorilla glue to be safe.
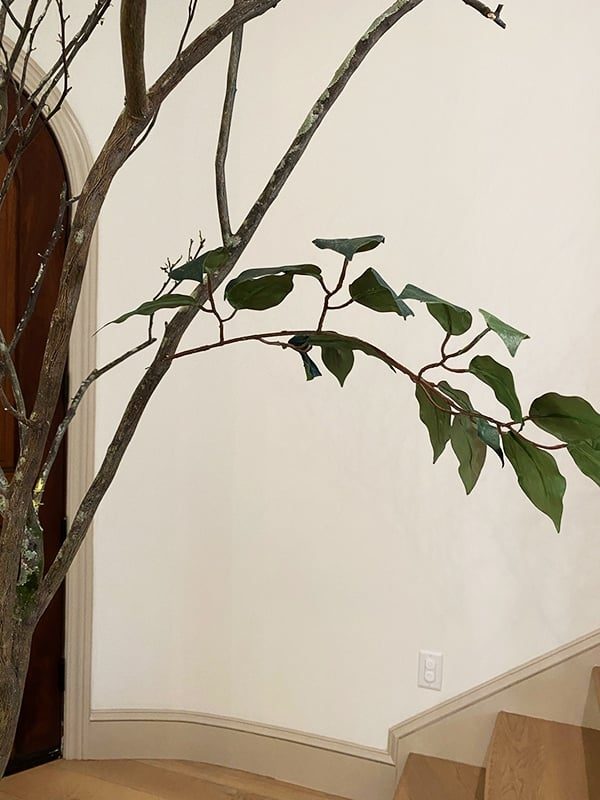
Most of my branches were too small for this method, so I planned ahead and bought brown floral tape to secure them that way.
Update: the tape lost its stickiness over time and became loose. I would highly recommend using hot glue when wrapping the tape for a permanent hold.
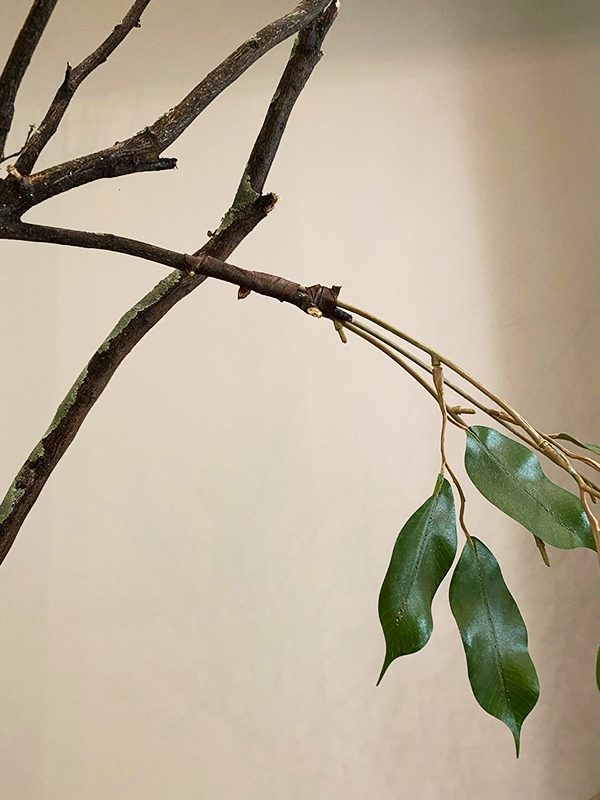
It looks wonky in the photo above next to the lighter branch, but you honestly can not tell at all once you stand back. Here is some better examples…

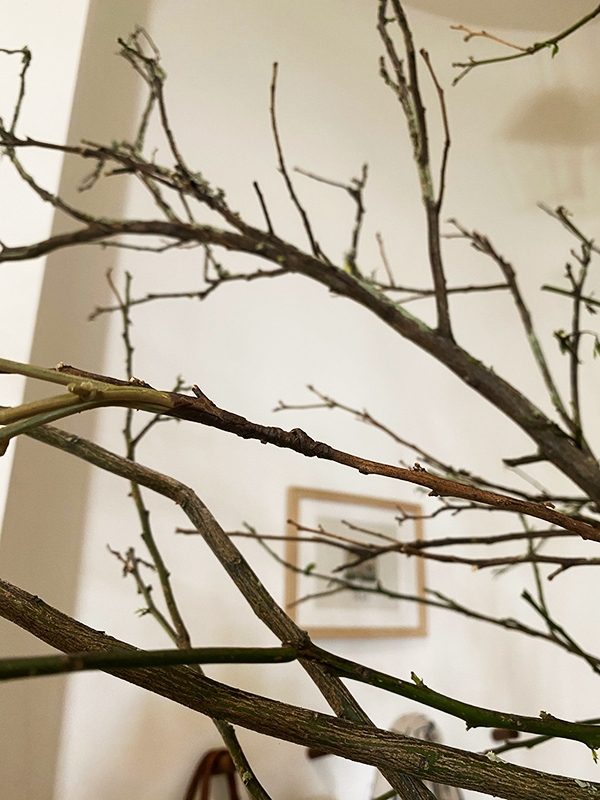
The great thing about this project is that you genuinely do not need to get it well suited—there is so much going on and everything blends together. Honestly I probably could have even skipped painting the branches and it would still look quite realistic.
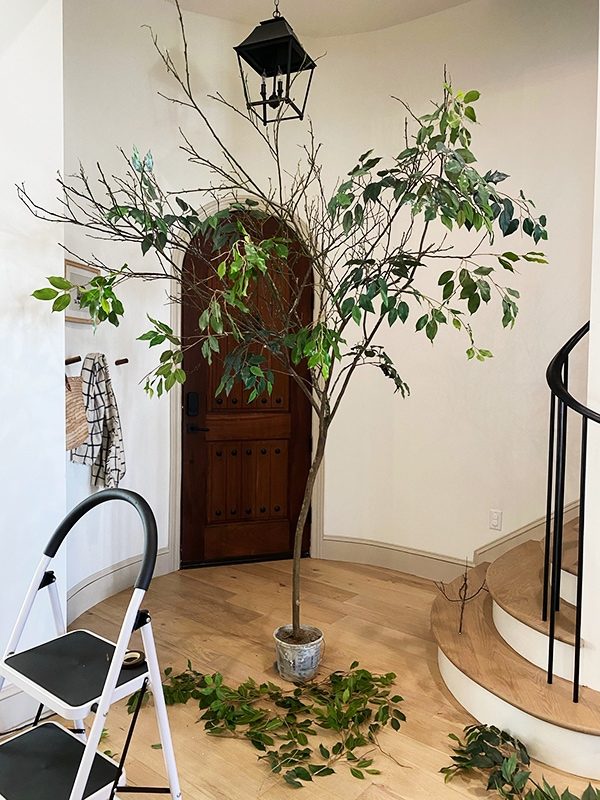
I used the drill bit method on maybe 3-4 of the larger branches at the bottom, but all of the rest were secured with floral tape (much quicker and easier!) I even added a branch on the back to fill in an empty area. You'd never be able to spot it once the leaves were added…
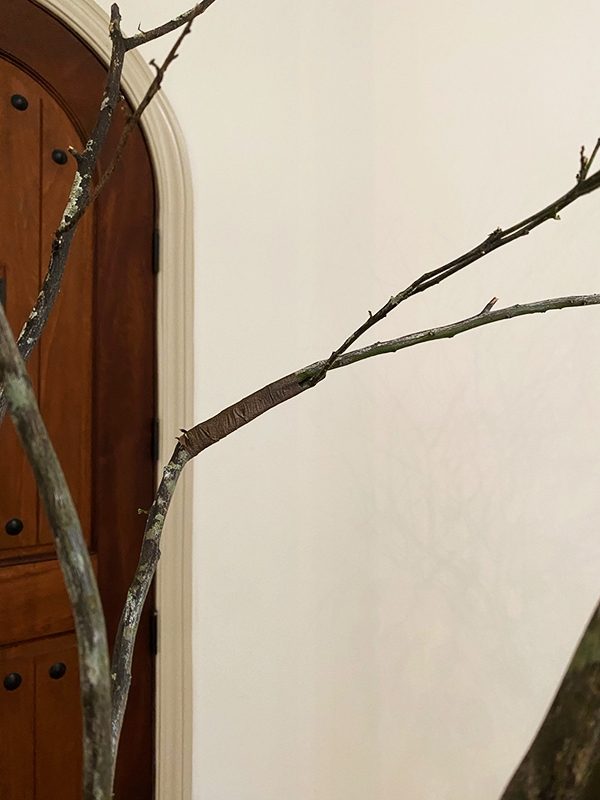
It was at this stage that I breathed a huge sigh of relief—all of my efforts were not wasted. This tree was coming together just as I had hoped!

Once all the leaves were added and I was happy with the shape, I trimmed back plenty of the excess branches and moved it into its new home. And here she is now…


I am loving how it looks in my DIY 'stone' planter.


Even though this was not exactly the quick and easy project I thought it would be, if you avoid my mistakes and choose the right faux tree (or stems) from the beginning, it can definitely be a one-day project and 100% worth the effort, in my opinion! Large faux trees are so hard to come by—I have actually never seen one even close to this for sale, so you cannot genuinely put a price on it. It is a one of a kind!

What do you think? Would it be worth it to you? I am predicting we will see a lot more of these pop up in the future. Who knows, maybe I'll bring myself to make another one too 😉

If you like this project, look at these popular budget DIYs from my Project Library!
- How to realistically age wood (the easy way!)
- DIY Faux Stone planters
- DIY String Light Planters
- DIY Hypertufa Planter