DIY Halloween Faux Taxidermy
How to make DIY faux taxidermy for Halloween! A spooky craft using gilded insects and creatures. Quick and easy to make!
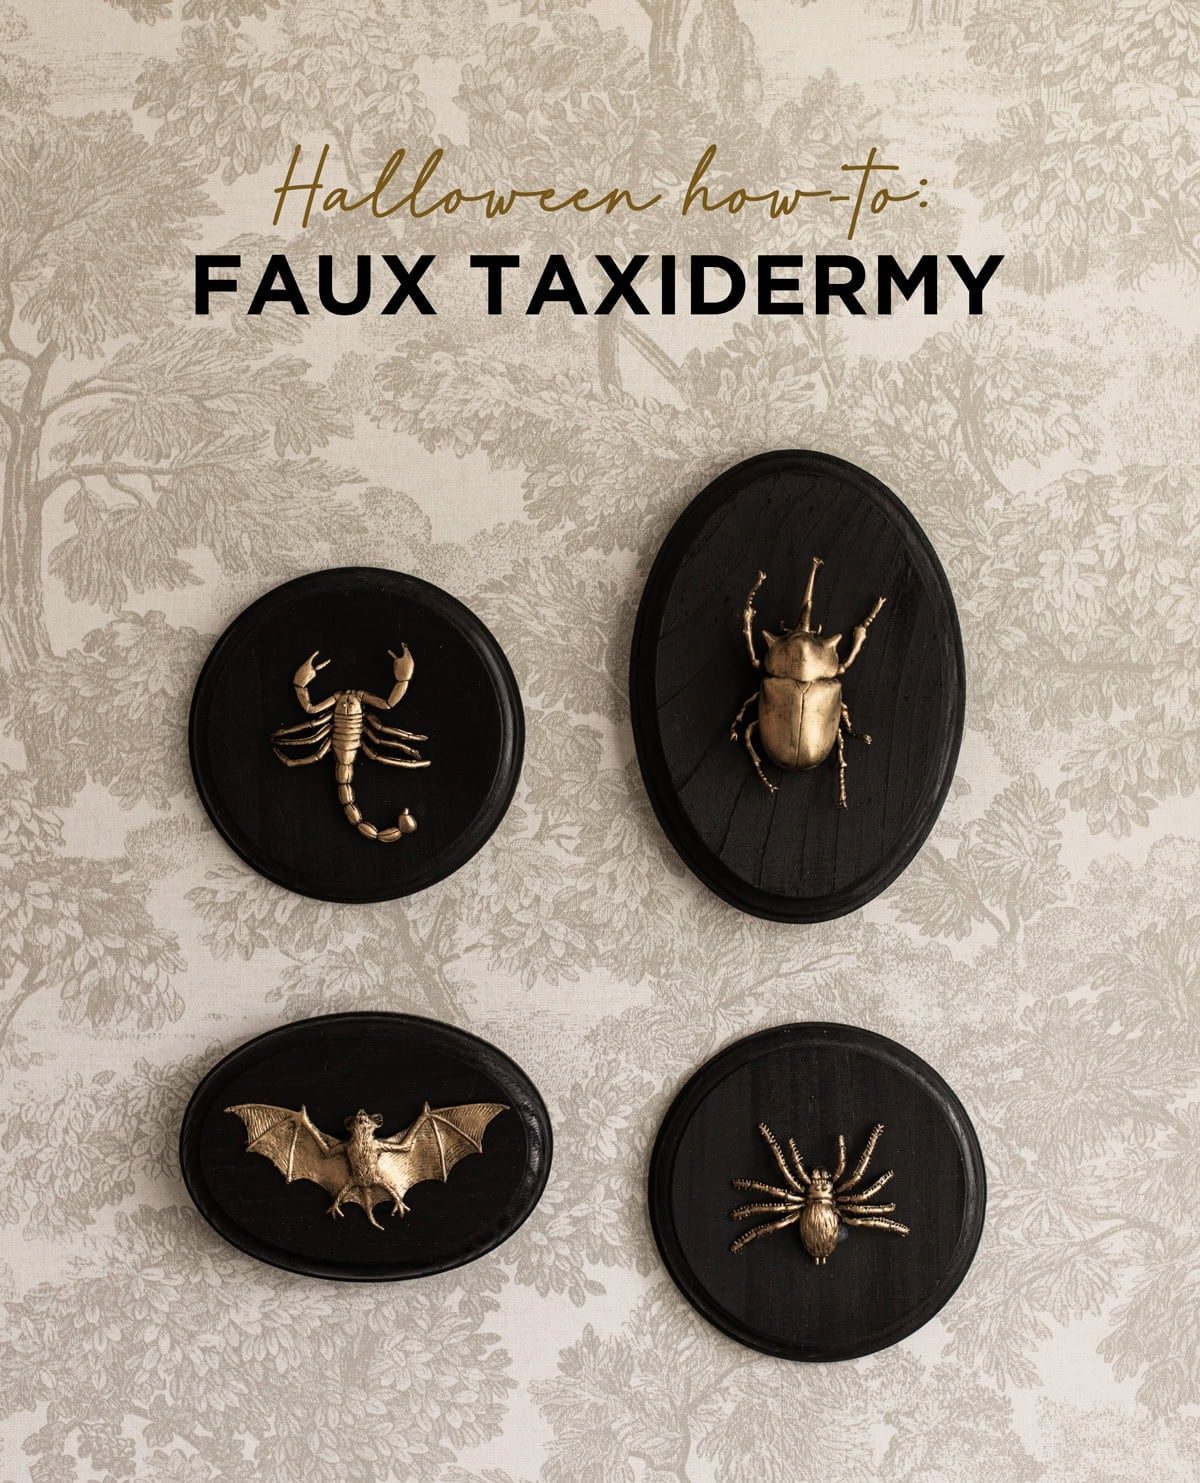
If subtle-spooky is more your Halloween decor vibe, you will love this unfussy DIY gilded taxidermy. It has just a hint of creepy—you could even leave it up all year long! All you need are a handful of supplies and an hour or so for this quick and fun craft.
I originally came across this DIY from The Gathered Home and was inspired to make my own. All credit goes to Brynne for the idea!
Faux Taxidermy Supplies
- Wood plaques (I used 5×5″, 5×7″ and 5.5×4.75″)
- Plastic insects/creatures (I used these and these)
- Black spray paint
- Hot glue or superglue
- Command strips

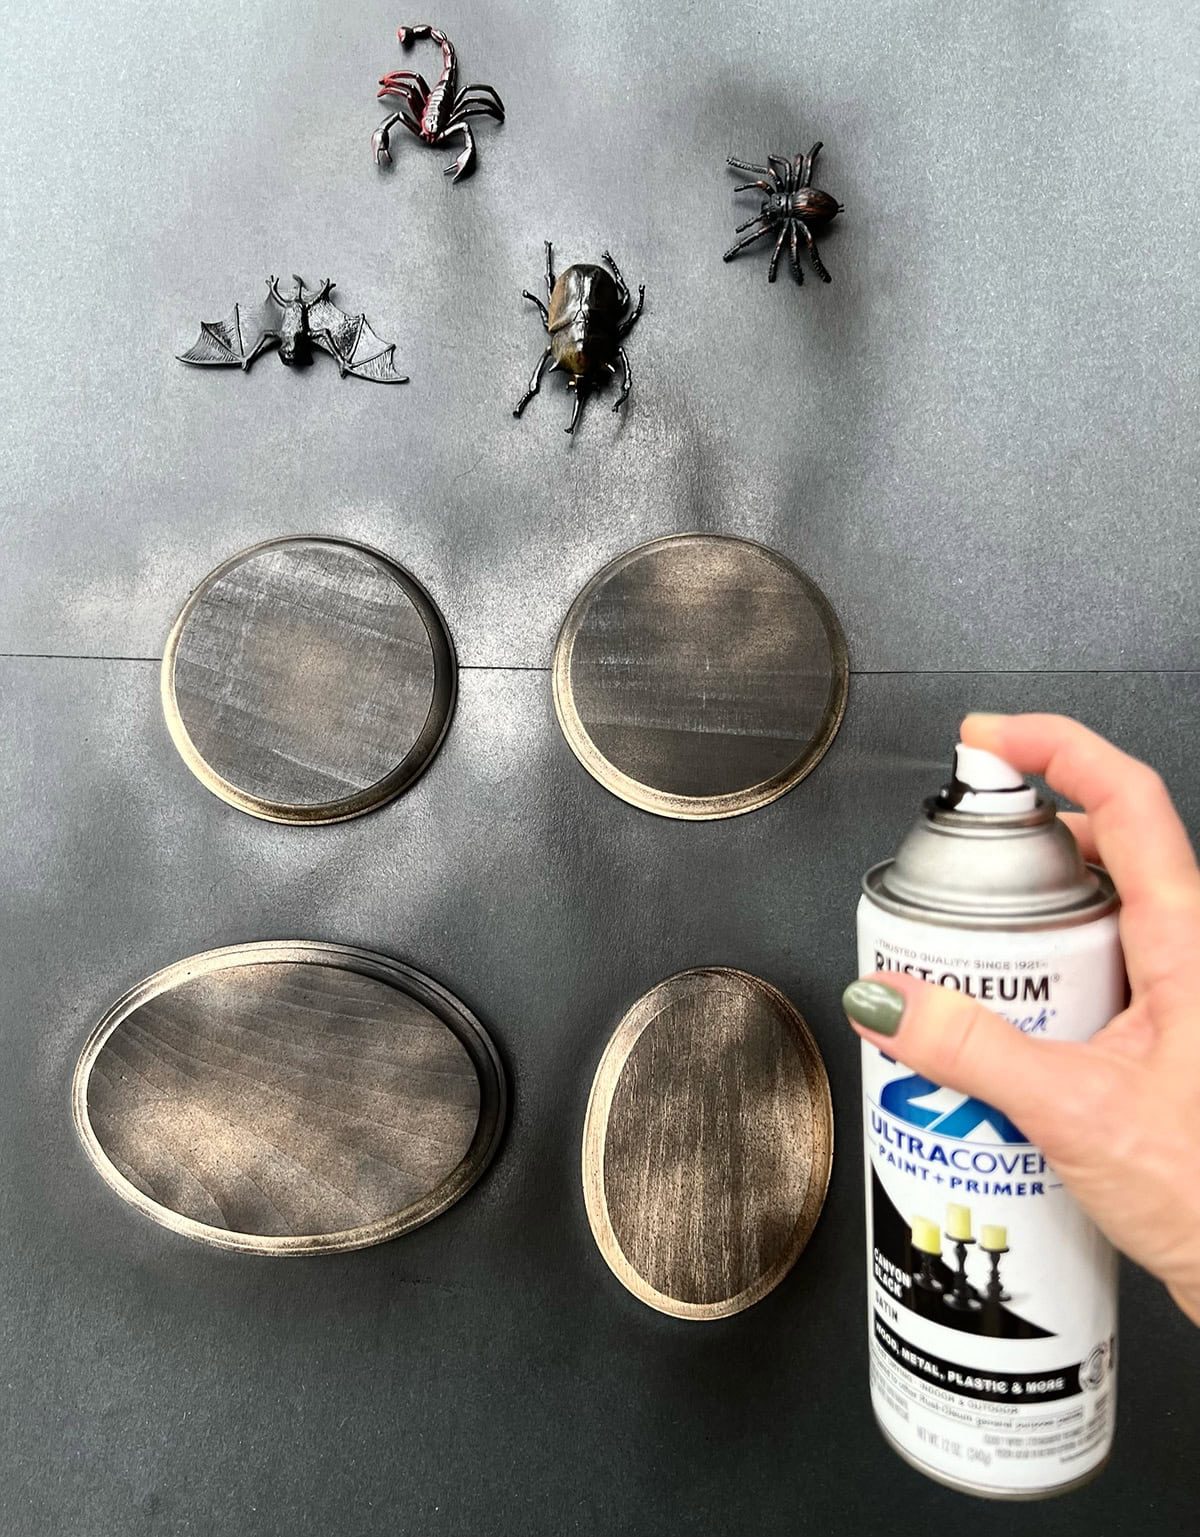
First, spray paint everything black. You can use regular paint for the plaques if you'd prefer, but spray paint is a lot easier with the critters.
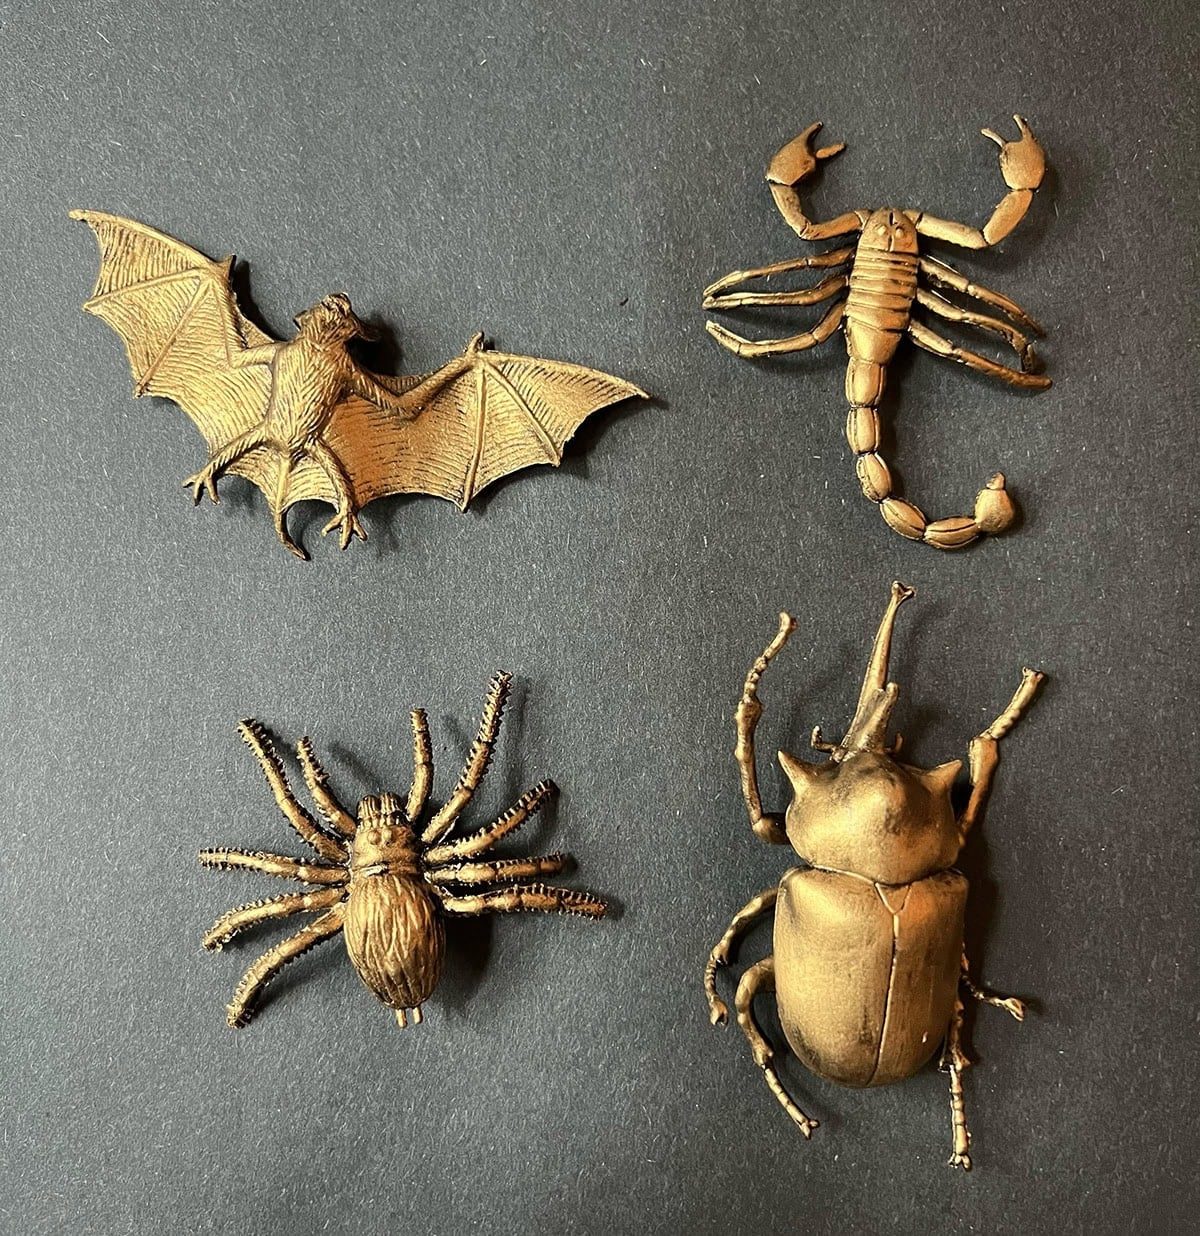
Once everything is dry, use a small brush to apply gold Rub n Buff to the creatures. I used Gold Leaf, but any of the golds would work.

You could use gold spray paint if necessary, but it will not have the same dimensional gilded effect as layering black + Rub n Buff.
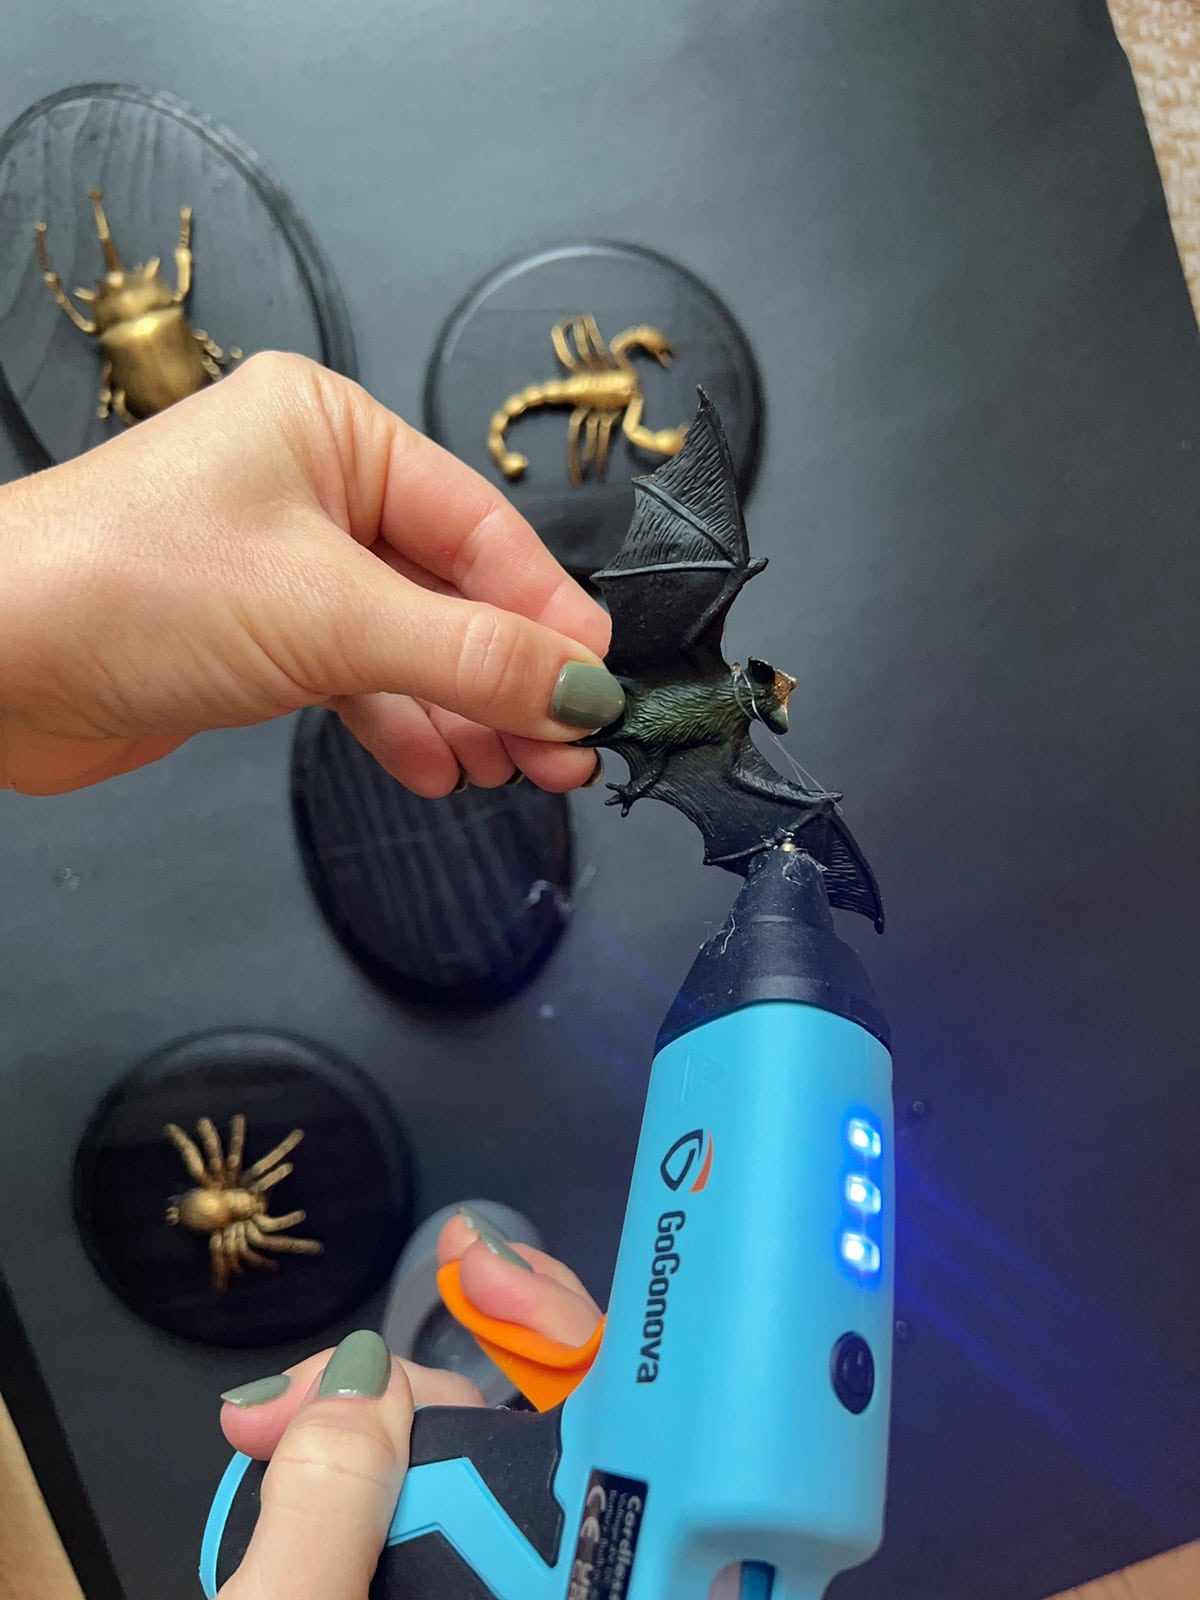
Next, simply glue the bugs to the plaques. I used hot glue, but superglue/quick dry epoxy would work just as well.
I used command picture strips to hang them on our wall.
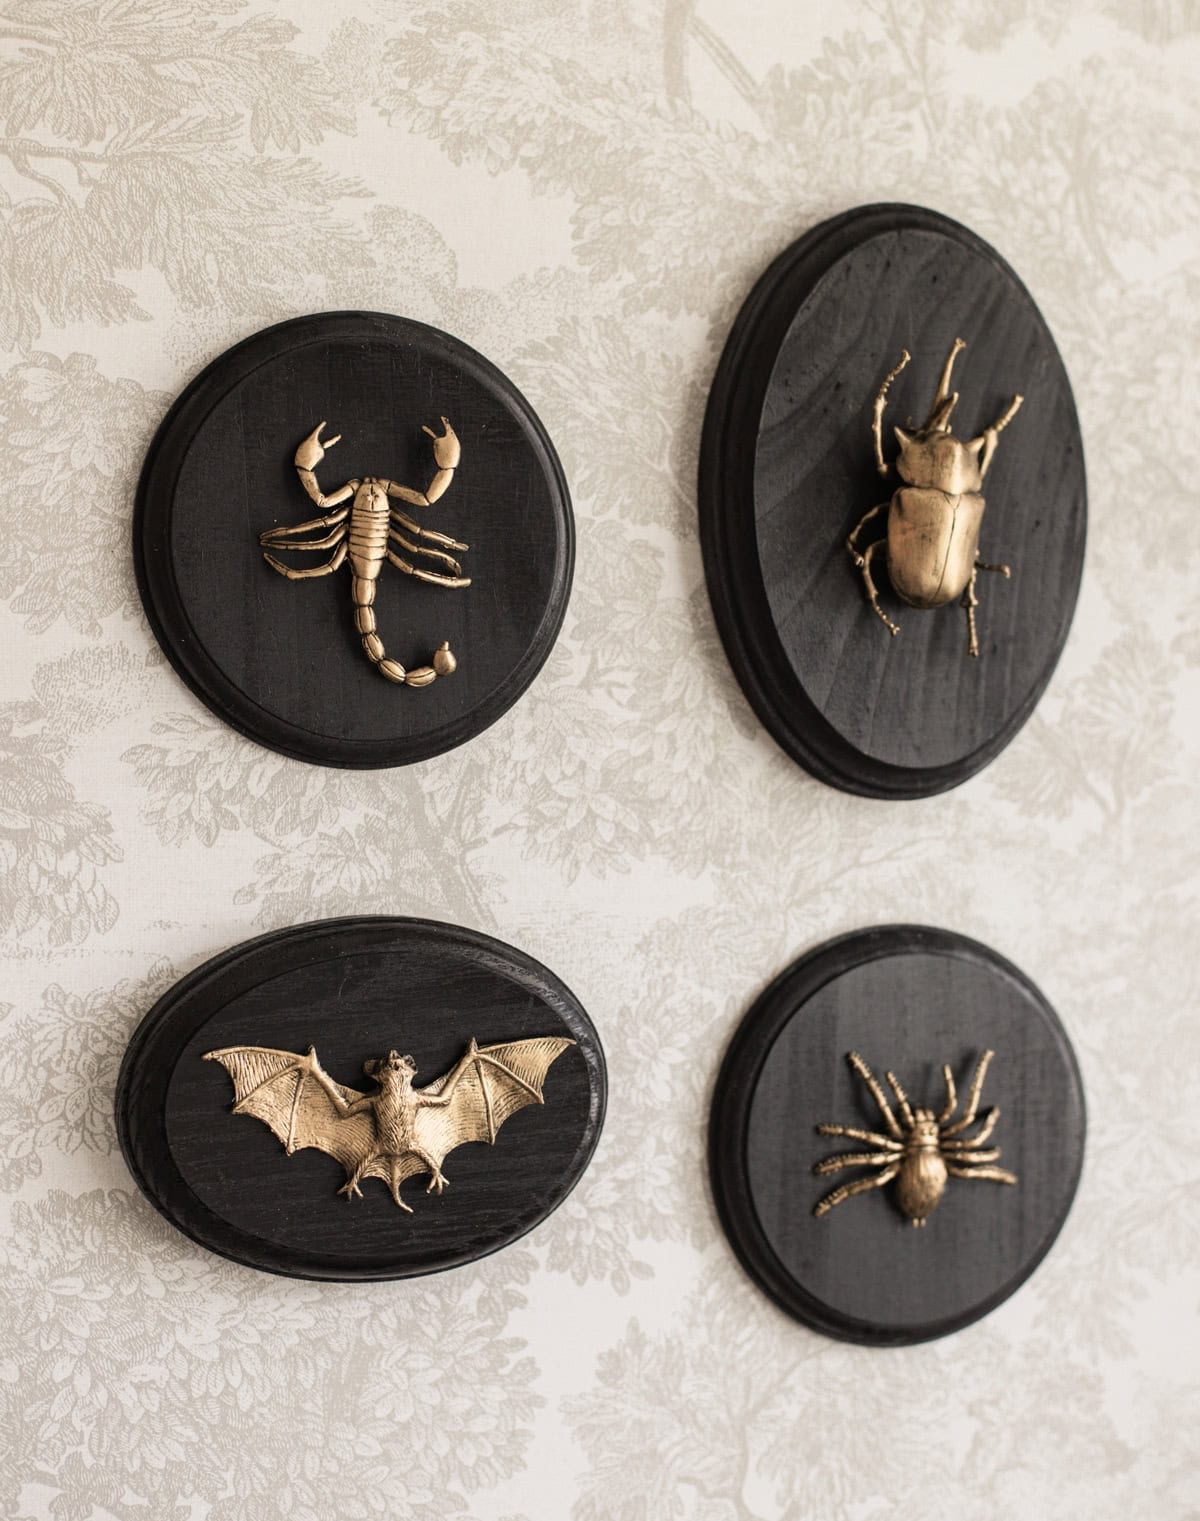
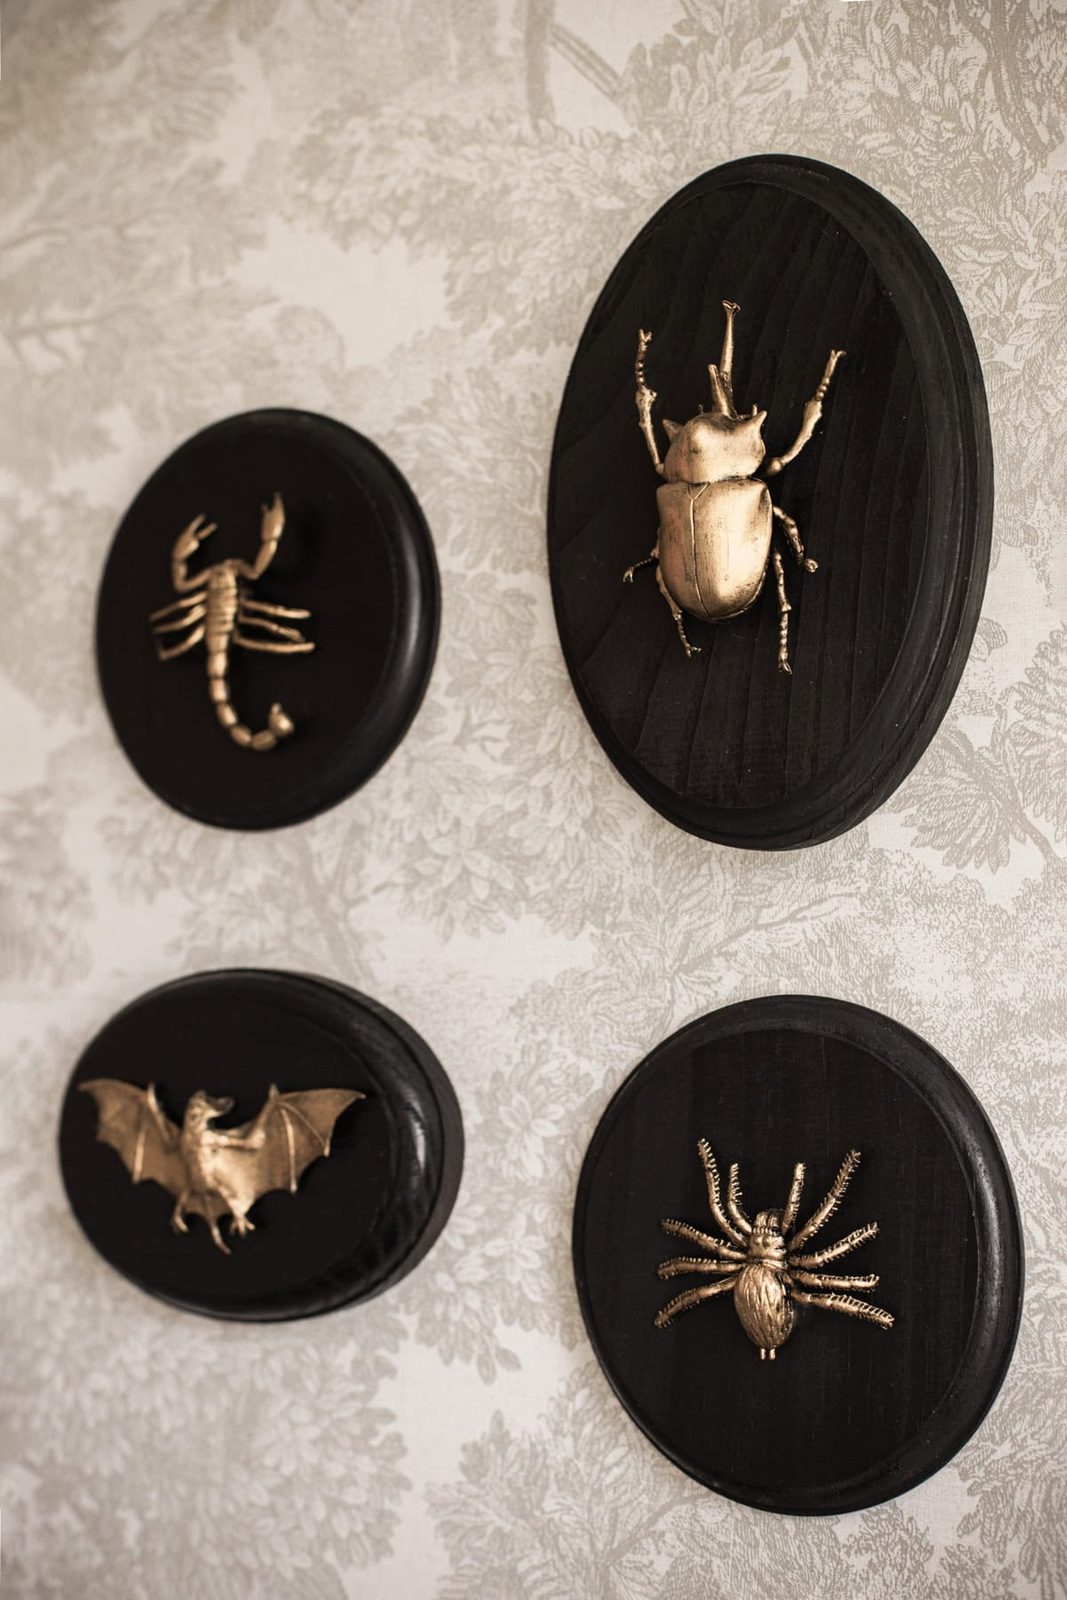
So fun, right? It is a unique way to fill an empty space on your wall. You could make this a more scientific-looking display with butterflies, bees, ladybugs etc—and paint or stain the plaques a different color. I would leave it up year round!
And that concludes my Halloween how-to series for this year. I hope you've enjoyed all of the spooky fun over the last few weeks!
Hurricane Milton will hit us tonight and we could be dealing with the aftermath for a while, so this blog may be silent for a few weeks. I'll be sharing updates in my Instagram stories as I am able to for anyone who wants to check in. Please keep us in your thoughts ❤