Living Room Shiplap Wall DIY
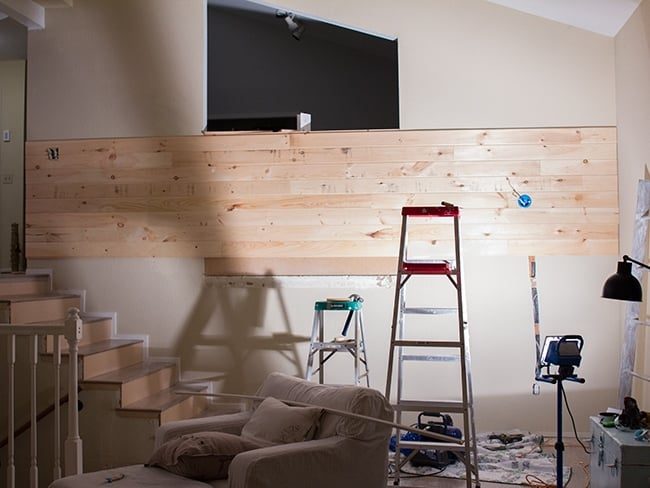
We took a break from the kitchen this weekend to focus on this wall… It has been the biggest eyesore in our home and, after a few weeks to rest from planking the studio…
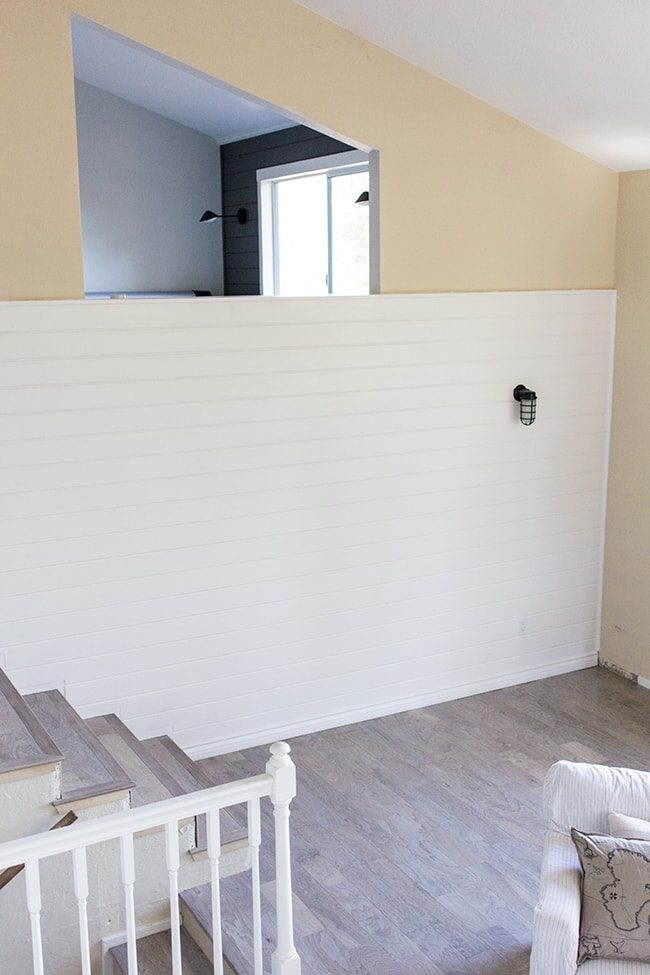
We took a break from the kitchen this weekend to focus on this wall…
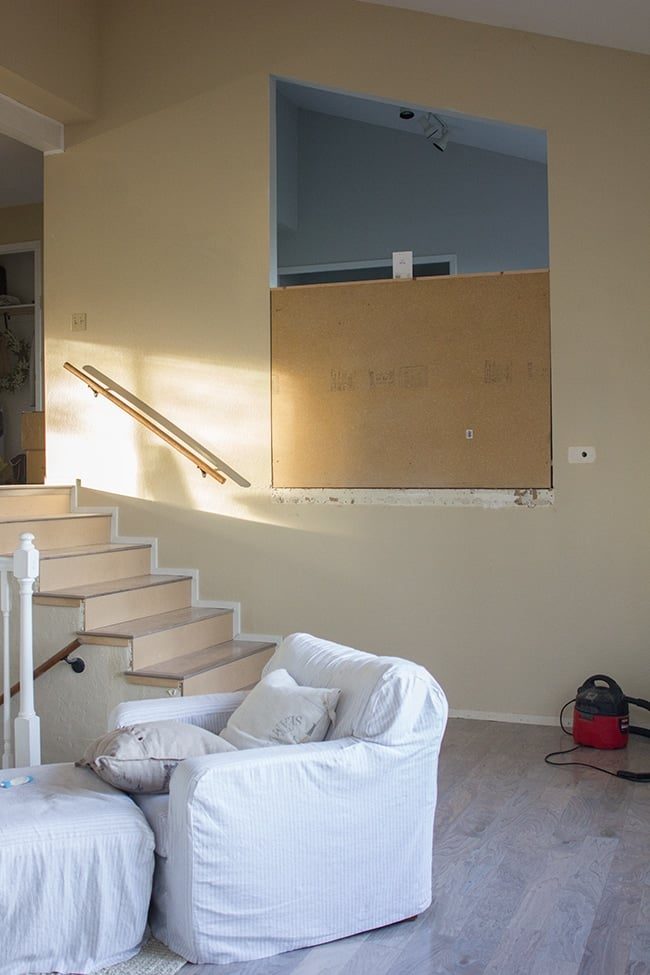
It has been the biggest eyesore in our home and, after a few weeks to rest from planking the studio, we decided to just get it over with.
I will not go into plenty of detail here since I have covered the planking process when we did our kitchen ceiling, kitchen wall, and studio, so here is a quick rundown…
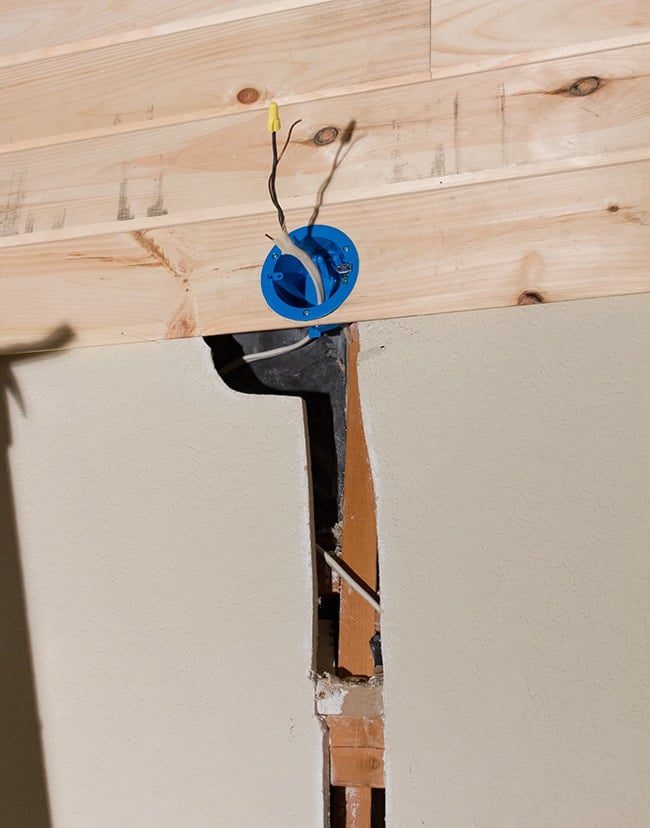
First, I decided I wanted a light fixture on this wall. The living room currently has zero light sources (we hope to add recessed lighting in the ceiling one day) so for now, we needed something in there ASAP.
There was an outlet in the corner which was controlled by a switch at the top of the stairs, so Brad tapped into that by running a wire up to our new light box location…

Luckily, it did not have to look nice because it would all soon be covered.
Then it was time to get down to business!
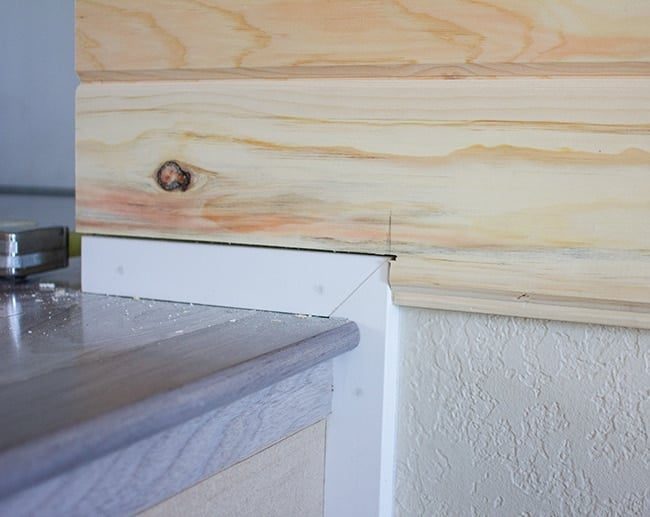
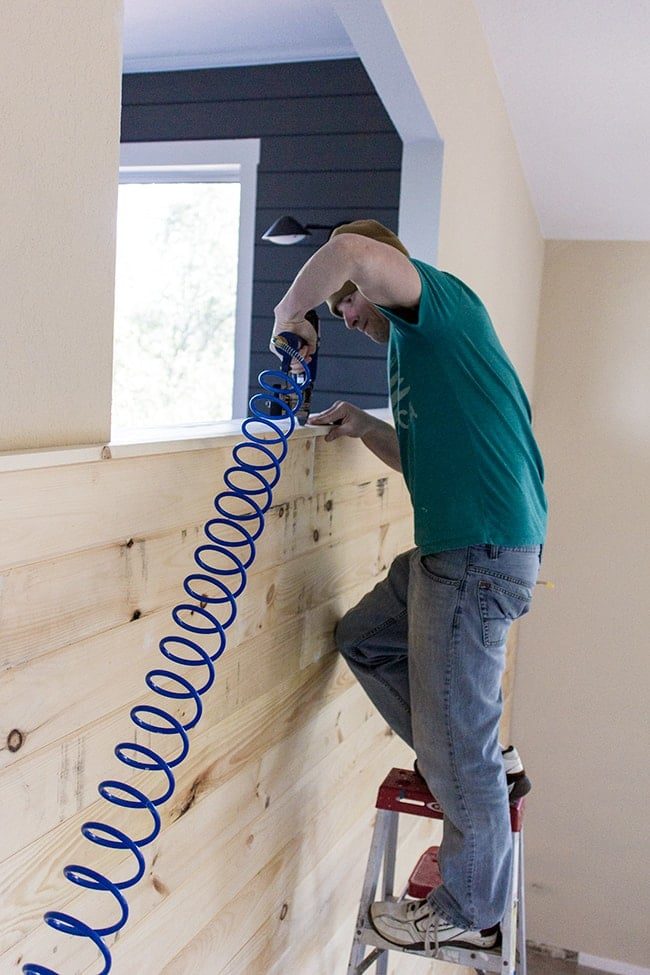
We started on this edge since the boards all needed to line up even with the wall. We'd make our cuts at the other end where the measurements did not have to be exact since they would be hidden behind quarter round trim.
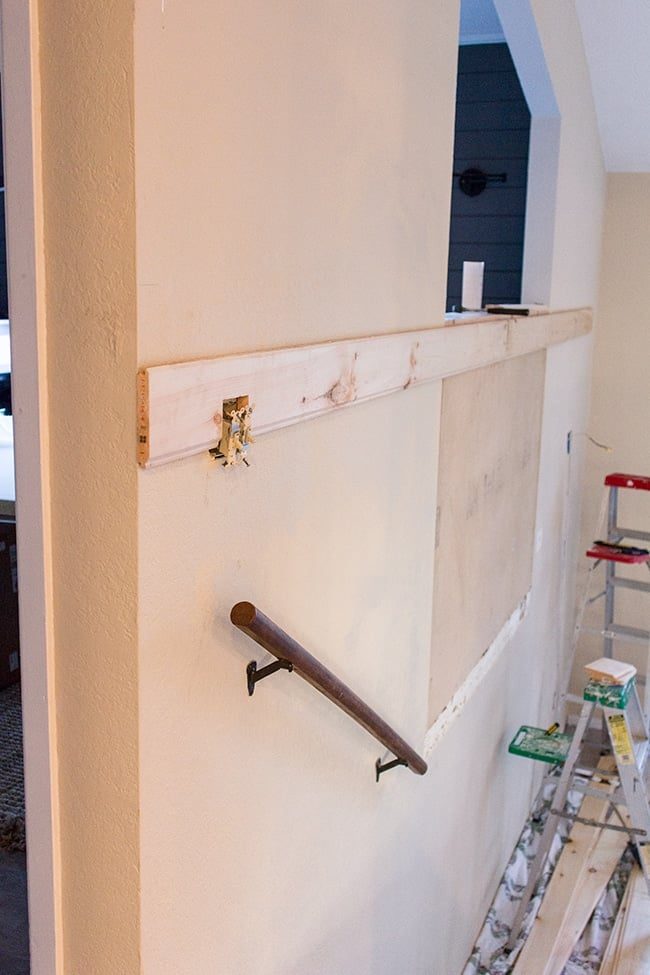
I expected this to be our most challenging planking experience and I was right. This wall was not straight at all because of the cutout in the center. There was plenty of prying and hammering and forcing into place. Several of the boards had to be screwed in to get them to stay up against the wall, but it was nothing a little putty and sanding could not hide.

Once we got to the light, Brad cut out a hole to fit and mounted the box.
We worked on it over the course of a few nights.
For the stairs we made the long cuts with a table saw and short cuts with a jigsaw.
After night #2, all of the wall planks were done. Whew!
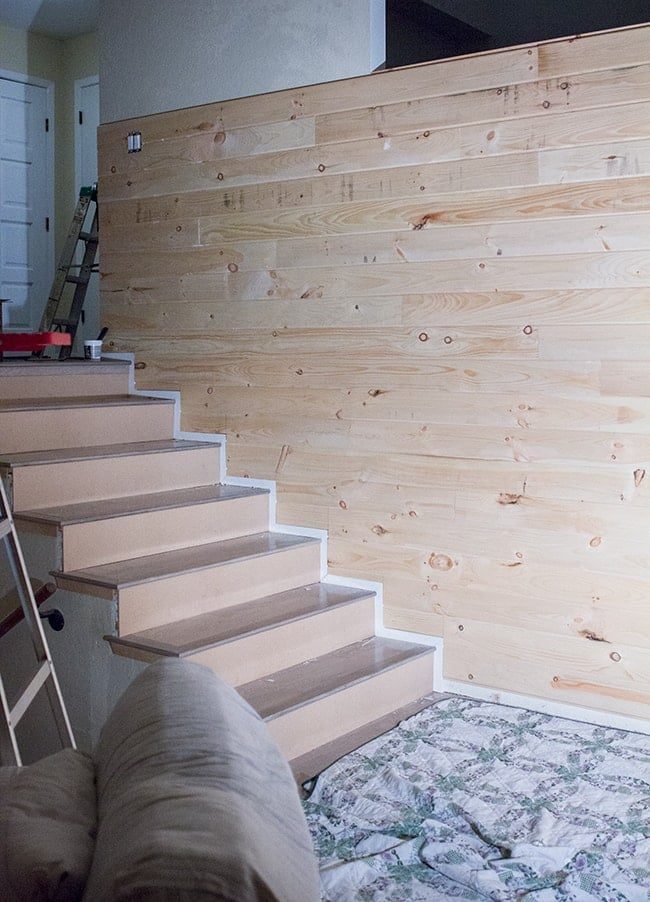

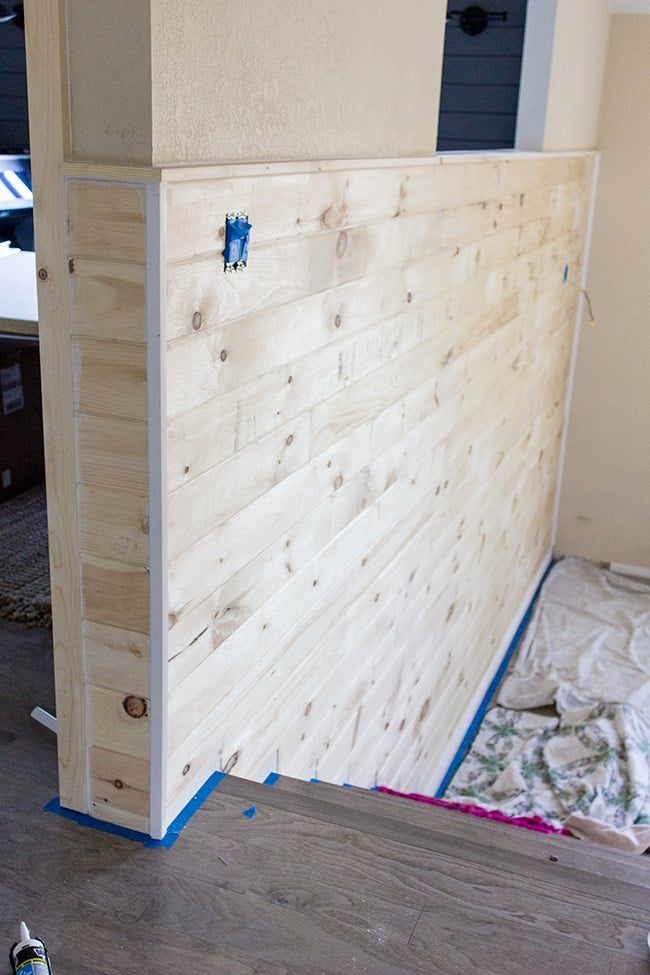
But it was not just this wall… it had to wrap around to this little wall on the left:
This is the first thing you see when you enter our home so it is quite important. But we had a problem—the original door trim was not thick enough:
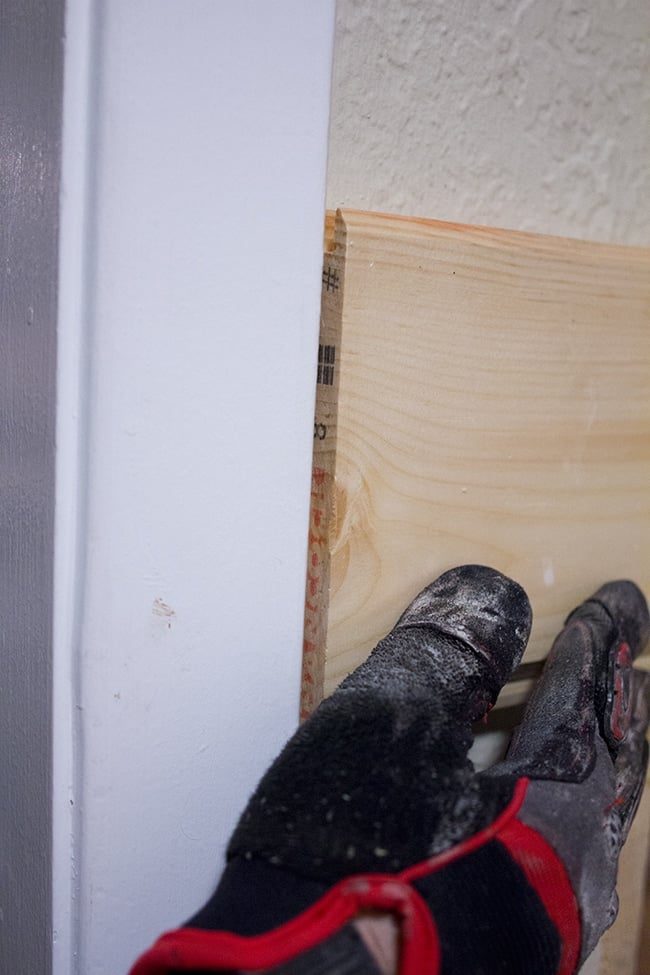
So out they went…
We decided to reframe it the same way we framed out our windows—with 1×3″ and 1×4″ boards. They are actually 3/4″ thick so they line up flush against the planks.
Blank slate after removing the trim:
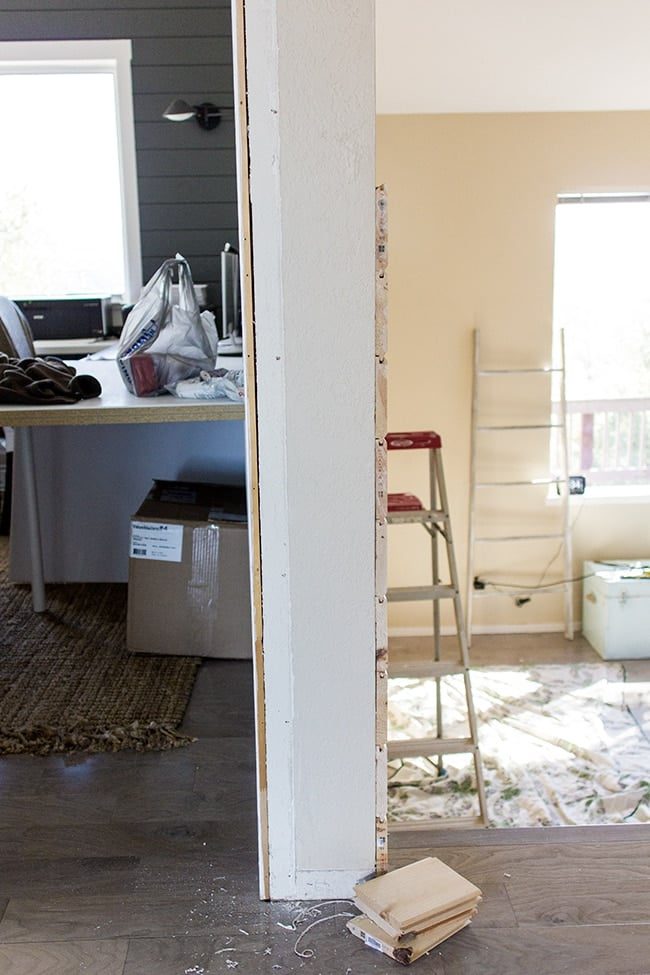 This part is always the easiest—took no more than 5 minutes!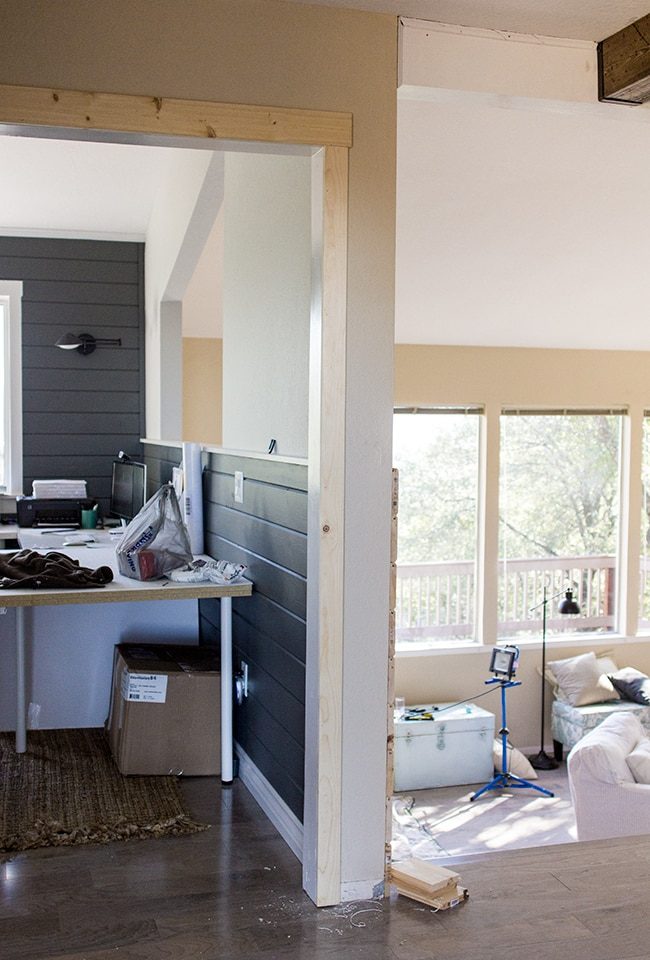
Then we chopped the boards to size and mounted them right up against the boards on the other wall. This part went fast too.
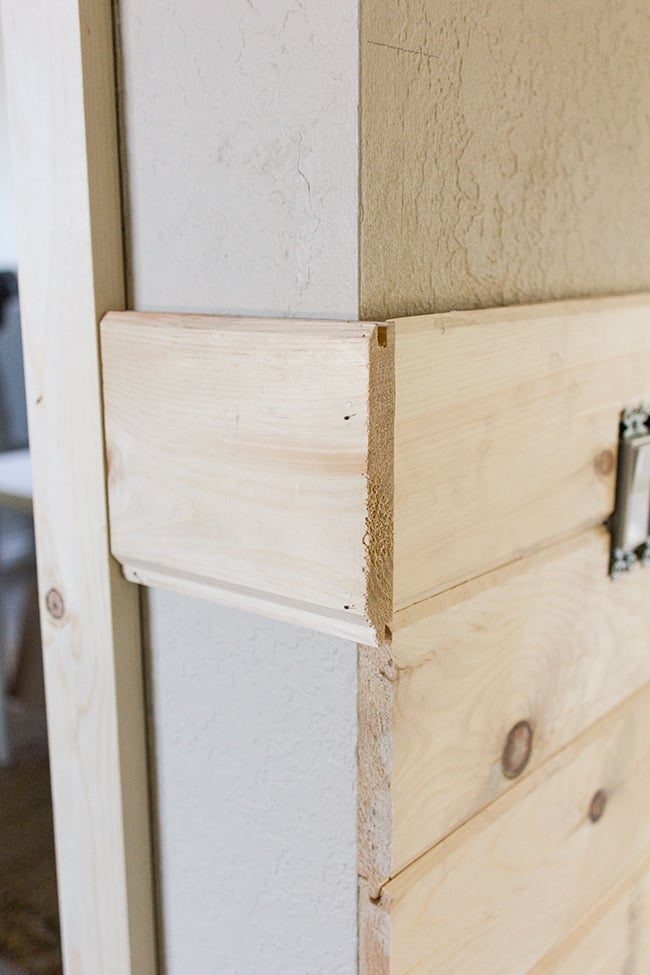
Done!
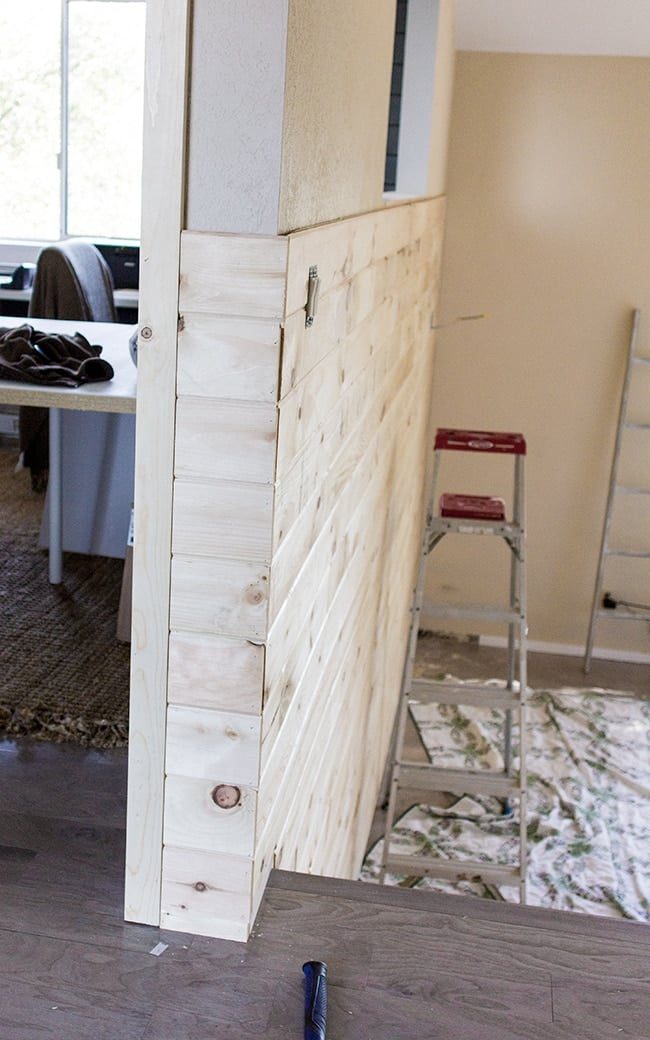
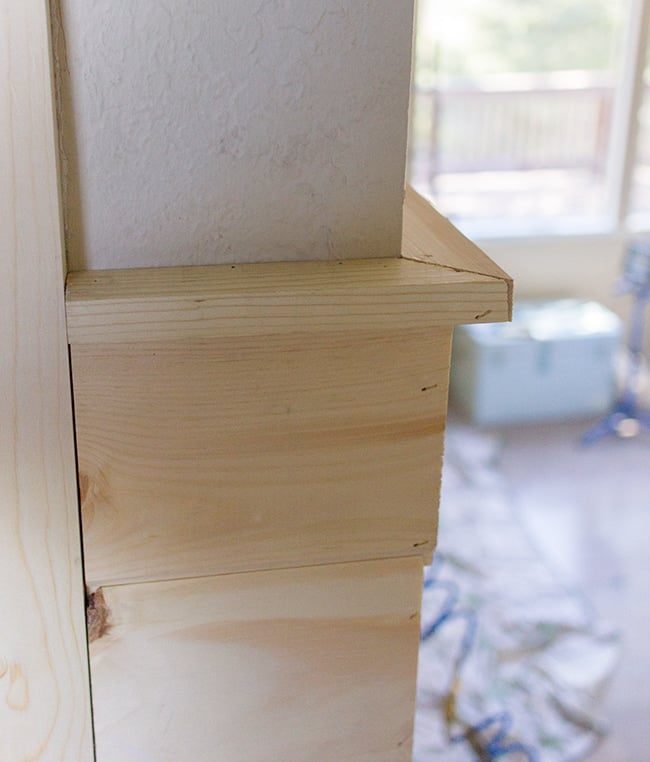
Then it was time to build the ledge to finish off the top. We used cheap plain 'ol 1×2″s and nailed them right into the planks…
I mitered the corner for a nicer finish.
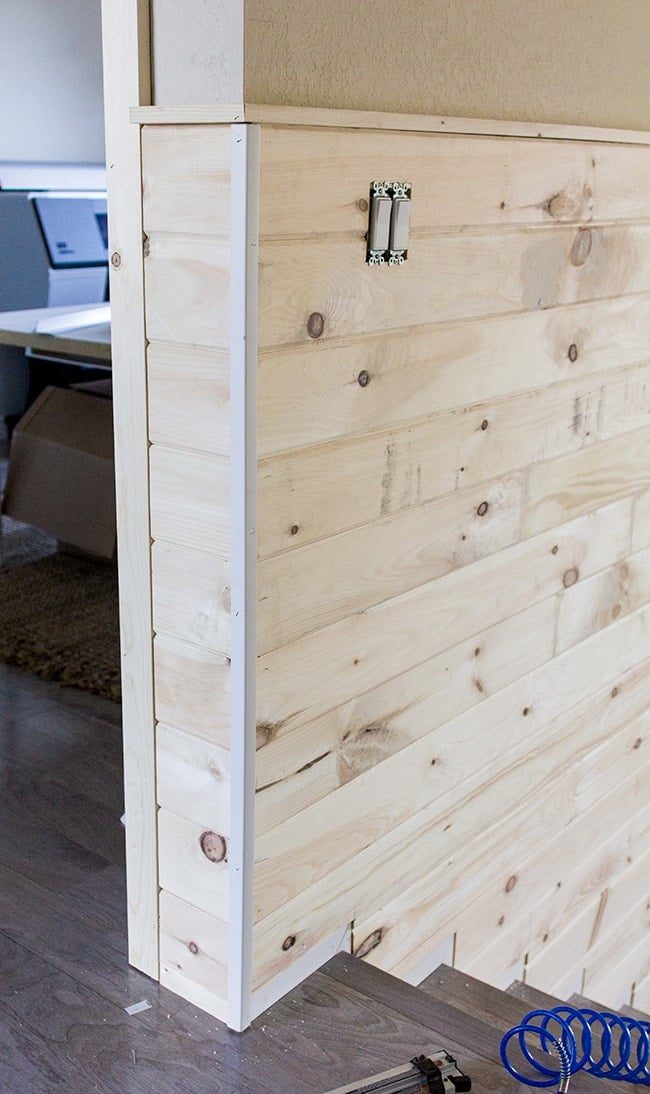
Next up was the L shaped corner piece. You can pick these things up particularly cheap at Lowe's/HD, and they are pre-primed and lightweight.
Next up was the baseboard. I used the same style as my studio—I bought enough for the rest of the living room which will be replaced soon.
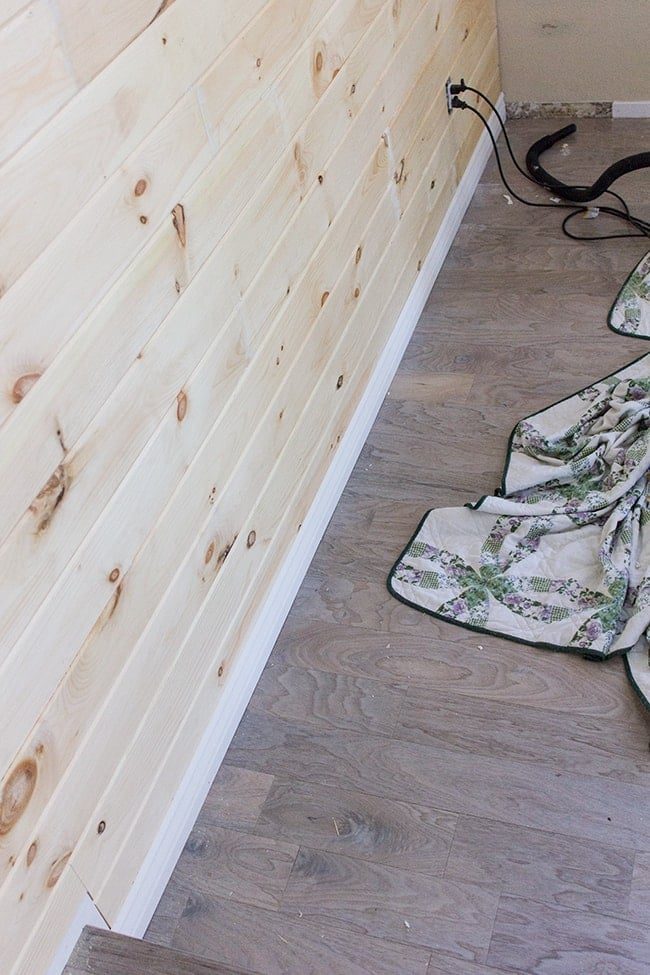
And finally, the quarter round in the corner went up and the trim was done!
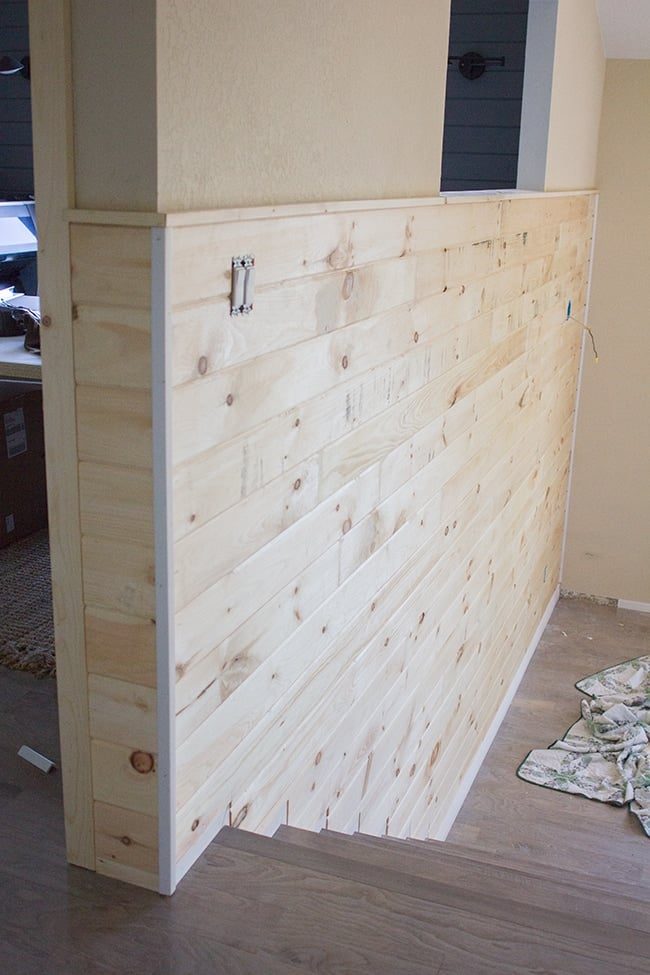
Then came the tedious, time consuming part…
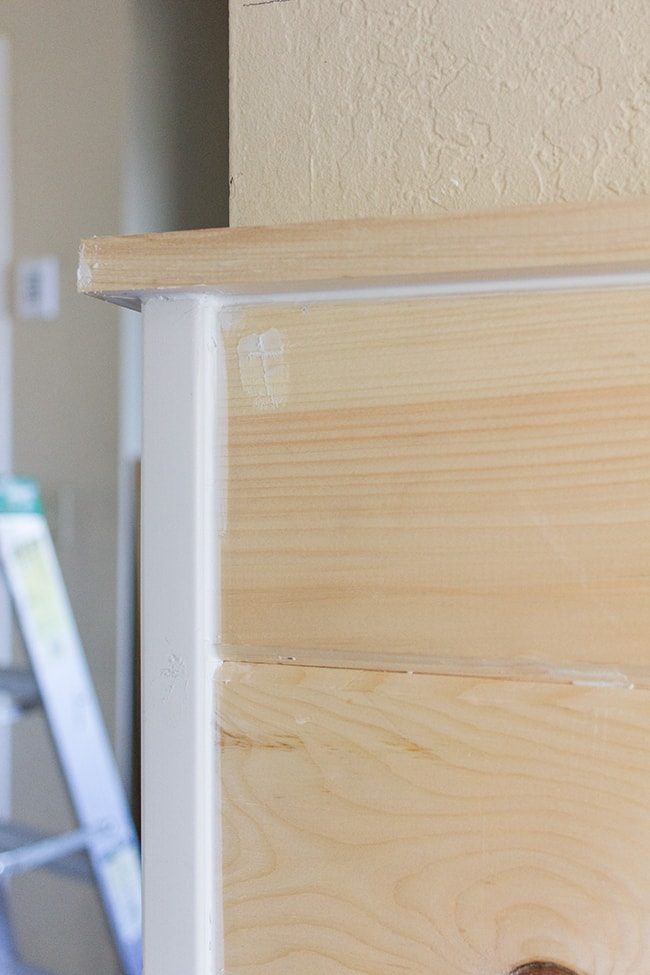
Spackling, caulking, patching, sanding, taping, prepping. This part takes almost as long as it does to plank the dang wall in the first place.
To address the seams where one plank met up with another, I first used some lightweight spackle, let it dry, then we went over it with this beast of a sanding machine:
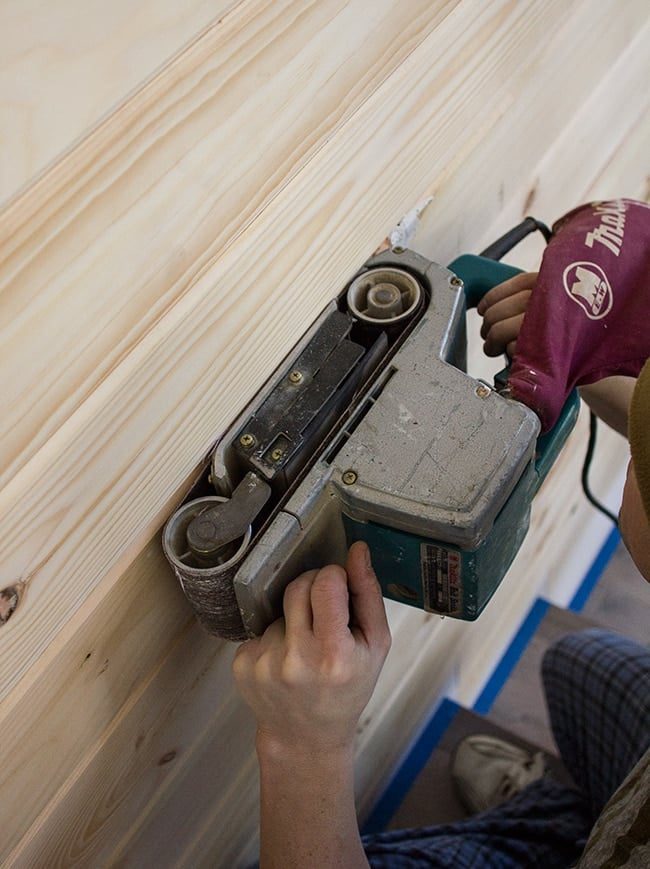
This is seriously the key to seamless planking. It would never work sanding by hand, because it is rare that the planks are perfectly level. And if they are not perfectly level and smooth, you will definitely see them.
But this thing works wonders…
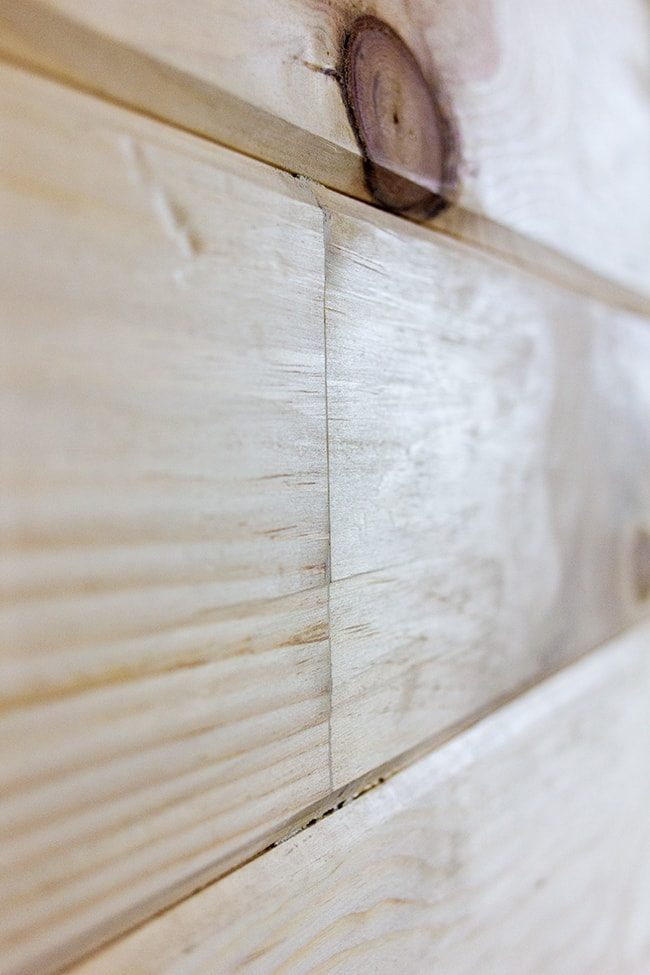
I wish you could feel how smooth this seam is—actually, reach out and touch it on your screen and that is what it feels like. You cannot even tell there is a seam. It helps to keep you, belt sander.
After the surfaces were prepped, we taped it off and it was ready to go! We did not bother taping the walls because they are about to be painted over anyway.
Let us get right to it…
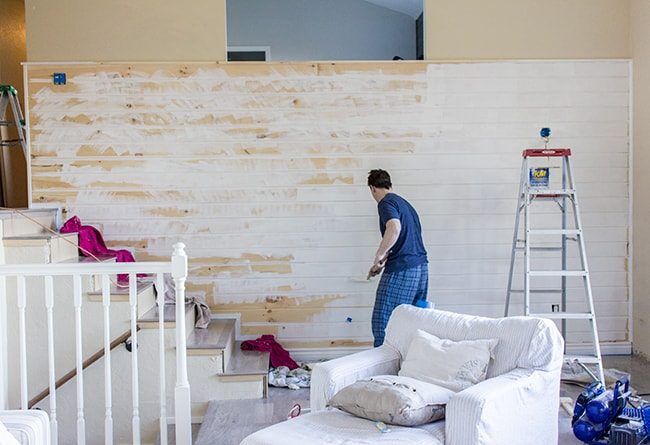
After 3 coats of Kelly Moore's Swiss Coffee (in satin, same as the kitchen)…
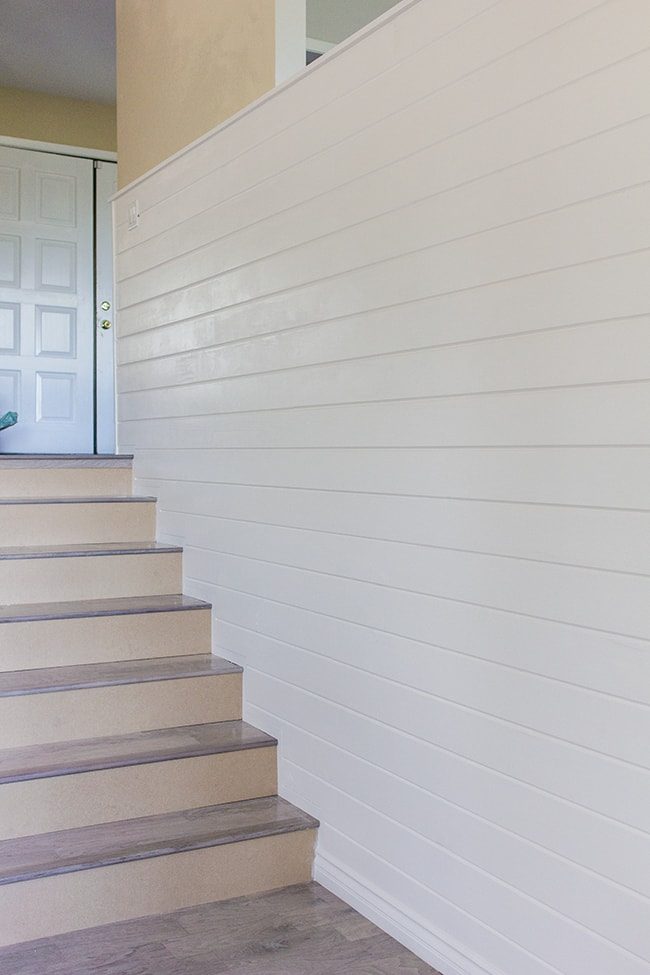 |
| The stair treads are next, do not worry! |
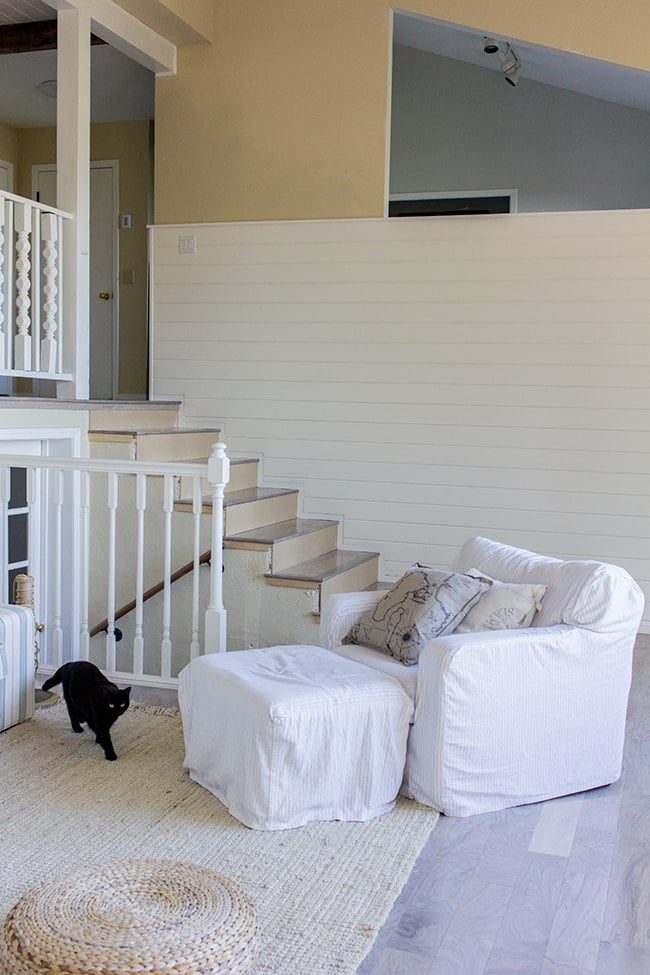
Oh—and as for my light?
I picked up this guy last week:
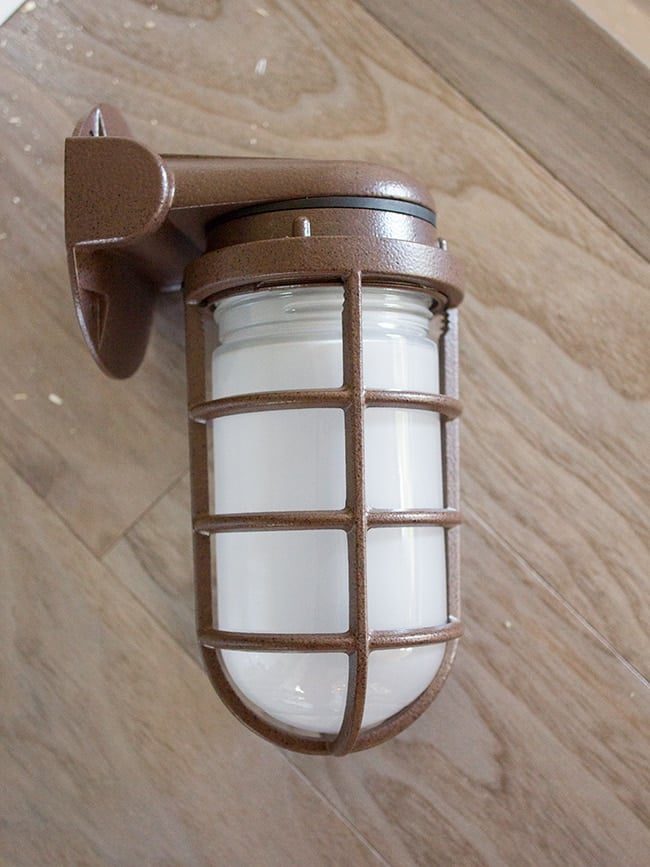
I wanted this in black, but it was the only one I could find online and the price was right ($48 shipped) so I bought it and spray painted it black.
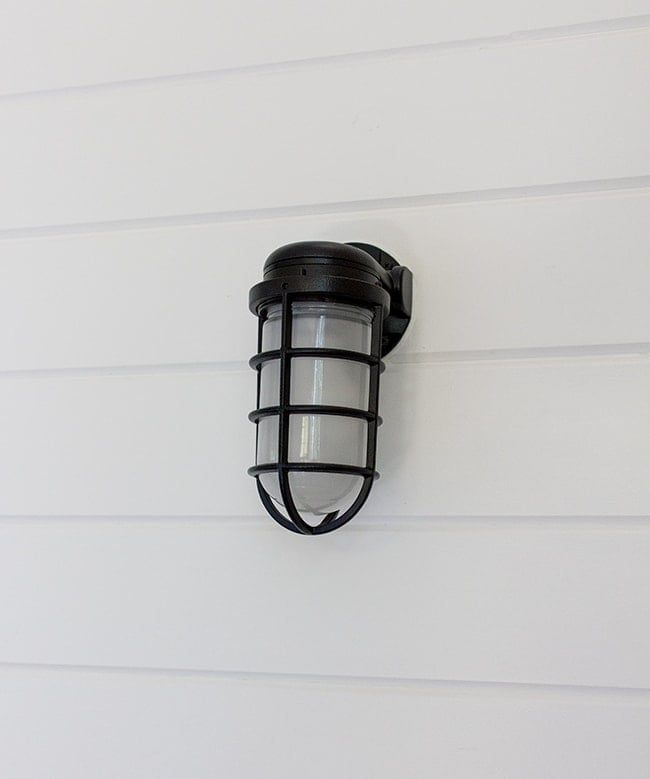
I am digging the rustic/industrial look it brings to the space, and it ties in nicely with the cage pendant lightwe installed last week in the kitchen.

It is lonely right now but I have a vision for this space… as soon as I can find the right pieces!
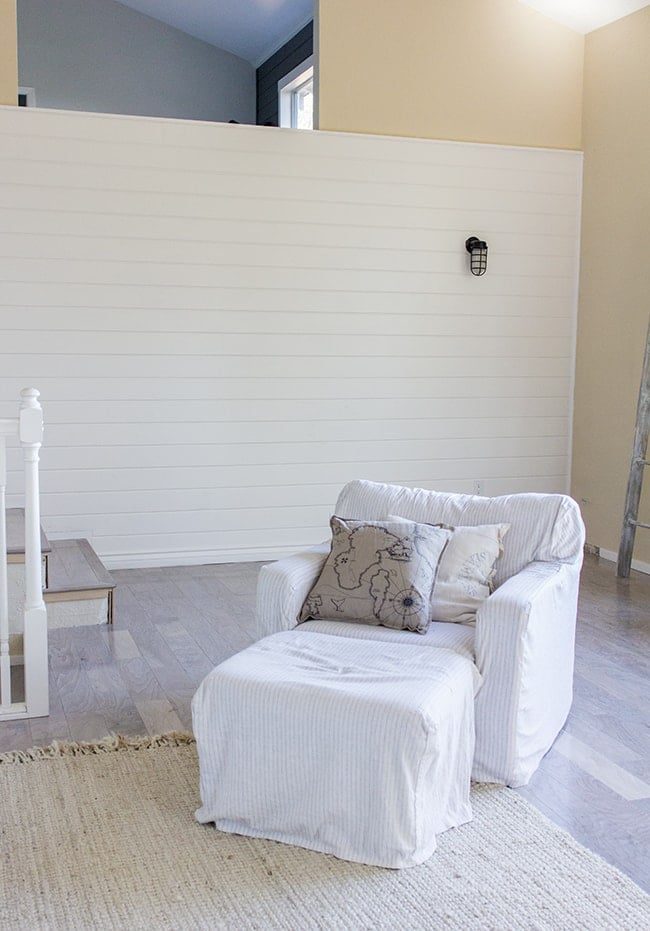
We decided not to put the hand rail back on, but we are definitely planning on reinstalling the railing on the right side of the stairs (we are redoing it so it is not quite as 70's).

Looks much better when you walk in the door!

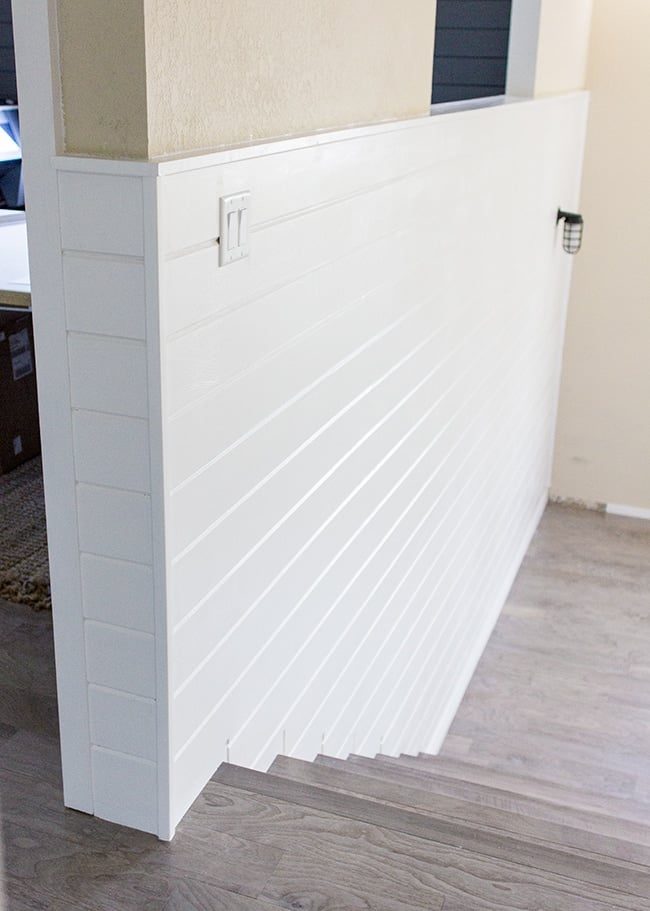
And I'll leave you off with the view looking down from the kitchen…
It is a little plain and unexciting with it being empty right now, but it is the well suited backdrop for what I have planned.
And beige walls—your days are numbered. We are going to have to hire this paint job out because the walls at the highest point are just way too tall (even with an extension ladder), and they are over a staircase so there is no way we'd be able to get in there. One step at a time!
More kitchen updates in the near future…