DIY Wood Side Table / Subwoofer Enclosure
Today I am sharing the easiest piece of furniture I have ever built. Seriously. I am pretty much the opposite of Ana White when it comes to carpentry—my dad was a wood…
Today I am sharing the easiest piece of furniture I have ever built. Seriously.
I am pretty much the opposite of Ana White when it comes to carpentry—my dad was a wood worker and apparently his skills skipped a generation—but this project? I whipped it up in just a few hours (with Brad's help) and it is absolutely well suited.
First, let us talk about the dilemma that started everything.
Brad decided that our living room needed to sound like a movie theater (apparently one home theater is not enough) which of course requires a big subwoofer. I have to compromise sometimes, so I let him win this battle.
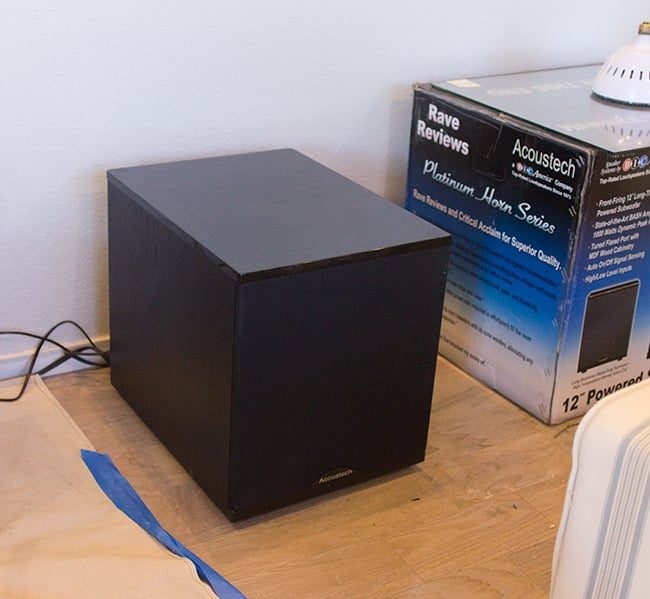
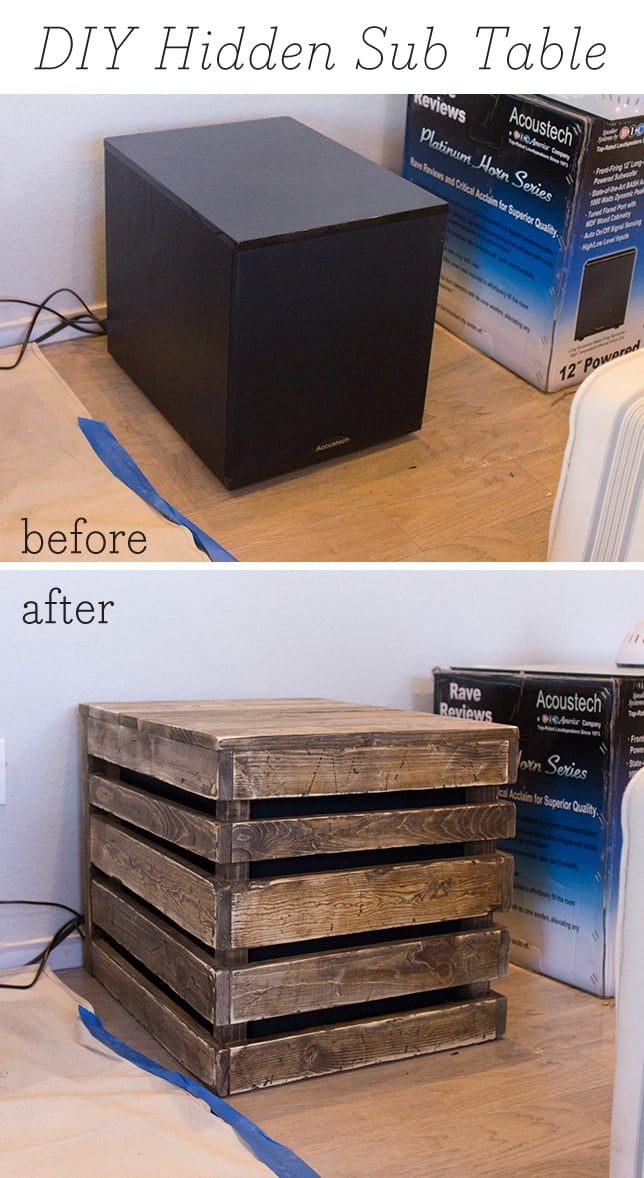
But this monstrous black box just did not fly with my design plans for the space, so The choice was to make it functional by hiding it underneath a table. I could not find any store bought options that worked—the right size, look, and it had to be vented yet still hide this box at the same time—a pretty tall order. DIY was the only solution.
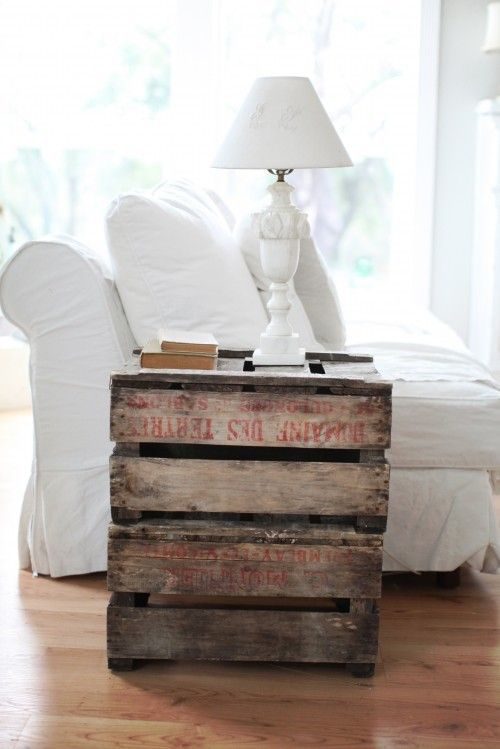
I took to Pinterest for inspiration and fell madly in love with this photo:
 |
| Pin |
Yep, this is the one. There were no build plans or step by step instructions (I could not even locate the original source) but it seemed easy enough to throw together by eye.
A old pallet would be well suited for this job, but we were fresh out of those so I headed to Lowe's and found the most imperfect 1x3x8 and 1x4x8 boards I could find, along with a couple 2×2″ stair balusters to use as my inside supports:
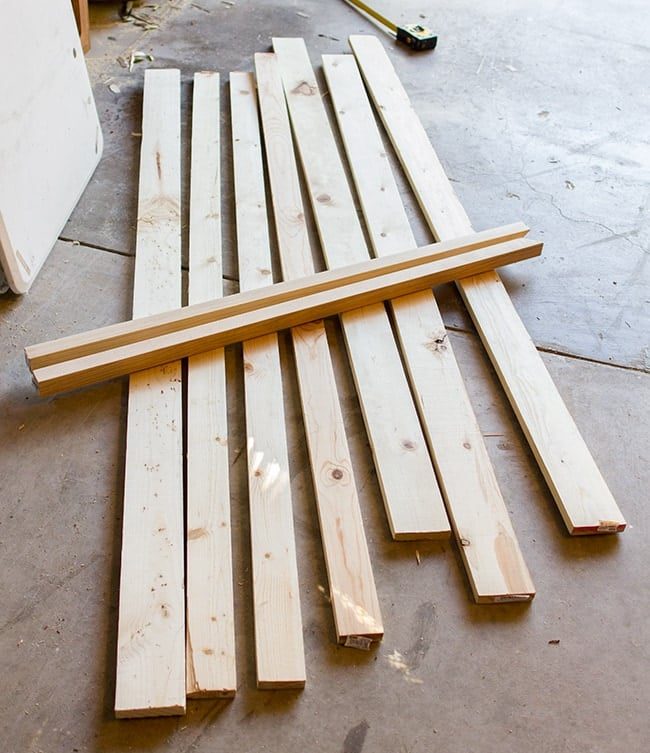
Total cost was around $30, but any old boards would work for this so if you have scraps lying around, it can be done for much cheaper (or free). I liked the idea of having random board widths instead of keeping it uniform to add to the character.
The only other tools needed are a saw, wood glue and nails (we used our nail gun with 18 gauge finish nails).
After measuring the sub box and adding a couple inches on each side for breathing room, I trimmed all the pieces down and grouped them into three sections—front and two sides (we left the back open to the wall where the wires came out).
Then the fun part—distressing! We figured it was easier to do this before assembly.
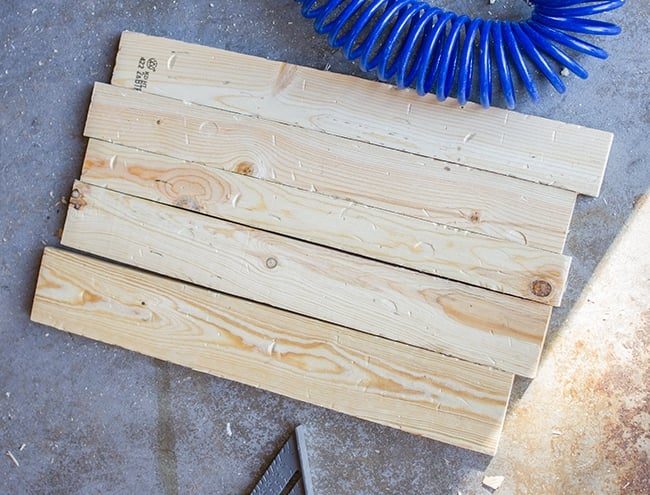
After trimming my 2×2″s to the correct height, we arranged our group of front boards on top of them, lined everything up by eye (remember, imperfections are good), dabbed some wood glue and secured them with our nail gun. So easy.
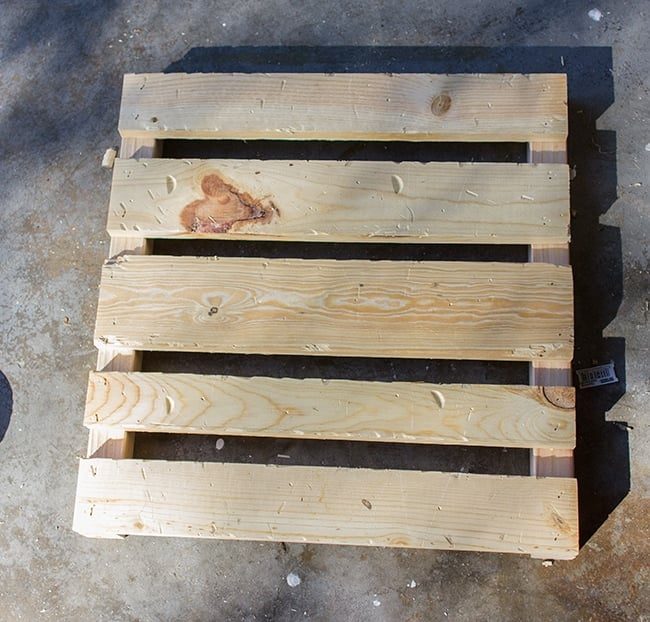
Then we flipped it on its side and secured the corresponding boards at 90° to line up with the front pieces—we did this for each side.
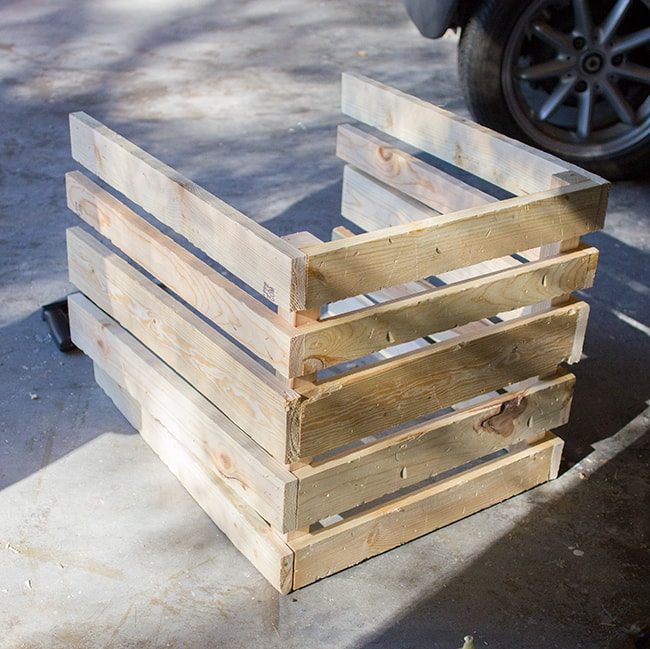
Starting to look like a table already!
Then we simply attached the last two 2×2″s onto the back of the sides.
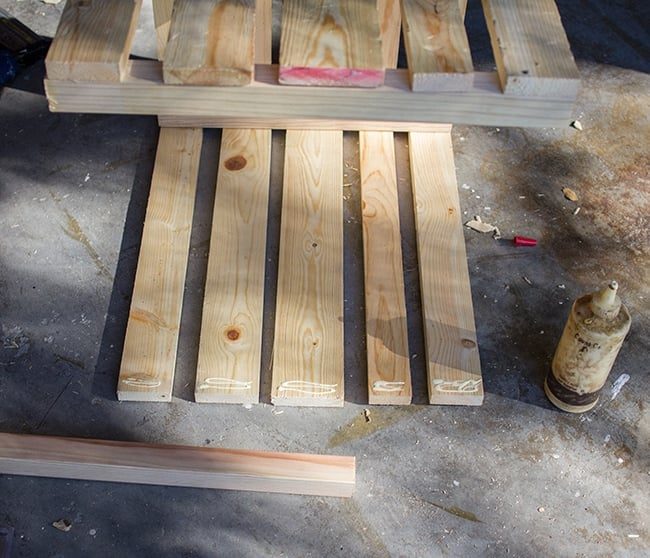
Ta-da…

It was at this point I re-measured and realized the sub was a little too long to fit (oops… told you I am no good at this stuff)
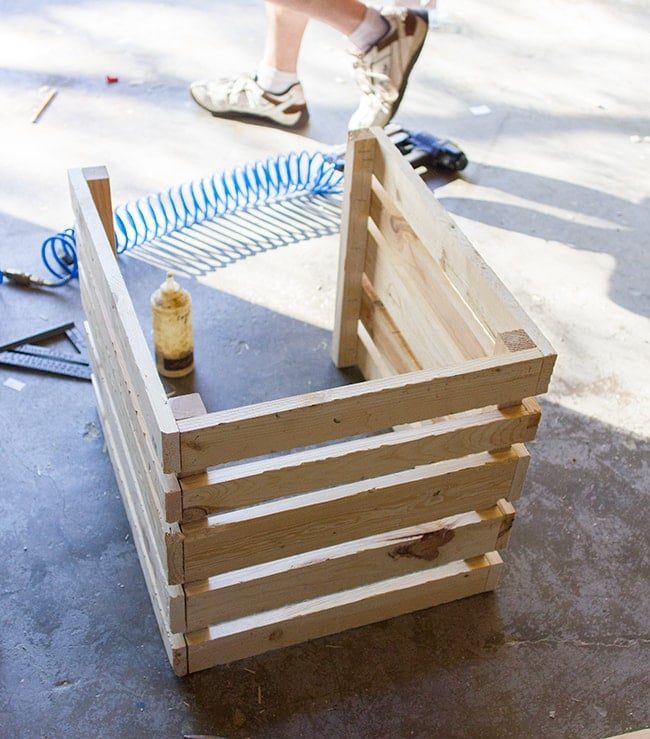
Fortunately, we were able to remove the rear 2×2″s and secure them to the very back of the sides instead of the inside edge, which gave us just enough room for the sub to slide in.
Finally, it was time to nail down our top pieces. We decided to not leave any gaps—just a personal preference.
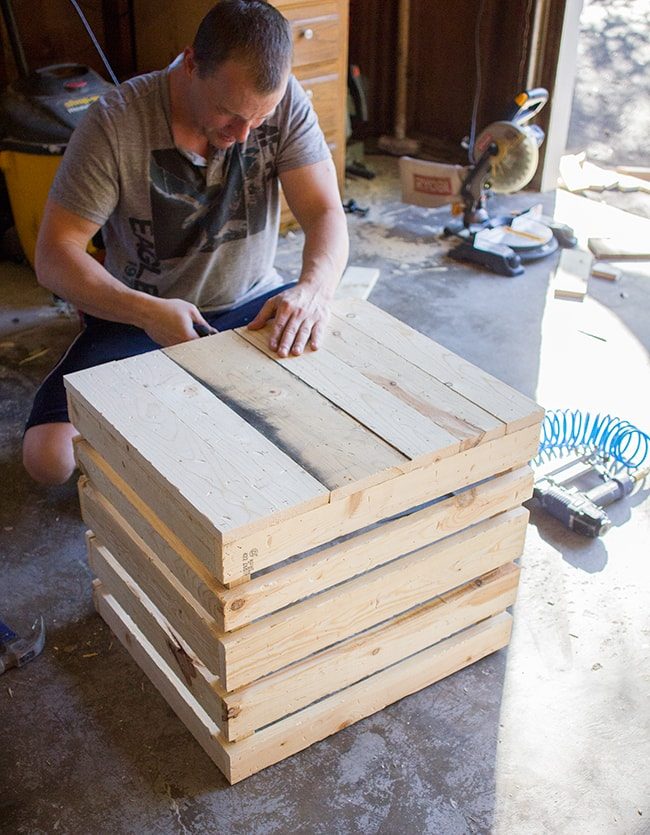
For extra stability, we added a small piece of wood on the back side at the very bottom.
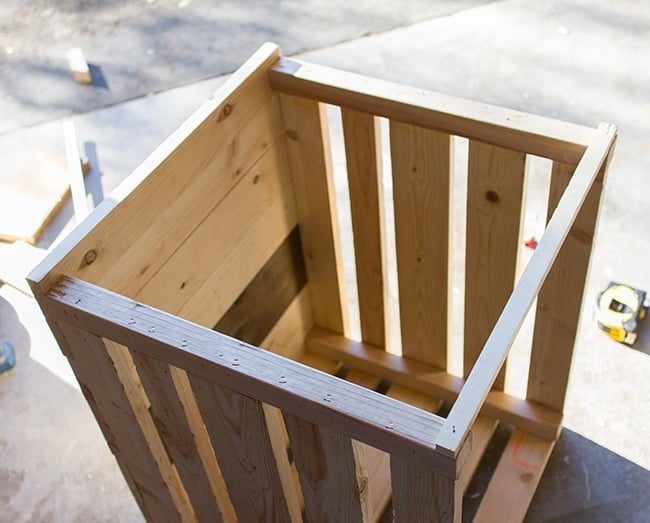
And our table was built. We were going to add foam underneath top to help with vibrations, but we did a test run with the bass cranked and there was zero rattling. I even put a bunch of metal stuff on the top, and nothing. The sound was nice and clear, no rattling, and it looked great—win-win! It helps to keep it when we can come up with creative solutions like this that make us both happy.
Finally, it was time for the finishing touches. I grabbed three different stains from the garage (dark walnut, provincial and driftwood) and went over each board with different mix to give the boards a more random look:
Then I let the stain soak in for a few days—I have found this drying time is crucial, especially if you plan to sand afterwards. Do not rush it!
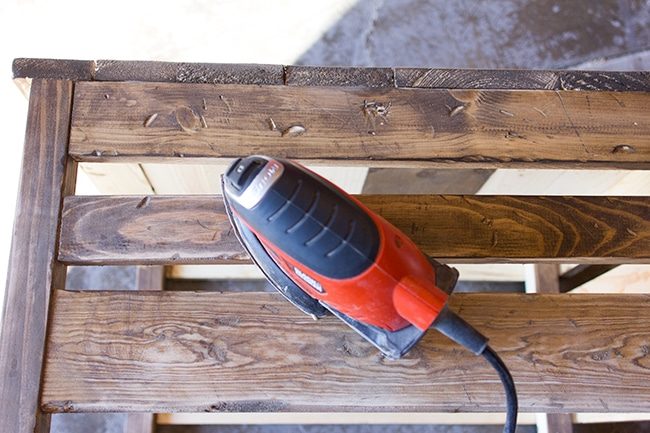
When I came back to sand it, the stain lifted so nicely and gave it that well suited bit of aged wood look (I used 80 grit paper and focused mostly on the edges).
And here it is with the sub hiding inside. You'd never even know.
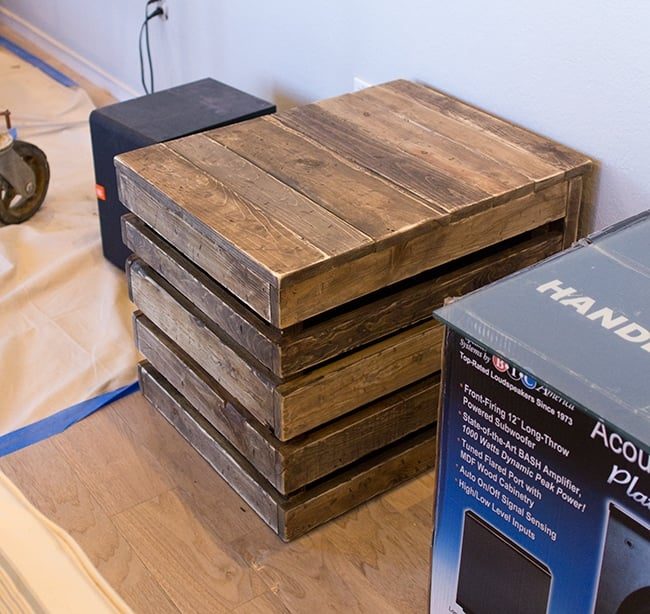
I apologize for these lackluster “after” photos… our living room is a mess of construction right now so I cannot even move it into place, let alone style it.
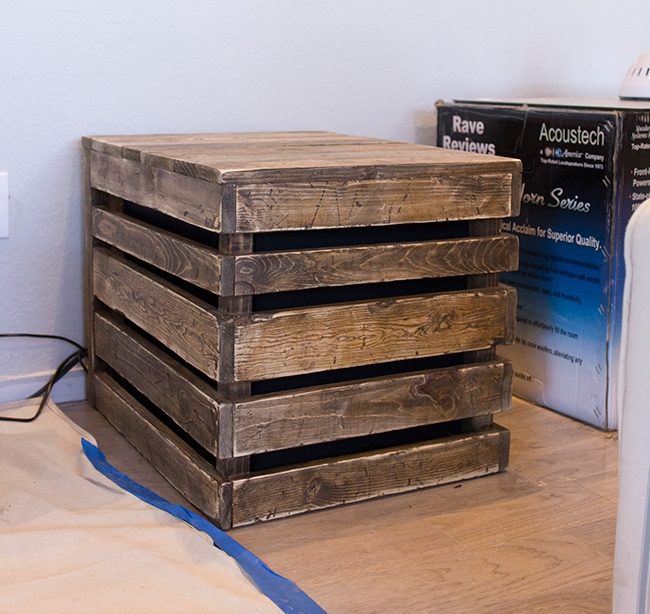
SO MUCH BETTER.

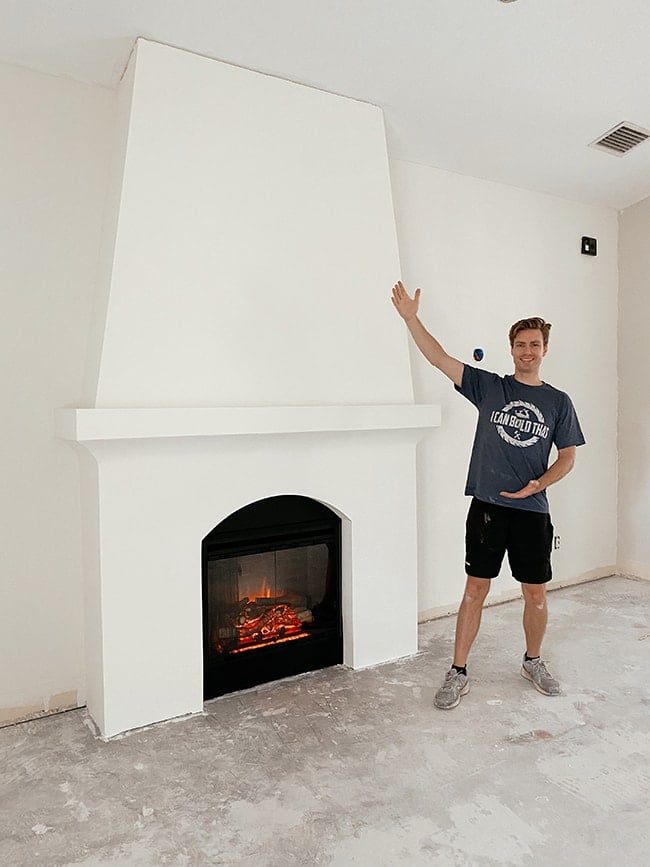
It'll be on the left side of our sofa, tucked in by the fireplace. Once I get the white slipcovers on and the rug in place, it will be a nice break from all of the clean & light shades of the sofa, curtains, rug, and wall color while bringing another natural element to the room. I cannot wait to see how it looks next to the stone fireplace…. speaking of…
It is ALMOST DONE! I am going to wait until it is completely finished (next week) to share. My instagram friends got an early preview on Wednesday…
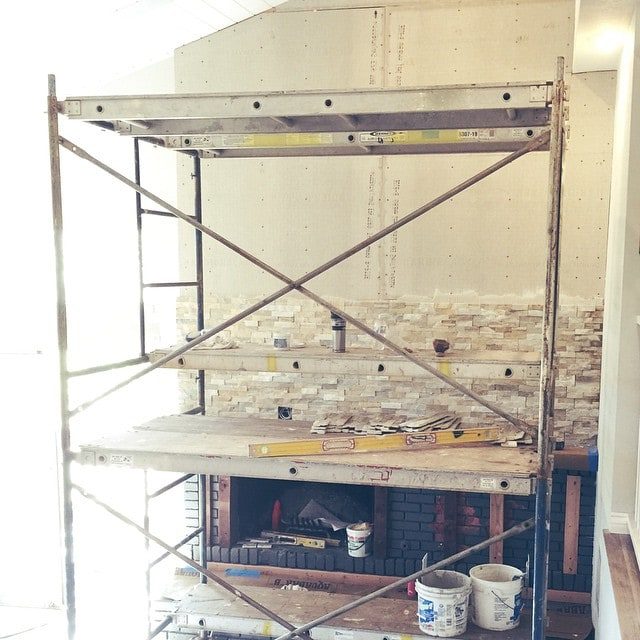
I'll leave you with that for now. But it is looking pretty spectacular, if I do say so myself.
Have a wonderful weekend… see you back here Tuesday!