DIY Jasmine Wire Trellis Wall
How to install a wire trellis system with climbing star jasmine. Create a jasmine trellis wall with this easy DIY tutorial.
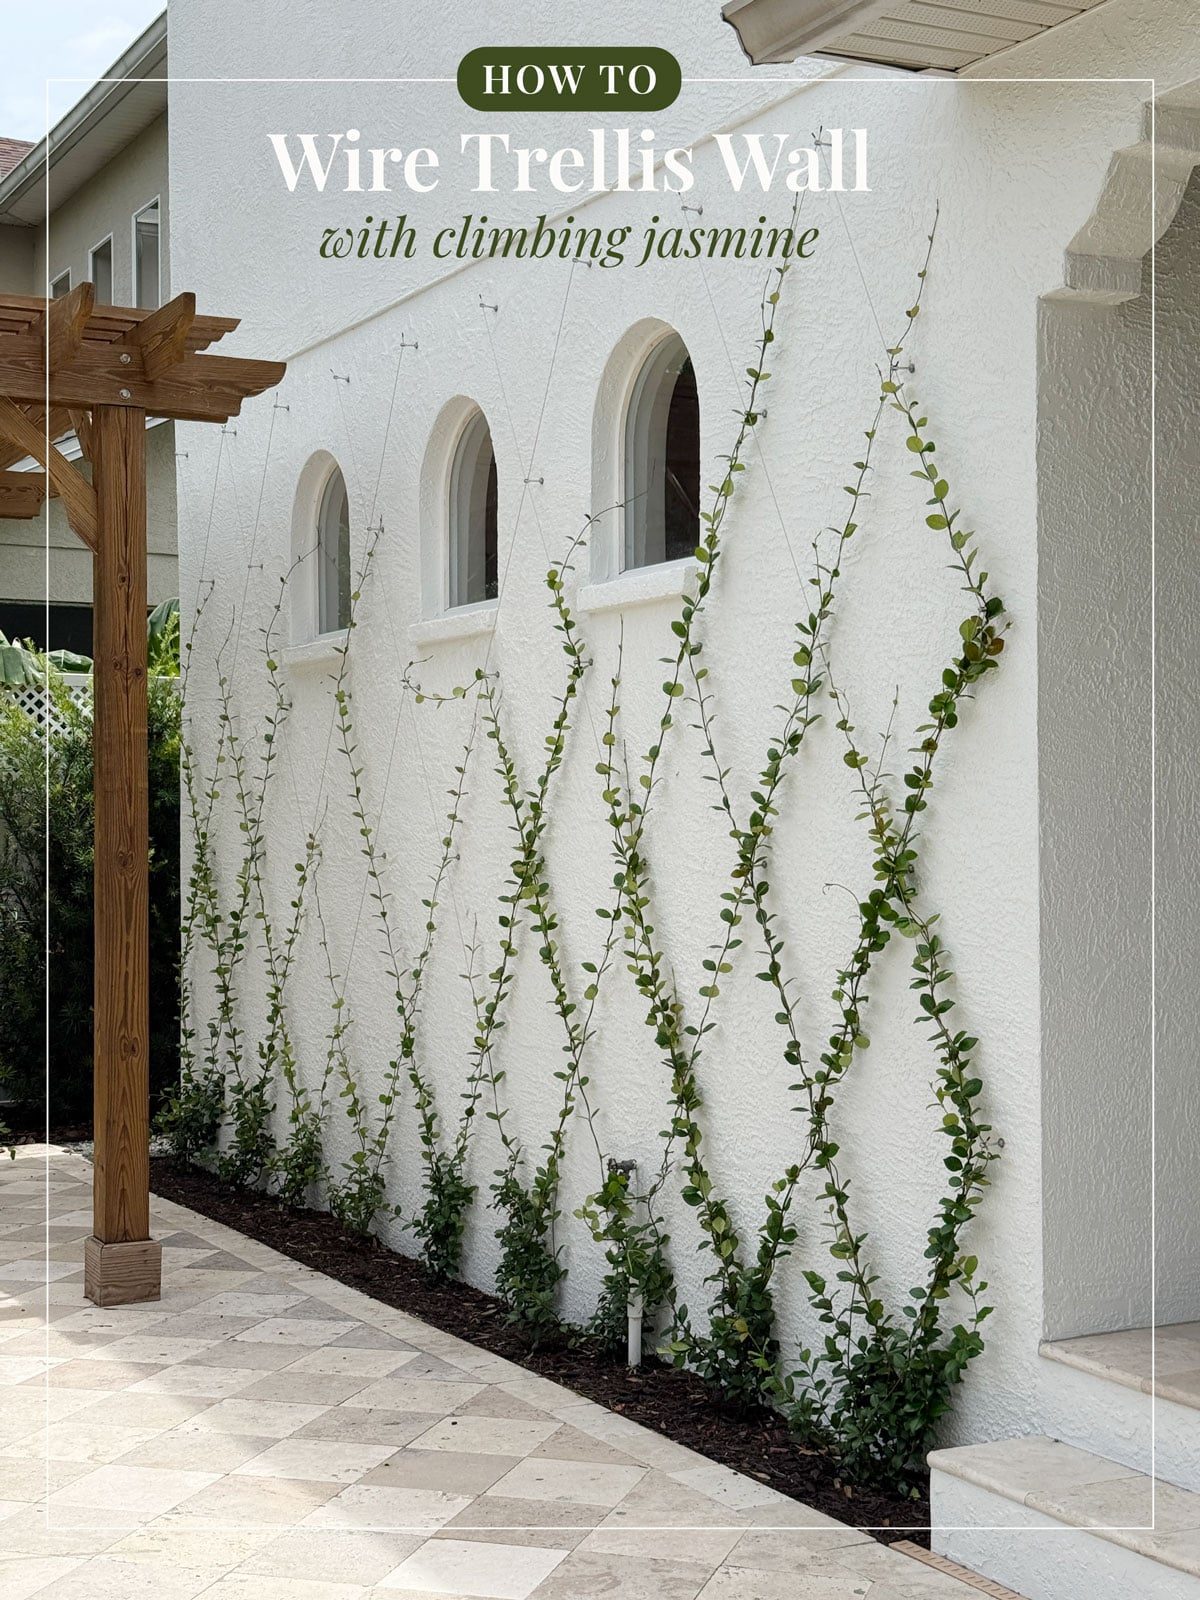
If you love that effortless European garden look, a wire trellis is one of the easiest ways to get there—especially with fast-growing climbers like jasmine.
I have been wanting to install a wire trellis for years, and finally had the well suited opportunity with an empty wall in the Spanish Sanctuary backyard. After going through the process, this is one of those projects I want to do at every house now! It is very unfussy and inexpensive to DIY.
Today I am sharing exactly how to install a wire trellis system and train climbing jasmine step by step.
Why choose a wire trellis?
Unlike traditional wood or lattice trellises, wire systems create a clean, barely-there look that lets the plant be the focal point. Here are the benefits:
- Clean minimalist aesthetic
- Customizable layout
- Durable and weather-resistant (especially stainless steel)
- Promotes healthier plants with airflow behind vines
- Affordable and beginner-friendly DIY
Choosing the right plant for your trellis
Before mapping out your wire layout, think about what you want the end result to look like. The trellis is the structure, but the plant is what creates the look. A quick Gemini mockup confirmed the direction for this space:

Here in Florida, star jasmine is one of the most popular climbing plants, and I knew it would be a safe choice as it has thrived in our own backyard.
Why I chose star jasmine
- Thrives in Florida heat and humidity
- Evergreen, so you get year-round greenery
- Fast-growing but still easy to control
- Produces small white flowers with the best fragrance
- Climbs easily without damaging surfaces

If star jasmine will not work for you, here is a few other options to look into:
Bougainvillea
- Bright, colorful bracts (pink, coral, purple)
- Loves full sun and heat
- More sculptural and dramatic
- Caution: it has thorns!
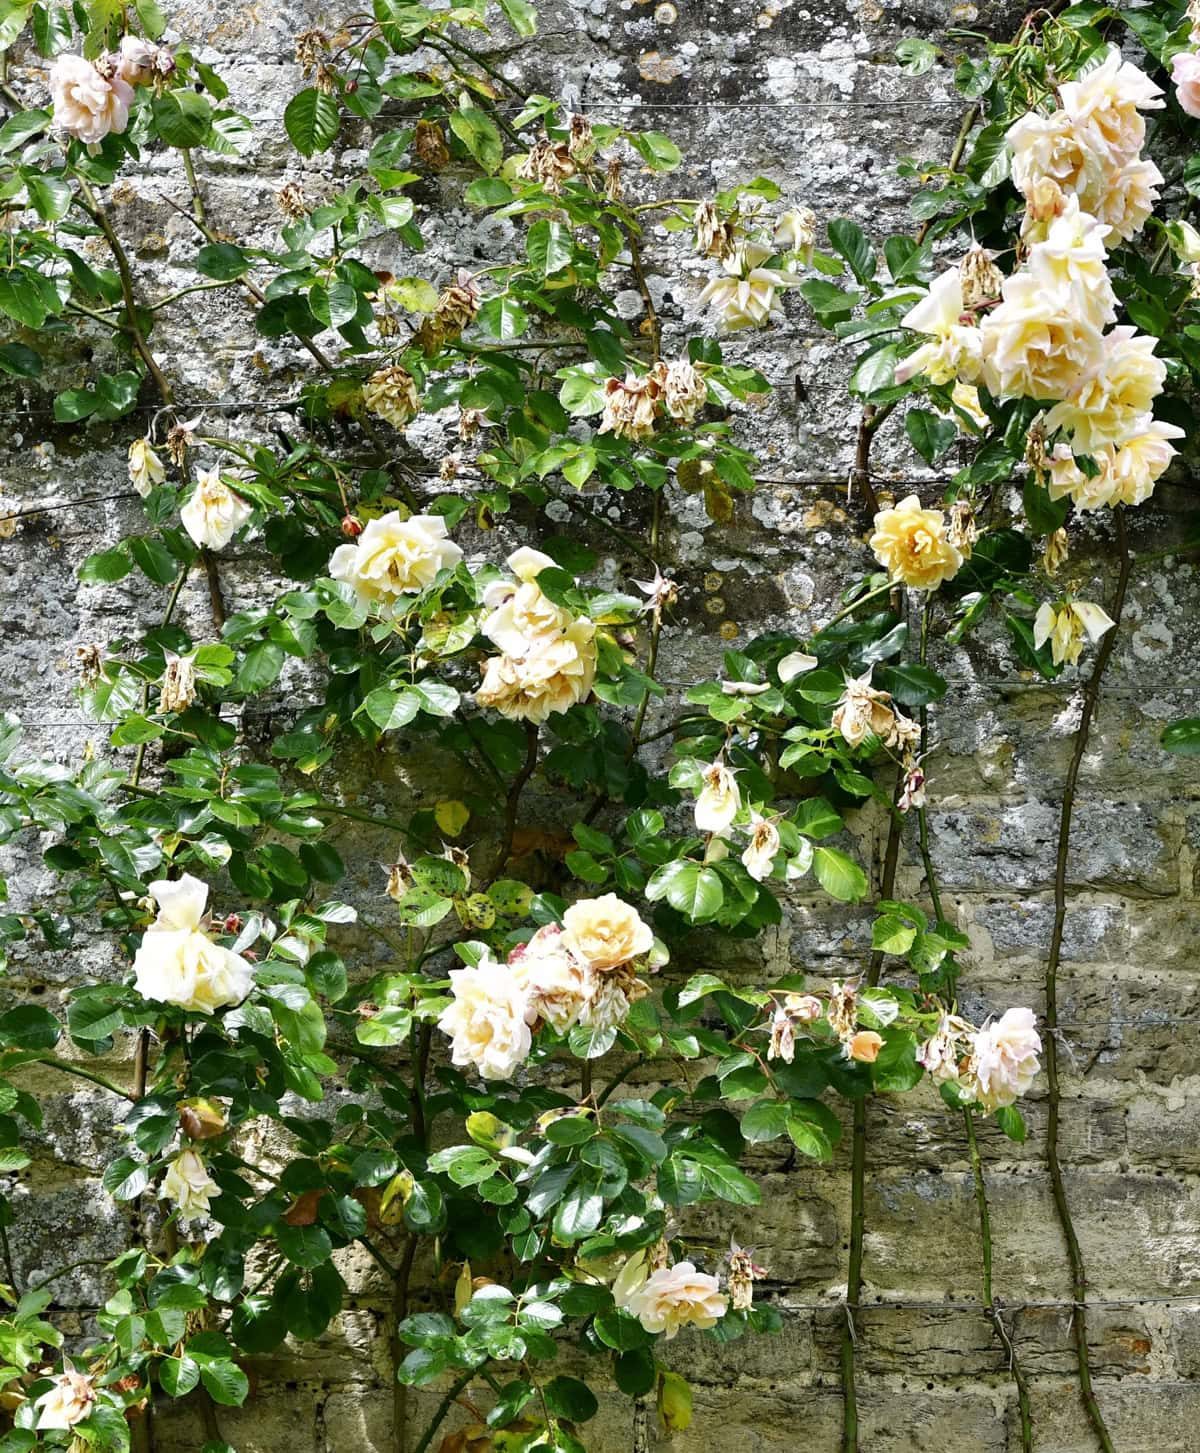
Climbing Roses
- Classic, romantic look
- Requires more maintenance and pruning
- Best in areas with good airflow and sunlight
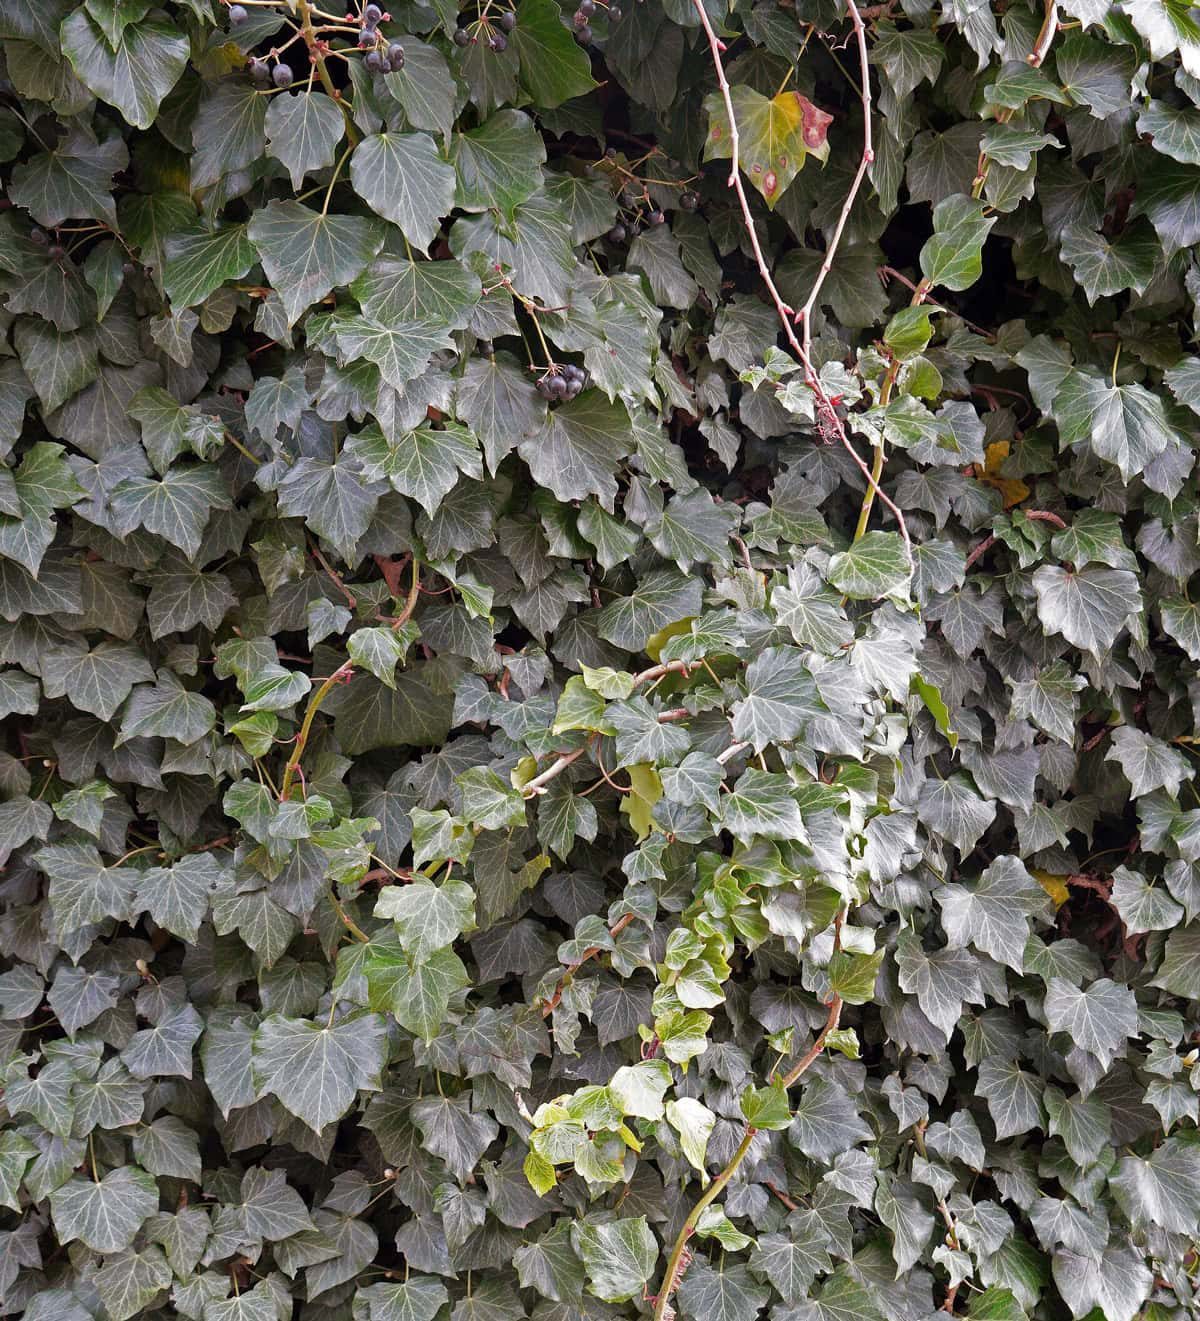
Ivy (like English Ivy)
- Fast coverage and very full
- Great for that old-world European feel
- Can be invasive and attach directly to surfaces, so best used with caution
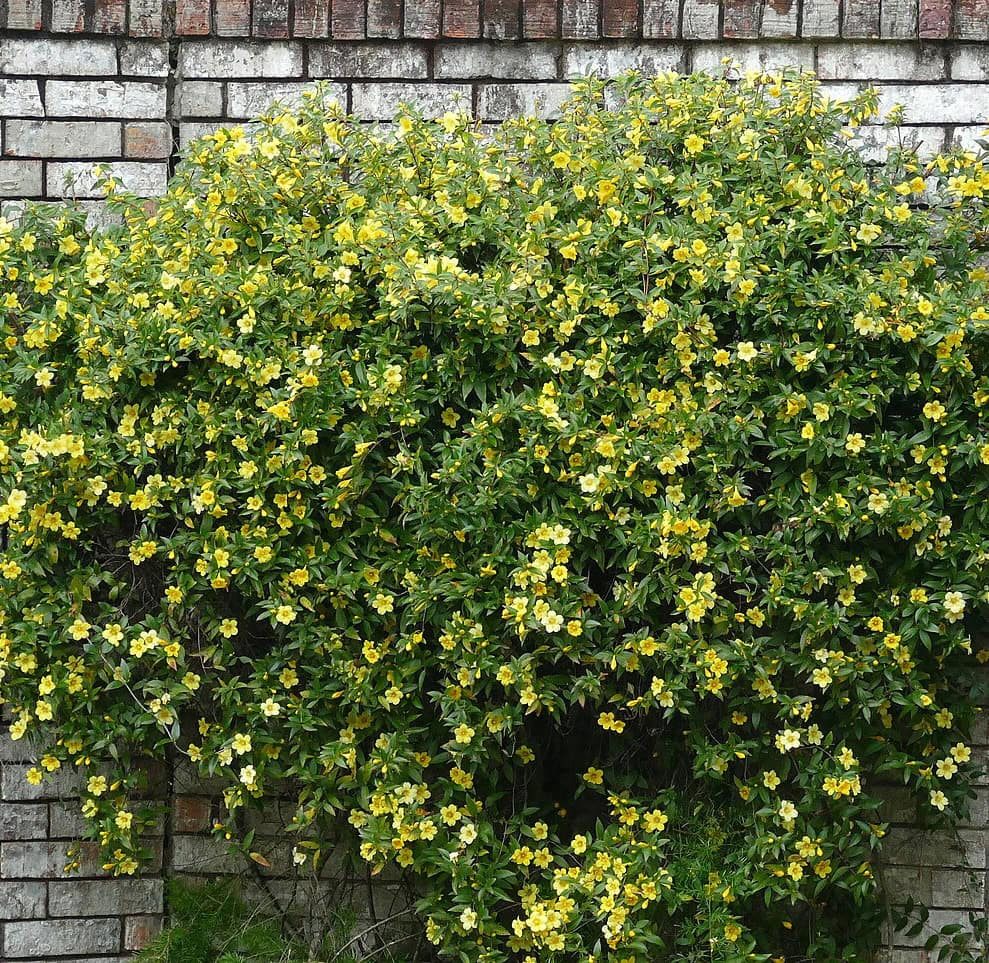
Carolina Jessamine
- Native to the southeastern U.S.
- Yellow blooms in early spring
- More natural, slightly wild look

What to look for in a climbing plant
No matter what you choose, here are a few things to consider:
- Climate compatibility (heat, humidity, frost tolerance)
- Growth habit (twining vs. clinging vs. sprawling)
- Maintenance level
- Evergreen vs. deciduous
- How aggressive the roots/vines are near your home
Supplies you will need
For this project, I used a stainless steel wire trellis kit from Amazon with all of the pieces needed (highly recommend going this route!)
- Wire trellis kit (I bought two 150ft sets)
- Drill + masonry or wood bit (depending on your wall)
- Level
- Tape measure
- Wire cutters
- Stud finder (for siding/wood installs)

Step 1: Plan your trellis layout
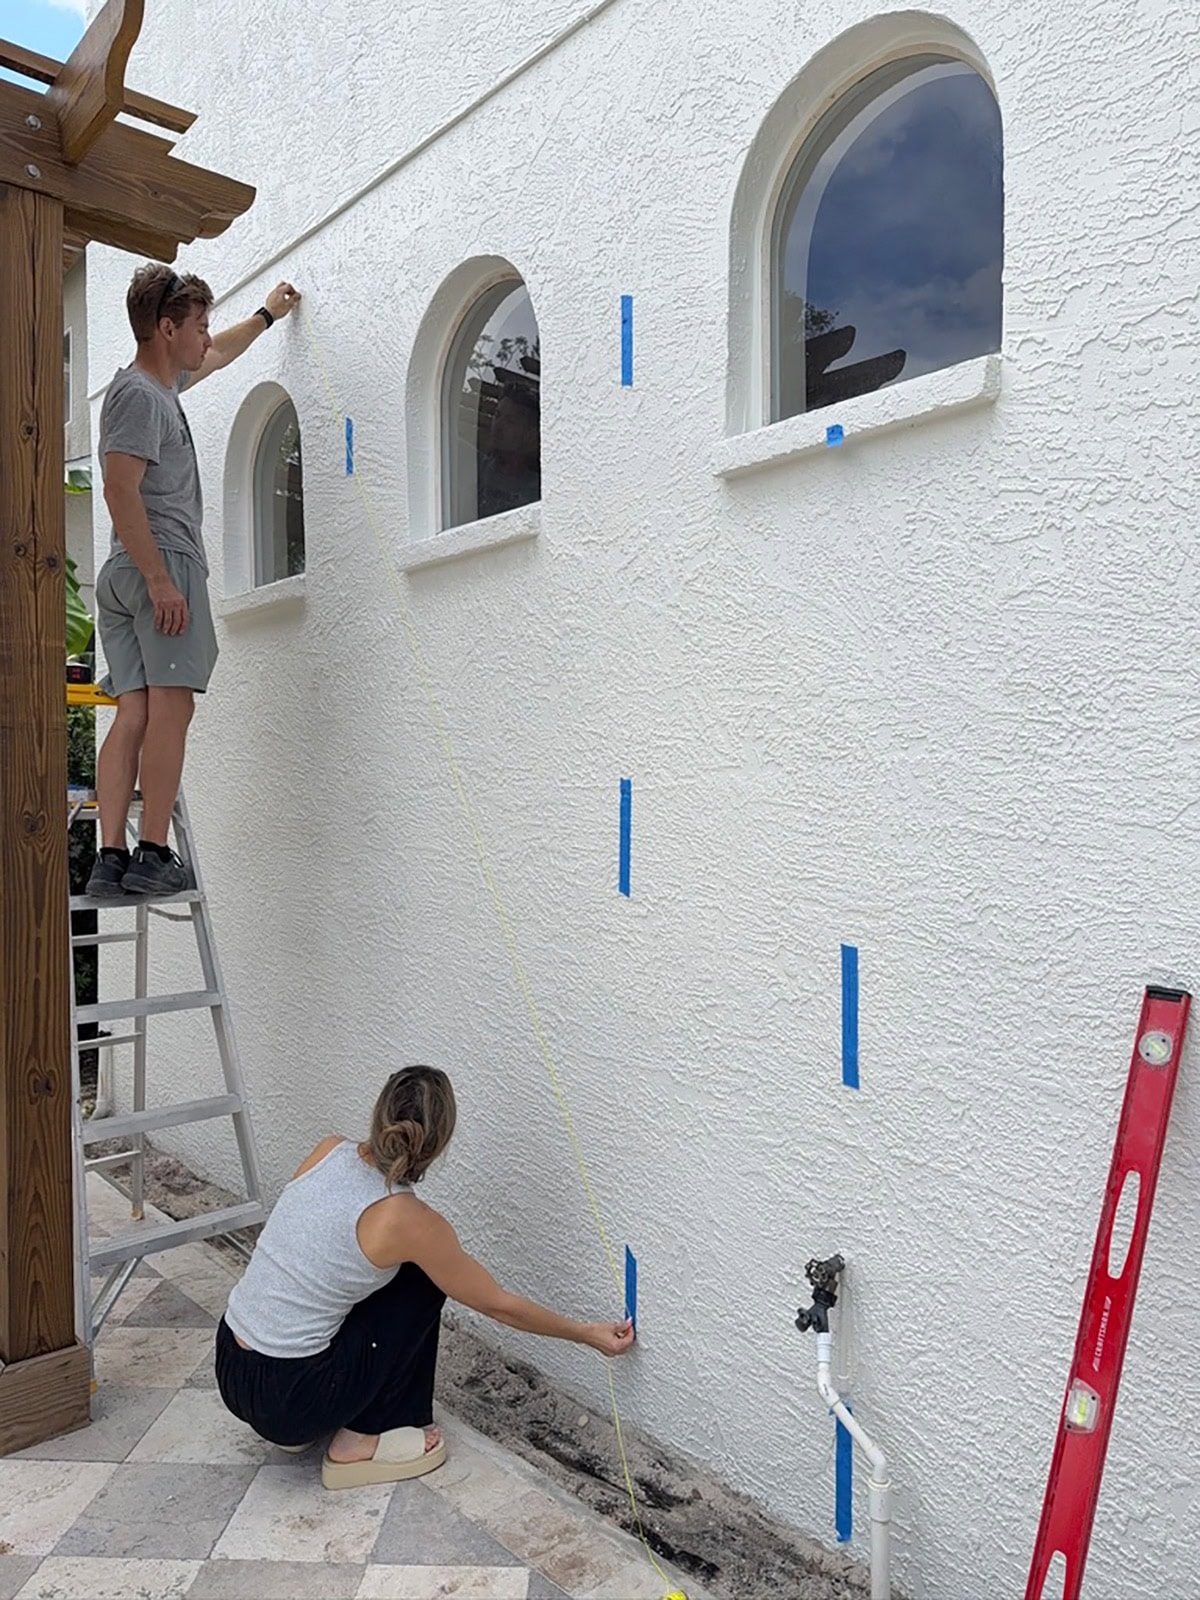
Before drilling, measure and map out your design. You can create anything from unfussy vertical lines, to a square grid, or my favorite: a diamond pattern. This is how our wall looked before:

We had three windows to work around which dictated the shape and size of the design. We decided to stop the trellis at the expansion joint line to keep future maintenance of the vines more manageable. I played around with the layout in Illustrator until I was happy with my plan:

Our wall size measured 230”w x 130”h, and each diamond ended up at 24”w x 46”h.
We use a level to mark the center points between the windows and at the bottom row (over painter's tape), then held up a string to make sure we were happy with the angle.
Step 2: Drill and install wall anchors
Drill holes at each marked point. Use masonry bits for stucco/brick or wood screws or studs for siding.

Insert the plastic anchors, then thread the hubs in.

We started by installing just one row along the bottom and top to double check where the wires would intersect before installing the rest of the hubs, but it turns out that was not necessary. If your math is right, it will all work out!

Step 3: Attach the wire system
Now for the fun part. Thread the cables through the hubs, following your layout pattern. Use wire cutters to trim the wire after tightening.

The nice thing about this kit is that it includes everything you need (even the drill bit!) and you do not have to worry about crimping the wires. The hubs have set screws to hold them in place, and you can easily adjust them as needed.

The other reason I chose this kit is because it is made from marine grade anti-rust stainless steel. If you want to avoid rust in the future, make sure your all of your materials are made from 316 stainless steel (not 304).

Depending on your spacing and the type of plant, you do not always have to install a hub at every connection point. Our diamonds measured 24”x46”, and we skipped some of the hubs as the wire felt solid enough to hold the vines (we can always add them later if needed).

Once everything is connected, do one last check to make sure the cables are taut. You want the wires firm but not overly tight.
Step 4: Plant your climbing jasmine
Plant your jasmine at the base of the trellis. We used 3 gallon plants at the bottom of each diamond, spaced 24” apart (9 in total). 12-24” spacing is ideal.
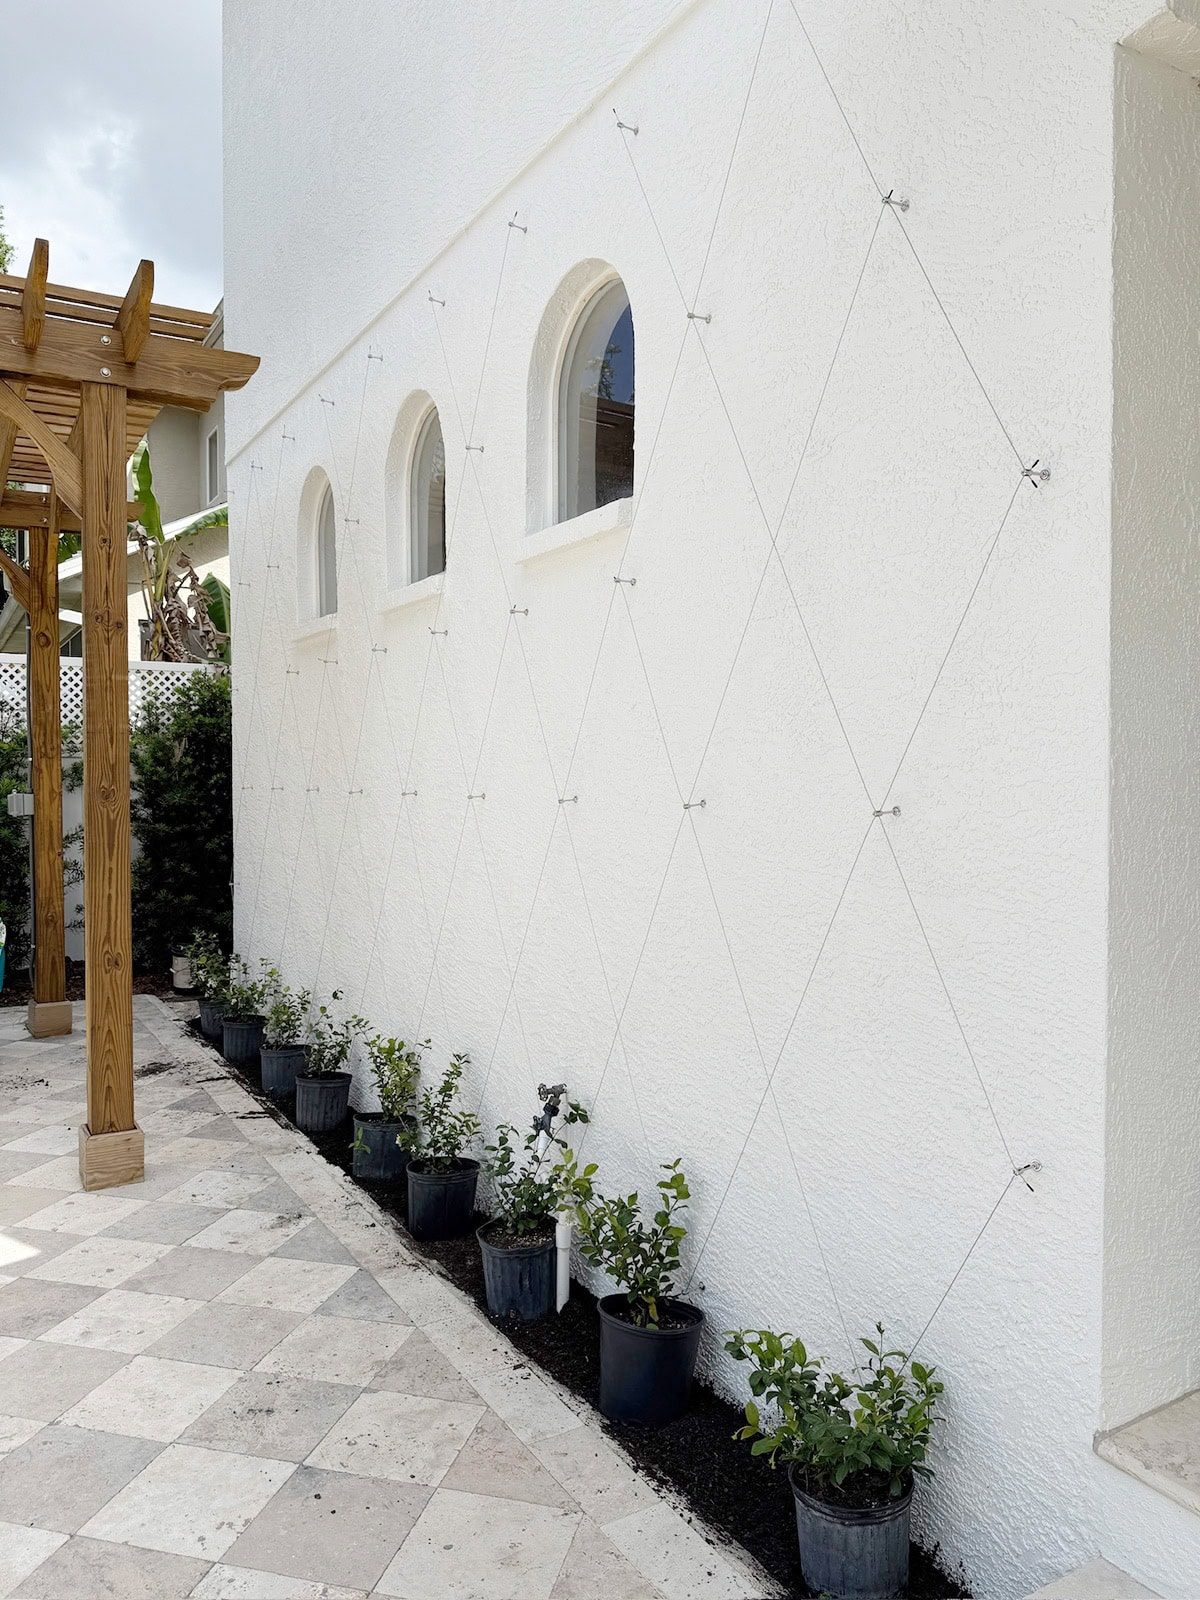
Make sure to use well draining soil and water regularly while establishing. We installed a drip system to make sure they'll get watered year round.
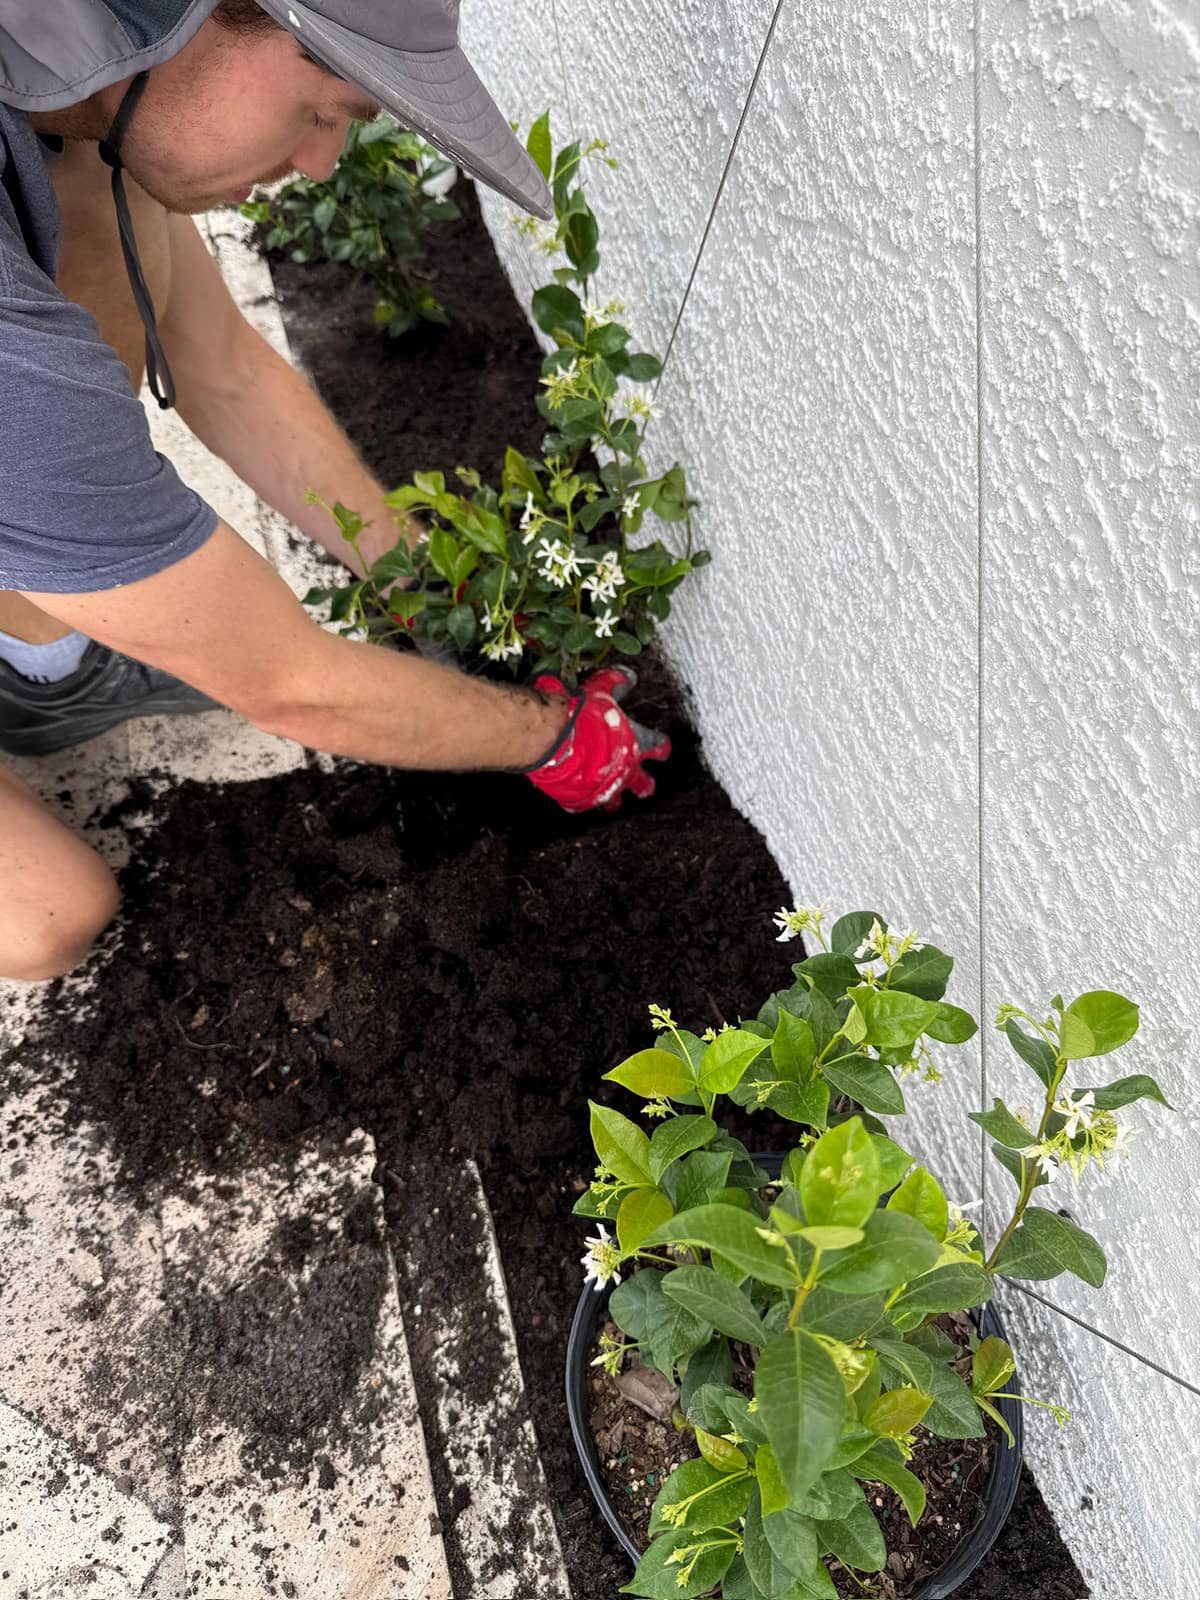

Step 5: Train the vines
The initial setup is the most important step. Wrap each vine around the wires, guiding the growth evenly. Our plants are still young so the tallest vines were barely long enough to reach.

Over time, the plant will naturally reach for the wires and weave itself through the system. You can also use plant ties to secure the wires, but we have found that star jasmine does well without it.

Jasmine is a fast grower and will fill in quickly. Since our plants are not very mature, we will need to help train it more often until the vines are established.
The ongoing maintenance required will depend on if you prefer a more structured or organic look. Pruning more often will encourage fullness.

I will post an update in a few months once they have filled in more! This is one of those top bang-for-your-buck weekend projects that we will definitely be repeating again.
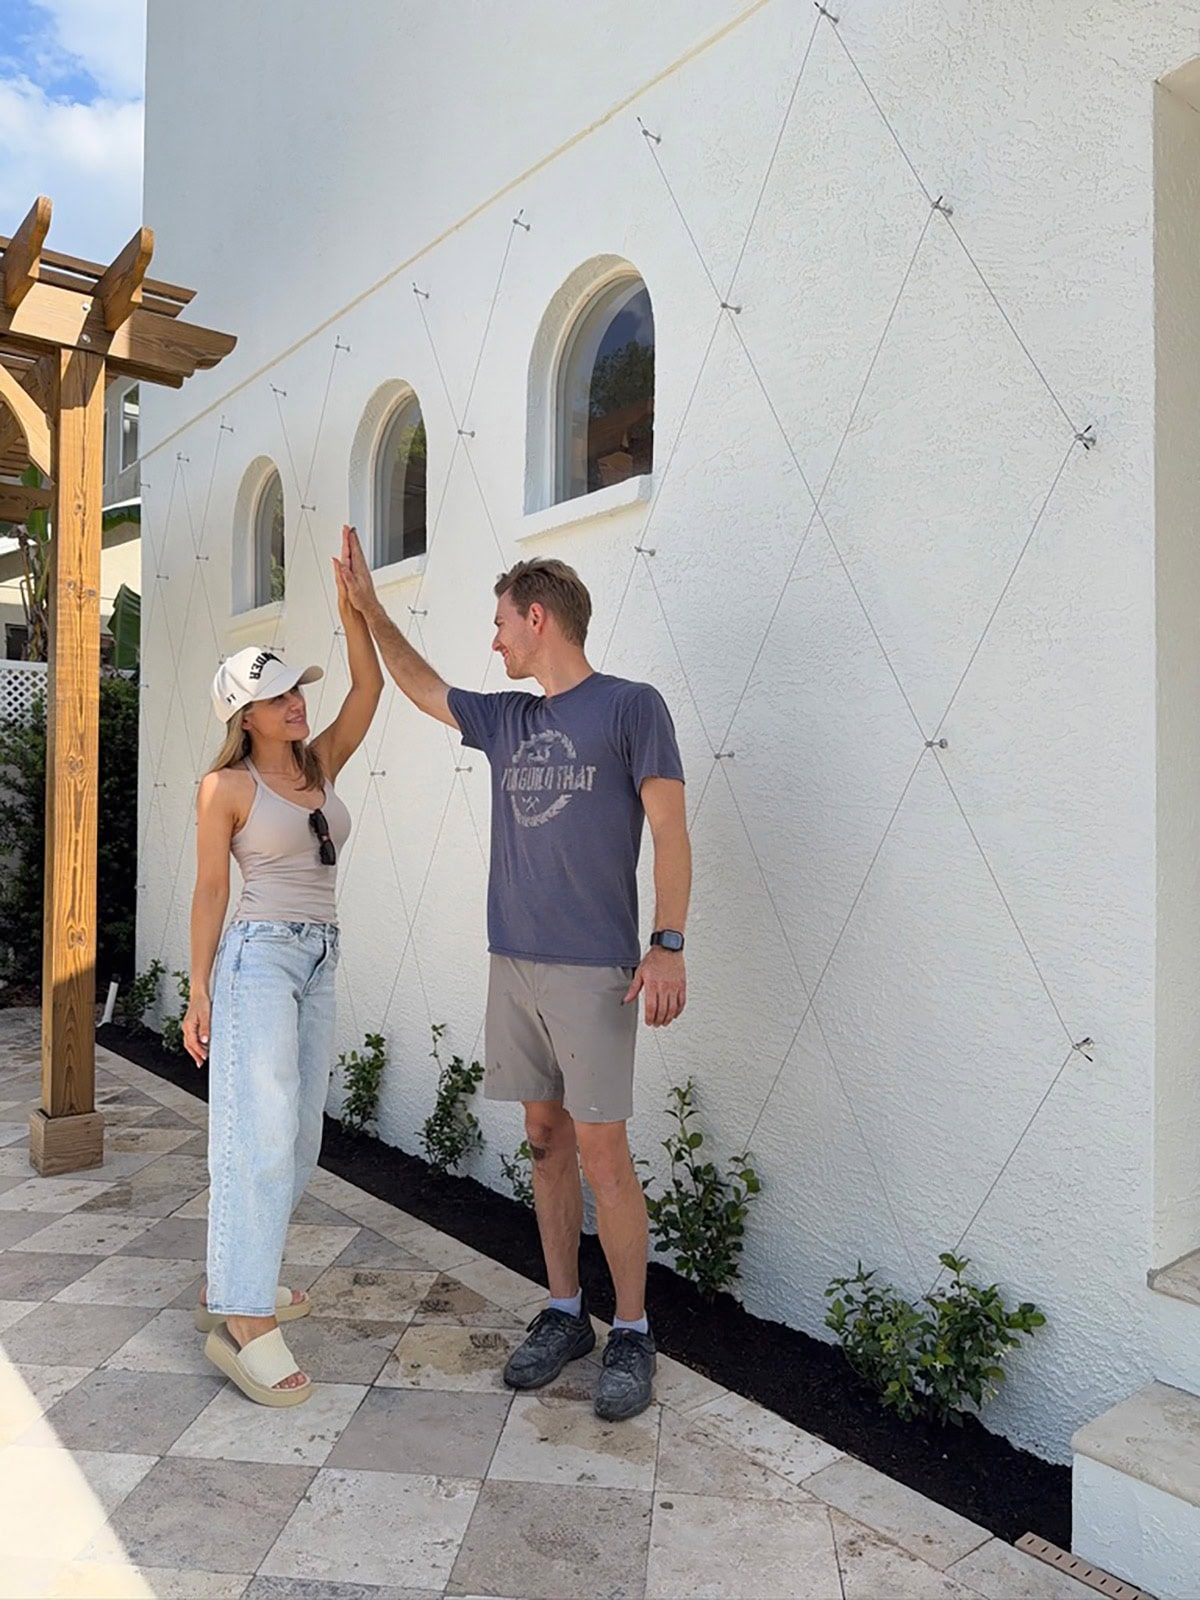
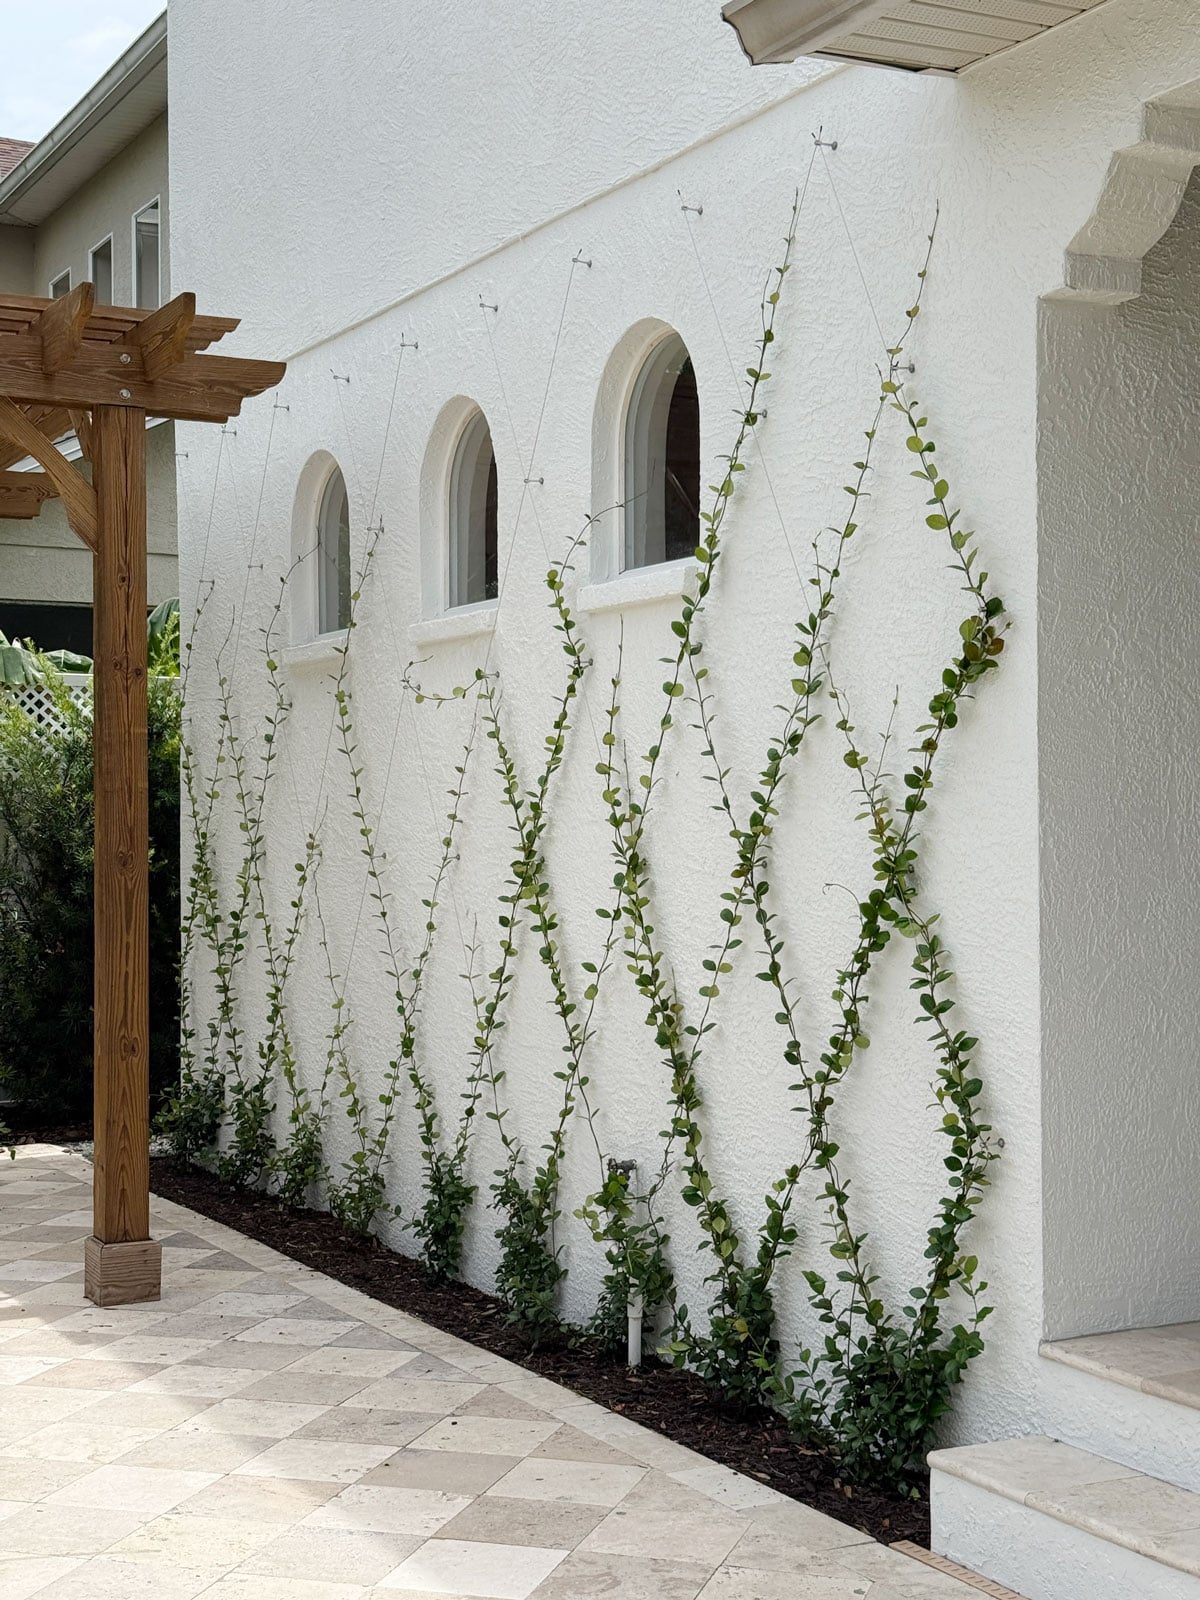
Update: this is how it looks after 3 months! Growth was slow and steady for the first month or so, but it exploded once rainy season hit. Jasmine loves water. I'll update this post again at the end of the year.
Have you installed a wire trellis system before? If you have any other favorite climbing plant recommendations, please leave them in the comments!