DIY Aged Wood Technique
How to age wood in five unfussy steps! The best technique for a realistic, rustic aged wood look. Make your new furniture look old!
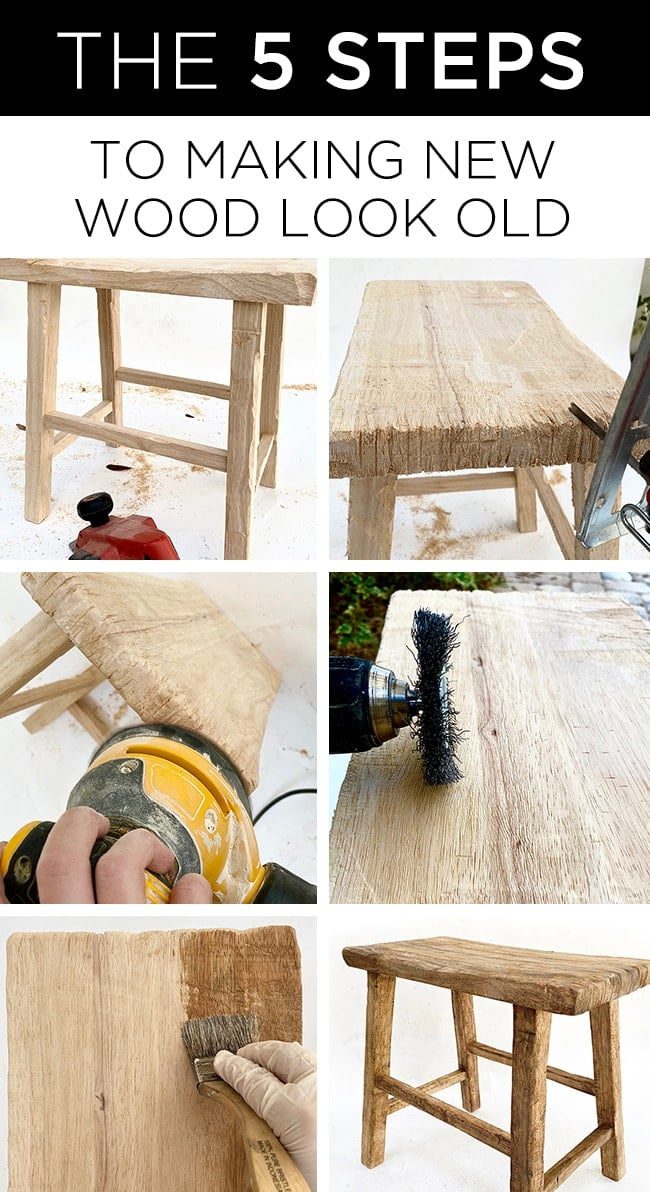
I have finally figured out the secret to realistic looking aged wood (without waiting a century for nature to take its course!) Lucky for us, this unfussy DIY technique can be done with just a few tools in five steps:
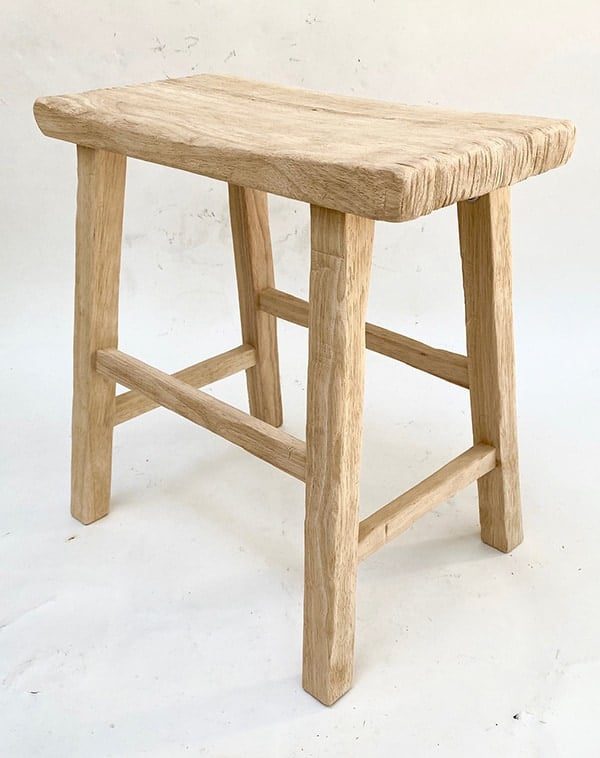
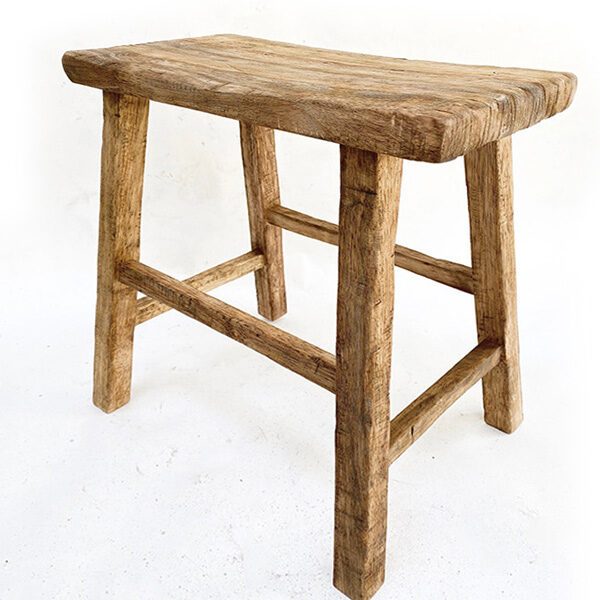
It all came about when I was looking for an antique elm wood stool for our living room. You've probably seen them in your Instagram feed, Pinterest and in the pages of magazines. They come in the form of tables and benches as well, as you can see here in Michelle Janeen's living room:

They are the well suited mix of unfussy, rustic and chic, and I have been wanting to get my hands on one. The only problem? The price tag is usually in the hundreds, and they are in limited supply since these are antiques and not mass produced.
I knew there had to be a way to recreate the look on a budget, and set out to find the most inexpensive stool to start with. Amazon to the rescue!

At only $35, it was a no-brainer. I bought the 18″ size, which is well suited for a small side table in our living room (update: they just raised the price yesterday after a bunch of you bought them up, but it is still a great deal!) Here it is next to our sofa:

It looks out of place in this photo because it clashes with the deeper wood tone and rustic style of our coffee table.
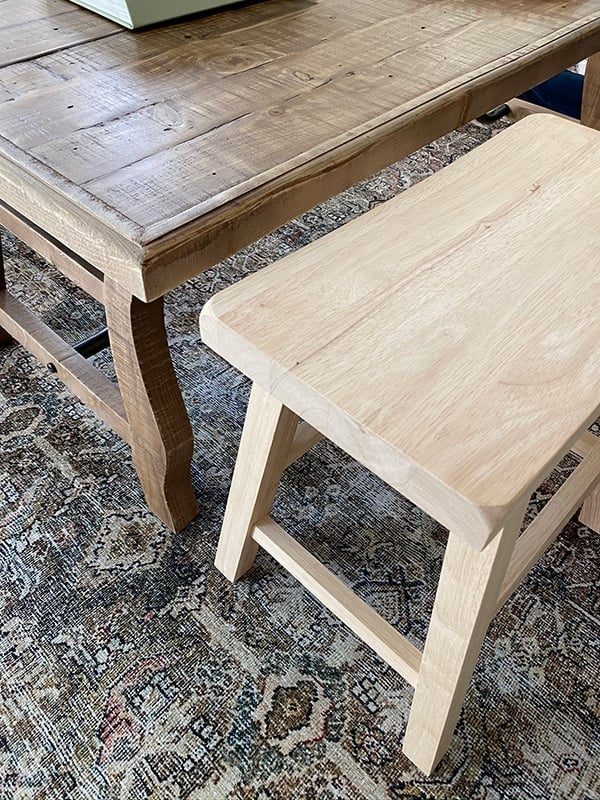
The goal was to make the smooth, new wood look authentically aged and rustic, and stain it to match the tone of the coffee table. I have done my fair share of rustic wood DIY's in the past, but this time The choice was to introduce a couple new tools to my arsenal.
Tools to age wood
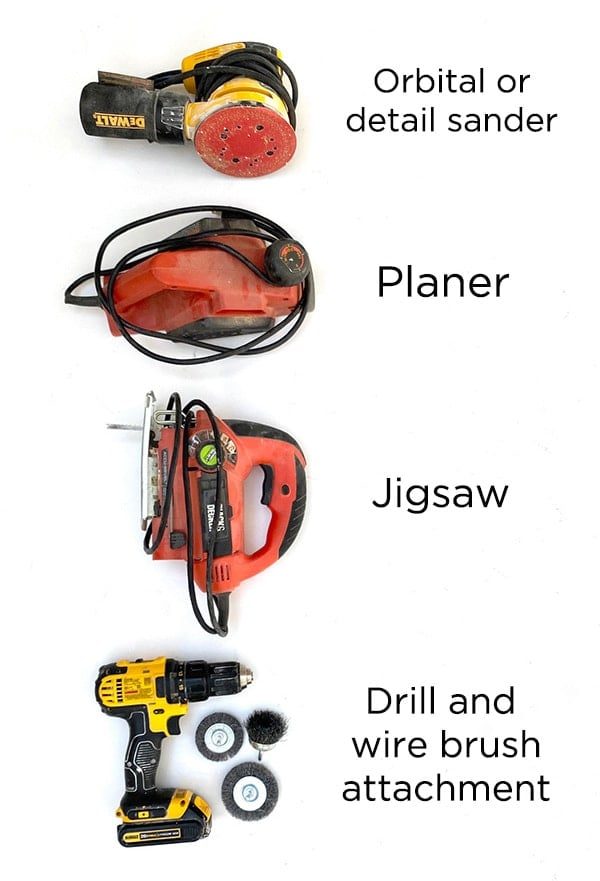
- Orbital Sander – one of my most used and loved tools. A Mouse sander works just as well (in fact it is easier to get into tight spaces) but the orbital is a bit faster.
- Planer – this tool shaves down wood with a spinning blade and is particularly useful for many woodworking projects. If you do not own one and do not want to get one, try using a hand planer or wood file (it will just take a lot longer!)
- Jigsaw – a basic DIYer's essential, this tool has a reciprocating blade that makes quick straight cuts.
- Drillwith wire brush attachment – These coarse wire brushes are designed for heavy duty surface removal (rust, layers of paint, etc). This set on Amazon is a great deal!
There are many different ways to go about making new wood look old, and I have tried plenty of them, but the combination of the above tools have produced the best results in the shortest amount of time. I always recommend experimenting with your technique and seeing what you like! There is no one “right” approach.
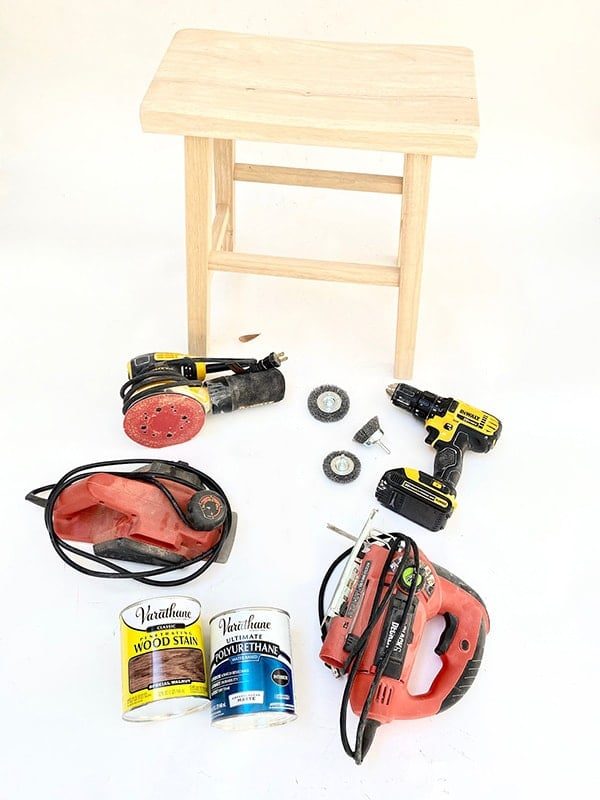
How to age wood
I tested each tool on a piece of scrap wood first to get the hang of things, and I would highly advise you to do the same. To begin, I grabbed the tool that does the most damage—the planer.
Step 1: Plane the surface
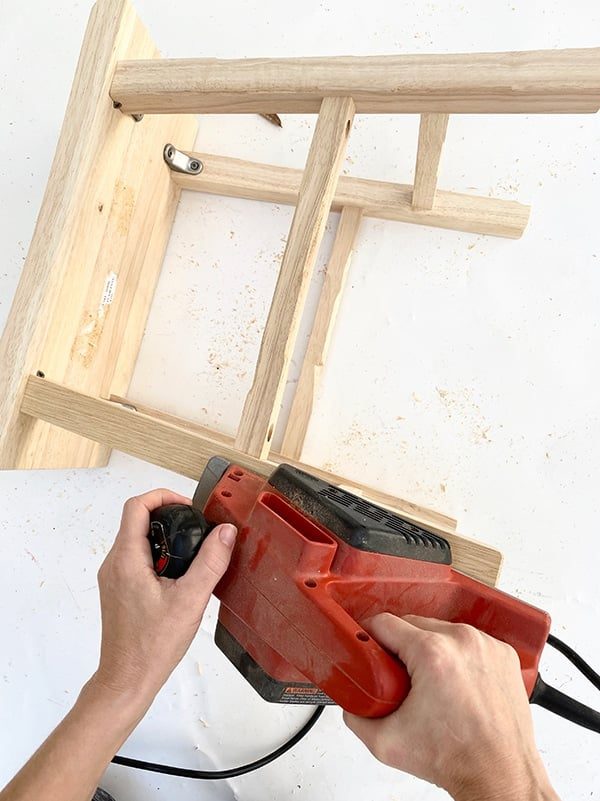
I started by planing down the edges in random spots, then did the same along the flat surfaces. The goal is to make the wood look worn and uneven by getting rid of the straight, smooth lines.
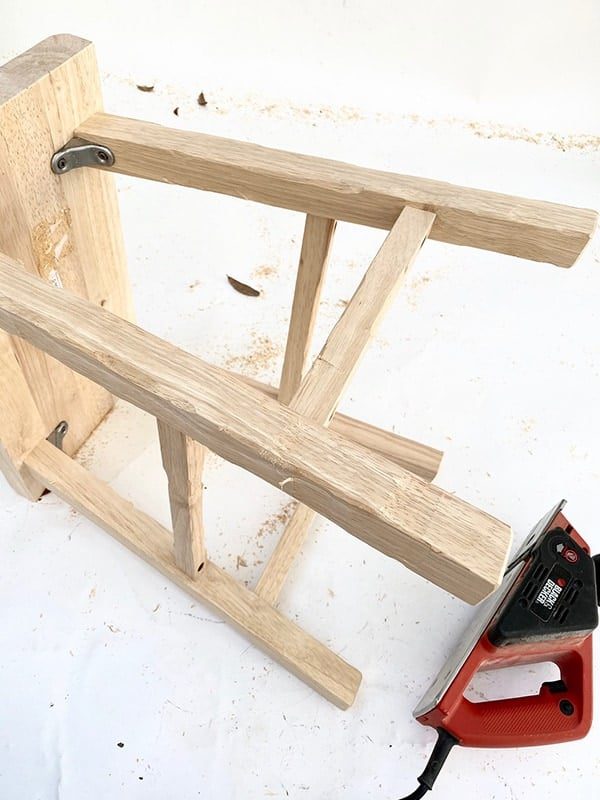
Do not be afraid to take a few bigger chunks out, too! It can look pretty extreme but the sander will smooth it all out. The planer is a powerful tool and can take a little while to get comfortable with it, so make sure to get some practice runs in first.
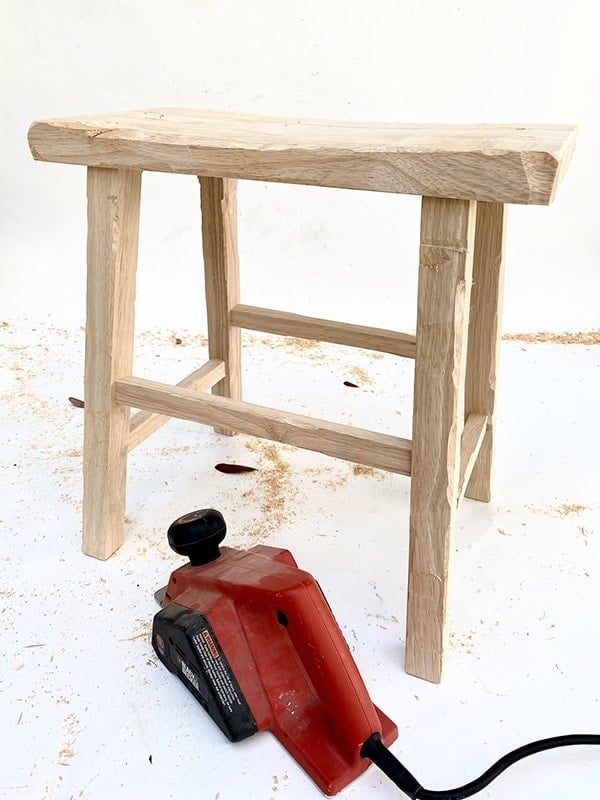
Once the wood was sufficiently mangled, it was time for…
Step 2: Make cuts with a jigsaw
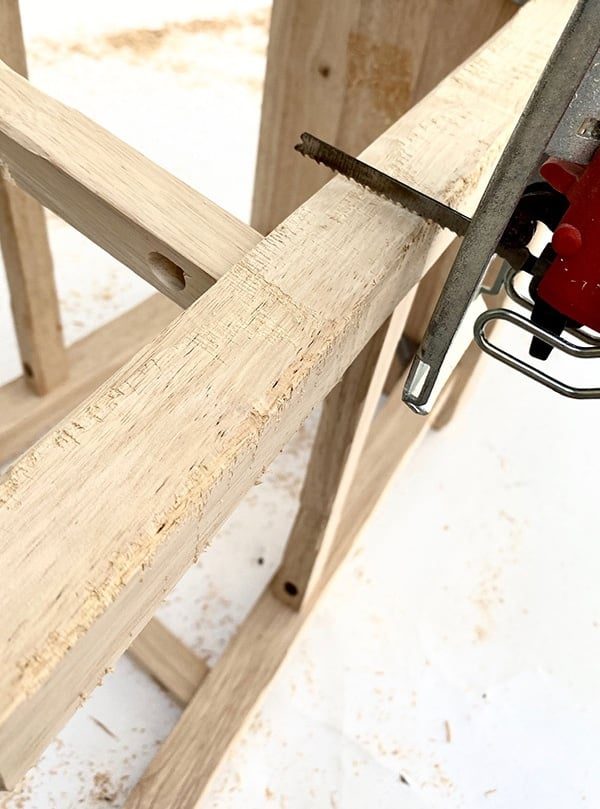
This is where you will recreate the look of saw marks, etching grooves and lines as you run the jigsaw back and forth along the wood. I shared a couple videos of this process in my Instagram stories (definitely give those a watch if you plan on doing this project!)
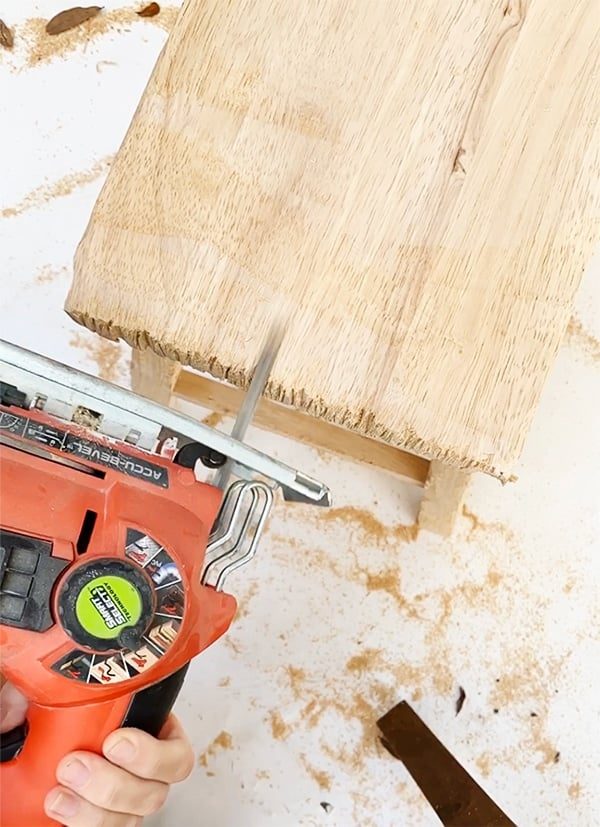
You will want to spend some extra time on the edges, cutting deeper grooves to make it look like raw wood edges.
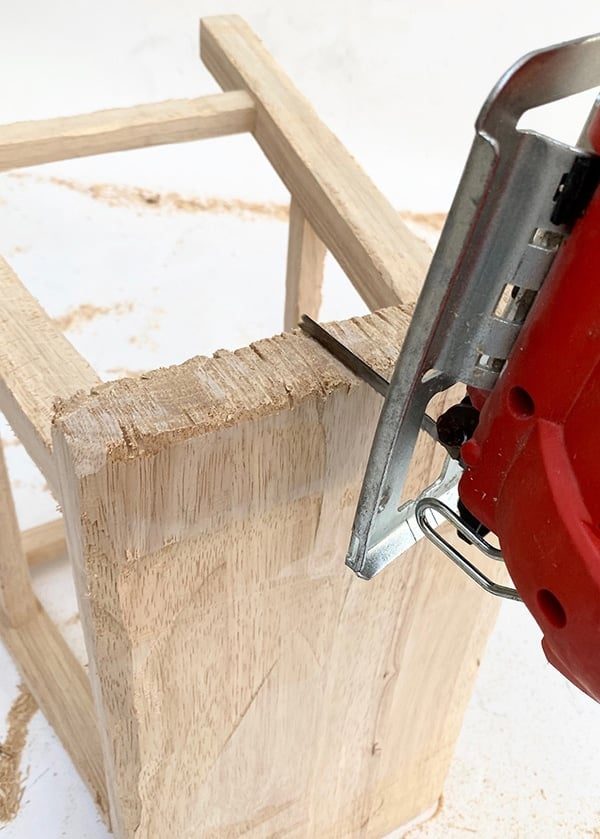
Make sure to carry the grooves over along the top, and cut some at an angle.
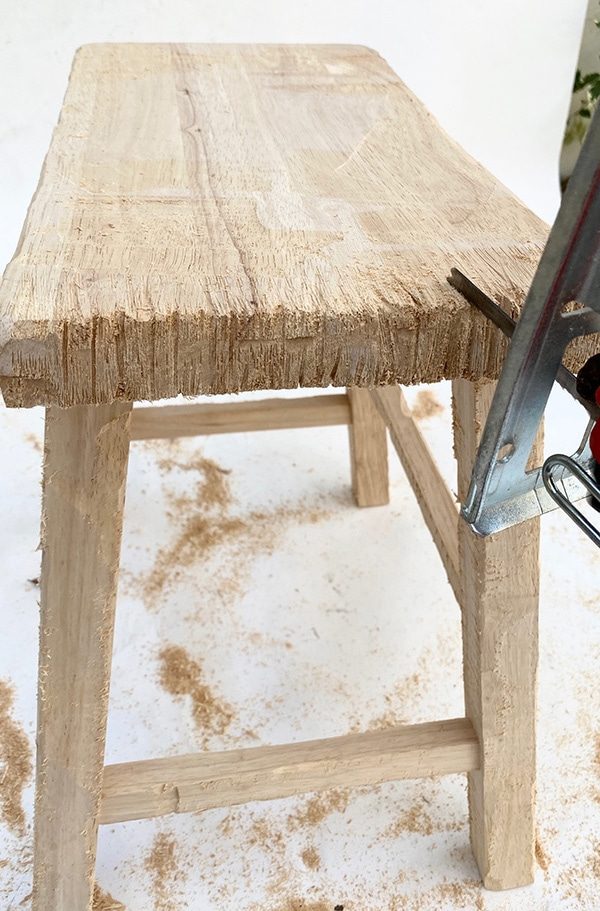
Keep going until you've covered each surface and are happy with the level of distressing.
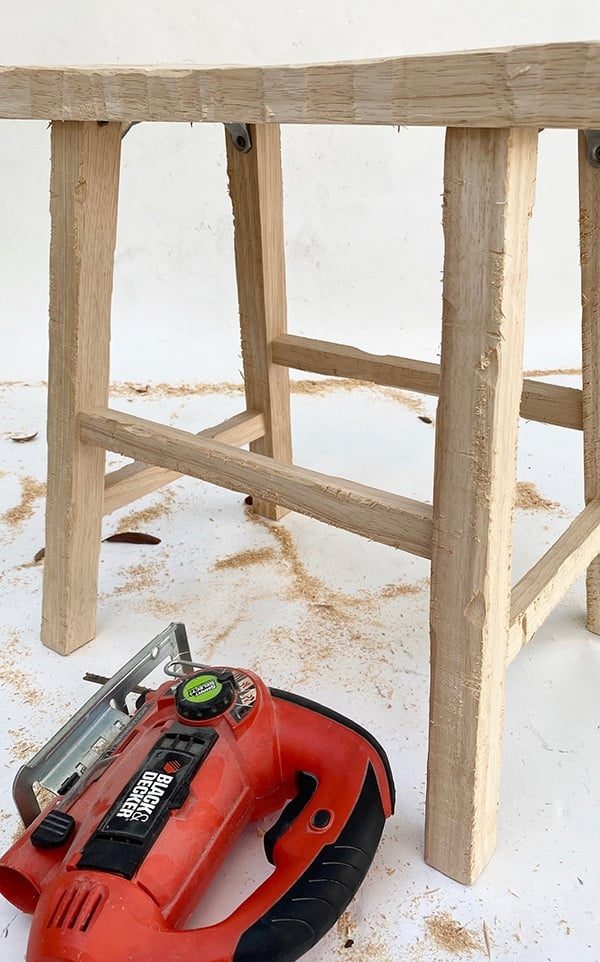
Alright, the heavy duty stuff is over!
Step 3: Sand the wood
Now it is time to level out the roughness. Real aged wood that has been around for decades is smooth as it has been worn down over time. We do not want any visible fresh cuts or rough edges.
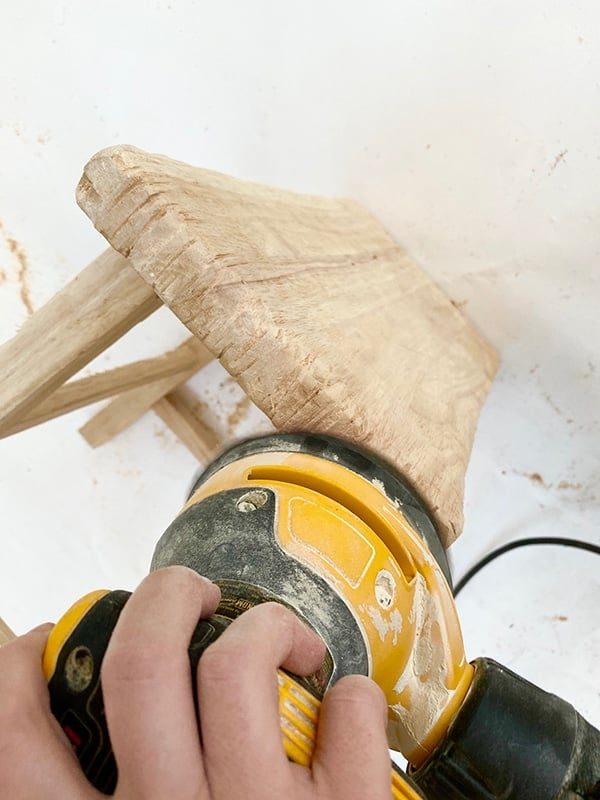
An orbital sander makes fast work of this, but you will find that if you sand too much, you will start to erase some of the jigsaw marks. You can either sand those areas a little less or go back and make deeper grooves with the jigsaw. This is the fastest step and should not take longer than 15-20 min or so.
Finally, we have the last and most important step. The secret ingredient to getting that real aged look.
Step 4: Open the grain with a wire brush
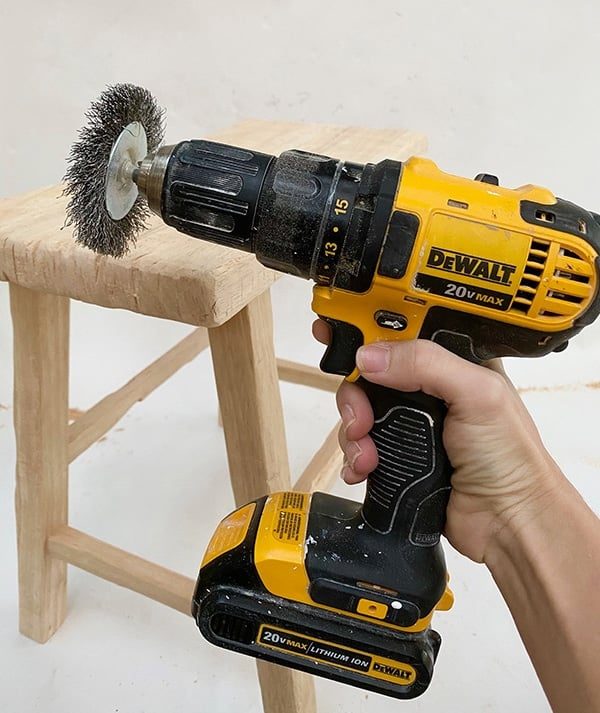
This was actually my first time using wire brush attachments on my drill, and I found a great deal on this set on Amazon:
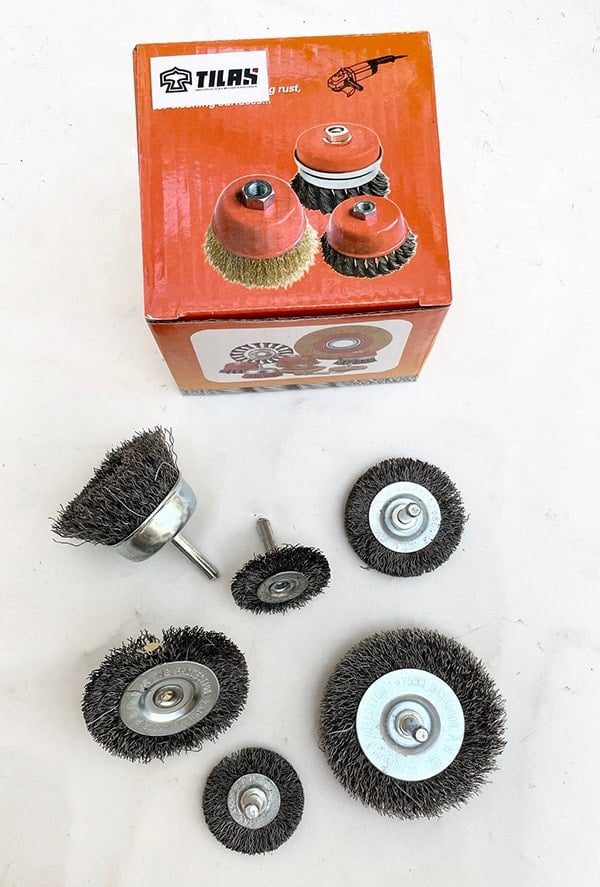
I played around with a couple different attachments, but the largest disc was my favorite so I stuck with that. The coarse wire cuts deep, tiny grooves into the wood, opening up the grain.
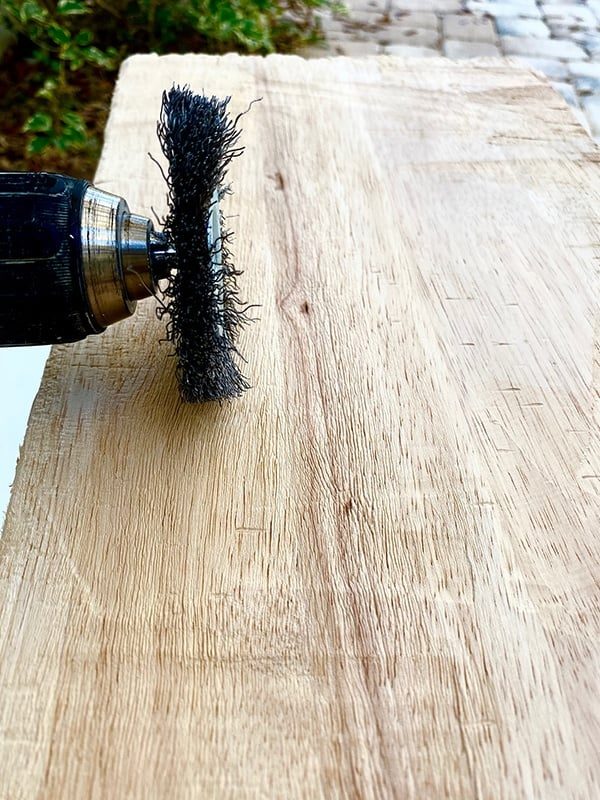
This is the texture you will find on old wood that has been worn away by the elements and fluctuating conditions over time. I was pretty blown away with the results and wondered how I would never thought to try this sooner…
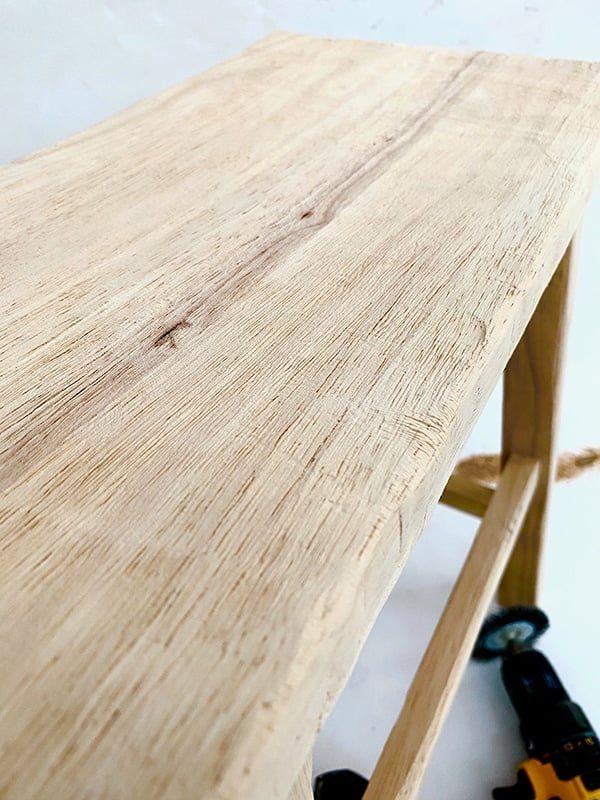
After running the brush along the wood going with the grain, I held it perpendicular to the wood and went against the grain in random areas. This step definitely takes the longest, but it makes the biggest difference (and it is pretty fun!). I also went over any areas that the sander missed where the cut marks were too clean.
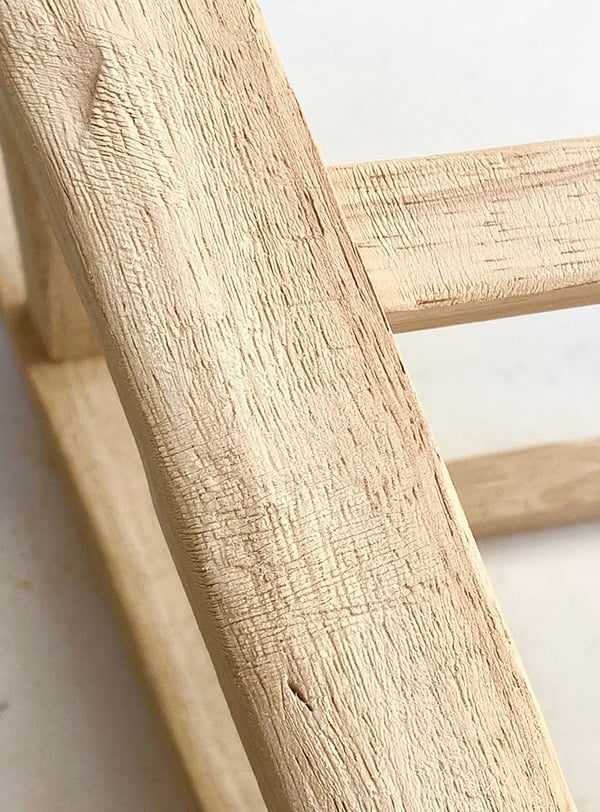
This step took me a couple hours, but you can do less or more to your preference. Finally, it is ready for the finishing touch!
Step 5: Stain and seal
I grabbed a couple stains from my garage that I thought could be a good match, and did a quick test. Here I am using two of my favorites, Minwax Weathered Oak and Special Walnut.
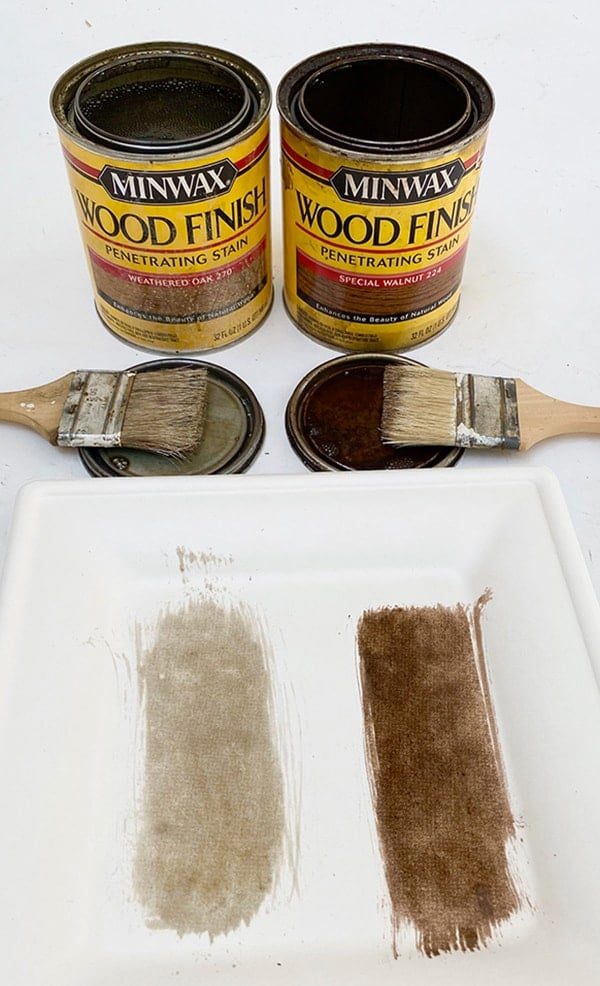
I assumed since the wood was so light that it would play nicely with the stains, but it applied much warmer.
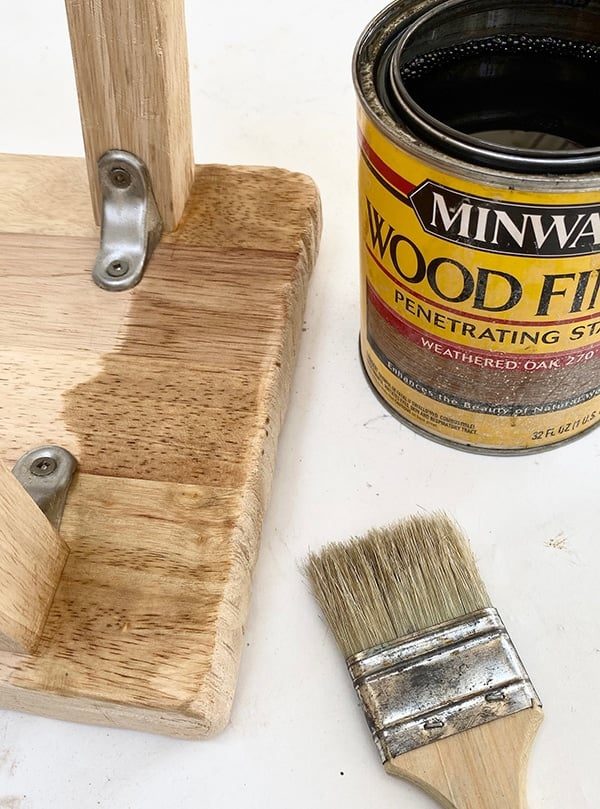
Special Walnut would have been way too brown, so I went with Weathered Oak and brushed on a light coat.
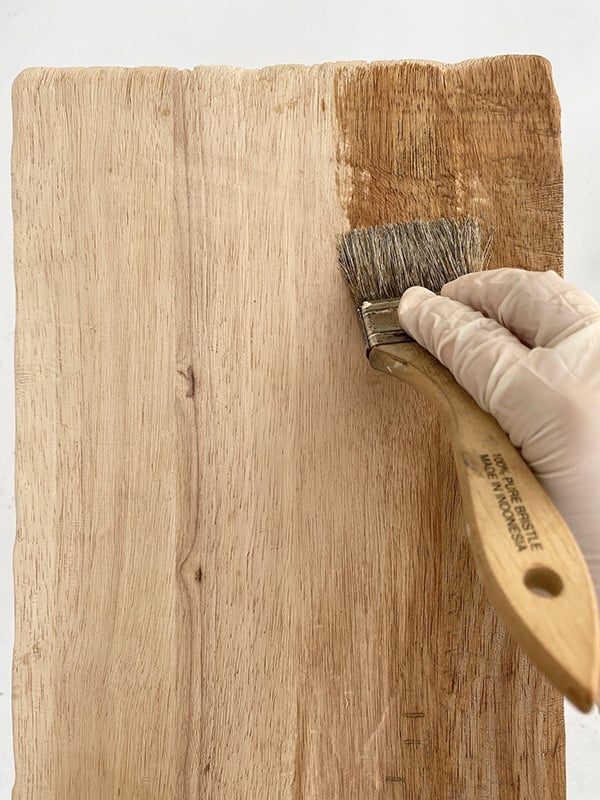
This proves you can never trust the color in the can! Your wood is what determines the color output.
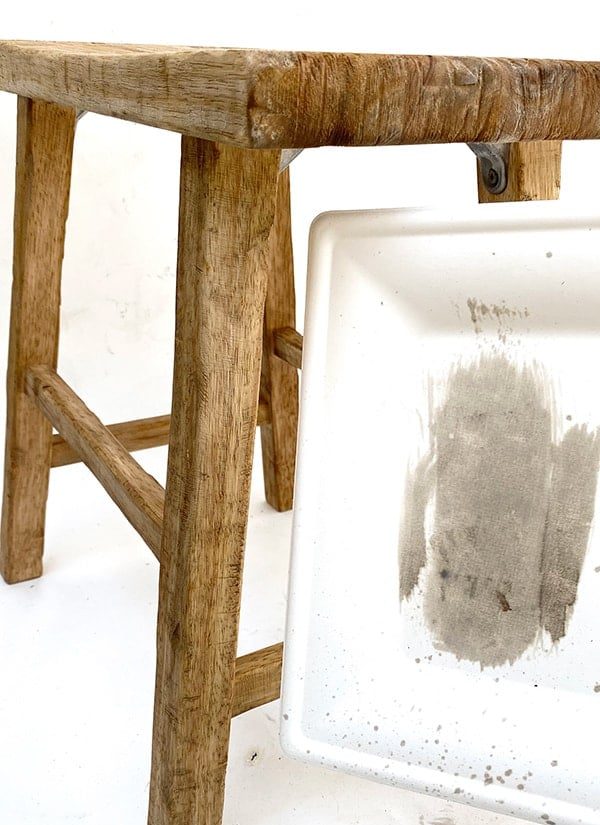
I looked in the garage again and found a can of Driftwood, which is slightly grayer than Weathered Oak.
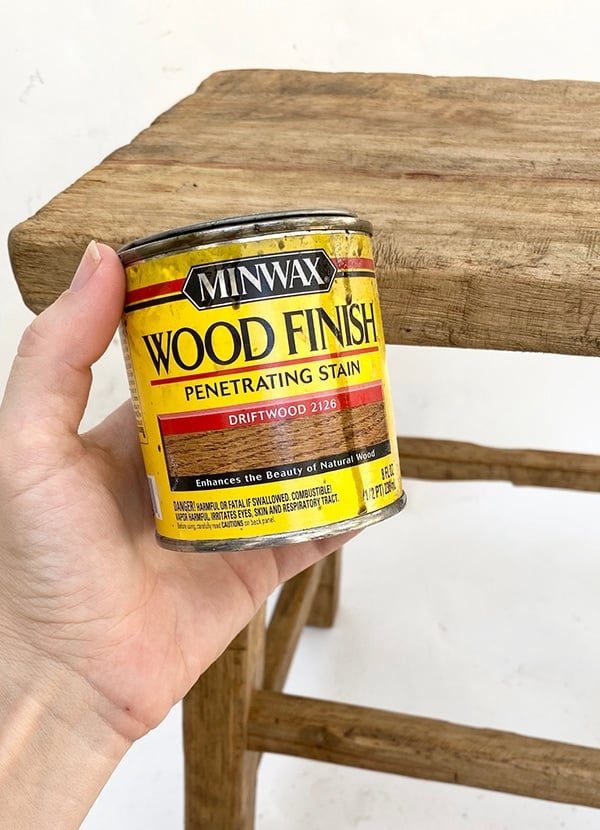
After the first coat was dry, I gave the stool a second coat of Driftwood. And it looked pretty good!
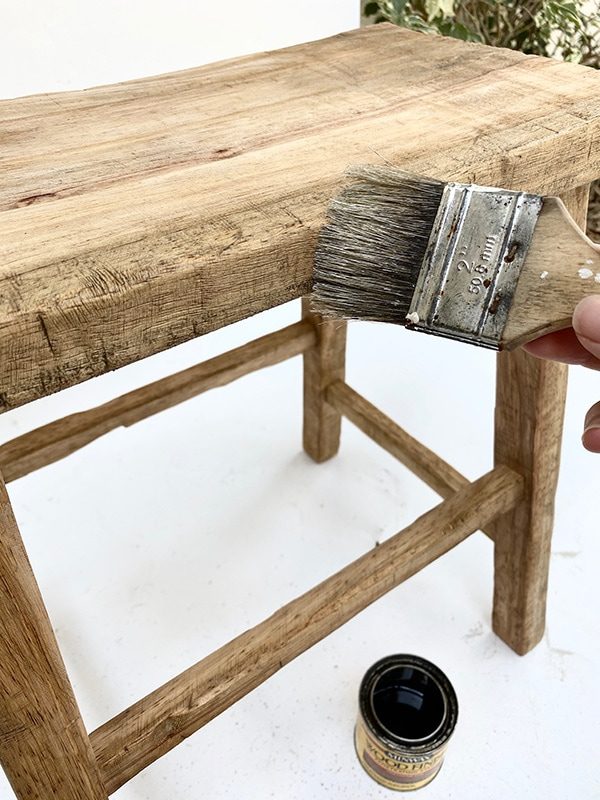
If I had to do it all over again, I would skip the Weathered Oak stain and only use Driftwood.
The Results
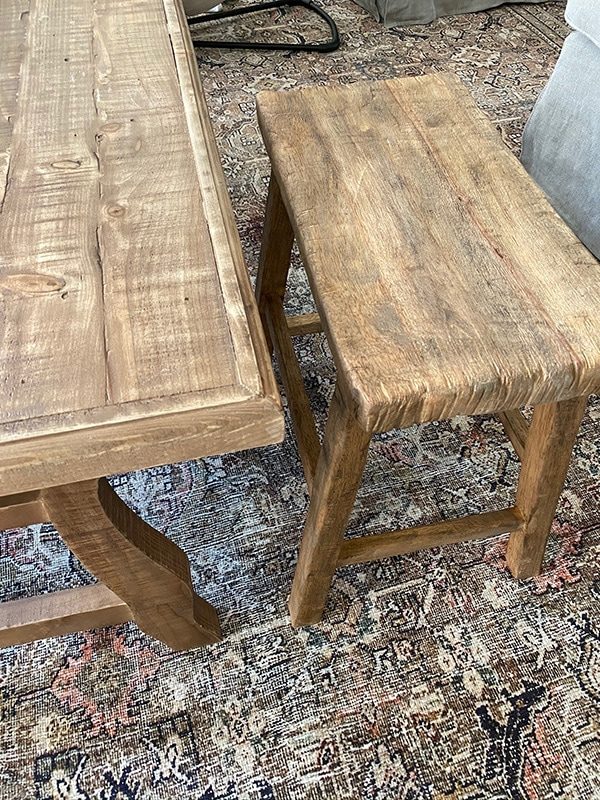
Time for the real test… a side by side next to our coffee table.
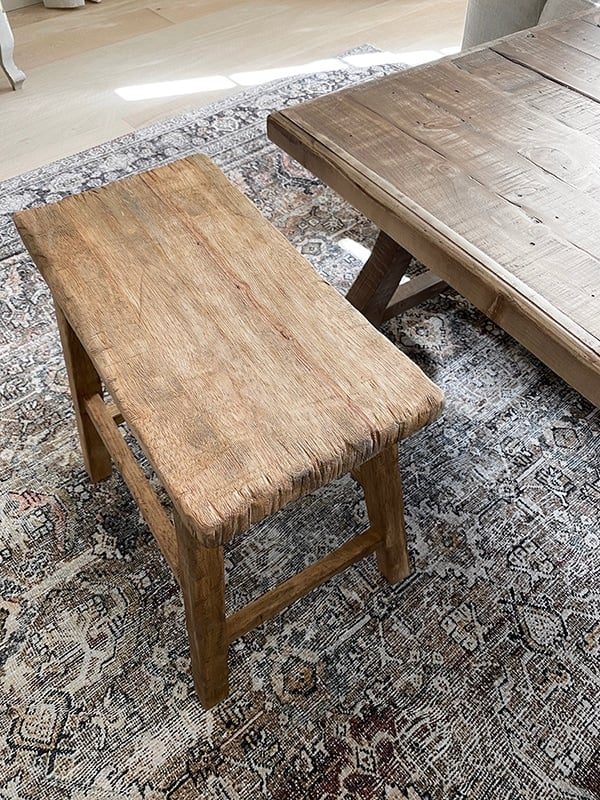
Not an exact match, but I was not done yet. I found a can of black wax and figured I would give it a shot (I am using Maison Blanche chalk wax, but any black or dark wax will do).
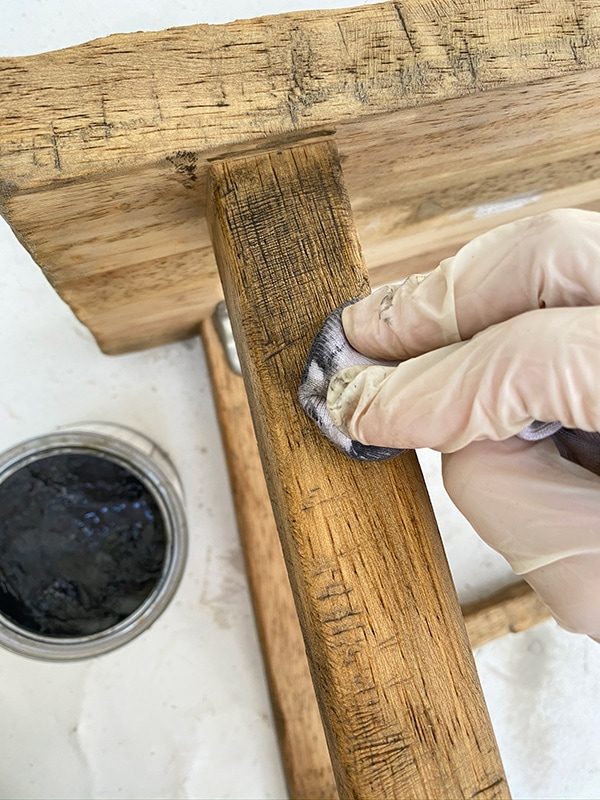
You simply rub it on the wood with a cloth and it settles into the grooves, making the texture more defined. The wax also darkened and neutralized the wood tone a little. I would say the color is pretty close!
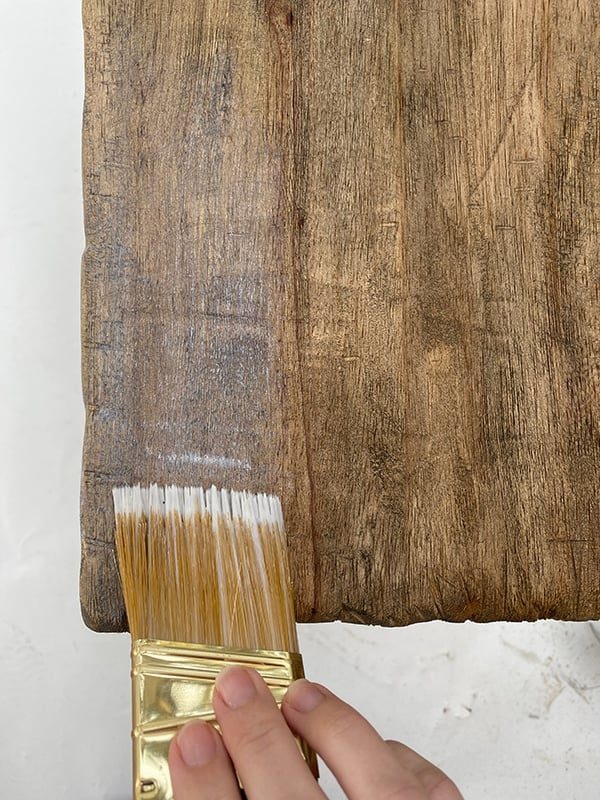
You will want to protect your finish by sealing it with a varnish. I gave mine a few coats of this matte polyurethane, which is water based for easy cleanup and dries invisible.
Now this side table fits right in with the coffee table!
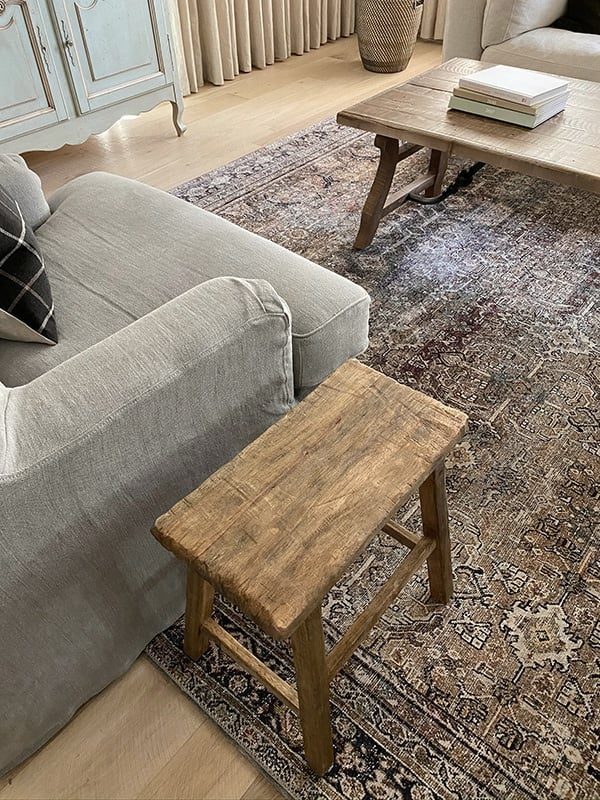
Have not decided if I'll keep it next to the chair or over by the couch yet…

I considered getting two, but we have not had a need for the extra table space yet. I can always make another one!

What do you think? Pretty convincing as an antique, right?

It helps to keep it when DIYs work out so well, especially when anyone can do it in 1 day on a budget!

Save this one to your Pinterest board for later, and make sure to go back and watch my Instagram stories to see videos of the process.

Next up, we are keeping the DIY train going with a custom built hanging bed at The Riverside Retreat. You will definitely want to tune in for this one!
 Print
Print How to age wood
Make new wood look authentically aged with this unfussy technique Active Time3 hours hrsTotal Time3 hours hrs Keyword: wood frame, antique, vintage, aged wood Cost: $0Equipment
- Drill
- Wire brush attachment
- Orbital or detail sander
- Planer
- Jigsaw
Materials
- Wood stool (or any wood piece)
- Wood stain
- Polyurethane or wax
- Dark wax (optional)
Instructions
- Run your planer in random areas along the surface, creating irregular cuts and gashes
- Make "saw marks" with the jigsaw by etching grooves across the surface, focusing on the ends/corners where wear would naturally occur
- Use an orbital or detail sander to smooth down all of the rough and sharp edges
- Run a wire brush (attached to a drill) across the entire surface of the wood to open up the grain
- Stain the wood
- Optional: use a dark wax to define the texture
- Use polycrylic (or wax) to seal and protect the wood
Notes
If you enjoyed this look for less DIY, look at my DIY 'limestone' planter!
If you like this project, look at these other popular beginner budget DIYs from my Project Library!
- $10 canvas floating frame
- How to realistically age wood (the easy way!)
- Easy string light planters
- Board + Batten tutorial