DIY Kitchen Cabinets Reveal with Nieu Cabinet Doors
After many months of planning, designing and building—I am thrilled to share the reveal of our kitchen cabinets at the Hacienda Hideaway! We took on the challenge of…
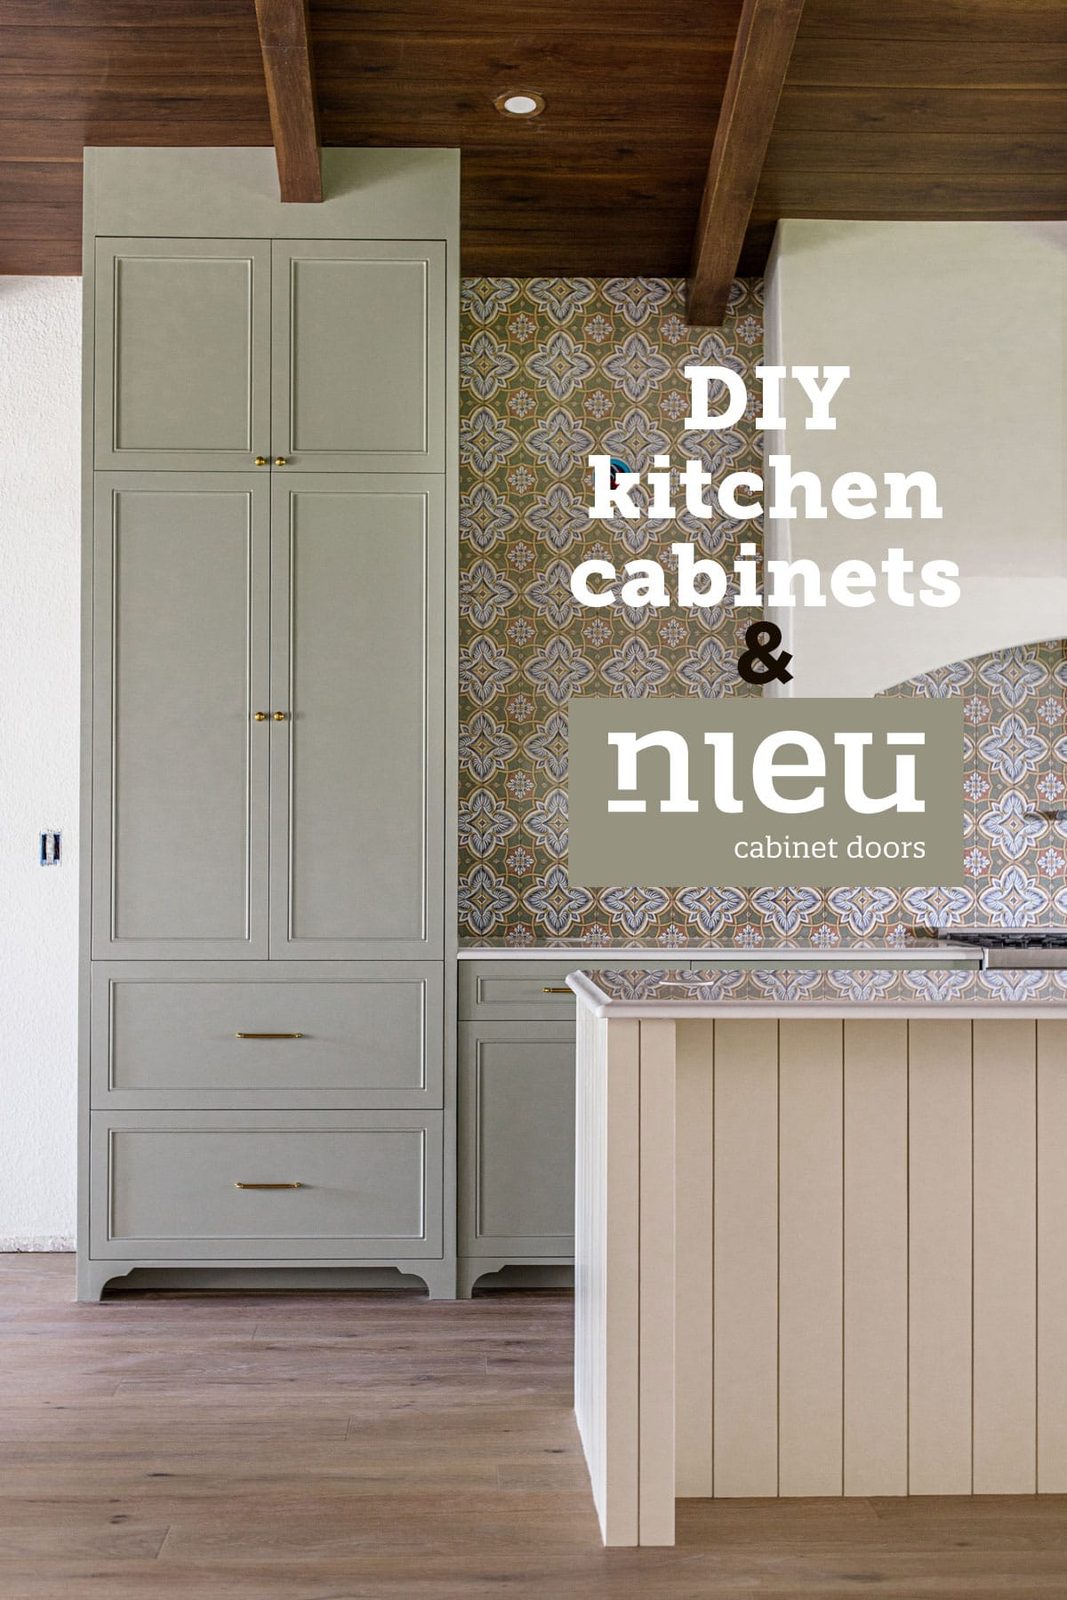
After many months of planning, designing and building—I am thrilled to share the reveal of our kitchen cabinets at the Hacienda Hideaway! We took on the challenge of building our own boxes, and partnered with Nieu Cabinet Doors on the doors/drawer fronts. The results are exactly what I was envisioning!
You can watch how it all came together over the course of four months in this video:
In this post, I'll share why we chose this route for our kitchen, along with highlights of the build/installation process. I'll spare you all the technical details, but you can find tons of videos saved to my Kitchen Cabinets Part 1, 2, and 3 story highlights on Instagram.
Why we decided to build our own cabinet boxes
Simply put: I wanted a fully custom built-in design, and building our own from scratch was the only cost-effective way to achieve this. True custom cabinetry (i.e. not from big box stores) would require specialized labor, and run well into the tens of thousands. Certainly not in our budget, nor wise to spend in our situation (on an investment/rental property).

We considered using Ikea cabinet boxes and customizing them (just like we did at the Riverside Retreat kitchen) but we'd still be limited by the size/configuration options, and we wanted something higher quality that would hold up better to rental wear and tear.
Why we chose Nieu Cabinet Doors
I reached out to Nieu Cabinet Doors after spotting their new Slim Shaker Detailcollab with Angela Rose. The look was exactly what I had in mind, and the doors are custom made-to-order to fit any cabinetry (not just Ikea!) Plus, they offered a pre-primed option to save time in the painting process, AND they offered the drawer boxes/slides which is the trickiest part to get right. All we had to do was build empty cabinet boxes, which we had some experience doing already from our primary closet build.
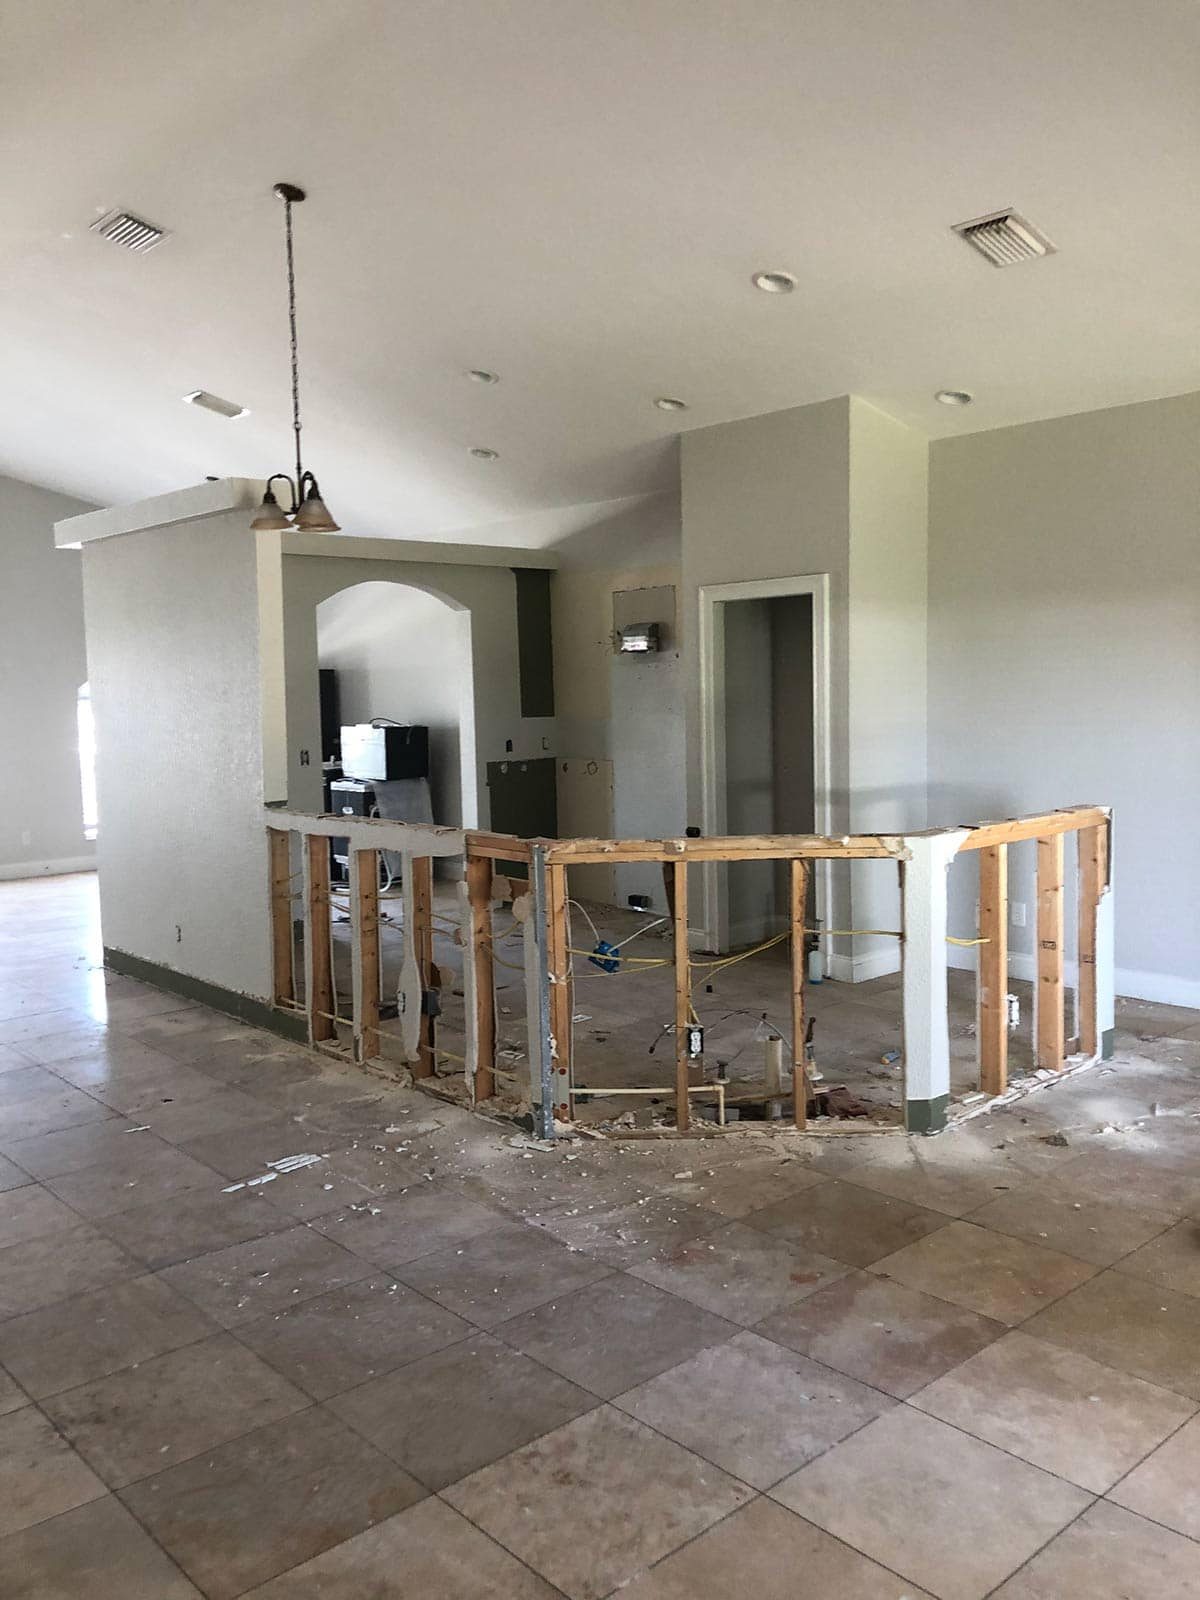
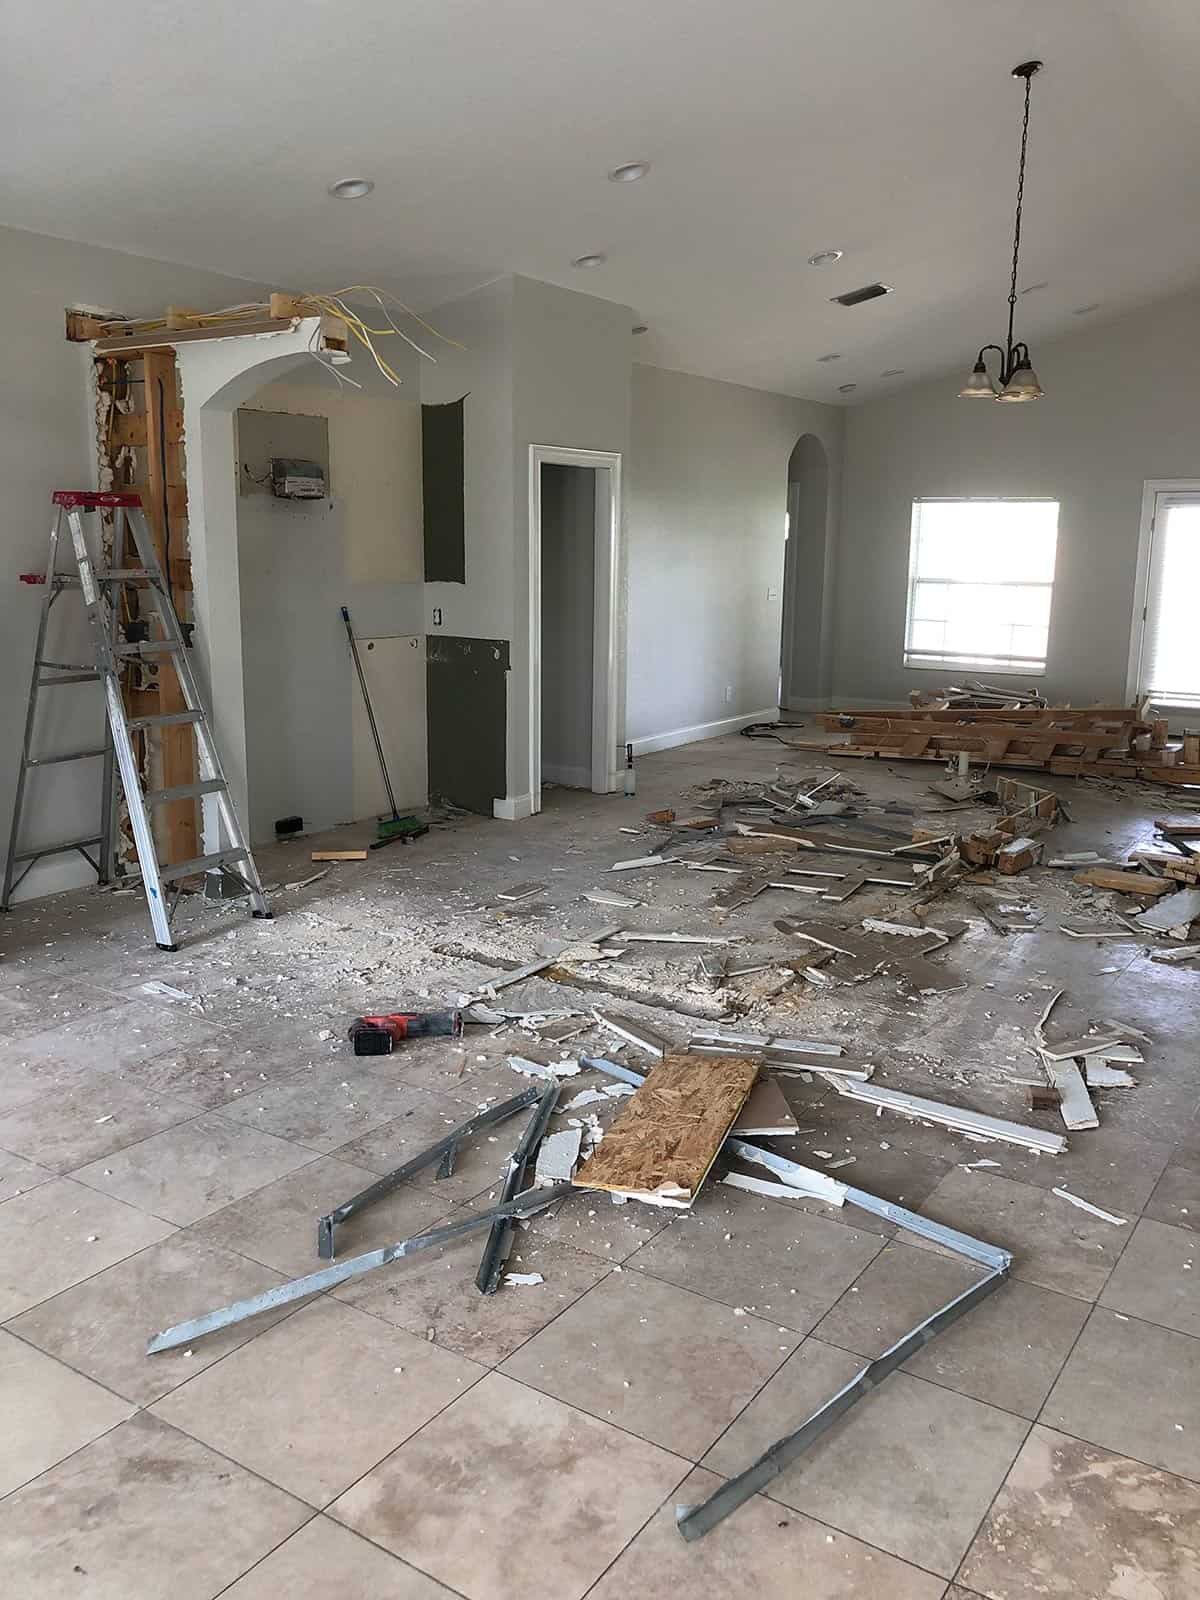
Building the cabinet boxes
For the cabinet construction, we opted forbirch cabinet grade plywood. This is a quality wood available at big box stores, and a cost effective choice (relative to current wood prices).
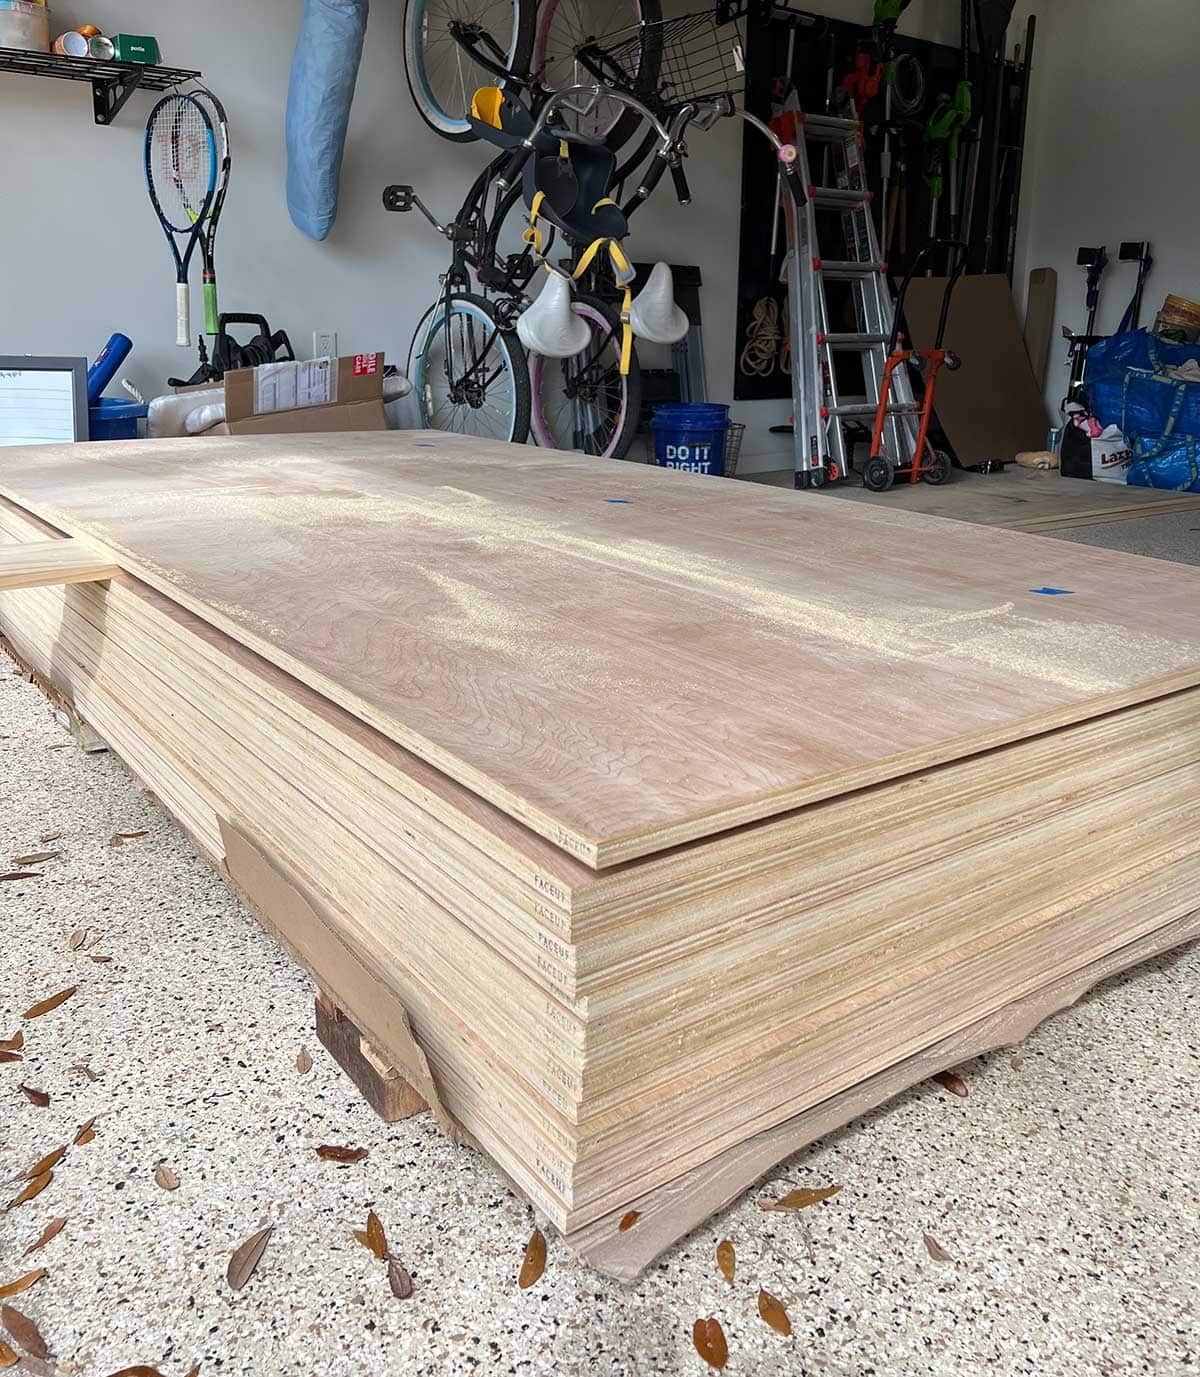
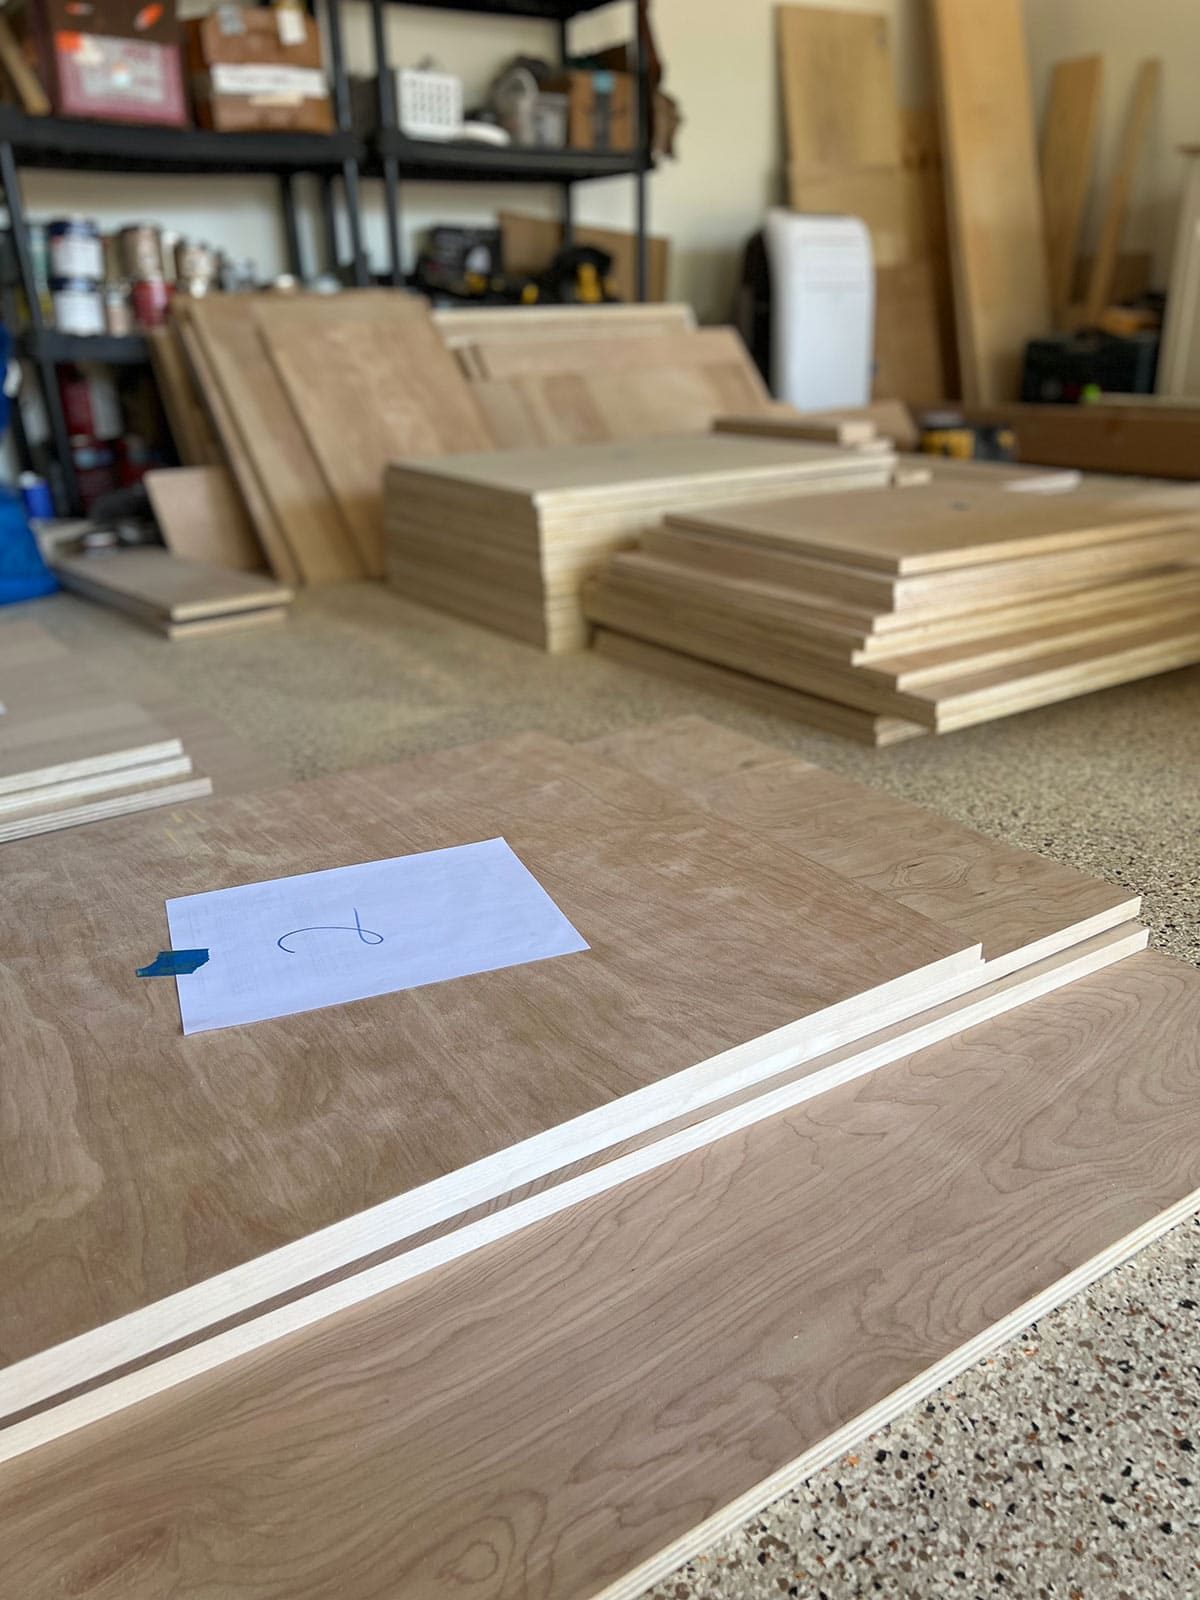
We also decided on a frameless cabinet box construction with full overlay doors. It is the the simplest and most straightforward option, and provides a clean and contemporary look.

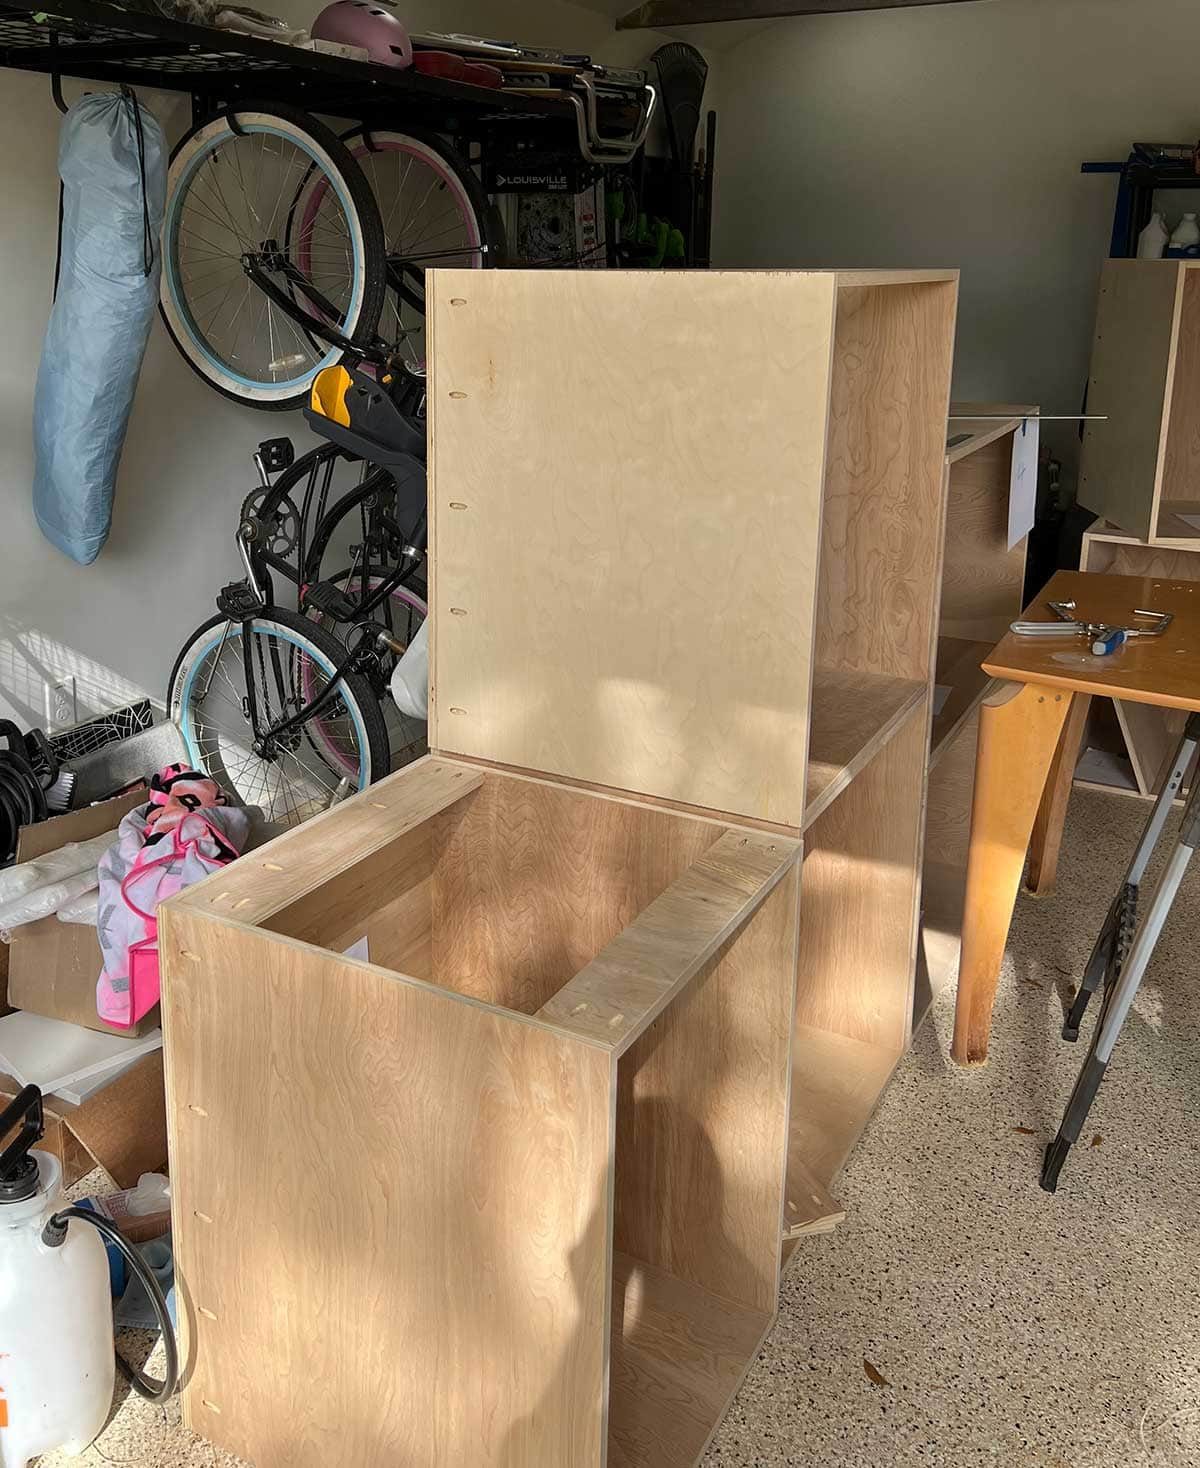
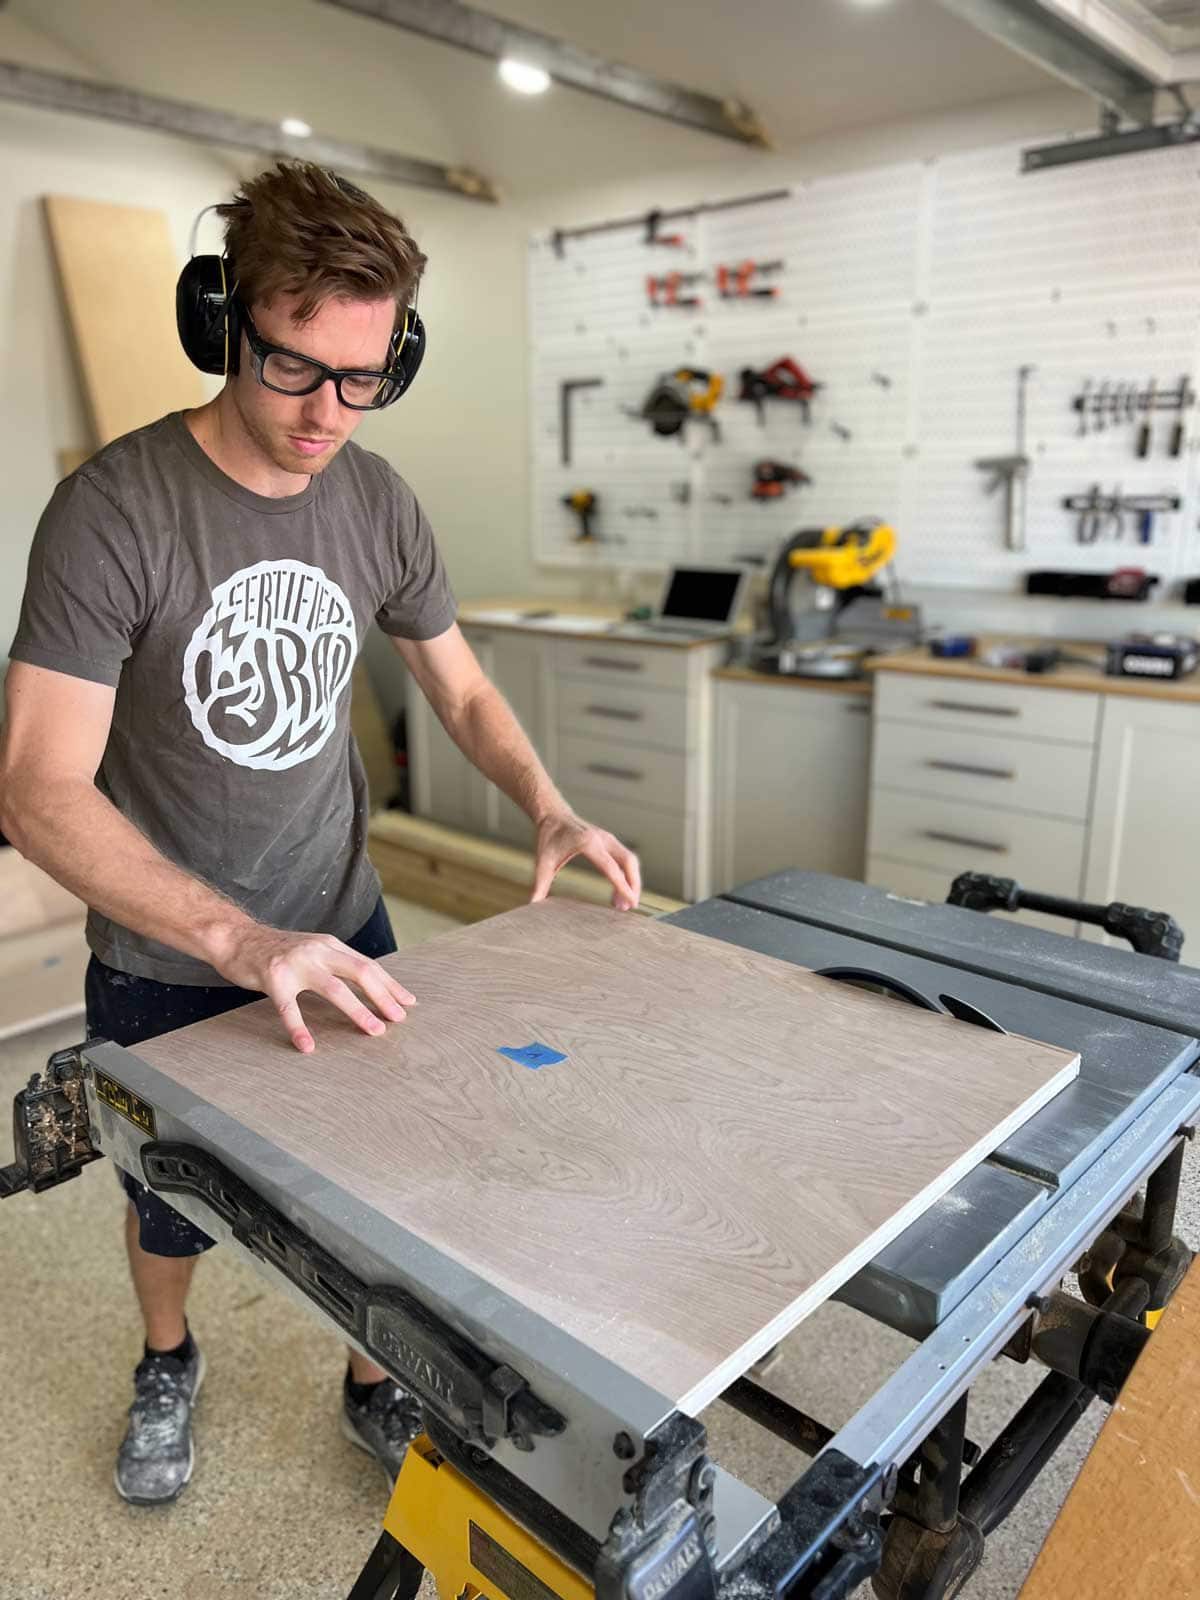
Lucas referenced YouTube videos and blog articles while building the cabinets, and took his time completing all 12 boxes over the course of a month.
It was also his first time using edge banding to hide the plywood edges. A straight forward process using birch veneer, an hot iron to bond it to the plywood, and hand trimmer.
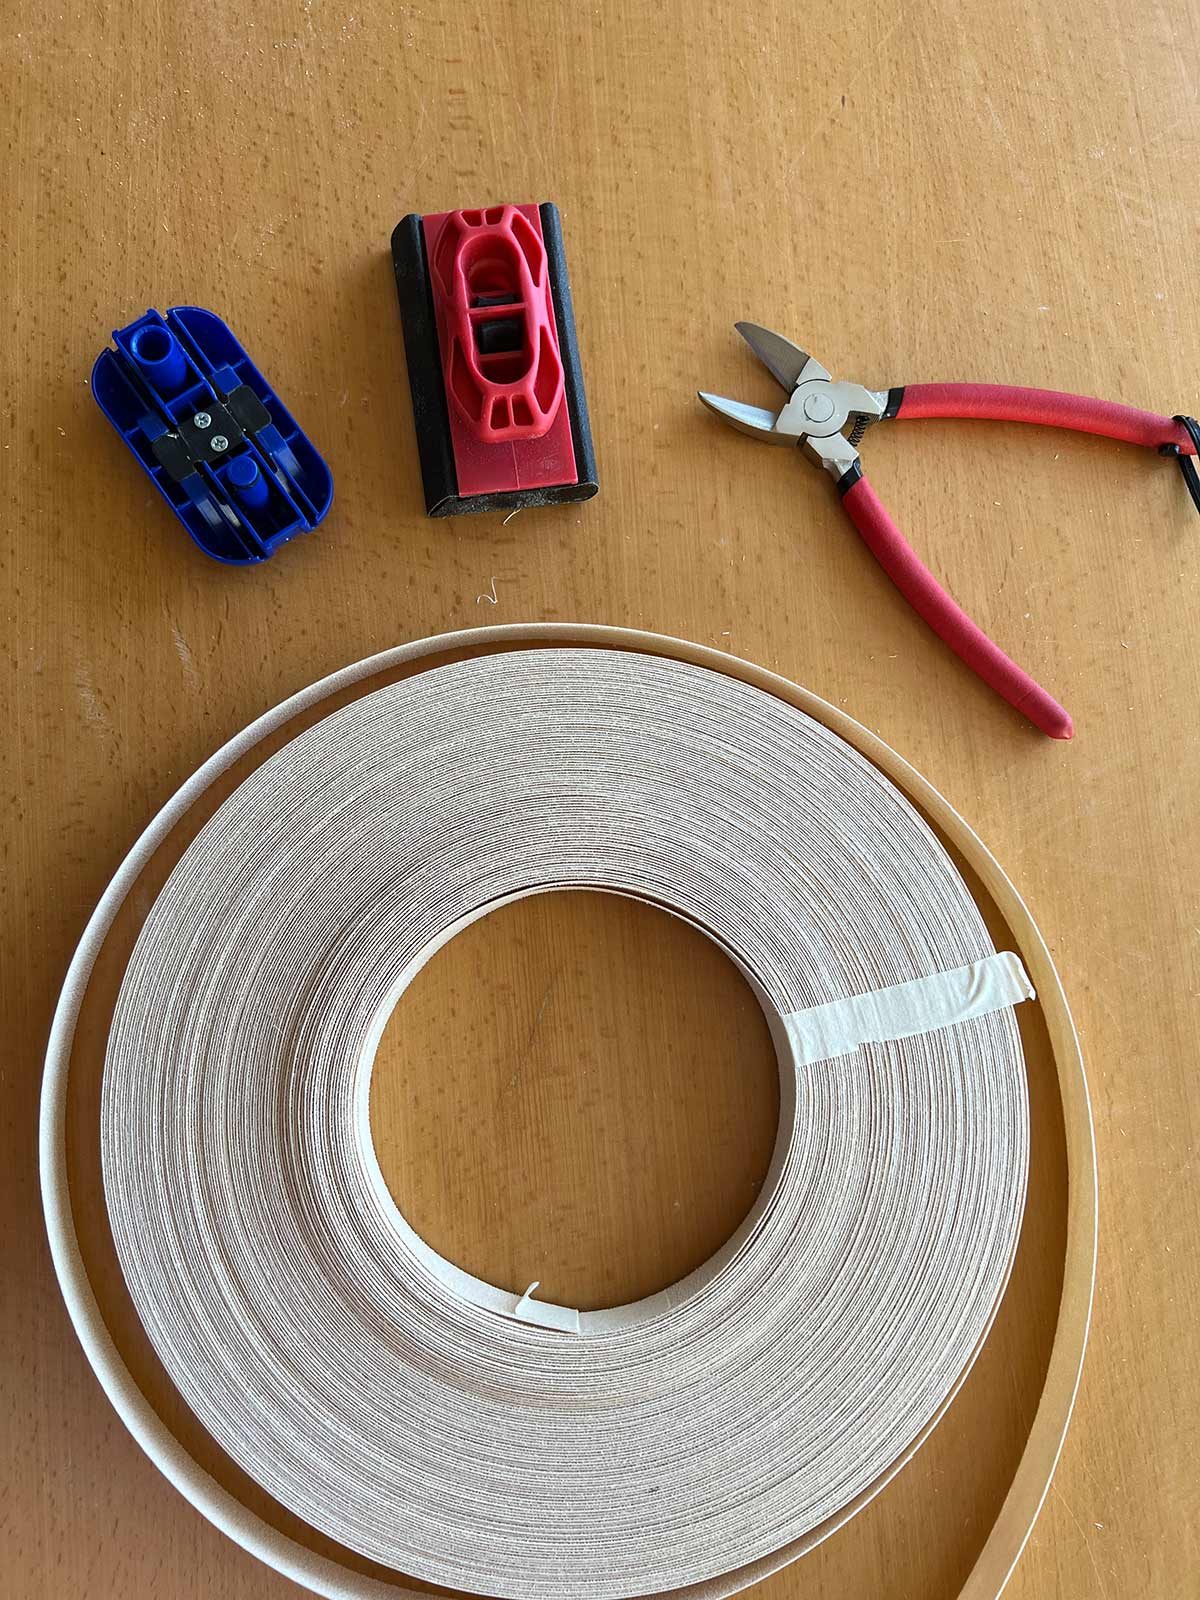
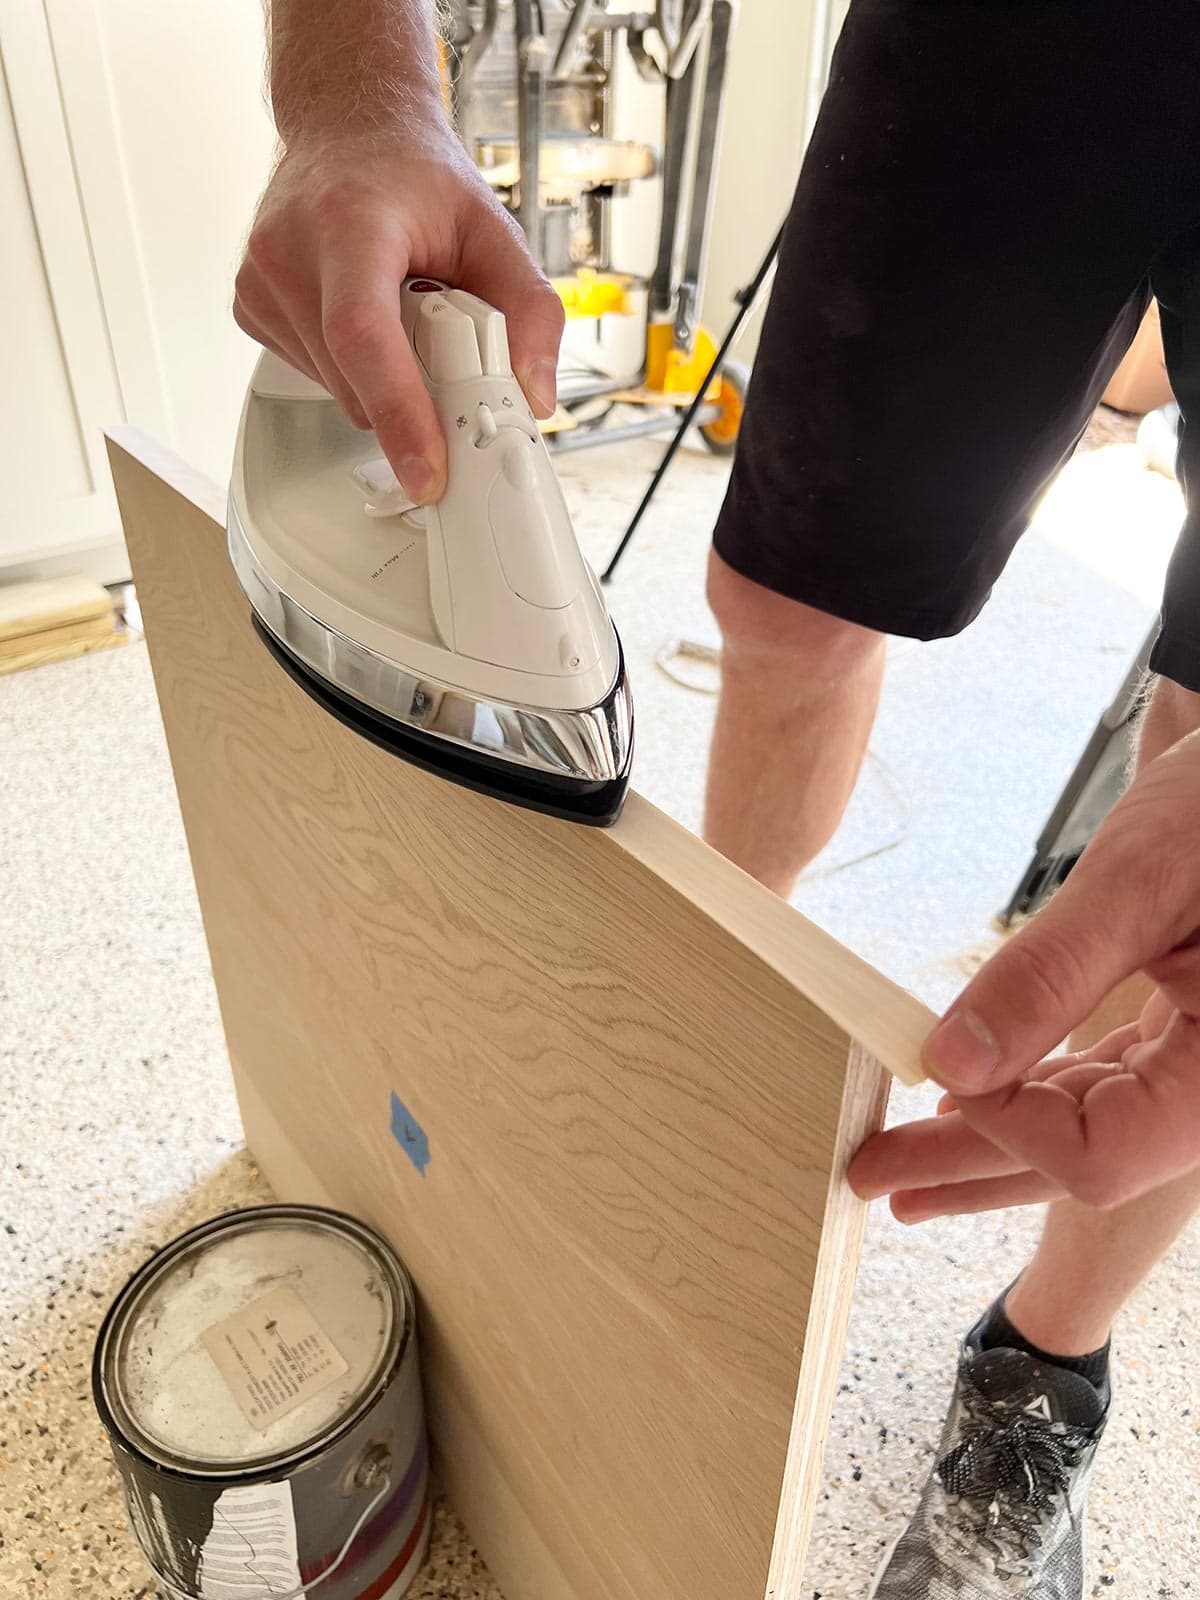
Edge banding genuinely makes the job look more professional, and I would consider it necessary for unfinished edges.
Installing the cabinet boxes
Before installing the cabinet boxes, we needed to build a platform for them to sit on. We first cut out the floor boards, to allow space for the wood to contract/expand with temperature changes.
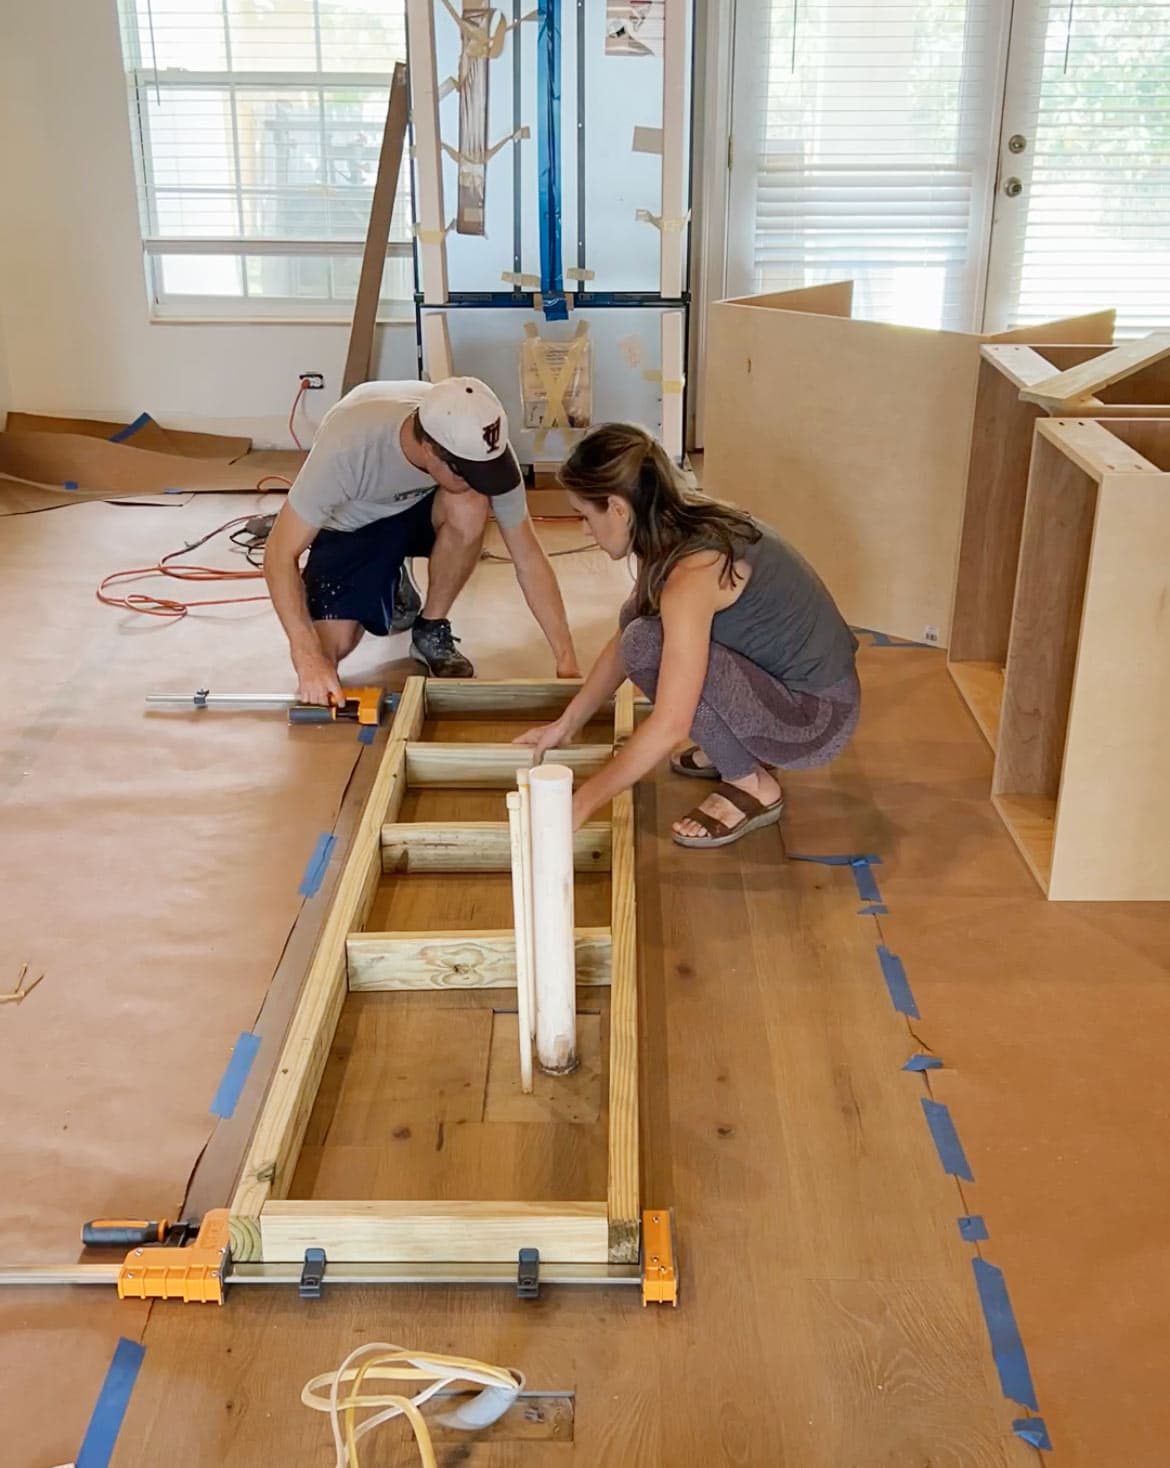
Pressure treated 2×4's were used for the frame, as they are rated for ground contact. We built these a couple inches shallower than normal (standard toe kick depth is ~3”and ours is 6.5”d) to enhance our custom toe kick design.

Once the frames were built, we attached a sheet of 1/2” plywood across the top. This allowed us to have a flat, level surface to attach the cabinets to, and provided some structural reinforcement.

Even with the platform, the individual cabinets still needed some shimming to make level with each other and the wall. Ours still were not well suited, but they were “good enough”. Cabinet install is never a perfectly smooth job, even for the pros!

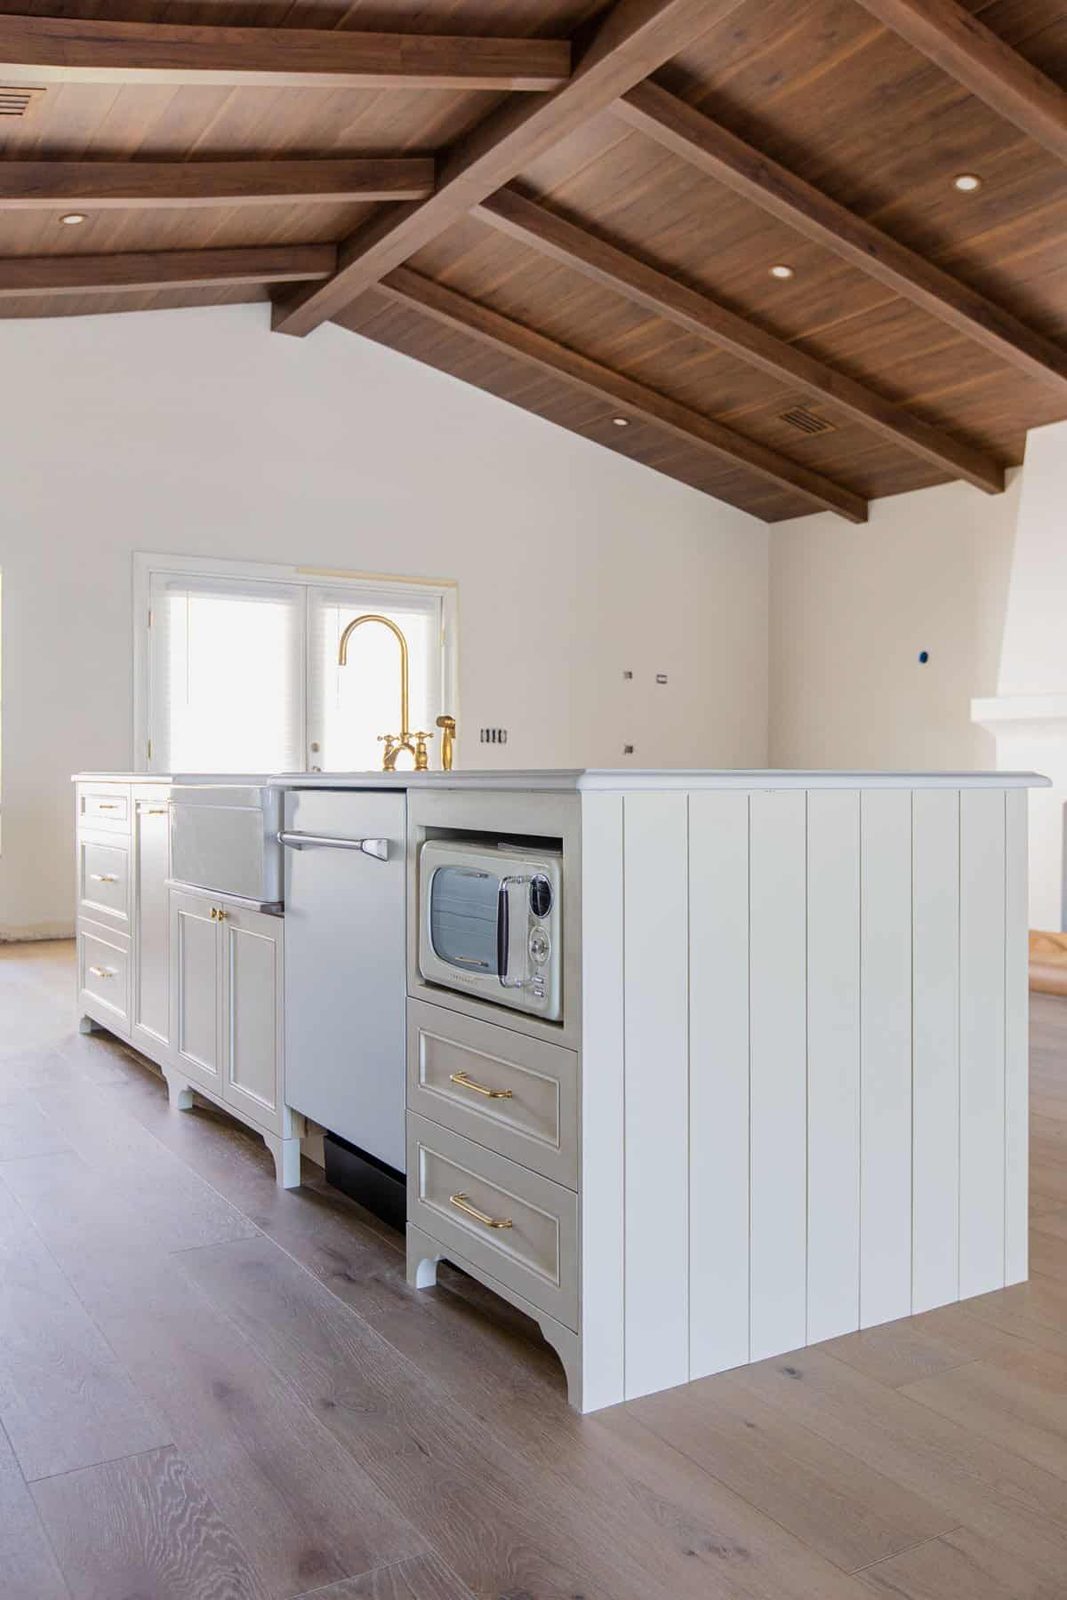
To cover the exposed sides of the cabinets, we used these shiplap planksinstalled vertically. I chose vertical shiplap to use as cover panels—partly because It helps to keep the look, partly because we could not find 3' x 10' single panels to fit our taller cabinets.

Shiplap was also installed around the perimeter of the island, after Lucas built out the sides with 2×4's to support a 12” counter overhang.


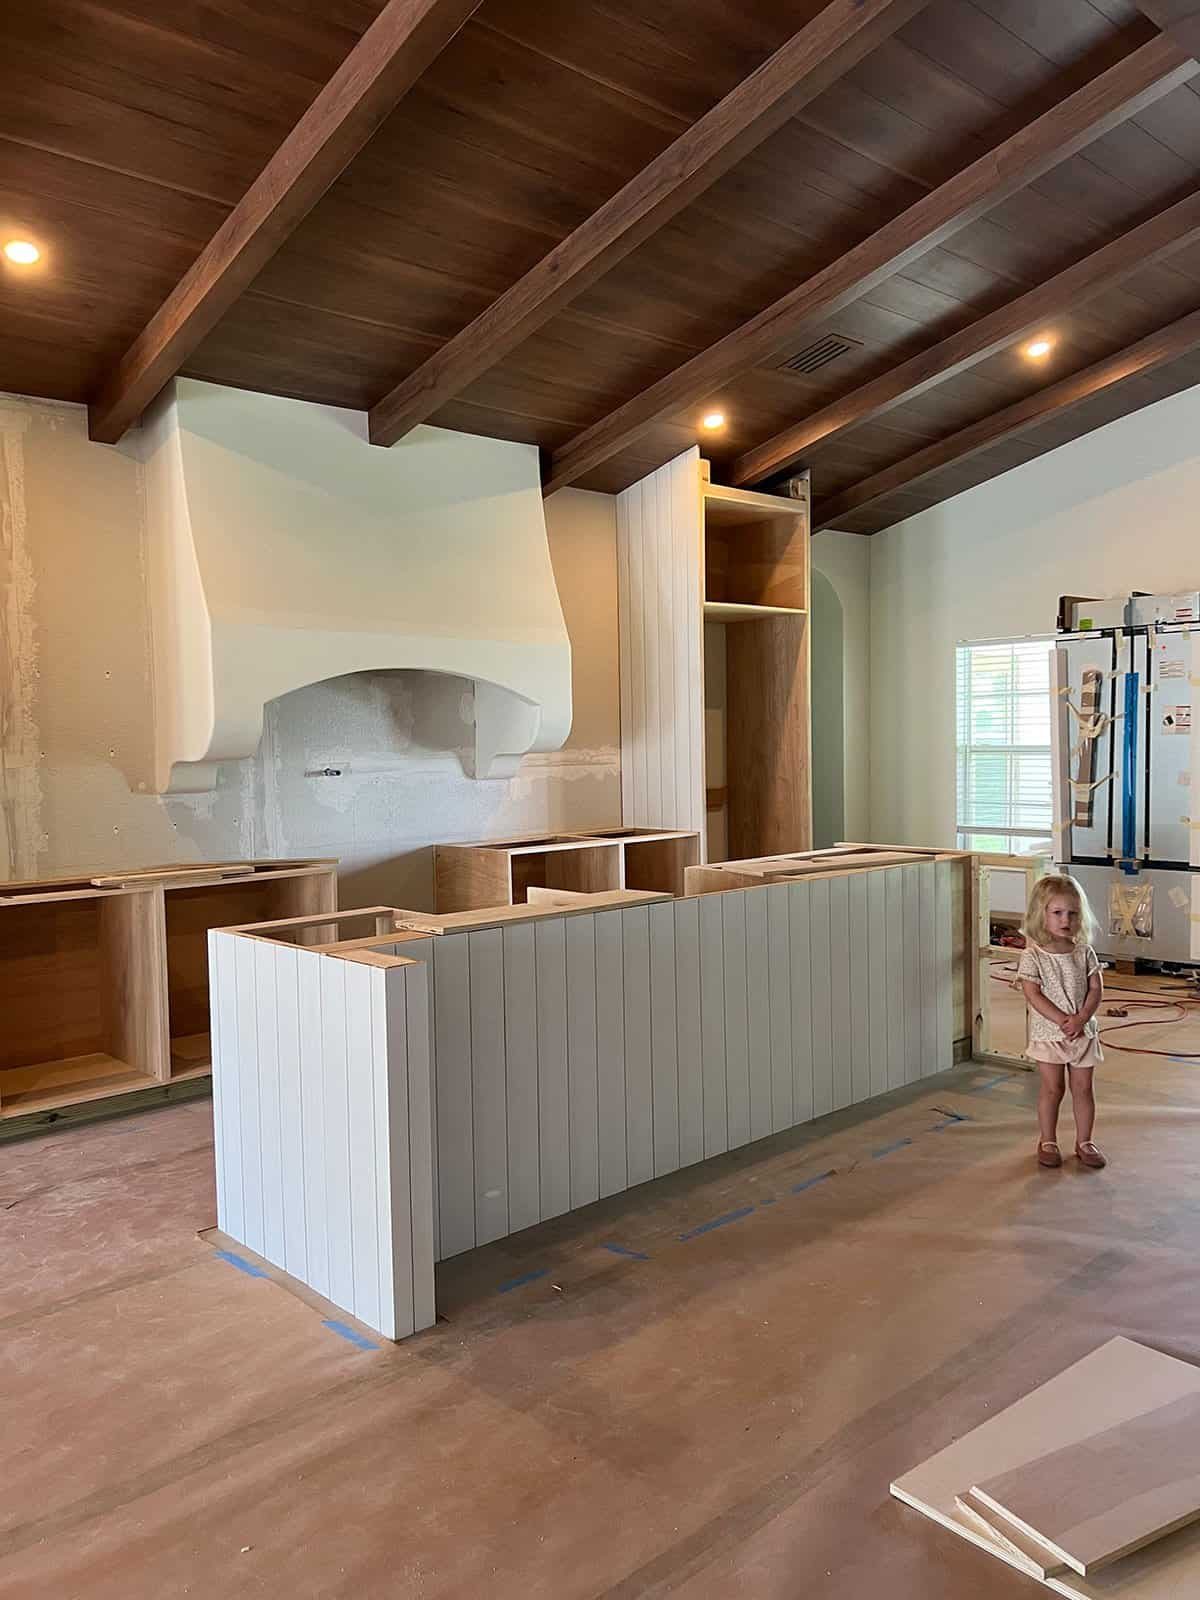
My favorite detail on the the cabinet boxes is our custom toe kick valance, which I explained in a recent tutorial.
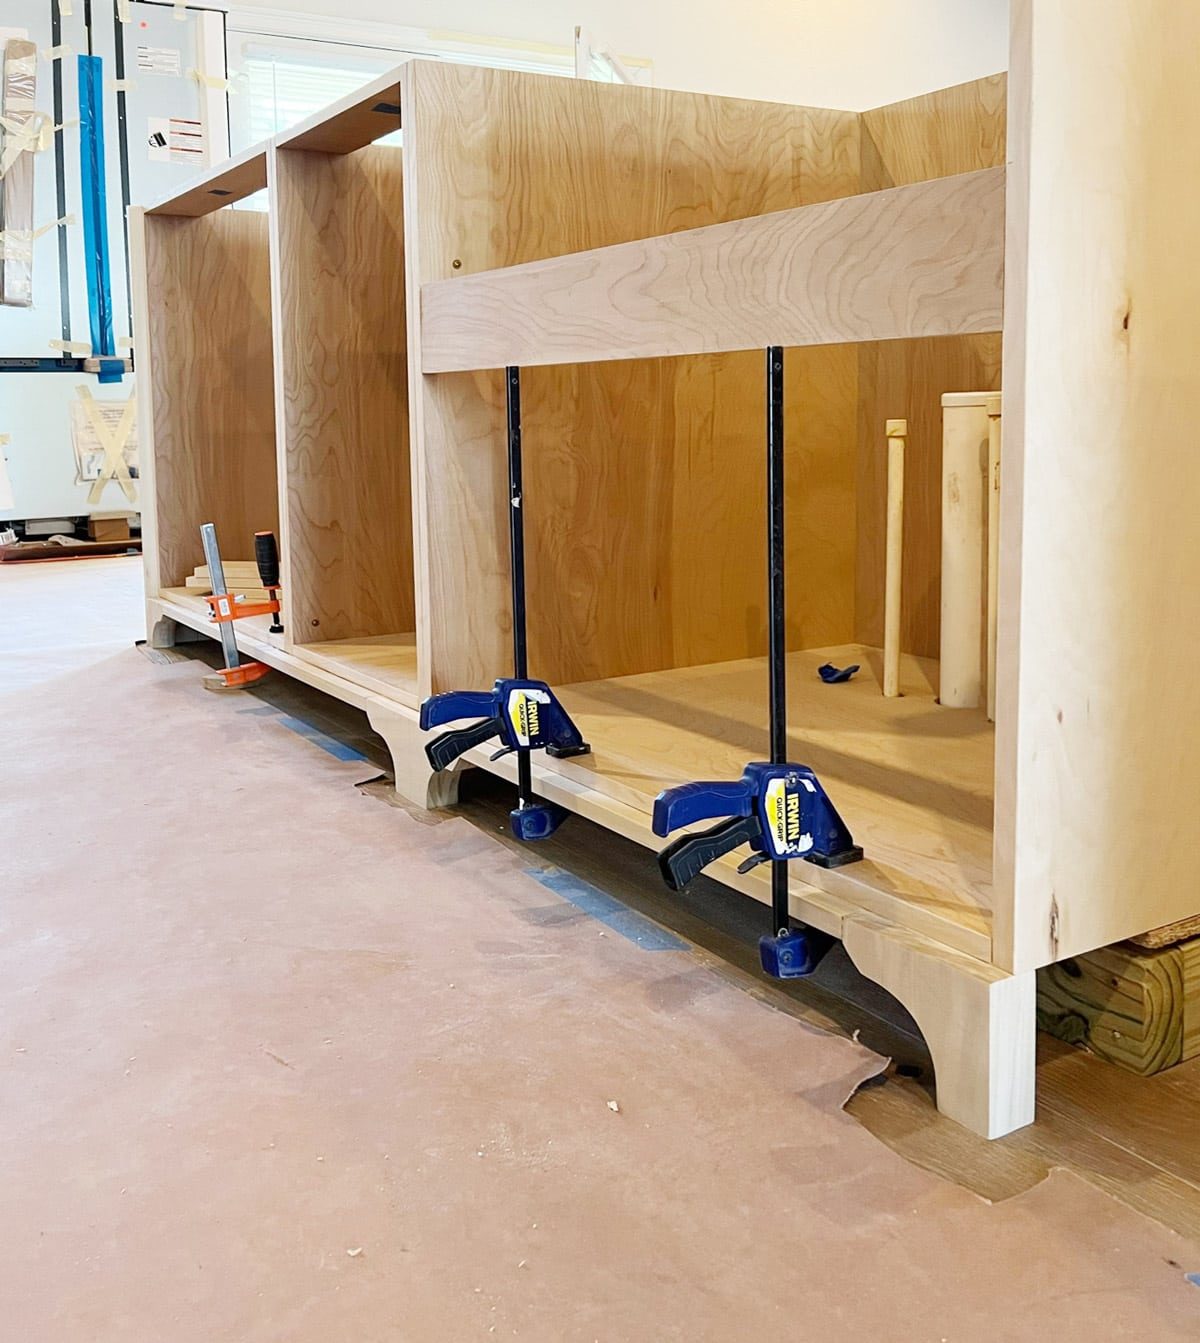
Painting the cabinet doors and trim
Early on while the cabinet boxes were being built, I painted the doors as soon as I could to give them ample time to cure.

Cabinet paint is a huge, important decision that cannot easily be changed. I came across a company called Samplize, who offer hand-painted peel and stick samples in every color.

These samples cost about the same as paint sample jars, and eliminate waste from unused paint. They are much faster and easier than painting boards to test in different lights, and I can reuse them for future projects. I am definitely using these from now on!

Originally I had planned to use blue for the main cabinets, but I changed my mind at the last minute and went with my gut—green. I had a hard time narrowing it down and ultimately landed on BM October Mist for the main wall, and BM Creamy White for the island.

Last time we set up a spray painting station in our garage, but the garage was taken over by the cabinet build, so The choice was to roll them on this time. I was also curious to see how the finish compared to a sprayer—and conducted a test to find the best paint roller out there.
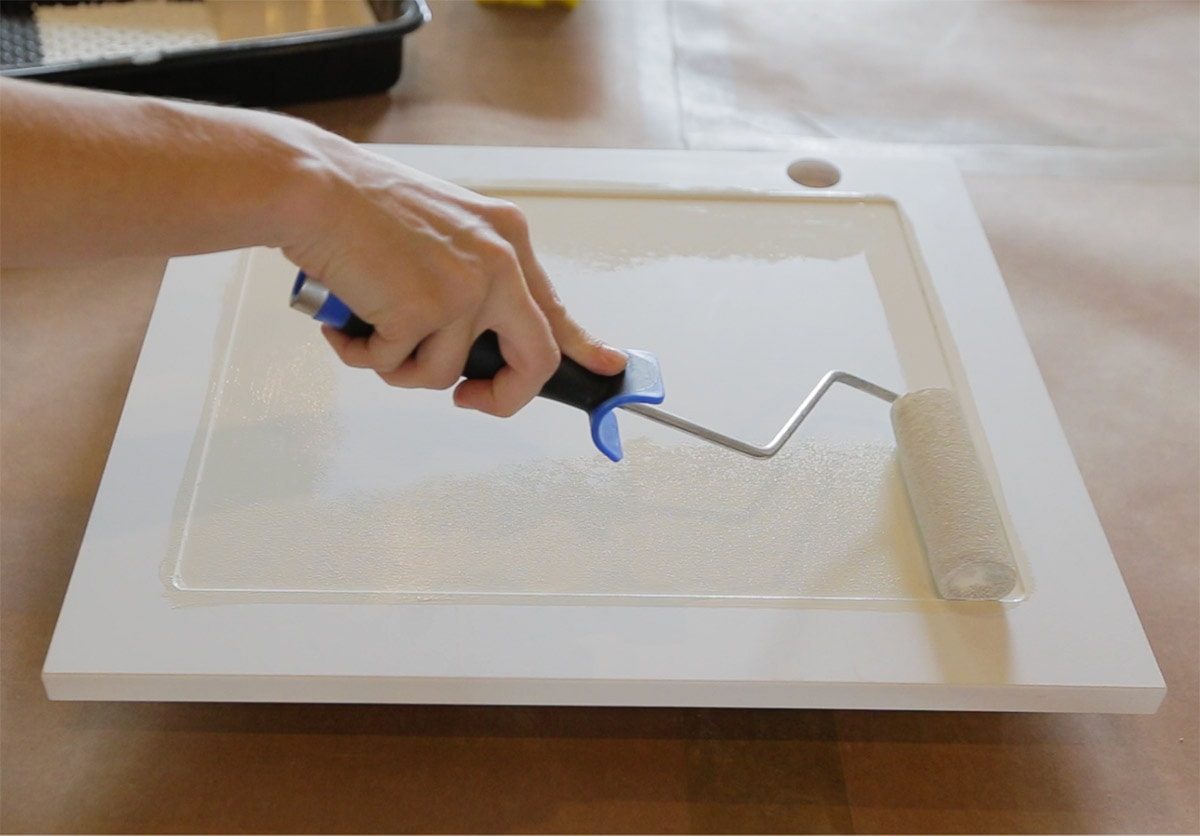
With my winning paint roller and BM Advance paint in hand, I spent a week painting all 20 doors and drawer fronts.
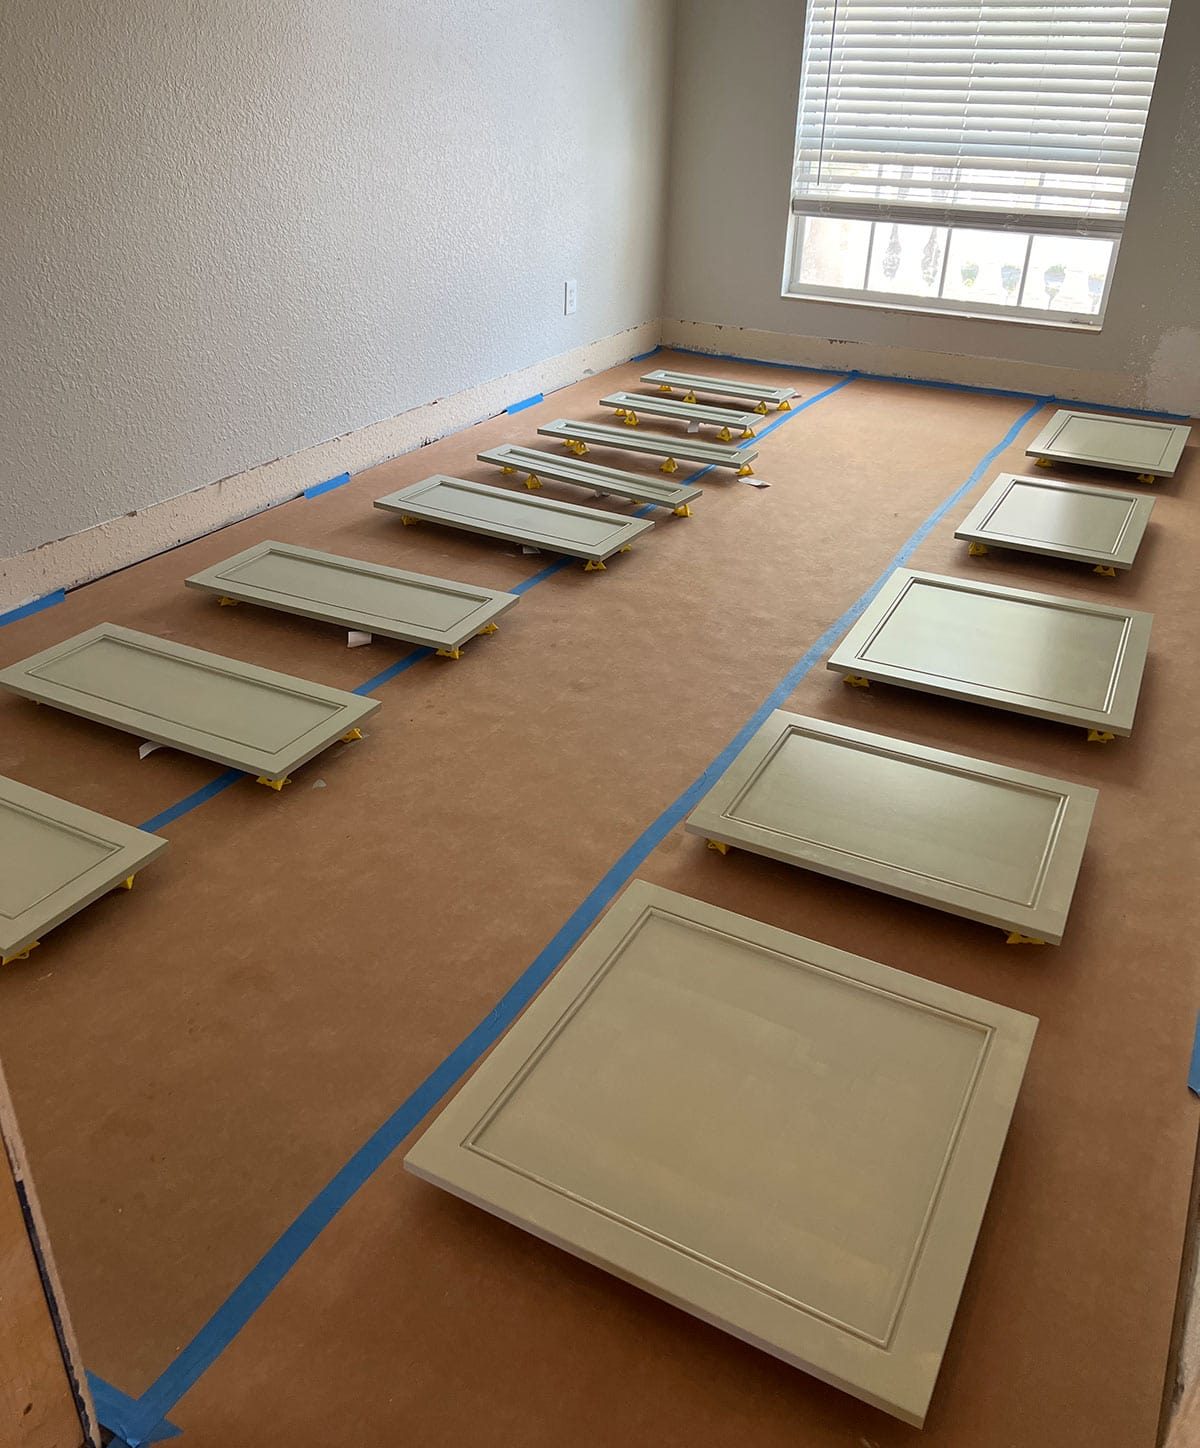
The verdict? I would definitely hand paint cabinet doors it again. It might take longer overall, but it is less of a hassle and logistics involved than prepping for spray. And I do not think the difference in finish is that noticeable at all (I will say, both methods take practice to get good results!)

The shiplap and trim was primed, then taped off and spray painted after installation. It is definitely a quicker job with a sprayer, and much easier to get into the grooves. The inside of the cabinet boxes were also sealed with a clear matte poly varnish for protection.

Installing the doors and hardware
This stage is the moment of truth and the most nerve wracking part—will all of the drawers and doors fit perfectly?! Thankfully, Nieu supplied the drawer boxes along with the drawer fronts, and top of the line Blum hinges. Basically, all we were responsible for was making sure the cabinet boxes were built to the right size and square.

To make the install as fool-proof as possible, we used a Kreg Jig drawer slide jig. This proved to be extremely helpful (especially for us beginners) and I would highly recommend them to save time/headaches.


It was not 100% smooth sailing, however. I optimistically chose a tiny 1/16″ reveal (the space between doors/drawers—it is more than 1/4″ in our own kitchen, for reference) which left ZERO room for error. It turns out our cabinets were not perfectly level in some places, and the uneven spacing was definitely visible.

On one cabinet, we had to cut two of the drawer fronts down to fit because our trim was just slightly too narrow. There were a lot tiny of adjustments back and forth, and the reveal along the bottom of the bottom drawers is not even all the way across if you look closely.
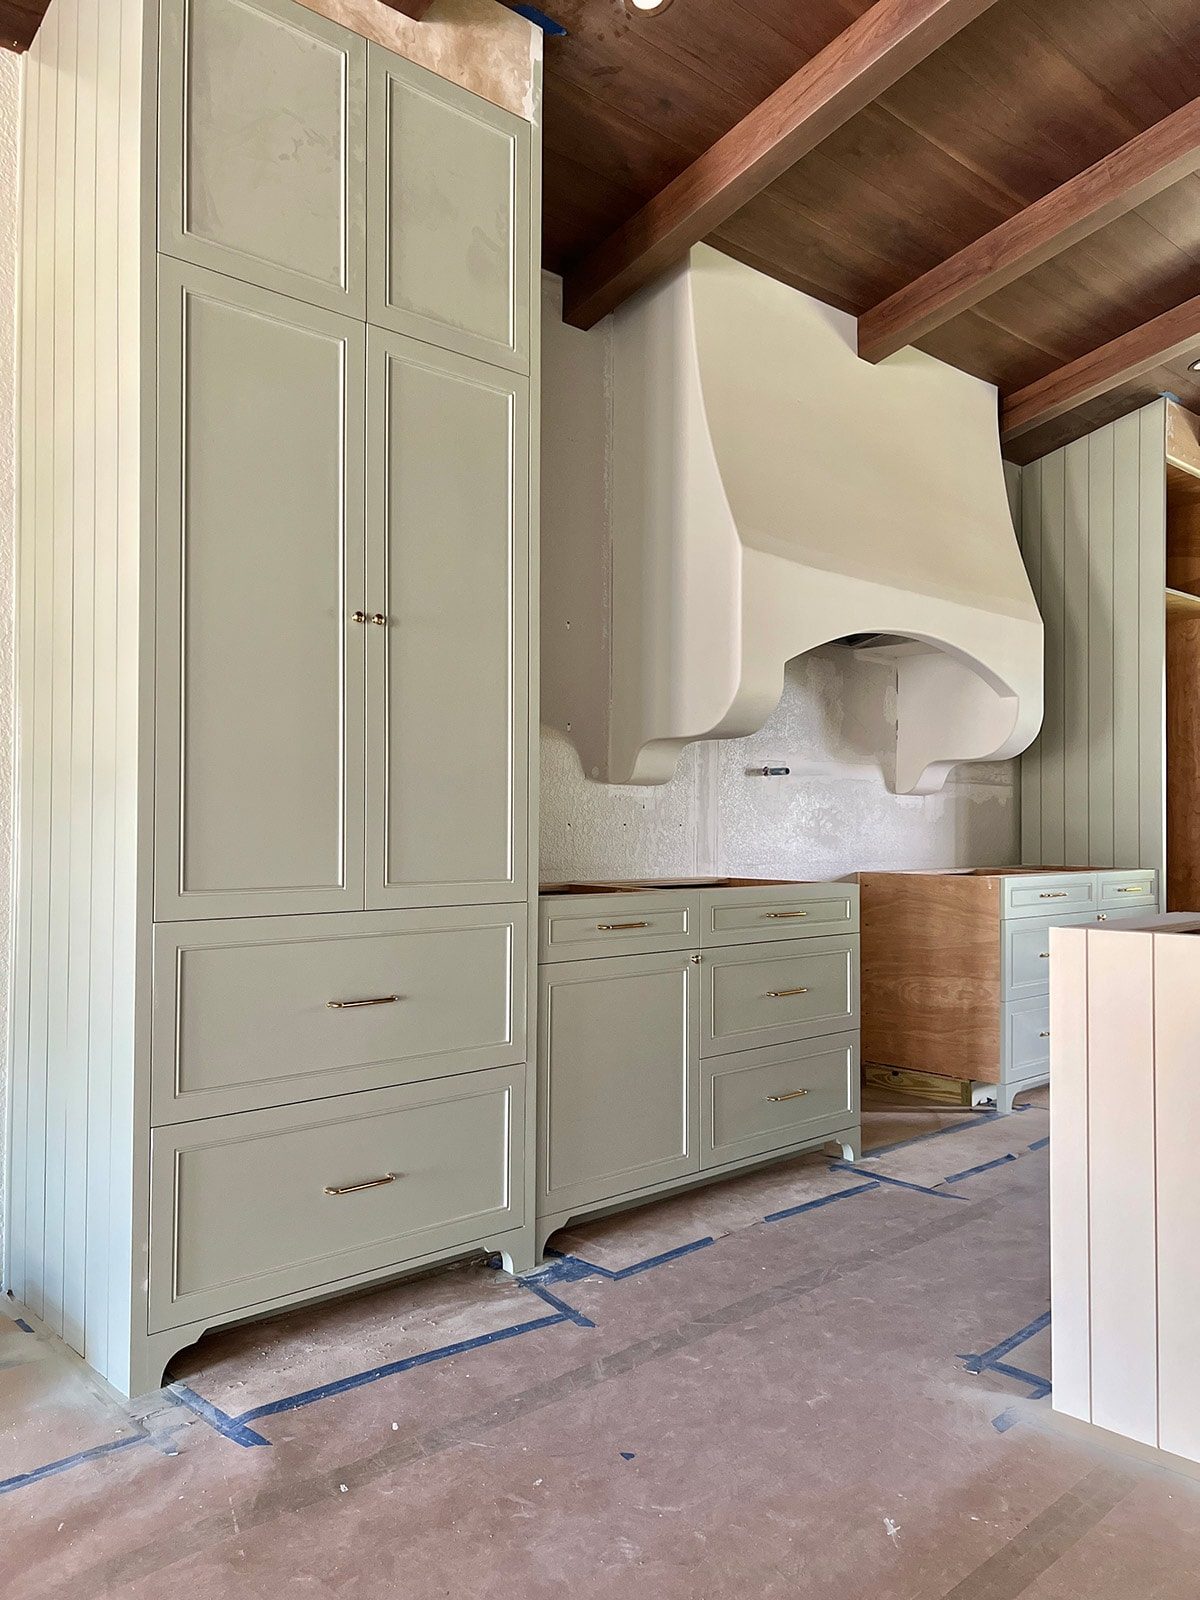
But honestly, I was expecting it to be worse with the level of perfection required—so I am quite happy! Only time will tell if things shift around and I end up regretting not going with a more sensible 1/8″ reveal.
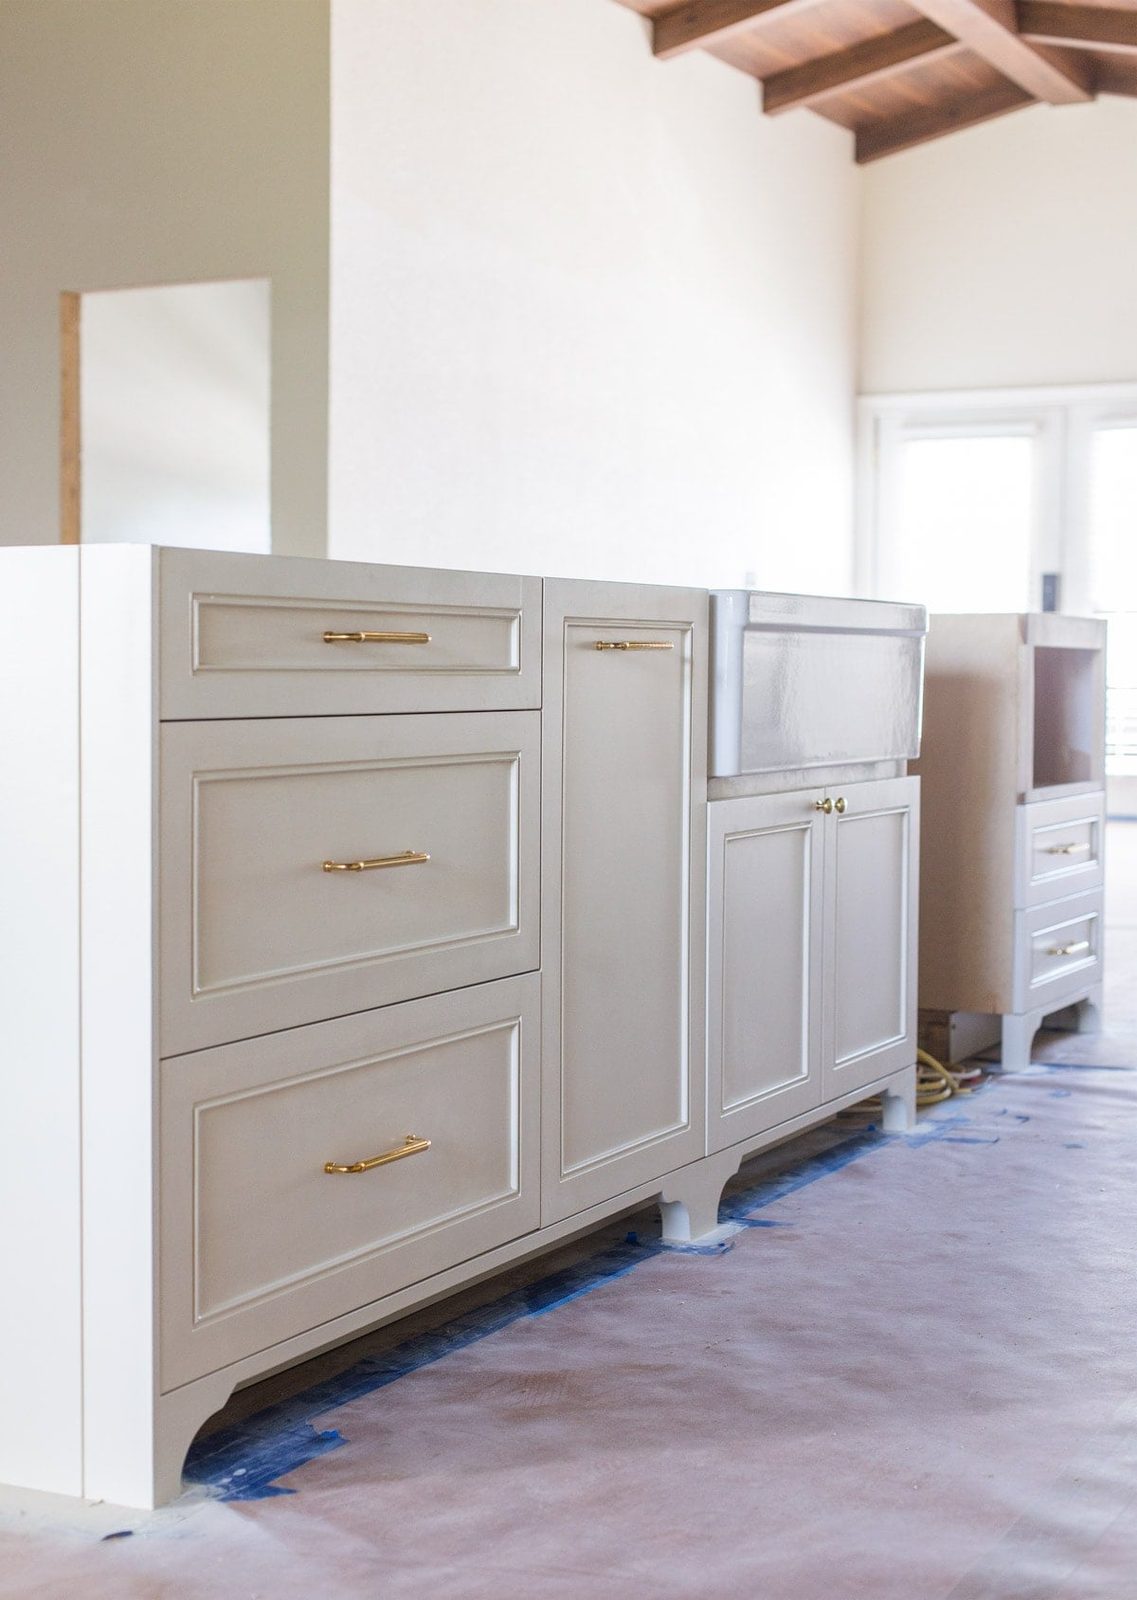
For the drawer fronts and hardware install, we bought this cabinet hardware jig. This is another handy tool that proved to be invaluable and save a ton of time. You center it on the drawer, set your pull spacing and drill the holes. Then you position the drawer front onto the drawer, attach the drawer front to the box and install the pulls.
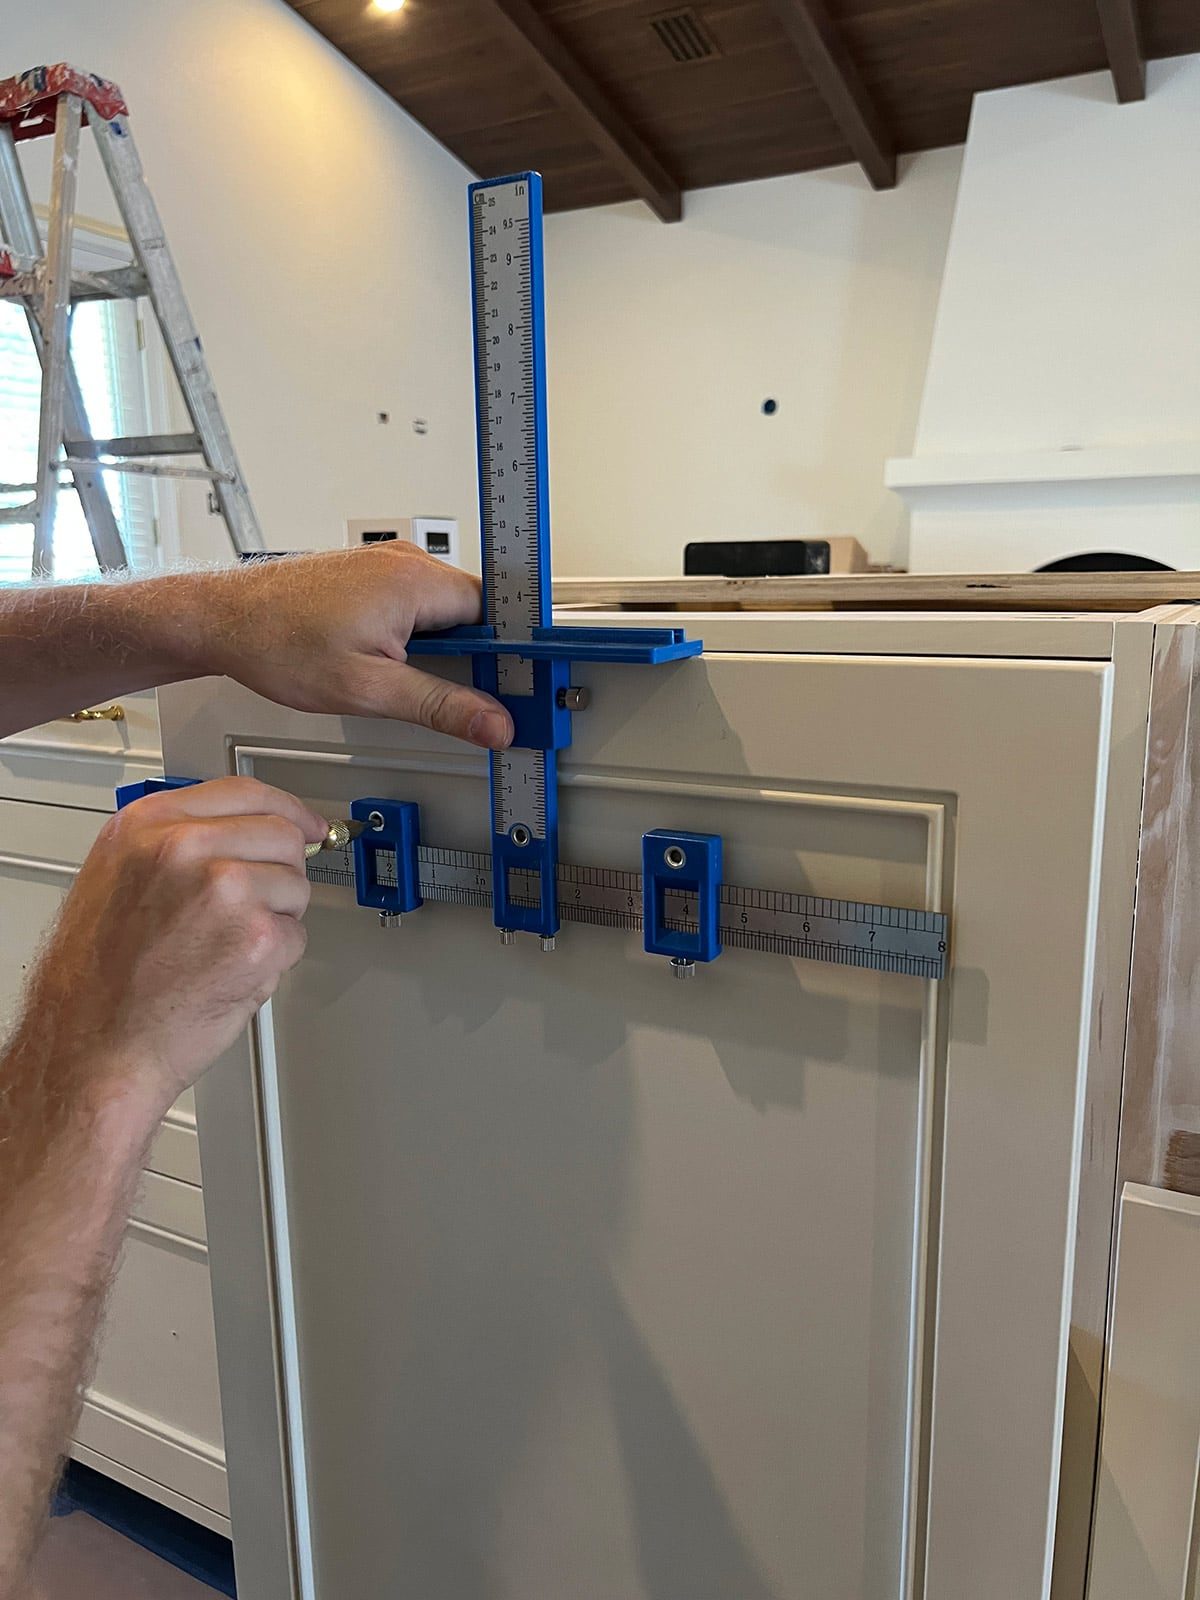
You can see the process in action inthis reelI made for Instagram.

For the hardware, I chose Baldwin Hollywood Hills 6″in unlacquered brass, along with matching appliance pulls, and 1″ unlacquered brass knobs. I cannot wait to see the well composed patina finish over time!
Cabinet Reveal
The kitchen is not finished yet, but the hardest part is over! This is how our cabinets look now:

Do not look too closely—we still have some touch up painting to do and deep cleaning. The polished shots will come in the full kitchen reveal.

I still cannot believe this is a DIY job. You would never know! So proud of Lucas for the countless hours he put in over the last four months. His attention to detail genuinely paid off, and I think this is his most impressive work yet.

I had my hesitations at first, but in the end, building custom boxes & ordering the doors/drawers proved to be the right decision for us. It was the well suited compromise of getting a fully custom kitchen, without having to build it all entirely from scratch.

Challenging enough for us to learn from and work through it, but not so difficult that we wanted to give up.

And certainly, a fraction of the cost of hiring out skilled carpentry work to end up with the same result. We paid for it with our time, but we'd do it all over again in a heartbeat (you can bet there will be more DIY cabinets in our future).

The kitchen feels much more complete now with our appliances in. I chose this Z-Line 36″ matte white dual fuel range, and their matching dishwasher. We plan to add a filler piece underneath the dishwasher to make it look more built-in.

I was most nervous about getting the fridge to fit… but somehow, it fit exactly well suited. It just looks like another cabinet! There is no wiggle room at all so let us hope it does not shift over time.

Cost breakdown
| Cabinet box & frame material | $1,404 |
| Cabinet doors & drawers, hinges + slides (retail cost) | $7,584 |
| Paint/primer/poly + supplies | $318 |
| Shiplap & trim pieces | $1,089 |
| Pulls and knobs | $1,104 |
| Misc supplies | $63 |
| Total | $11,562 |
I mean…. what?! Pinching myself over here at that number.
Note that this is only the cost of the cabinetry—no appliances, electrical work, countertops or any of the tools used. We partnered with Nieu Cabinet Doors so our cost was quite a bit lower than the figure above, and of course—the labor was free 🙂

Also worth noting that we have not added any shelves or drawer organizers yet. Those will come after we have a chance to get caught up on all of our other projects!
Q&A
Why did you choose full overlay over inset doors?
The original plan was to build inset cabinets, but many of you talked us out of it. While well composed, they are not the most practical option—between temperature changes causing the wood to contract/expand (especially here in humid FL), exact precision required for the build/installation, and increased wear & tear of a rental, it just was not worth the risk. I also knew we could find a way to give the illusion of inset cabinets with cover panels and toe kicks, and I am so glad we went this route!
How long did it take to receive the doors?
The final order was submitted on Dec 23, and they arrived on Feb 18. Just over 7 weeks!
Approximately how much was saved going DIY vs hiring a contractor?
To get the same results, we would have had to hire specialized carpentry labor, and that was not even worth us entertaining. Our builder friend just mentioned yesterday that he's getting quotes for $110k+ just for cabinetry. I spoke to a custom cabinetry builder on IG and they said their cost for materials alone would run $45-$50k for a similar kitchen. Let us just say, we saved enough to make it worth four months of our time 🙂
Estimated cost for this project vs. an Ikea kitchen?
We did not price out Ikea cabinet boxes, but I imagine they'd be at least 2-3x the cost of our boxes (those ran $1404 for materials). We would have customized them with the same trim and Nieu Cabinet Doors either way, so everything else would be equal.
Where else can I buy just the cabinet boxes?
There are countless avenues these days—from big box stores to small online operations. Just Google “kitchen cabinet boxes” and you will be bombarded with options. The prices will vary depending on the quality of the materials and build—from particleboard and RTA (ready-to-assemble), to high quality wood with dovetail joints and ready-to-install. I have personally never gone this route, although I would look into this first if we were not able to build our own boxes.
What was the most difficult part of the cabinet installation?
Getting everything perfectly square and level. No matter how careful you are, there always seems to be something off (it happens to the pros too, so I do not feel too bad!) Of course, I made things more difficult by choosing a 1/16″ reveal which left no room for error. This was my biggest hesitation about building our own cabinets, and I was prepared to settle for 90% well suited to get this look. I would say we are at 95%, so I am happy 🙂
Why did you choose unlacquered brass hardware?
I probably spent more time researching hardware than anything else in this kitchen. Brass/gold finishes are tricky to get right without looking cheap. I genuinely wanted our appliance pulls, sink faucet and pot filler to match the hardware for consistency—especially since there is plenty of other colors/patterns in the space. I searched high and low for reasonably priced, matching fixtures and came up short. The beauty of raw brass is that they are all the same material, no matter which manufacturer you choose. I have always loved the look of UL brass and the charming patina it develops over time—the cost and maintenance was my only hesitation, but for this kitchen, I think it is worth it.

We can finally exhale now that the hardest part is over, but we are not done quite yet! Here is what's left to do in the kitchen:
- Install sconces and pendant lights
- Build shelves
- Hook up plumbing
- Venetian plaster range hood
- Add shelving/drawer organizers
- Counter stools & accessorize
What's your favorite part so far? Were you surprised by anything? I know I condensed plenty of info into one post, so feel free to ask away if you have any questions! See you back next week for more kitchen progress,

Looking for more? Look at these recent kitchen posts:
- 8 clever ways to hide kitchen outlets
- 10 unfussy ways to upgrade cabinets
- How to add decorative toe kicks
- DIY Range Hood