DIY Faux Stone Planters
Learn two unfussy methods to make DIY stone planters! An easy and inexpensive alternative to expensive planters. Well suited for beginners!
Remember last year when I made these hypertufa planters?


This was one of my all-time favorite 'look for less' projects and I knew there would be more in my future. When the opportunity arose again recently, I thought it would be fun to experiment and see if I could find an even easier and faster technique.
I am loving the fluted concrete trend, but not the price tag—like these $150 planters from Pottery Barn, similar for $88-138 from Terrain, $180 from theBuildCluband $230 from Williams Sonoma.


So of course I jumped on these large fluted potsI found at Walmart—only $30 for two! Update: you can nowfind them here, in white (if you are lucky enough to catch them in stock!)
I bought two sets and they have since sold out (no surprise) but you may still be able to snag one of the galvanized planters.

Since I had two sets to work with, The choice was to test out two different techniques. Today I am sharing the results—one is a variation of my original hypertufa planter, and the other is a quicker and less messy approach. Both have pros and cons! Let us dive in…
Faux Stone Technique 1: Stucco Patch

- Ready mix stucco patch
- Peat moss(or dirt)
- Beige/gray paint
- Paint brushes
- Coarse sanding block
I did some research and came across a tutorial that recommended stucco patch to achieve a faux concrete finish. I just happened to have a tub handy, well suited!
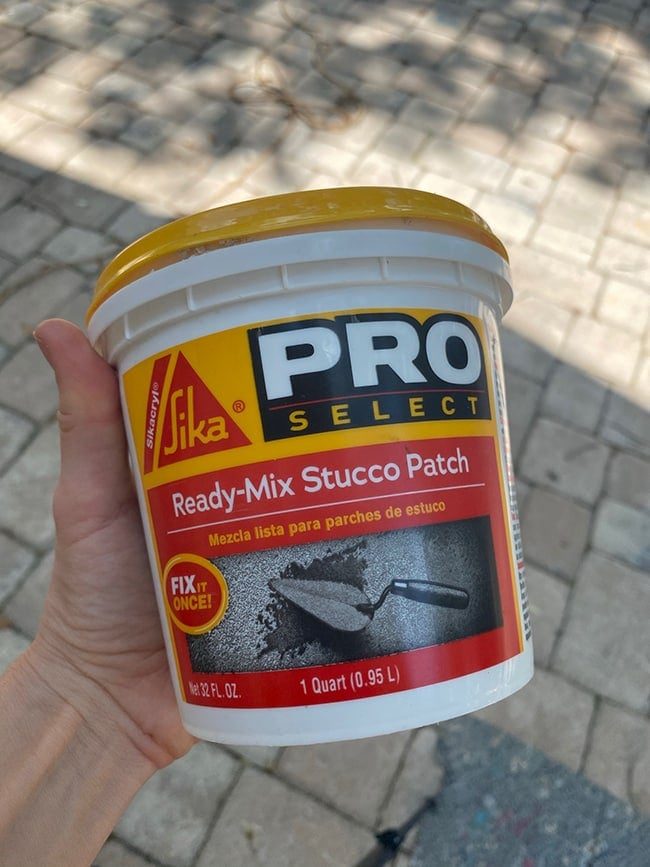
To give it more dimension and a dirt texture/coloring, I grabbed a bag of Peat Moss leftover from my last hypertufa planter project. For this technique, I used the two smaller 12″ planters:
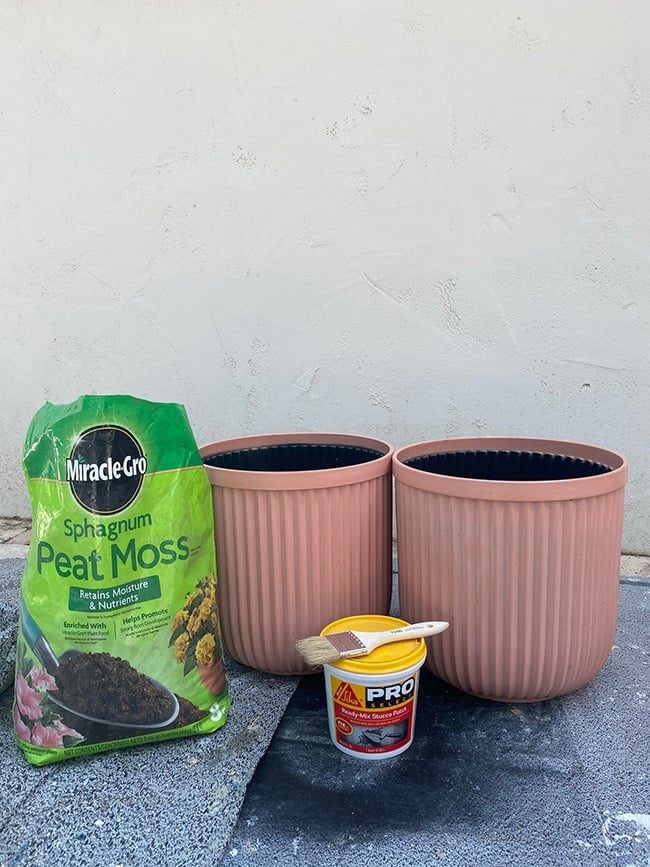
The stucco patch is a grainy texture that spreads pretty easily, but it does not apply well with your hands so you will need a brush.
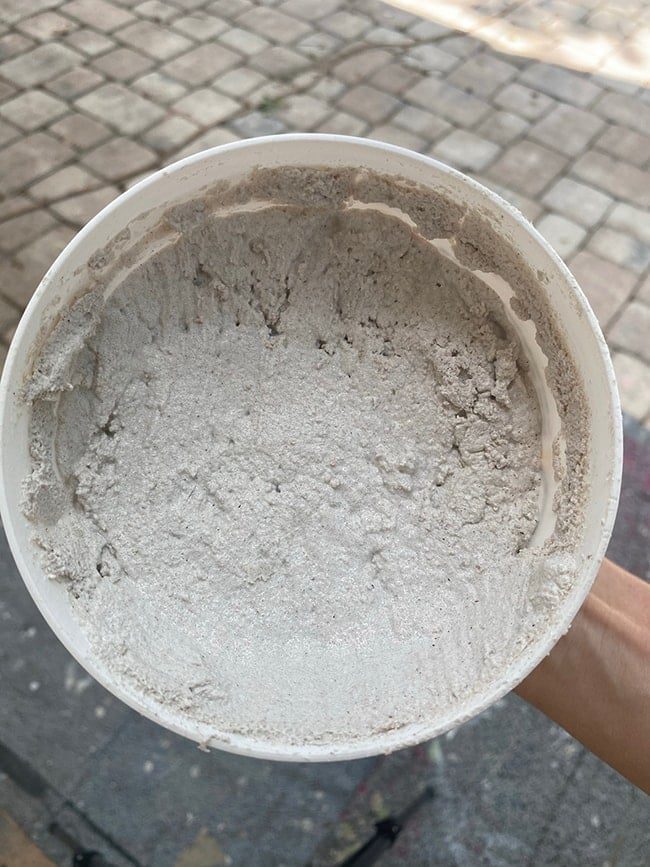
The aim was to completely coat the outside to give it a 'stone'-like texture, but still keep the shape and definition of the ridges.

It went on nicely at first, but the brush became gunked up pretty quickly so I had to have a few different brushes on rotation and wash them out as I went.
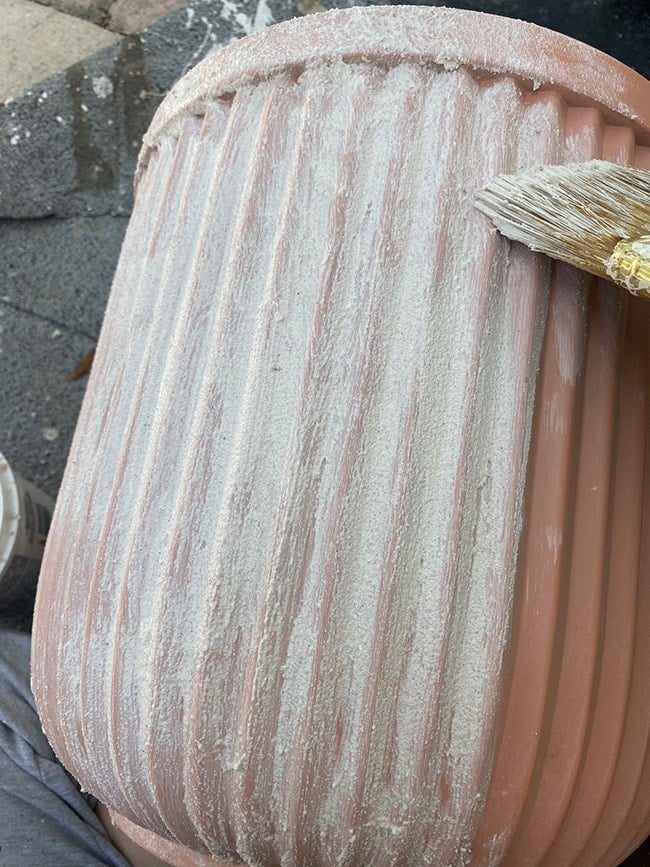
I also could not get a very thick layer on the first pass, so I had to cover it entirely and let it dry for another round.

Fortunately, the stucco dries pretty fast. It was dry enough to reapply in 30 minutes or so.

The second layer went on a bit easier without the slick planter surface, and I alternated between brushing and dabbing it on to create a varied texture.
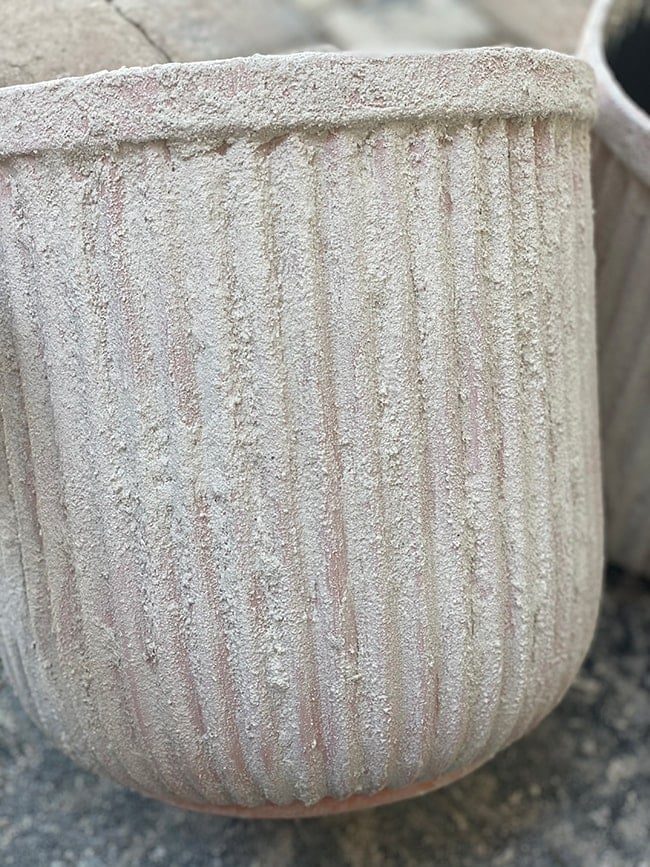
The goal is to achieve a natural, imperfect finish like real stone.
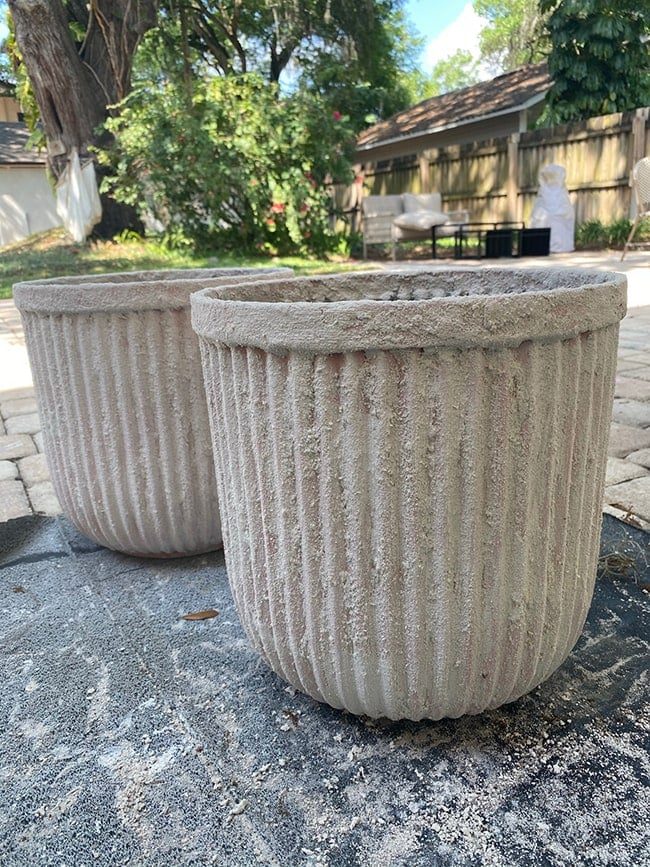
Once the second layer was dry, it was time to give them some color. Real stone is typically a warm gray, so I found a couple old cans of chalk paint in beige and black to mix. You should be able to use any paint for this—though I am not sure how well acrylic craft paint would hold up outdoors.
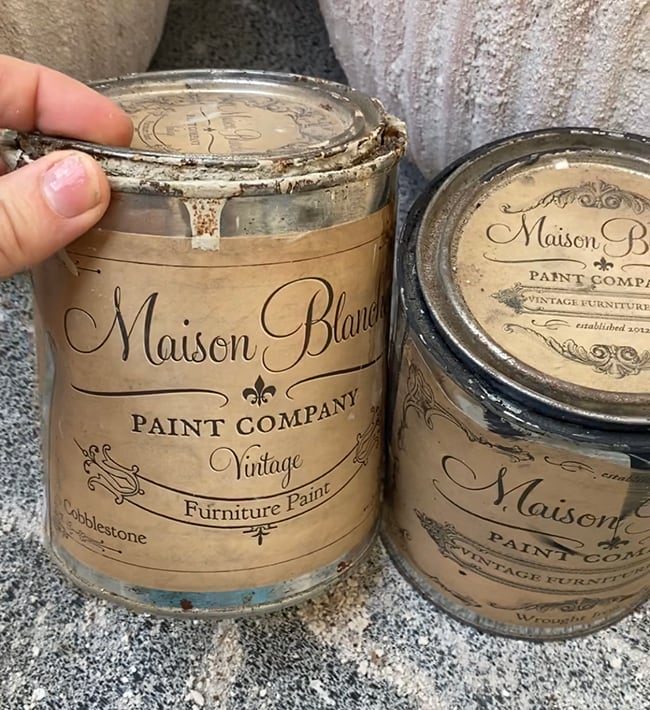
I mostly used the Cobblestone/beige with a tiny bit of black (if you use too much black it will turn into a cool gray—not what you want!)
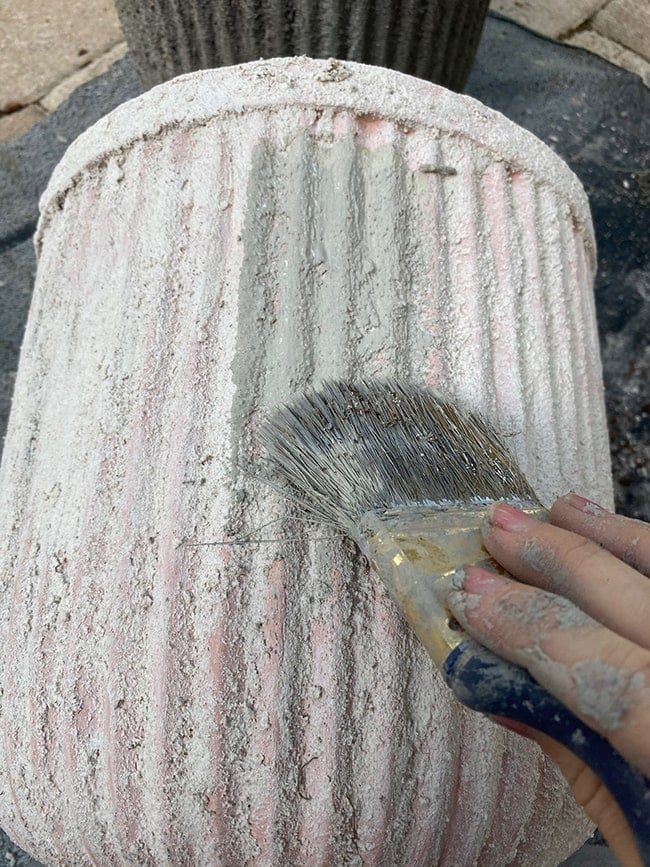
While the paint was still wet, I rubbed in some peat moss to give it that dirt texture/coloring, like hypertufa planters.
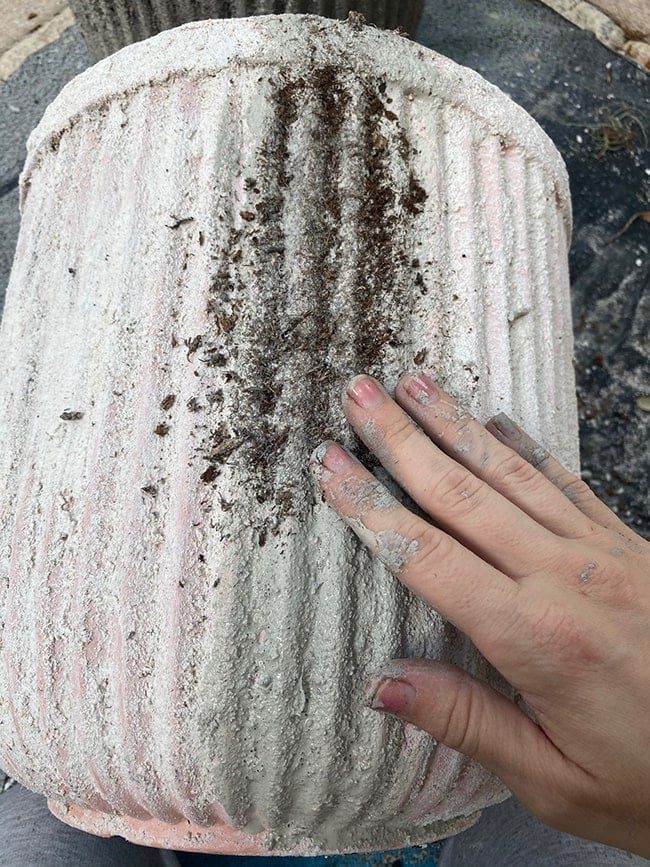
I continued to coat the surface with paint and peat moss, brushing and rubbing it on until I was happy with the coverage.
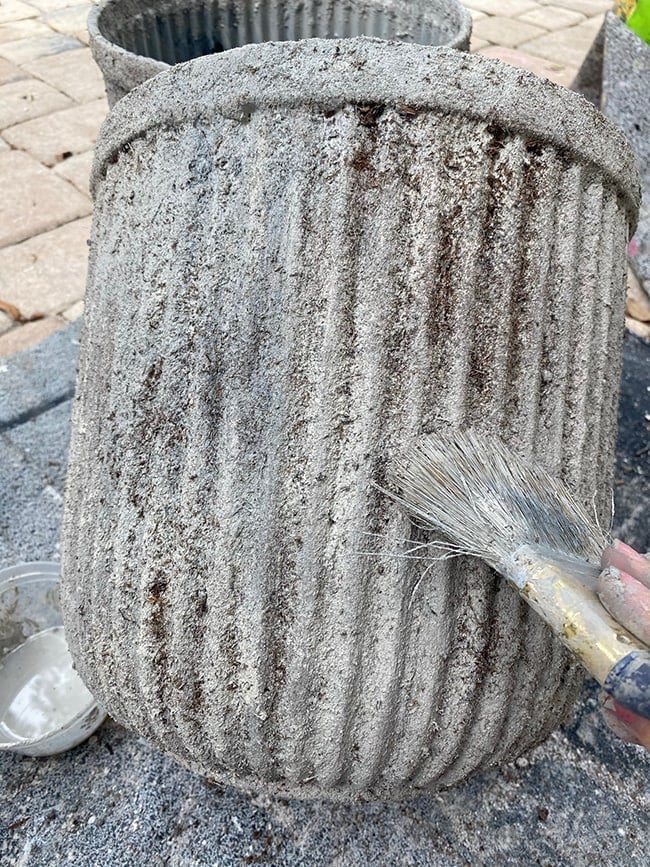
You will also want to cover the planter a couple inches down on the inside, since the top edge will be visible after planting.

Voila!
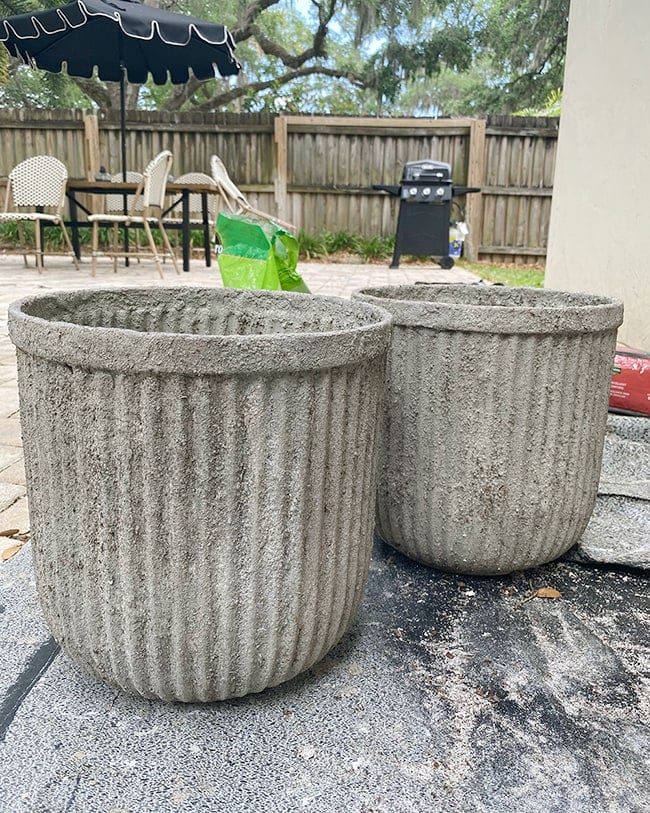
They were looking pretty good, but the finish felt a little flat and needed an extra layer of dimension. I let the paint dry, then went to town with a coarse sanding block.

Sanding is always the answer if you want something to look aged! It revealed the white stucco patch underneath and genuinely enhanced the texture.
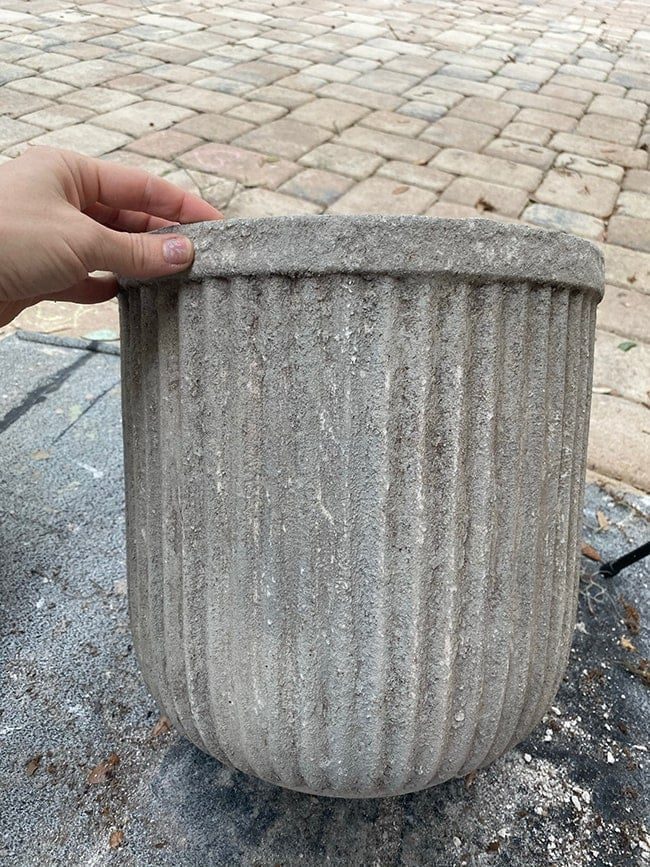
Here is a comparison shot with the unsanded planter on the right and sanded planter on the left—not particularly obvious in photos but in person it makes all the difference:
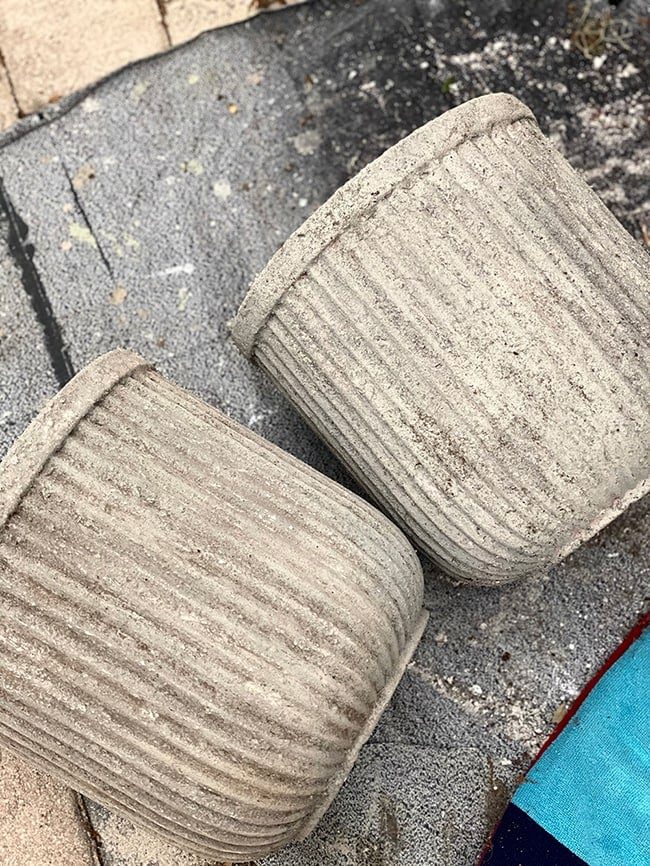
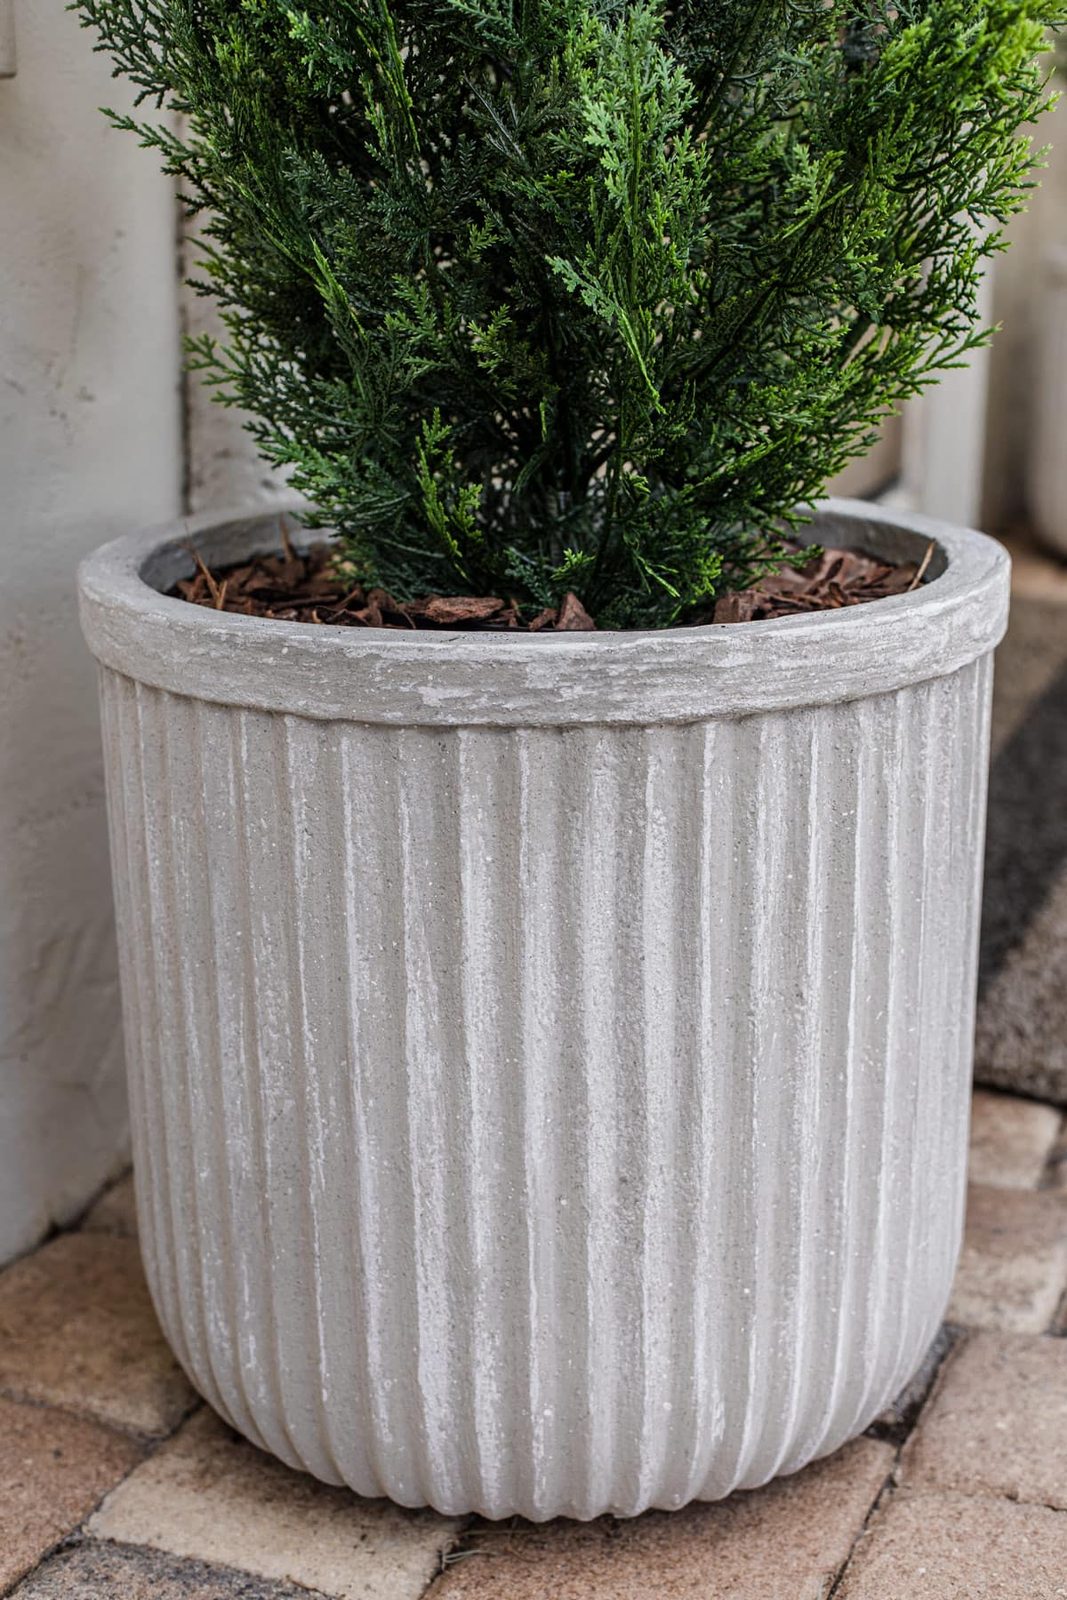
And just like that, the faux stone planters were done!
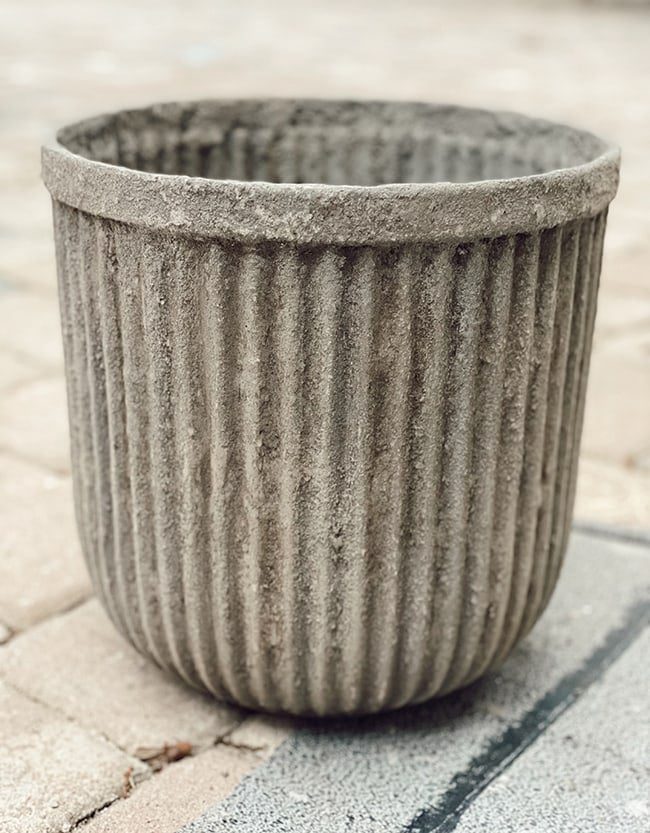
Pretty convincing, eh?
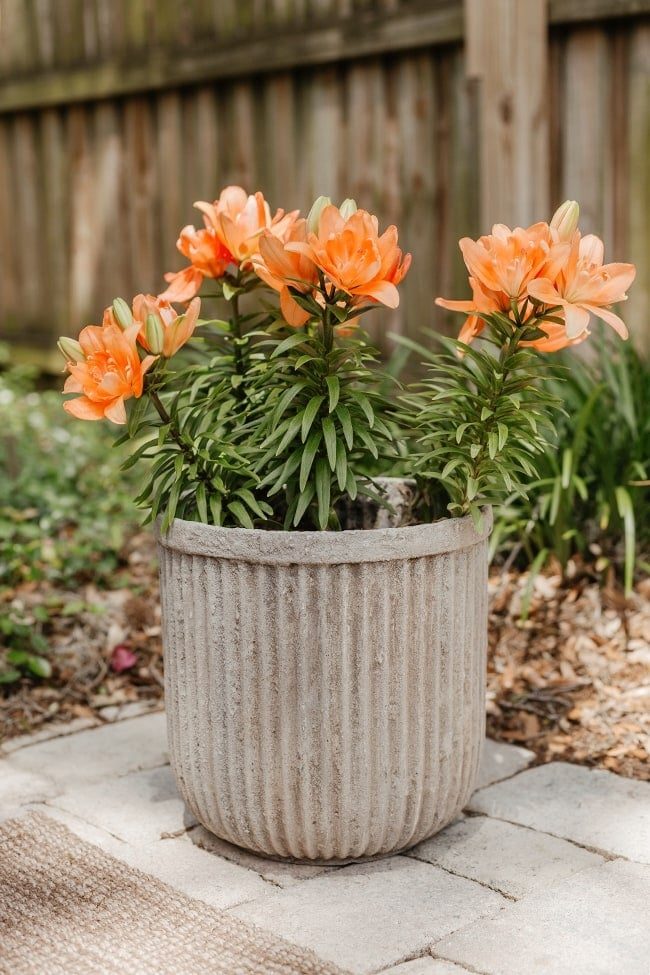
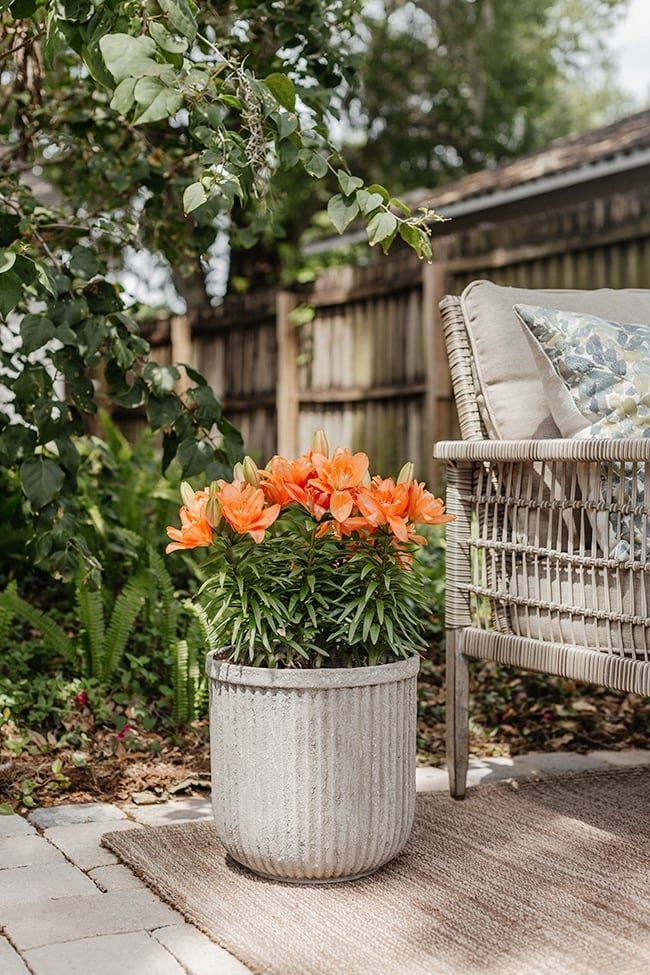
They have been sitting outside for two weeks and have survived multiple rainstorms with no issue, so I would say these are outdoor safe—hooray!
Make sure to look at my DIY cement fluted planter tutorial for another fun technique! →
Faux Stone Technique 2: Hypertufa

- Portland cement
- Peat moss
- Vermiculite or Perlite
- Wire brush
- Optional: white paint
This is essentially the same process as my original hypertufa planter tutorial(make sure to check that out first if you have not!) exceptI applied the mix in a thin layer on top of a planter, instead of creating one inside of a mold. This requires less material, less time mixing, and less time drying/curing.
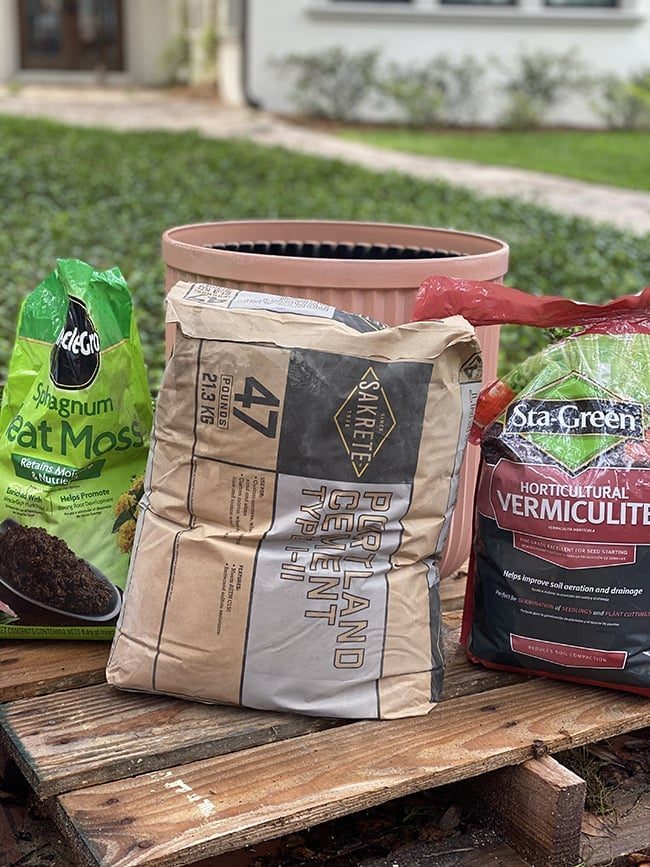
Three unfussy ingredients in equal parts—portland cement, peat moss and vermiculite. Add water until you reach a thick oatmeal consistency.

I used the larger 16×16″ planters for these, and ended up needing one bag each of peat moss and vermiculite for both planters (compared to three bags of each for one 19″ planter last year).
There was a bit of a learning curve figuring out the best way to apply the mixture, and I found that it was easiest to scoop a handful on and press it into the grooves with my finger.

You have to get the consistency right—if it is too dry it will not stick together, but if it is too wet it will slide off the surface. It dries out slightly as you work so you also need to add a little more water as you go.
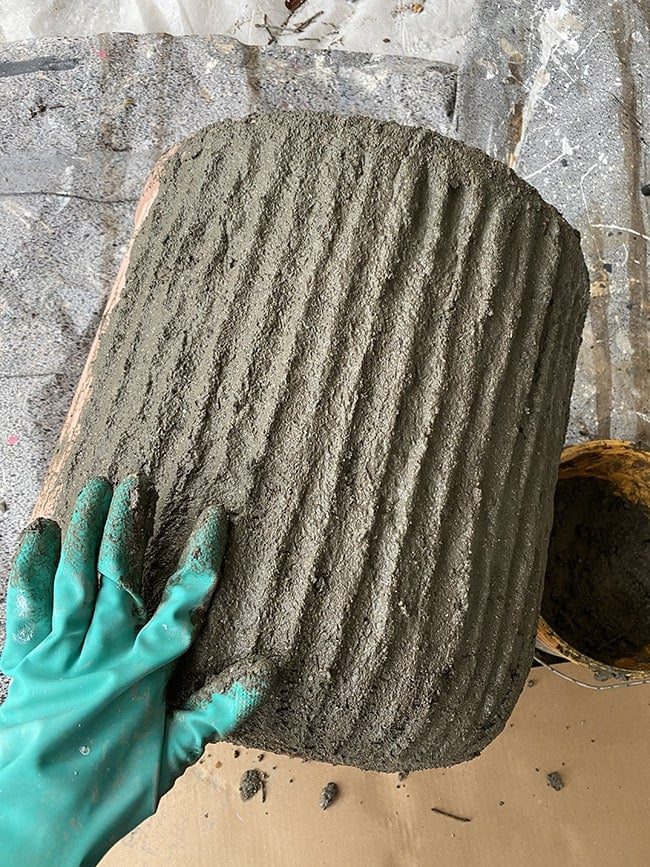
Working with the planter on its' side was much easier, so I figured I would just do one side at a time, let it dry and then rotate it to do the other side. But then I realized that since the planter was flexible and the mixture is on the thin side, it would be in danger of cracking if I applied too much pressure.. so I flipped it over to do the whole thing at once.
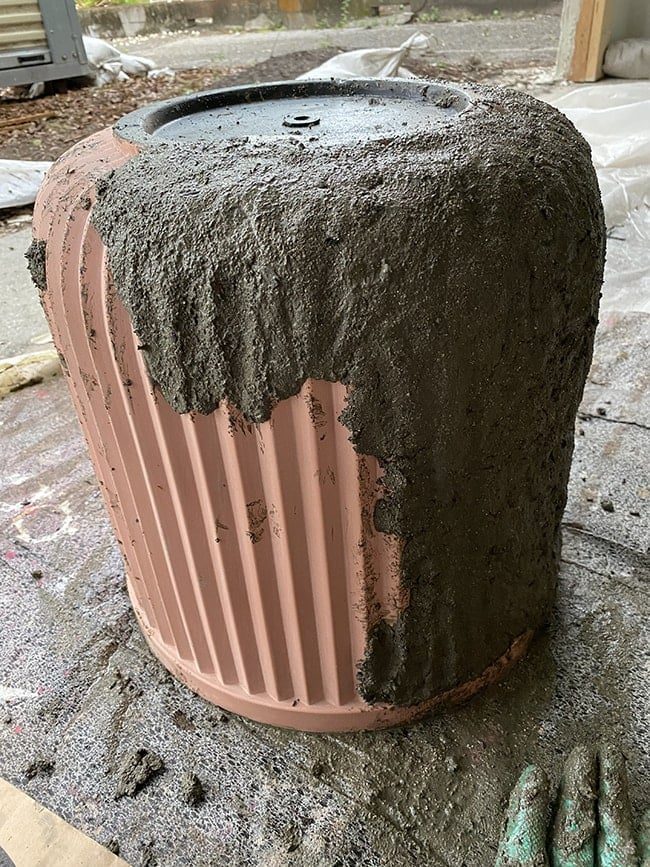
Working against gravity was definitely more challenging, and quite an arm workout. I ended up globbing the mix on without shaping as I went, figuring I could just form the ridges at the end. That was a mistake, because it is genuinely hard to find the grooves when it is completely covered!
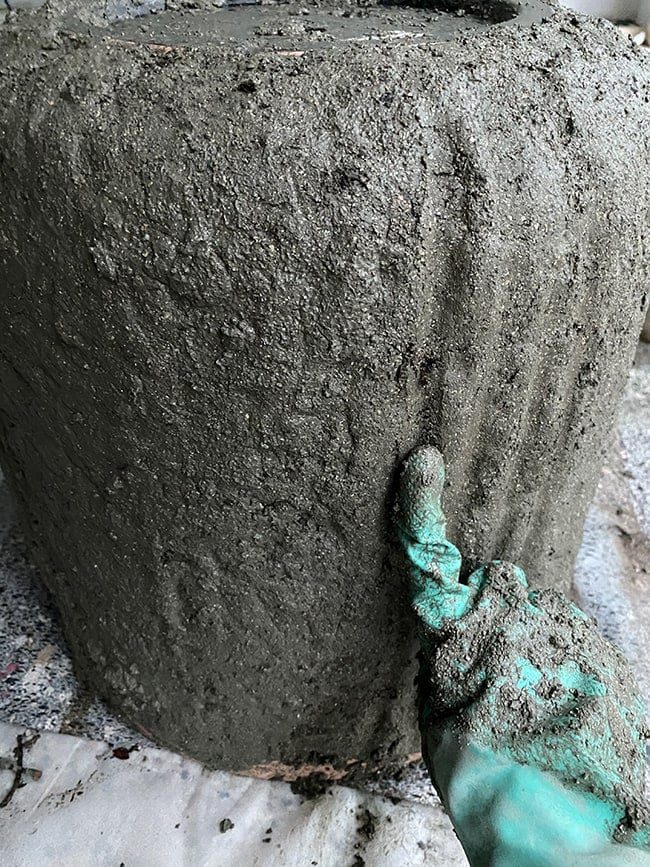
Fortunately, real aged stone planters are worn and irregular, so it did not have to be well suited. I let the planters dry overnight and came back the next day…
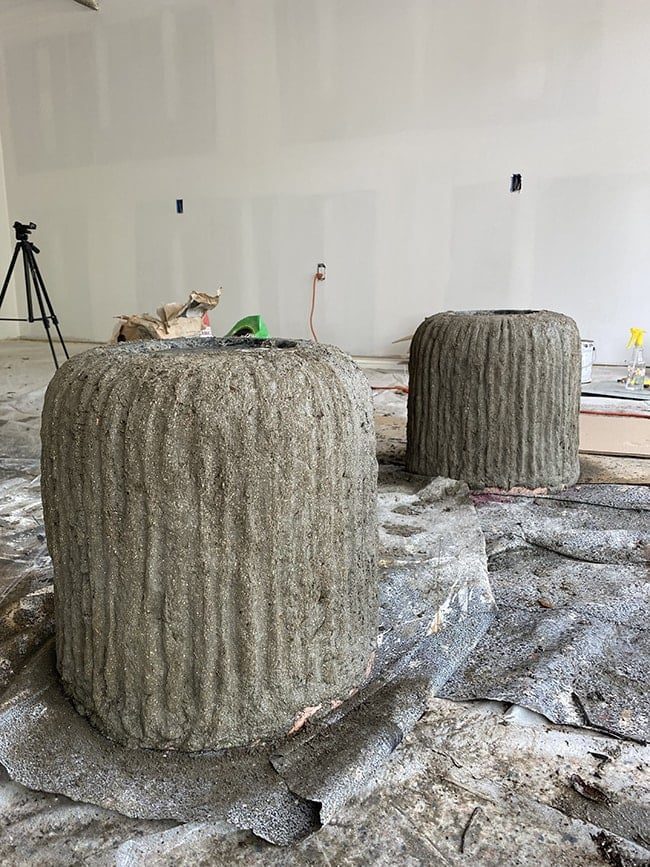
Hypertufa mix takes quite a while to dry, but since these had a thin layer, it dried out much faster. I caught them in just enough time to rough them up with my wire brush.
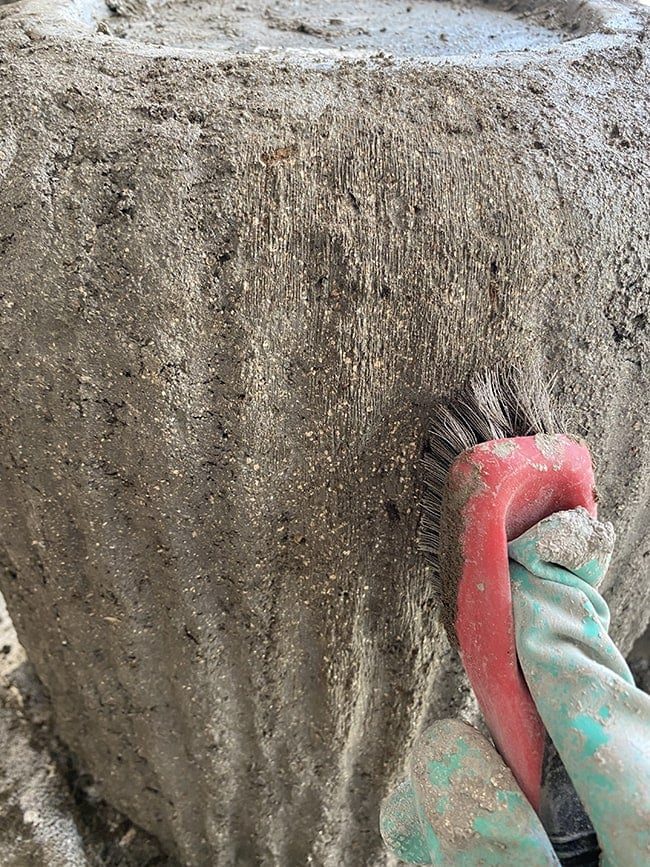
This is one step you do not want to skip! It opens up the texture and exposes more of the vermiculite and peat moss, giving it that aged and worn stone texture. You can see the difference below before brushing on the left, and after on the right.
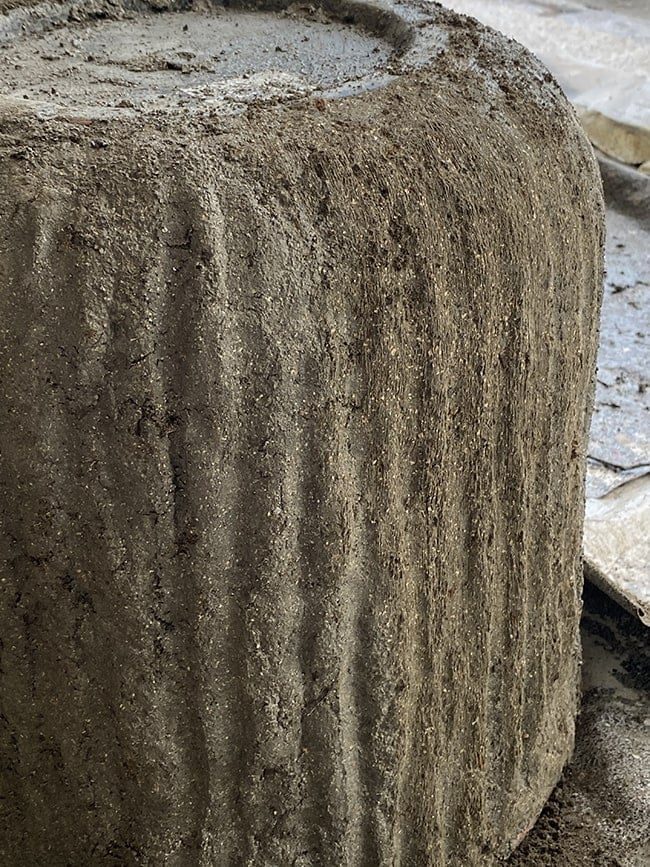
Dry brushing is a quick and easy process, as long as the mixture has not fully dried out and hardened. Once that step was done, I mixed up one more batch of the hypertufa mixture and finished the top of each planter.
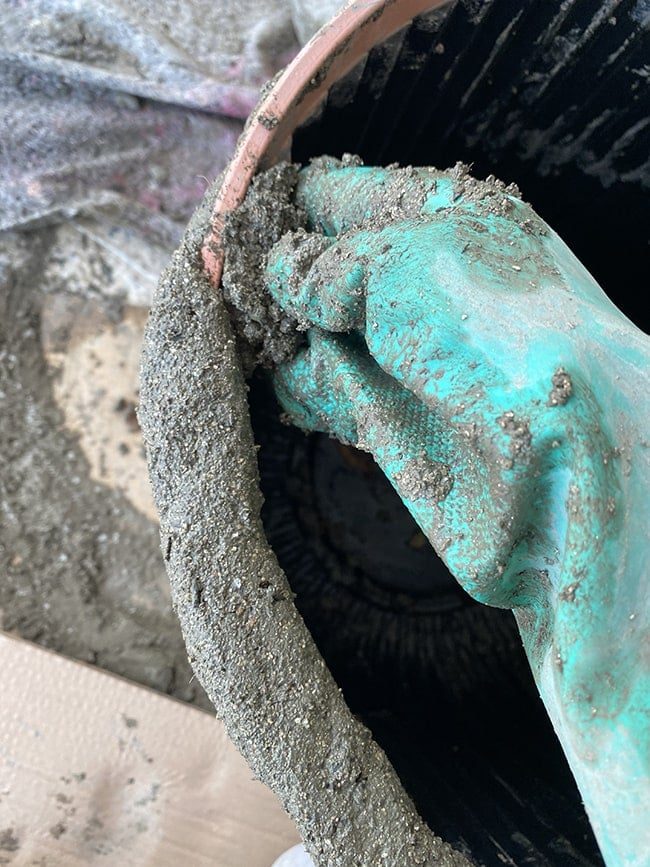
Real stone planters have thick edges, so I made mine around 1-2″ thick and pressed it down the inside a few inches.
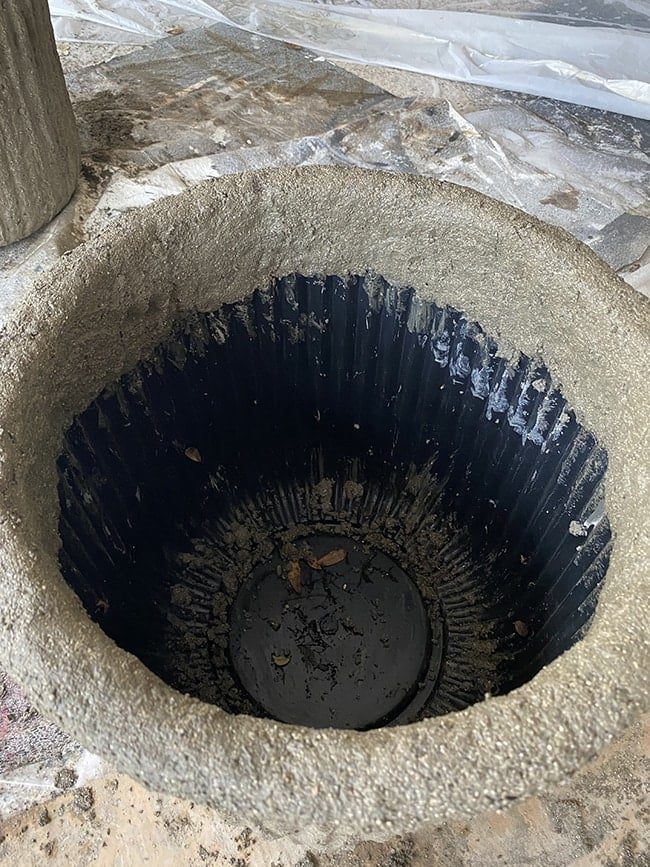
This also added a bit more height and created a nice bell shape.
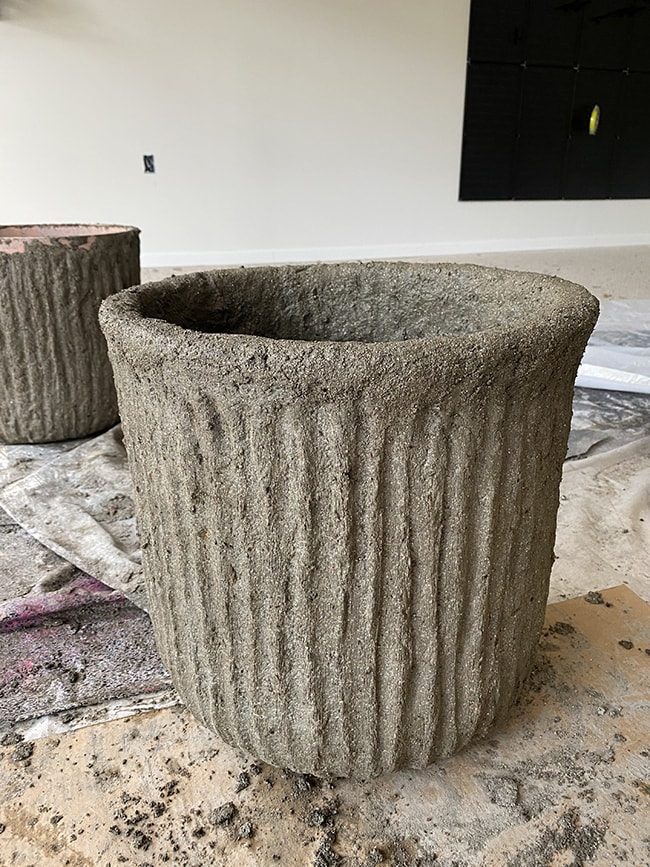
Once the top was done, I covered them in plastic to keep them from drying out too fast overnight.

The next day I uncovered them and repeated the wire brushing process along the top edges.
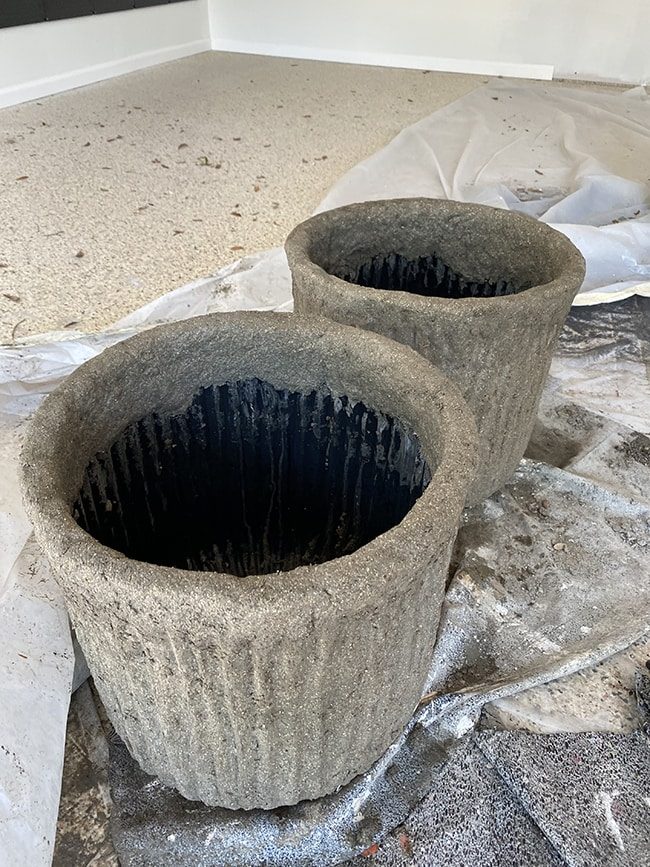
At this stage, you can consider them done!

I decided I wanted a lighter shade of stone, so I gave them a whitewash using watered down white paint (any white/ivory latex paint could also work here).

I simply brushed it onto the surface, keeping the saturation pretty consistent (but again, it does not have to be well suited!)

The hypertufa mix also becomes lighter in color as it cures, which can take up to a week depending on your climate. Since the coating is pretty thin, it is also lightweight and I can easily carry it around with one hand.
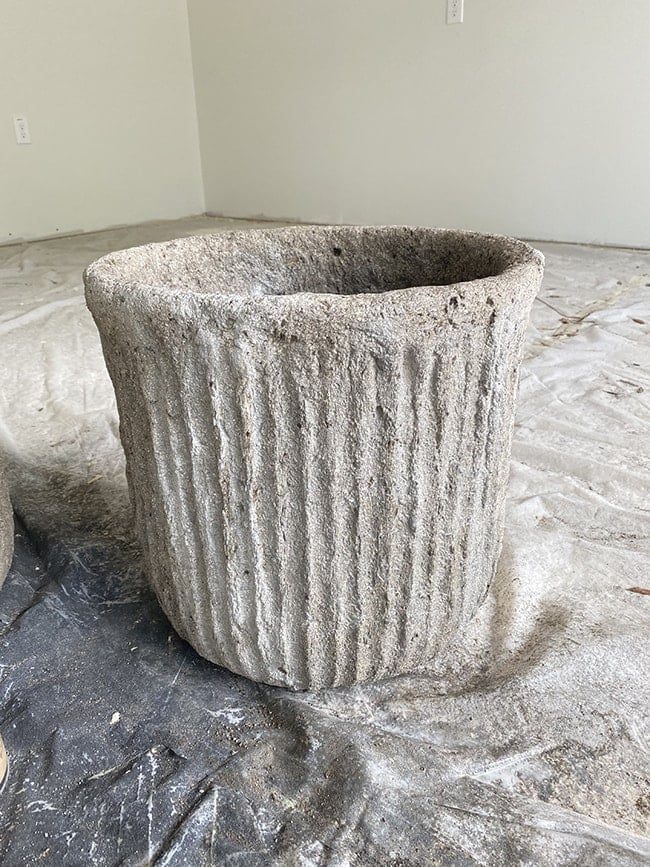
And here they are by our back door:

I planted Fashion Azaleas and hope I can keep them alive here in the shade—if anyone knows of any great hardy shrubs that do not need sunlight, I am all ears!

I rubbed potting soil onto the surface of the planter to enhance the shape and texture. It will be interesting to see how they weather while exposed to the outdoors.

Hypertufa is meant to live outside, and should develop a nice patina over time. It is extremely durable and can survive hot and freezing weather, dry or humid climates.

I also took the opportunity to swap out our raggedy old coir doormat with this more durable larger turf mat that has held up beautifully. It helps to keep those chic black stripes!

Verdict
The stucco patch requires less time and it is less messy, but there is some level of artistic ability to get the paint mix and texture to look realistic. It also does not make the planter thicker, so it does not completely pass as real stone. I plan to use the stucco patch method again on smaller, indoor projects like a lamp or a vase.
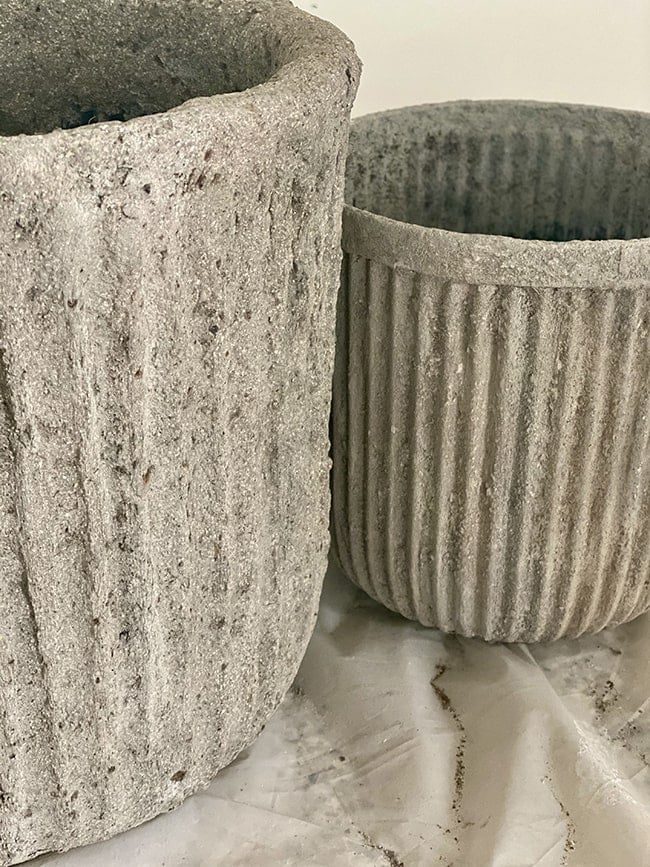
If you truly want it to look and feel like real stone, hypertufa mix is the way to go. It does take some time to apply and cure, but you do not have to paint it and it is pretty fool-proof. This is my choice for larger (and specifically outdoor) projects.

What's your favorite method? If you try out one of these techniques, let me know how it goes!
If you like this project, look at the most popular Outdoor DIYs from my Project Library!
- DIY String Light Planters
- DIY Fluted Cement Planters
- Tiered Herb Garden Planter
- Unfussy Cedar Planter Boxes