Hacienda Ensuite Bedroom Design Layout + Progress
Coming at you with another room design plan and progress update: the Hacienda Hideaway ensuite guest bedroom! Last week I shared our plans and progress for the adjacent…
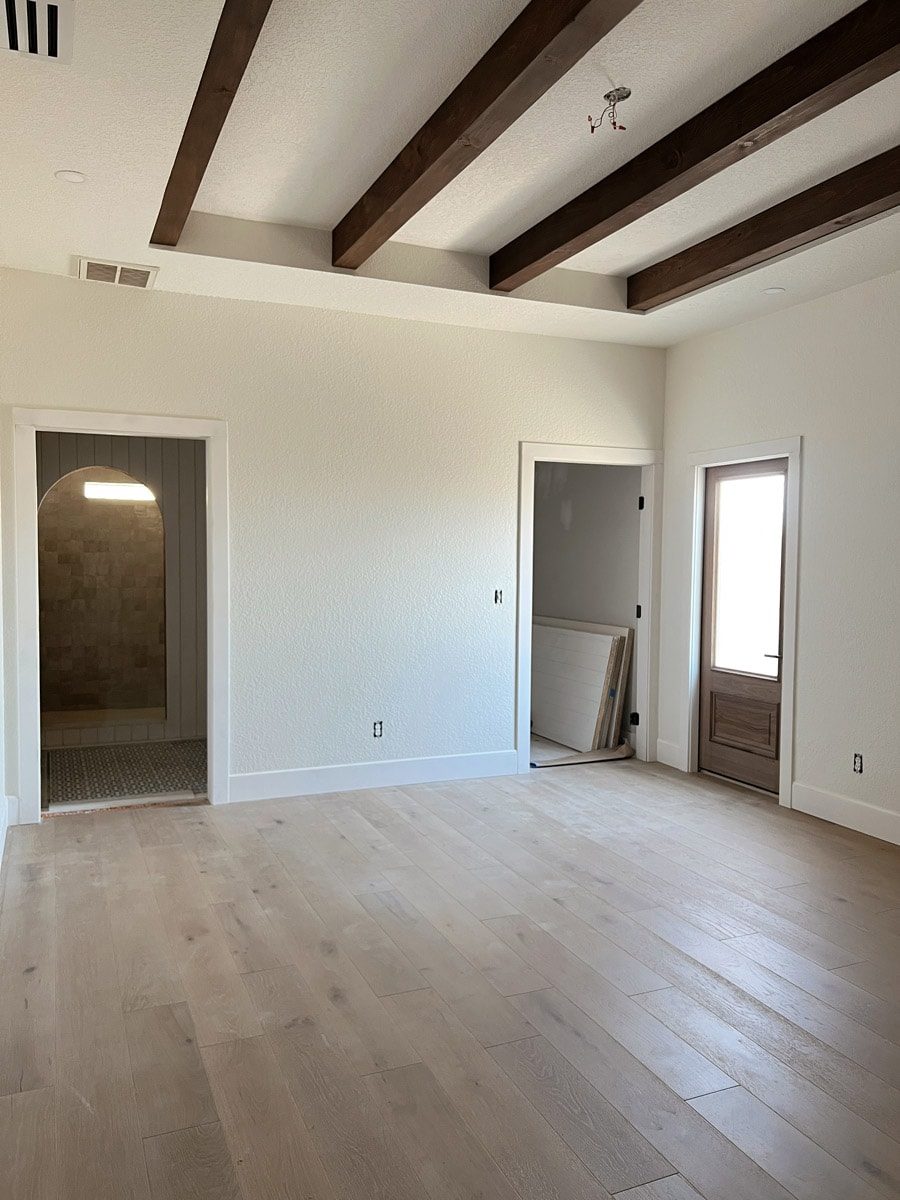
Coming at you with another room design plan and progress update: the Hacienda Hideaway ensuite guest bedroom!
Last week I shared our plans and progress for the adjacent ensuite bathroom, and over the past few weeks we have been working on both rooms in tandem. This is how it is going!
Before
It is a pretty decent size room, measuring around 10×15'. From the entrance, you can see the bathroom door on the left, the closet door to the right, and an exterior door on the far right.
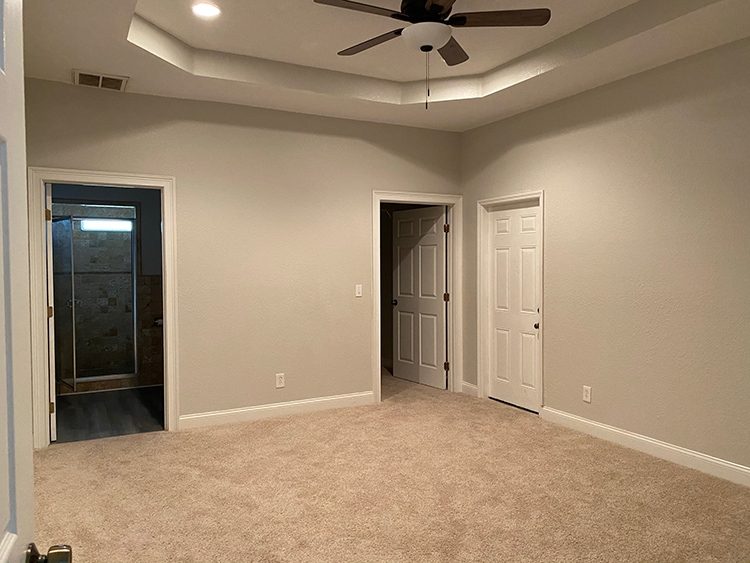
There was one glaring issue with this room—no windows or natural light! Technically, it is code compliant as the exterior door counts as an egress, but no natural light was no bueno in my book. The room felt claustrophobic and depressing.

The exterior door is also completely unnecessary—it leads to a narrow side yard and looks directly onto the neighbor's back porch. If this were our own house, we'd replace the door with a window, but that was definitely not within our budget or timeline.
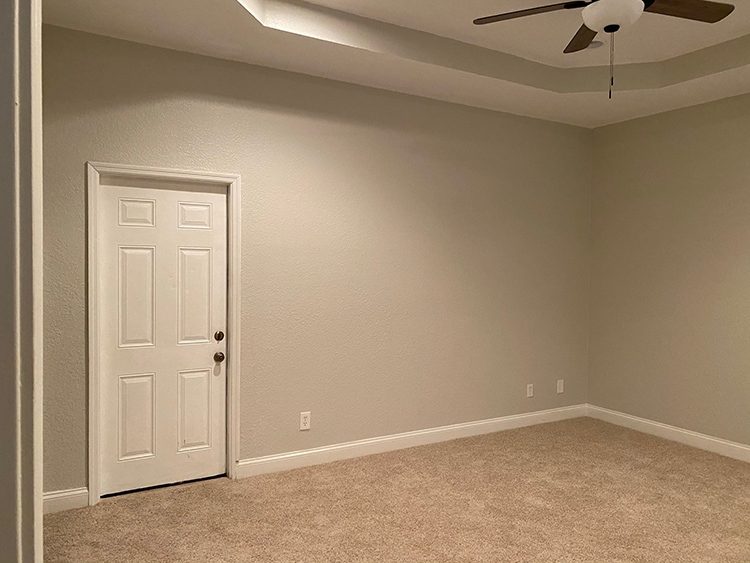
Speaking of budget and timeline, they are both very limited for this space. In order to stay focused on more important projects (like the backyard) we decided to give this room a quick and low cost makeover. That meant minimal DIY and no splurge items.

After 20+ months of long and extensive renovations, I am ready for a quick and easy makeover!
Design Plan
While keeping within the overall Spanish/Mediterranean theme of the house, I thought I would have a little fun with this one…

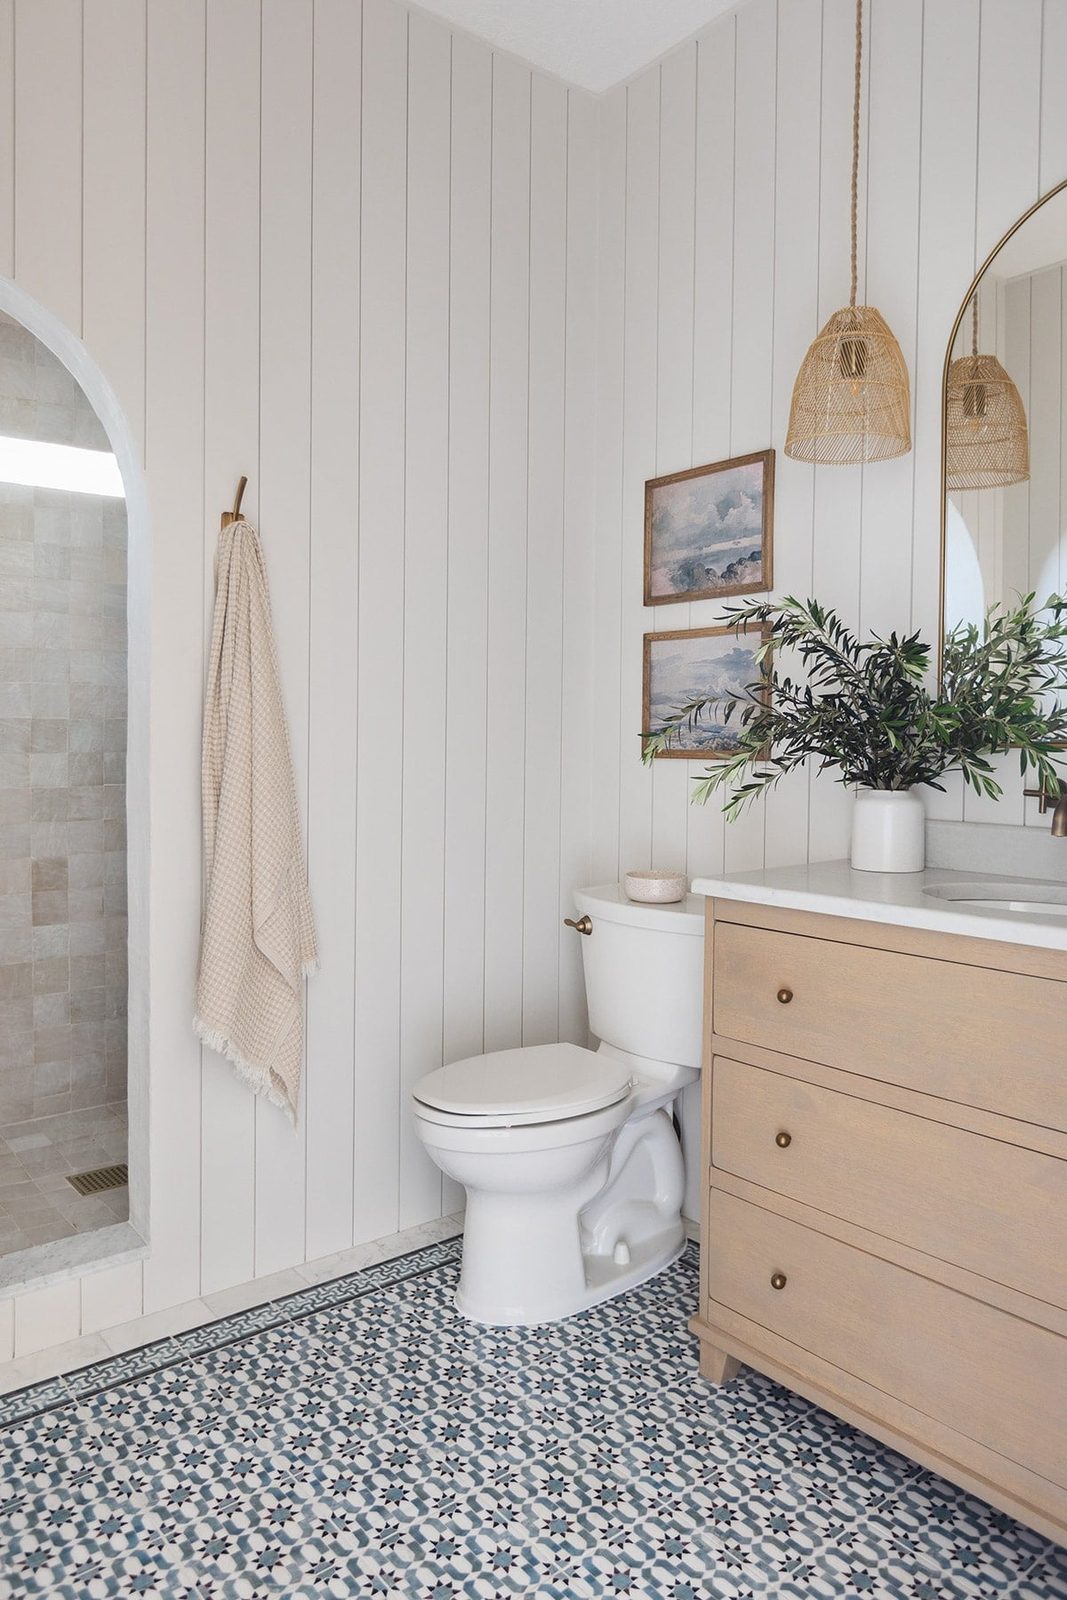
Inspired by the Moroccan-style tiles in the adjacent bathroom, this bedroom feels more playful and unique. By repeating similar design elements (intricate patterns, wood tones, arches, organic texture and an earthy palette), I think they'll flow nicely together.
Click to shop the budget-friendly finds:
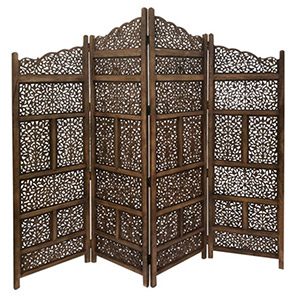




Let us dive into the details:
The carved wood headboard will be the main attraction, and it is actually just an inexpensive room divider screen! Does this look familiar to you? That is because I used it in another budget bedroom makeover a few years ago:

I immediately thought of it again after deciding on the design style for this room. No assembly or DIY required, and it looks striking. I am also using the same wood bed frame, but in a king size.
In true Moroccan fashion, we are hanging these handmade woven wispy pendants on either side of the bed, with unfussy rustic stools as bedside tables (most likely stained black).
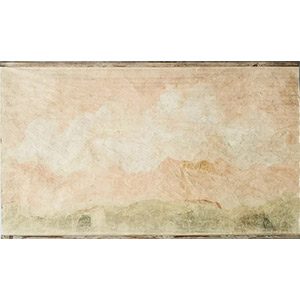
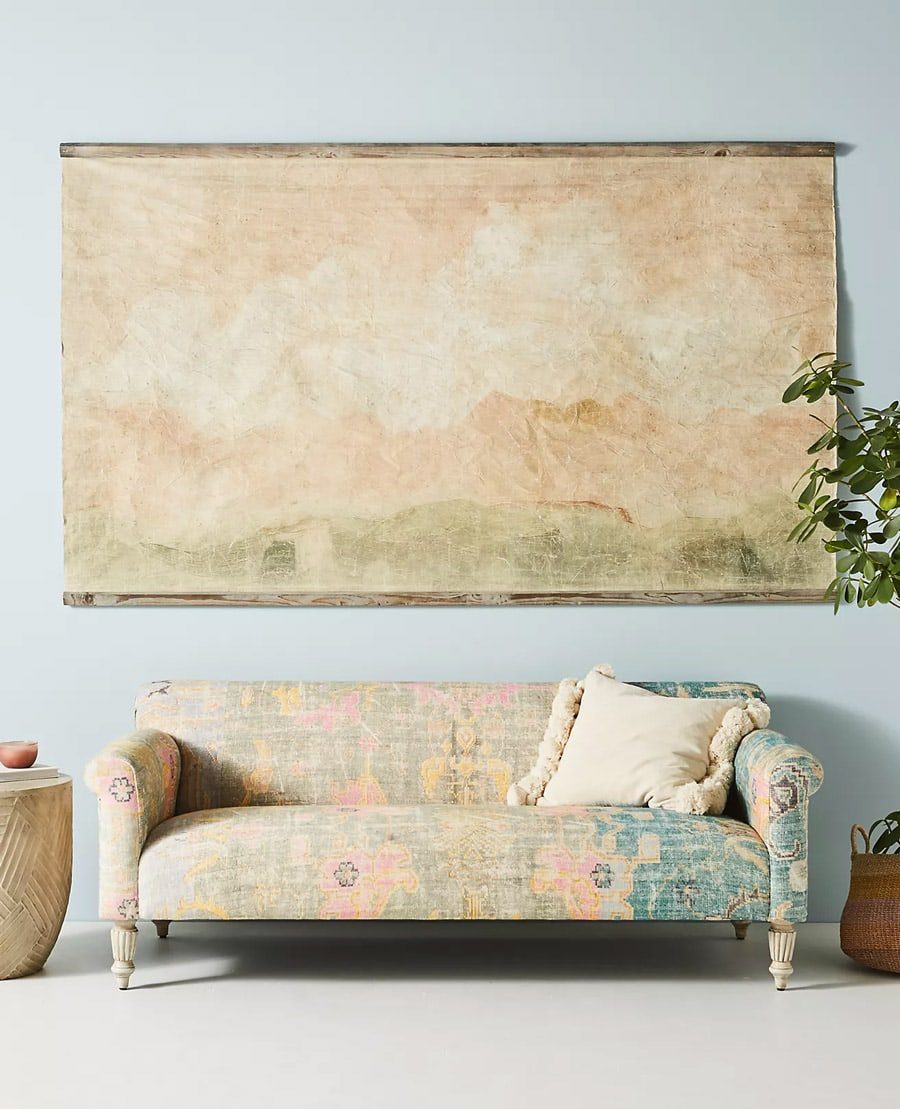
I could not believe the price on this huge tapestry art—from Anthropologie, no less! This will take up almost an entire wall, and I did not hesitate to place the order as soon as I found it.
TheLoloi Billie rug was originally intended for the living room, but I decided it would work better in this space with the predominant denim blue tying into the blue bathroom floor tile.
The total cost for the furnishings came in under $1300 (not including the mattress/bedding, and rug I already had) which is pretty memorable! Hello layered, luxury style on an Ikea budget 🙌
Progress
The first order of business was replacing the eyesore exterior door:
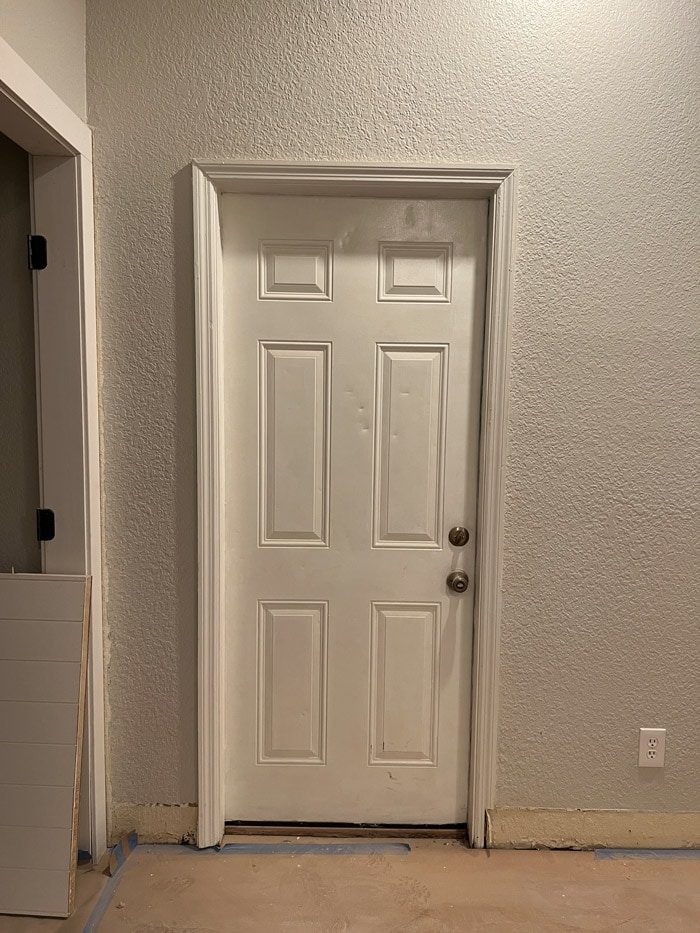
We desperately needed some natural light in this room, so I opted for a privacy glass panel door. I partnered with Simpson Door Company and chose their7501 Thermal Sash in black walnut. They were able to customize the size to fit our non-standard opening, and wow, what a difference!

I could not believe how much natural light now floods the room, and how big of an impact it was for this space. Talk about night and day!


Seeing this room instantly transform was probably the highlight of my year so far. I cannot overstate what a difference natural lighting makes in a room!
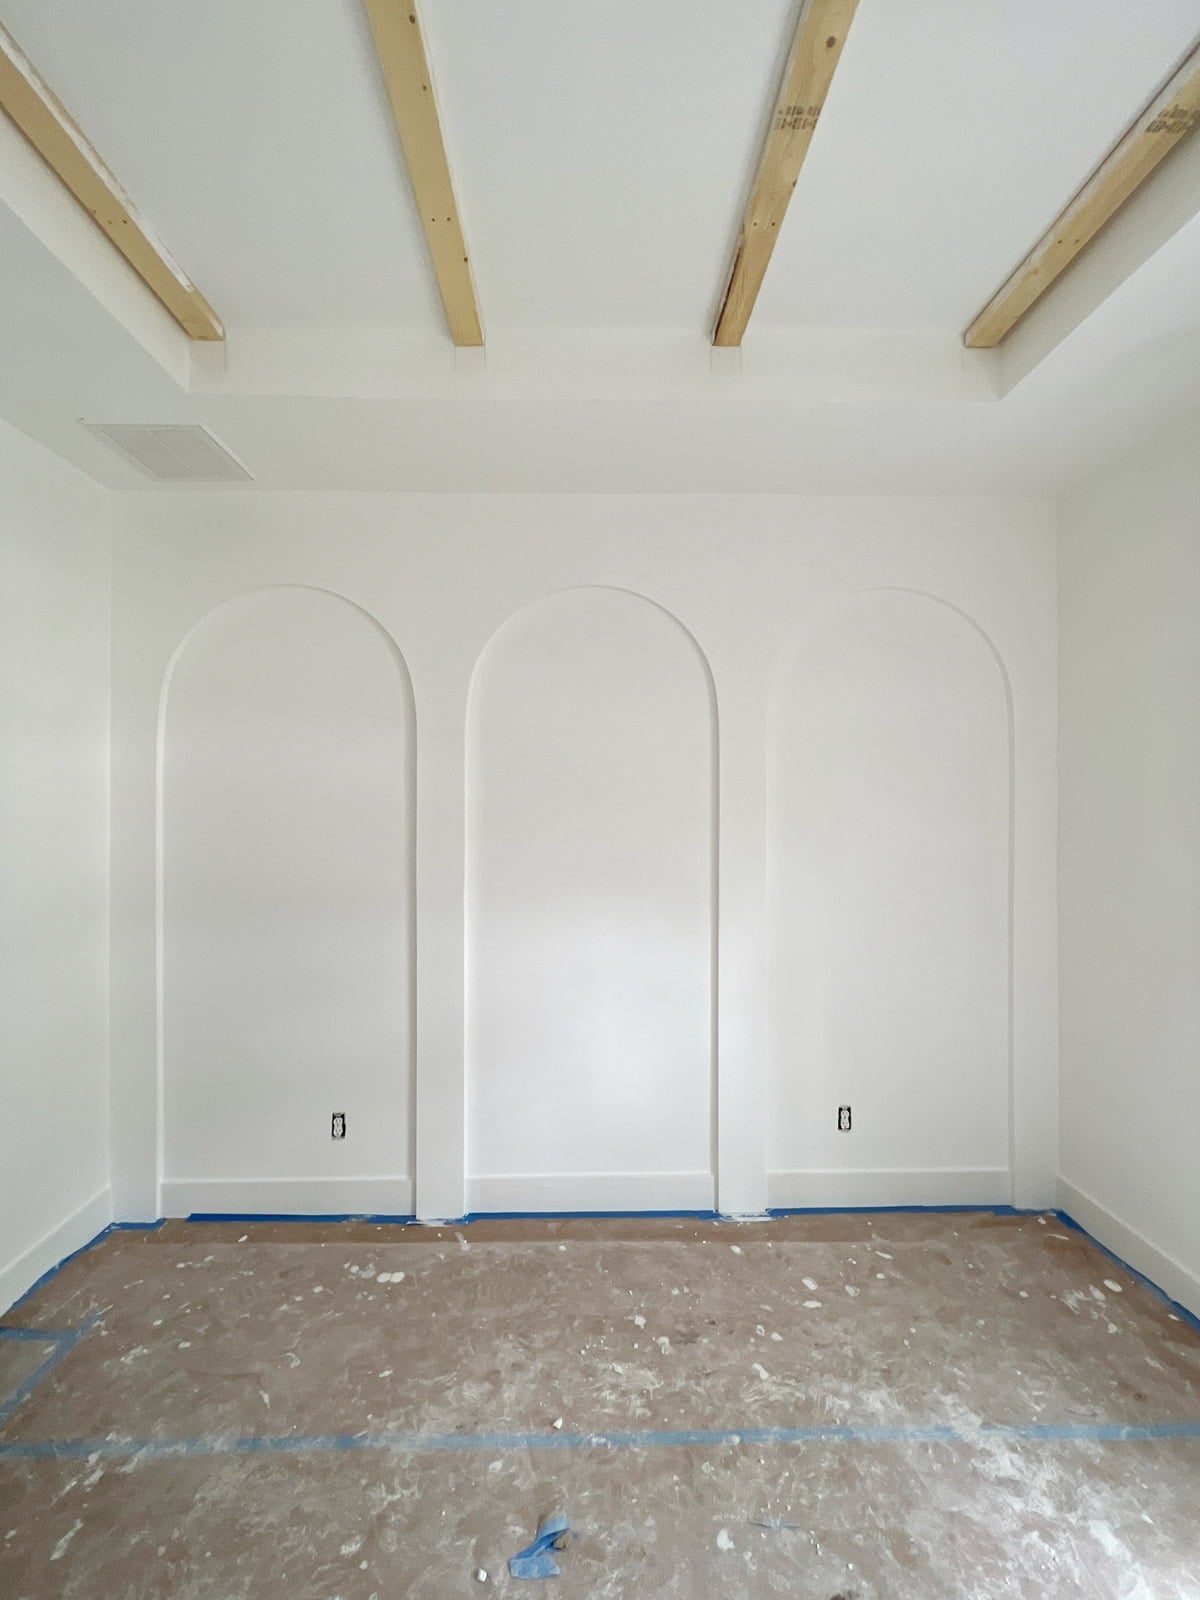
We also got rid of the octagonal tray ceiling and installed our DIY box beams—just like we did with thelast bedroom makeover.

New trim and baseboards were installed, and the walls and ceiling got fresh coat of paint—Sherwin Williams Alabaster. This is how the room looks today:
Yesterday we pulled the paper off the floors and now the countdown is on! The next steps are reinstalling and painting the DIY plank doors and trim, installing the recessed lights and ceiling fan, wiring new pendant lights, then furnishing.
I am still deciding on paint colors for the trim and doors (my Samplize swatches should be arriving today), and we will be bouncing back and forth between the bathroom and bedroom renovations over the next few weeks.
I'll be sharing a video tour today in my Instagram stories, and posting more progress updates on IG before the big reveals next month. It is crunch time for this house and we have only got 11 weeks to go before baby!