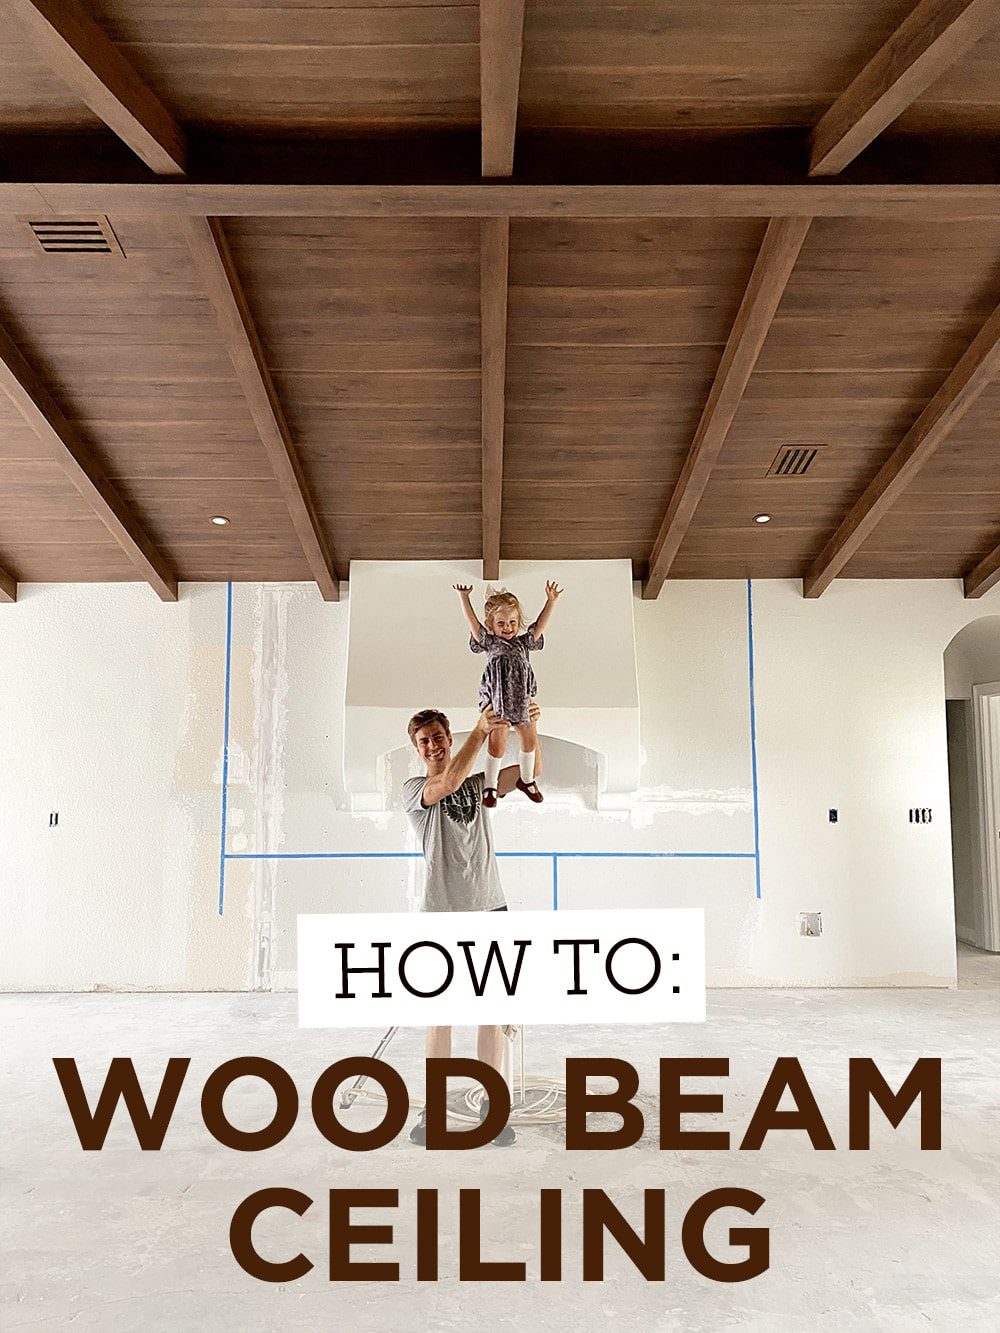
Vaulted ceiling beams with laminate wood
How to make beams for a vaulted ceiling with laminate wood planks! An inexpensive alternative to real wood beams.
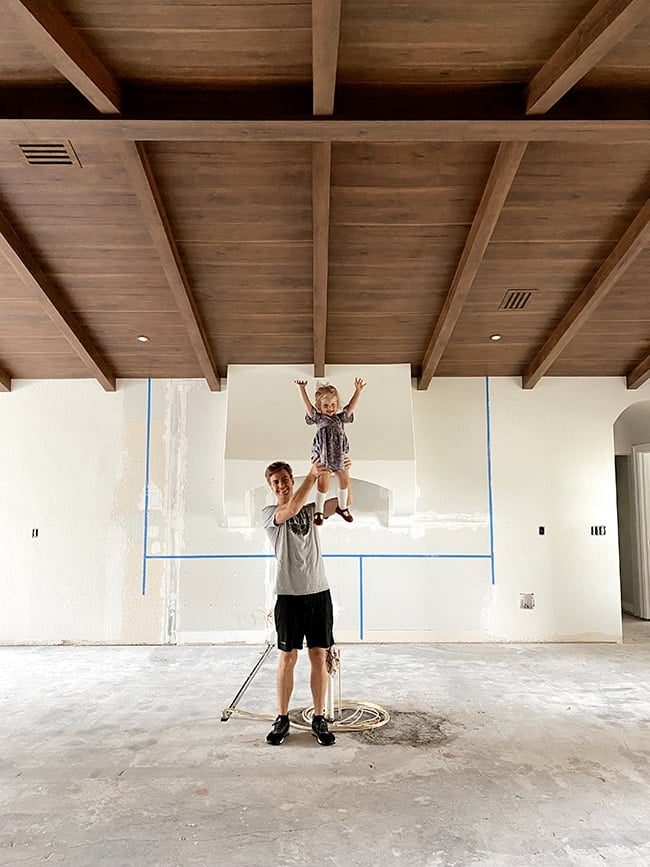
Still cannot believe we pulled off these DIY ceiling beams with laminate wood planks!
Before we jump into the details of our longest and most ambitious DIY of all time, here is a few stats to help illustrate the scope of work involved:
- 35 full days of physical labor
- 5,000+ finish nails
- 591 laminate floor boards
- 480+ table saw rips
- 510+ miter saw cuts
- 20+ tubes of liquid nails
- 1 exhausted, but proud DIYer
To be fair, we covered an entire vaulted great room ceiling the size of a small house. I would recommend starting somewhere smaller, like a bathroom. This DIY is not for the faint of heart, but the payoff is immense.
Materials
- Laminate flooring
- 2×4's
- Furring strips
- Wood screws
- Finish nails
- Liquid nails
- Drywall anchors
- Wood glue
- Stain touch up pens
Tools
- Miter saw/chop saw
- Table Saw
- Nail gun (cordless will make your life a lot easier!)
- Drill
- Jigsaw or Dremel multi-max
- Laser measure
- Laser level (or a chalk line)
- Orbital sander
- Hand file
- Stud finder
- Angle finder
- Clamps
- Scaffolding(rent or buy)
I have grouped this DIY wood beam ceiling tutorial into several steps—click on any step to jump to that section:
How to install laminate wood beams on a vaulted ceiling:
- Measure and Plan
- Build and attach the large center beam
- Attach ceiling planks
- Build and install the small beams
- Reinstall HVAC vents and lights
First, the most important question answered:
Why use laminate wood flooring?
I previously explained why we chose to use laminate flooring instead of wood or pre-fab beams in this post, but here is a quick summary:
- Laminate is significantly more affordable (ours was only $1.59/sfwhen we purchased)
- Laminate is light weight and easy to work with
- We found laminate in an 8″ width, which is the size we wanted for our largest beam
- It is pre-finished, so we skip the (huge) extra step of staining every board

Custom pre-fabricated beams (or faux beams) would be the only way to avoid seams, and those are VERY pricey. Using the cheapest wood option, the beams alone would have cost us around $9500 from Architectural Depot—and then we'd STILL have to find matching wood for the planks, stain and install everything ourselves.
Using laminate was an unknown risk, but we had to take the chance and trust that it would turn out well. (Spoiler alert: it did!)
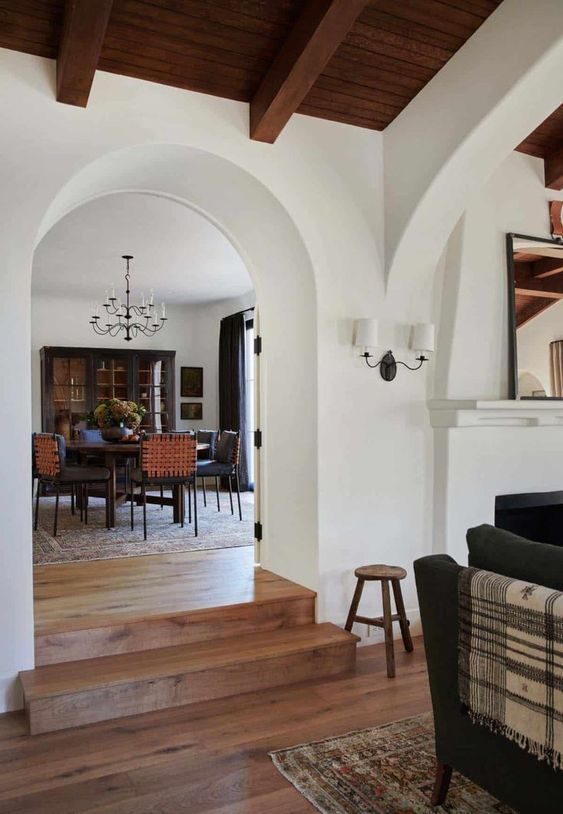
Dark Wood Ceiling Beam Inspiration
Traditional Spanish/Mediterranean style dark wood beam and plank ceiling(inspiration via Amber Interiors):

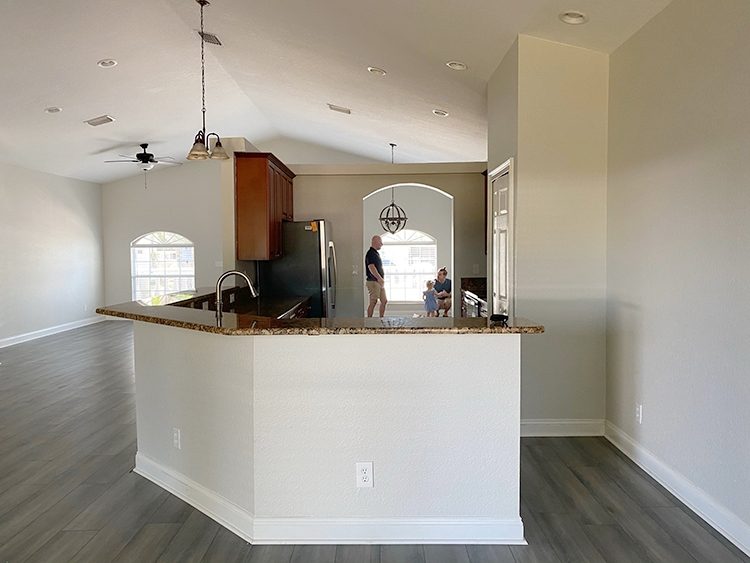
Before photos

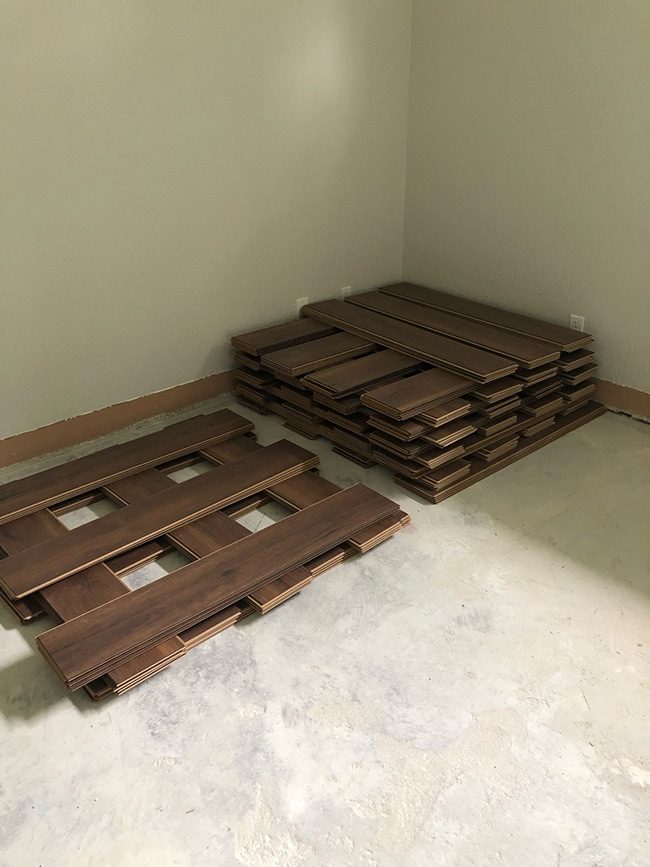
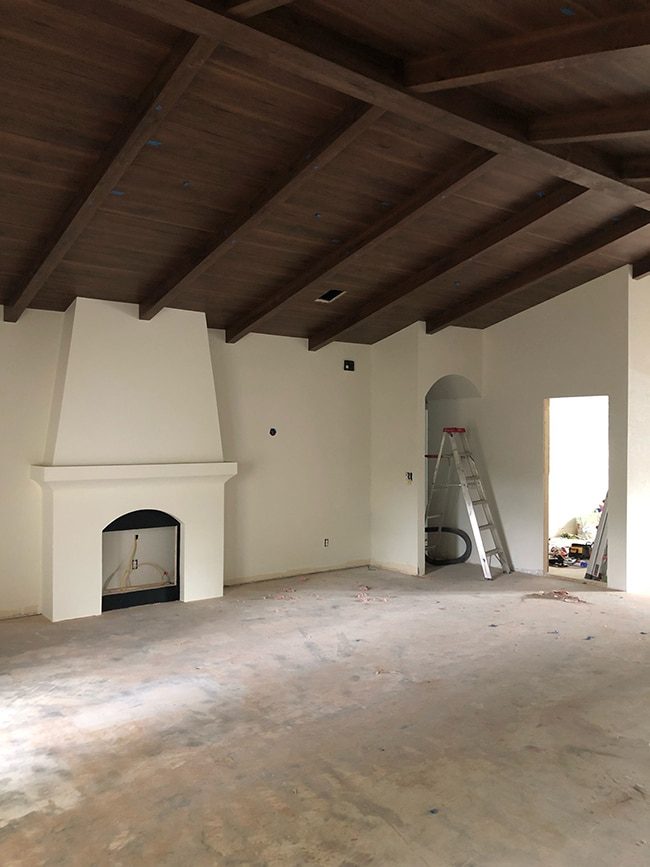
Our great room (dining room, kitchen, living room) is around 850 sq ft in total, but the vaulted ceiling adds more surface area. We ordered 1800 sq ft of laminate to be safe, and ended up with three unused boxes (plus several more unused boards).

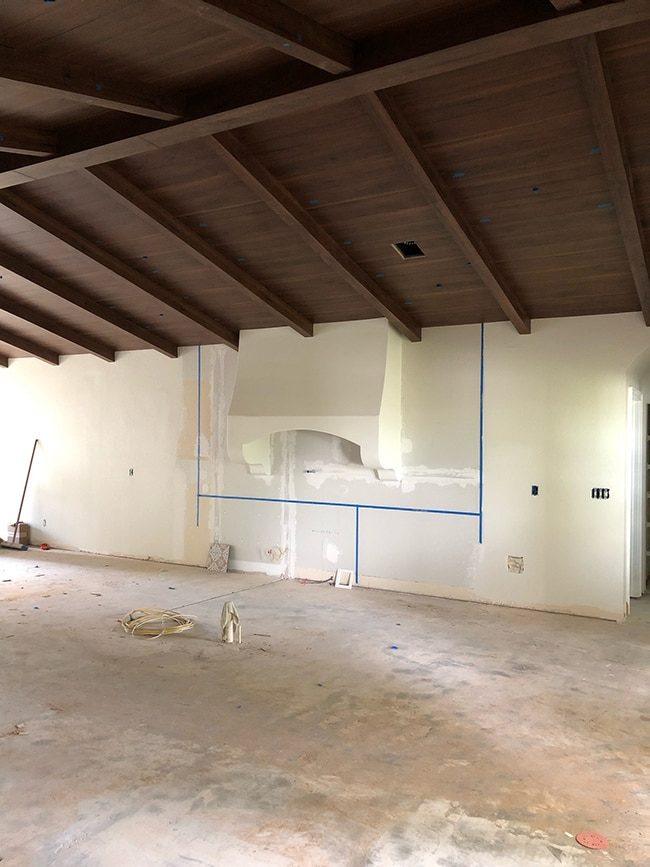
I am missing a photo of the space after the bedroom addition and range hoodwas built, but here is the future kitchen area:

How to install wood beams on a vaulted ceiling
Step 1: Measure and Plan
This is an important step you do not want to rush through. We carefully measured (using our lasermeasurer) and mocked up the room in the free Homestyler program. This allowed us to get a good visual of the entire space.
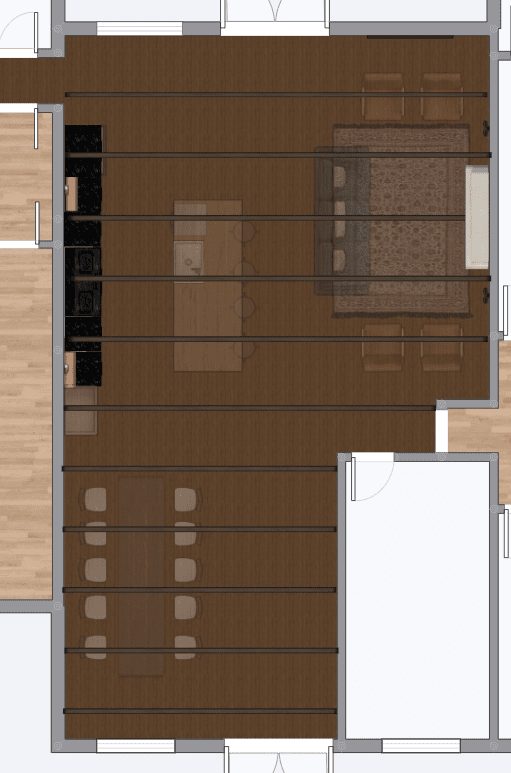
There were two major considerations when planning the beam layout:
- Location of the fireplace and range hood
- Length of laminate boards
We wanted the beams to be centered on both the fireplace and the range hood which are on opposite walls and intersect different beams.
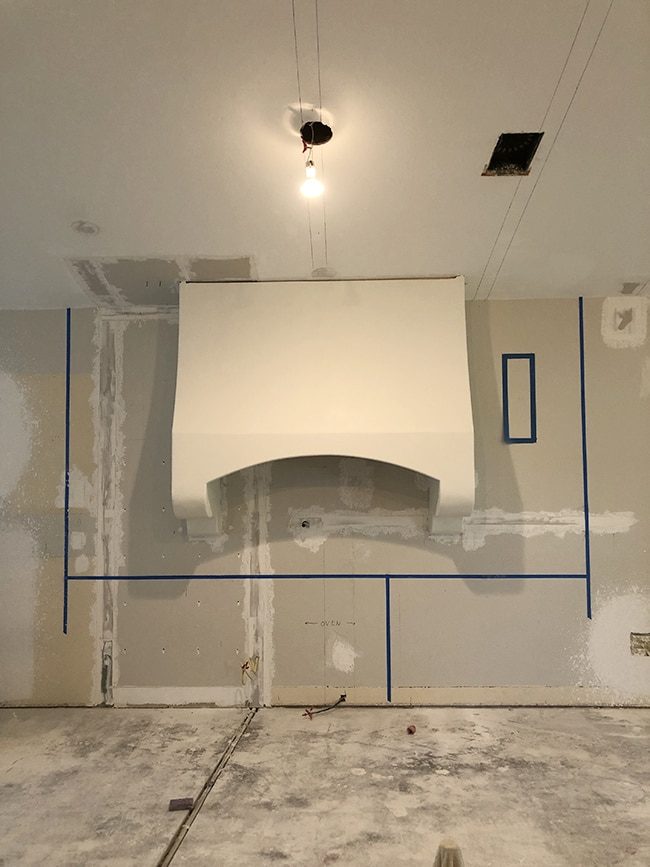
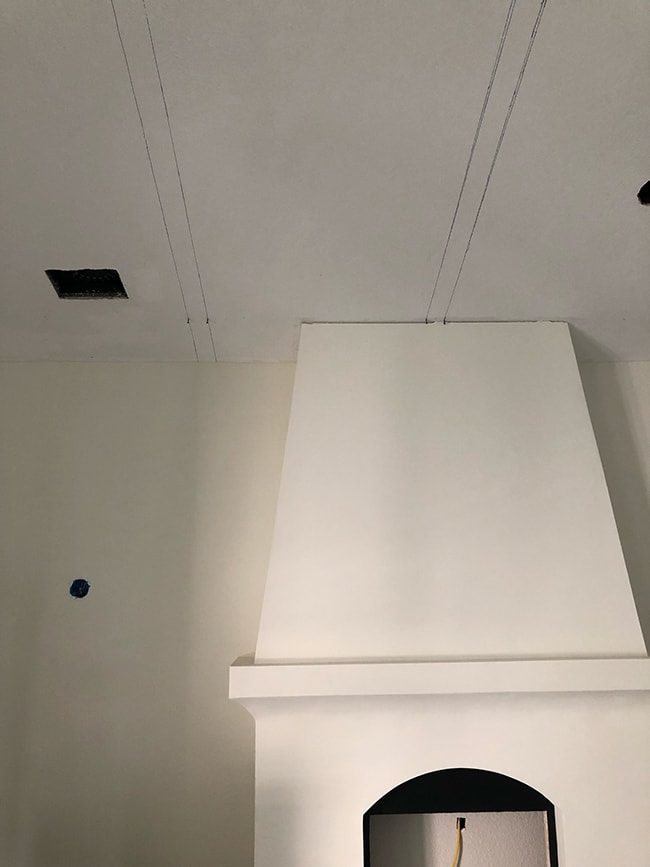
In order for both to be centered, the spacing between each beam would need to be 3'5″, which was right in line with the look we were going for. The laminate boards were only 4' long, and we'd be using those for the planks, so the space between beams could not be any more than 4' anyway.
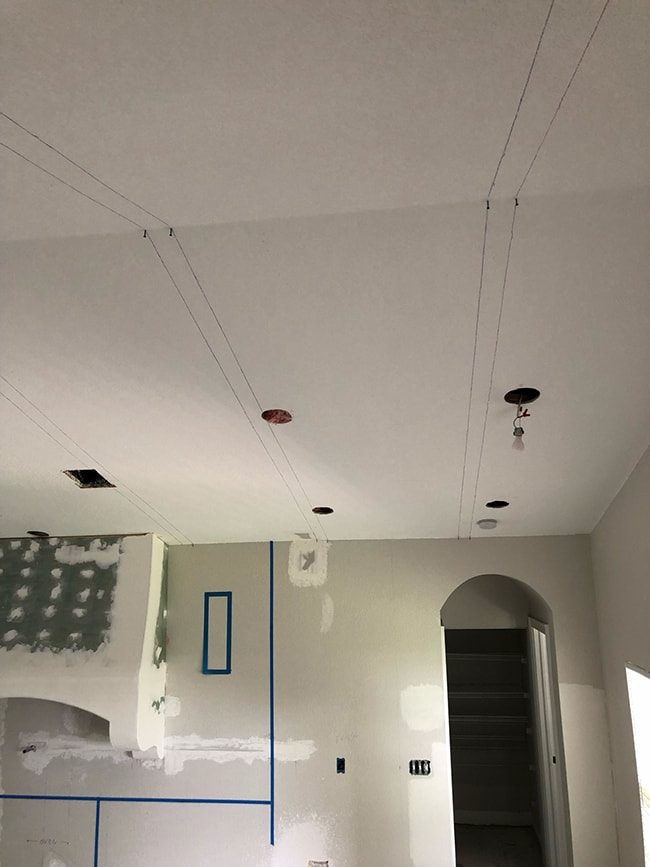
To mark the beam locations onto the ceiling, I attached a screw at both the intersection of the wall/ceiling and the apex of the ceiling at the exact same interval. I then used our laser level to connect the two and trace over it with a pen.
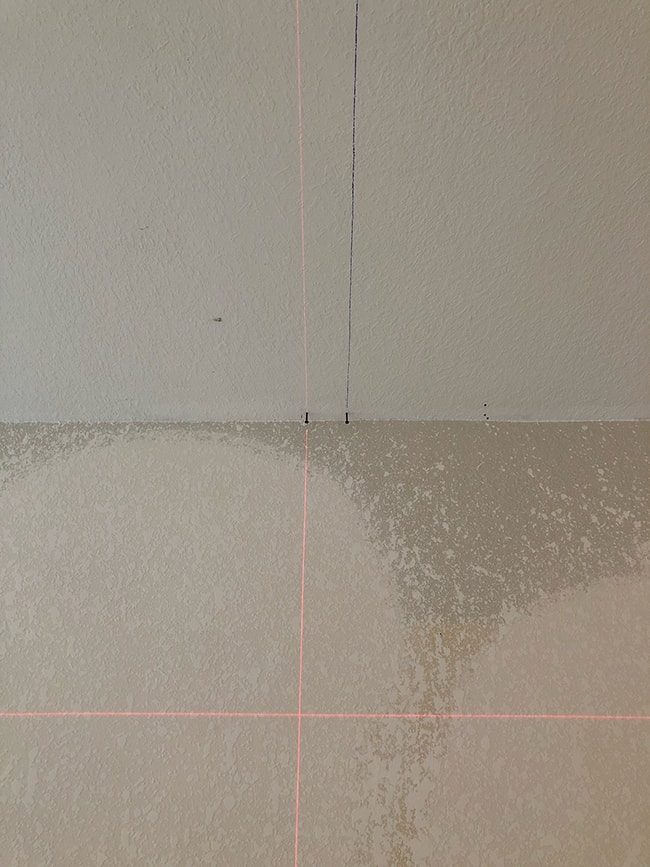
This ensured the beam spacing stayed consistent and the beams would match up from one side of the room to the other.
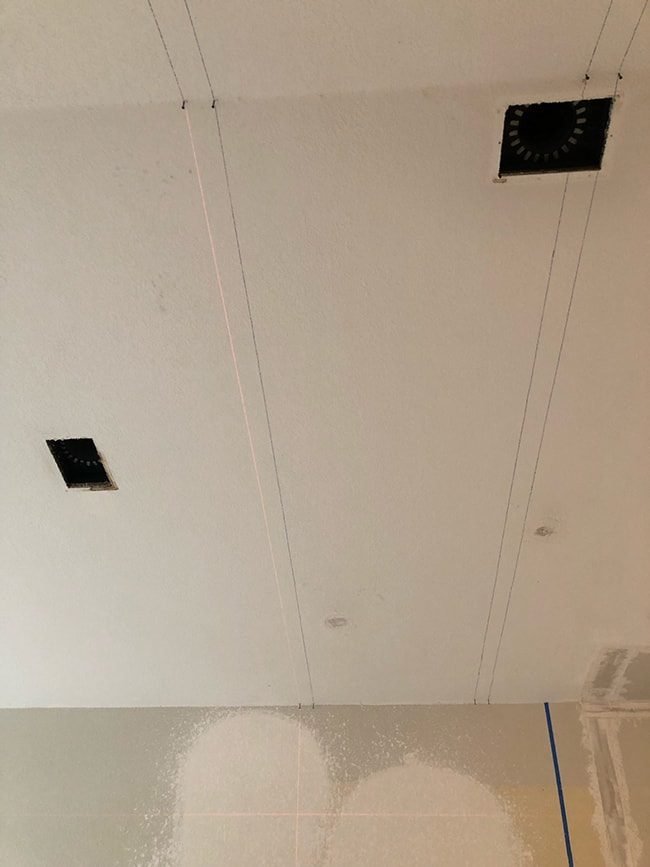
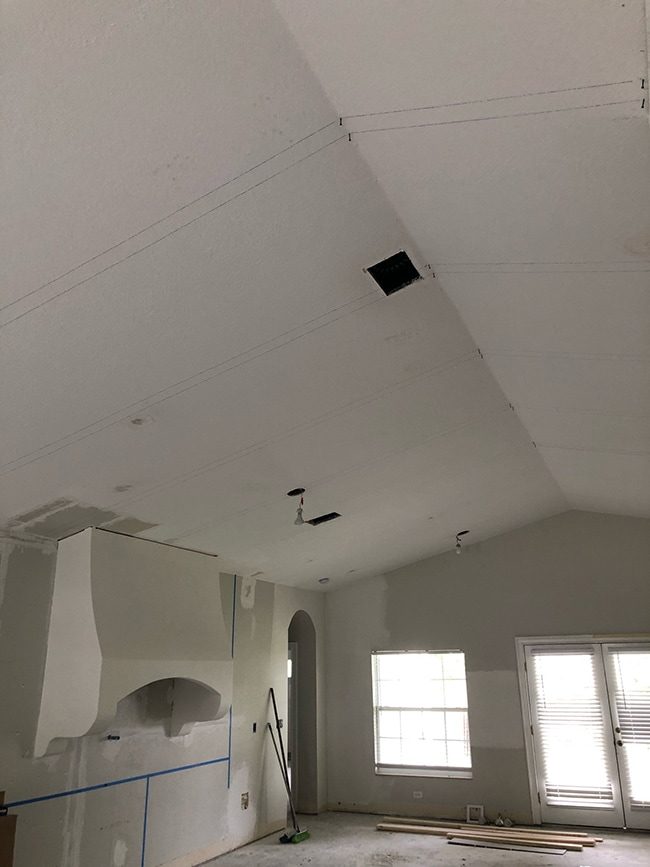
Iused the same method to draw a straight line parallel to the peak of the ceiling, where the large center beam would be installed.
Step 2: Build and install the center beam
First, I sorted through several boxes of flooring to find pieces that matched up end to end. We were pleasantly surprised to discover that the grain matched up with other boards on most of the planks, which genuinely helps them to look seamless once they are installed.
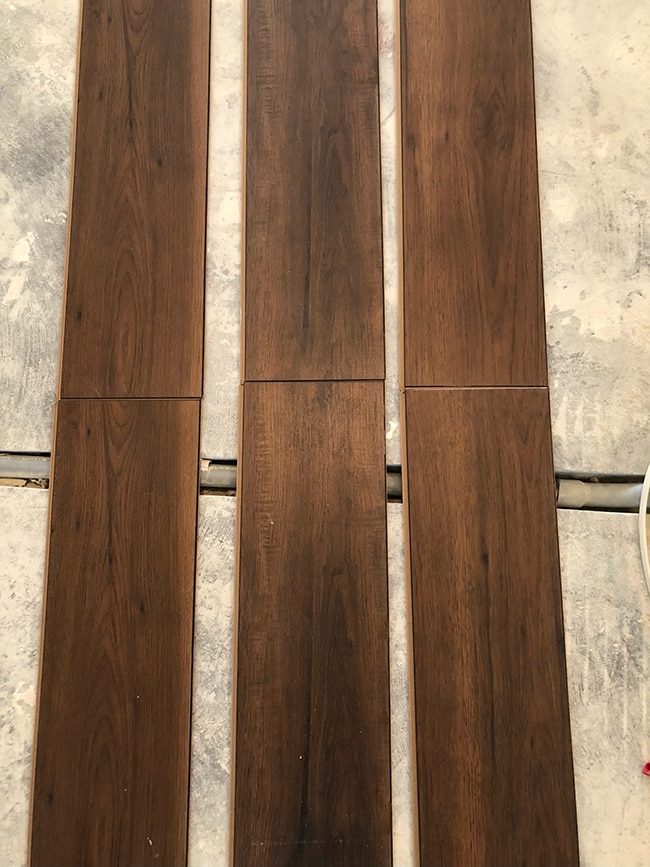
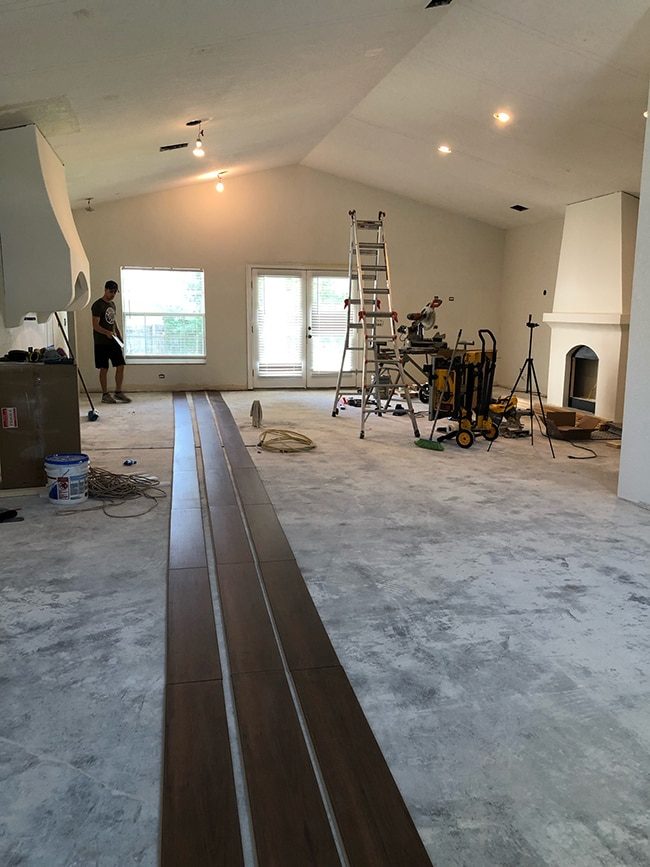
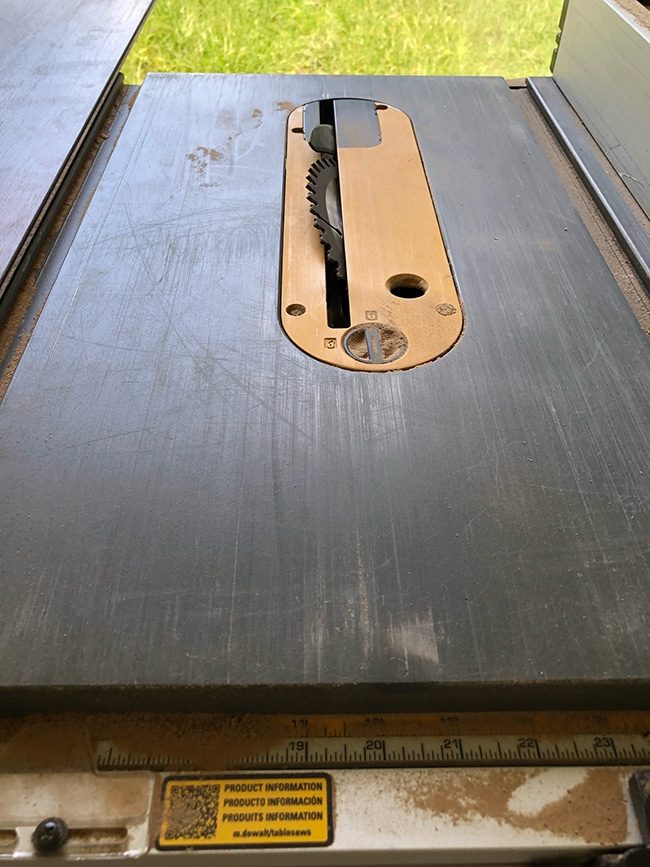
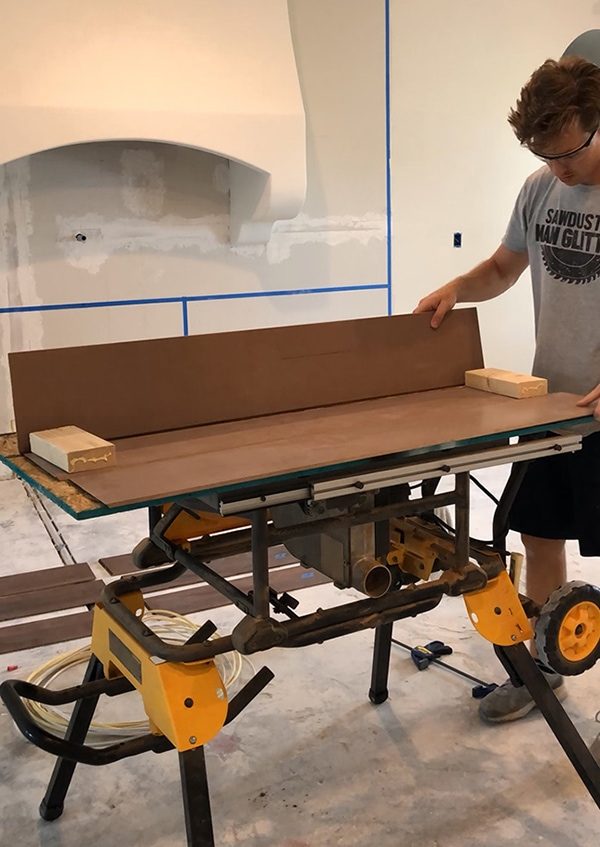
With the runs for all three sides laid out, it was time to build each 4' section. I set our table saw to 45º to miter the bottom edges for a clean joint where each board would meet.
For the sides of each beam (that would attach to the next beam) we decided to miter those edges as well, assuming that would give us a cleaner and more seamless joint. Spoiler alert: it did not work.

This was a combination of user error (my bad) and the very very difficult task of connecting three pieces together on both ends while trusting the table saw to make straight cuts on the short end of the board. To fix my mistakes, I used an orbital sander to shape the boards until they fit together without a gap.
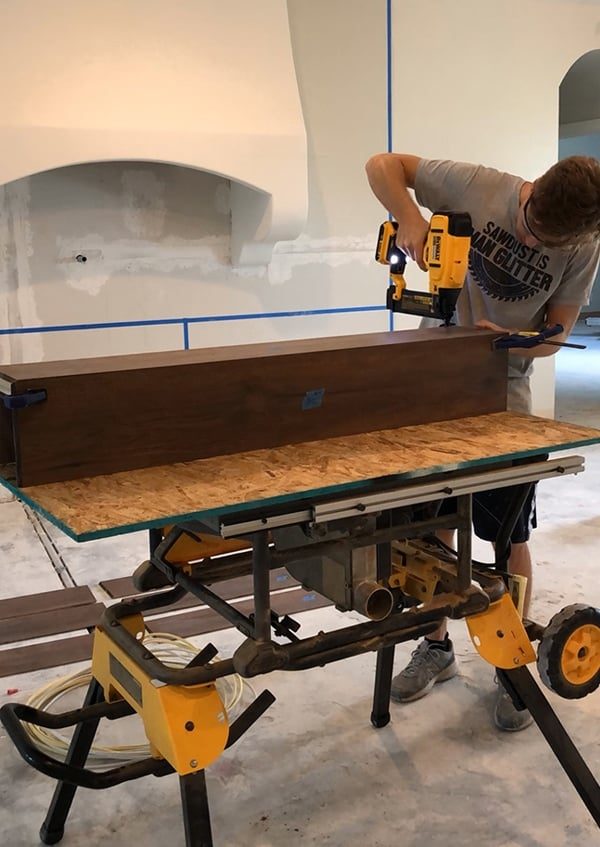
To assemble each section of beam, I cut a 2×4 into three identical blocks and attached one on each end, plus one in the middle (using wood glue, clamps and a finish nailer).
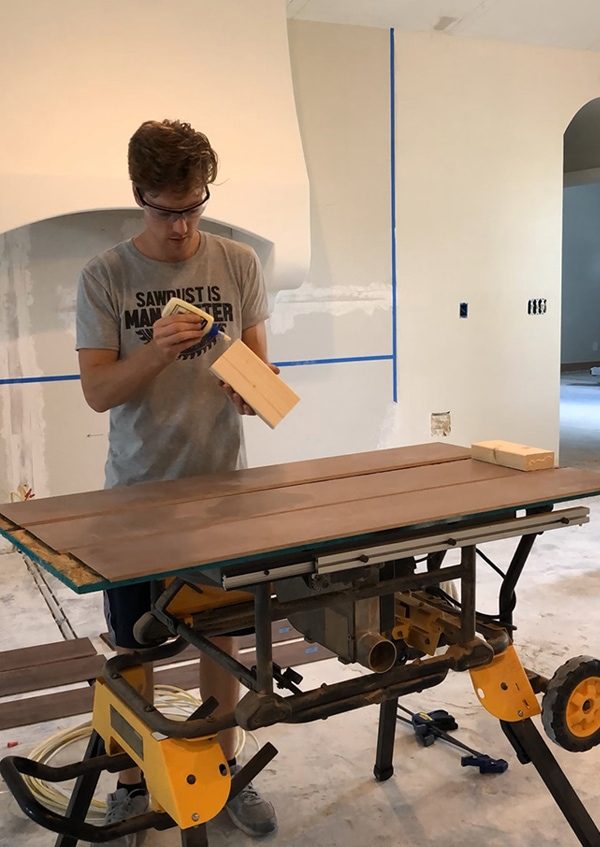

Quick test fit:
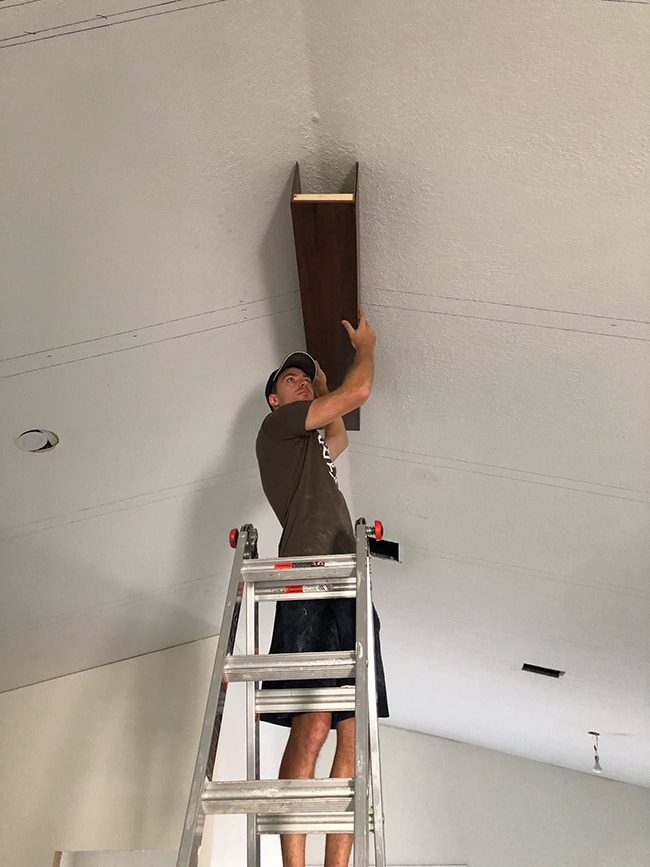
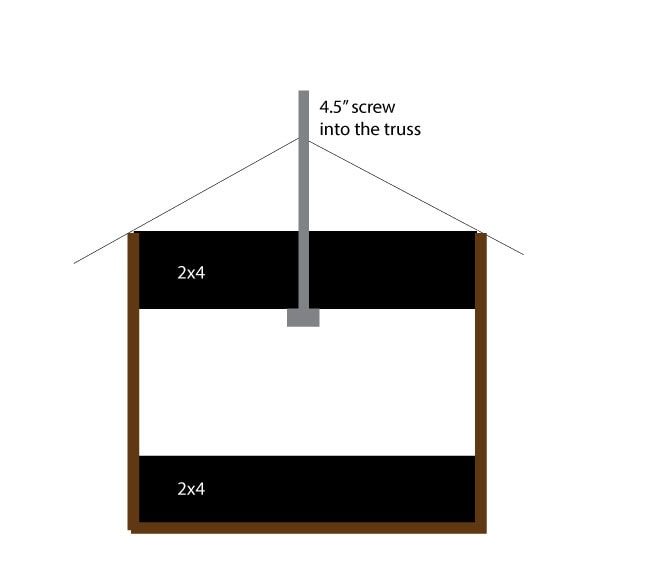
For the ceiling portion, I cut additional 2×4 blocks (to the exact same size as the previous blocks) which the top of the beams would be attached to at every seam.

Using the line I drew parallel to the peak of the ceiling with our laser level, I made sure the 2×4 block was lined up exactly and screwed it in.

I used these long 4 ½” structural screwsto reach the truss along the peak. Here is a cross section of the assembly:
First beam up!
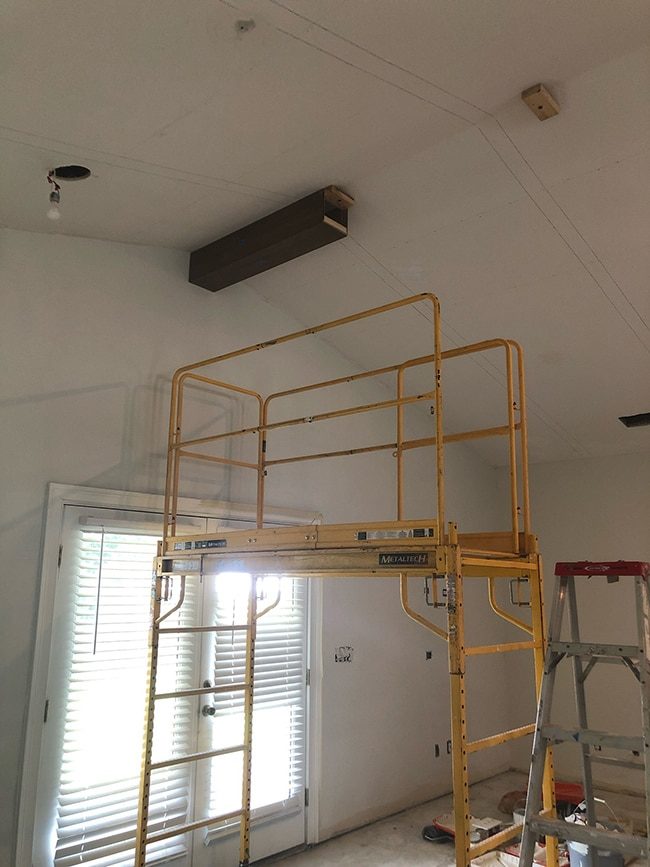
We initially thought we would use finishing nails to attach the beams to the blocking, but because of the angle of the ceiling we did not have enough room to drive them in properly—so we ended up using screws instead. The ceiling boards would end up covering about an inch of the top of the beam so we did not have to worry about patching all the holes.
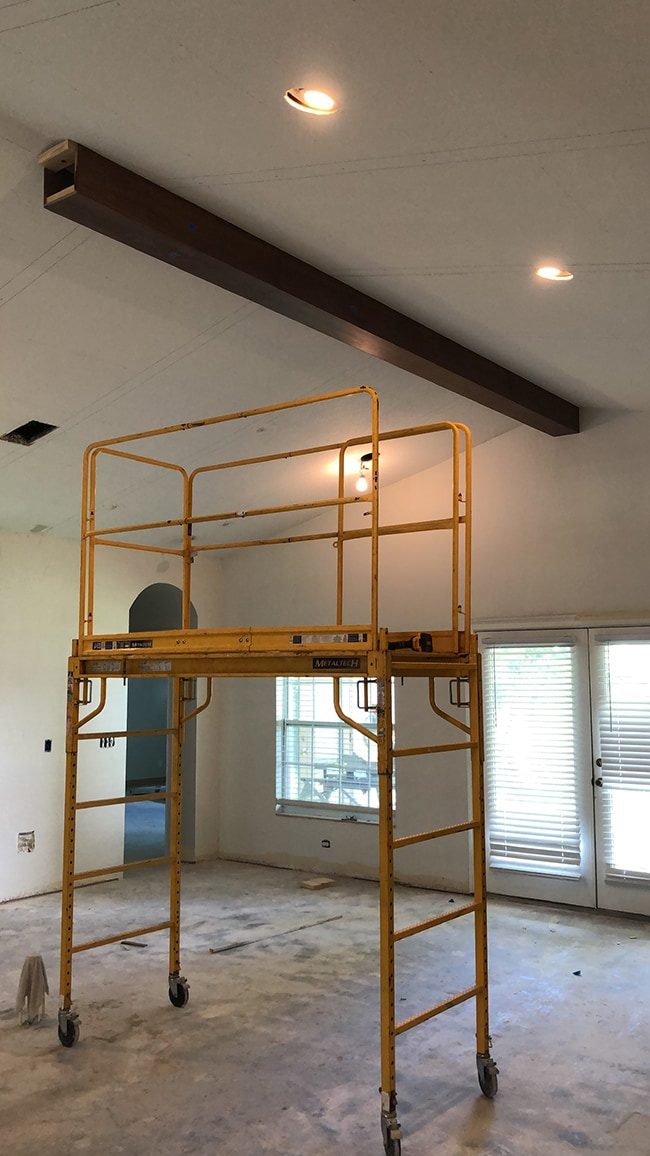
We rented scaffolding from Home Depot, and after 3 weeks and $532, realized we had already paid more than new scaffolding would have cost. So we returned it and bought our own for $462 to finish the install—lesson learned!

This big beam was a bit tricky and a two-person job. We had to make sure it lined up with the previous beam and stayed level, while gluing and pre-drilling each screw.

As it turns out, using miter cuts on the short ends was not the best idea—see below.

Wood putty and wood stain pens helped to conceal the gaps, but they are still visible in the right lighting.


We had assumed the seams would be visible and considered hiding them with beam straps, but decided in the end to leave them off for a cleaner look overall.
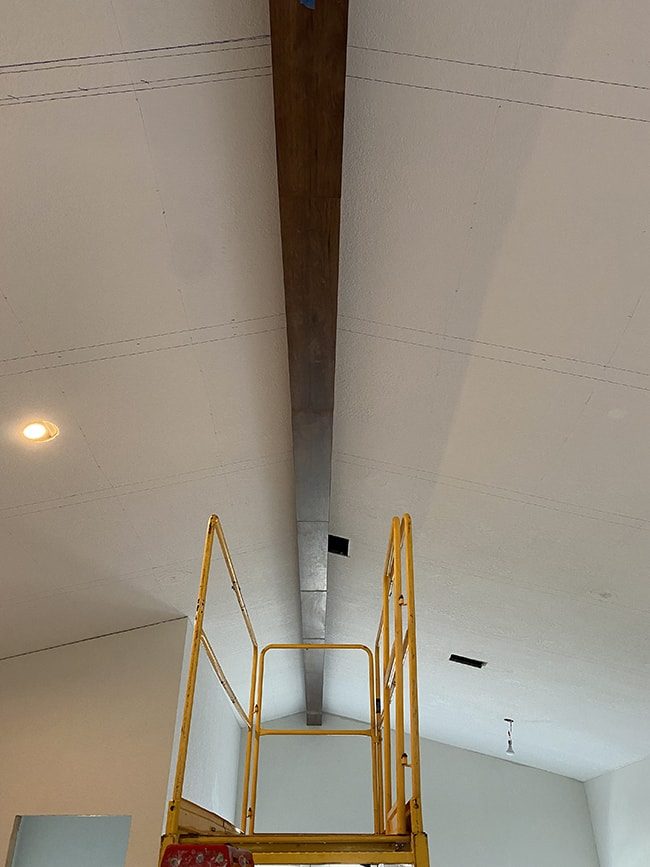
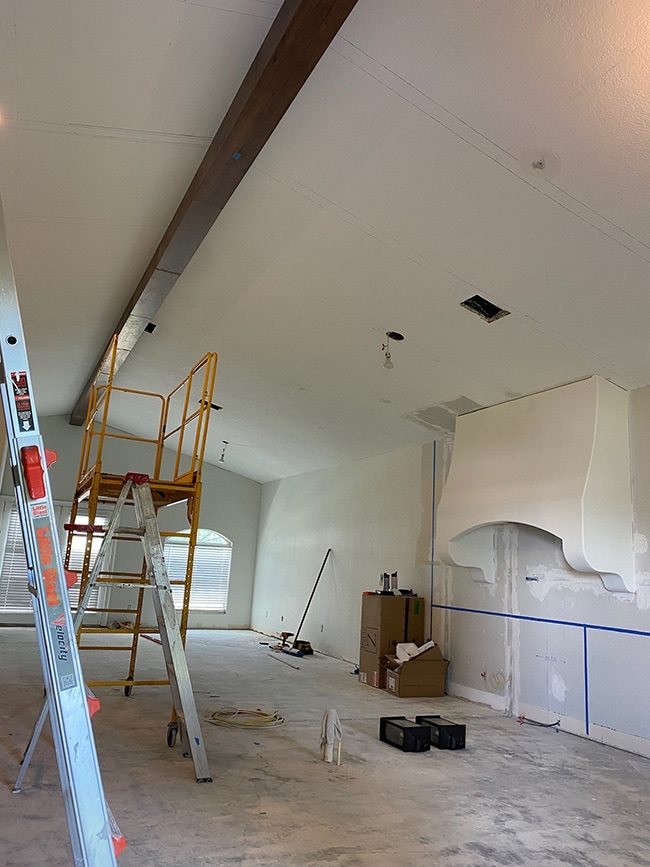
Now that they have been touched up again and the entire ceiling is finished, they genuinely do not stand out at all. How about that 40 foot beam?!

Step 3: Add furring strips and 2×4 blocking
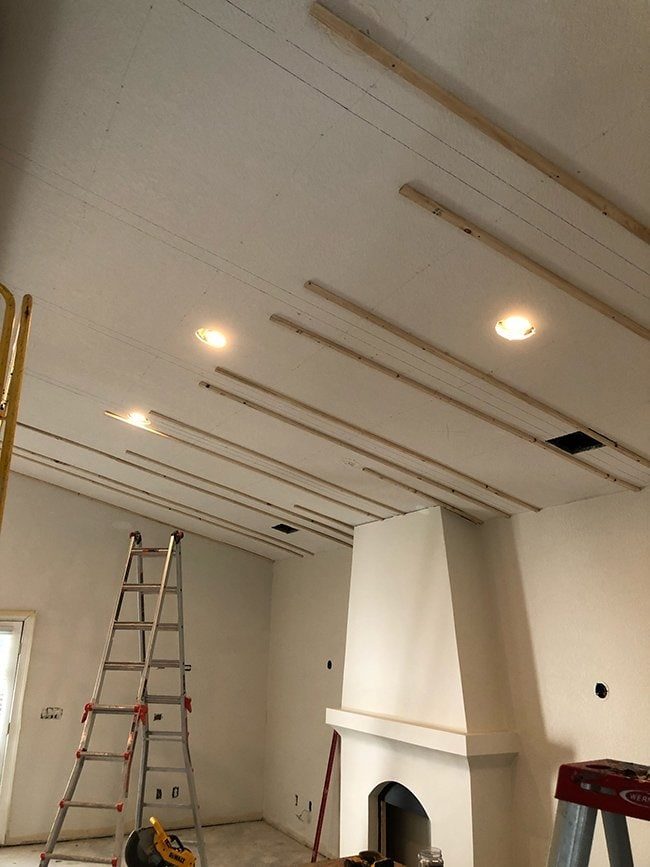
This next step was required because our trusses run parallel to the large beam—aka, parallel to the plank boards. Each plank has to be attached to a stud (not just drywall) so I had to first attach furring strips on each end:
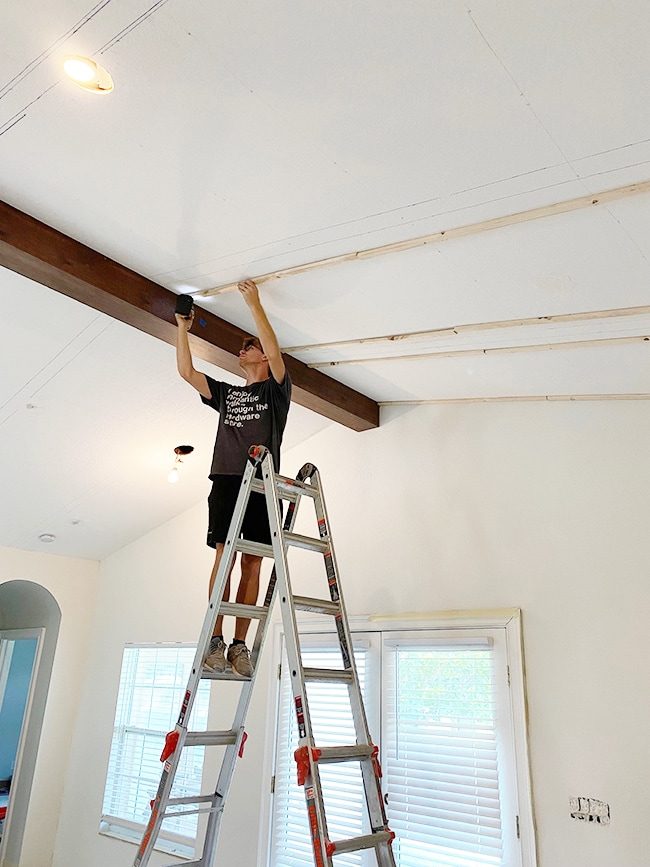
Furring stripsare inexpensive 1×2″ boards, and I installed them in rows, a few inches in from where the edge of each plank would go. Below you can see the thinner lines along the ceiling that intersect the beams—these are the locations of each truss, and where each furring strip was attached.
Make sure to pre-drill before screwing into the ends—this wood splits easily!
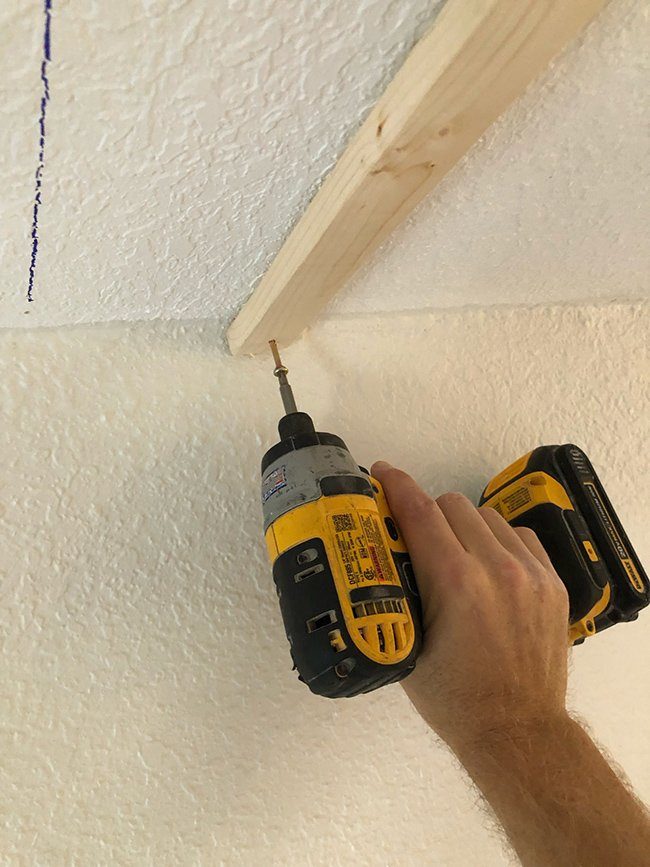
I used liquid nails on these as well for extra reinforcement.
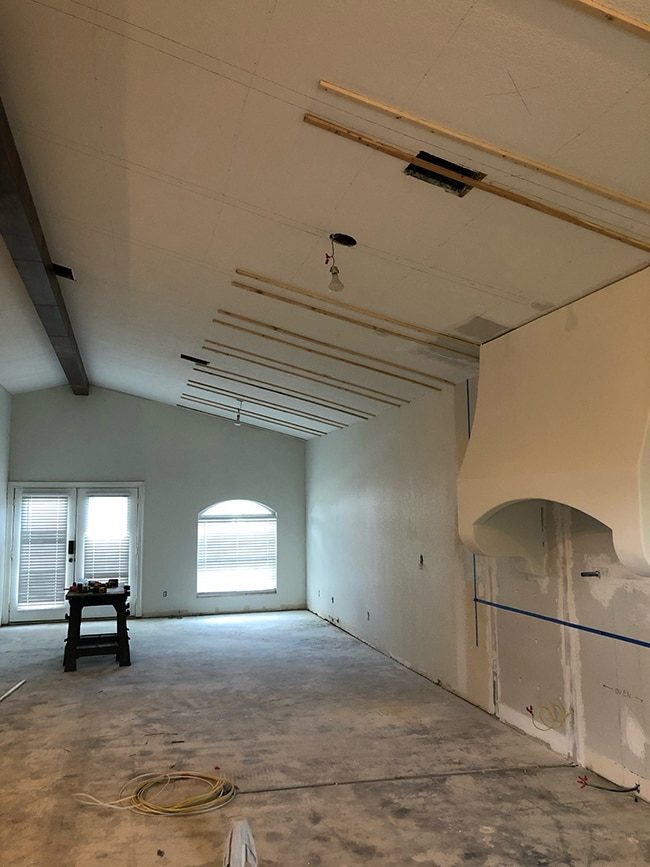
At the end of the small furring strips next to the beam, I used these heavy duty drywall anchorsto secure them to the ceiling since there was not a truss to attach to.
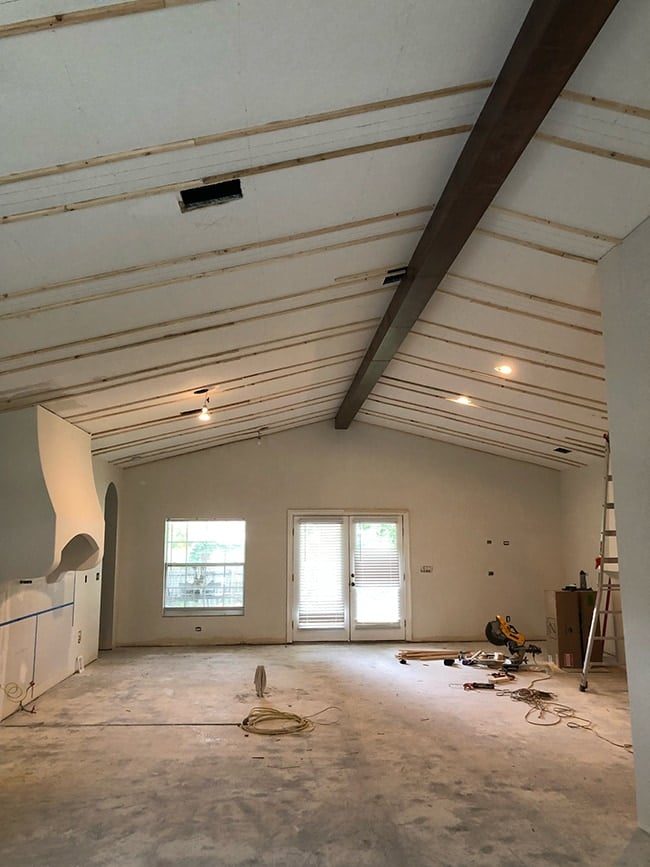
This is the stage where you will want to move any AC vents and lights if needed. Ours were all over the place and intersecting beams, so we mapped out new locations for the lights and relocated the AC vents.
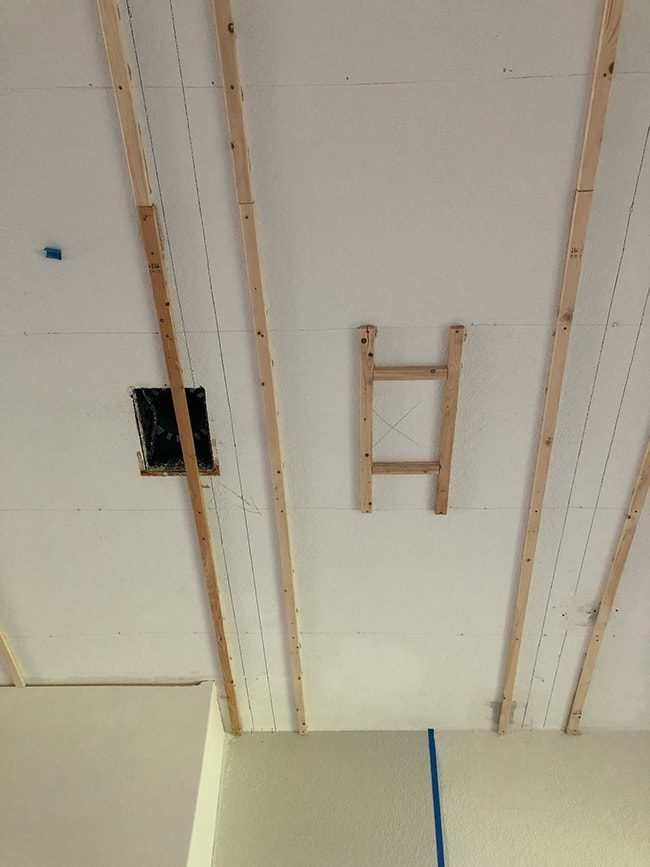
I built a unfussy frame for the new vents using furring strips, to the opening size of the existing vent. Each new vent location was centered between two beams. I moved the ducting to the new location from the attic, and we had our HVAC guy install new vent boxes. The old drywall holes were patched with the piece of drywall I cut out for the new vent.
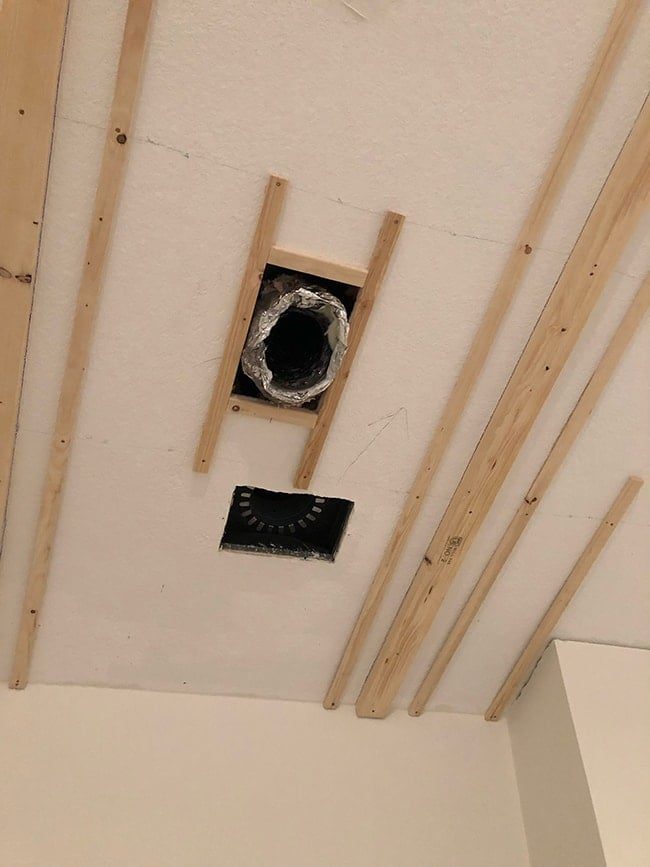
I also added a couple furring strips to the joists on either side of the new light locations, just to provide a little extra ceiling reinforcement for when the new light hole would be drilled.
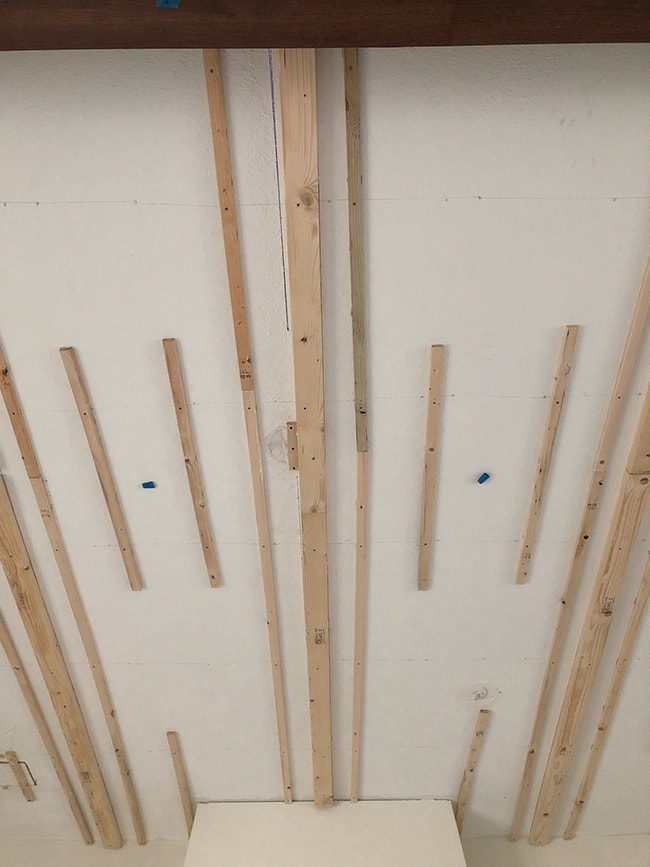
Once all of the furring strips were in, it was time to add 2×4's along the beam lines. I neglected to take photos of this step, but here is a screen capture from a timelapse:
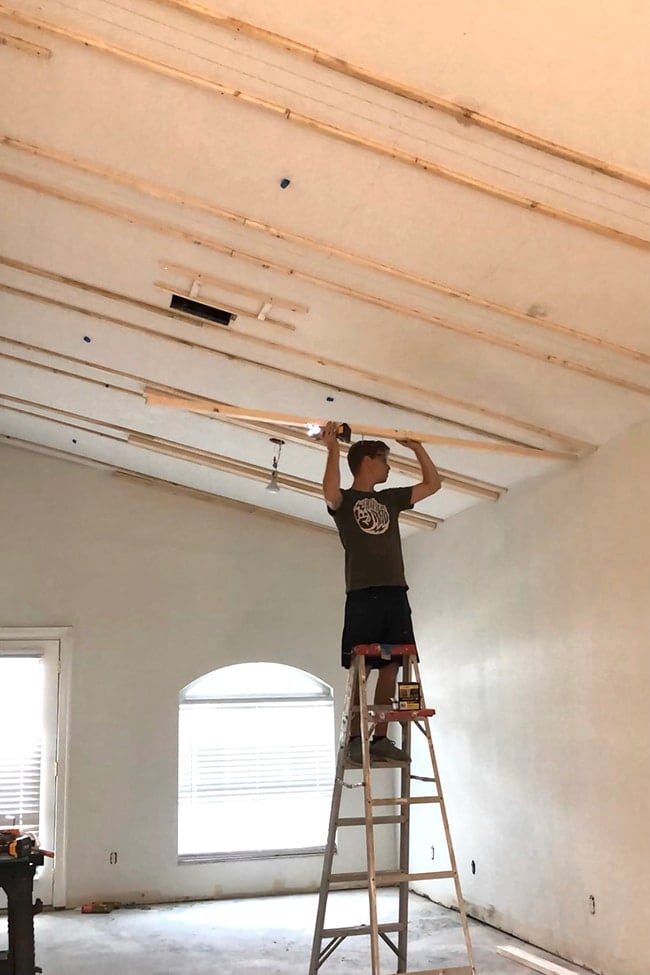
This step was pretty straightforward—just line up the 2×4 with the beam lines on the ceiling, and attach (I screwed them into every truss).
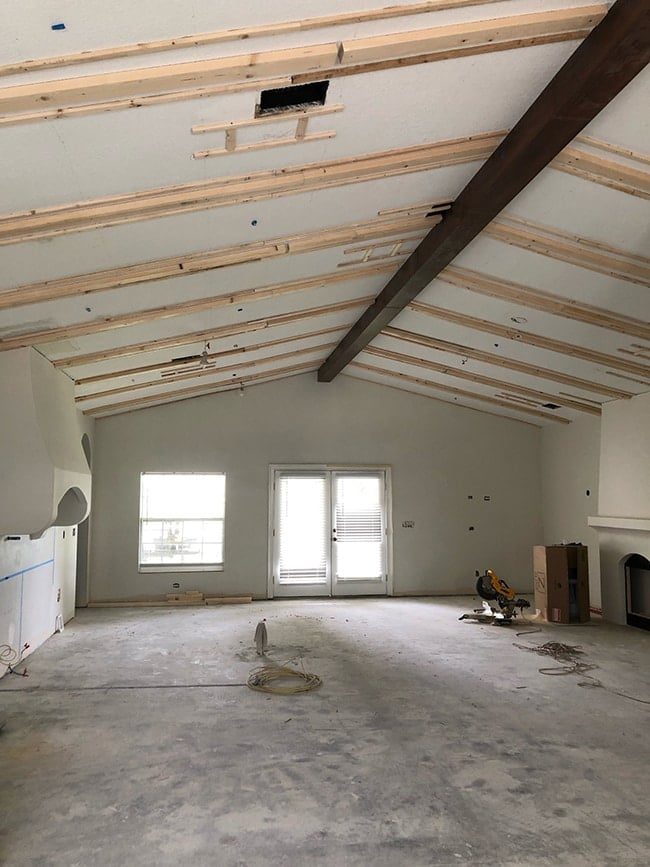
The furring strips, AC vent framing and 2×4's took me around four days in total.
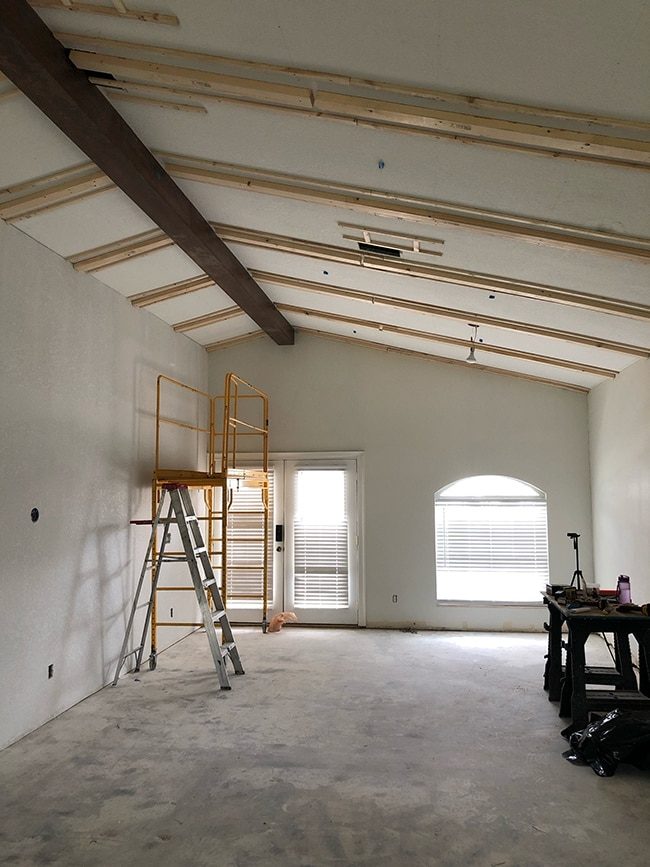
Step 4: Attach ceiling planks
Here is where it starts to get fun! Before putting up the first plank, I needed to map out where they would line up in order to avoid any narrow slivers at the end. Starting with the longest run, I used scrap pieces as a test to see how they would fall (sorry this is out of order, forgot to take a photo before starting!)
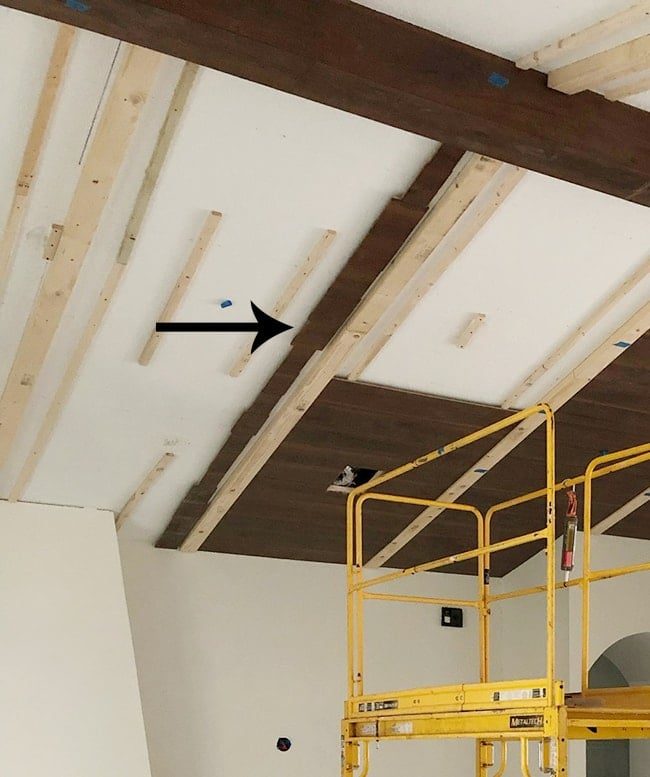
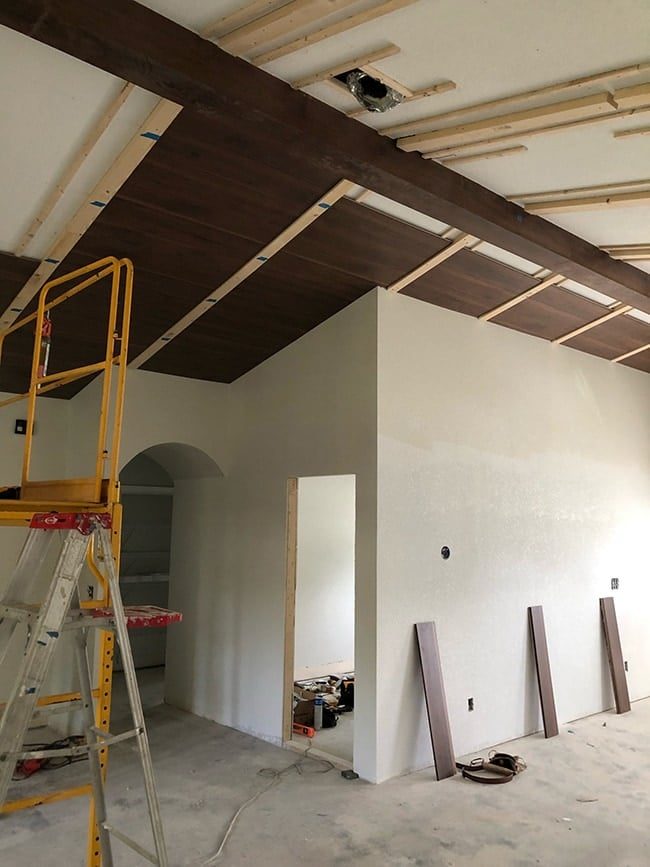
With my spacing good to go, the planking began.
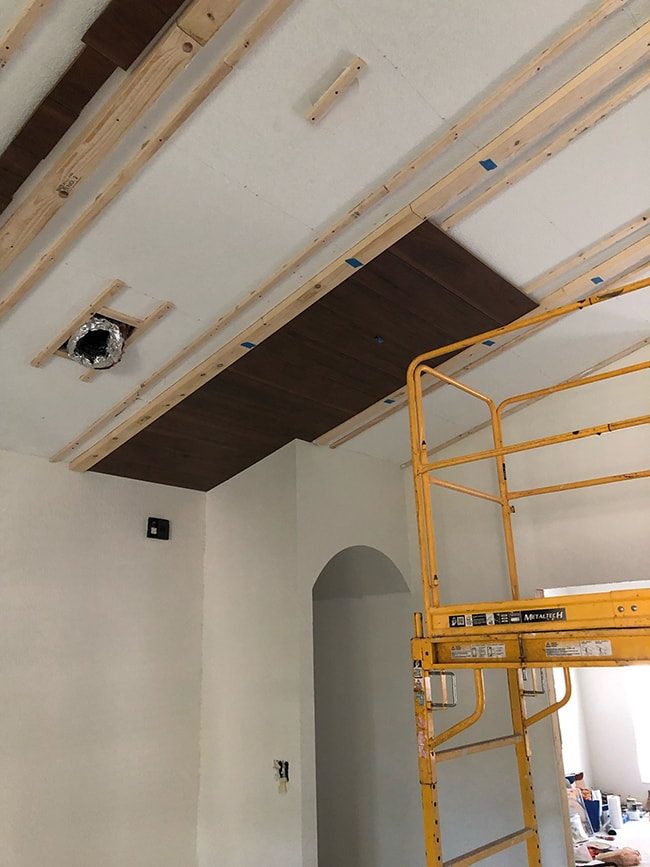
This step is also pretty straightforward. The planks interlock and they were all cut to the same size—the length did not have to be particularly precise because the beams would hide any small gaps around the 2x4s.
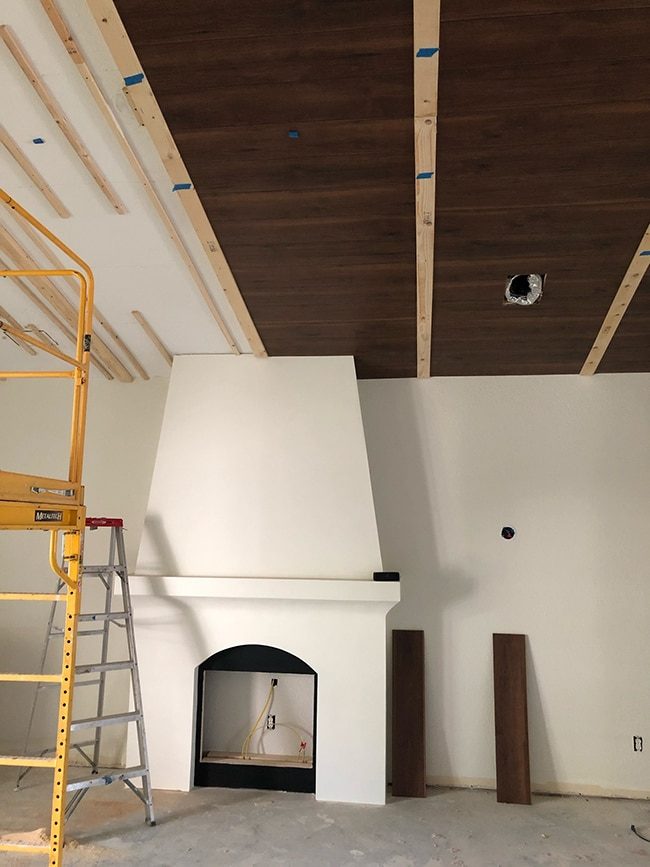
The trickiest cuts were around the fireplace and range hood. I used a jigsaw to cut these pieces, and my orbital sander to miter the edge and contour the precise shape.
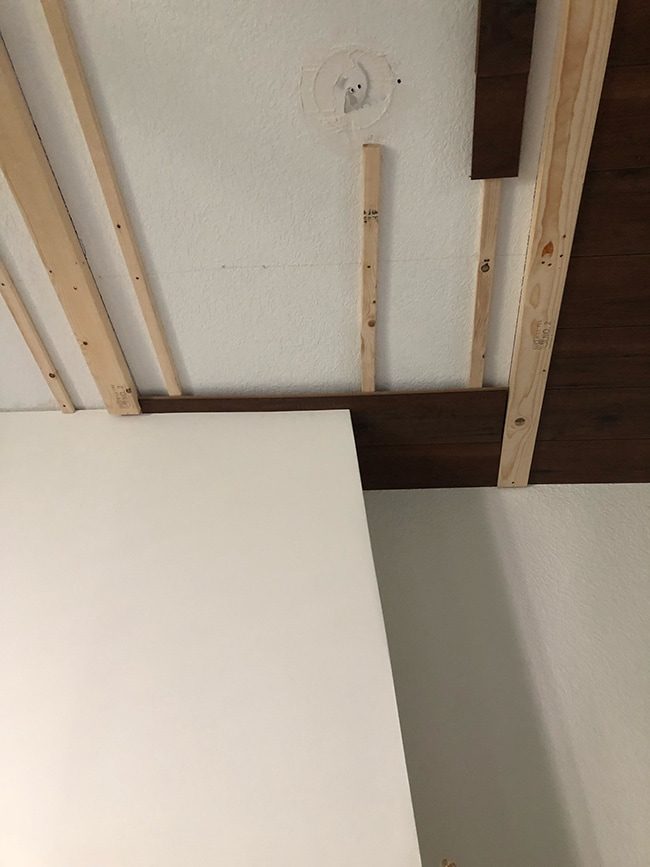
Those efforts paid off because they fit like a glove.
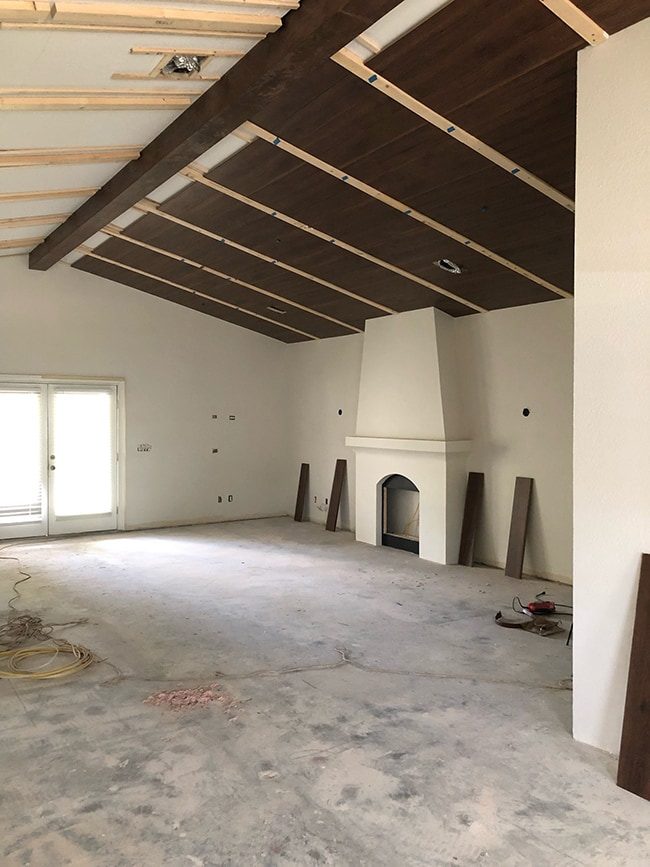
The last two pieces next to the big beam were a bit awkward to install due to limited space caused by the angle of the ceiling.
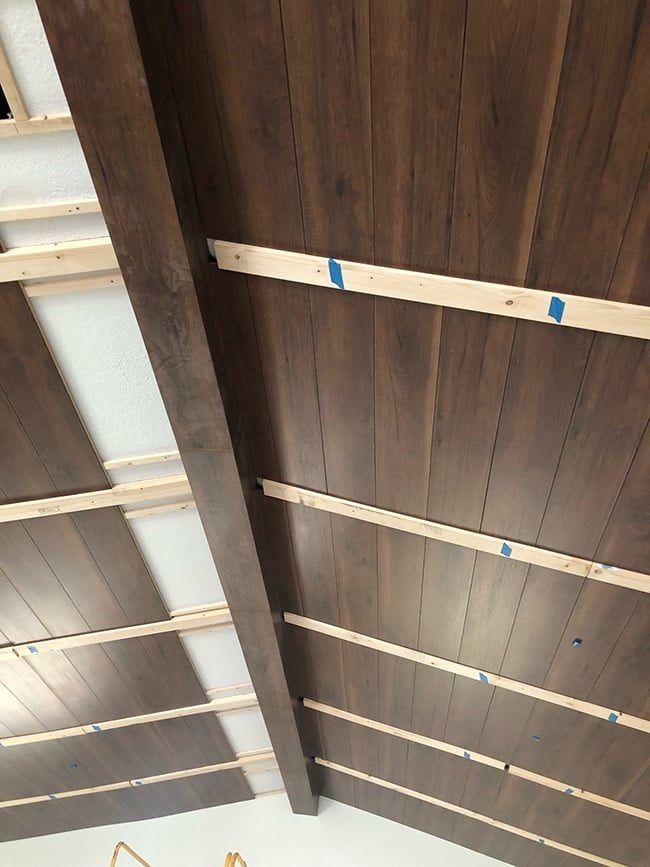
To get a tight fit, these are the steps I took:
- Ripped off the tongue edge of the top piece that would go next to the beam
- Ripped that piece down to the correct width to fit
- Held the pieces in a V shape up against the ceiling
- Pushed it flat with one end nesting in the previous board and the other end up against the beam
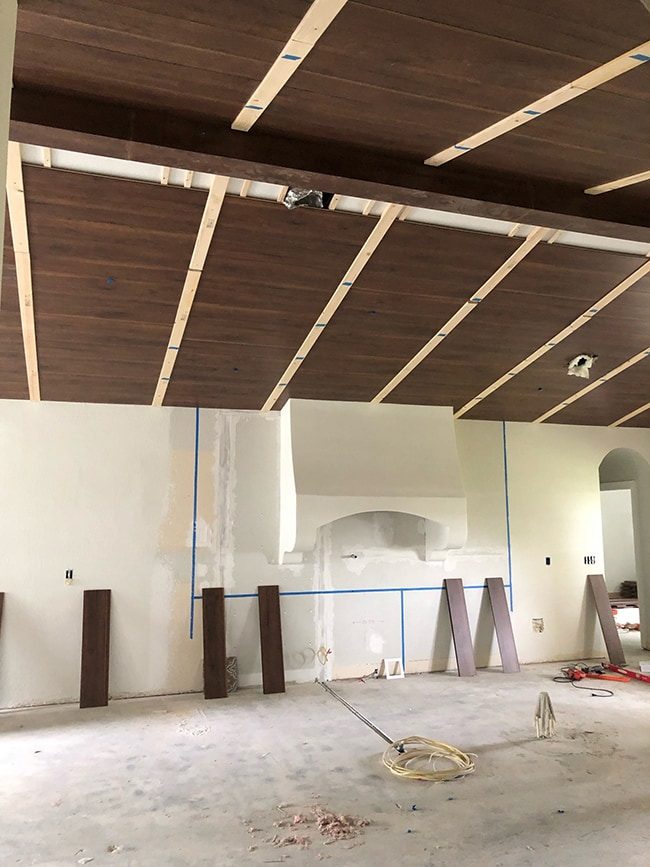
Installing the planks took me a week, but what a difference already!
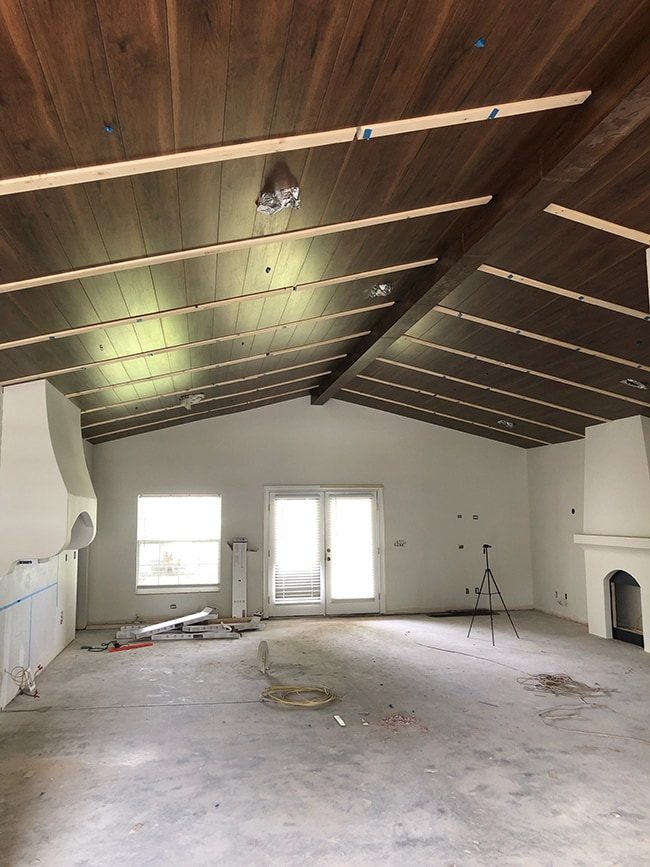
Step 5: Build and attach the smaller beams
The first step for the small beams was to sort through dozens of boxes of planks, lay them out and match the grain patterns. It took me an entire day, but it is a critical step so they appear to be one big beam instead of multiple small sections.
The small beams were constructed the same way as the big beam, with mitered long edges and 2×4 blocking in the middle (no miters on the short ends this time!) I used anangle finderto determine the cut angle against the wall (they all ended up at 15º).
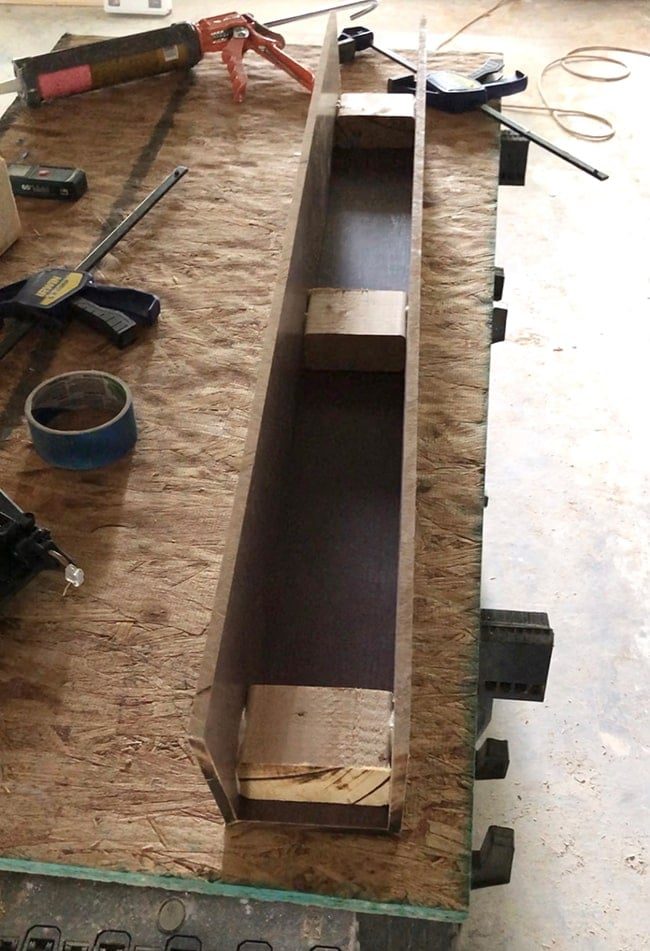
I made the opening width of these beams 3 ½”, so they would fit snug around the 2x4s I installed on the ceiling. Once each section was built, I sanded the corners to get rid of some of the splinters from the table saw and used a furniture marker to go over the edge and hide the cut marks.

The 2x4s on the ceiling came down only ~ ½” below the planks , so I added additional blocking to attach the beams to at each connection point.
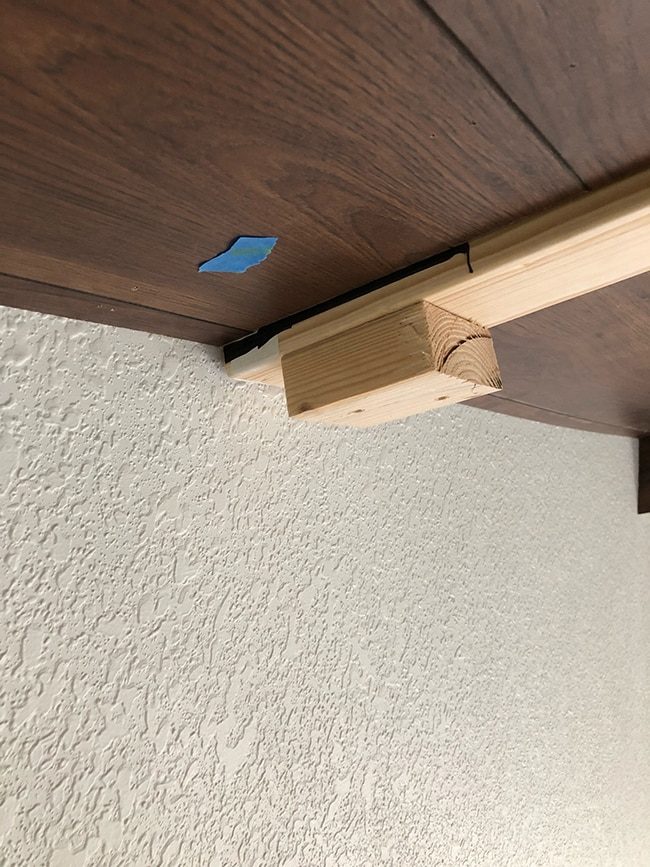
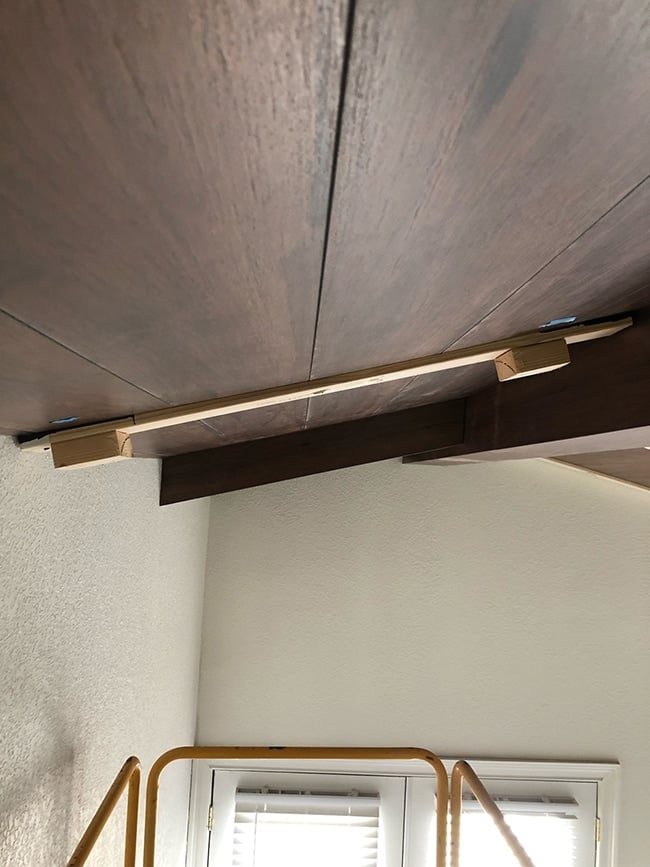
Starting with the smallest beams, I used liquid nails and 1” finish nails to attach them to the blocking.
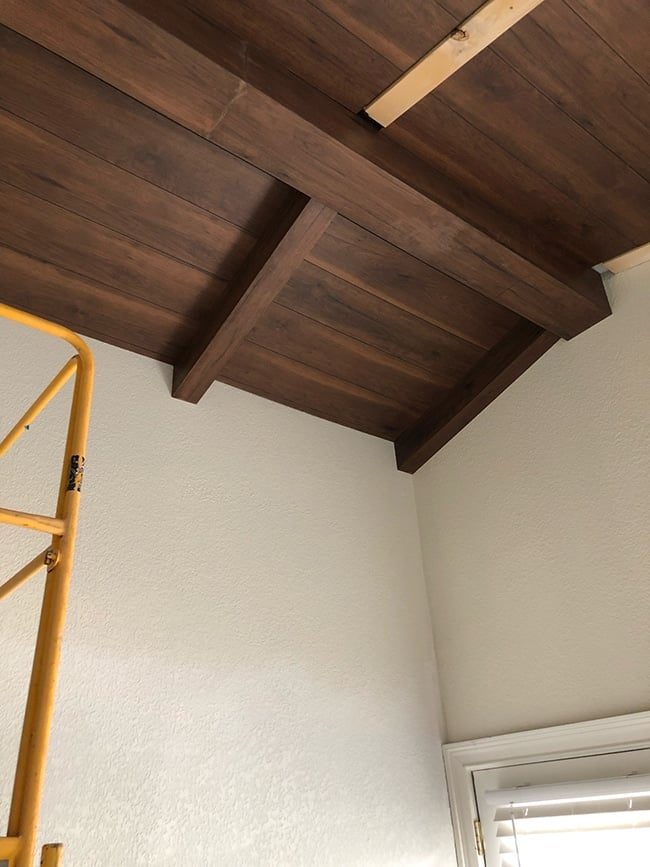
I ended up making several small adjustments with a hand file and orbital sander to get the fit just right.
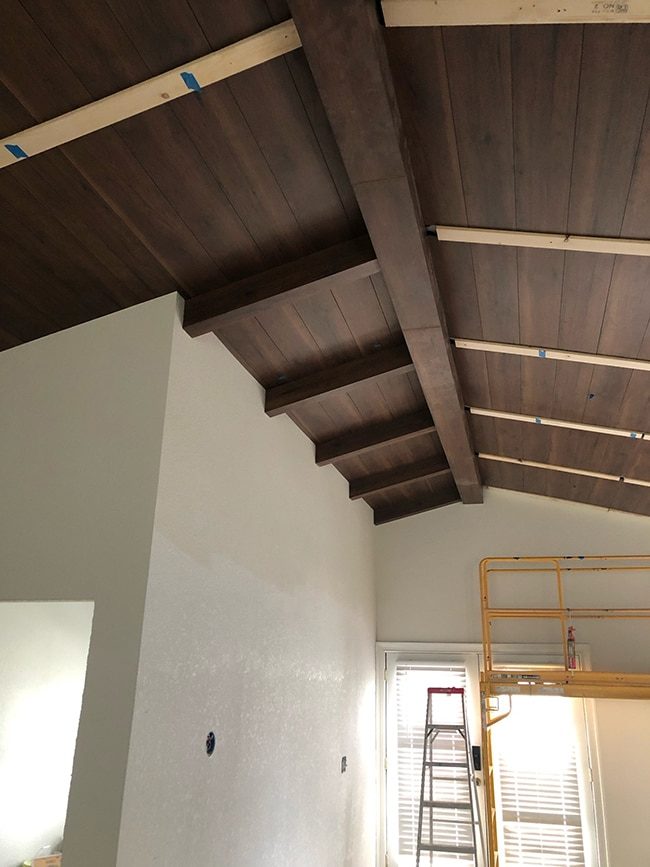
Similar process for the longer beams with multiple sections, but I added an extra piece of blocking at each joint. This was needed for reinforcement and to keep each section aligned.

The longest beams were made with four sections, and around 12.5' long in total.

These seams with a butt joint turned out much better than the mitered big beam! Live and learn.

To get a well suited contour around the range hood, I used my orbital sander to curve the edge.
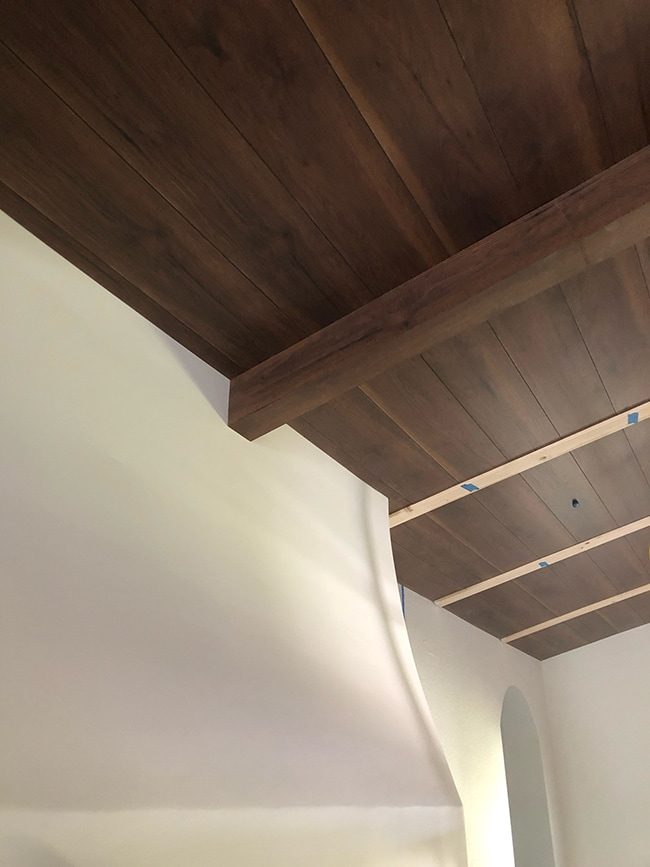
So satisfying to watch these pieces go in!
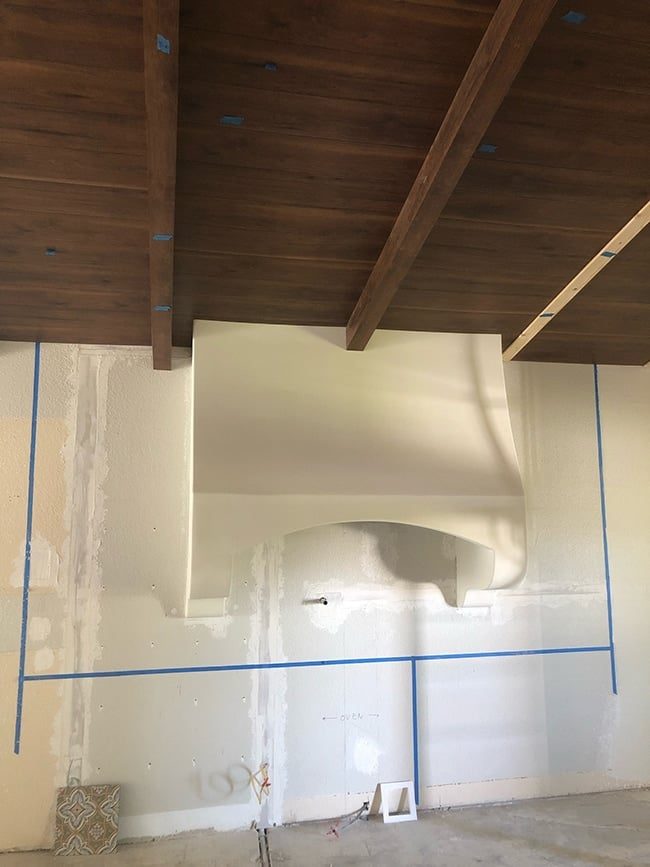
I ran into a big challenge along a section of drywall that had come away from the trusses and bowed the ceiling. I was able to re-secure the drywall, but was left with a wonky crooked ceiling.
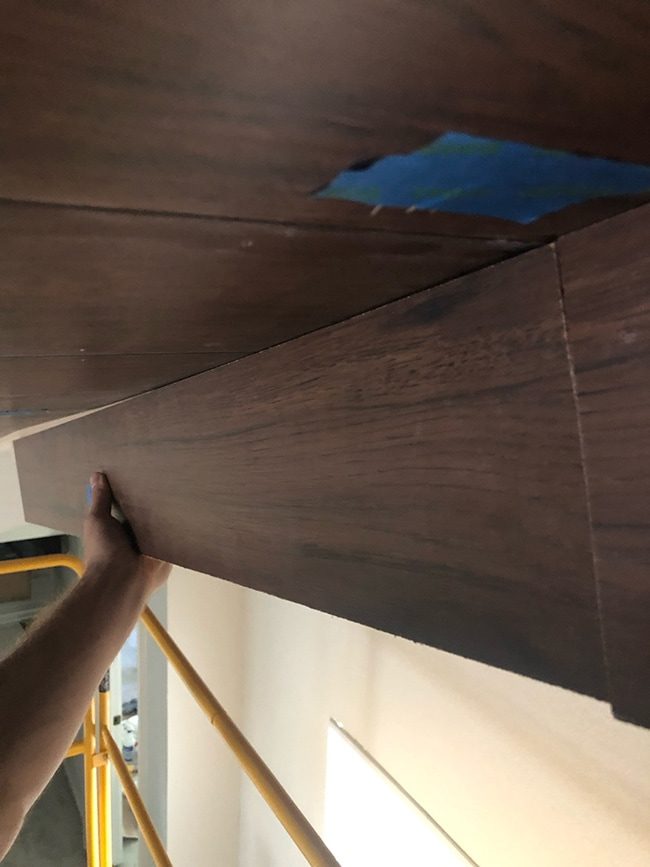
After a failed attempt to cut a curved shape with my jigsaw, I spent a couple hours with a hand filer and orbital sander—and about 100 test fits—to get the shape just right:
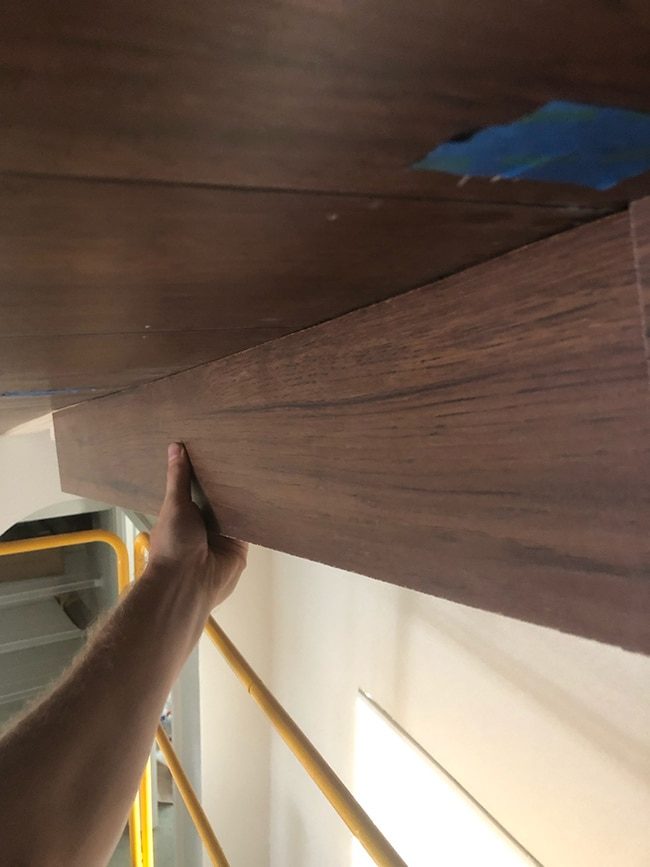
Cannot even spot the problem piece!
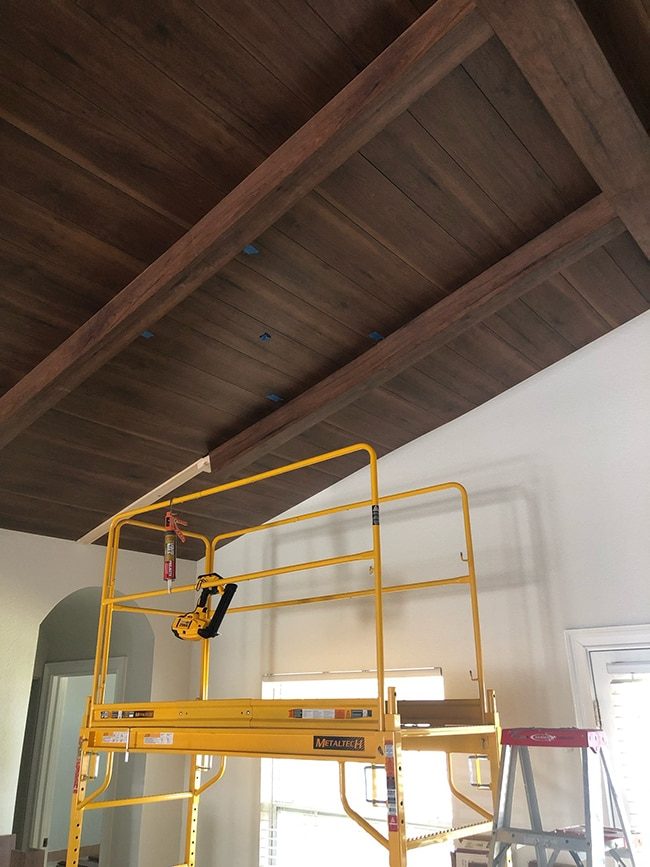
For the rest of the beams it was very much rinse and repeat for this whole process. I built and installed them at about a pace of three full beams every two days.

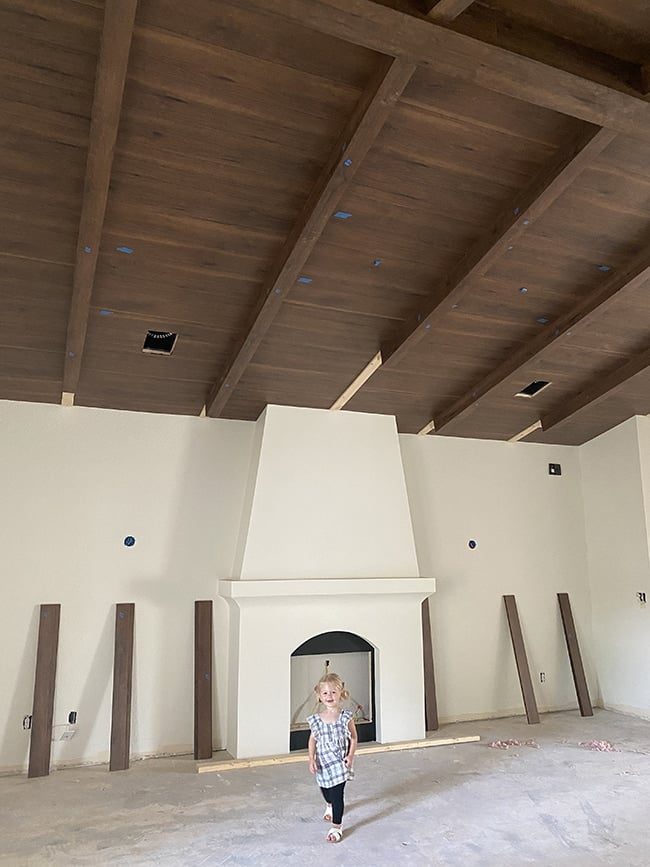
Nothing like watching that last beam go up after weeks of work!
I spent 4-5 hours wiping everything down and touching up as needed with the stain pens.
Step 6: Reinstall HVAC vents and lights
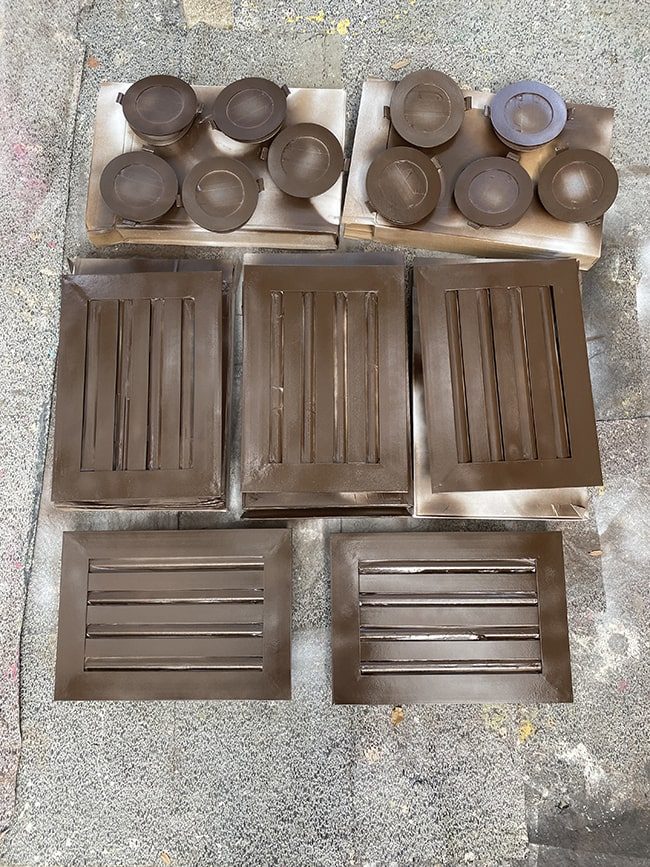
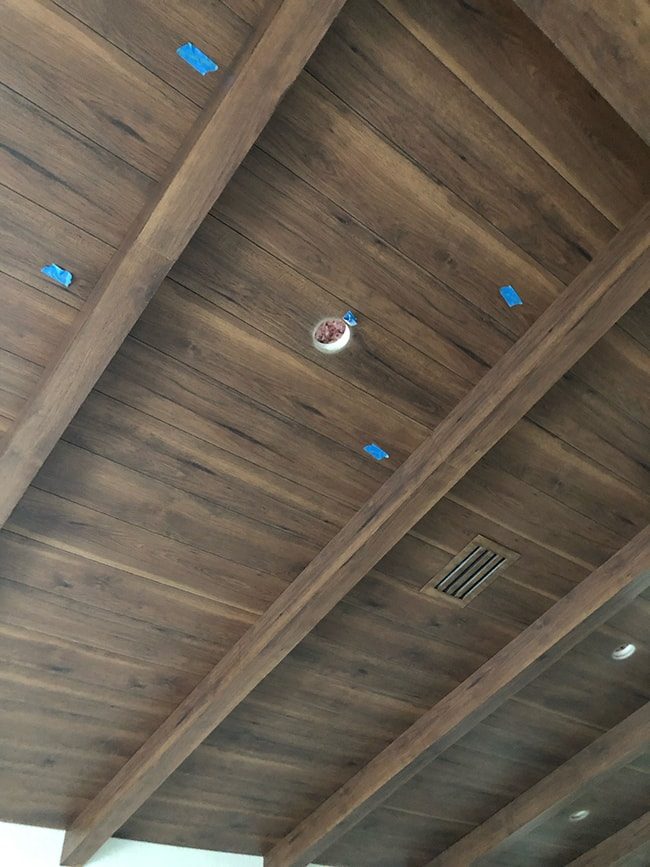
The quickest way to ruin all of our hard work is to install a bunch of eyesore AC vents and lights. I found these low profile linear vent covers(same one we used in our closet makeover) and slim LED lights, and decided to give them a 'faux bois' paint treatment to match the wood grain.

After using my go-to spray primer, I applied a coat of dark brown spray paint.
Then I bought three paint samples that matched the different shades of the laminate, and lightly brushed each color on.

This technique resulted in a surprisingly realistic wood grain—they turned out better than expected!
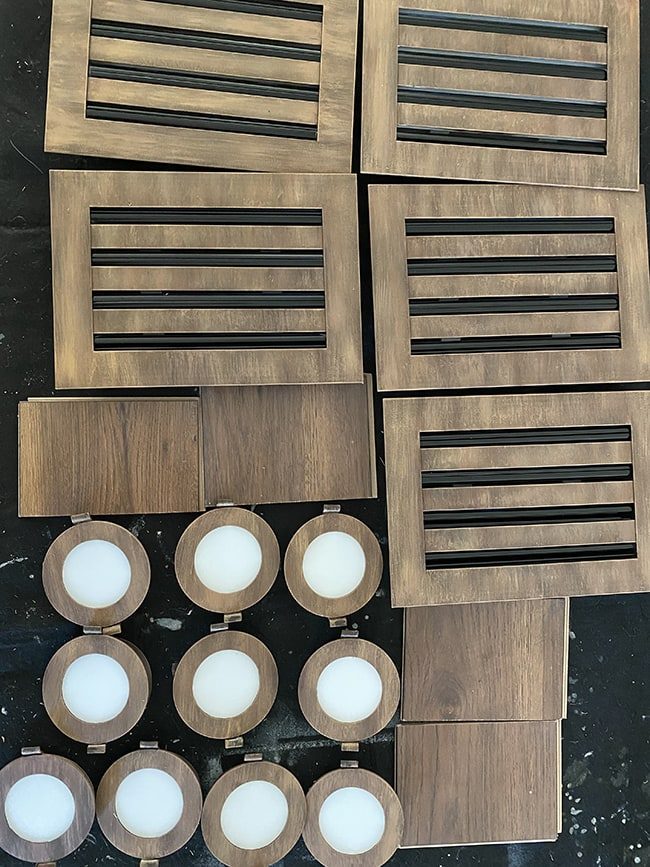
As mentioned earlier, you cannot see much detail when standing on the ground, but it was a fun experiment and good trick to know for the future.
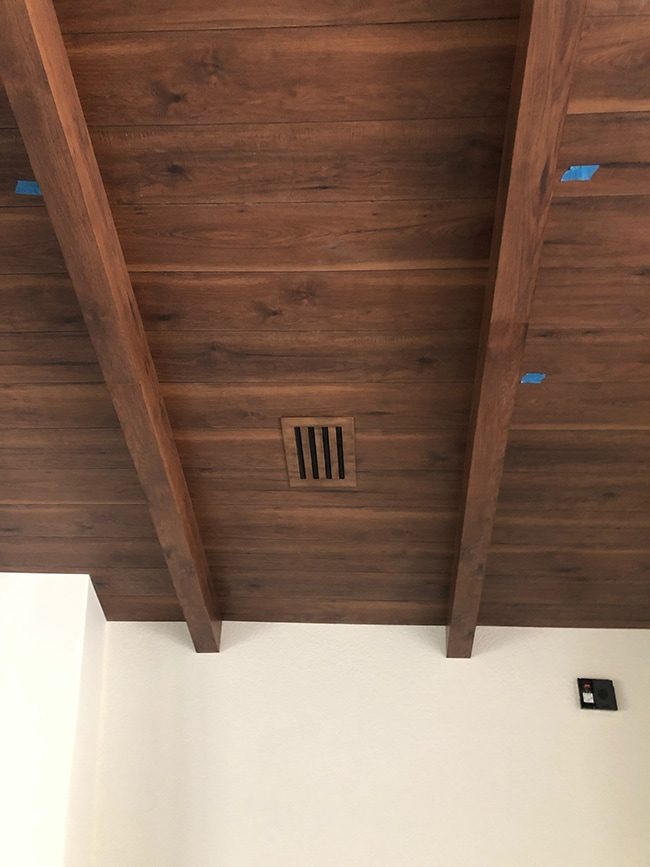
As the last and final step, our electrician cut holes for the new lights (I marked the locations with painters tape) and wired them up!
DIY Wood Beam Vaulted Ceiling Reveal
And that, my friends, brings us to the end…
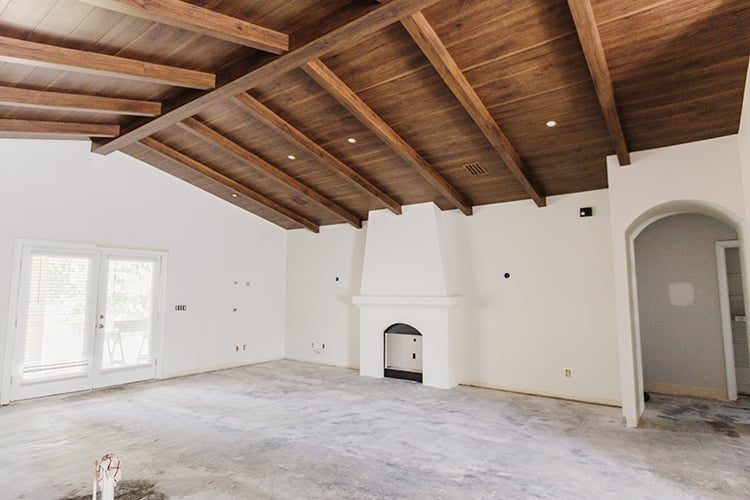
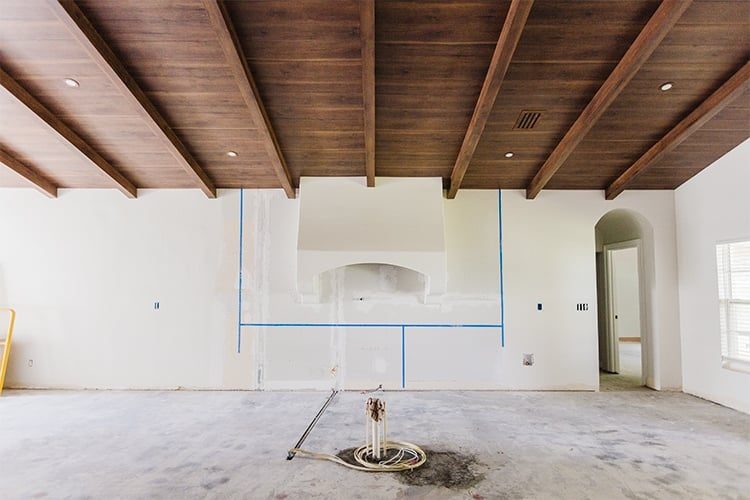


You will notice that the color and tone of the boards changes quite a bit depending on the angle and lighting. I think the color variation and grain is well suited for our Hacienda—I am not convinced we could have achieved this trying to stain the boards by hand.

The seams in the big beam are genuinely the only imperfection. It is not ideal, but at least you can only see them when looking into the light…

Honestly, I am so in awe just standing in this room and taking in this incredible transformation… I do not even care about the seams.
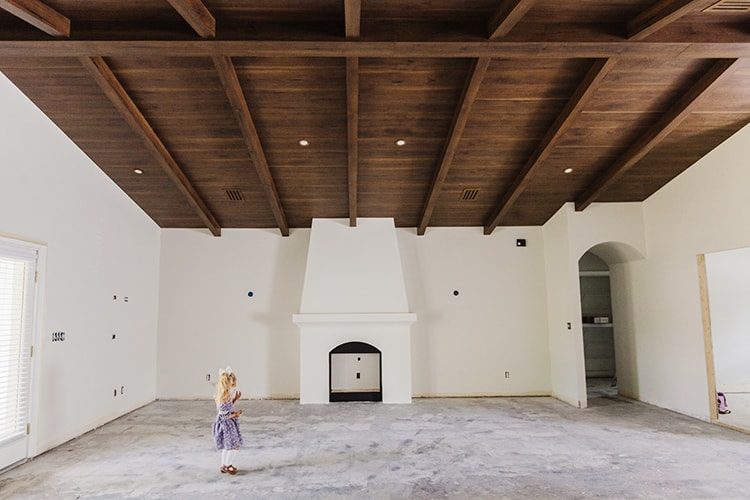

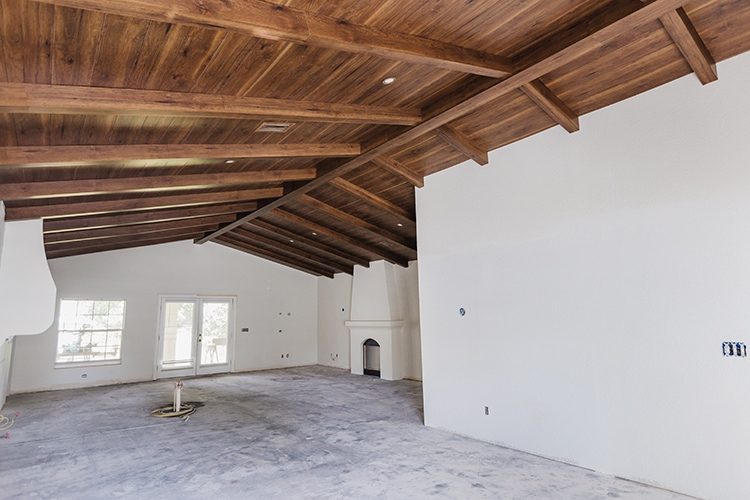
The ceiling also feels so much taller in person. Here is a side by side before/after comparison:
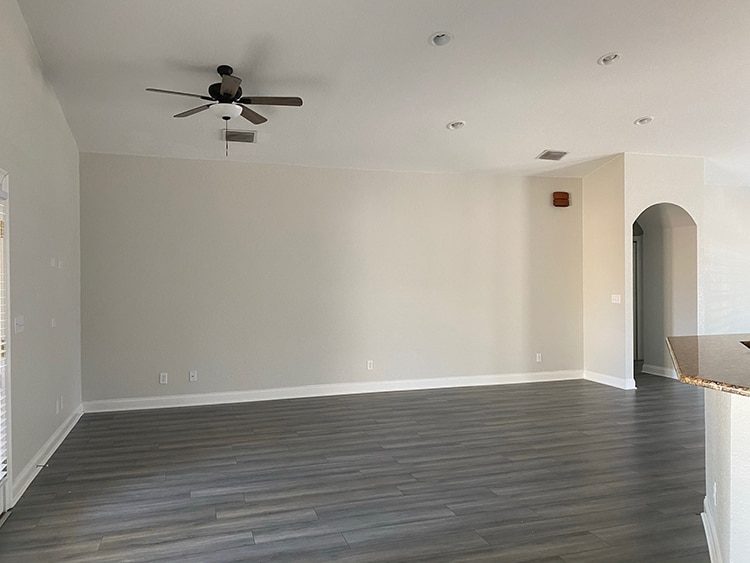

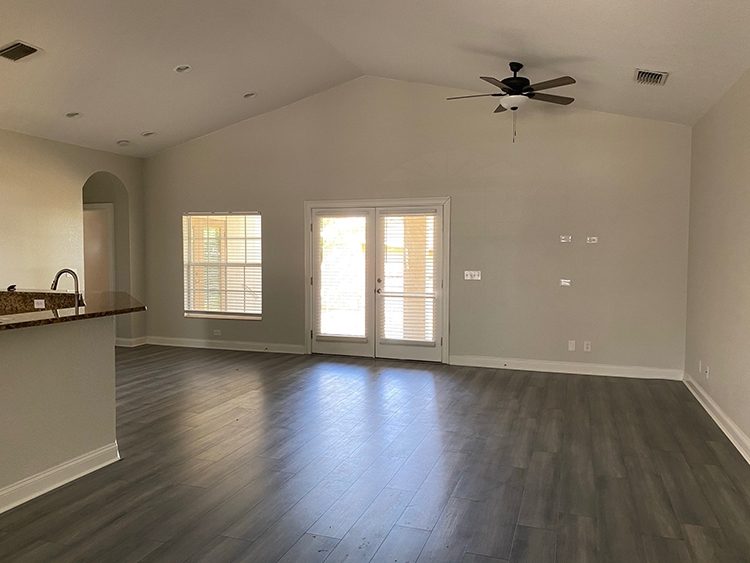
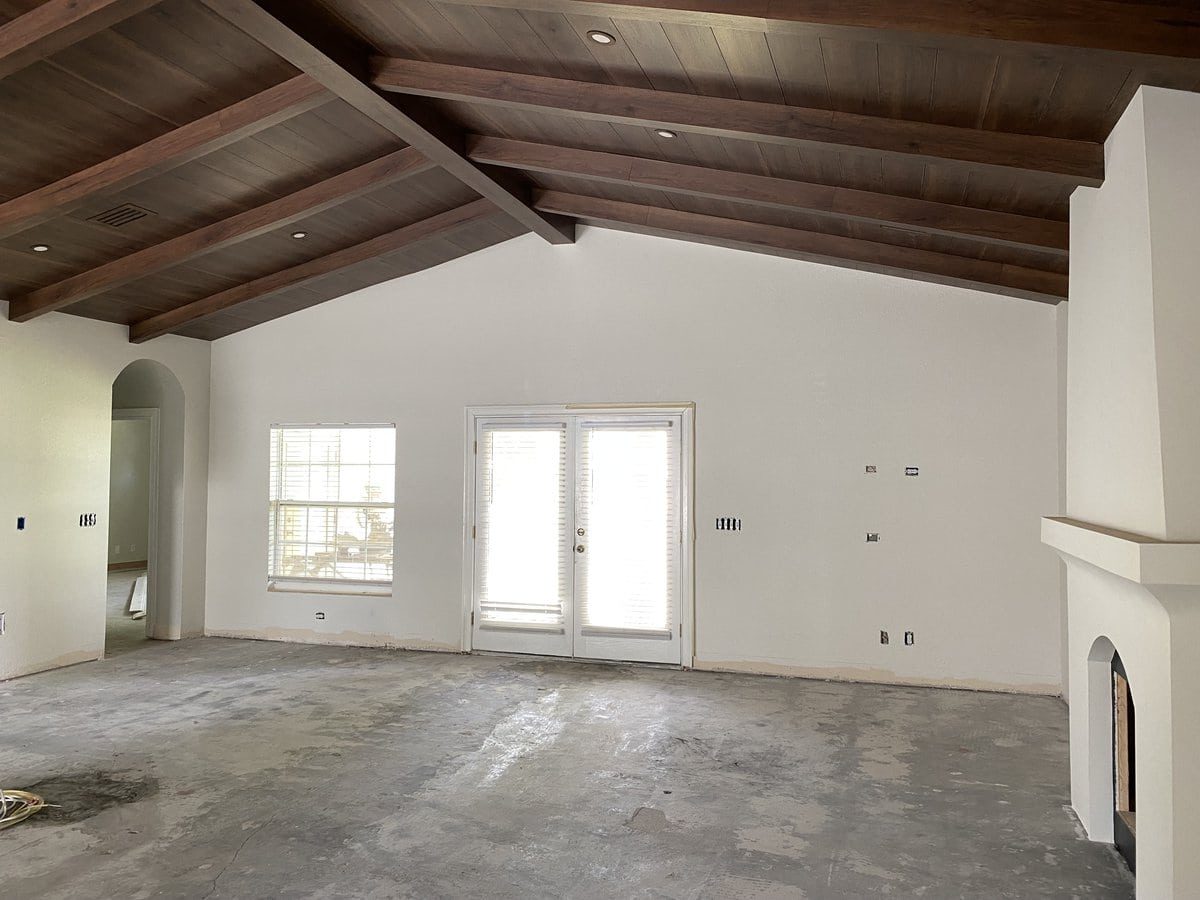
Of course, adding a bedroom and knocking down the kitchen made a big difference too!

Now for the moment of truth: how much did our DIY wood beam ceiling cost?
Materials: $3,796
Scaffolding: $994
Hired work: $450
Total: $5240
When you subtract the $532 we wasted on the scaffolding rental, the real cost is $4,708. Several thousands less than buying pre-fab beams, and a fraction of the cost if we hired the whole job out. I can guarantee you we added a whole lot more than that to the value of the property 🙂
Of course, cost is not the only factor—35 days of physically demanding work is a huge commitment, and certainly not something I would recommend for most people. But I am happy to report that our experiment was a success, and you can in fact build a pretty incredible ceiling using laminate. And for us? 100% worth it.
If you decide to tackle this DIY, make sure to watch my 3-Part Instagram story highlightwhich covers even more details including videos of the DIY wood beam ceiling install.
Whew, I am going to need a nap just after writing this tutorial—I can only imagine how tired Lucas must be! No time to rest though, next up is our flooring install. I'll start sharing the progress in my IG stories next week, so make sure you are following me there.
Now that this project is out of the way, I can relax a bit and focus on Christmas! I'll be sharing my décor finds and holiday gift guide on the blog next, so stay tuned for some holiday cheer…