DIY V-Groove Cabinet Doors
How to make DIY grooved cabinet doors using just a table saw! Beginner-friendly tutorial with tips and tricks.
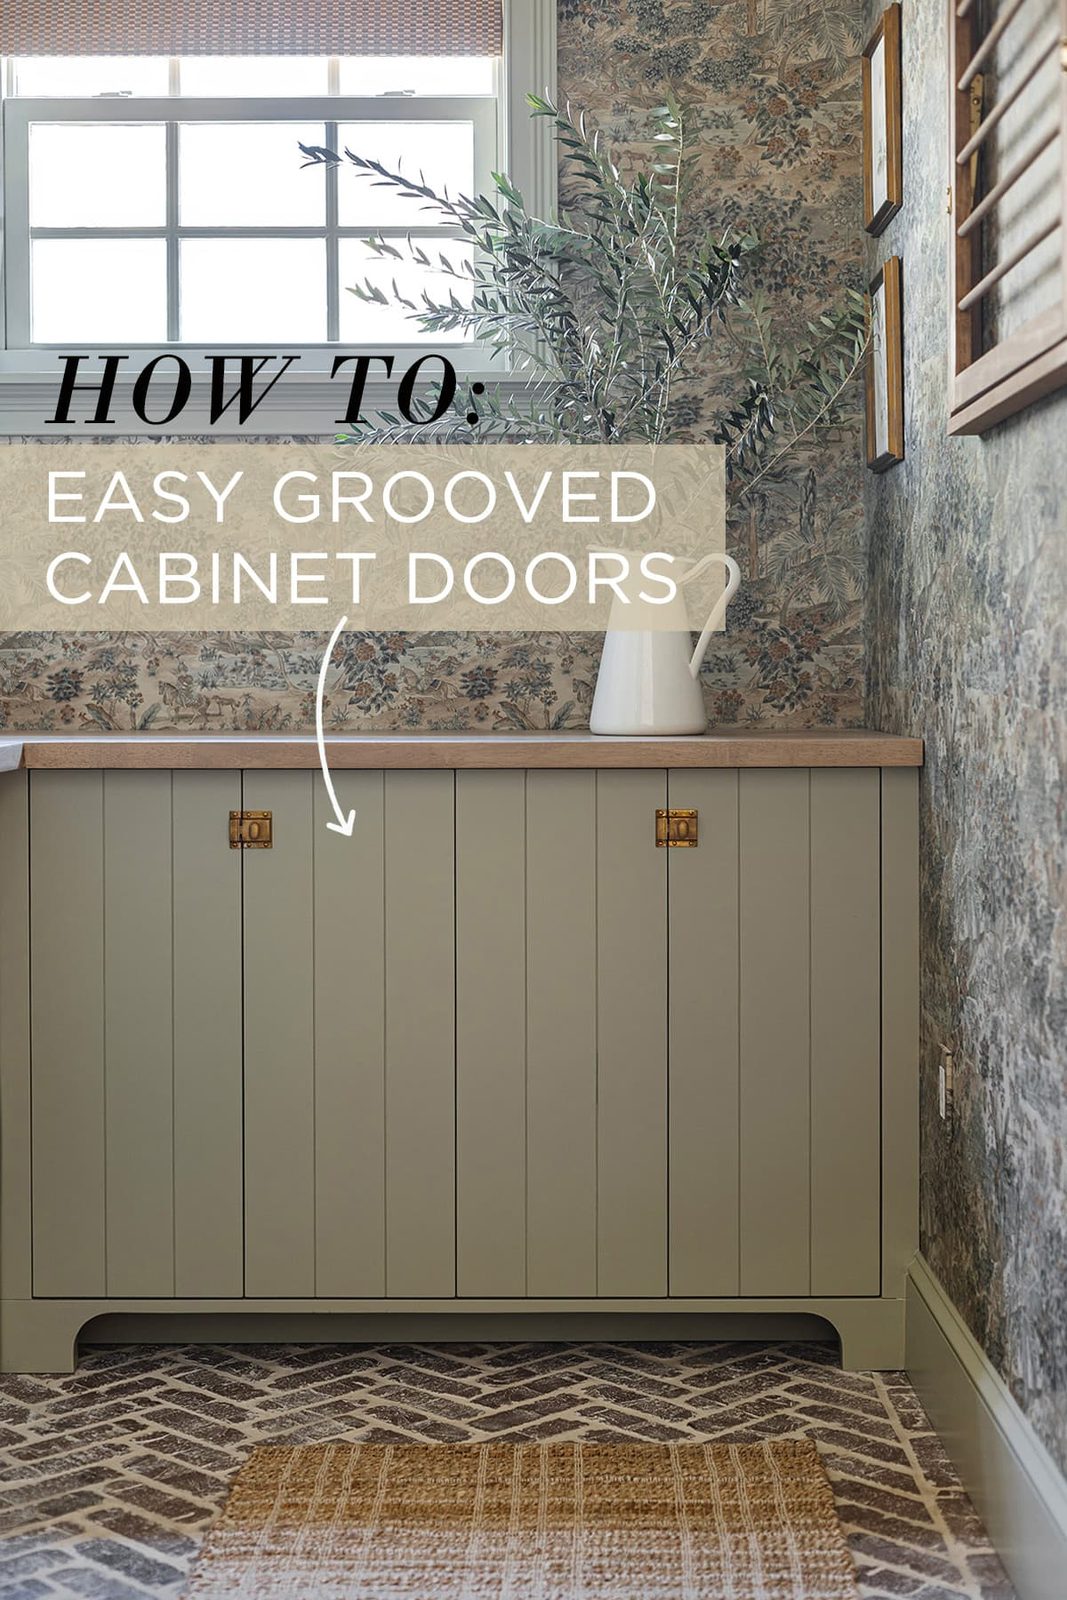
If you love the classic look of grooved panels and want to save money by building your own cabinet doors, this tutorial is for you! Find out how unfussy and cost effective it is to DIY these plank style v-groove cabinet doors in minutes, using just a table saw.
When gathering inspiration for our laundry room renovation, I was particularly drawn to the classic and understated vertical groove cabinetry.
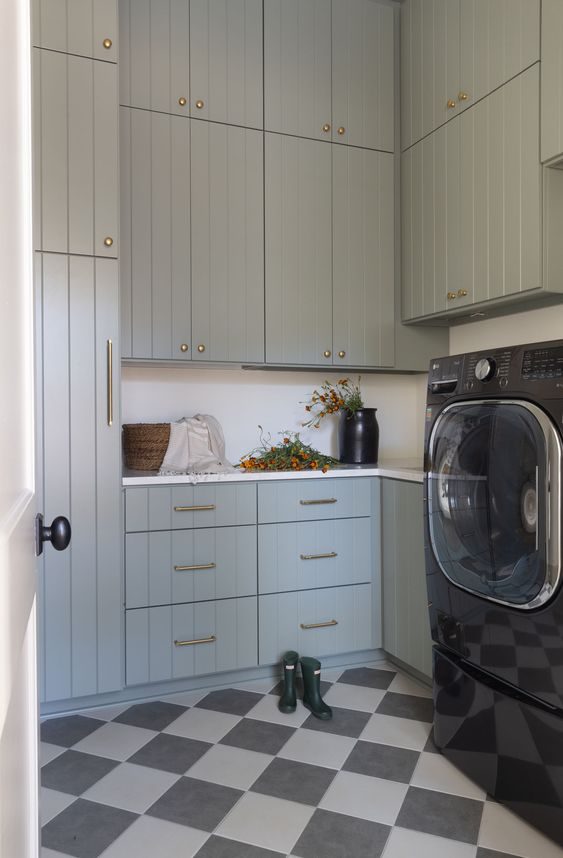
Shaker cabinet doors have been the standard for so long, and while they'll always be in style, The aim was to try something different. Also referred to as plank, shiplap, beaded and v-groove style—these doors are not only an elegant alternative, but they are also traditional and timeless.
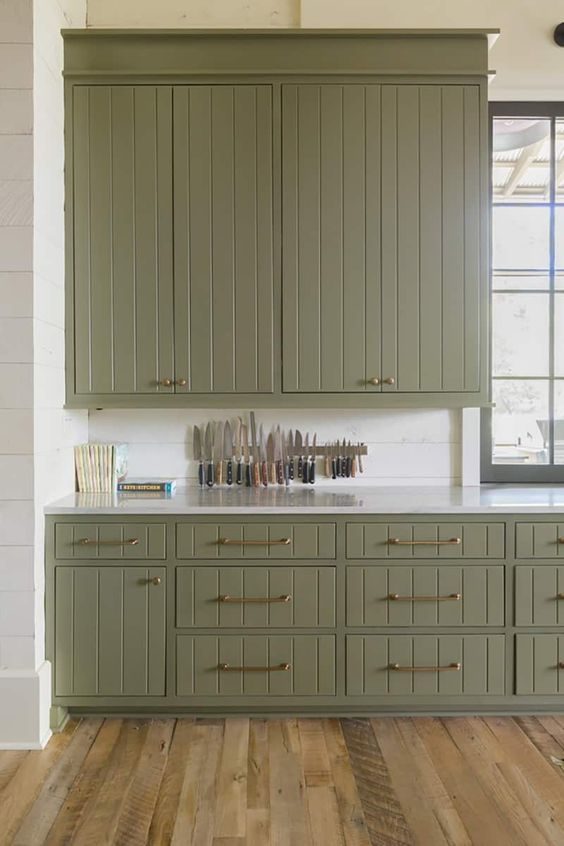
Immediately the idea came to mind to carve the channels with a table saw. It seemed so unfussy, so we cut a test piece to find out. Lo and behold, it was just as easy as expected!

What is a v-groove?
A v-groove style refers to paneling featuring V-shaped grooves running parallel to each other. They are formed either by joining two boards together, or cutting channels into the material.
Traditionally, a router with a v-groove bit is used to cut these channels. However, you can also use a table saw to create a similar effect.

How to make v-groove cabinet doors
There are two ways to cut channels in cabinet doors:
- Router
- Table Saw
Custom cabinet makers use a router with a V-shaped bit to form a true V-groove. However, a table saw is an easier and beginner-friendly way to create straight channels that resemble this groove. From a distance, the difference genuinely is not noticeable.

Door material
3/4″ MDF is ideal for this technique, as it is cost effective, easy to cut, and designed for painting. We needed two 4×8' MDF sheets to build 16 doors.

Raw cut edges of MDF are rough, so you will need to sand the edges smooth using 220 grit paper. Once the doors are cut and sanded, it is time to make the grooves!
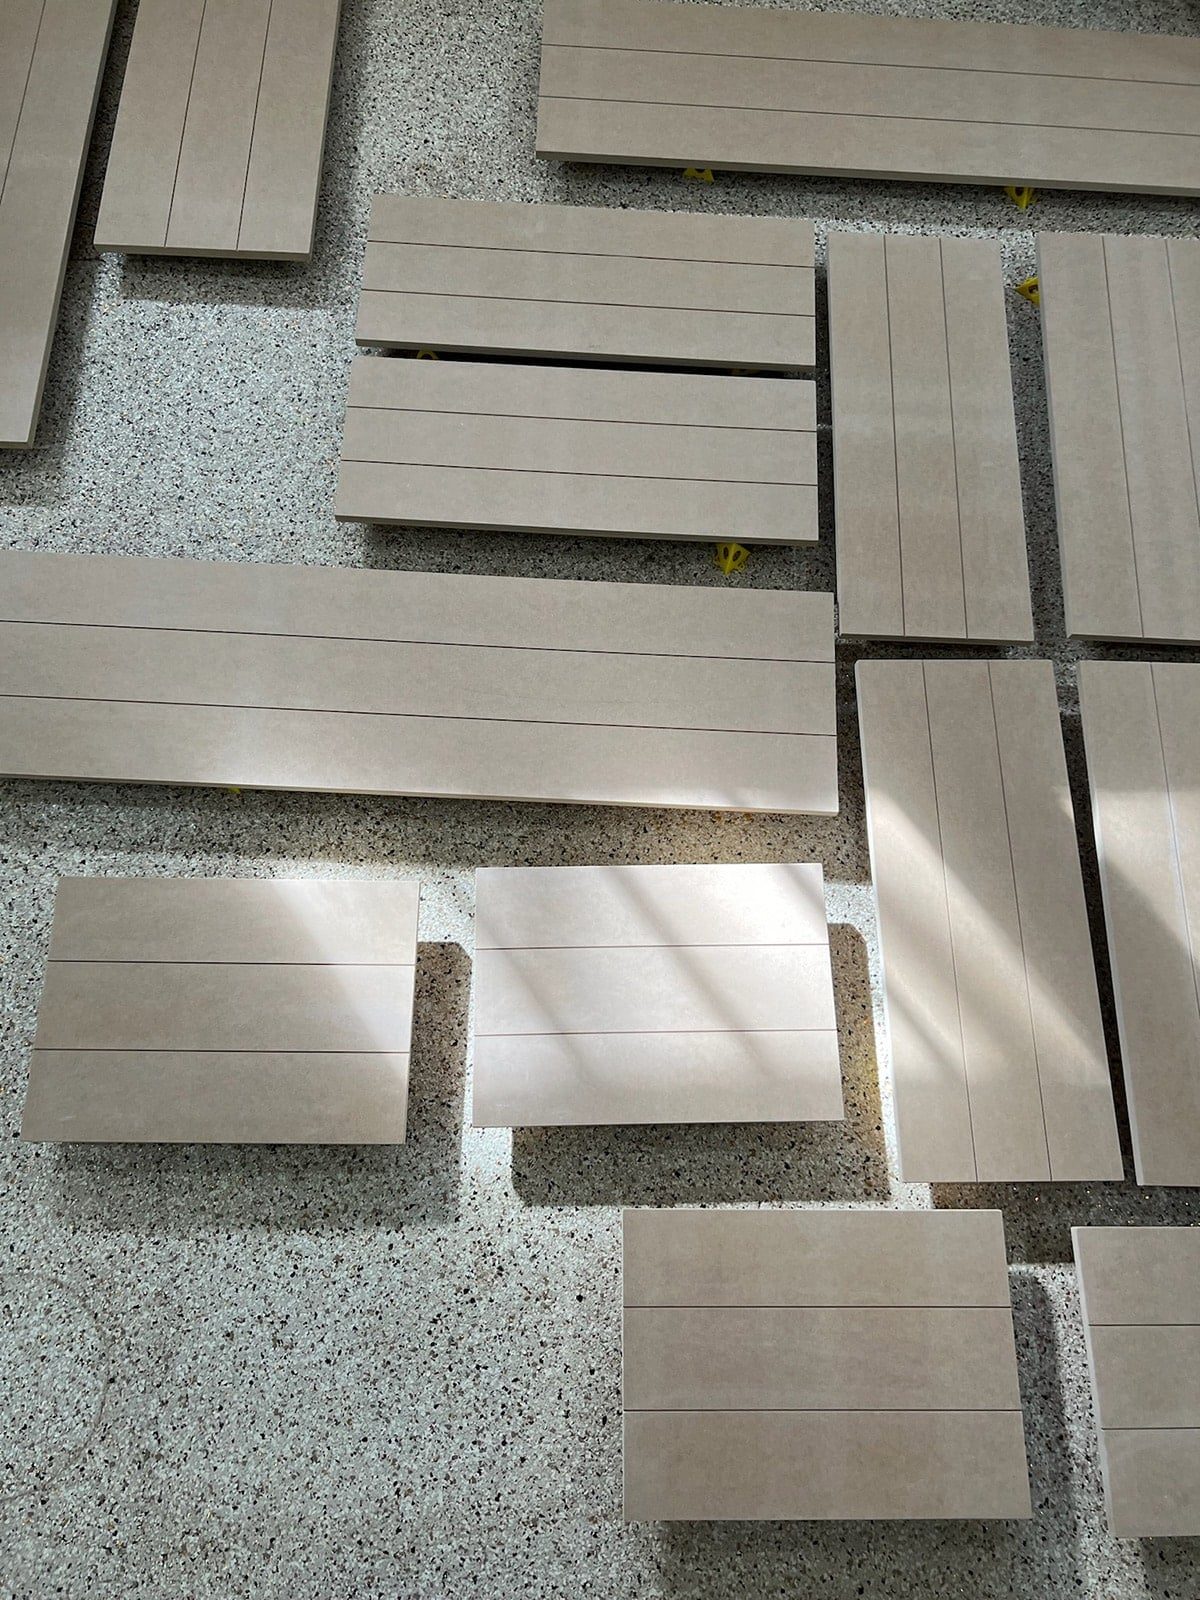
To determine line spacing, simply divide the width of each door by the number of grooves you'd like. We had four different door widths ranging from 12-20″, so our line spacing varied between 4″ and 4⅞”.
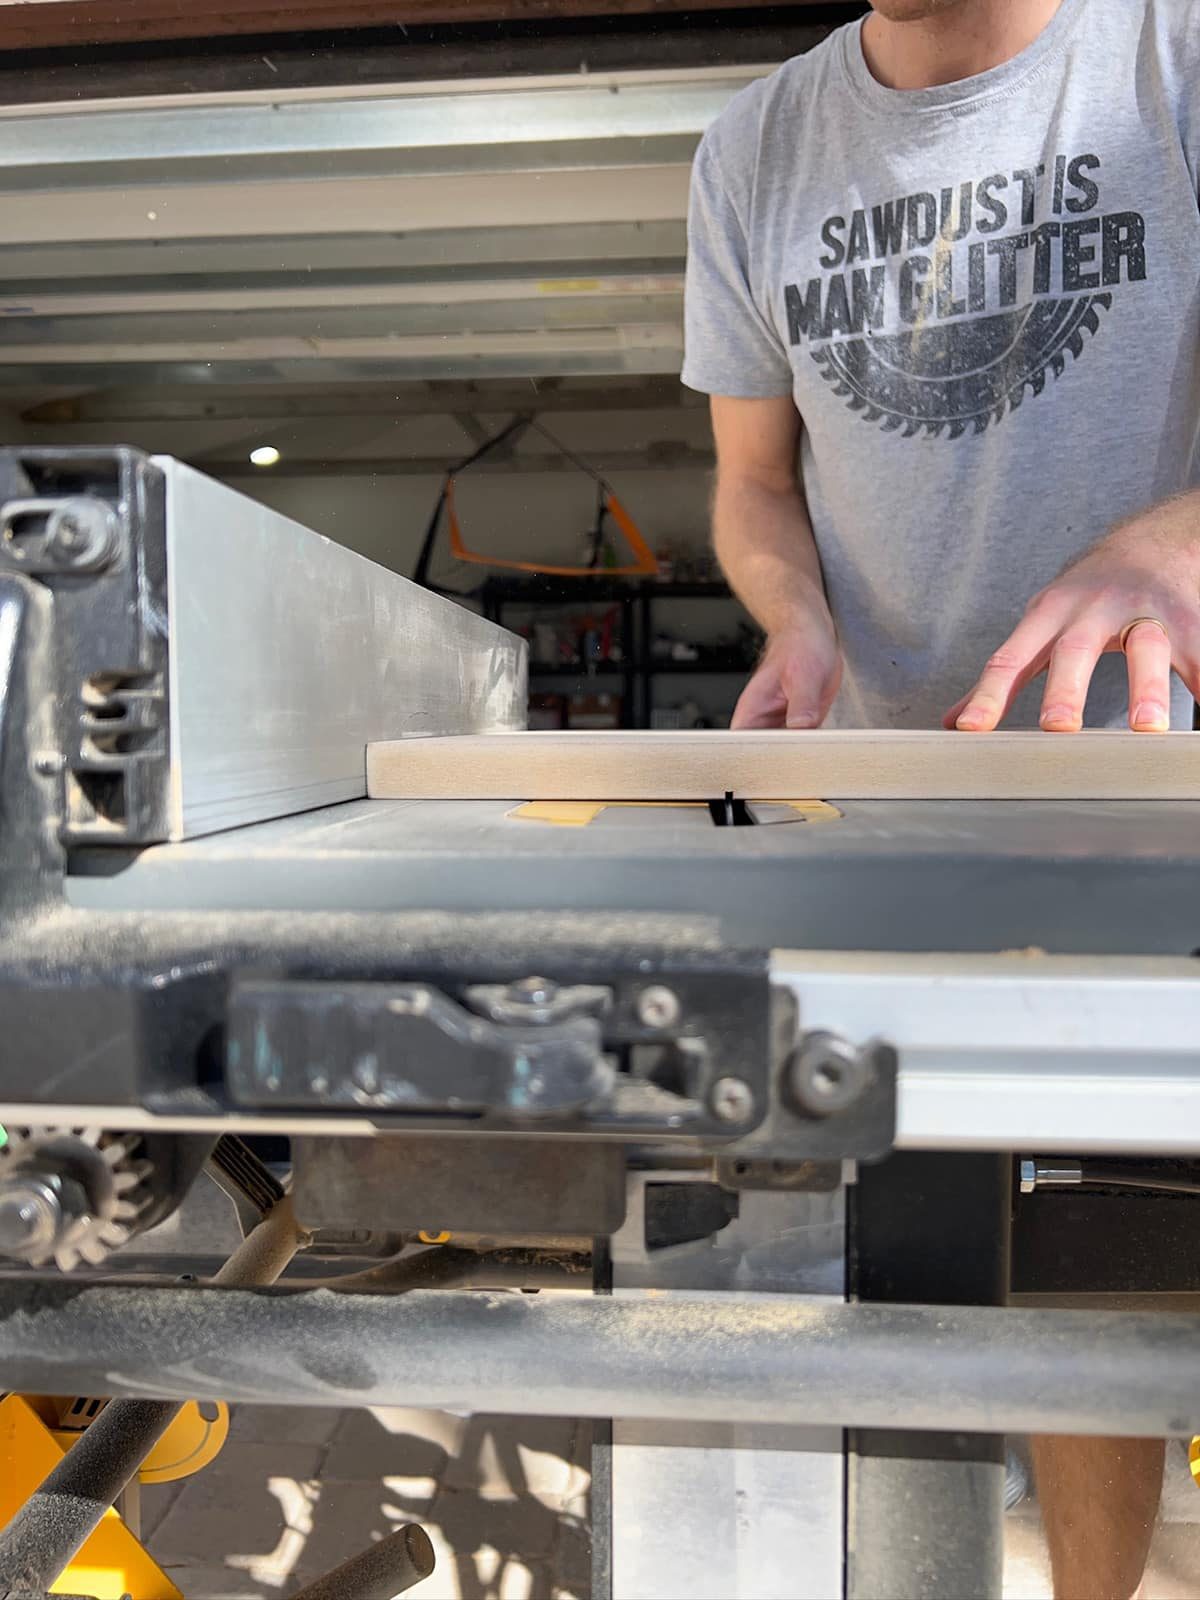
Set your saw gate to this measurement, and make the first cut for all of the doors with the same width. Then adjust the gate to the next line, and repeat the process.
We set our saw depth to 3/16″, but I would recommend going deeper (~3/8″) for darker lines.
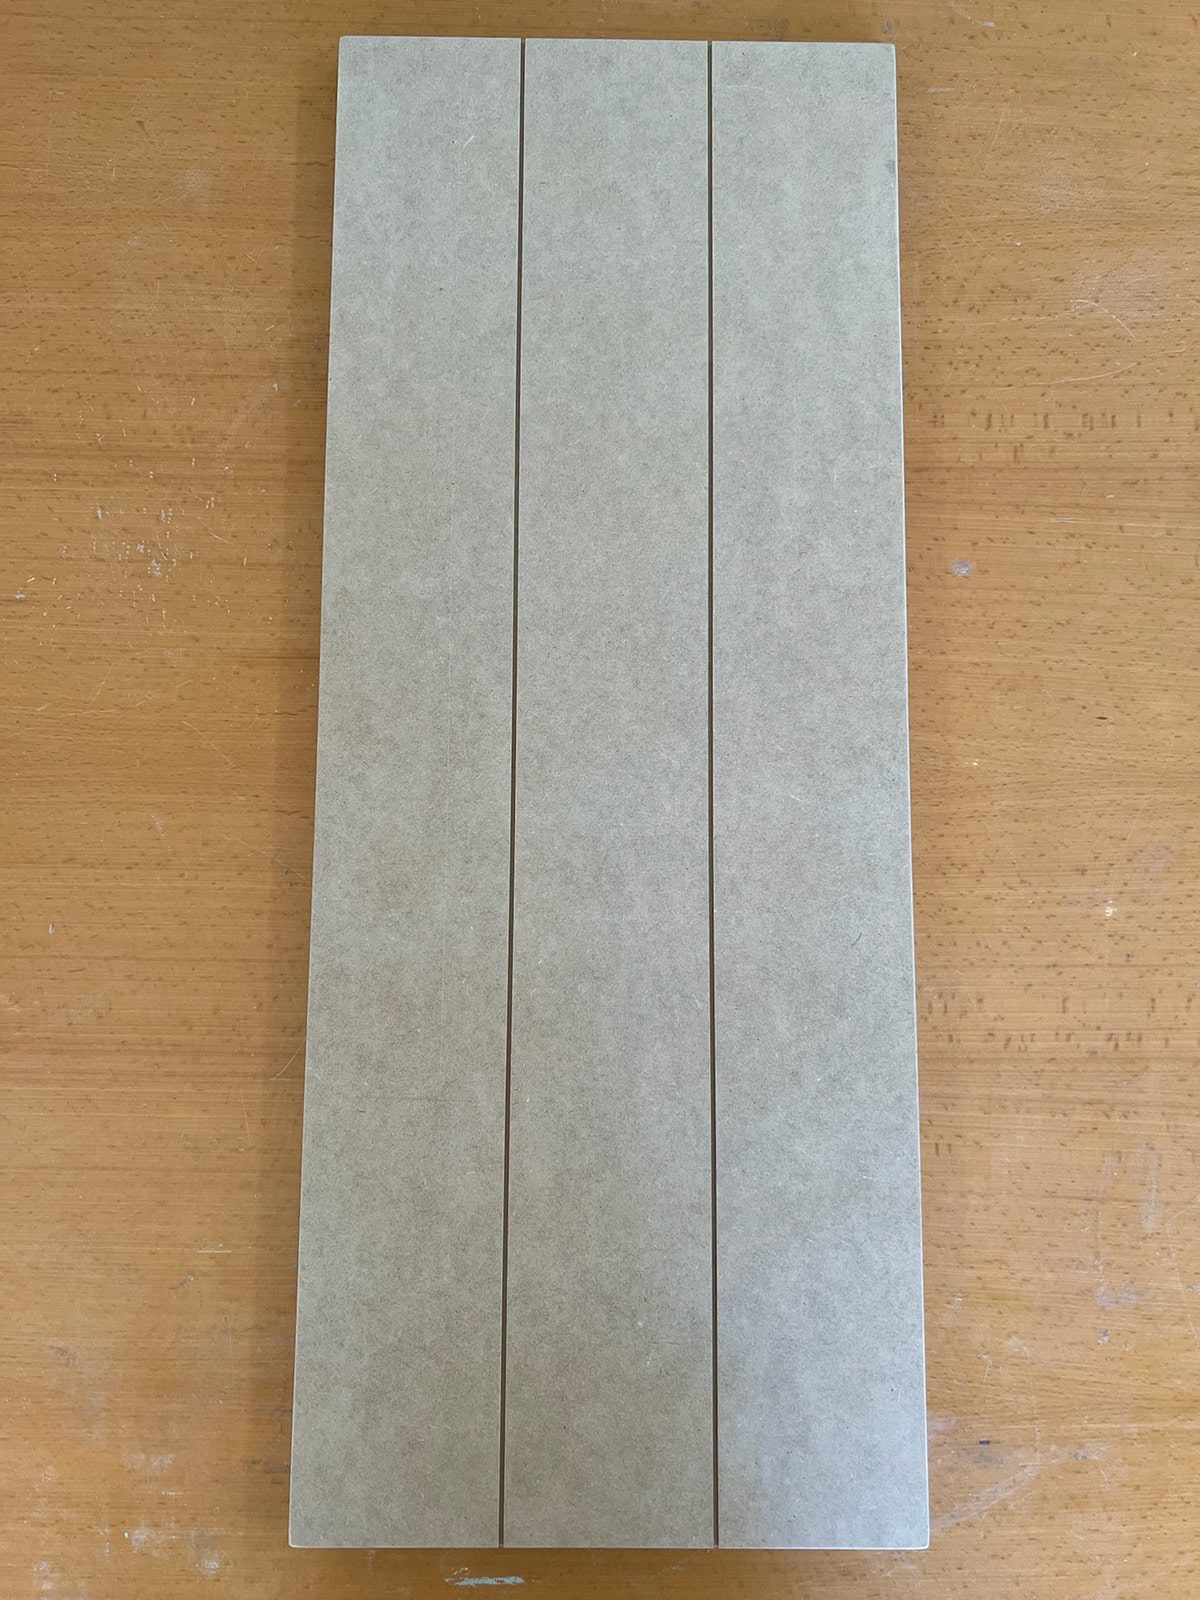
You can see the different line spacing below, but once they are installed, it is genuinely not noticeable and does not look off at all.
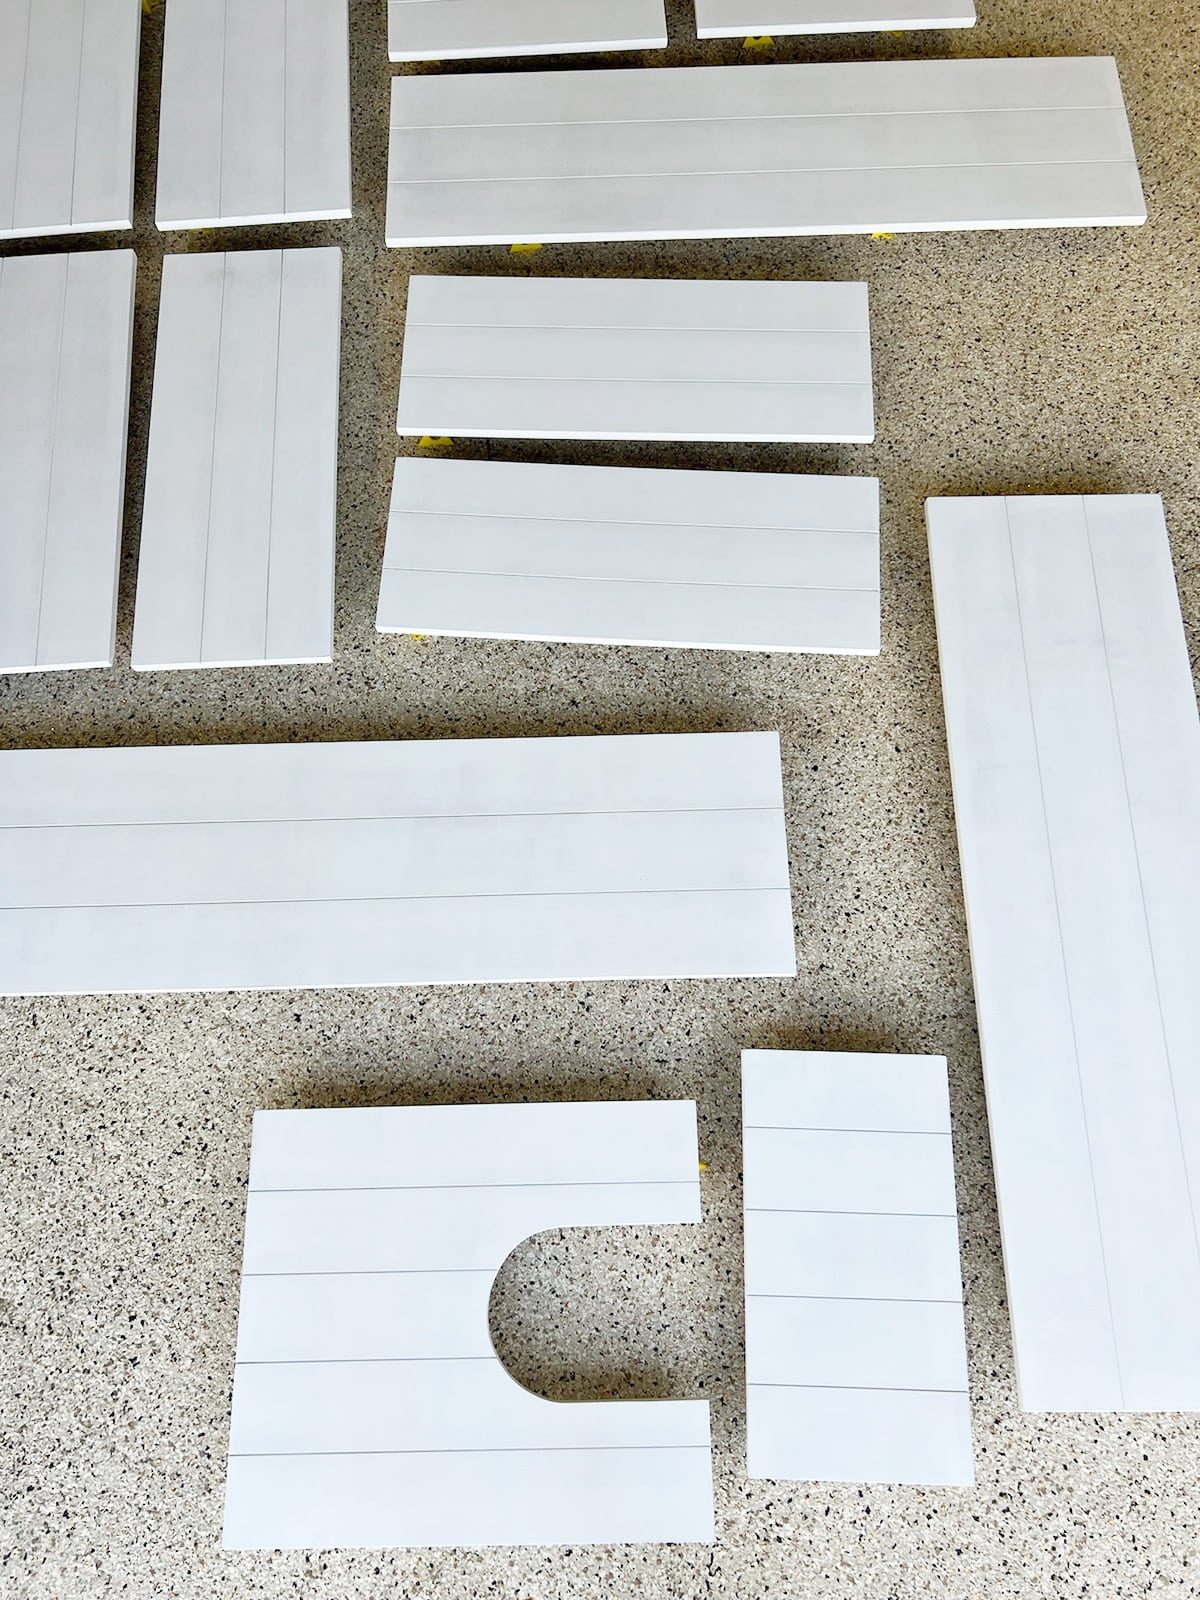
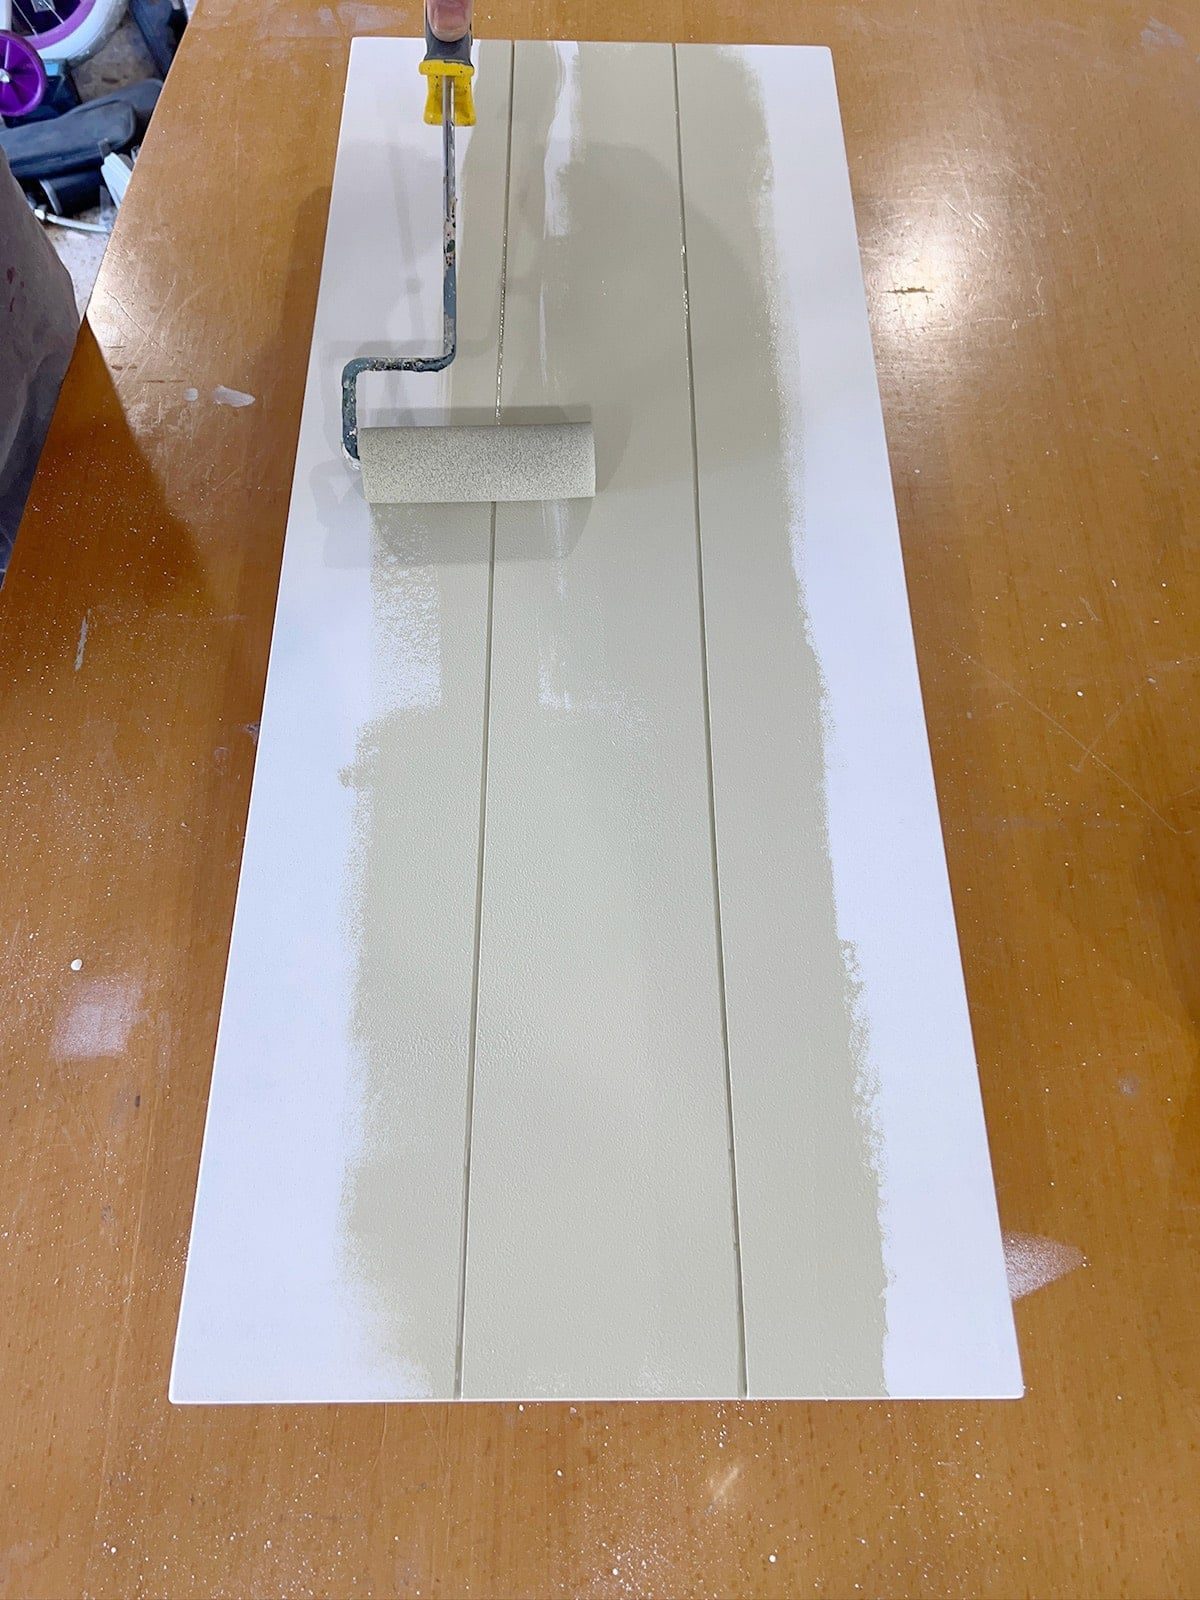
After all of the grooves have been cut, spray or roll on a good oil-based primer (we love Zinsser Cover Stain). Oil based is recommended because water based paints will react to the fibers in the MDF and make the texture rough (we learned this the hard way in our closet makeover).

You can find a detailed tutorial on how to paint cabinets, and the best paint rollers for cabinets.
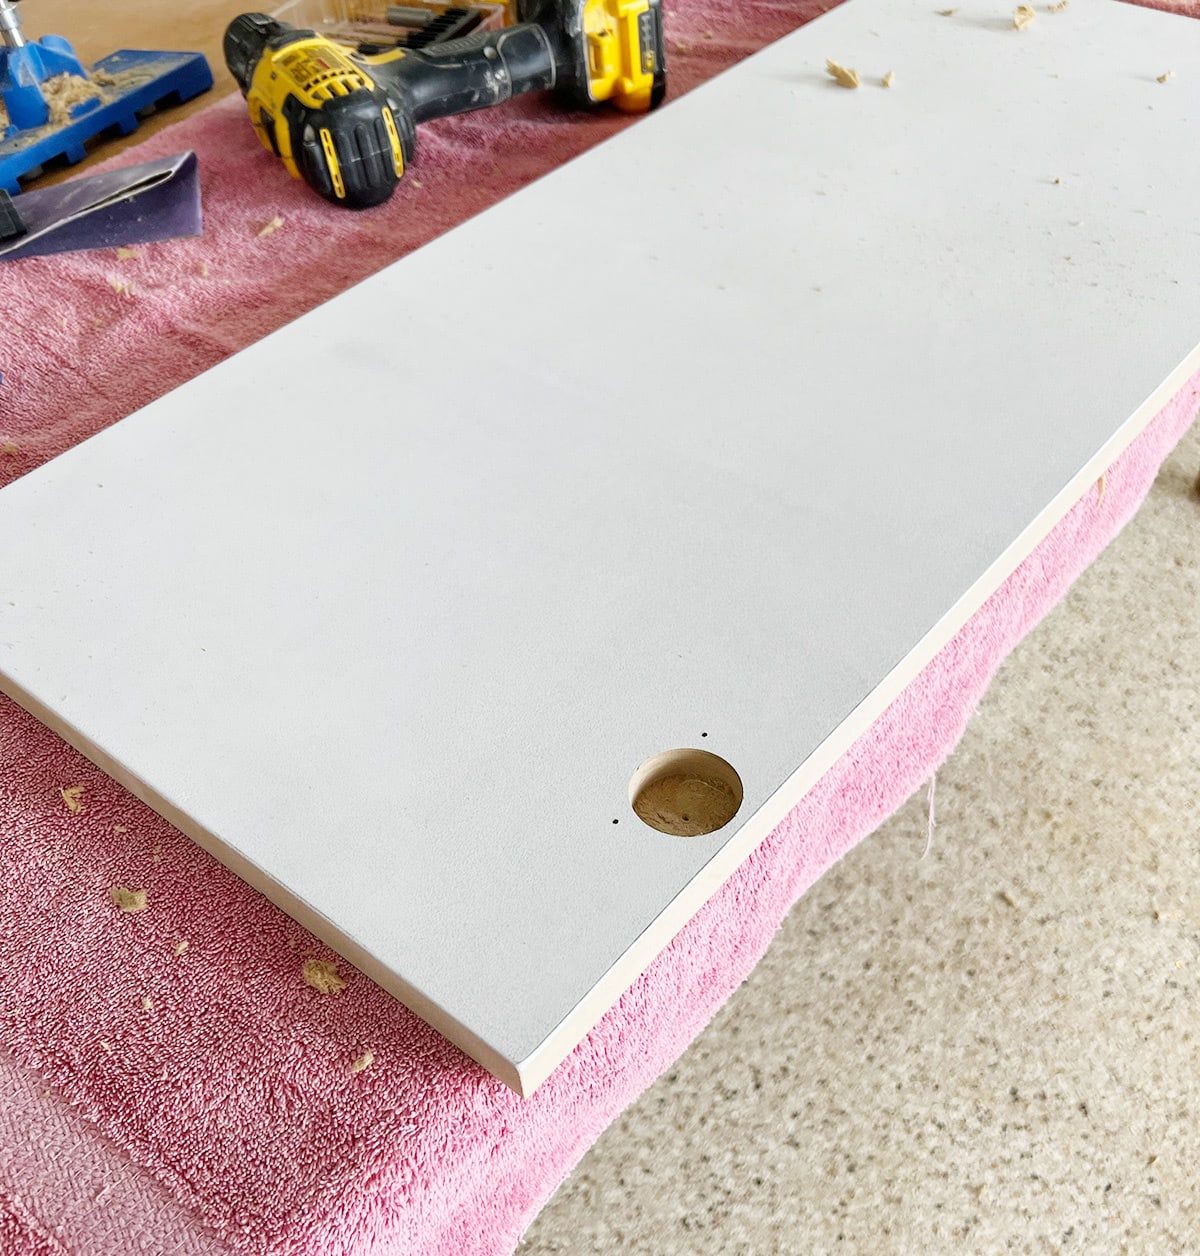
Before painting, we needed to cut the hinge holes. Thisconcealed hinge jig makes it much easier to cut precise holes every time.

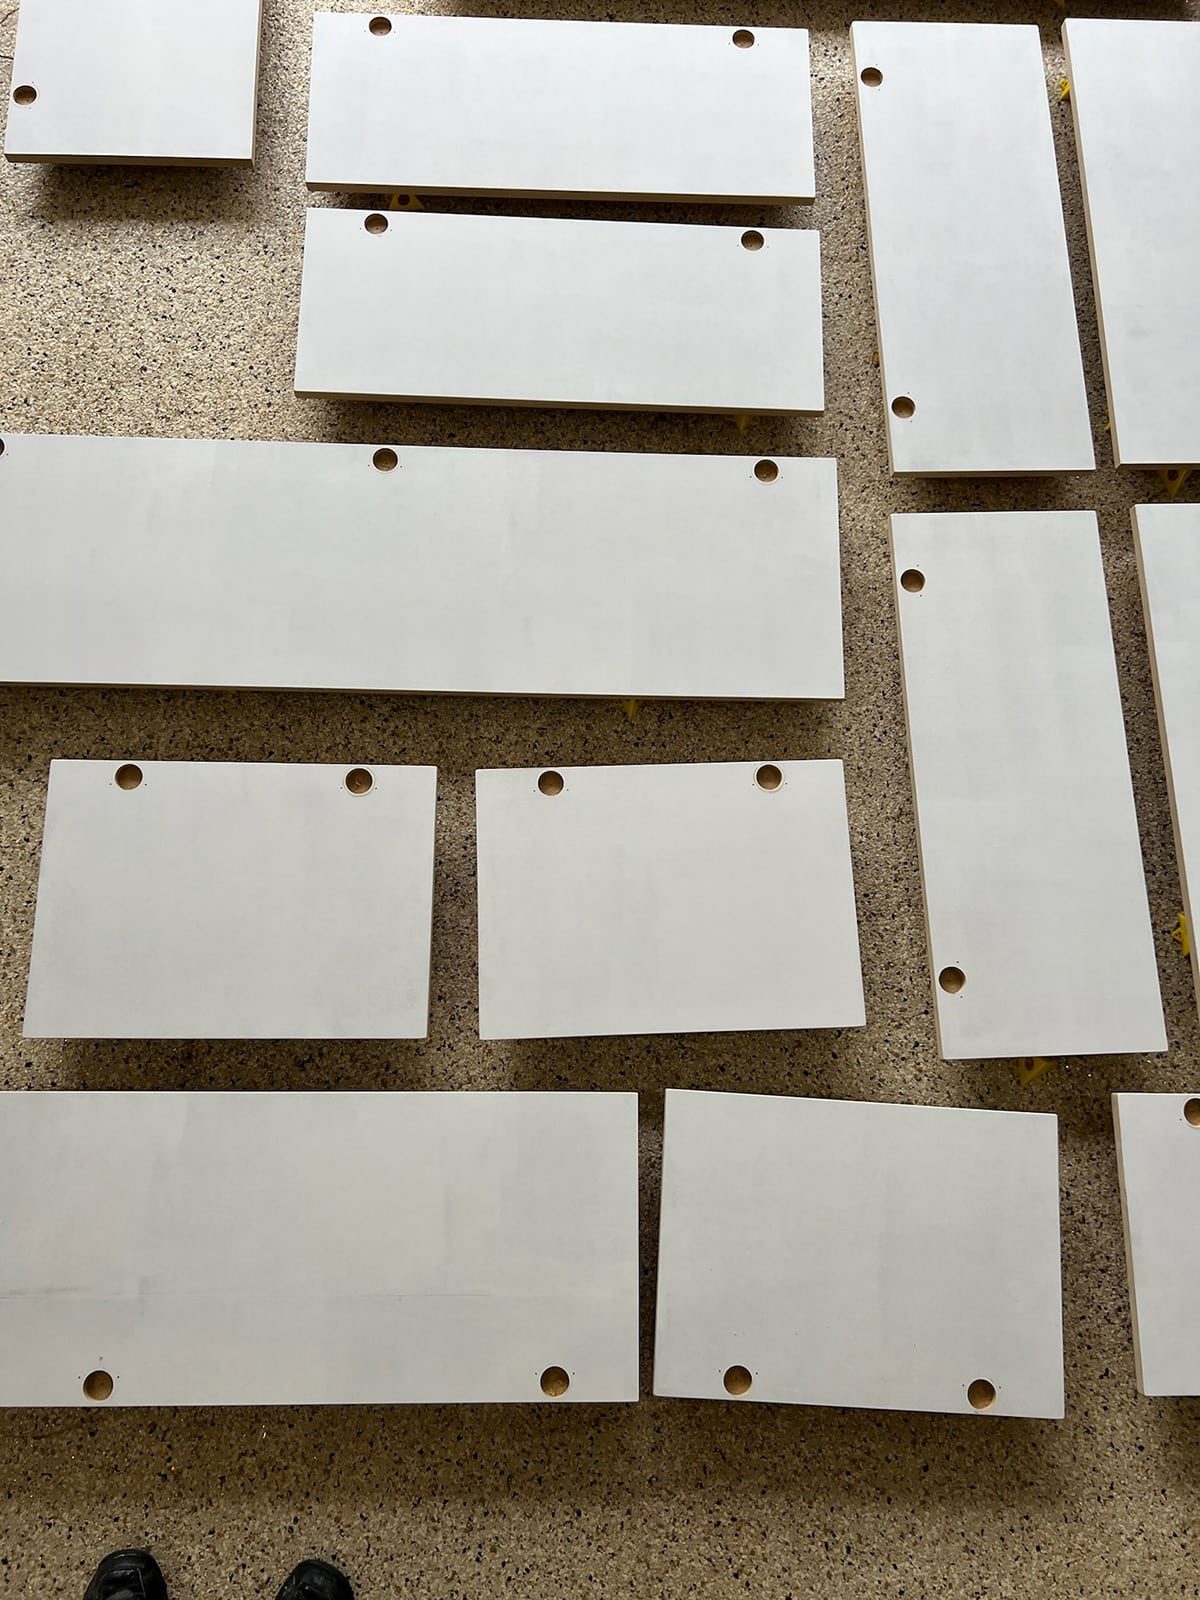
We used these two-piece soft close hingeswith a unfussy, clip in installation.

For the final step, we rolled on two coats of Sherwin Williams Urethane Enamel in Svelte Sage (satin finish).
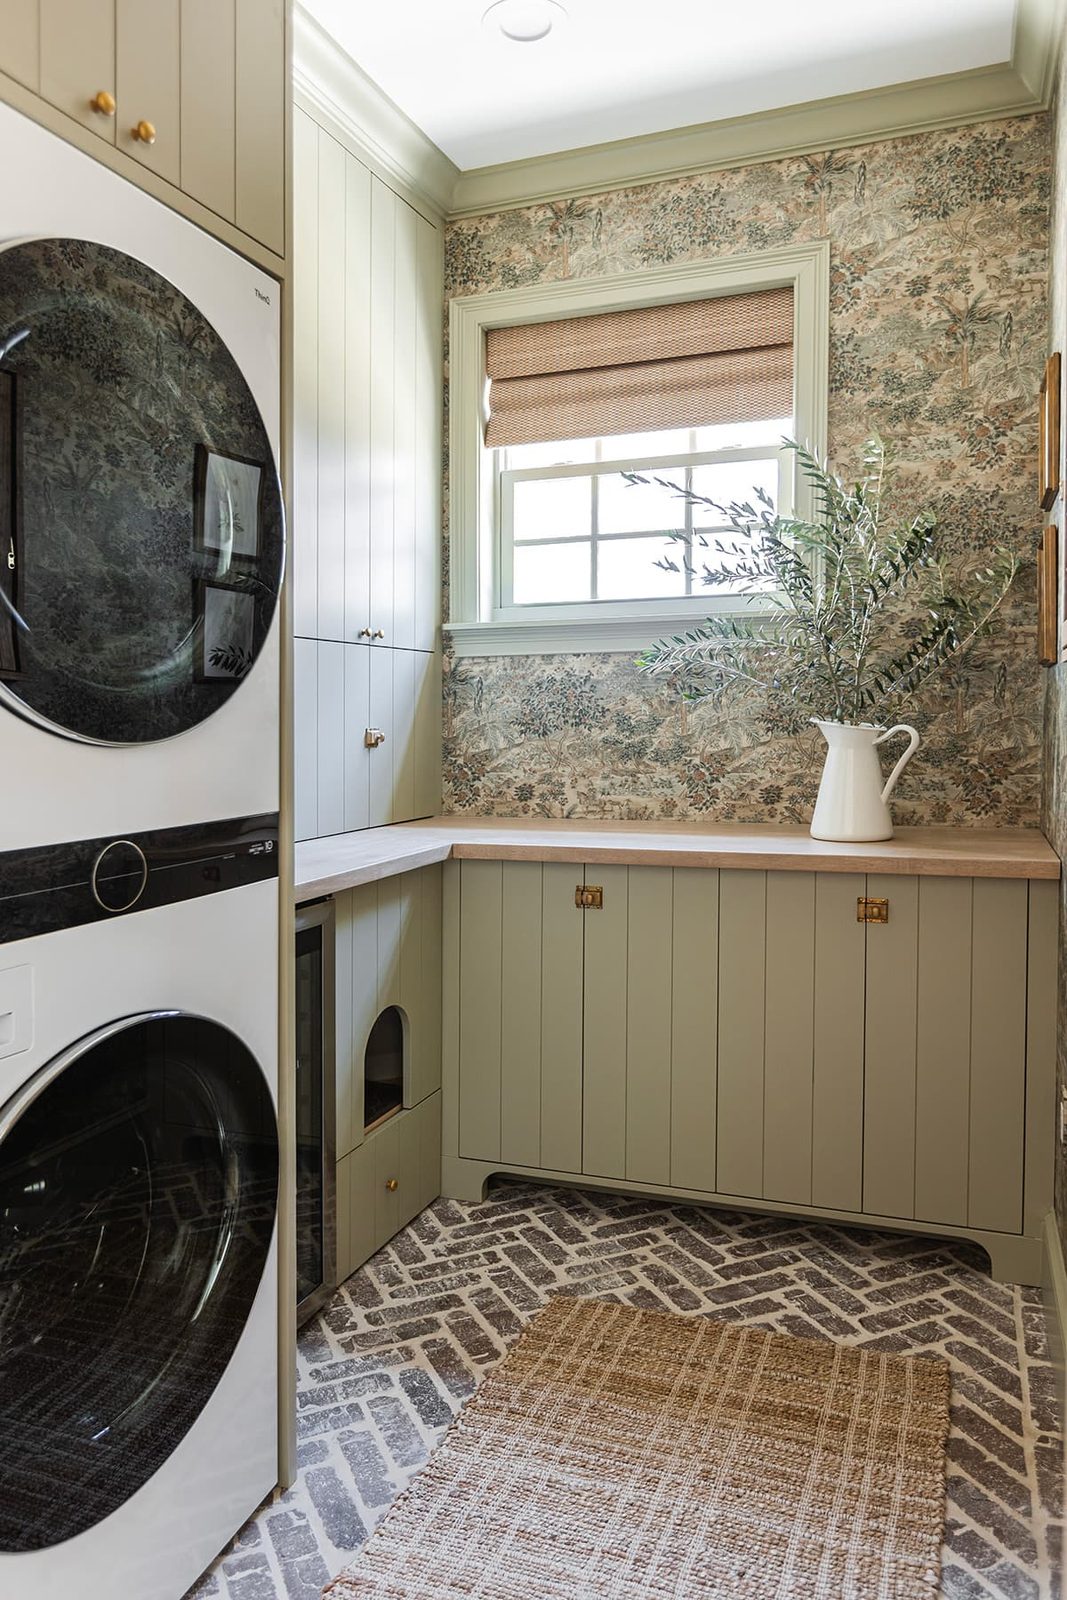
This is how the cabinet boxes looked before the door installation:

The cabinet boxes were constructed using 3/4″ birch plywood, and birch edge bandingalong the face.

The cabinets are frameless with full overlay doors, but we created the illusion of inset doors by adding filler pieces and surrounding trim flush with the doors (you can read more about how we did this in our last kitchen remodel).
Helpful tips
After going through this process, here are the most important lessons to take note of:
1. Adjust your groove spacing to each individual door
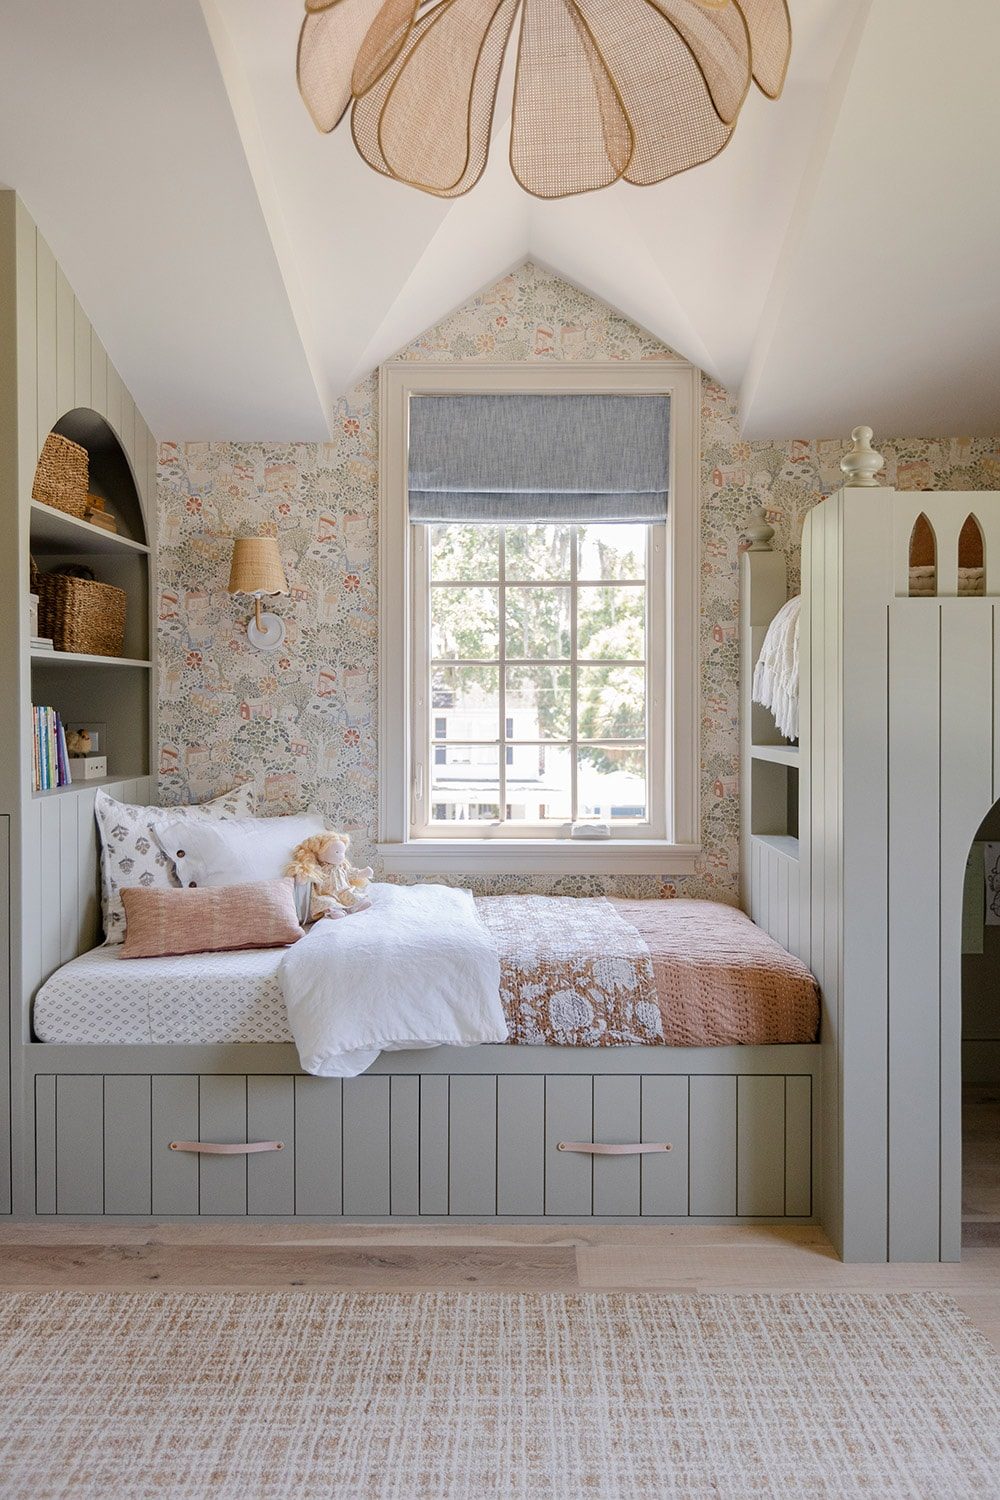
For a seamless and cohesive look, you will want the groove spacing to match up with the reveal lines (the gap between the doors/filler). If your doors are different sizes, this means the line spacing will vary based on the door width.

This is one lesson we learned after designing our daughter's bedroom built-ins. We used individual shiplap boards here so we were not able to adjust the spacing, but the uneven sections are distracting so I made sure to avoid that this time around.
2. The deeper the groove, the darker the line will be
Our grooves were cut 3/16″ deep, and I had incorrectly assumed that the grooves would be as dark as the reveals. After the doors were painted, however, the grooves appeared lighter and you can definitely tell them apart from the reveal lines.

If you prefer the groove lines to blend in with the reveal lines, try cutting them a bit deeper (~3/8″). Also, try to match your groove width to the reveal size (ours are around 3/16″ wide for both).
3. Make sure to keep the door pressed down firmly when cutting the channels
This was a mistake that was not caught until after the door was painted. When cutting one of the grooves, Lucas lifted his hand so there was not enough pressure on it, and we ended up with one 3-4″ section that was not as deep as the rest. Fortunately, I was able to conceal it with a fine paint brush and custom green-black paint mix to make the shadow appear darker.
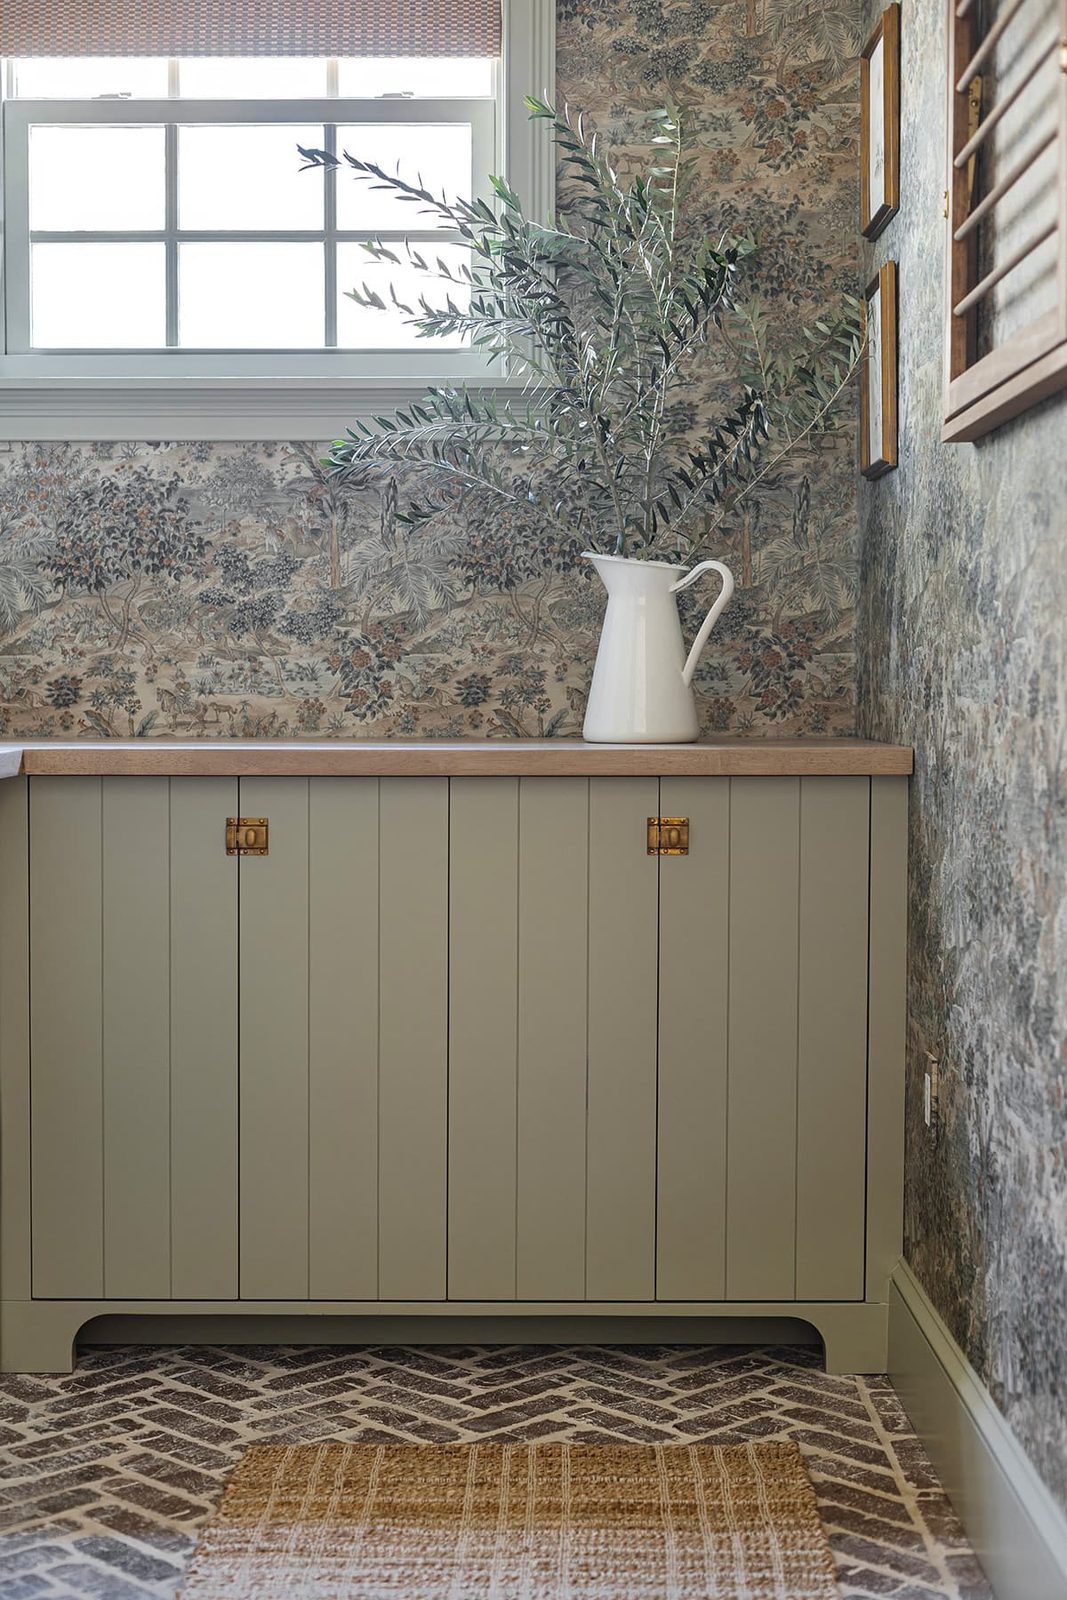
And that is all there is to it! After a dozen custom built-in projects over the years, this one was probably the most straightforward with the best end result. These DIY doors could not be easier or more cost-effective, and we will certainly be using this technique again.
Let me know your thoughts on this door style, and if you'd want to try it out!