How to: DIY Wall Arches
Do you love Spanish/Mediterranean/European style architecture and want to incorporate it into your own home? This DIY wall arch tutorial will walk you through the steps…
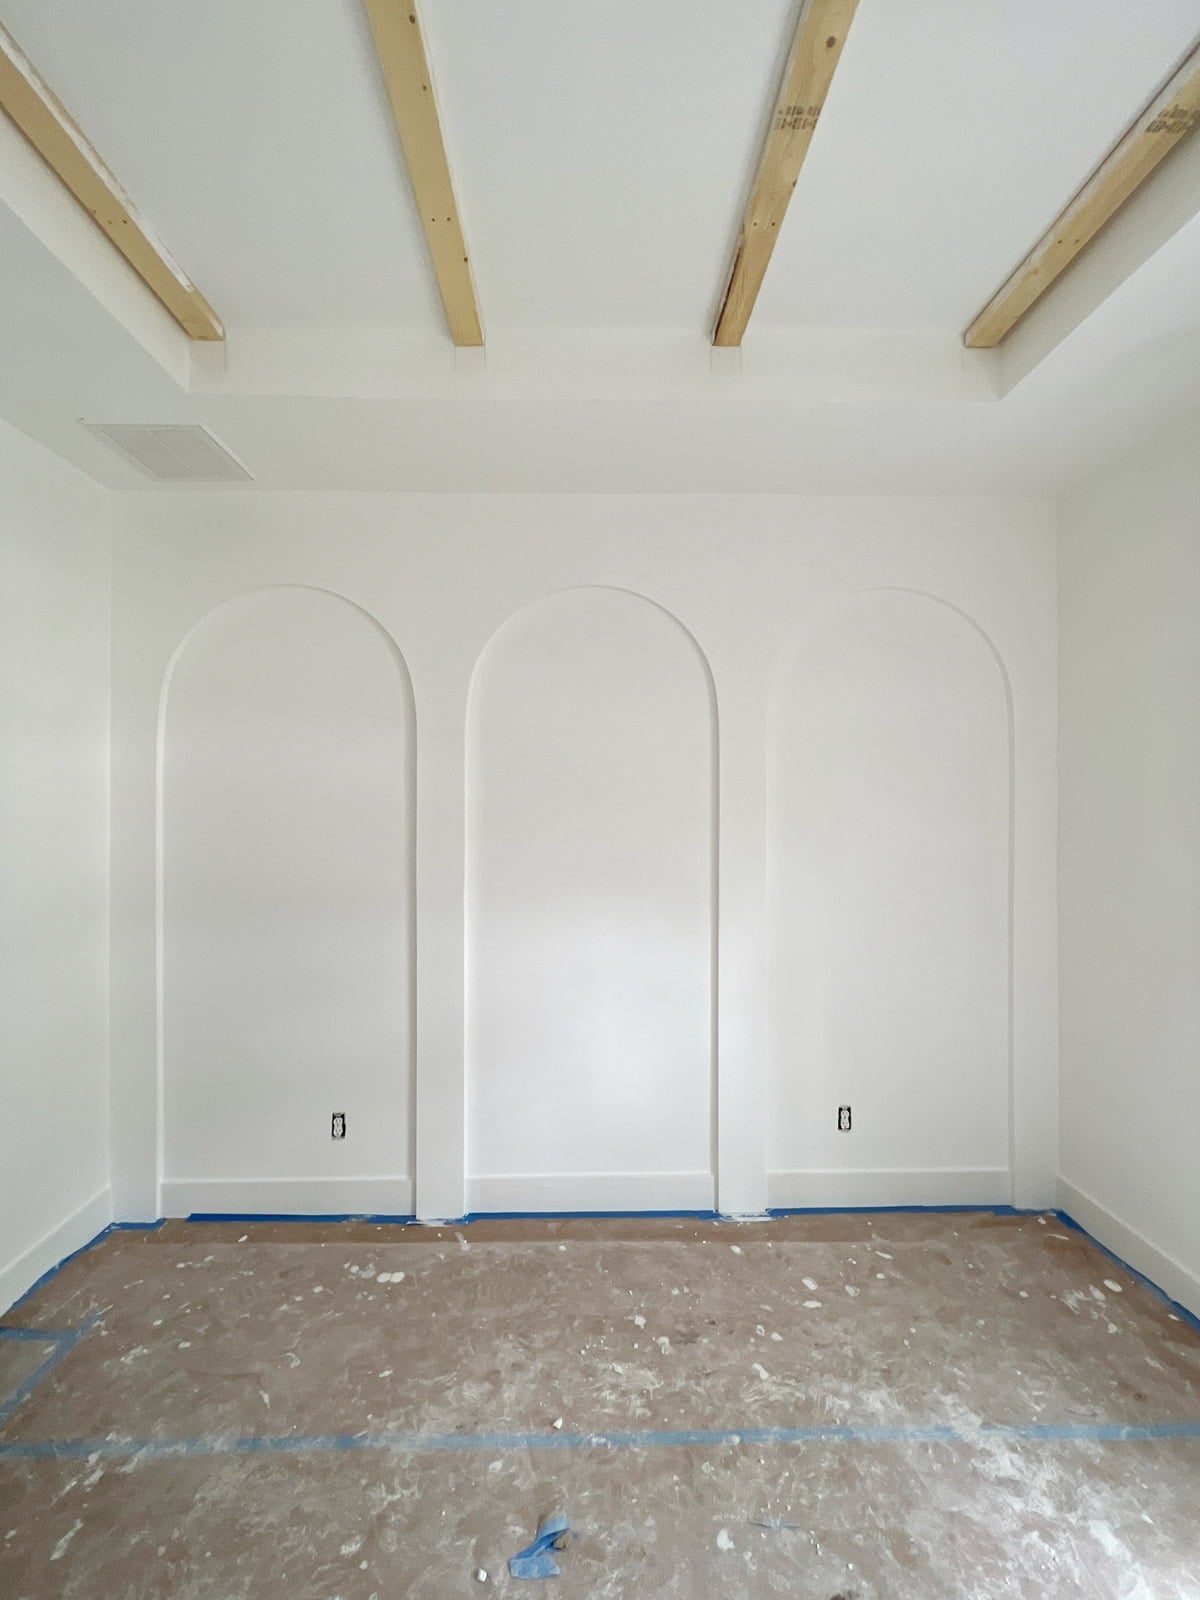
Do you love Spanish/Mediterranean/European style architecture and want to incorporate it into your own home? This DIY wall arch tutorial will walk you through the steps to achieve this unfussy yet sophisticated look.
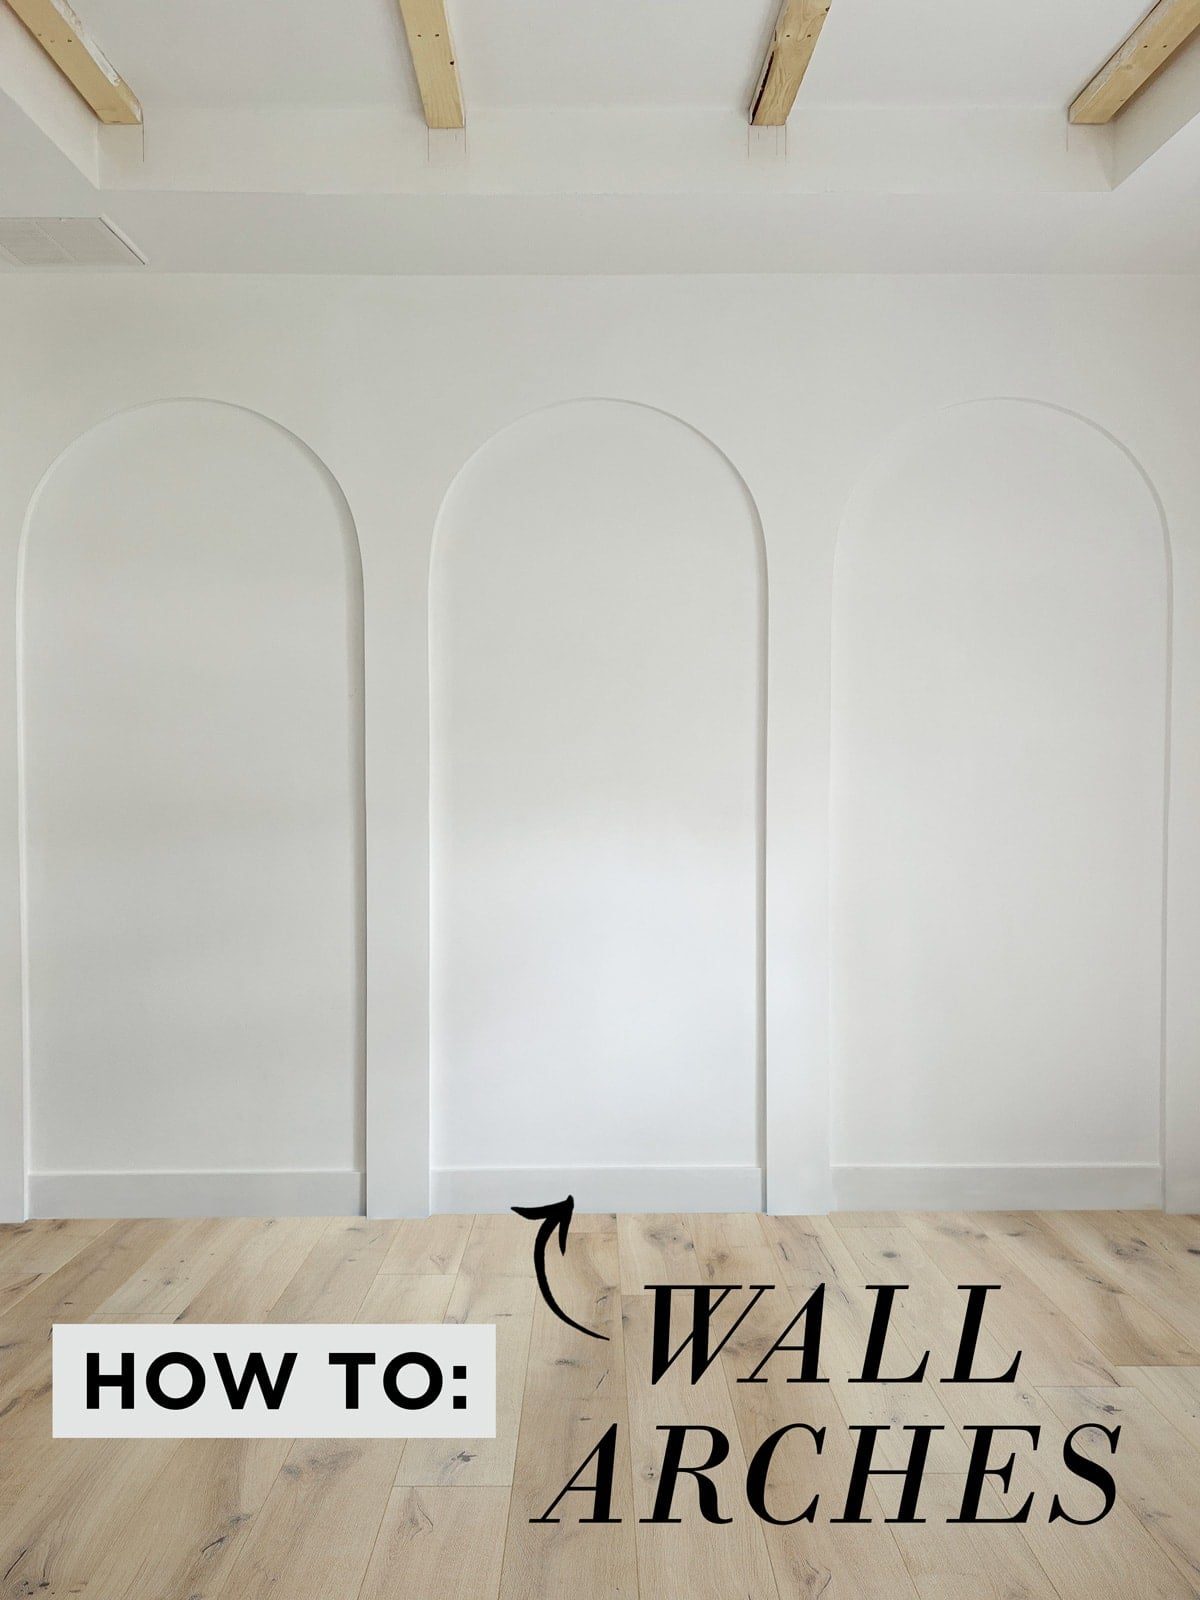
Excited to share the first project for our guest bedroom makeover at the Hacienda Hideaway! Earlier this year weadded wall archesto the primary bathroom, and this technique is similar but simpler. I decided on three arches to go along the bed wall.
Here are the materials and tools required for this project:
Materials
- 3/4” plywood (we used 3 4×8' sheets)
- 1/2” drywall (we used 3 4×8' sheets)
- Drywall screws
- Flexible corner bead
- Drywall mud
- Joint tape
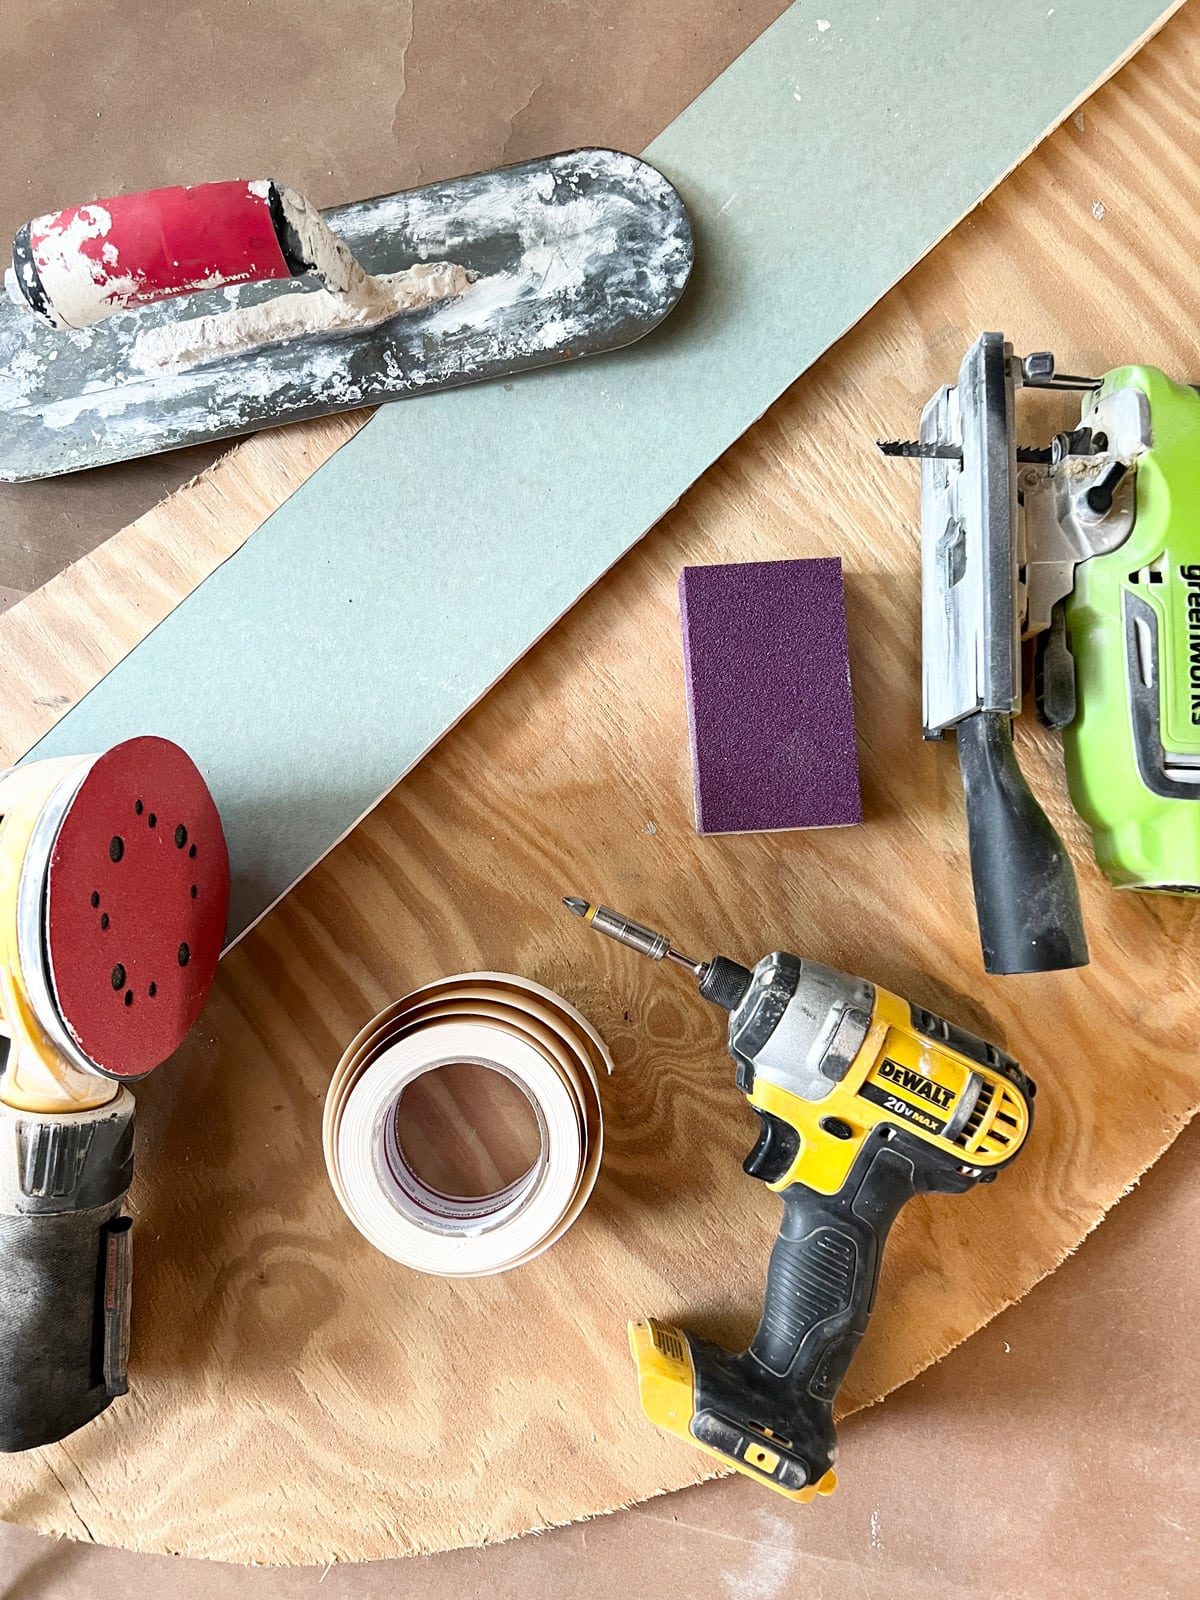
Tools
- Jigsaw
- Circular saw
- Sanding block
- Drill
- Snips
- Putty knife
- Trowel(if skim coating)
We built the arches with 3/4” plywood plus 1/2” drywall to result in a total depth of 1 1/4”, but you can use either wood or drywall, in any depth you'd like, depending on your preferences. Note that if the depth is any shallower, you will not be able to use standard corner bead as it will stick out too far.
How to make DIY wall arches
Step 1: Draw and cut arches
After determining your size and layout, first cut the vertical strips of plywood. Ours were 7” wide, and we needed four strips (split into 2 sections each since our ceilings are more than 8' tall).
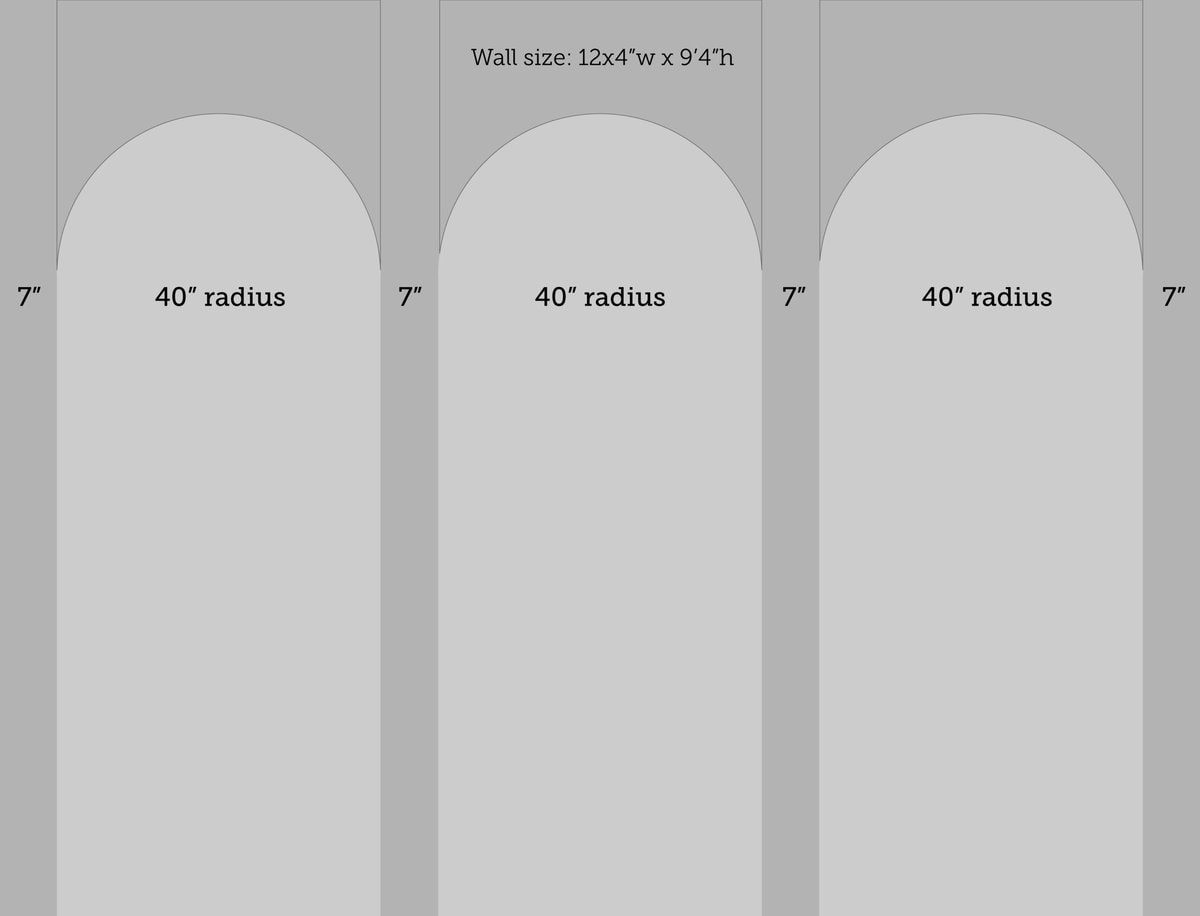
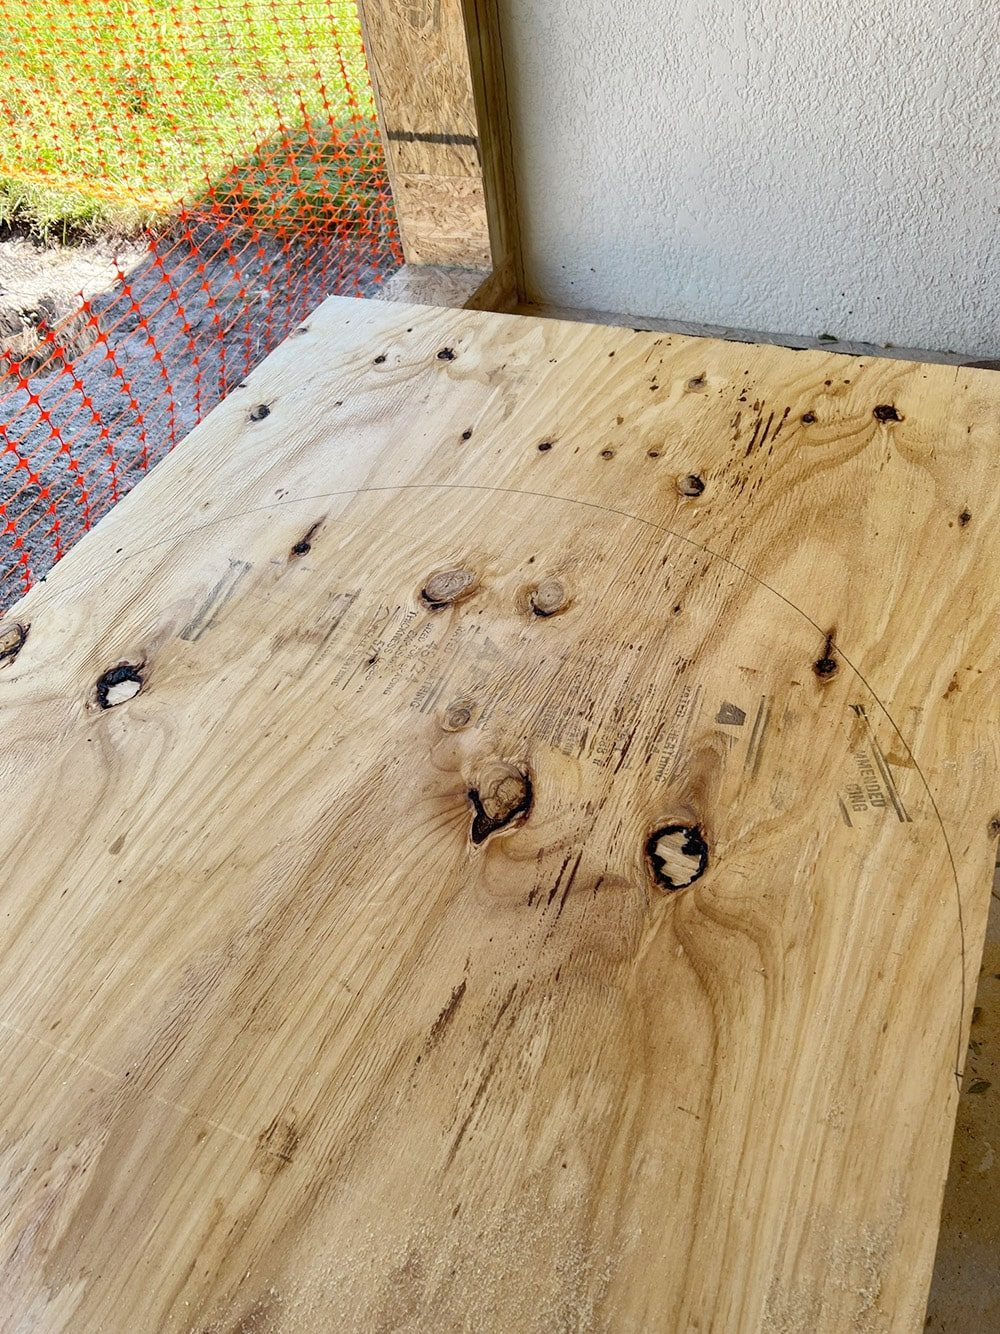
For the arches, first cut your plywood down to the size of the diameter. Then use a string tied around a screw in the center to draw a well suited circle, and cut that out with a jigsaw. Sand down any imperfections along the edges (you can see this step in depth in my DIY arched doorwaytutorial).

Step 2: Trace and cut drywall
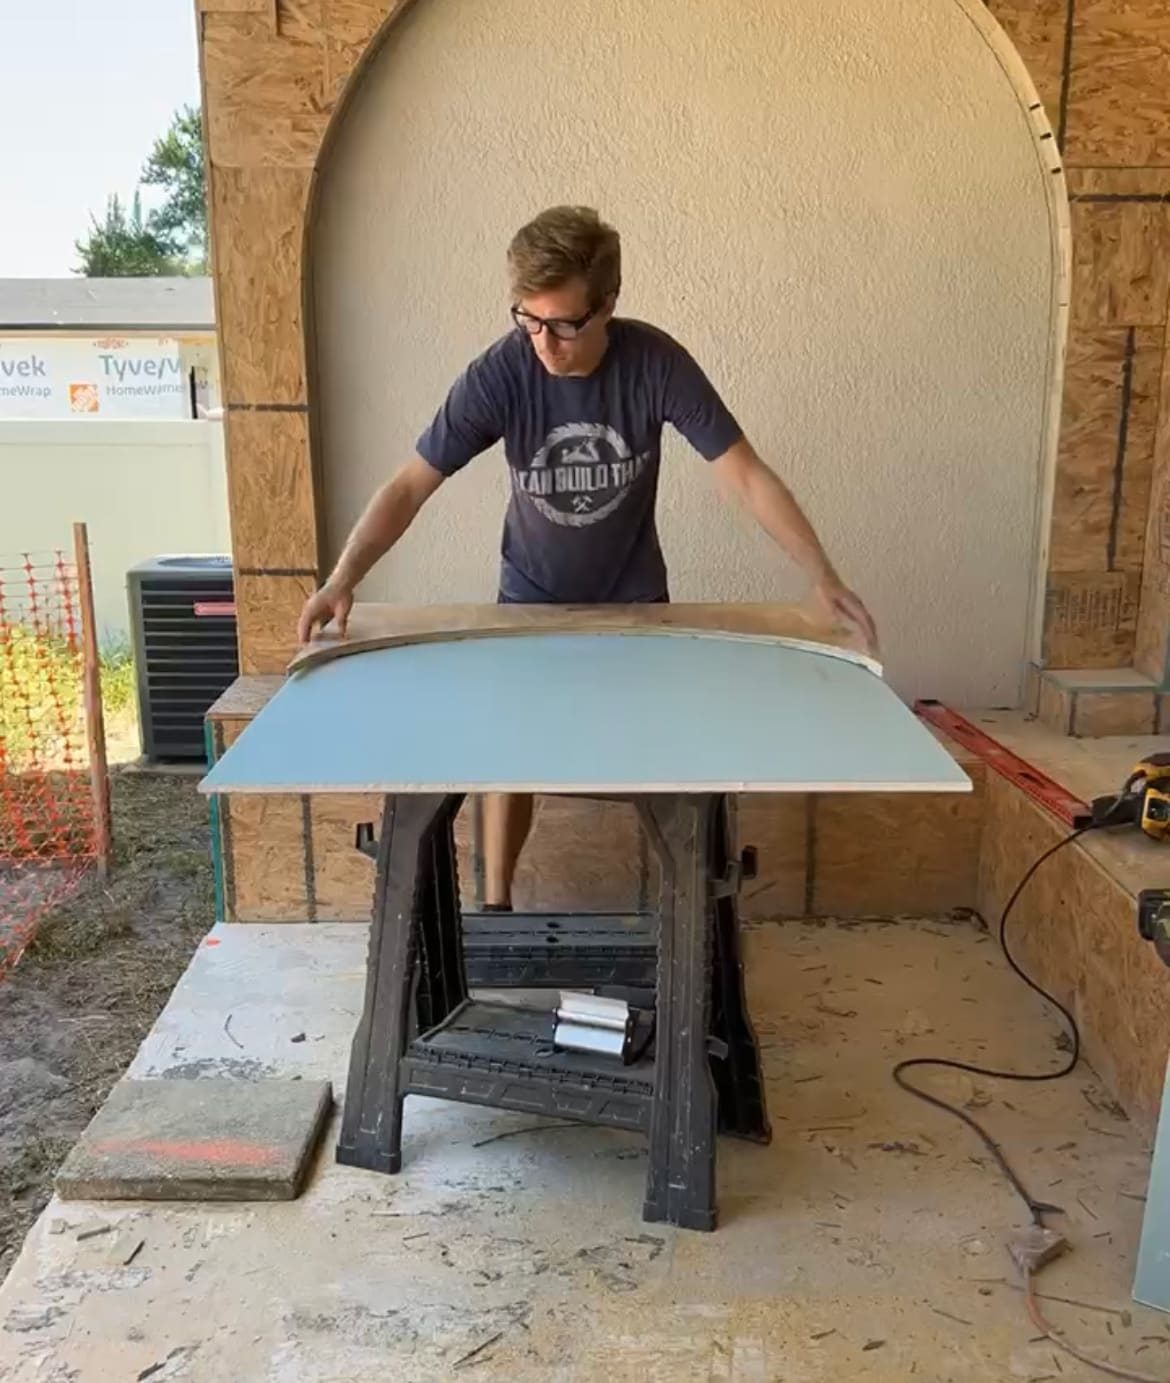
Repeat the process for the drywall to get matching pieces. Use the plywood arch cutout as a template to trace onto the drywall, then cut along the line with a jigsaw.
Step 3: Attach plywood to the wall
Starting at one end, screw the first vertical strip into the wall. Our wall was an exterior block wall and the furring strips were not consistent, so this was a bit challenging. We tried using drywall anchors, but they were too long and hit the concrete. Eventually, we found that regular drywall screws were enough to keep everything secure.

With normal interior walls, you will want to hit the studs whenever possible, but drywall screws can also get the job done.
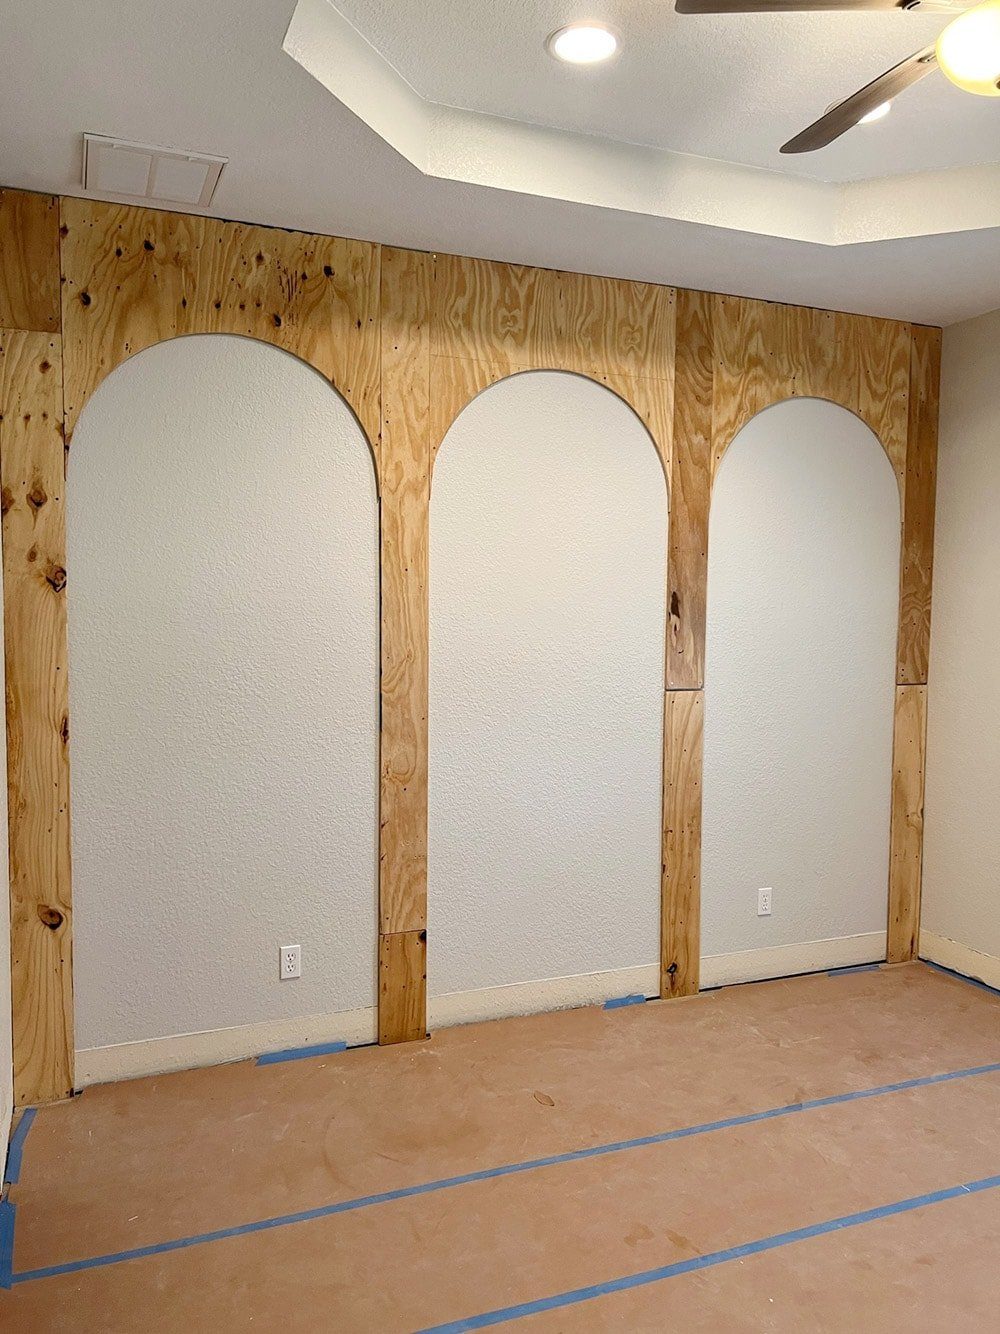
Step 4: Attach drywall onto the plywood
This part is easier—simply line up the drywall and it screw it into the plywood. Make sure to add the screws near the edge of the drywall so there are no gaps between the two pieces.
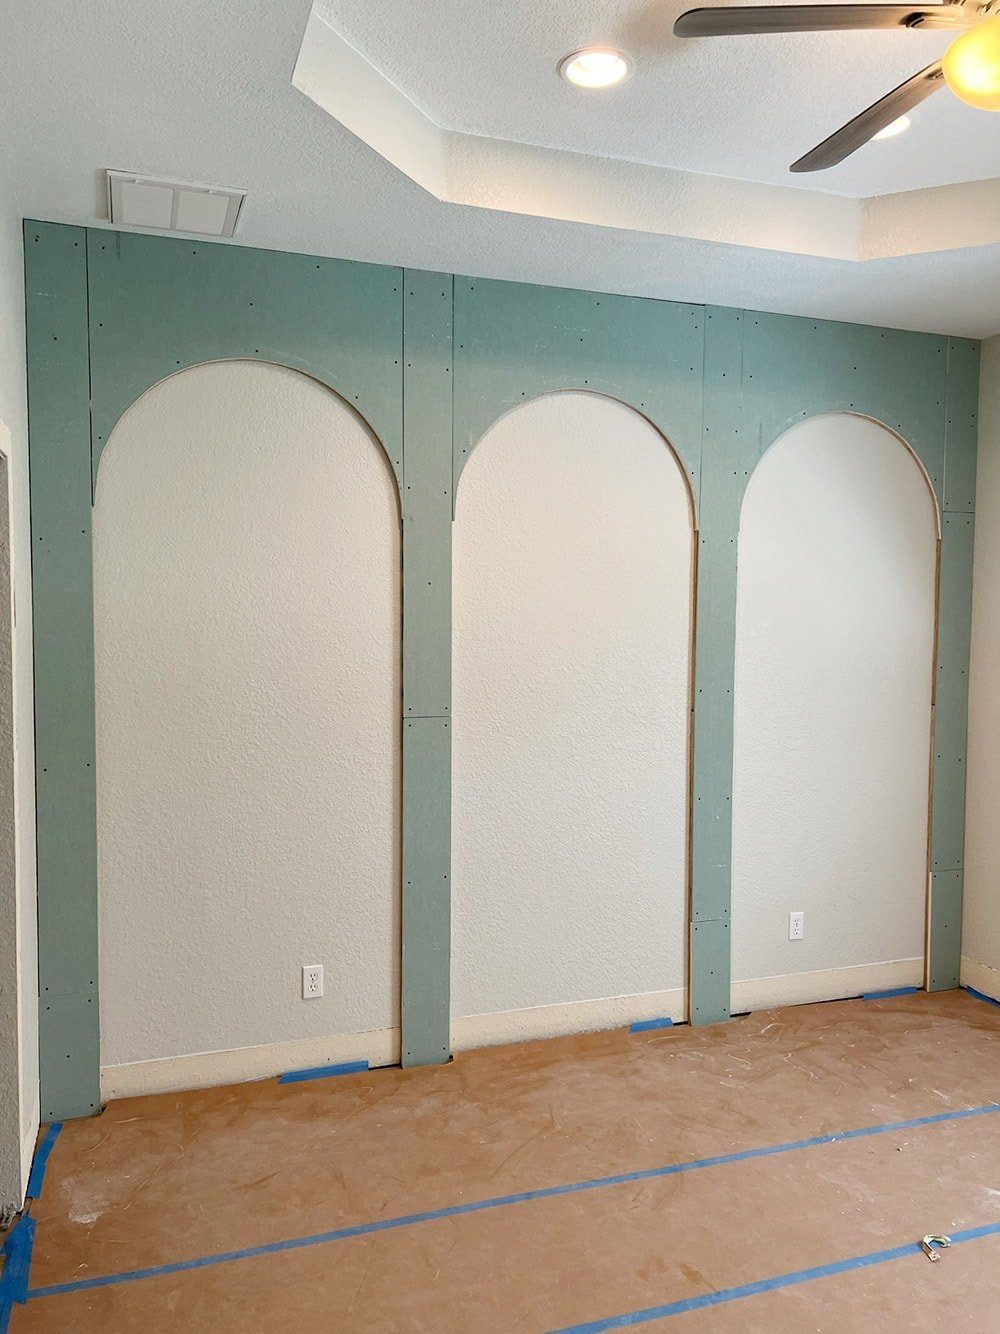
Note: we used green 'mold resistant' drywall, only because it was the only drywall within reach at Home Depot. No reason to use this, regular drywall is fine!
Step 5: Mud and tape drywall seams
Use drywall mud and tape to join the seams where two pieces of drywall meet—including the ceiling and surrounding walls. Patch the screw holes with drywall mud as well.
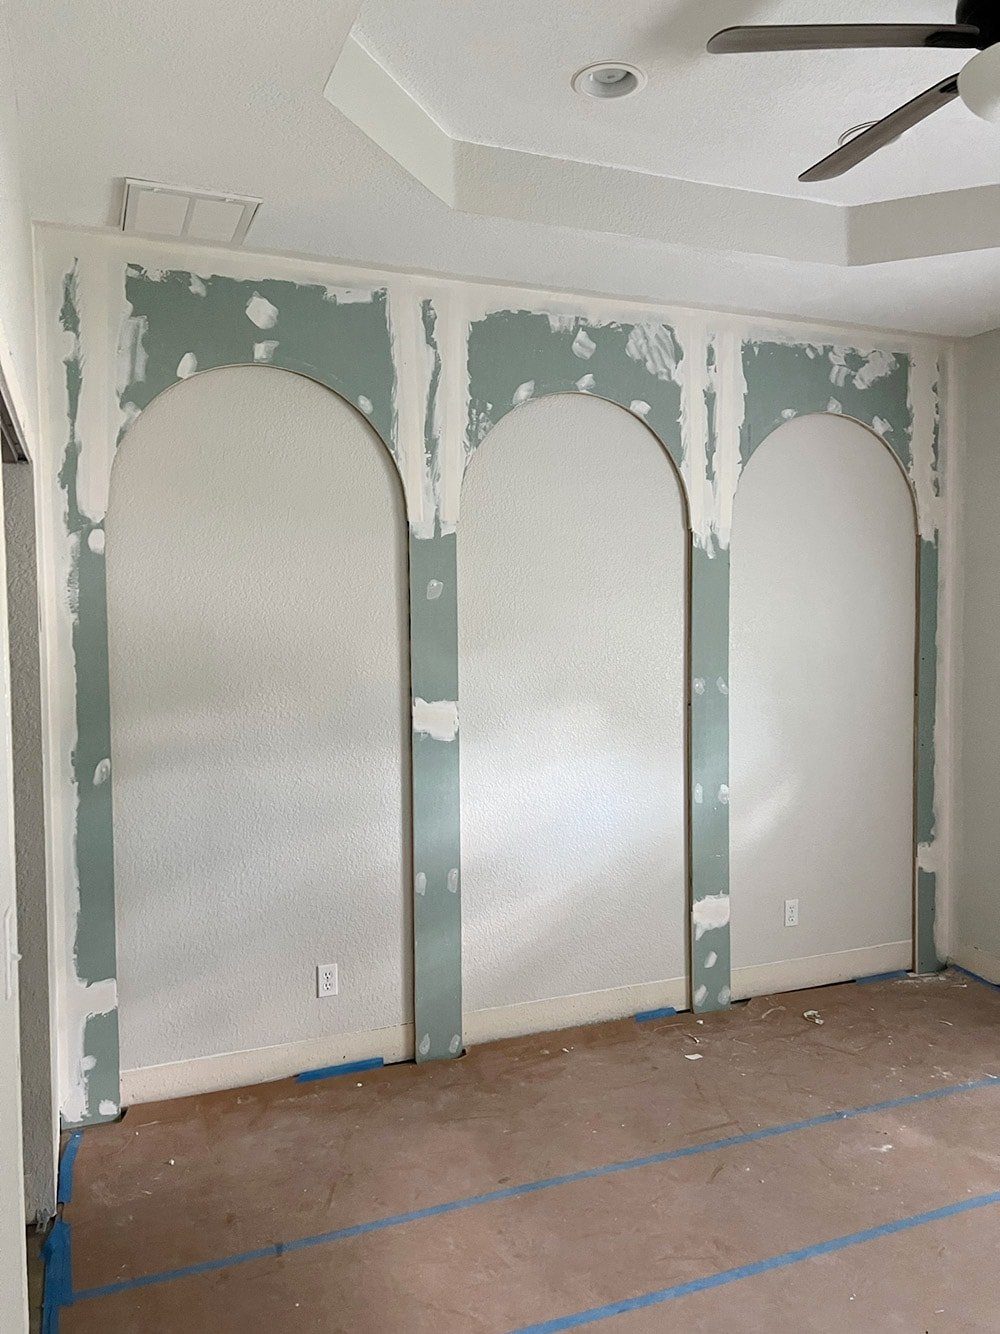
For the drywall seam along the inside the arch, cut notches along a strip of tape so you can bend it around the curve.
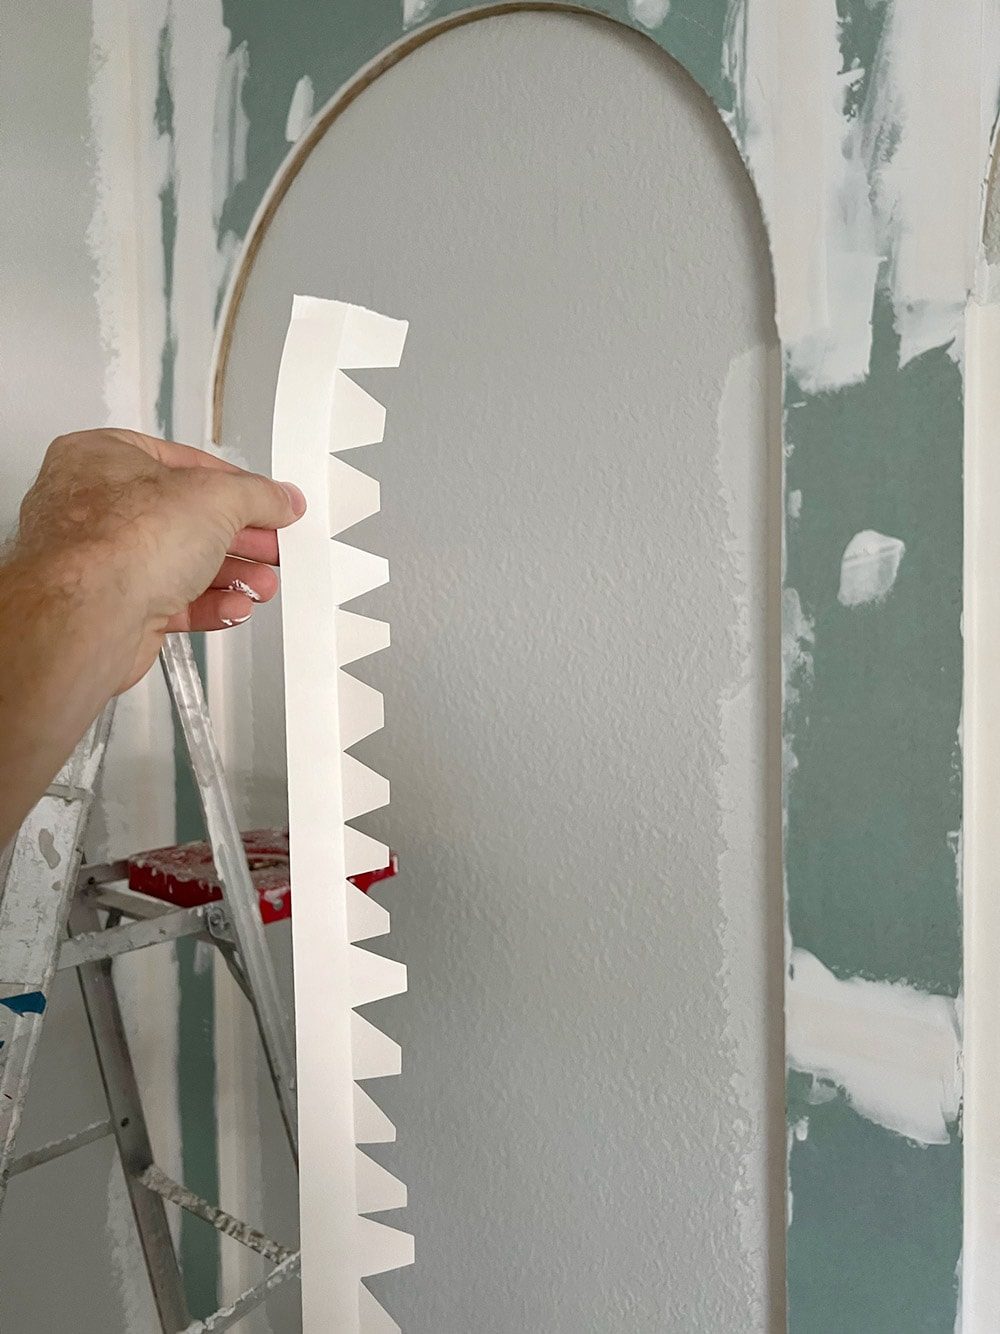
Step 6: Add corner bead
You will need flexible corner bead to curve around the outside edge of the arches. We used this vinyl corner bead, which can be attached with nails, screws, staples or adhesive.
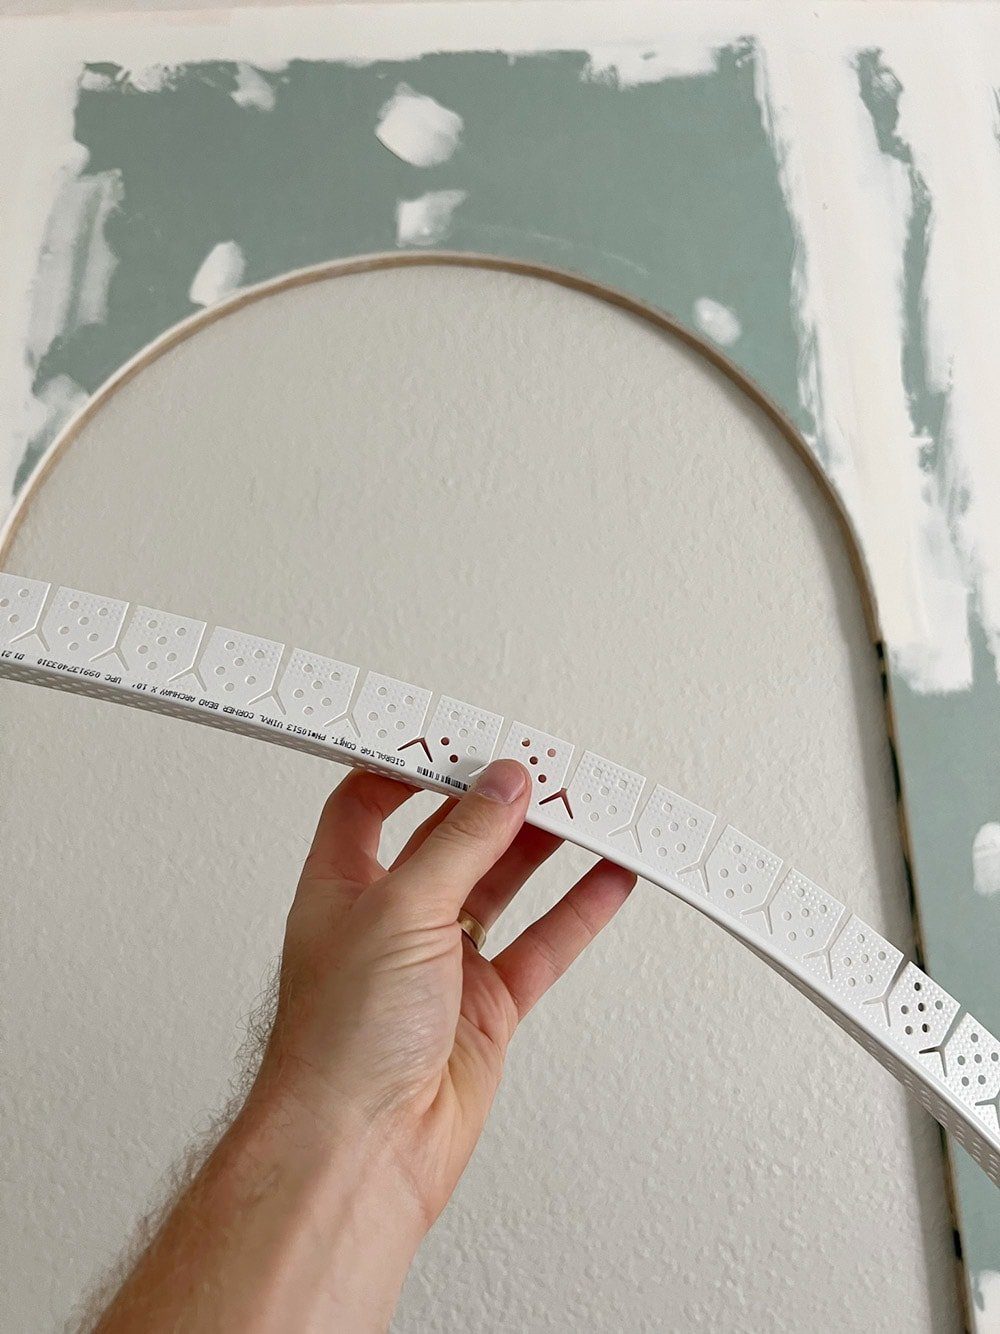
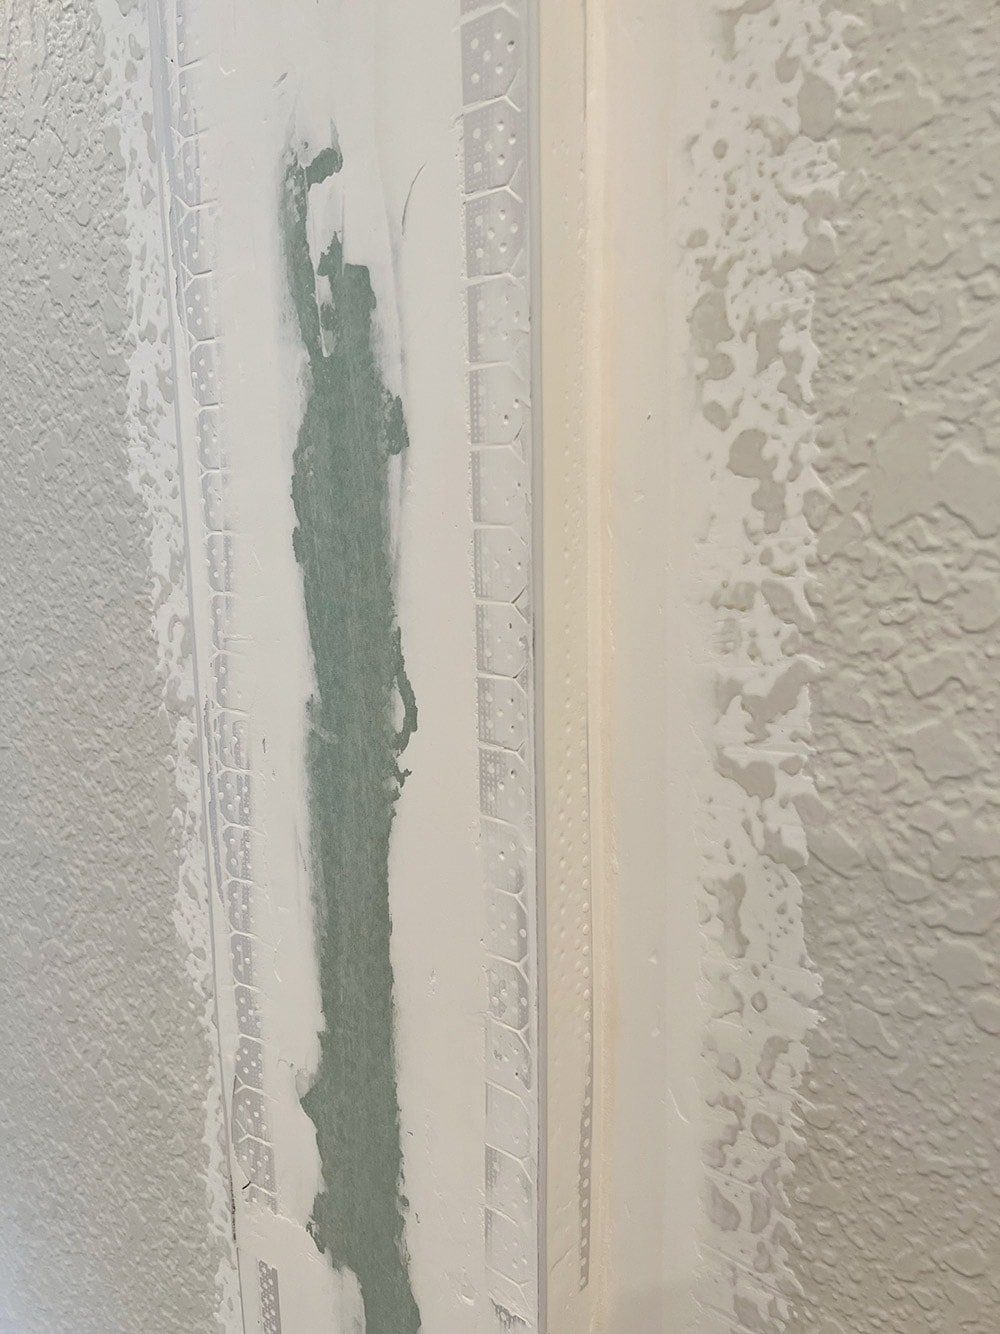
The corner bead has a small lip that raises the outside edge, so you will need to feather that out by adding multiple layers of drywall mud.
Step 7: Sand and (optional) skim coat
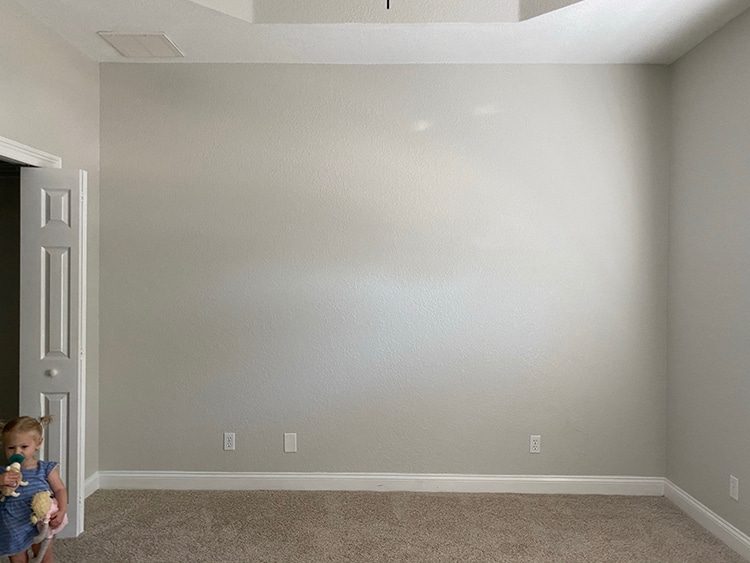
Once all of the seams and edges are mudded and dry, using a sanding block until the arches are smooth and even. If your wall texture underneath is smooth, you are all done! If they are textured like ours, it is a good idea to skim coat them to match the texture of the new smooth drywall.
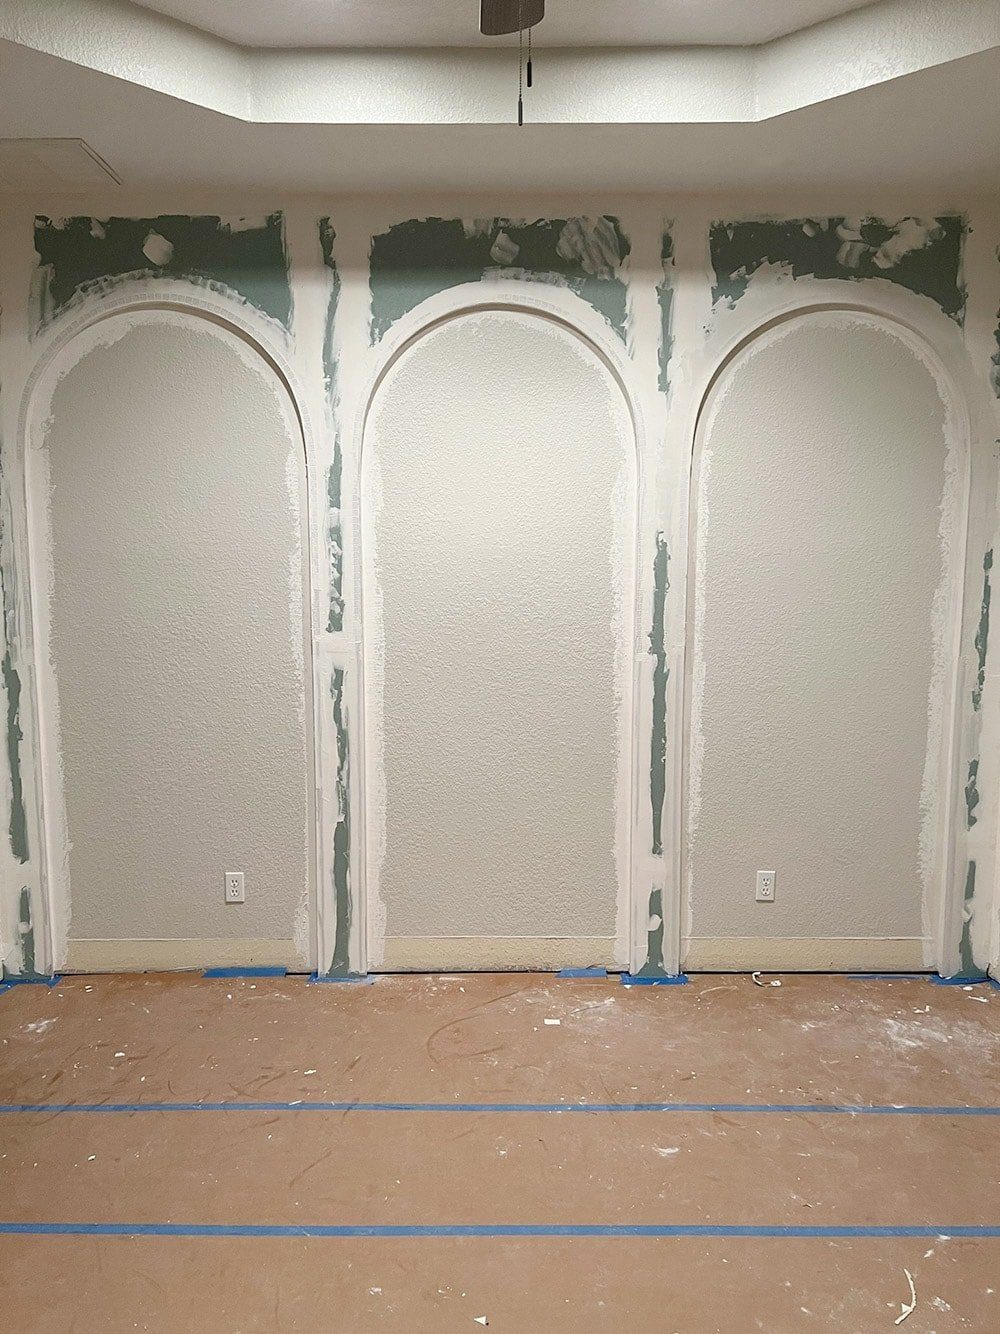
We decided to go ahead and skim coat the entire room, which had heavily textured walls. This was a pretty long process (around 3 days) requiring 2-3 coats of drywall to cover all of the thick texture.
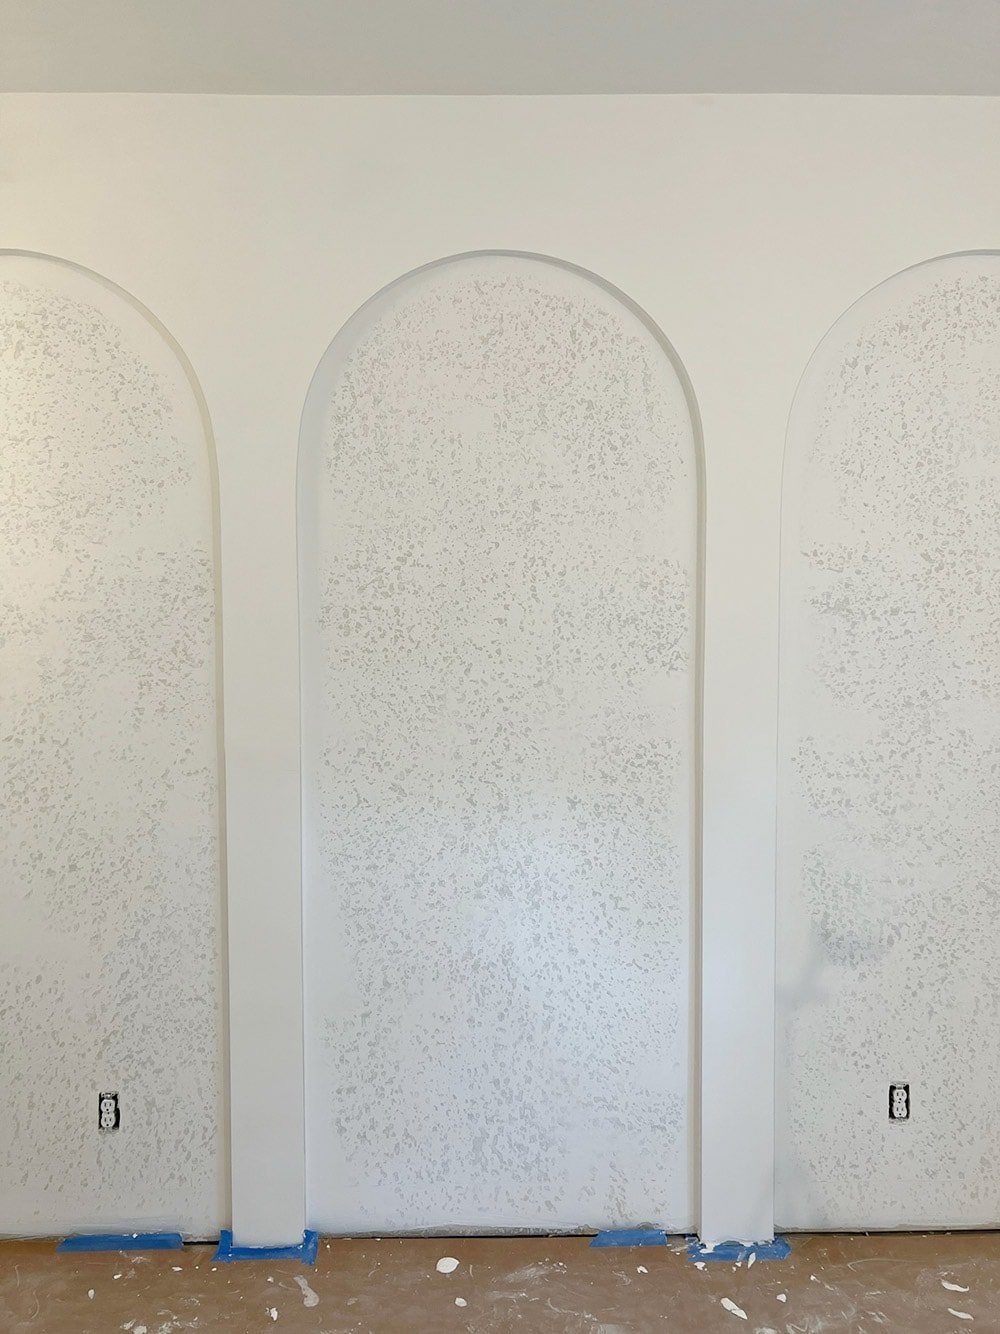
The first step was to prep the walls by giving them a quick sanding with an orbital sander. Scuffing them up (followed by a thorough wipe down) will knock down any larger raised areas and help with adhesion.

We used pre-mixed drywall mud for convenience, applied with a large pool trowel. The first coat filled in the low areas of the texture, the second coat began to smooth it out, and the third/touch-up coat was needed in most areas to make it completely smooth. We went through five 4.5 gal buckets of mud for the entire room (next time, I'll use the dry compound mixed with water!)

But it was worth it! Now we have the well suited, blank canvas for the next DIY project: lime wash.
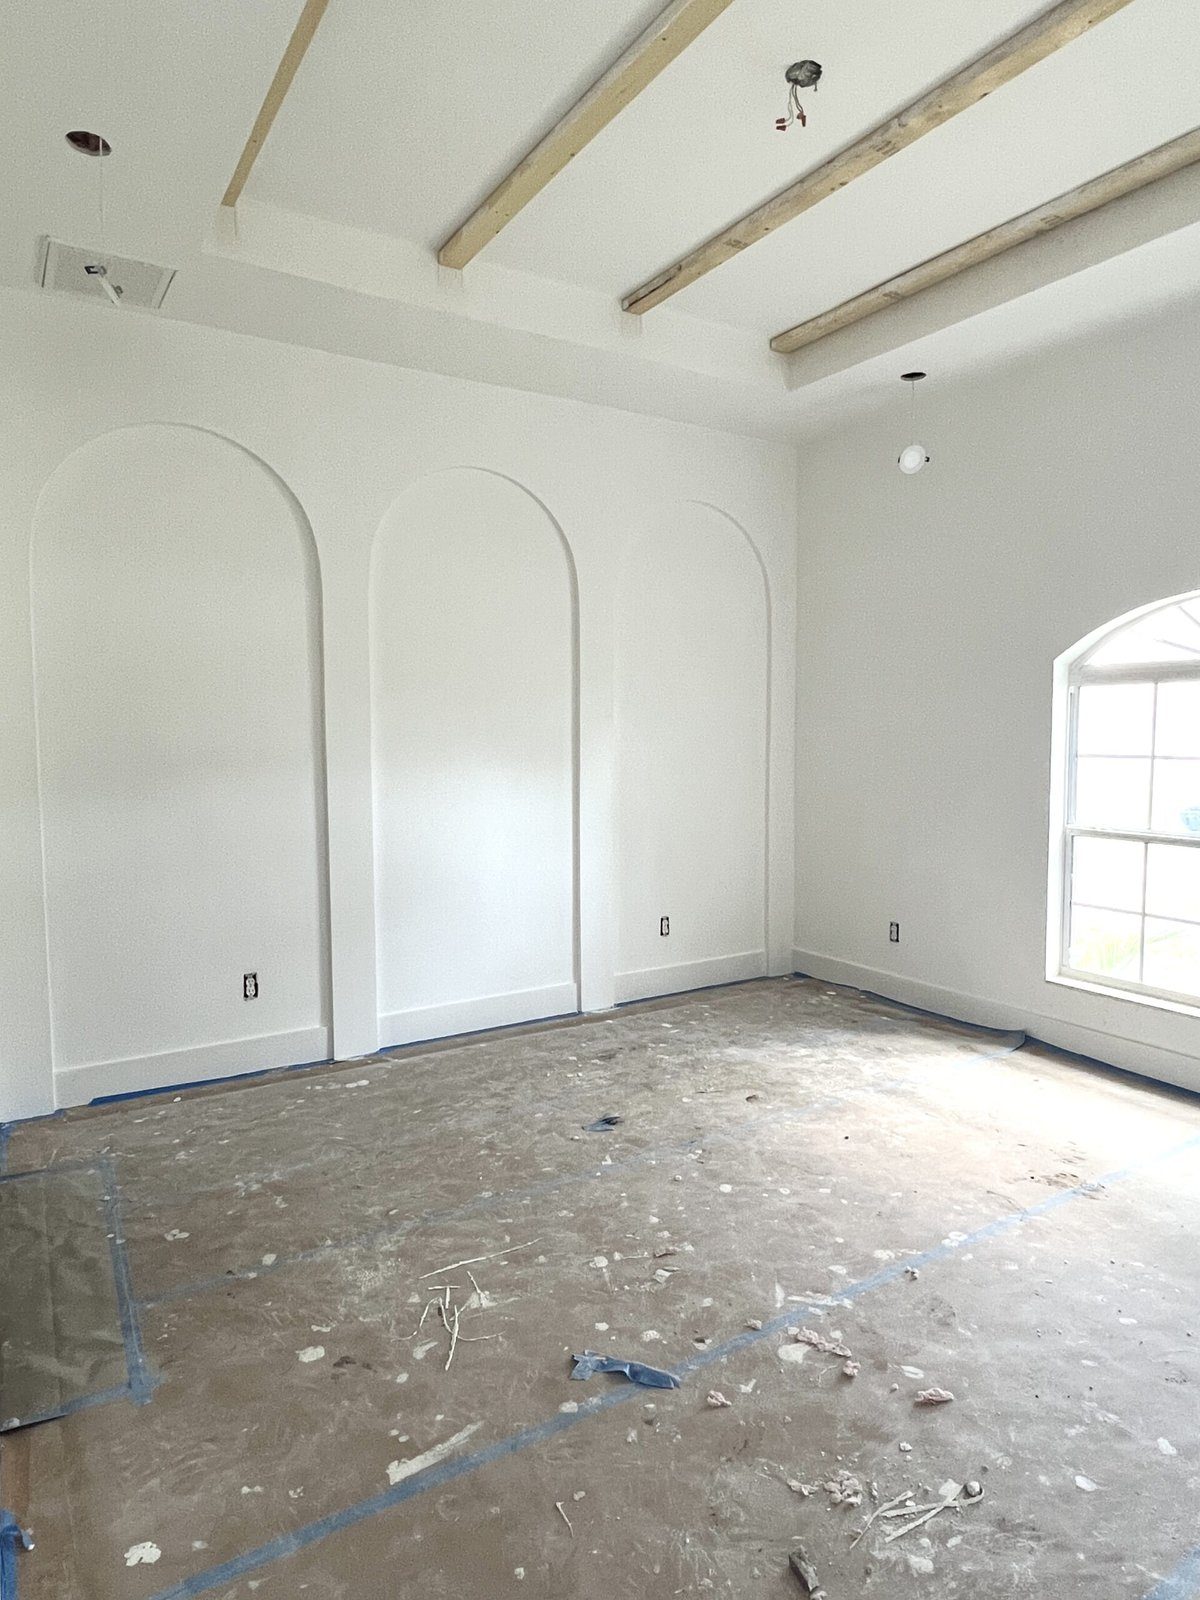
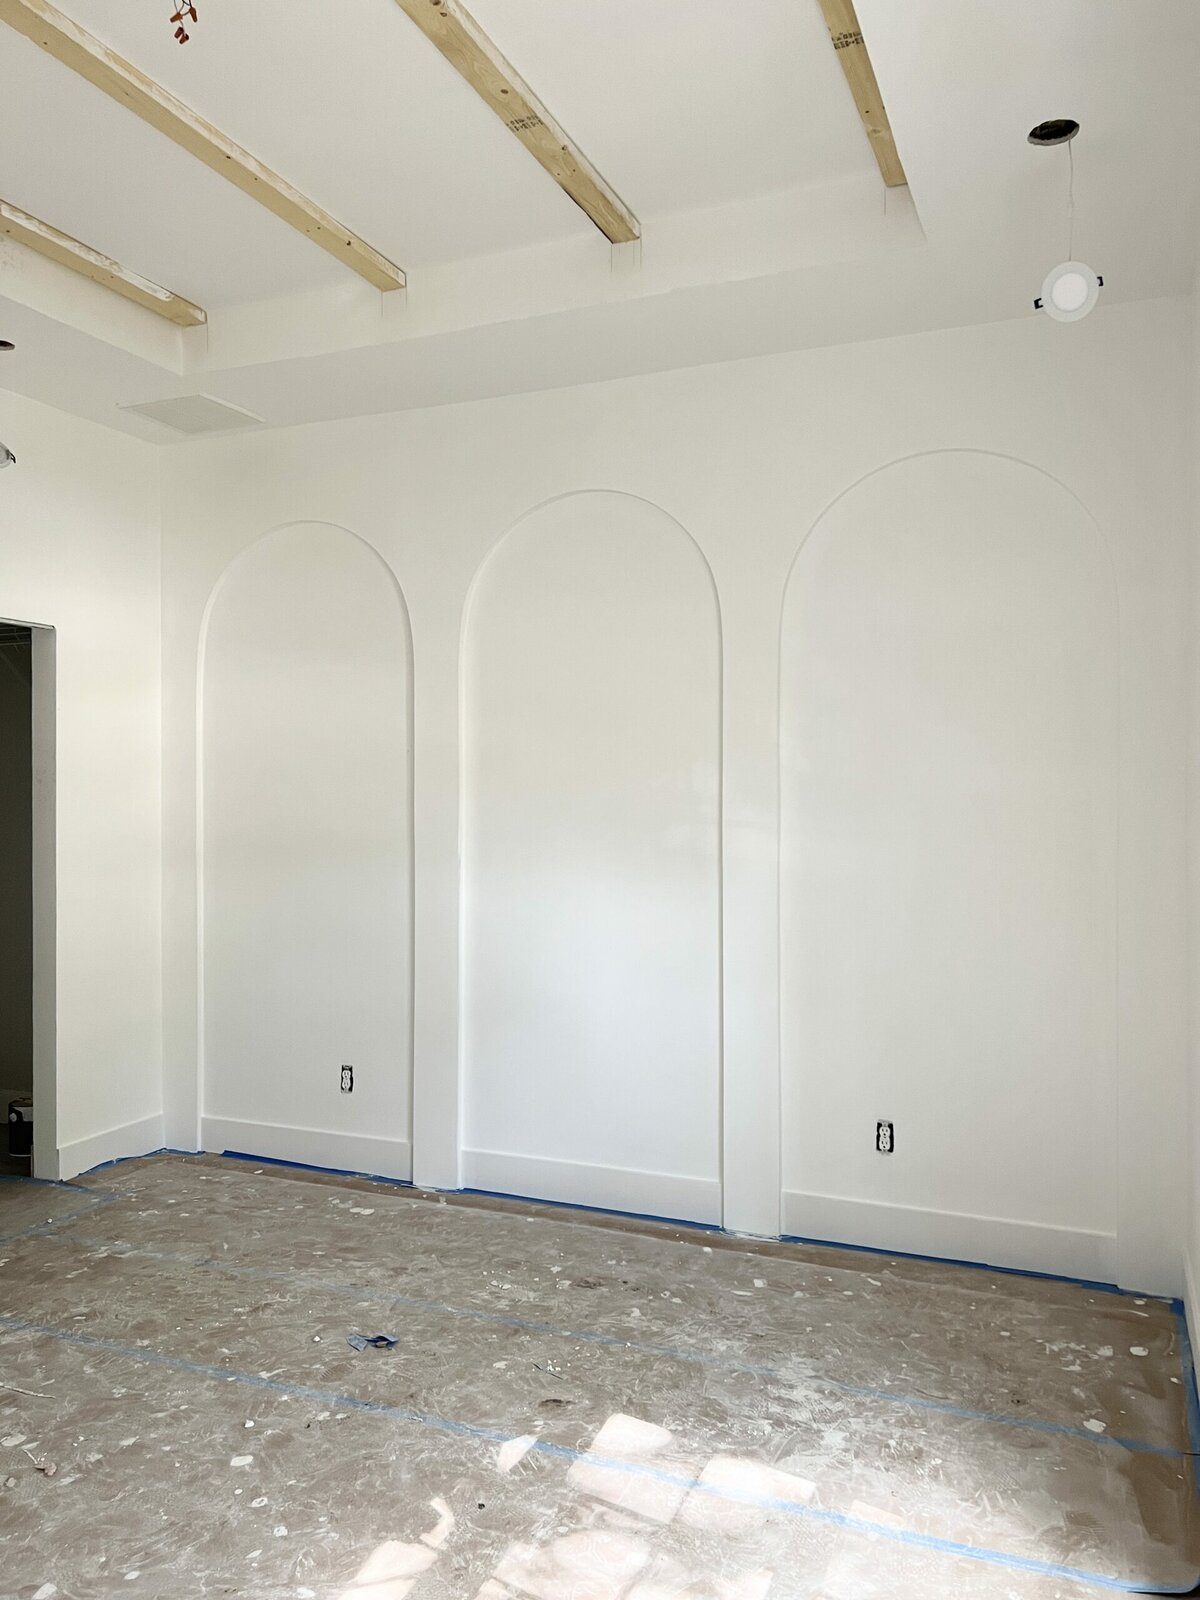
We also squared off the octagon tray ceilings and started laying out the beams—that will be for another tutorial.
More bedroom progress, coming soon!