Modern Mediterranean Bathroom Reveal
Revealing our DIY Modern Mediterranean Bathroom renovation. Featuring microcement walls, DIY arches, cotto tile, DIY Ikea vanities and more!
The day has finally come! After months of planning and DIYing, the primary bathroom at the Hacienda Hideaway is officially complete. Before we get to the good stuff, let us rewind and see how this space came together…
Before
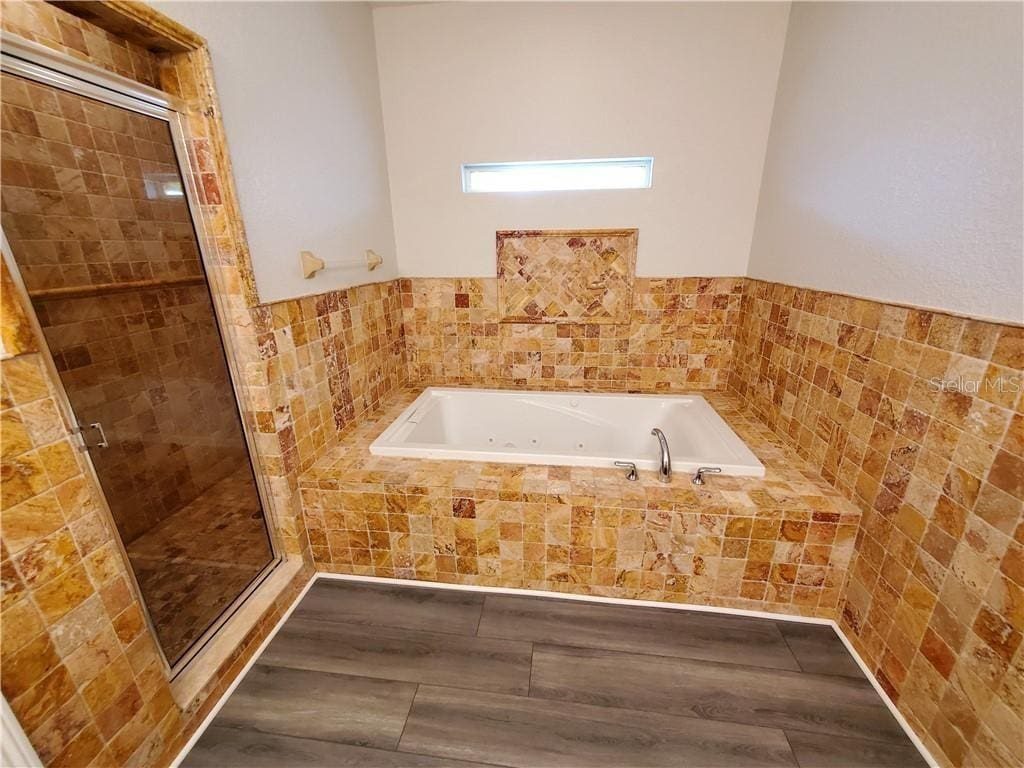
I think the builders were going for some version of Mediterranean style… but in a genuinely cheaply-done 90's way:
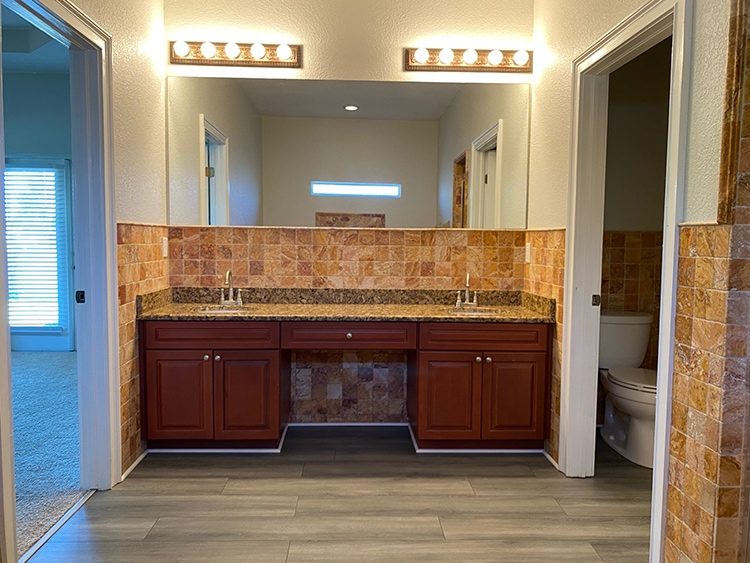
The gray vinyl floors were added on top of the original tile at some point. It hurts my soul.
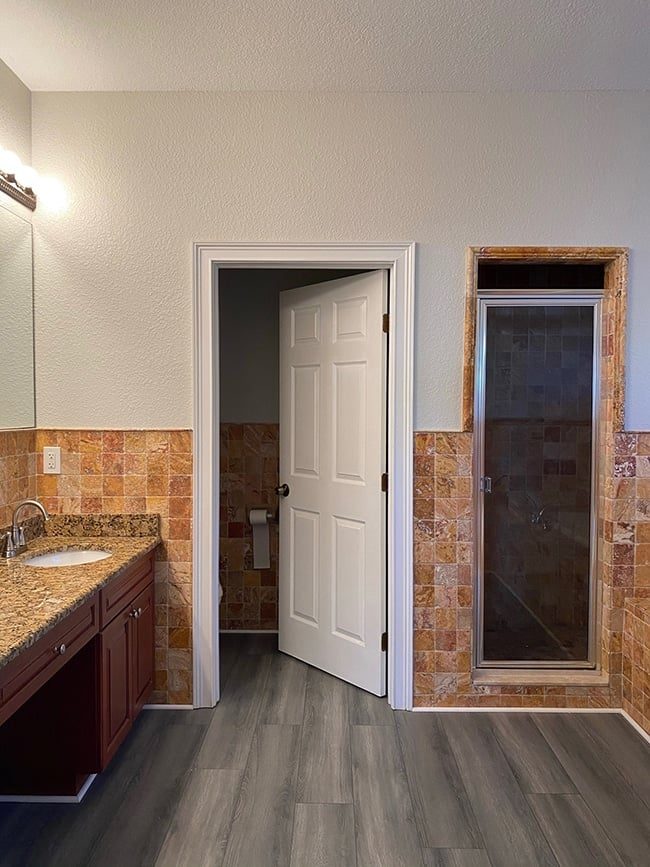
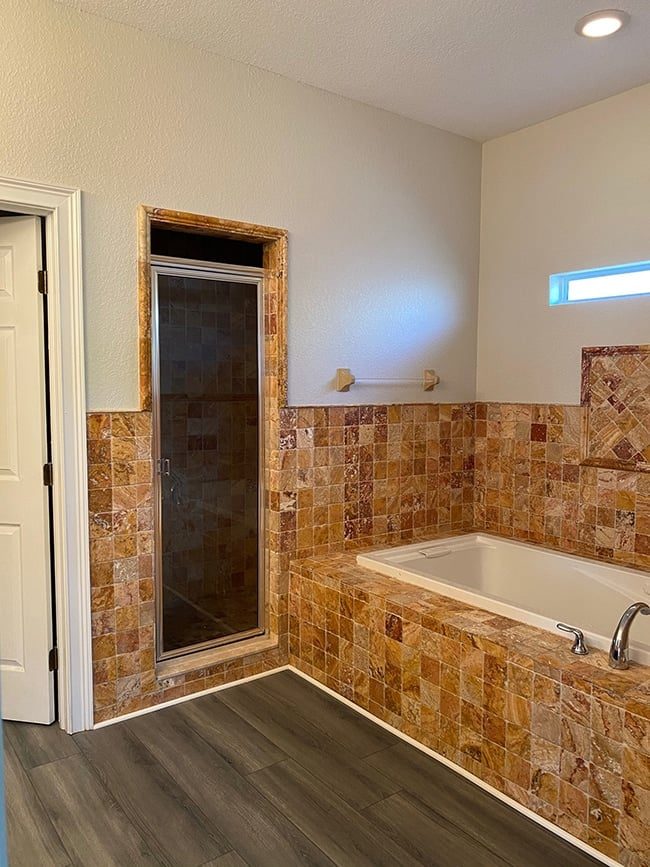
The one thing this bathroom had going for it? Size. I am used to small bathrooms, and this is the largest one I have ever renovated.
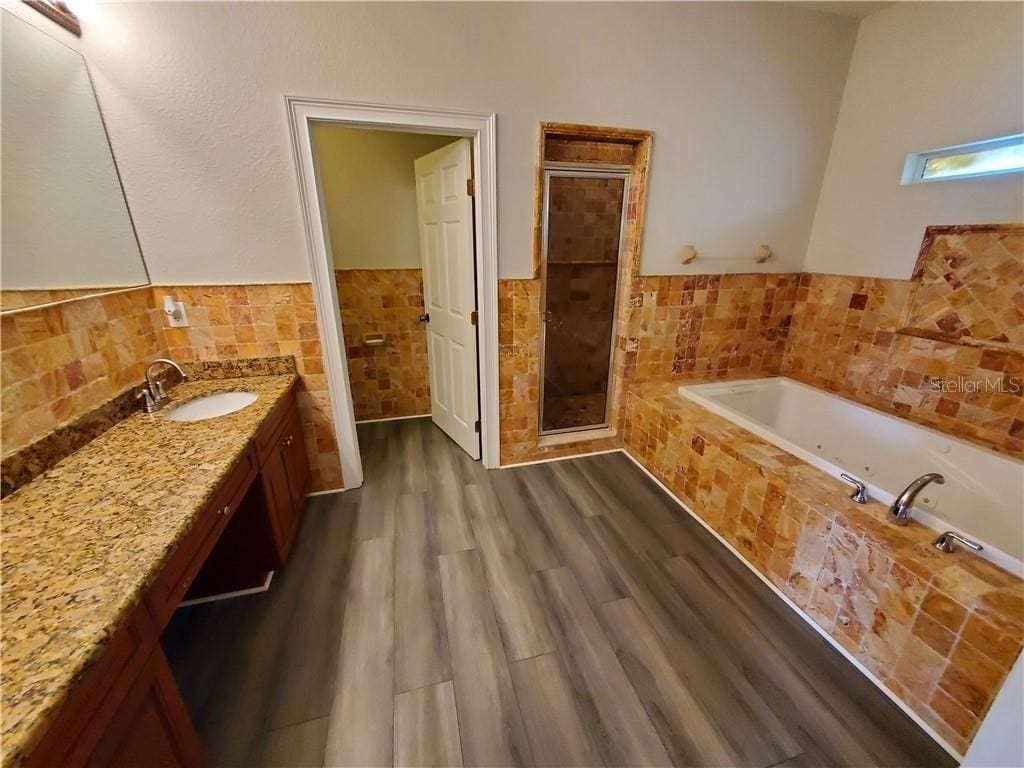
This distorted fisheye lens is very deceiving, but at least you can see the whole layout:
During
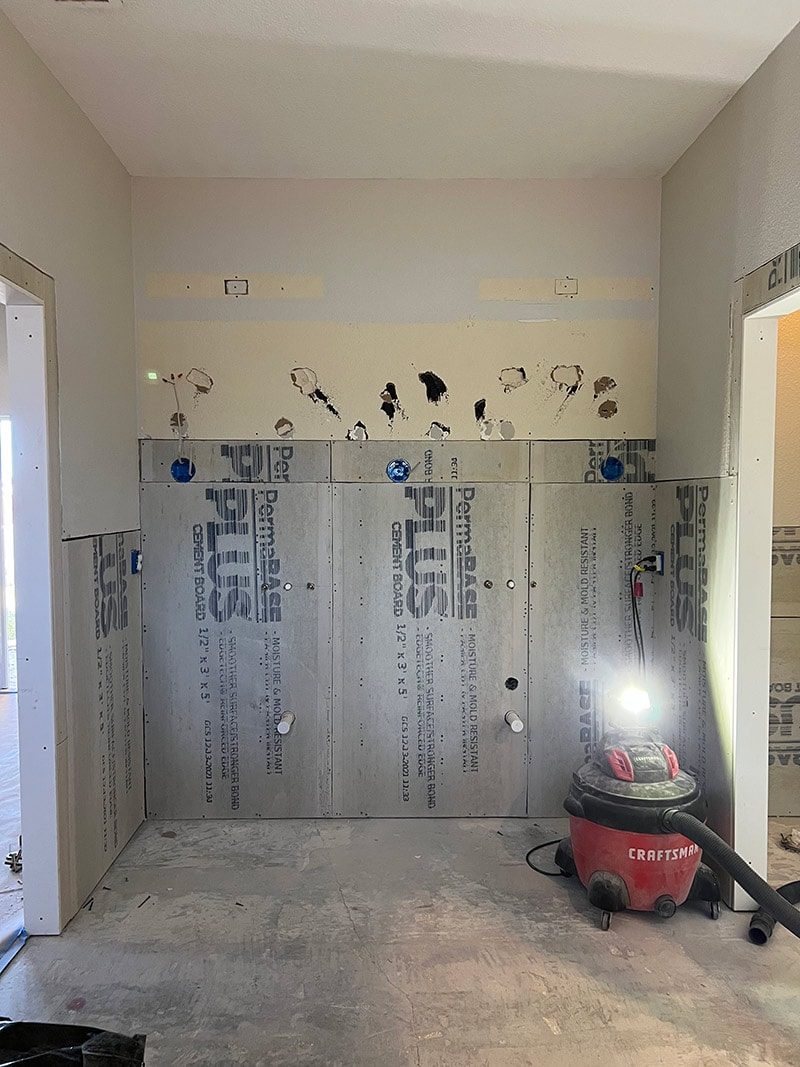
First, we demo'd all of the tile and patched the walls with cement board.

Then, Lucas built arches for the vanity and tub surround, as well as the shower entrance.
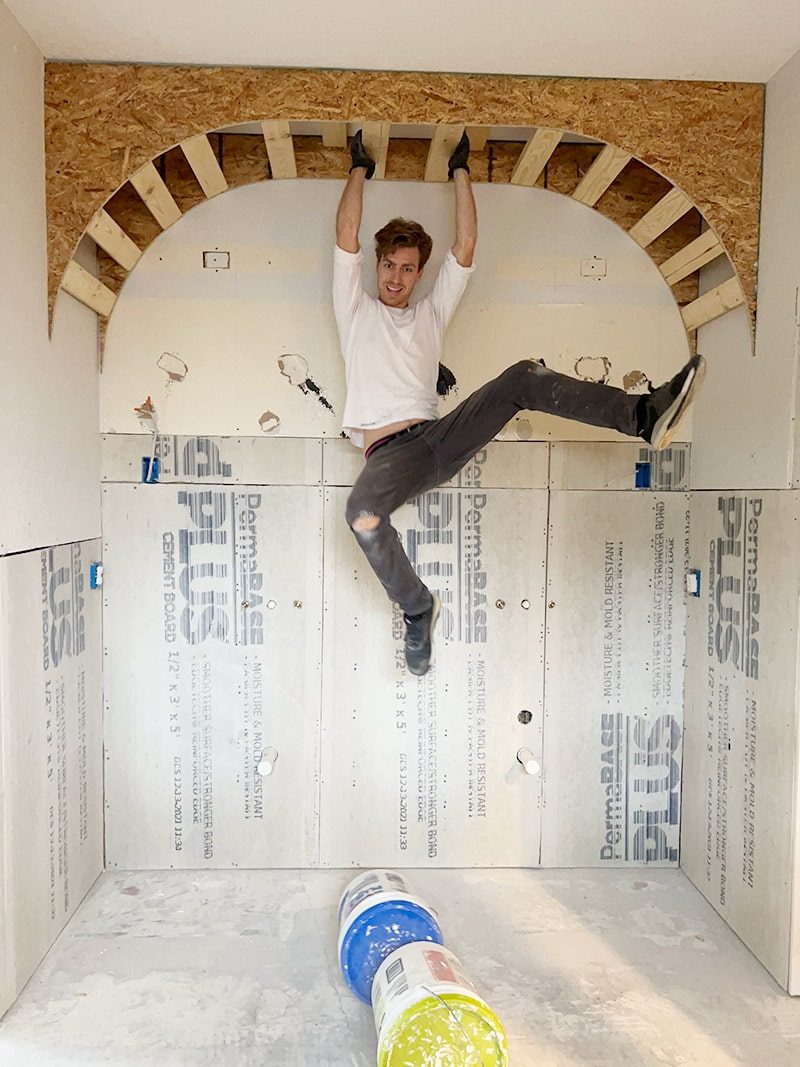
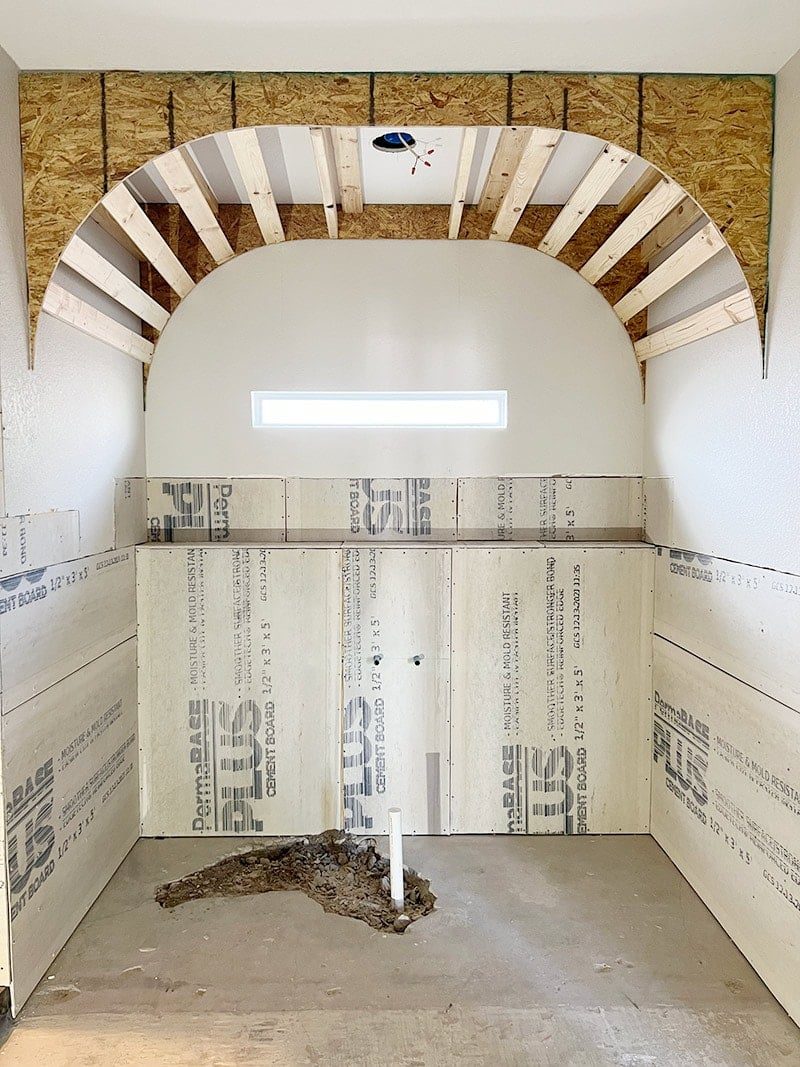
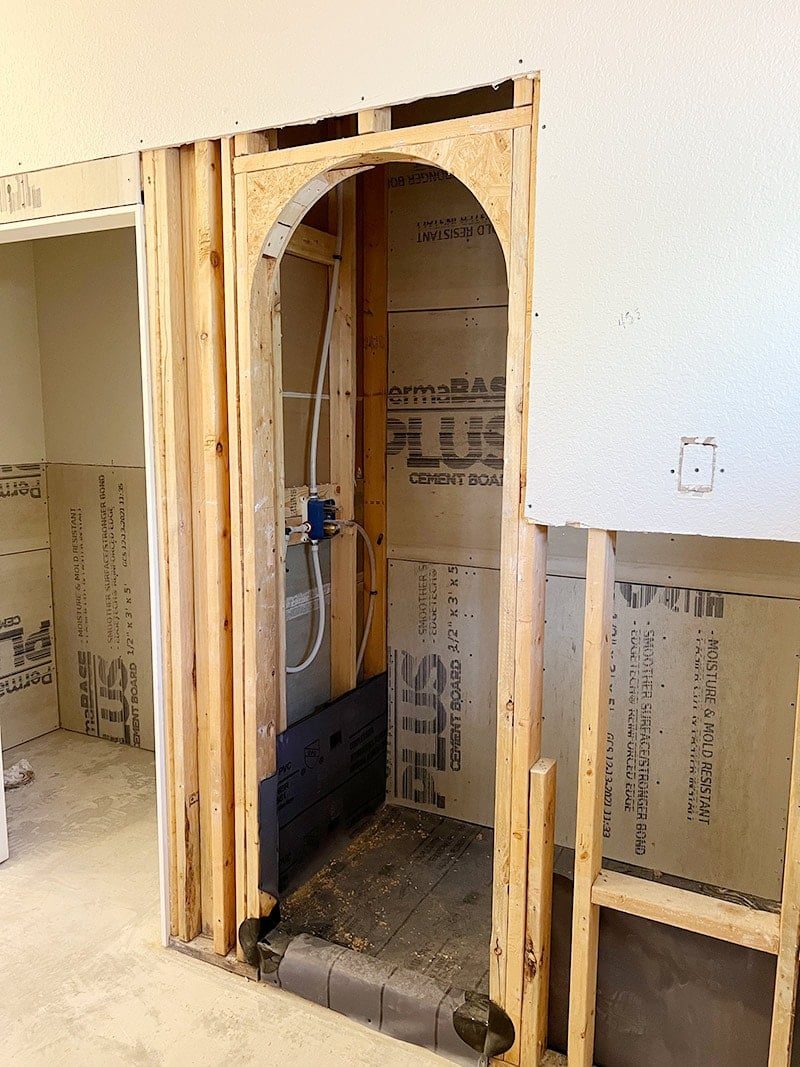
Next, we covered the entire room in microcement to add a rustic, minimalist texture.
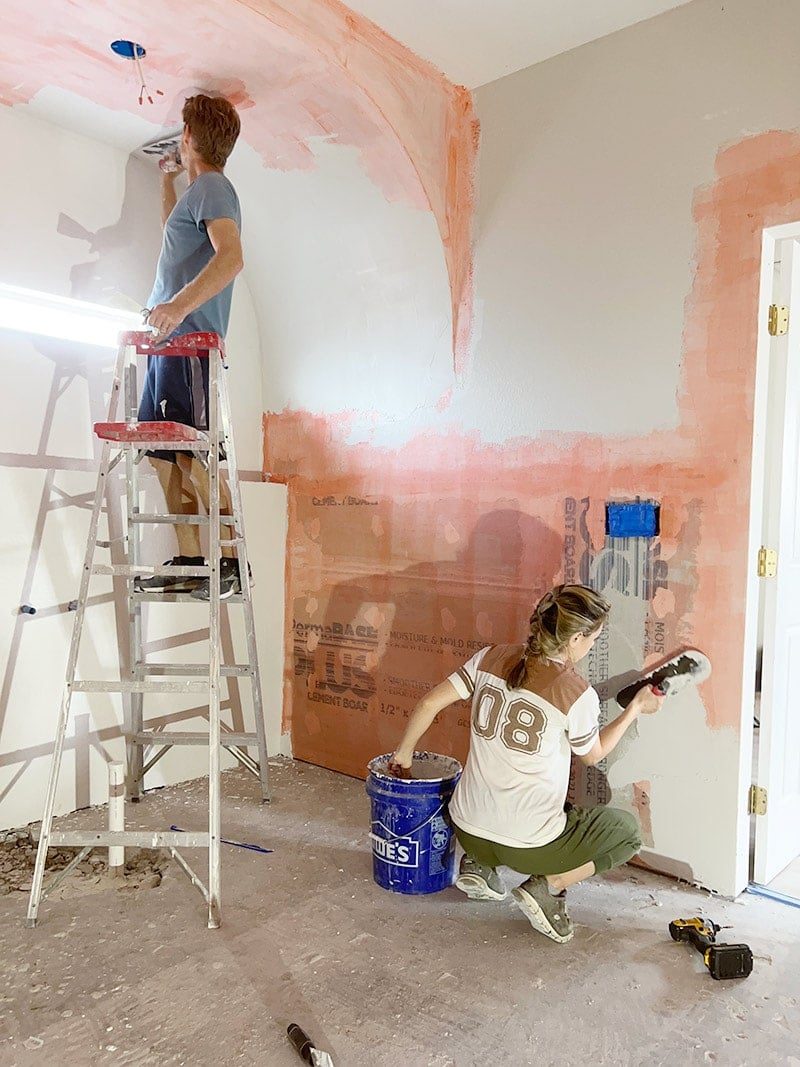
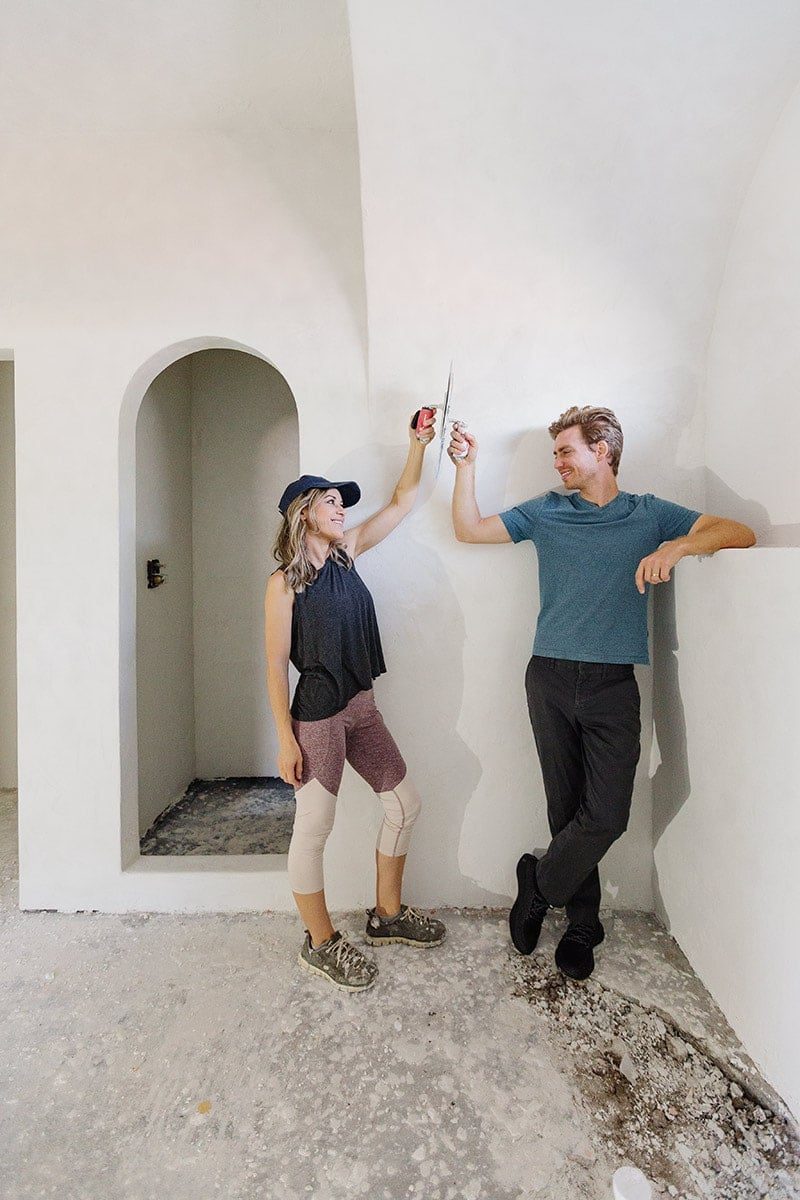
Then, my dream floor tile was installed…

Finally, we customized and built-in twoIkea Godmorgon vanities:

The last week has been a blitz to wrap up all of the finishing touches. And 7+ months later, here is the end result!
Reveal
Welcome to our 'Rustic Minimalist Mediterranean Moroccan Oasis'….
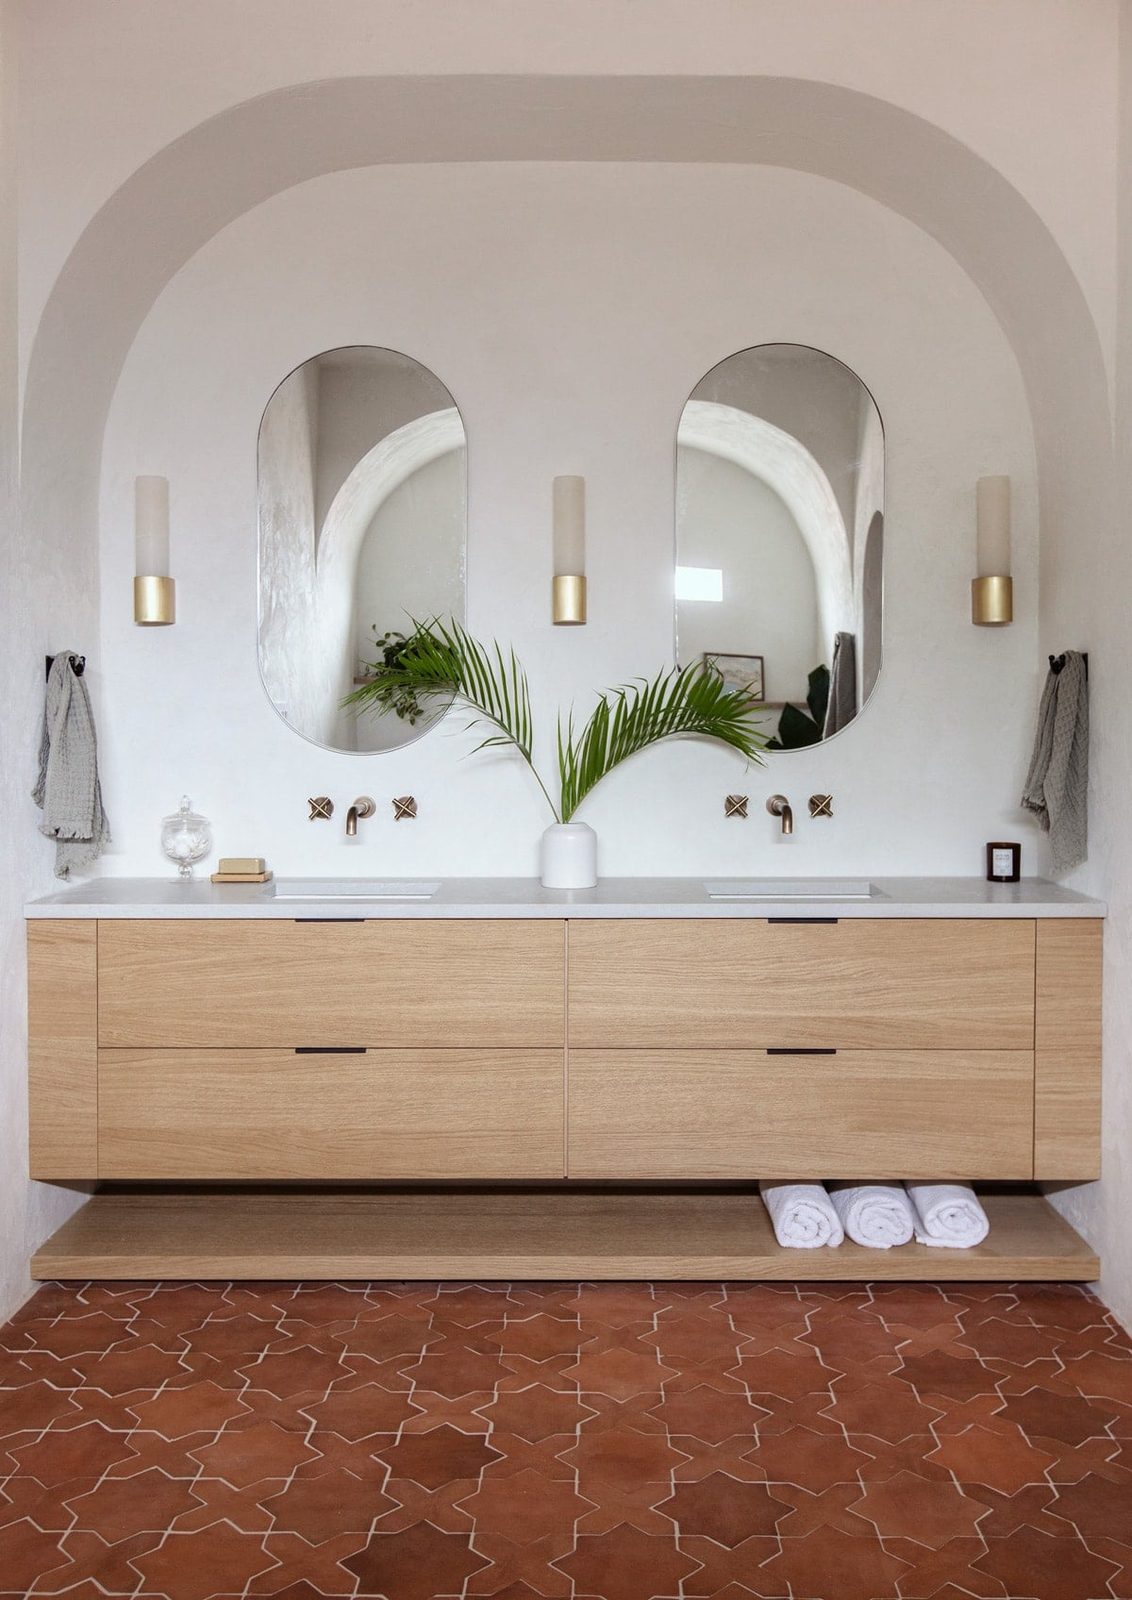
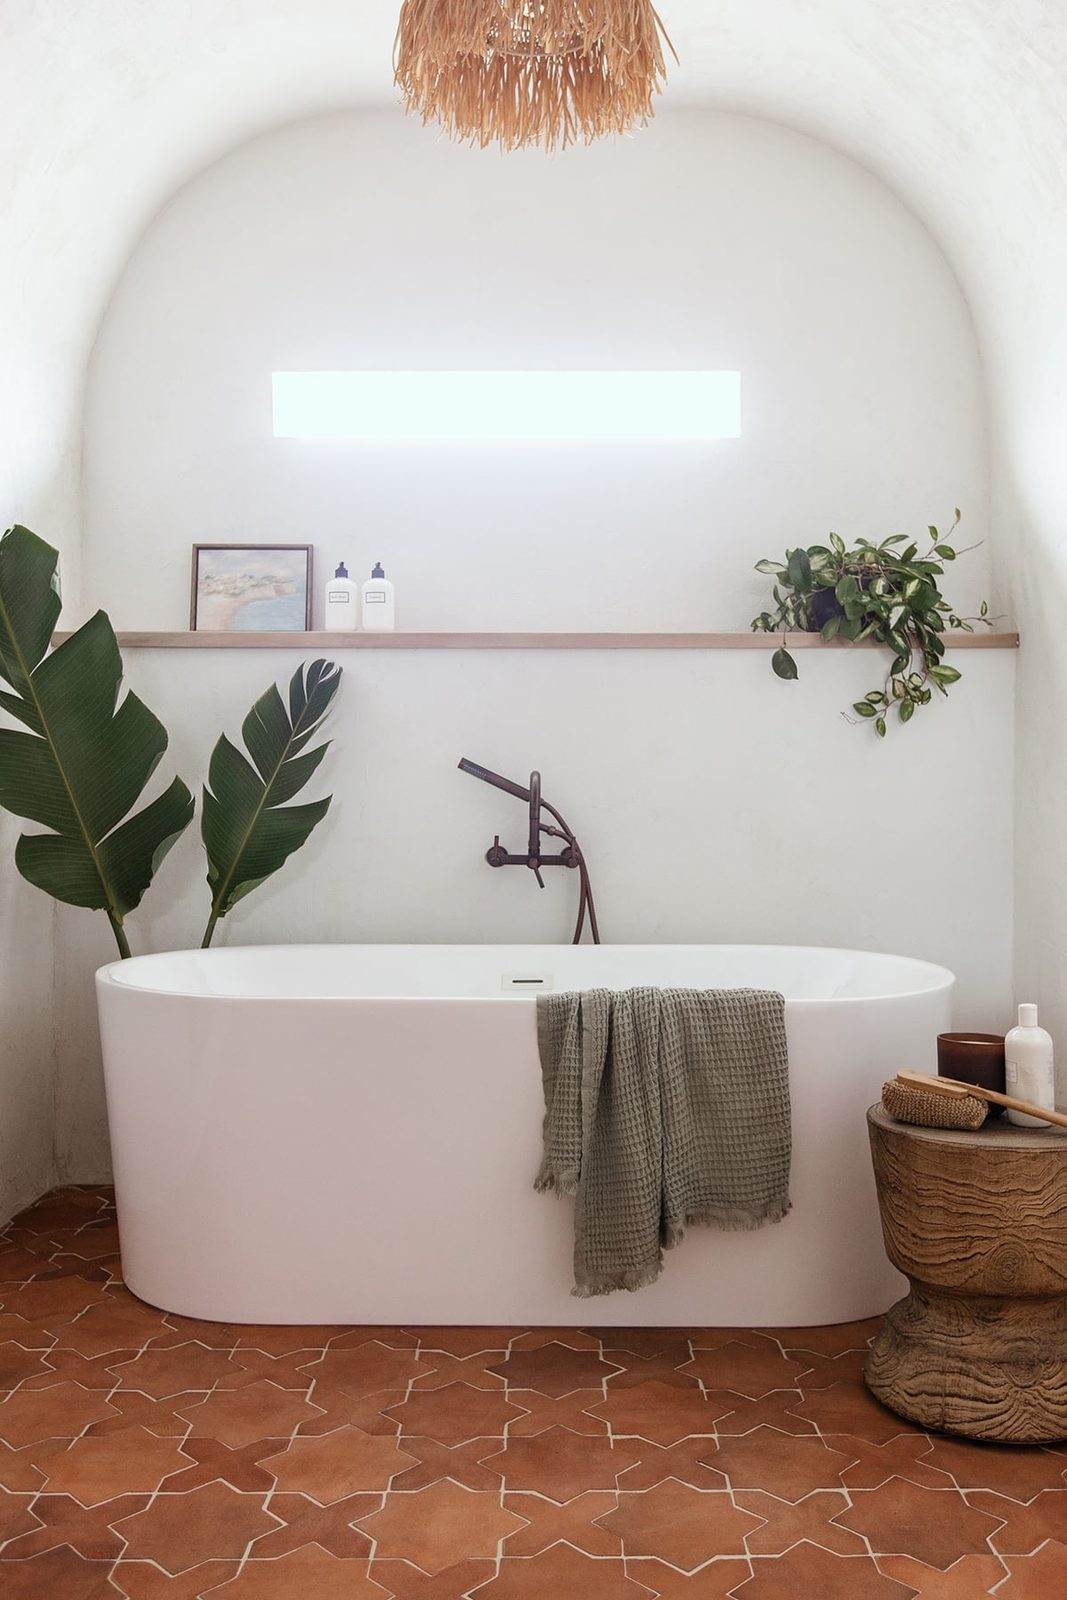
The satisfaction I feel while editing these photos makes all those long days of work worth it.
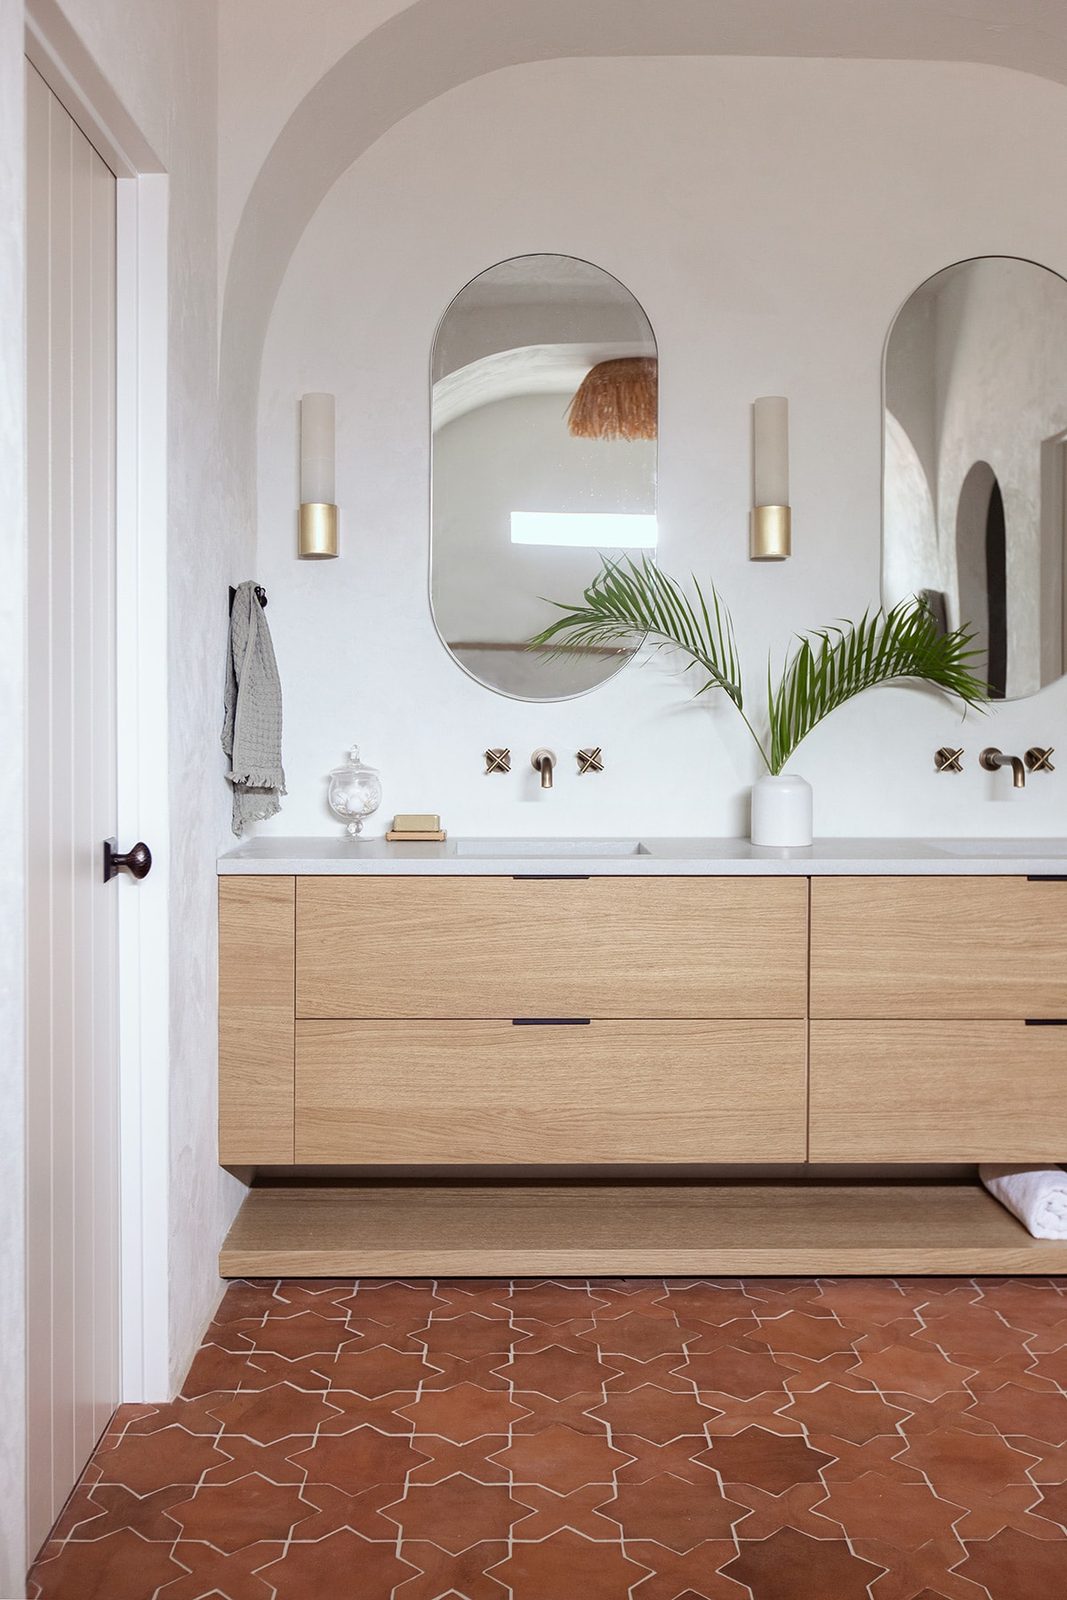
This light fixture was a fun DIY I have been woking on the last few days. Tutorial coming soon!

The microcement walls were definitely the most labor intensive part of this renovation, but they give the space so much rustic charm that you just cannot replicate with drywall.

The DIY arches have to be my favorite part, though. They completely transform the space!

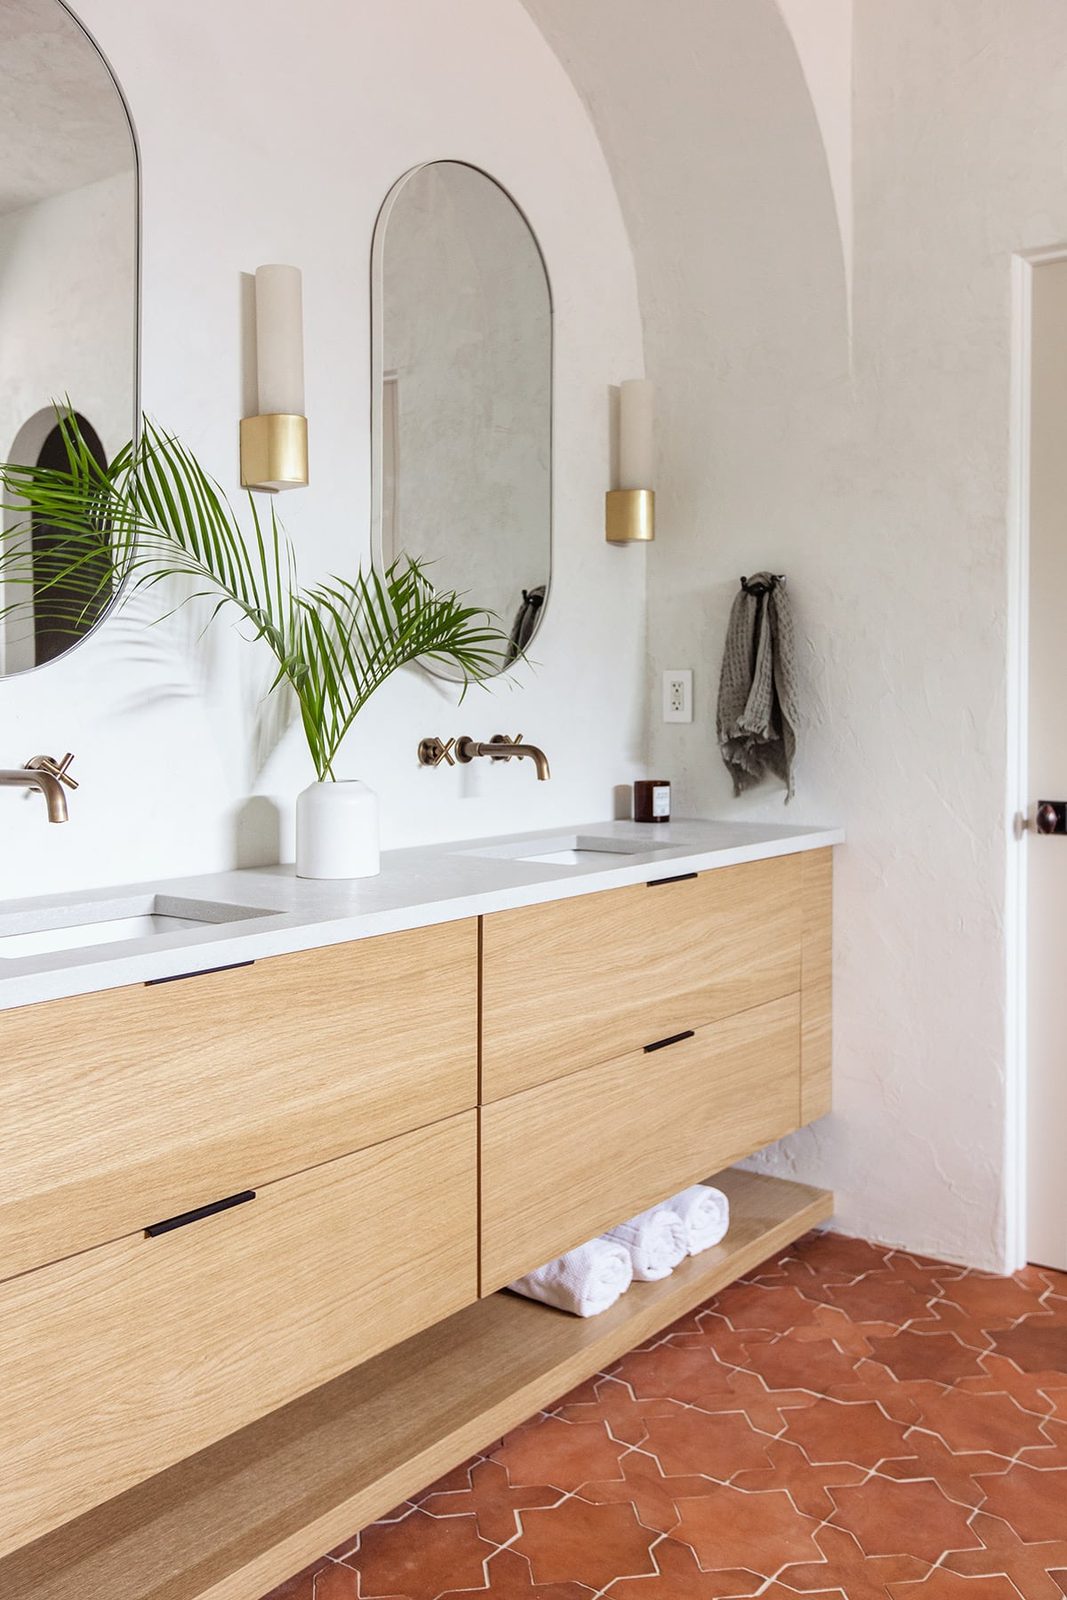
Cannot forget to mention those star + cross tile floors either…

Notice the doors? They are actually a DIY using the existing hollow core doors, and I cannot wait to share the tutorial soon! Obsessed with the way they turned out.
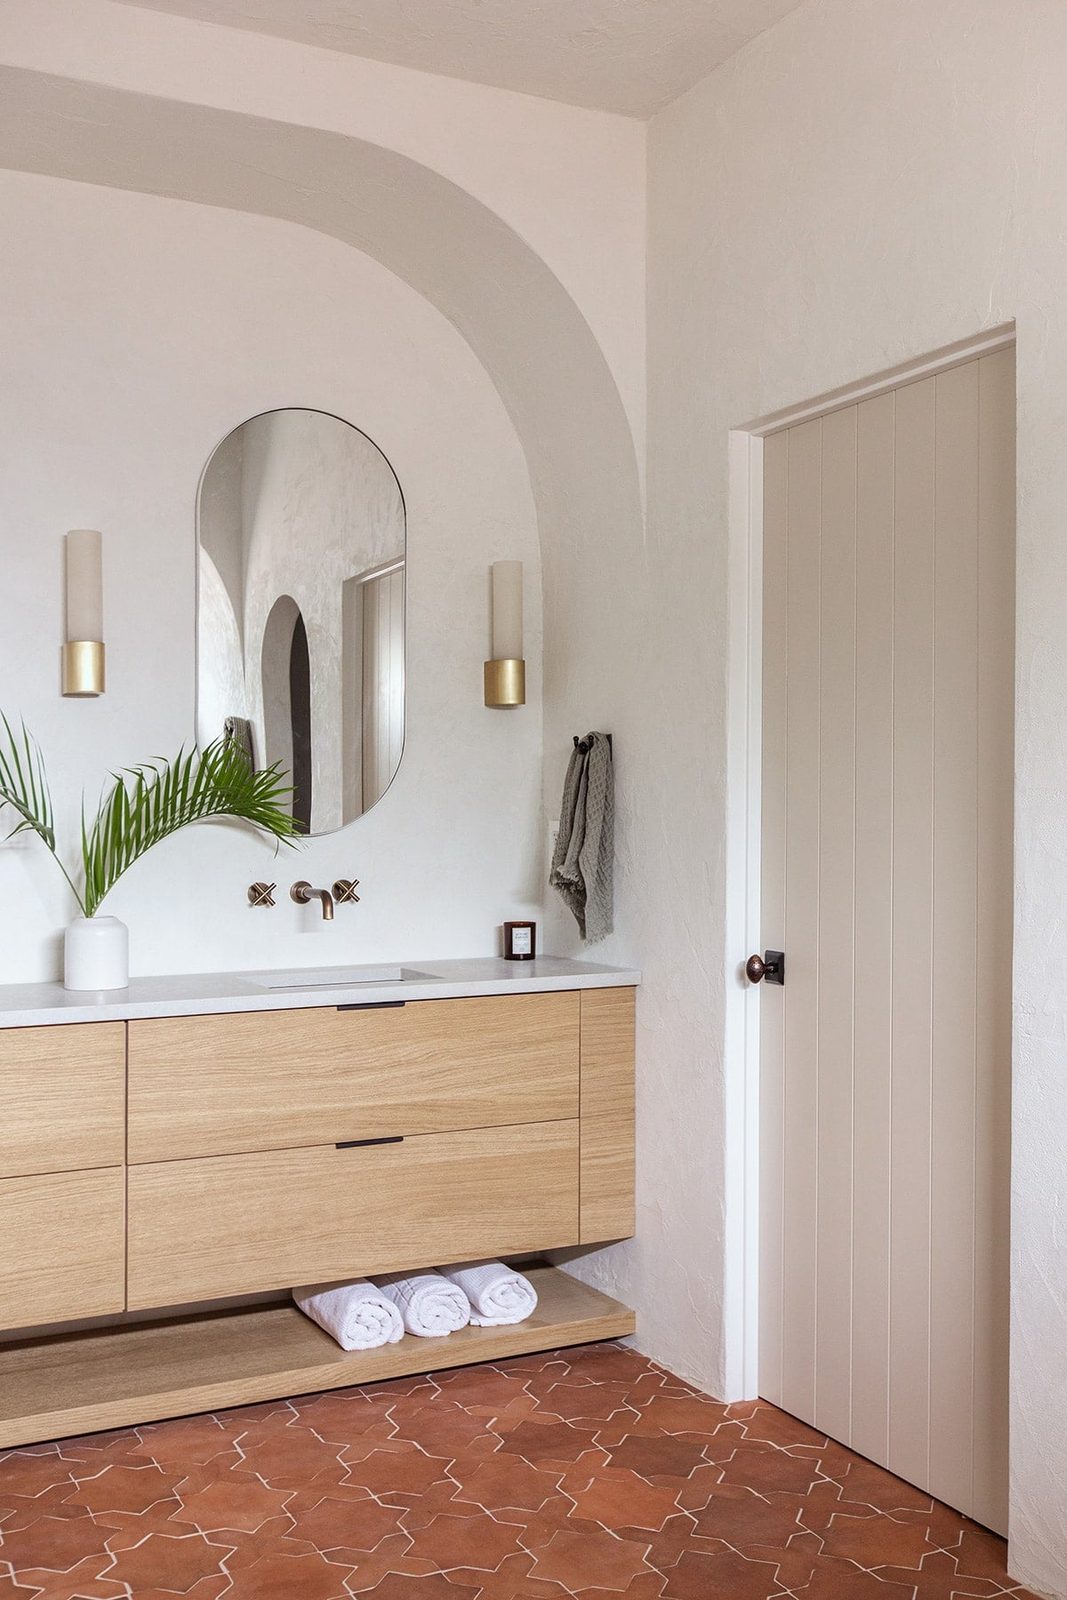
The door above leads to the toilet room (nothing new in there, just the same tile floors and microcement walls) and the archway opens up to the shower. Kept it unfussy here too:

These waffle weave turkish towels are hands down the most luxurious I have had yet. I got a full set with matching hand towels in olive (use the code JENNASUEDESIGN for 15% off your order!)

How about that custom built-in Ikea vanity setup? So glad we went this route.
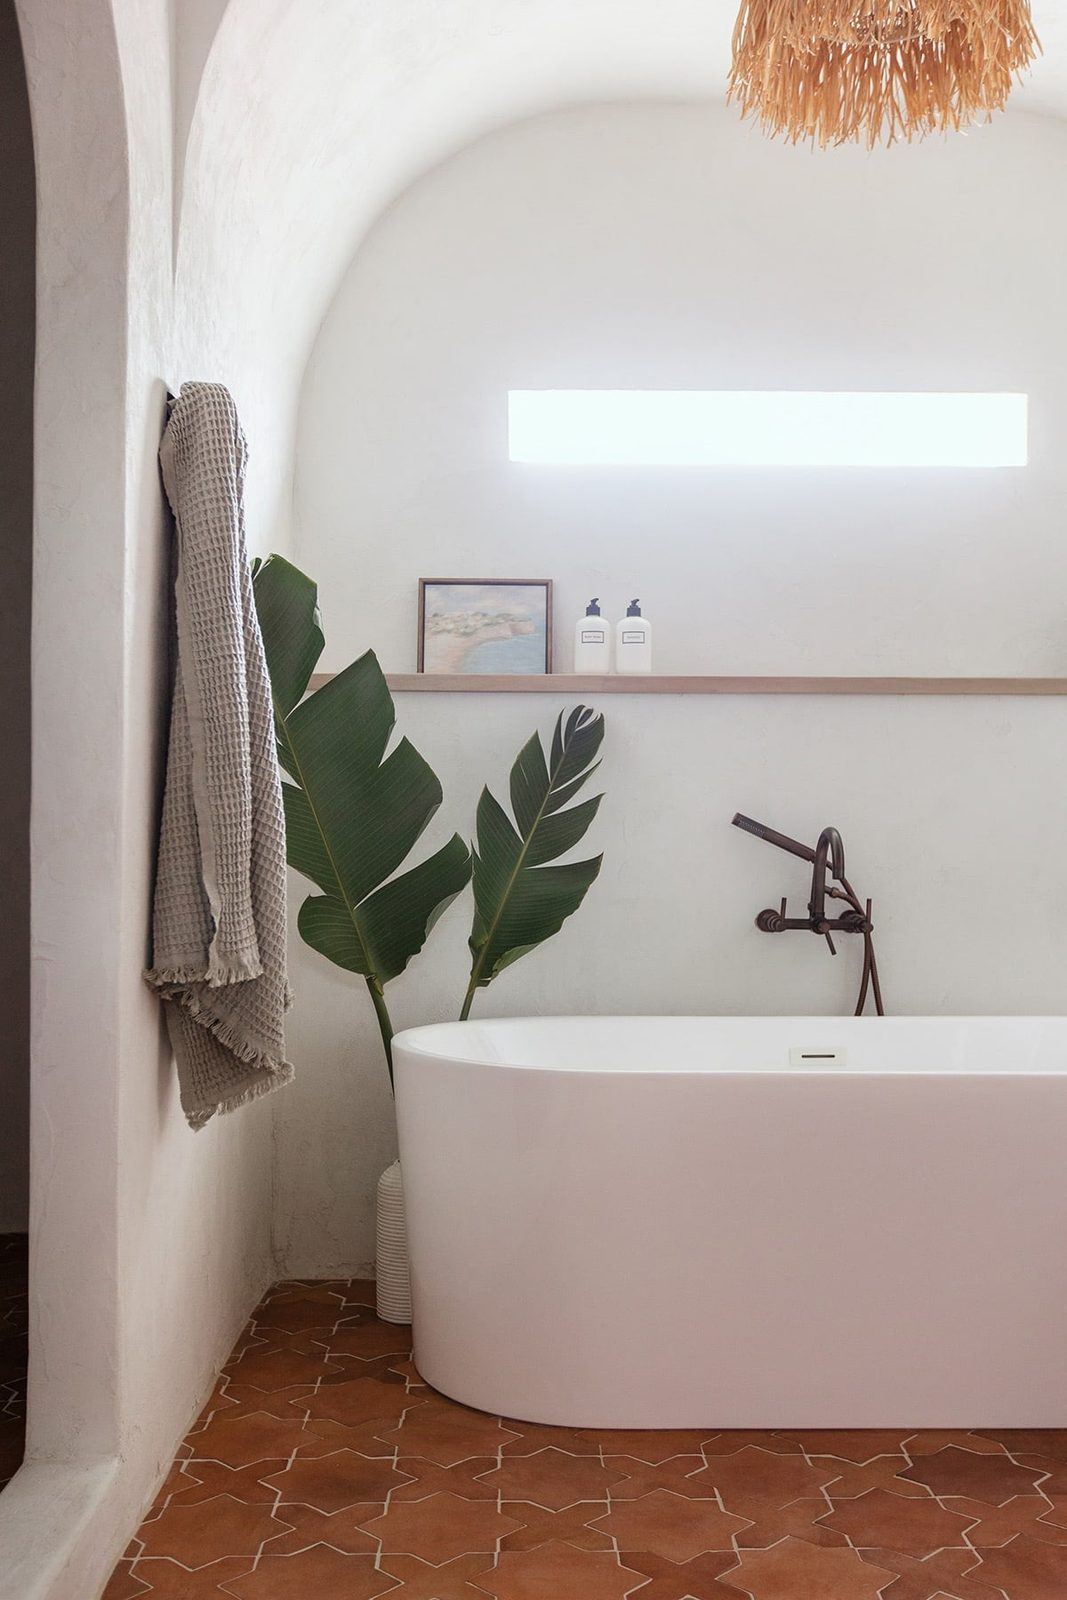
And that covers it all! I wonder who will get to break in this bath tub first… it could be you! 😉
Project Recap
Cost breakdown
You know It helps to keep a good budget renovation, and typically our projects are just that. However, even with plenty of DIY, this one definitely falls under a high-end remodel by our standards. It is the most expensive bathroom renovation I have done—but still on the low end for a typical bathroom remodel today if you hired everything out. Here are the retail costs (our actual costs were lower, I'll share below!)
Materials
| Backerboard/wall repair | $735 |
| Arch materials | $320 |
| Microcement walls | $1,042 |
| Electrical supplies | $275 |
| Misc. construction supplies | $254 |
| Floor tile | $4,350 |
| Tub | $983 |
| Faucets | $870 |
| Sinks/drains | $215 |
| Vanity | $1,727 |
| Lighting | $1,120 |
| Mirrors | $300 |
| Doors | $389 |
Labor
| Demo | $550 |
| Plumbing | $3,107 |
| Counter install | $650 |
| Tile install | $1,808 |
| GRAND TOTAL | $18,695 |
After sponsored item discounts, our actual total came in at around $12,600. Note that the countertop line item is missing in the breakdown—that was sponsored and I was not able to find out the actual retail cost.
What do you think? More expensive, less or about what you had imagined?
You can find the colors and sources linked on myPrimary Bathroom Sourcespage, which you can access any time:

I'll be posting a video tour of the room on Instagram tomorrow so make sure you are following me there to see more!