How to turn framed art into a canvas painting
What started as a last minute thrifted art project has turned into one of my favorite unfussy DIY hacks of all time. That is a bold statement, but this one checks all…
What started as a last minute thrifted art project has turned into one of my favorite unfussy DIY hacks of all time.

That is a bold statement, but this one checks all the boxes—inexpensive, easy, fast, and looks very high end. Not many DIYs can claim all of those, and I think this one could be a game changer for plenty of you (myself included!)
Truth be told, I was not planning on writing a post about this when I documented the project on my Instagram last Friday, so I apologize for the photo quality as most of them are screen shots taken from videos (you can watch the whole process here in my story highlights—keep going until the end). After seeing the results, I realized this project deserved a dedicated blog post and tutorial, so here it is!
Step 1: Find an old framed picture
It all started with this $12 framed art I found on Letgo.
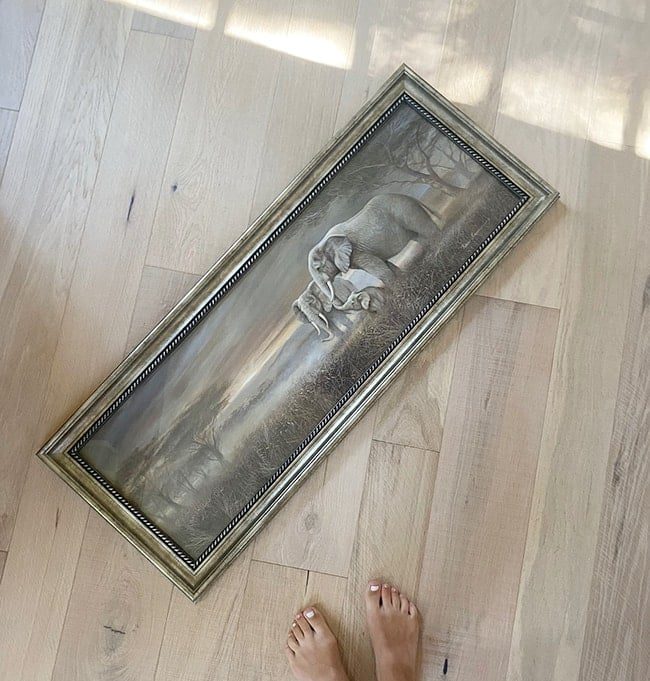
I did not have a plan for it, but it was the well suited size to hang over our new bed and I knew I could figure something out.
Lately I have been drawn to these antique French oil paintings with the chunky gold frames—I am sure you've seen them around…
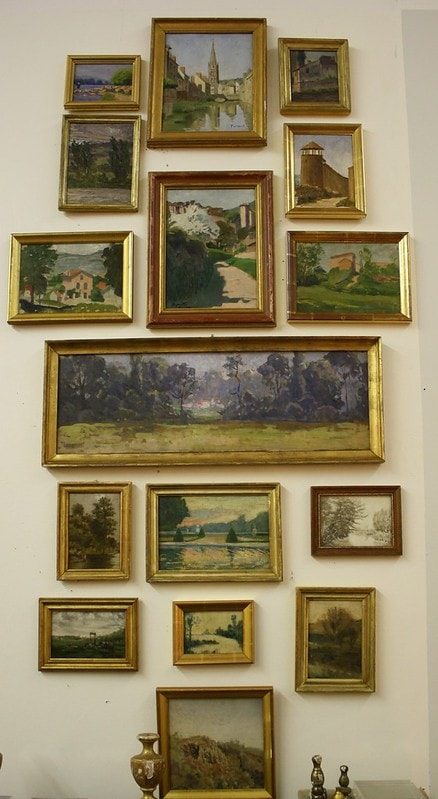
Dark, moody scenes with worn, chipped frames…
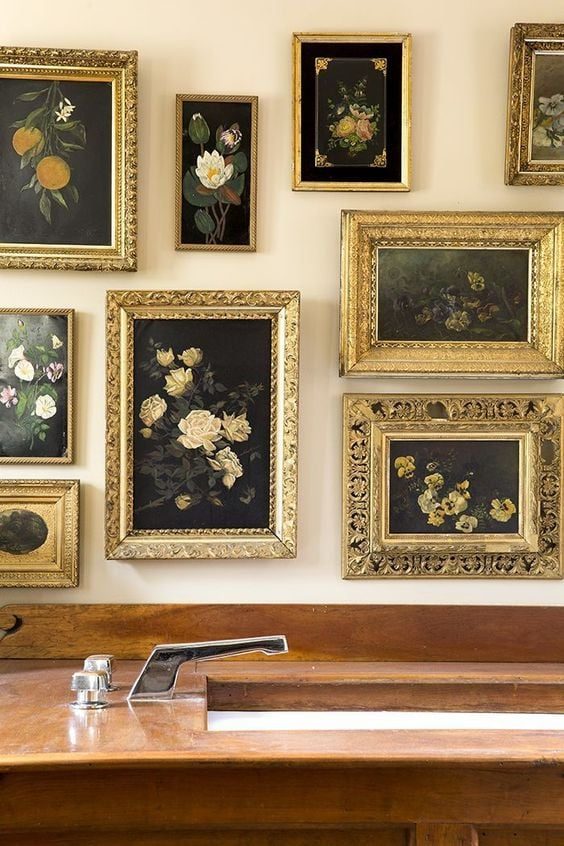
Sophisticated, elegant, and way out of my budget for the real deal. Luckily, art is subjective and anyone can create their own. The aim was to try my hand at another abstract landscape painting, but there was one problem…

This was not a canvas, it was a framed photo underneath glass. I Google'd how to paint over glass and could not find anything relevant to my situation. Painting over a smooth surface would not give me that textured canvas quality needed to make the painting look authentic, so I thought about it a little longer and then bam! It hit me…
Step 2: Find a scrap of fabric

I dug through my craft bin and pulled out a scrap of fabric. It was a thin linen-like fabric (not sure of the exact material) and I suspected I could glue it on top of the glass, which would then give me a “canvas” surface to paint on. It was free and I had nothing to lose (note: you do not have to use white fabric since you will be painting over it anyway!)
Step 3: Attach the fabric to the glass
To access the glass, I first had to remove the kraft paper and pry out the old staples.

The only glue I had on hand was wallpaper adhesive, so that is what I used. I applied a thin layer with my favorite paint brush(in hindsight I could have even used less, you only need enough to make it tacky).
Once I had an even coat of adhesive, I pulled the fabric over and flattened it out with a smoothing tool (you could just as easily use your hand).
Note: someone DM'd to tell me that they have done this before and used paint instead of glue. Apparently when the paint dries, it sticks to the fabric well enough that no glue is needed. I also received another DM warning that the adhesive base layer could end up cracking the paint. There are not any signs of this yet, but hopefully if that happens it will just make it look genuinely vintage 😉 Next time I do this, I'll try using paint instead of glue!
Step 4: Paint the frame black
While the adhesive is drying, it is time to move onto your frame. I used my tried and true gold Rub n Buff technique (make sure to look at that blog post for all the info you need!)

I started with a light coat of Oil Rubbed Bronze spray paint—any dark paint will work here.

Since I was going for an aged look, it did not have to be full coverage or even.

After letting it dry for a few minutes, I went over it once more with black spray paint. You definitely do not have to do both, since it will be mostly covered with gold anyway.
Step 5: Apply Rub n Buff
Referring to my sample sheet from my Rub n Buff gold test, I chose the color Gold Leaf, as I thought it closely represented authentic vintage gold frames.

I used the same makeup brush to apply the pigment in layers while allowing some of the dark frame to show through. It took me around 30 minutes to work my way around the frame until I was happy with the look (you can watch videos and a timelapse of this process in my stories!)

Step 6: Trim and tape the fabric around the glass
By now, the adhesive should be dry enough to start painting! The fabric does not need to be permanently bonded to the glass, just secure enough to not move when you paint over it. If it stays put when you tug on it, then you are ready to flip it over and trim off the excess.

I used painters tape to keep the edges out of the way—it genuinely does not matter how you do it since it will never be seen.
Step 7: Paint your masterpiece
Now it is time for the fun part! I was inspired by this stormy landscape scene painted by my talented friend Fariha:

I am not the best at painting something out of thin air, so I printed out and used her painting as a reference point (I find this to be very helpful for beginners!)
If you are just starting out, make sure to look at my beginner landscape painting tutorial from a few months ago. I followed a similar technique here, but used mostly leftover paint samples instead of buying acrylic paints.

Again, you can watch a timelapse of the entire painting from start to finish in my stories. In a nutshell, I started with a base layer of gesso mixed with a dash of green and black…

Then I painted the ground and started filling in the sky…

Pale blue and pink were blended in…

At this point I had to stop and let the paint dry. Unlike canvas, paint on fabric/glass takes a while to dry and my colors were mixing too much. I used a blowdryer to accelerate the drying process, then began my second layer:

I was able to add more dimension on this layer by letting the other colors show through underneath. For this painting I only used black, brown, green, light blue and pink.

It looks just like a real canvas up close, and you'd never know there was glass underneath…

I am loving this 'antique' gold frame too… Rub n Buff sure is addicting!

This DIY tops my list because of how easily accessible it is for anyone, and how much money it saves by not having to purchase a separate canvas and custom frame (those are not cheap!)

You can pick up framed art anywhere, in any size under the sun, for next to nothing and often free (hello, FB marketplaceand yard sales!) I do not think I would even be able to find a canvas in this well suited size/shape to recreate this if I tried.

My last canvas painting and DIY frame projectwas great and all, but I am not sure I'll ever buy another canvas or make another frame again when I can just do this for next to nothing! Is this not the best kept secret ever….?

You try it and be the judge!

Alright… this is the last preview before the 'official' bedroom reveal on Wednesday! Check back in a couple days to see how it all came together…