Custom DIY Pax Wardrobe Vanity
This one's for all you jewelry-loving fashionistas out there… It has been a while since you've seen the inside of my wardrobe after setting it up two months ago: Now…
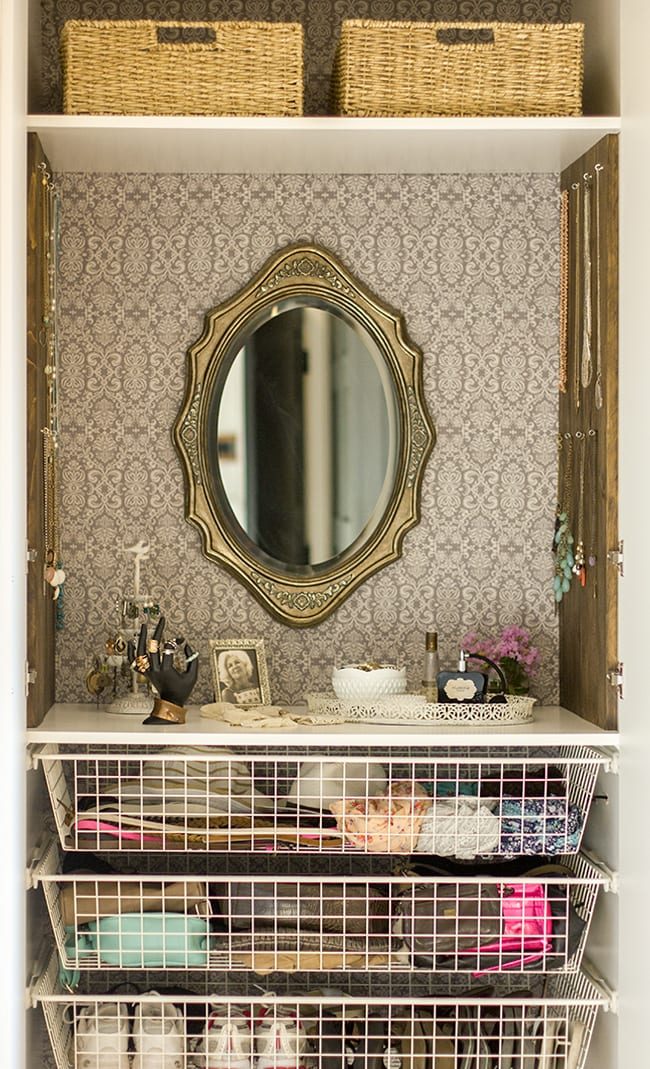
This one's for all you jewelry-loving fashionistas out there…
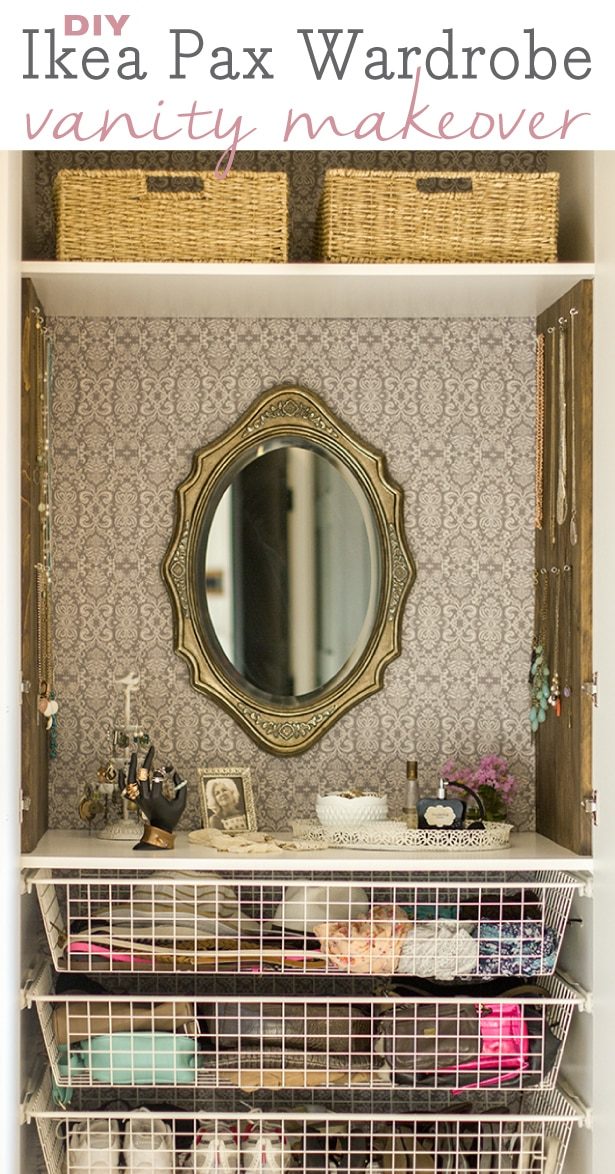
It has been a while since you've seen the inside of my wardrobe after setting it up two months ago:

Now that all of the work was out of the way, it was time for the fun part… filling it up & organizing!
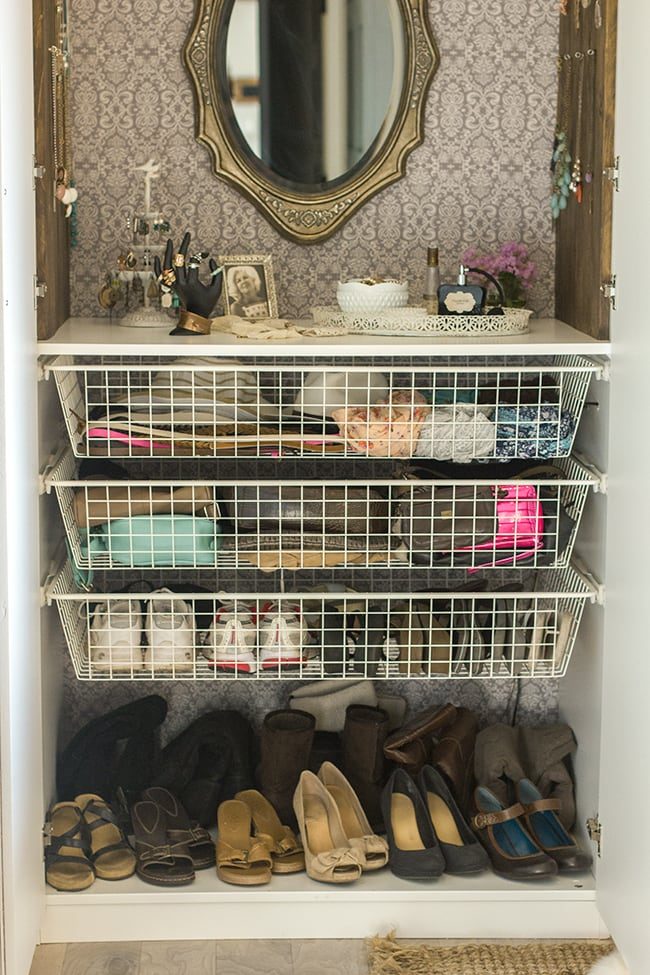
The choice was to use it as shoe/purse/accessory storage and a vanity area for my jewelry (makeup/hair/etc will stay in the bathroom).
Filling the drawers was the easy part, but organizing my jewelry took some planning. I found several little containers/storage solutions that were well suited for my earrings, rings and bracelets, but it took a while to decide on how to hang my necklaces. In fact, I just made the final decision a few days ago.
I knew it would make the most sense to utilize the side walls of the wardrobe, but I had one obstacle in the way:
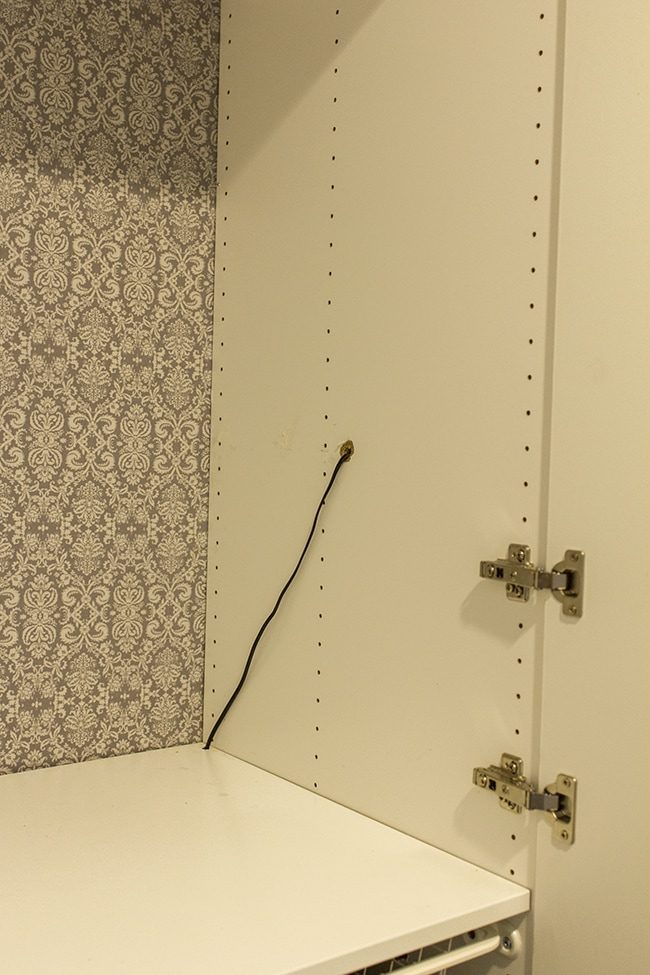
The wire from the accordion lamp. This eliminated any chance of paper or fabric applied to the sides. I also wanted to hide it completely (along with all of the unsightly holes) and I did not want to spend a ton of money.
The answer was sitting in my garage…
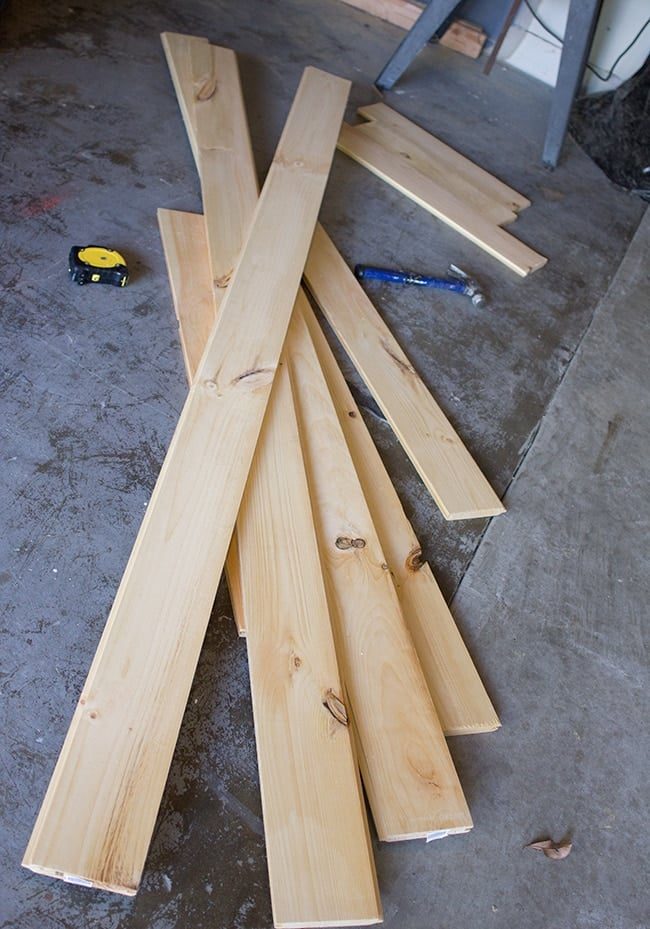
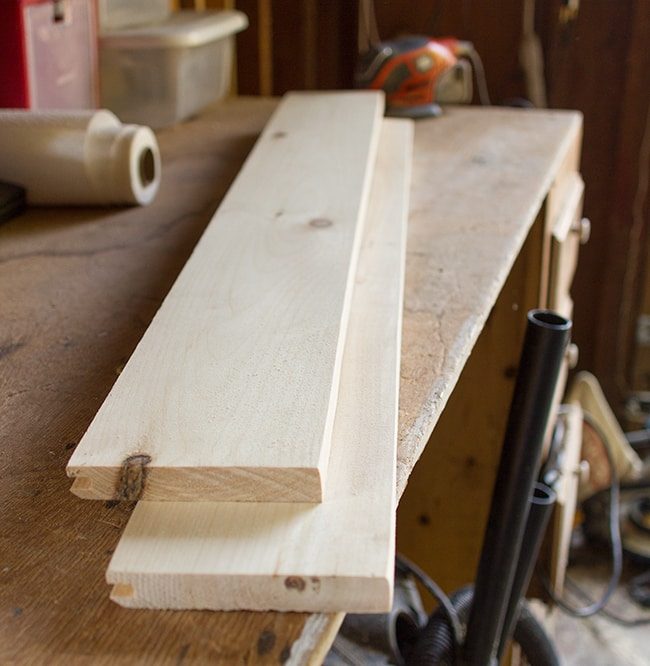
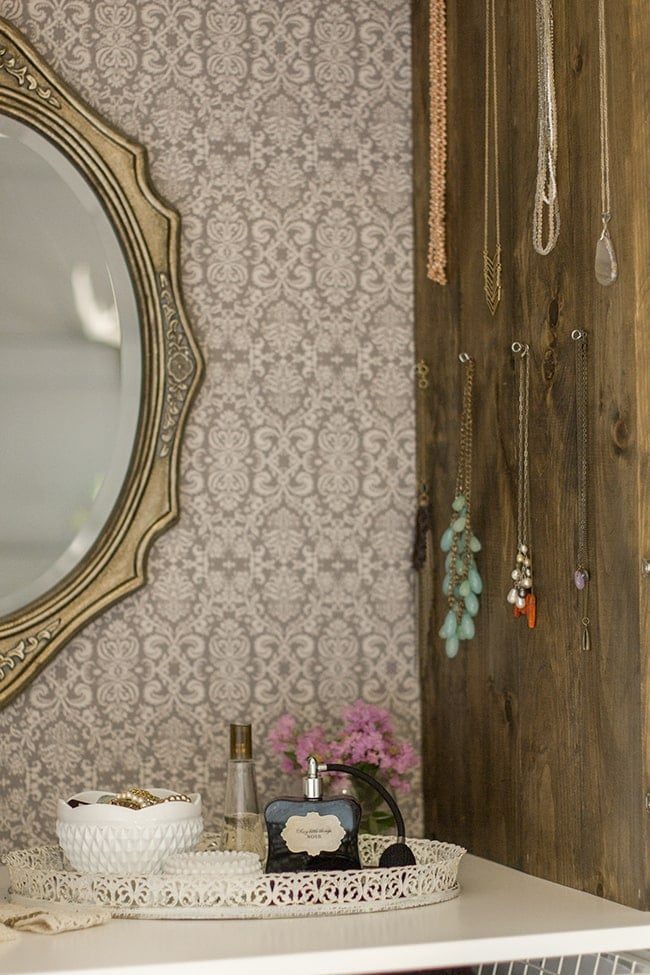
I still have plenty of tongue and groove pine leftover from all of our planking projects, so it was free and did not require another trip to Lowe's. I also loved the idea of bringing something rustic inside the wardrobe to tie into the rest of the room, and that it would contrast nicely with the feminine damask fabric rather than compete with it like another fabric or wallpaper might. It would also make a lovely unfussy background to display my necklaces.
After measuring the width and height of the walls (20″w x 38″ h), I trimmed my boards to size.
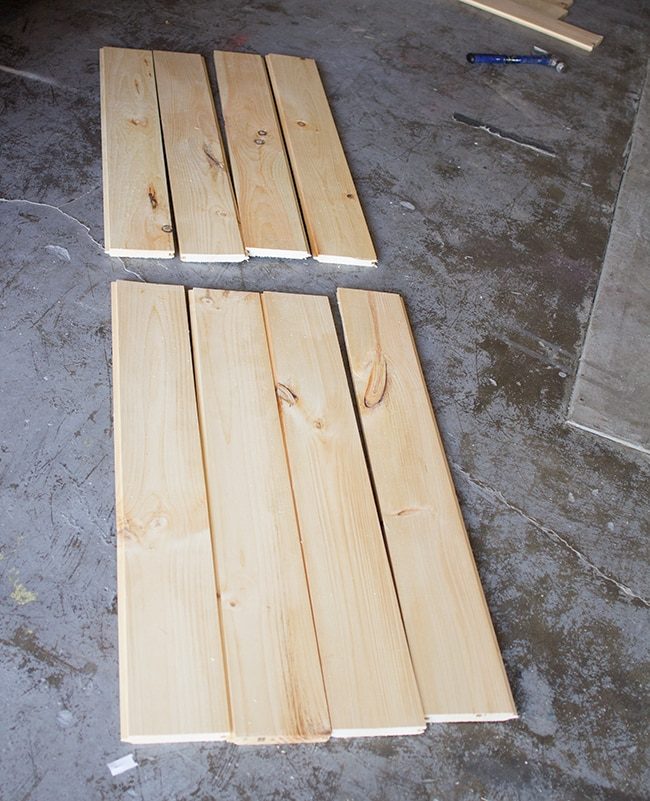
Because the front edge would be seen, I had to rip the two end boards down so they were nice and smooth on the sides.
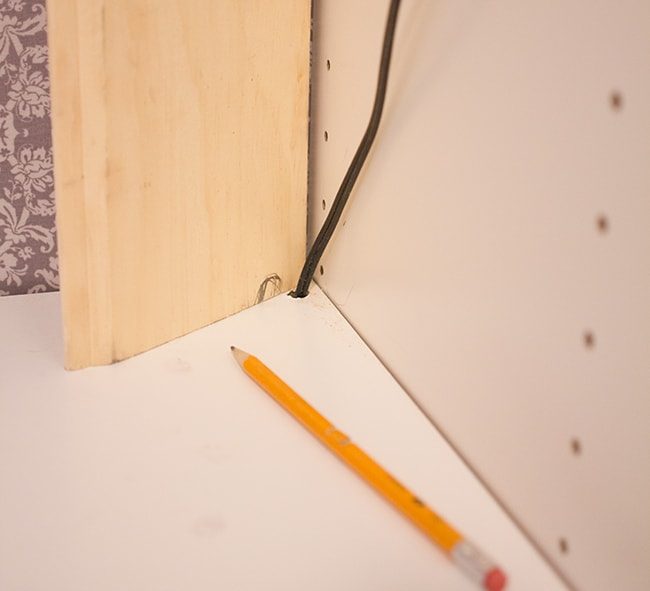
To address the wire issue, I marked a hole at the bottom of the board and used a 1/2″ paddle bit to drill a hole:
Once the boards were ready to go, I stained them all dark walnut.

Since they lock together, it was particularly easy to get them into place as one big piece and nail them up. I used a handful of 1.25″ finish nails and it worked beautifully.
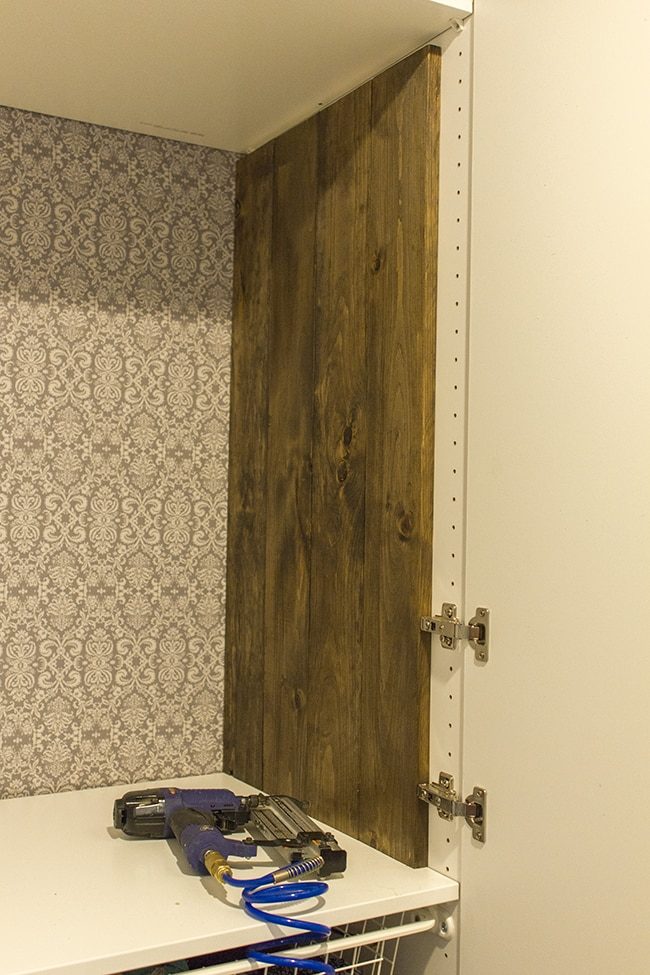
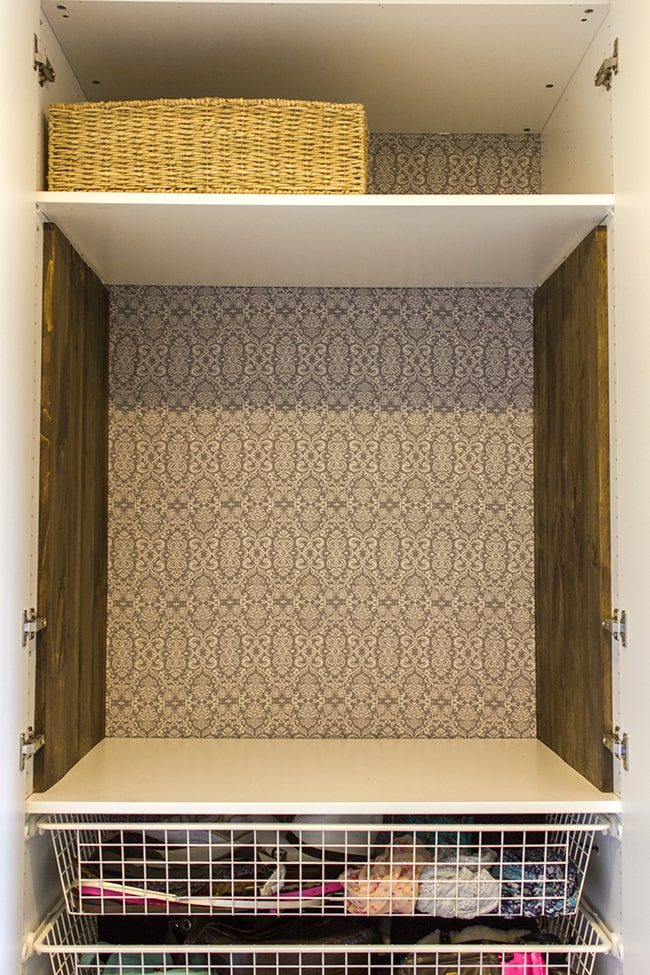
To make it look built in, I removed the pins that the top shelf was sitting on and placed it directly onto the boards. It is not going anywhere.
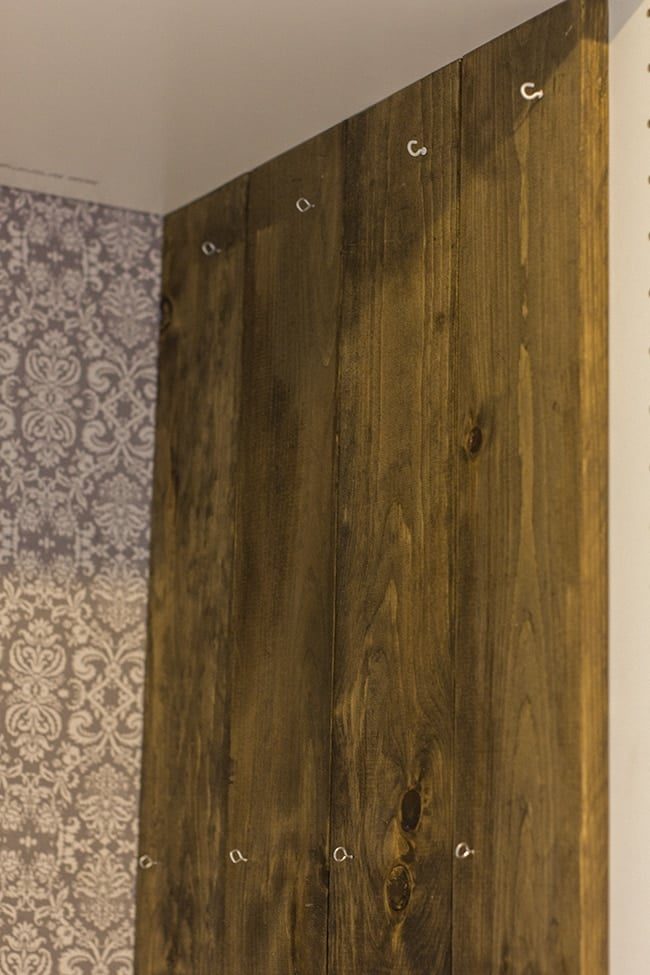
I decided on unfussy 1/2″ hooks to hang the necklaces and staggered them so they would not run into each other (nothing worse than tangled chains!)
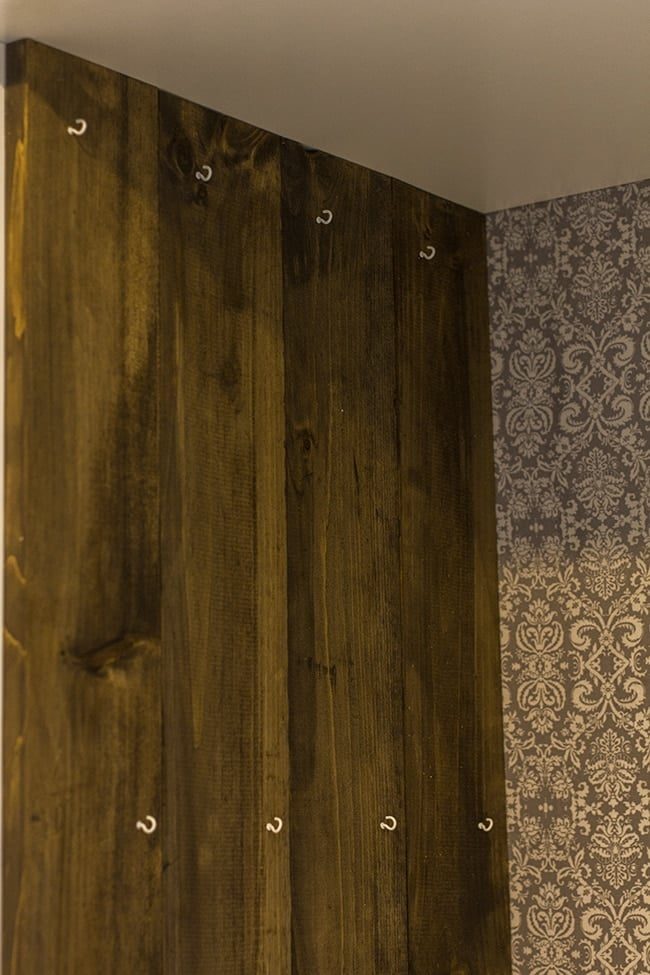
At this point I realized that I did not buy enough hooks and had to use a few substitutes until I can get back to Lowe's… try not to focus on this part.
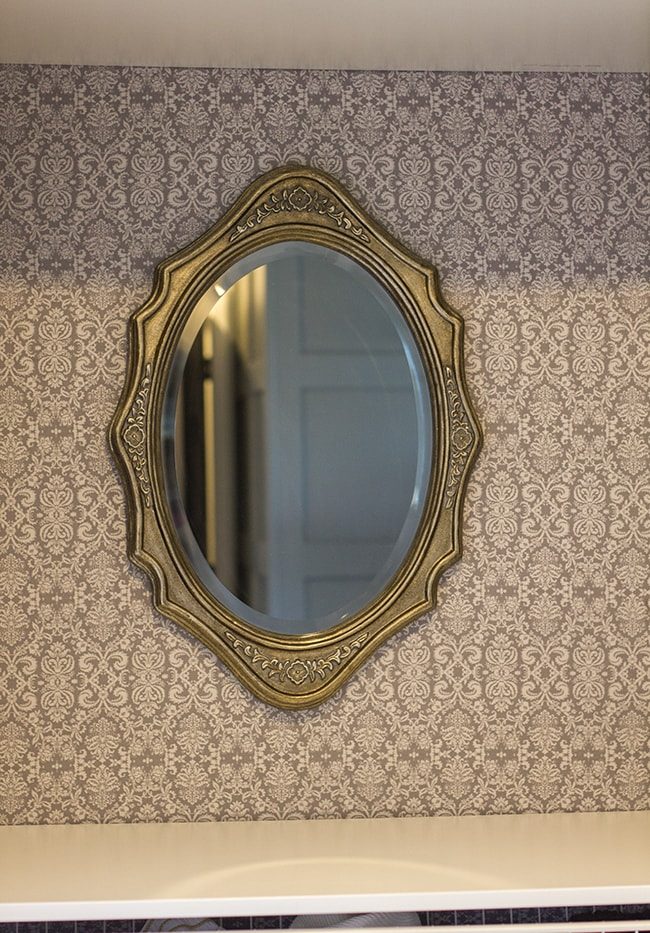
Finally, I hung this lovely mirror I found on Overstock. It helps to keep the way the warm pewter coloring ties into the natural wood tones (it looks gold under warm lighting against the gray damask but it is genuinely not!)
And now everything is all set up and ready to go…
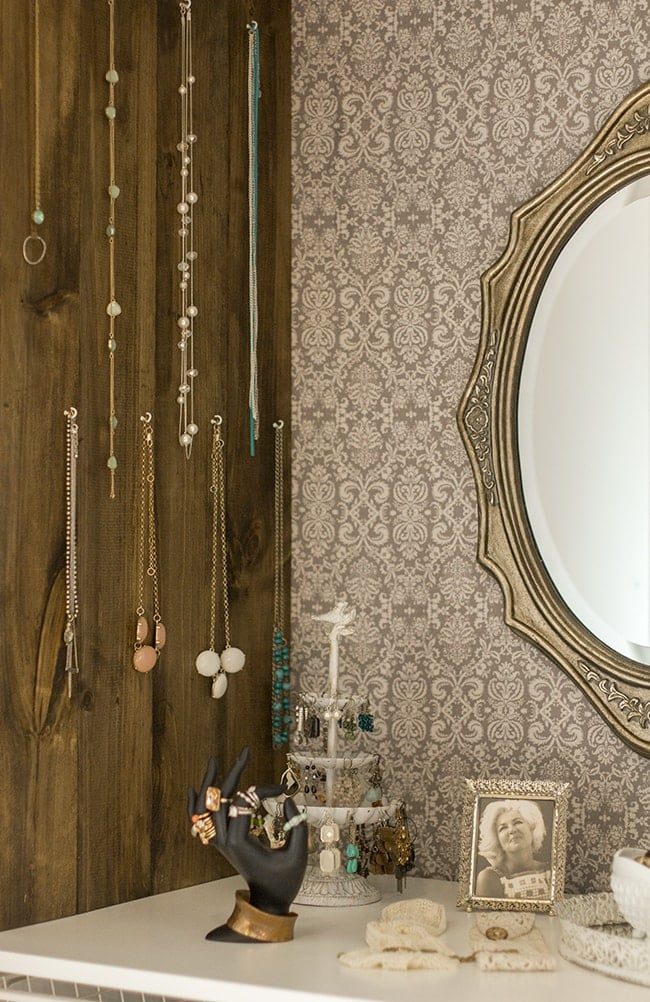
I found this vintage mirror tray on Etsy. Love it.
 The milk glass containers are flea market finds and used to corral bracelets and stud earrings.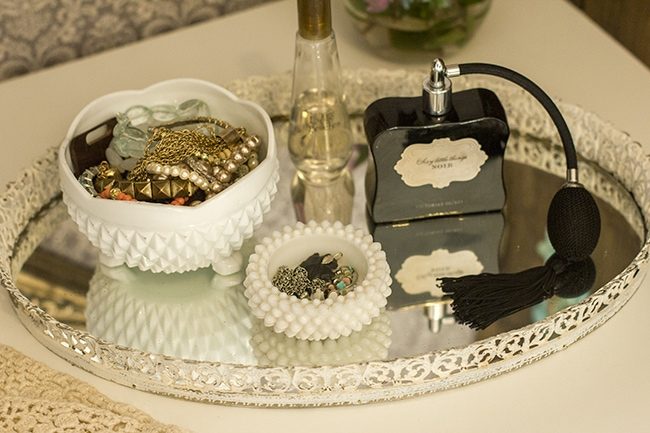
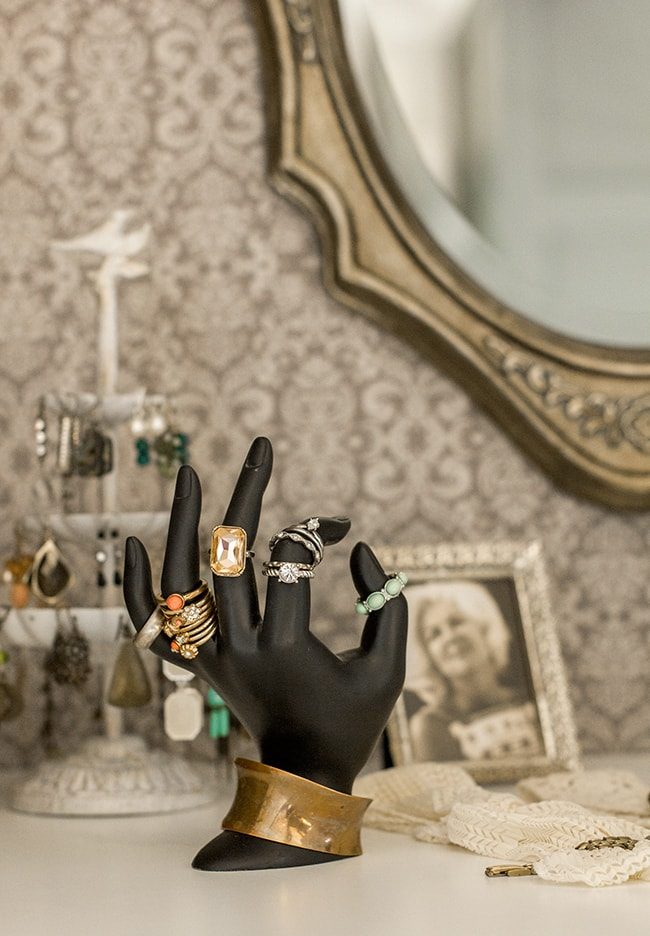
The frame is a 50 cent thrift store find with an old photo of my well composed Grandma Louise.
A neighbor was selling this funky hand at a yard sale so I scooped it up for $1.
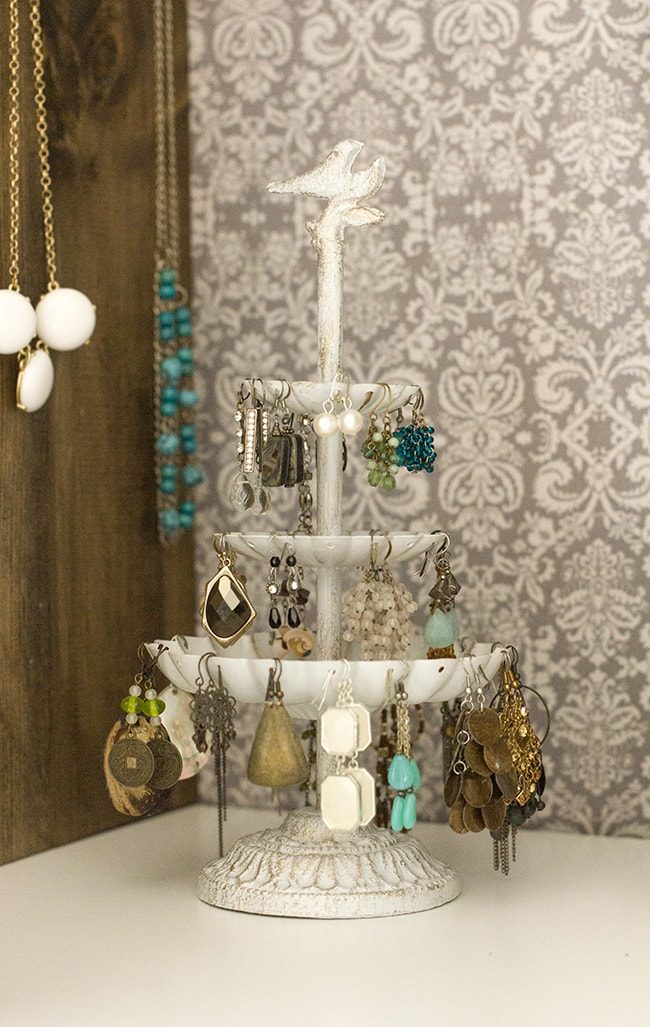
I used a 40% off Joann's coupon to get this tiered metal earring tray for around $8.
Let us explore the drawers, shall we?
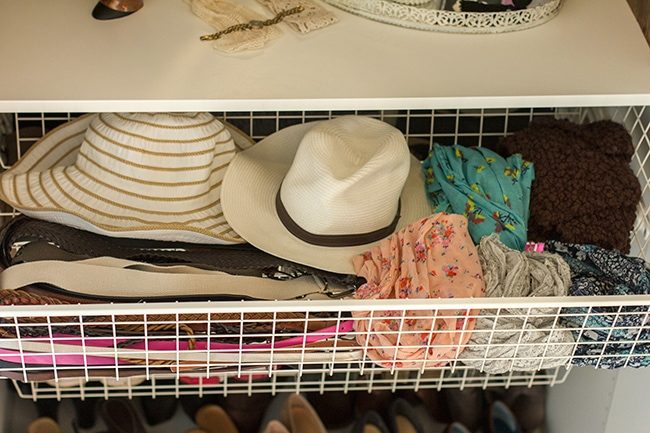
Drawer #1 holds belts, scarves and hats:
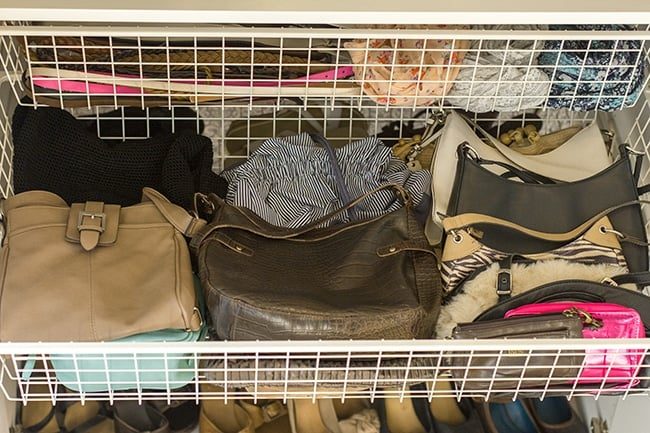
Inside #2 we have purses:
#3 holds tennies, sandals & flip flops:
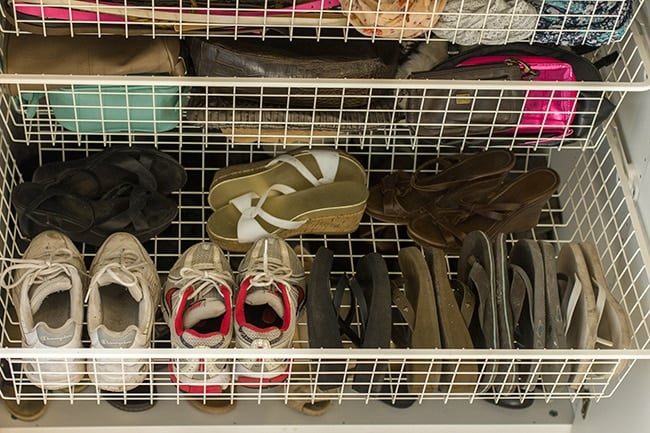
And at the bottom are heels and boots in the very back. I'll reposition them when winter comes.
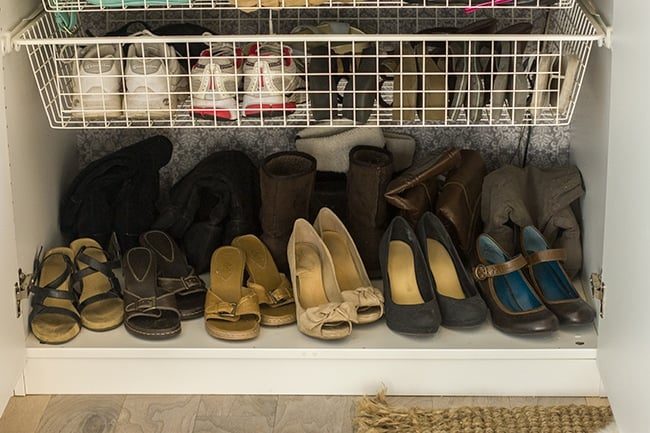
The baskets up top are pretty much empty right now because we have so much storage and not enough stuff. That will change once we reconfigure our bathroom/closet.
And that concludes my tour! The total cost to customize this wardrobe was only around $100 (not including the shelves and wire baskets). That is a pretty sweet deal, I think. And I just love opening those doors up every day… it makes accessorizing even more fun. And that is how it should be.
Now it is time to get down to business and put the finishing touches on the room. Monday is the big reveal! Mark your calendars, you do not want to miss this…