Framing a TV: How To
How to build a unfussy wood frame for any wall mounted TV. Get the look of a Samsung Frame TV for only $12 with this easy tutorial!
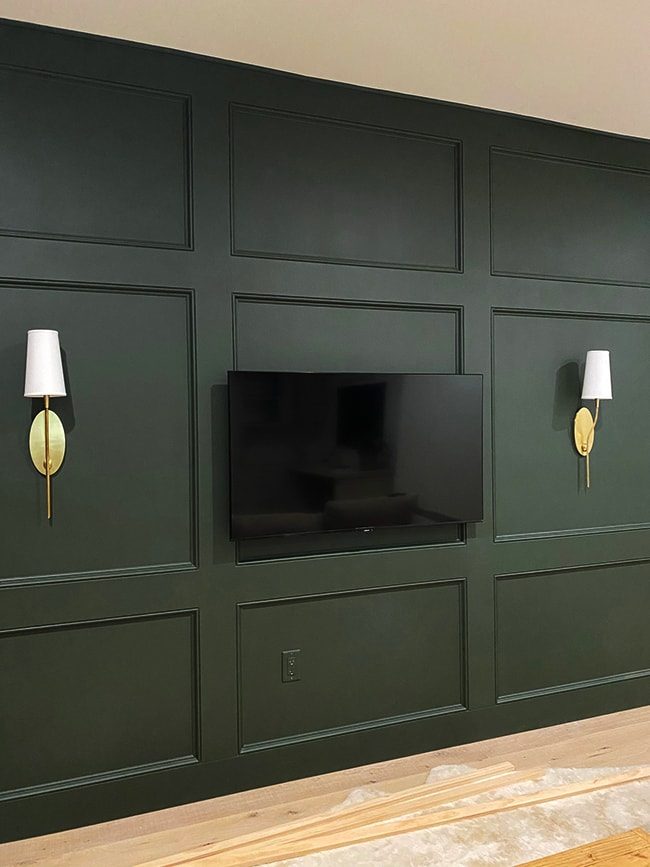
My final playroom DIY tutorial is a new favorite—framing a TV (for less than $12!) with just a few tools and a few hours:

I shared this live in my Instagram stories last month and was not surprised that so many of you loved it and wanted to DIY your own. Like many of you, I am in love with the concept of the Samsung Frame TV but not in love with the price.
Choosing a TV and wall mount
Rather than fork out $1k for a Samsung Frame TV, we found a similar 50″ Samsung TV on sale for $375. It was also a slim design, had all the smart features we needed, great quality and better reviews than the Frame. We also ordered this low profile TV mount to make it sit as close to the wall as possible.
My design inspiration was this unfussy canvas floating frame we had built for my paintinglast year…

You can do this beginner project with just a few materials and basic tools! Here is what we used:
Materials
- 1x2x4' pine board (qty 4)
- Wood glue
- Finish nails(18ga or 16ga, ideally between 1-2″)
- Optional: wood stain
Tools
- Miter sawor miter box
- Optional (but very helpful!) Corner clamp
- Finish nailer

Step 1: Measure your TV and cut each side
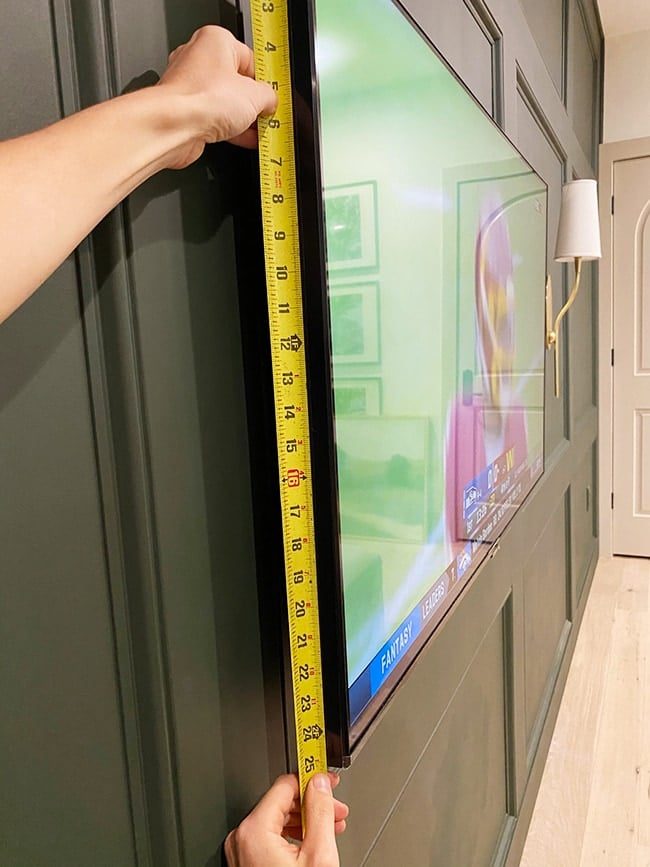
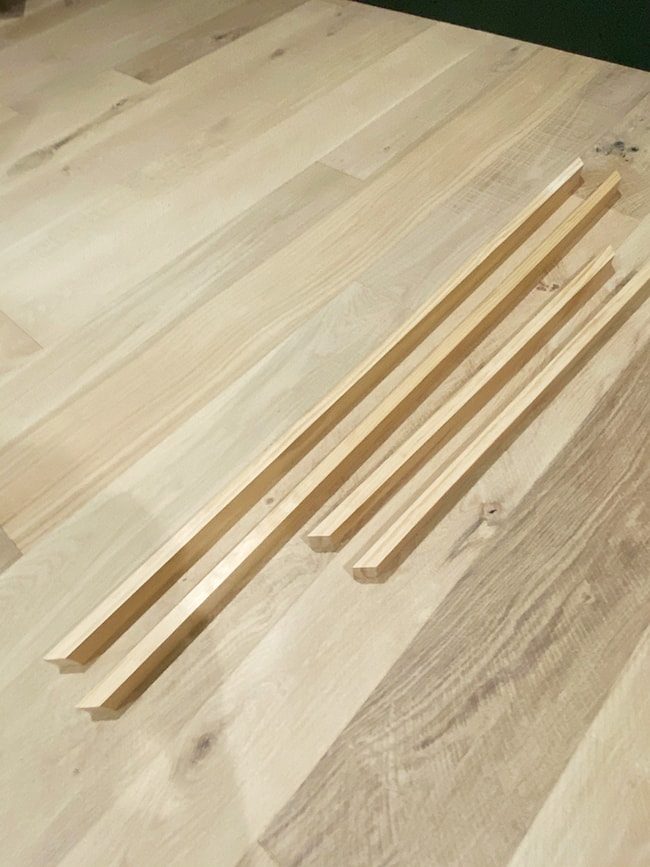
First, measure the length and width of your TV to find your cut lengths. The edge of our TV had a slight bevel, so we needed to measure from the widest part. We then added an extra 1/16″ to allow for some wiggle room.
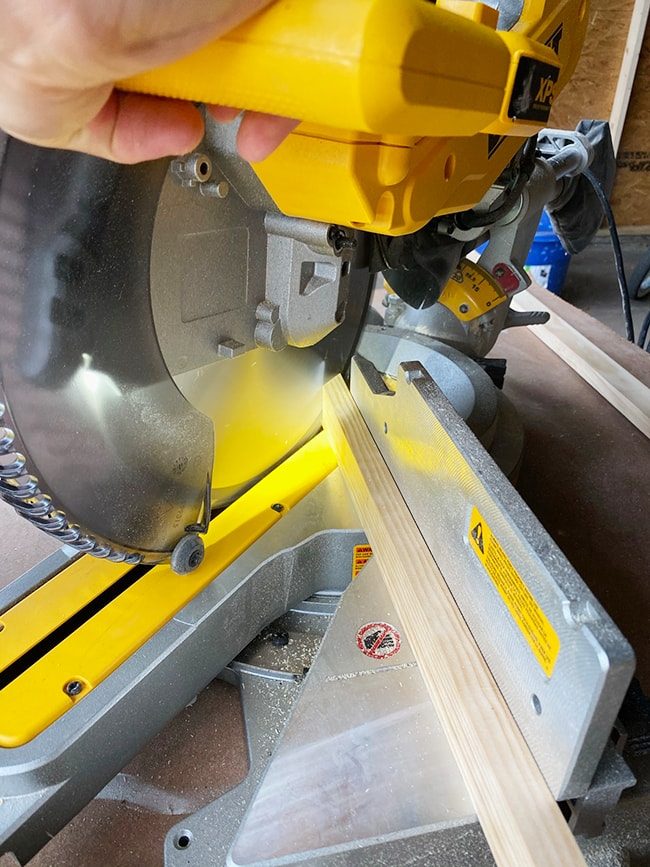
Each cut was mitered (at a 45º angle) for a professional look.
We started by cutting the top and right side to double check the fitment before moving forward.
The corners fit together like a glove, but the right side appeared to be slightly too long, so we trimmed off the excess 1/16″ we had originally added on.
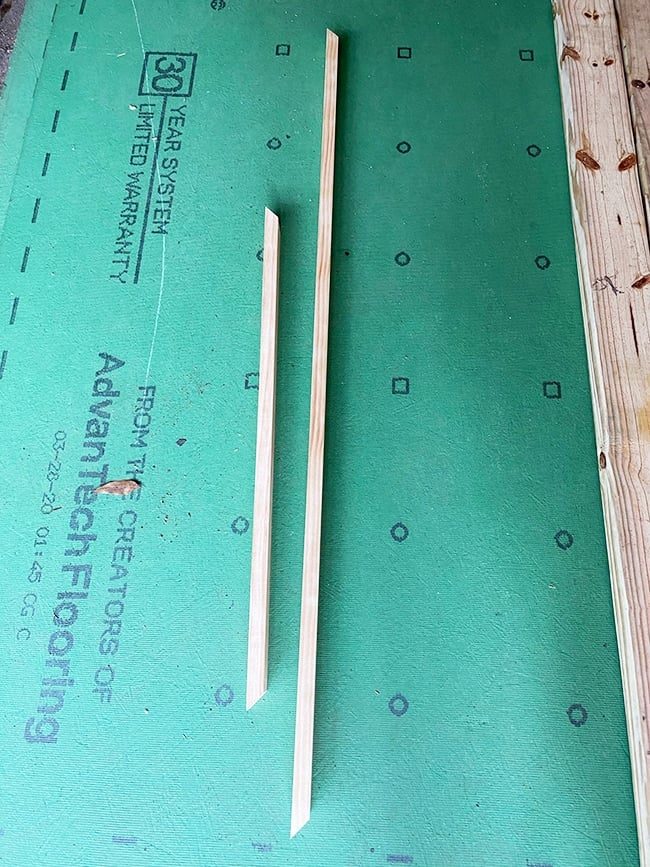
Then we cut the bottom and left side to match the other two pieces exactly.
Before building the frame, we had a small hiccup to work around—there was a sensor at the bottom of the TV that stuck down further, and in order for the bottom piece to line up flush against the TV, we had to chisel a small section out of the wood.
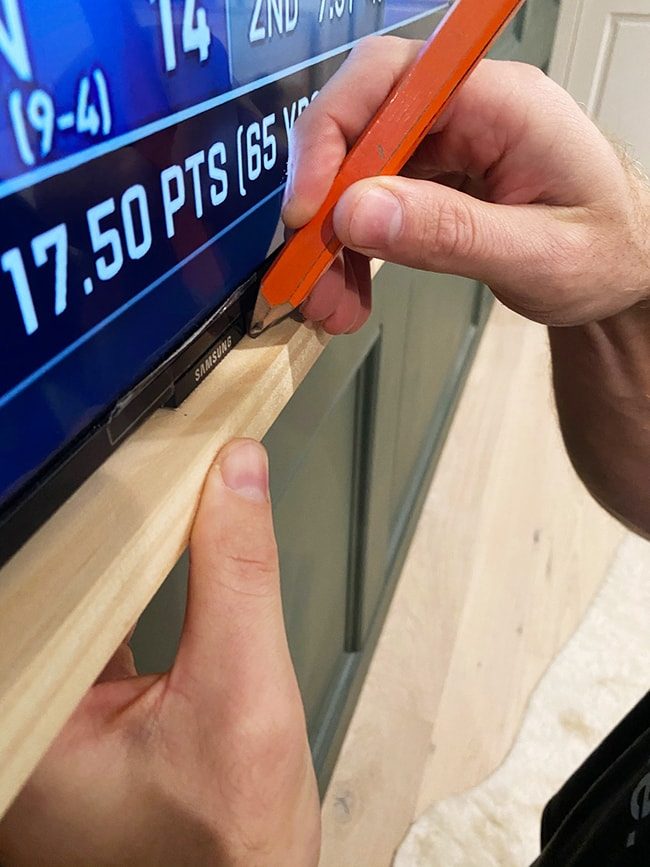
The groove was carefully traced, measured, and carved out (we used this chisel set).
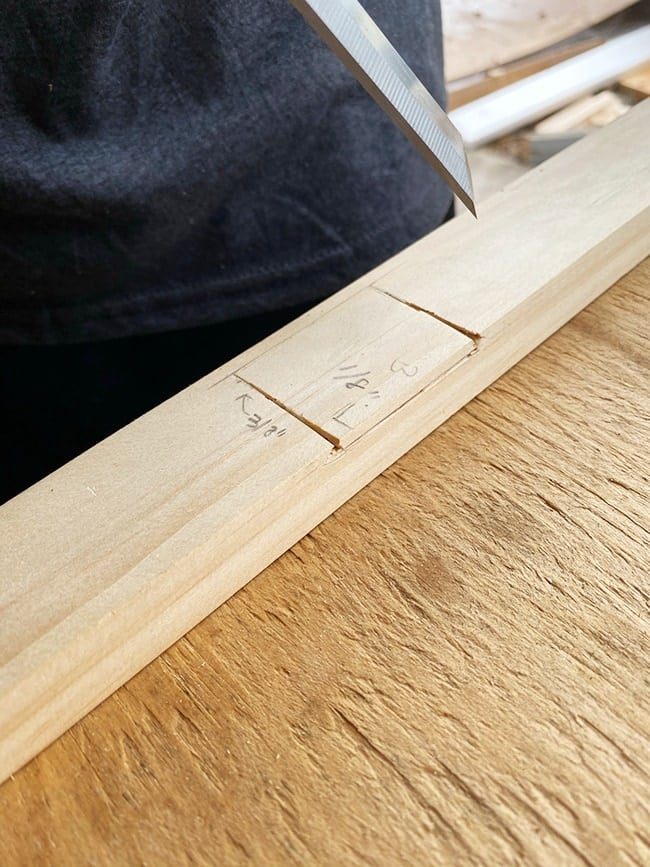
It took a few different attempts and test fits, but eventually we got the right shape and depth. It did not look pretty, but it would be hidden by the TV so that did not matter.
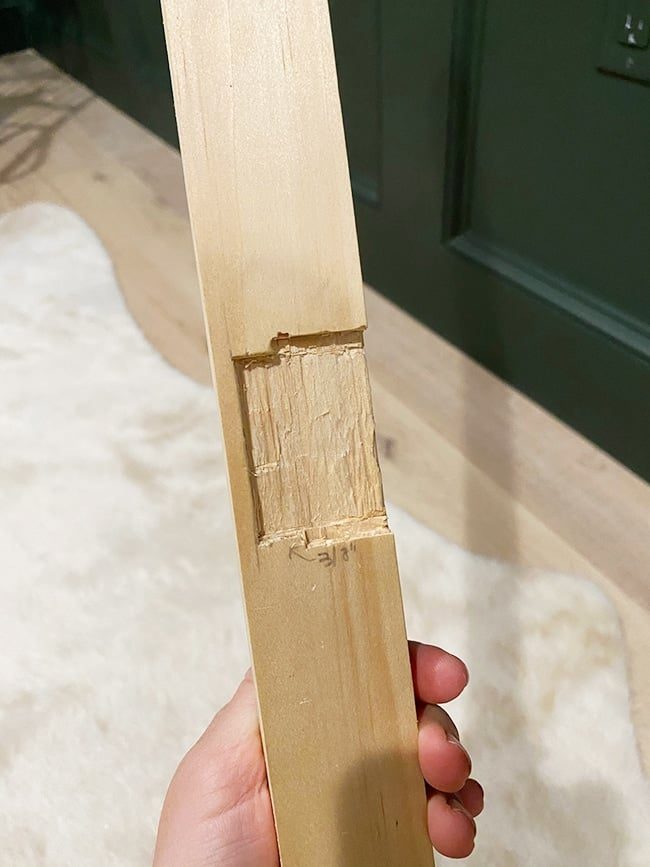
Step 2: Assemble the TV frame
Now, it was time to build the frame! For our last DIY canvas framewe held the 1×2's in place by hand when nailing them together, which managed to work, but I decide to (finally) step up our game and get one of these corner clamps.
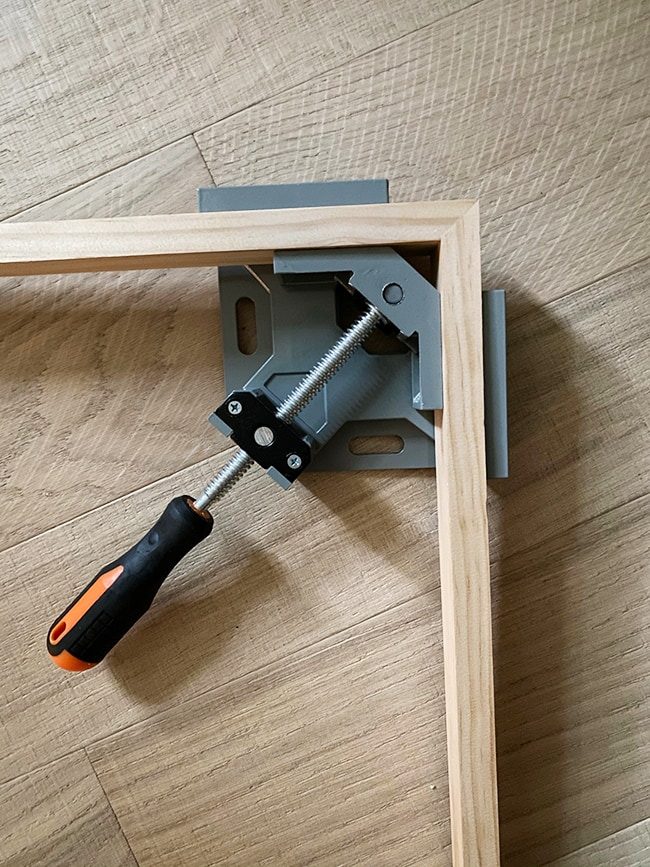
While it is possible to do this without one, it will make your life much easier (and it is useful for so many projects) so do yourself a favor and spend the $20!
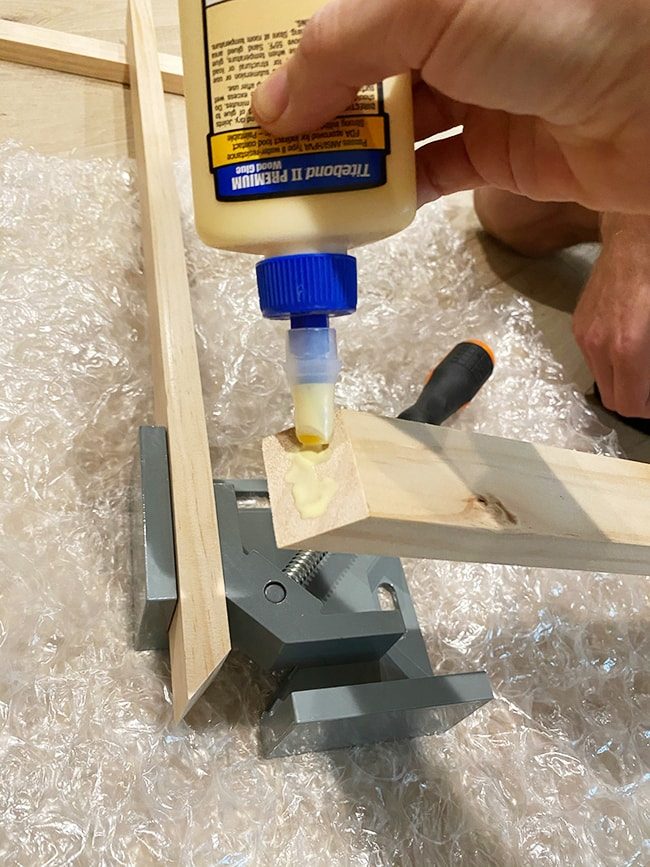
Before nailing the boards, it is always a good idea to make the joints as strong as possible with wood glue:
We used our 16ga nailer with 1.25″ nails, but honestly anything will work here. Two nails per board.
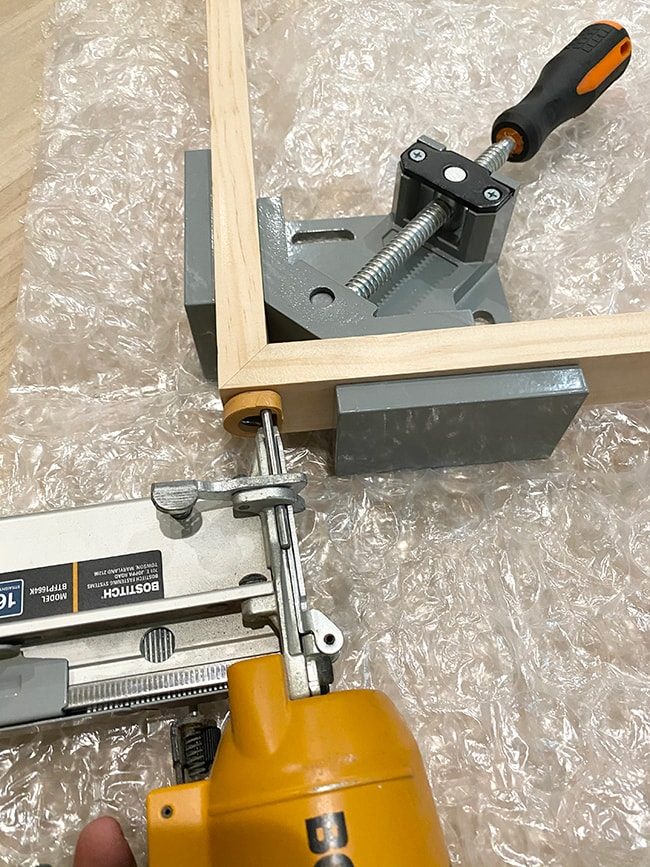
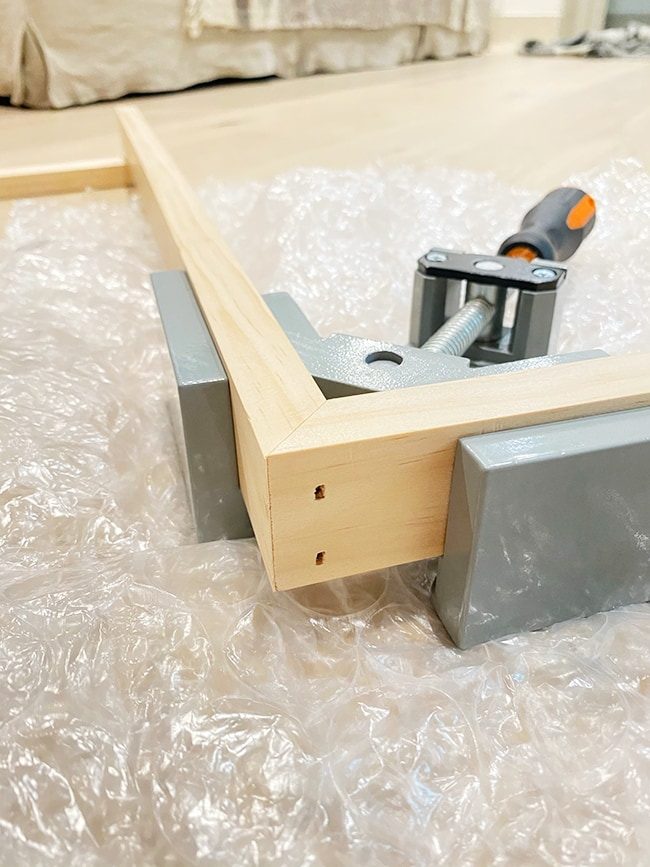
Important: make sure to nail from the top and bottom instead of the sides, so they are not visible (or as visible). You will use wood filler on the nail holes, but you will still be able to see them up close so you want them to be hidden if possible.
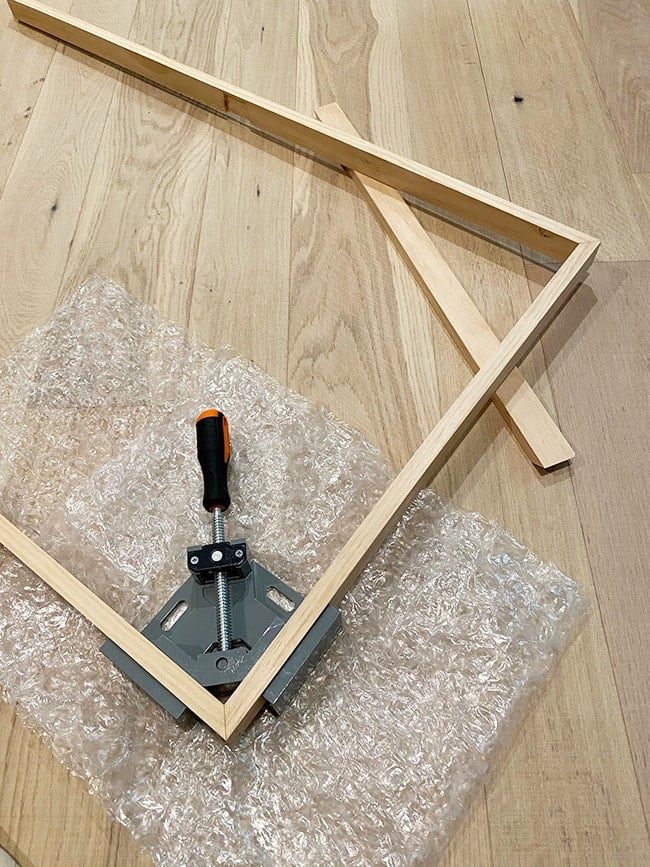
Once each corner was nailed together, our frame was done!
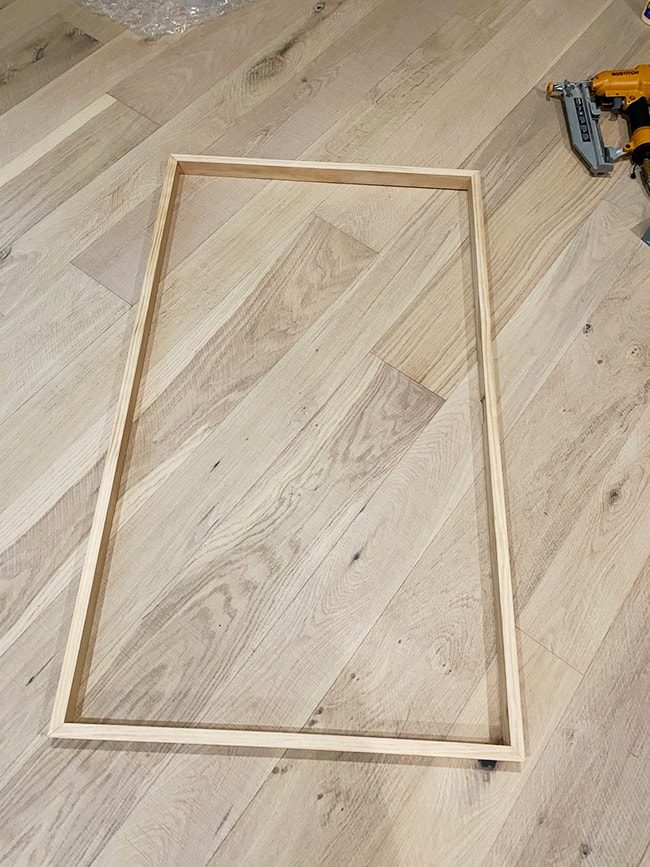
Step 3: Test fit your frame on the TV
Now for the moment of truth… a bit nerve-wracking since we were not able to test fit the frame before building it…
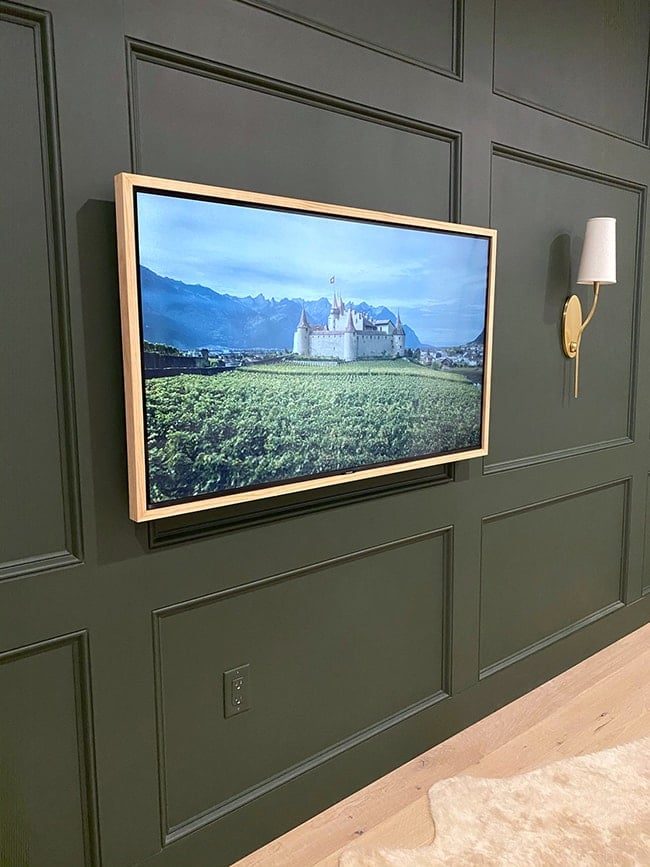
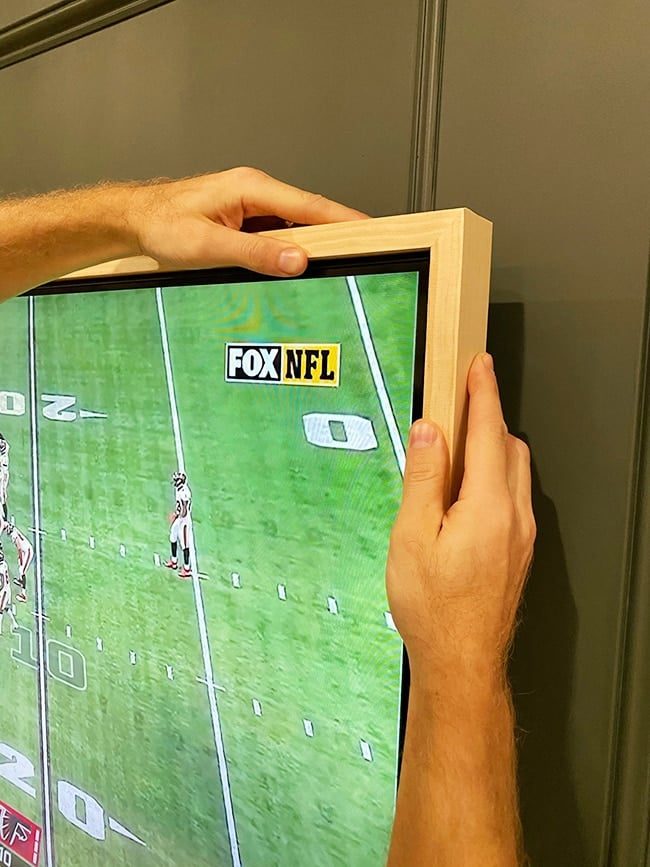
We were expecting the frame to be slightly loose, and planning to attach a small block hidden along the back of the top piece to keep the frame on the TV. Instead, it turned out to be genuinely snug (we had to force it on) so we thought we had messed up… but then we realized that it actually worked out better, because the frame was not going anywhere—nothing else had to be done!
In hindsight if we did not cut that extra 1/16″ off, the frame would probably slide on perfectly without being too snug. Most wood is not 100% straight and even, so any slight warping would make the frame fit tighter. If you are following this tutorial, I would still advise adding an extra 1/16″ to each board (please let me know your results either way!)
Step 4: Stain or paint your frame
Finally, it was time to put the finishing touches on the frame. I used a natural colored wood filler on the nail holes:
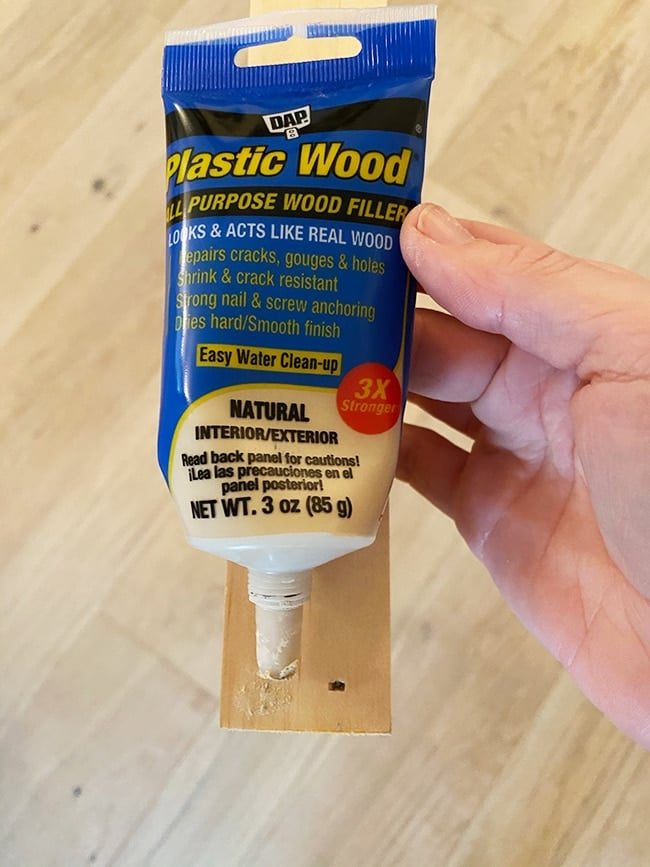
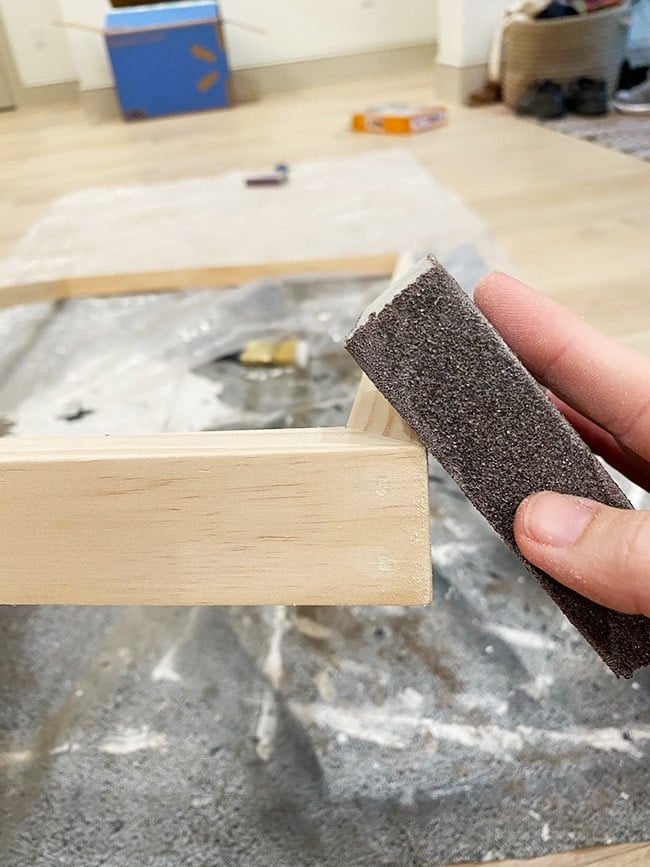
After drying, I sanded the holes and quickly went over all of the edges.
Then I finished it off with a coat of Minwax Tinsmith Gray, which is the same stain I used on our butcher block deskthat matches our oak floors nicely.
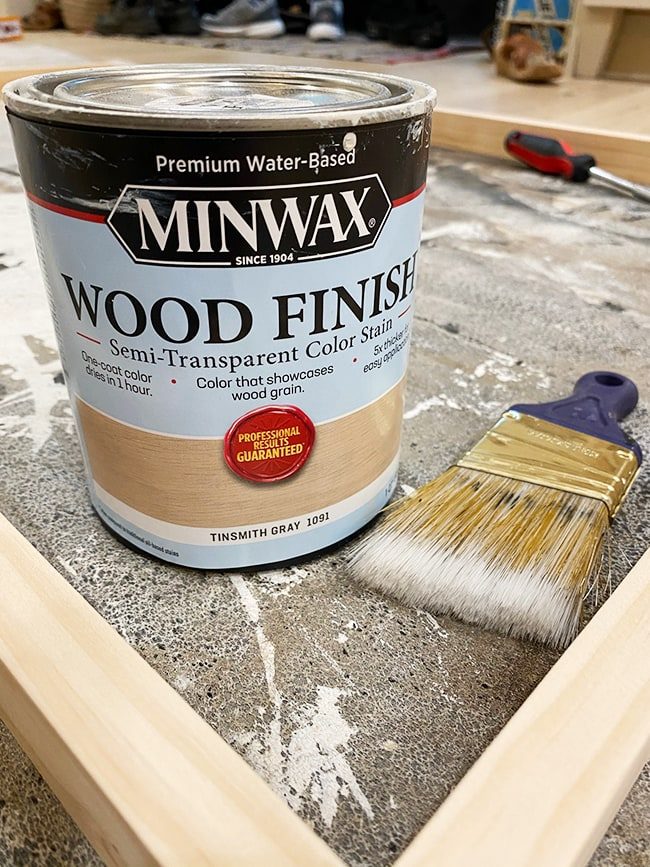
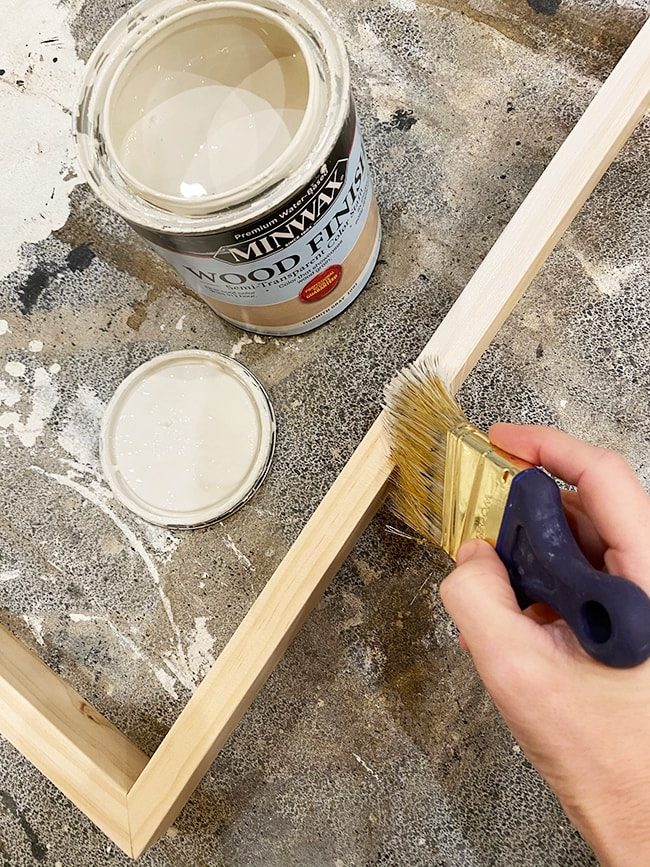
The stain is like a thick paint that brushes on and wipes off, removing the yellow-orange tones in the wood.
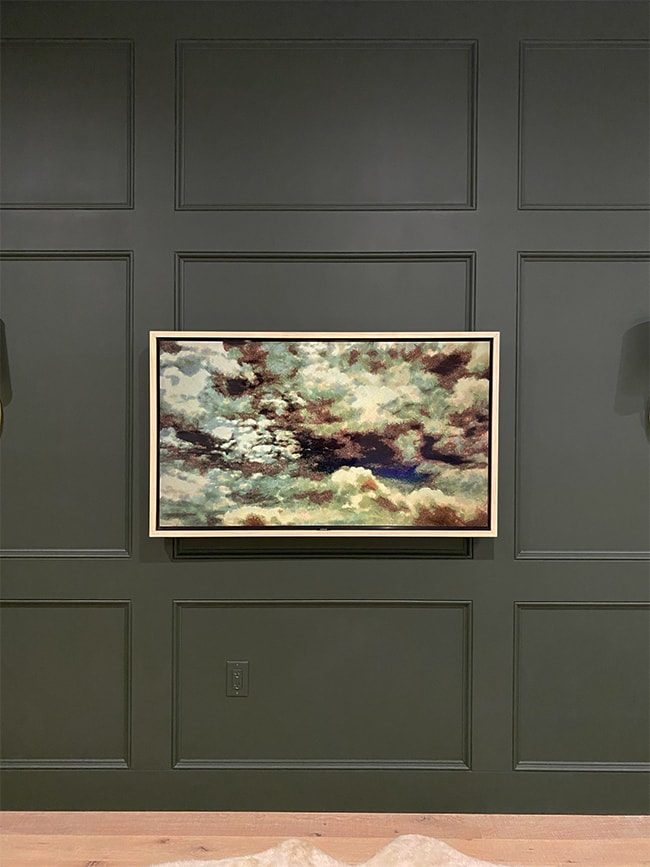
And here is the finished result!
If you are wondering where our cable box/Roku/etc are—we do not have any! We stream our cable through a cable app on the TV. We can watch anything we want from apps like Netflix, Samsung TV, Amazon Prime, etc. Smart TV technology is a well composed thing!
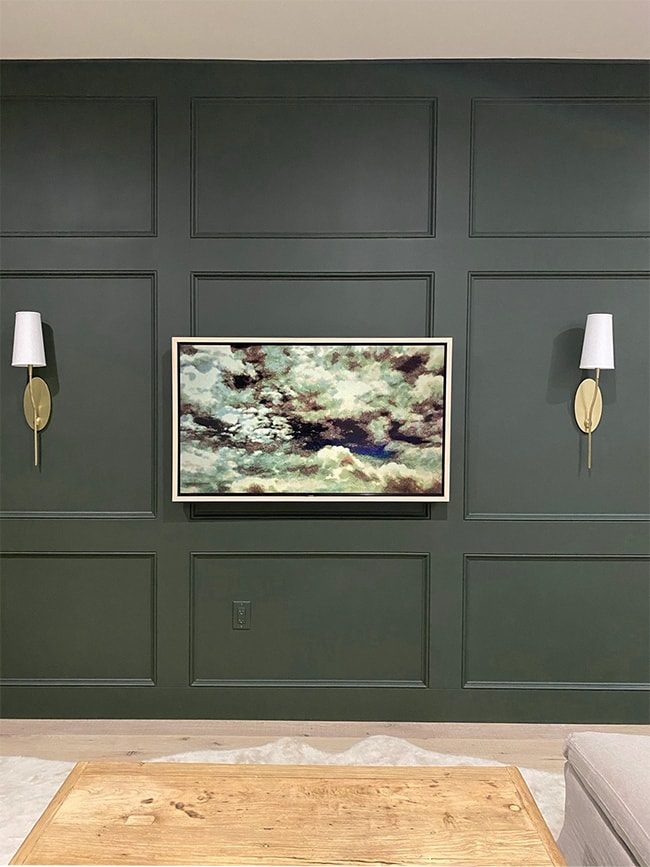
Speaking of well composed things… we actually did not even realize this until after we bought it, but our TV has an “Ambient mode” where you can choose from a library of photos (or upload your own) and it will automatically adjust the screen settings to display like art—just like the Frame TV!

This image is a stock photo I uploaded through the Samsung app (needed to upload your own photos, and bonus: you can also control your TV from anywhere with your phone!)

There is also an option to add a white mat border but I like this full screen version. It genuinely looks like a floating canvas, do not you think?

This is how the TV looks from the side. It does not sit flush against the wall like the Frame TV but hey, it is also $700 less.

If your TV does not have Ambient Mode or something similar, you can still display art through apps like Apple TV, Roku, Fire TV and Chromecast on any smart TV (Blesser House has a great post on how to do that here!)
FAQ
1. Can you add a frame to any flat screen TV?
Yes! If you are trying to mimic the look of a Samsung Frame TV, look for a slim TV with a screen that fills the front edge. You will also want to use a low profile mountso it sits very close to the wall.
2. Can you add a frame to a TV that is deeper/sticks out farther from the wall?
Sure! You will just need to build a deeper frame—deep enough to hide the sides of the TV. It will not look as much like framed art, but it will still give the TV a cleaner look and make it feel more finished.
3. Where does the cable box go?
We have a smart TV, and watch all programming (including cable) through apps—no cable box (or any other box) needed. In the past, I have built a narrow ledge on the wall behind the TV and slid the box vertically behind it. If you have a console/cabinet underneath the TV, you could keep the box there and run the wires down behind the wall (or in a cable channel).
4. Will the remote control still work after adding a frame to my TV?
In most cases, yes. Modern remotes have RF (radio frequency) capability, which means you do not need a direct line of sight for them to work. If yours does not, you could get an RF remote, or convert your existing remote to RF.

So what are you waiting for? Take a few hours this weekend and transform that big black box you've been wanting to upgrade—you will wish you did it sooner!