DIY Rustic Wood Console Table
Learn how to build an elm wood style rustic console table using reclaimed wood. Easy to follow tutorial in six steps!
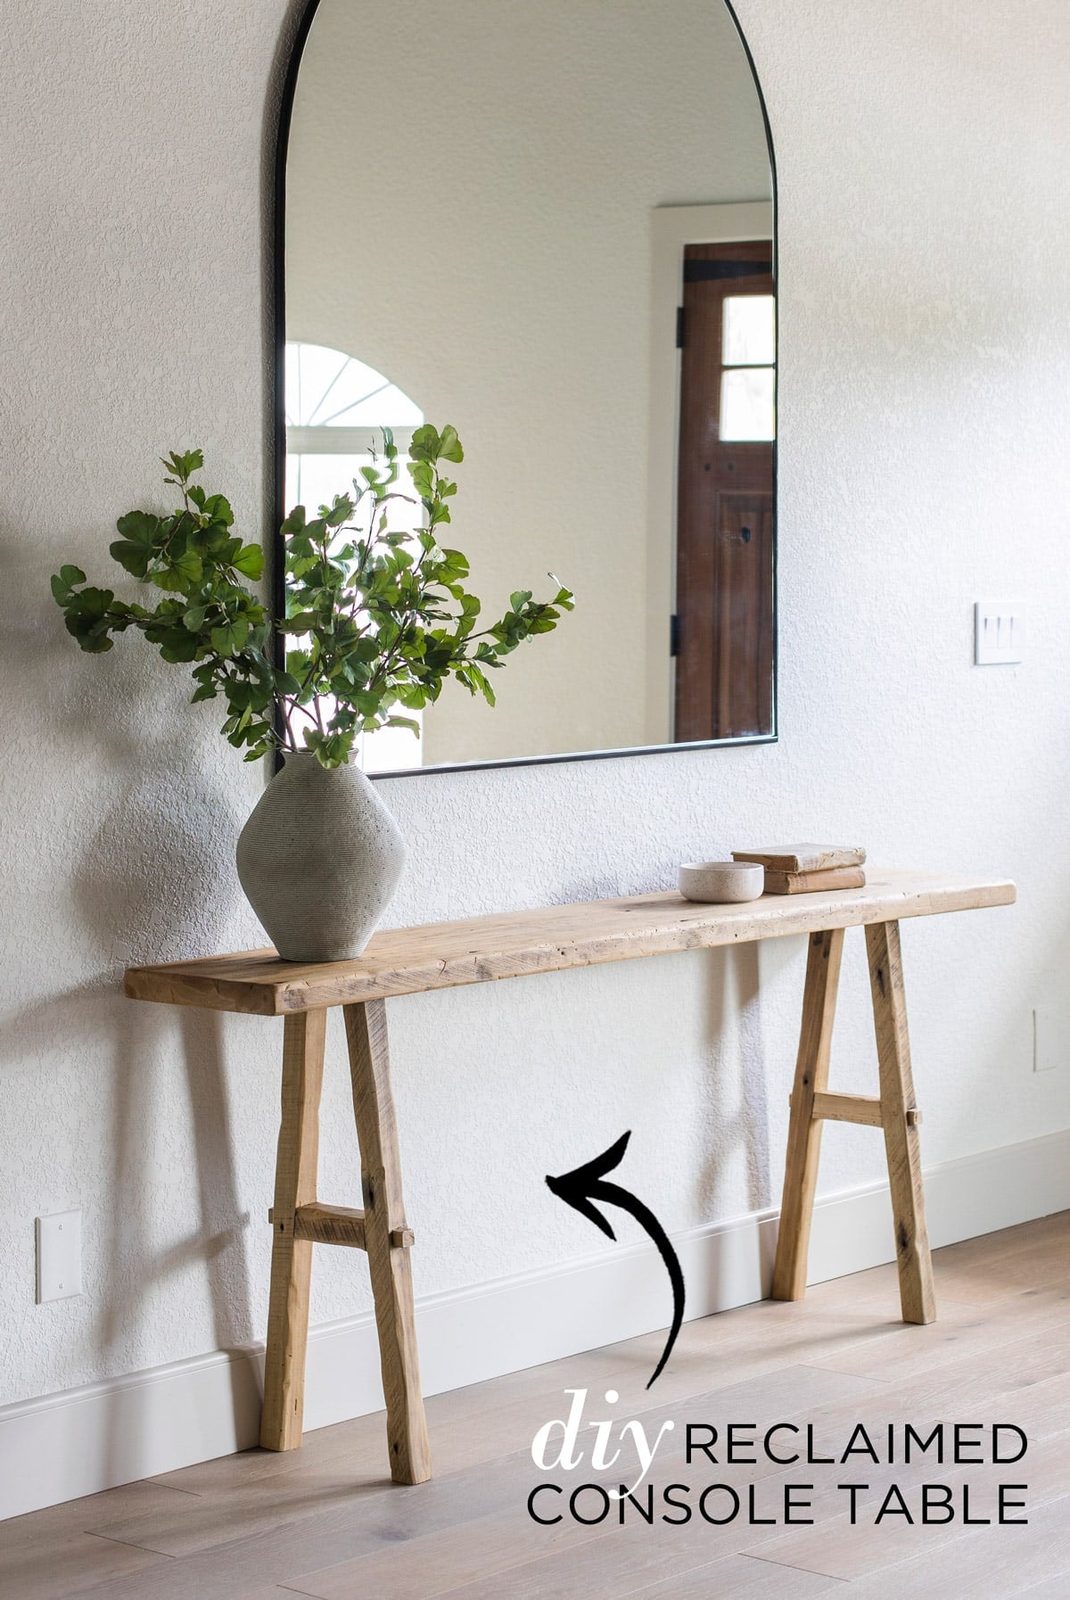
Reclaimed and rustic wood tables have never gone out of style, and for good reason—they soften a room with a natural, organic texture and character that only a time-worn piece can provide. However, such tables are typically very expensive, and not always easy to find. Today I am sharing how to build your own Chinese elm wood-style console table from reclaimed lumber.
The large entry wall at the Hacienda Hideaway required a long and relatively narrow console table to fit the space. I had a specific look in mind, inspired by the elm wood benches used in China for centuries.

The construction is unfussy—a single board along the top, typically with two angled legs and cross bars. You will often find these sold as benches, or skinny “noodle” benches (for a pretty penny). I needed two console tables (one for the foyer, one for the living room) and the only way to do that without spending over $3k was to DIY!
Lucas had recently finished our DIY Anthro coffee table and had a chance to practice his mortise and tenon joint skills, which were required for this project.
Materials + Tools
- Reclaimed 2×12″ lumber
- Miter saw
- Table saw
- Jigsaw
- Orbital sander
- Multi-tool
- Chisel
- Hammer
- Clamps
- Level
- Wood glue
Finding the right lumber to use is the most important step. I found a local reclaimed wood seller (Coast to Coast Barnwood, if you are in the Tampa area) and called ahead to make sure they had what I was looking for. If you do not want to spend $$ on real reclaimed wood or do not have access to it, you can use a regular 2×12″ board and mywood aging technique for the best results.

To make two tables (one 10″ x 5' and one 12″ x 6'), we bought a 14″ x 14' board, and a 8″ x 3' board. The total came to $428, which is not cheap, but that is typical for reclaimed wood and still a great deal for two custom tables. You could build both tables for under $40 using common pine board.
Step 1: Cut boards to size
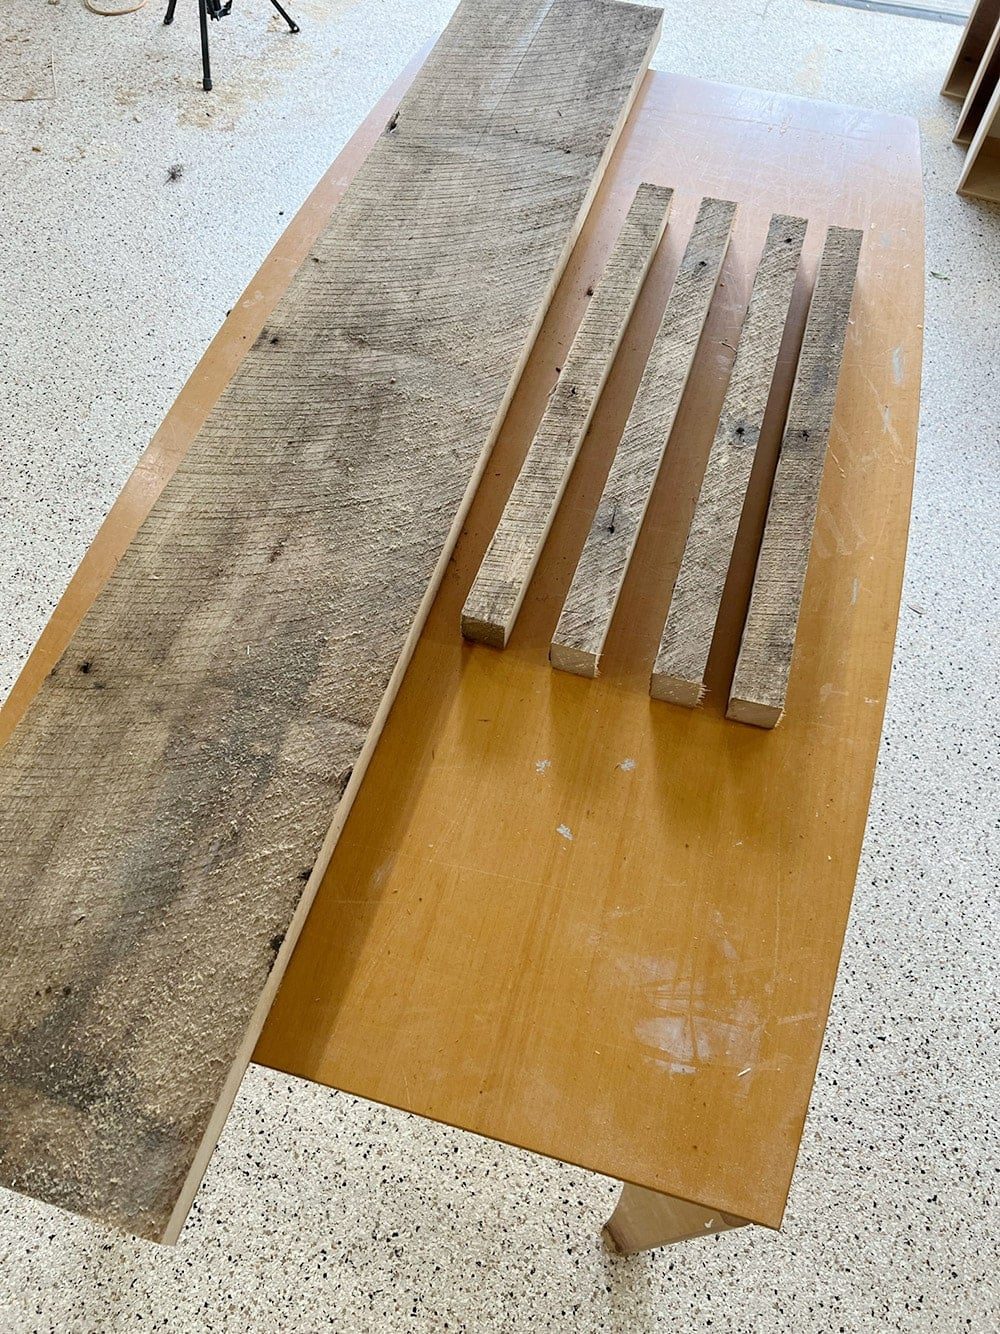
For this tutorial, I'll walk through the process of building the larger table. I decided I wanted the dimensions to be 72″ long, 12″ deep and 30″ high, so we first ripped down the top board and four legs. The legs ended up at ~2×2″ thick, and 32″ long to start:
Step 2: Make leg mortise and tenon joints
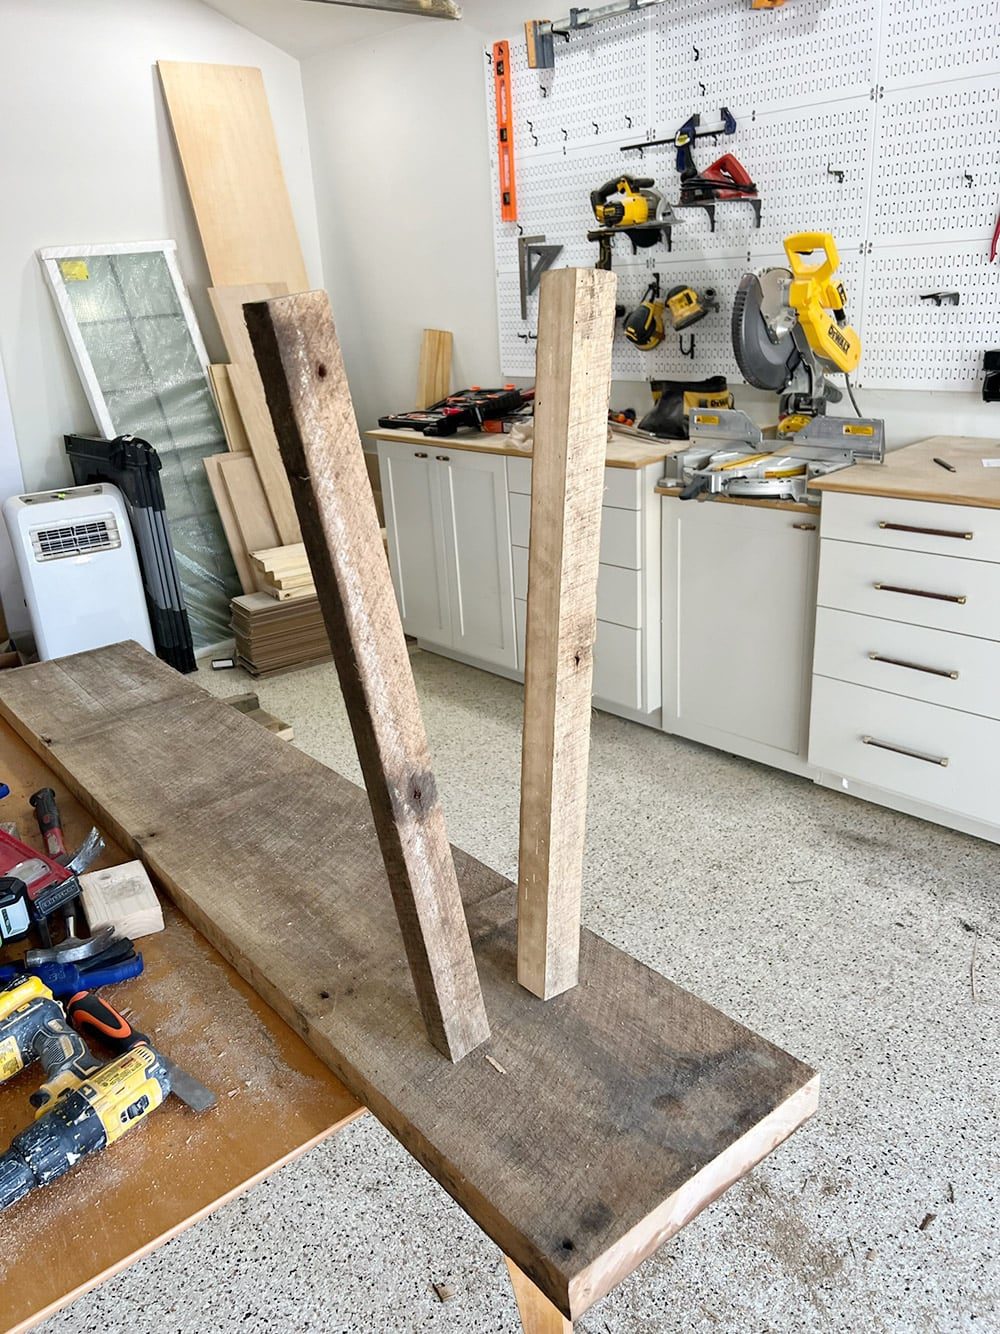
We positioned the legs how we thought they looked best visually, and decided to place the centers 4″ in from each edge (front to back) and 12″ from the sides.
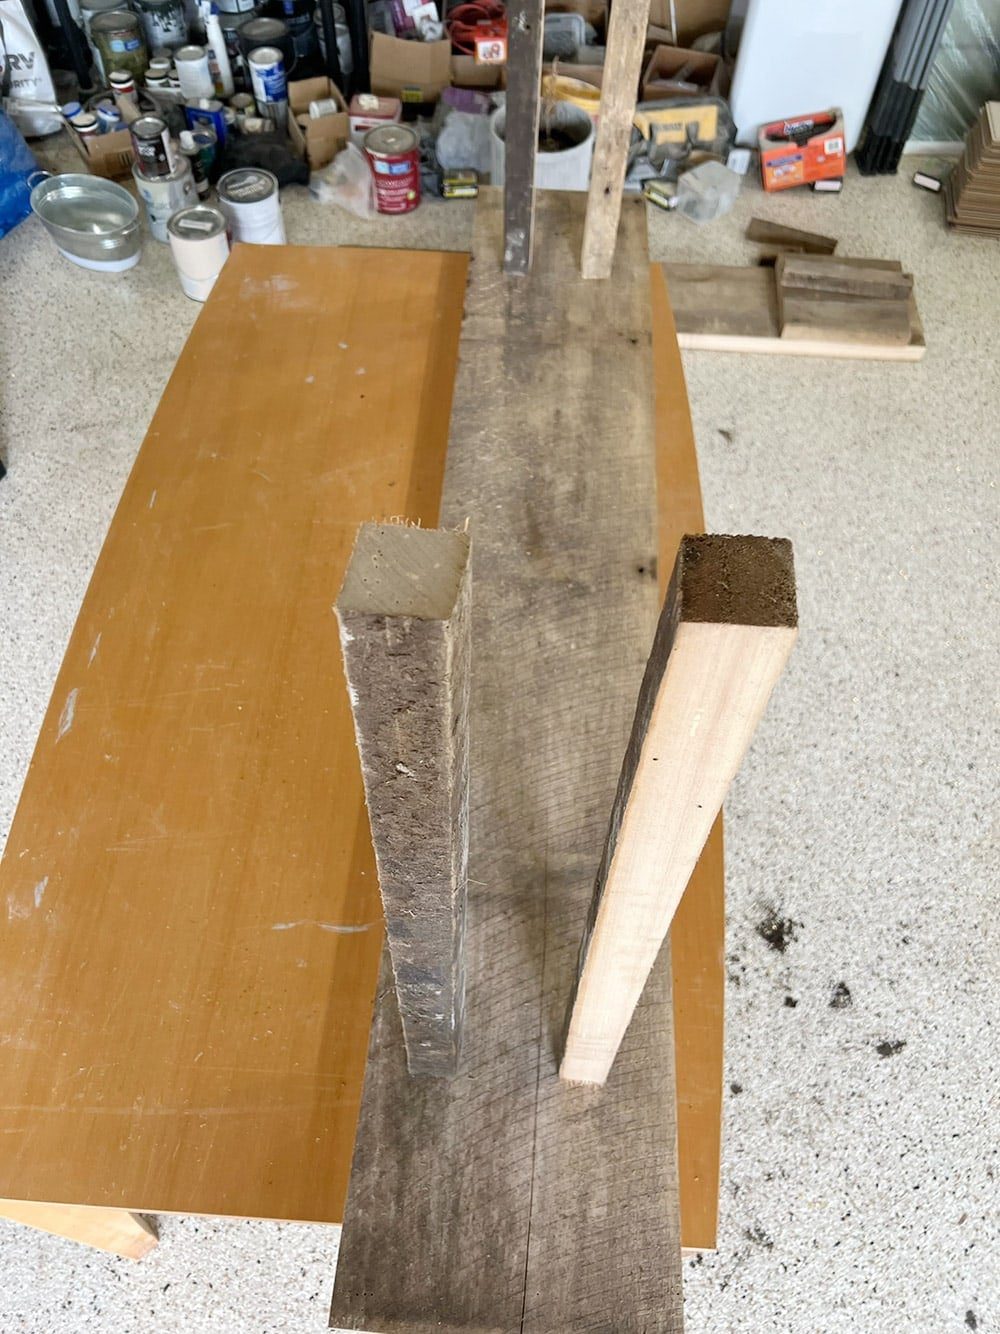
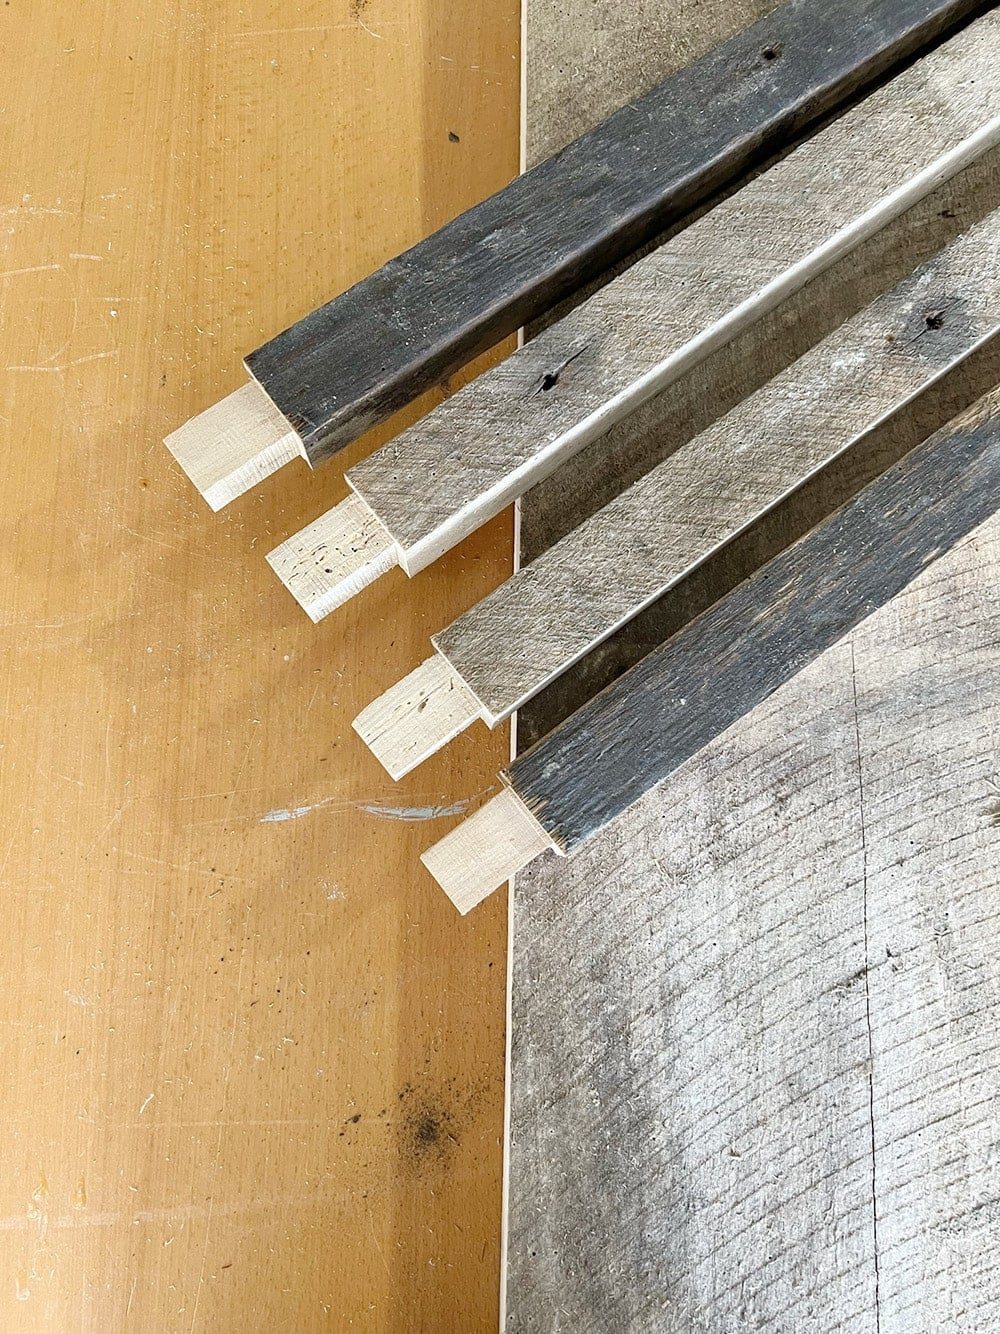
Now for the fun part—mortise and tenon joints! The tenon was created on the leg using multiple passes on the table saw set at a shallow depth.

The edges were then filed smooth.

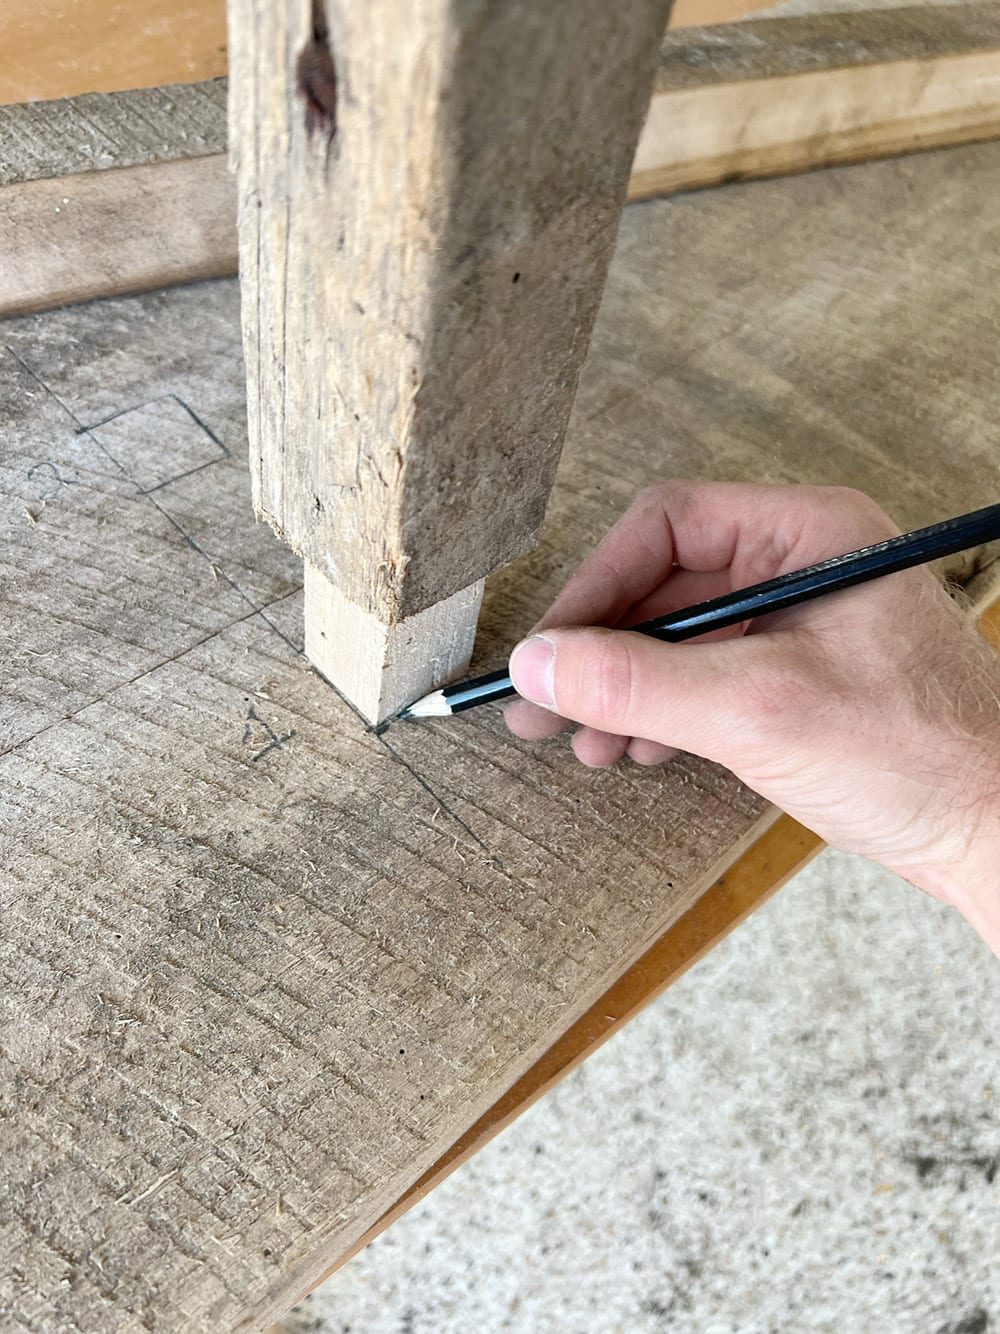
To create the mortise, we held the legs in position and traced the shape of the tenon, making sure they lined up straight on the board.
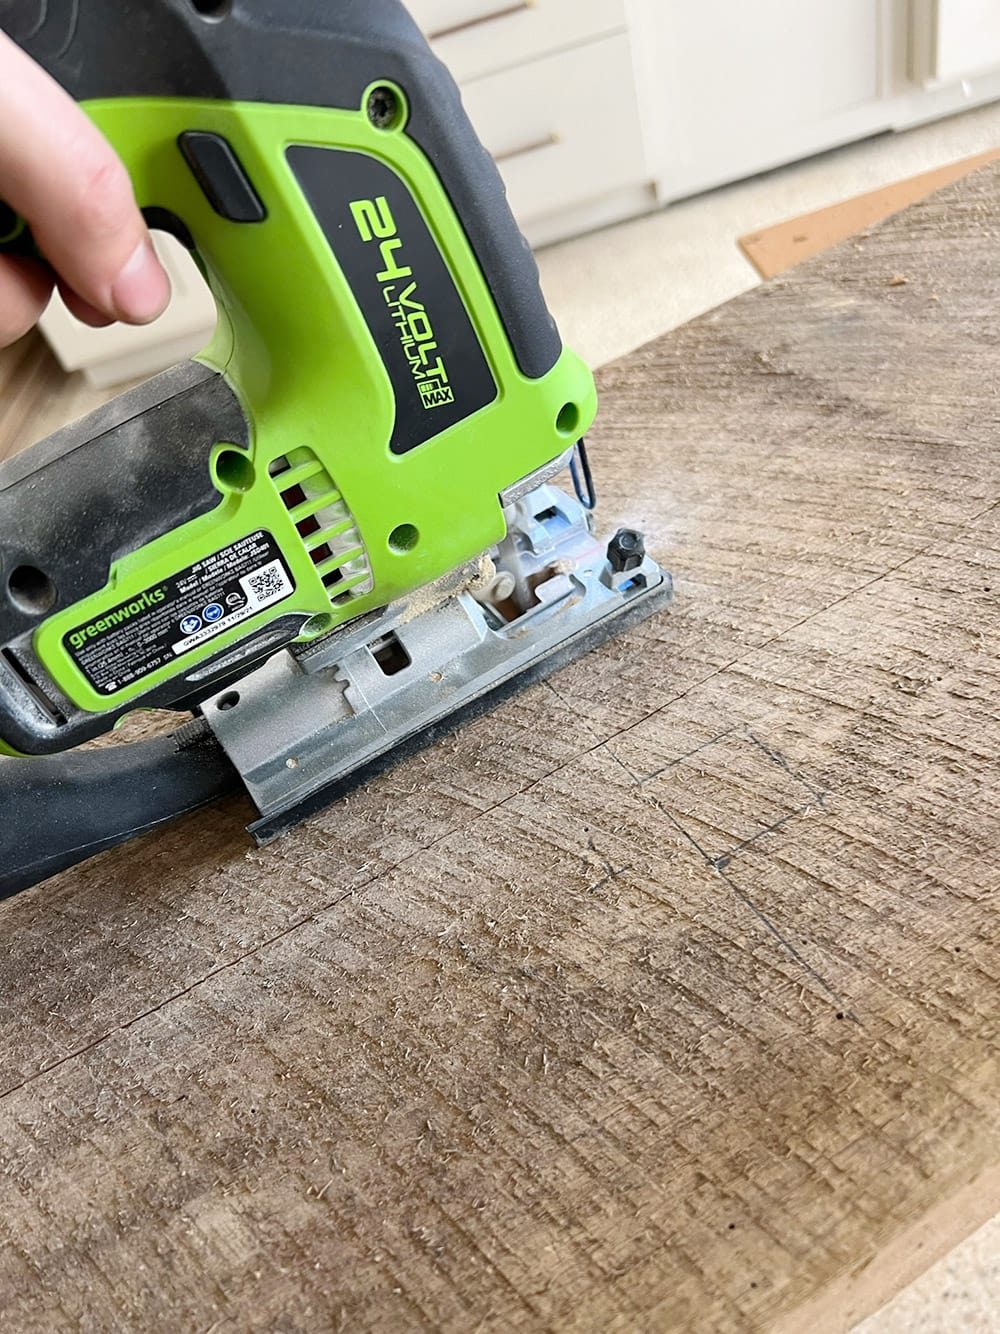
The rough shape was carefully cut out at a slight angle using a jigsaw.
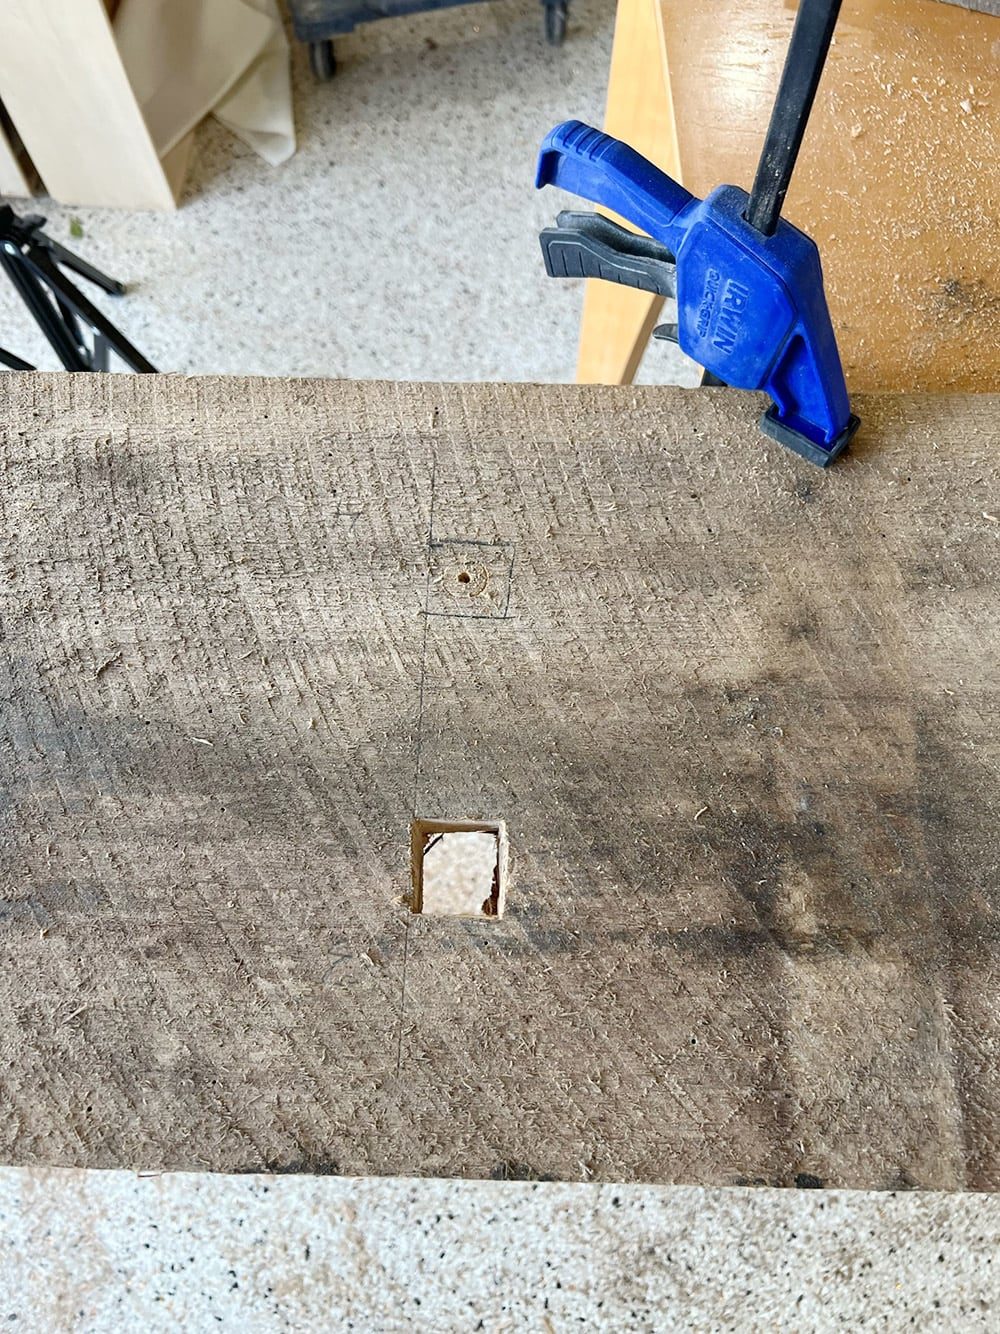
It took some refining with a chisel and file to get them to fit snugly and at the right angles.
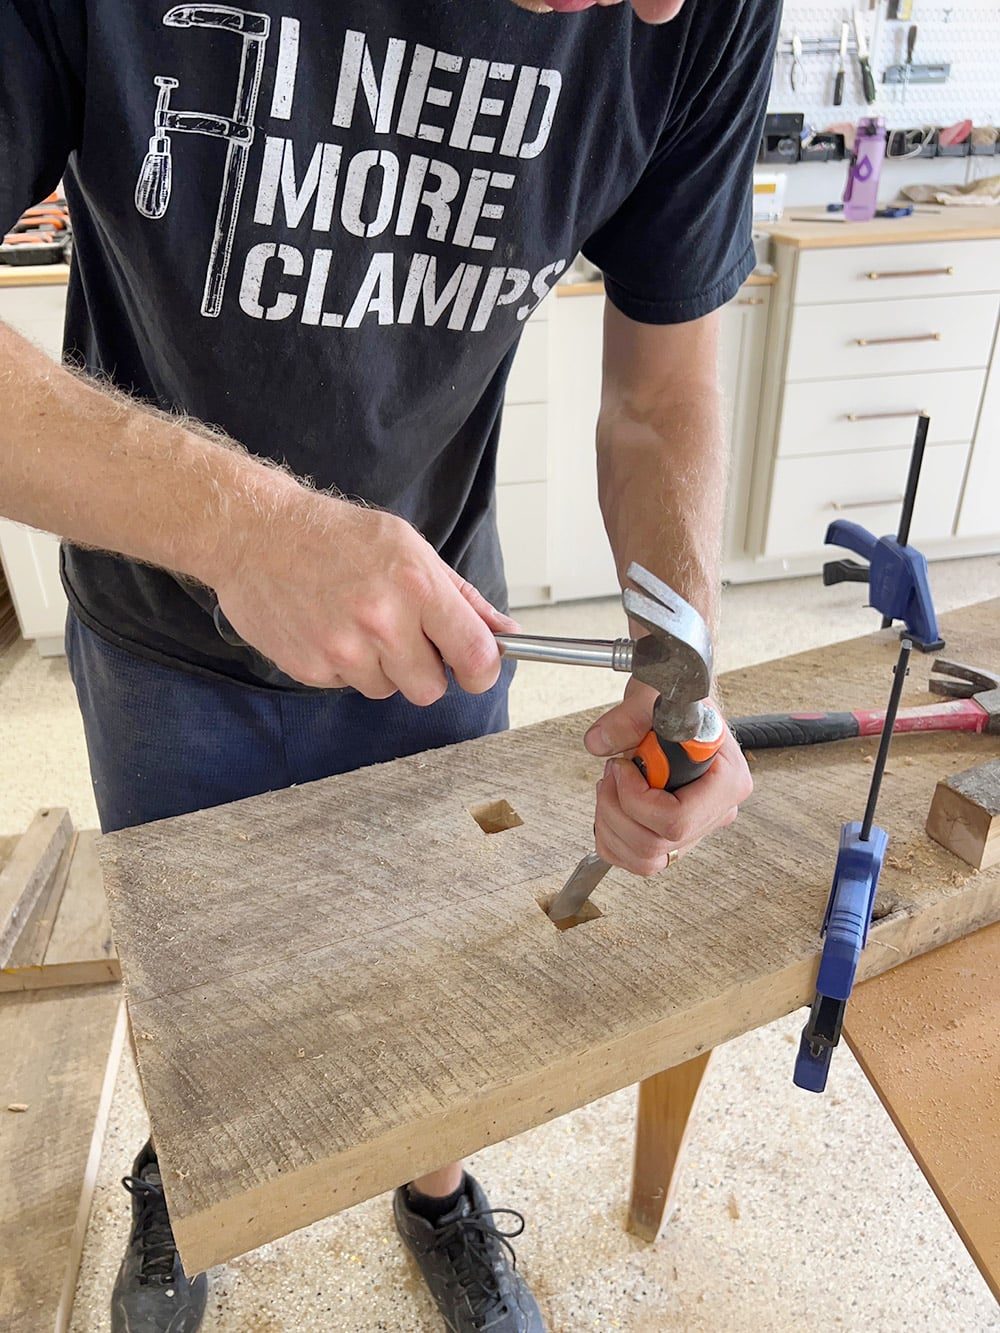
Fortunately since this table is supposed to be rustic, it does not have to be well suited!
Step 3: Attach cross pieces
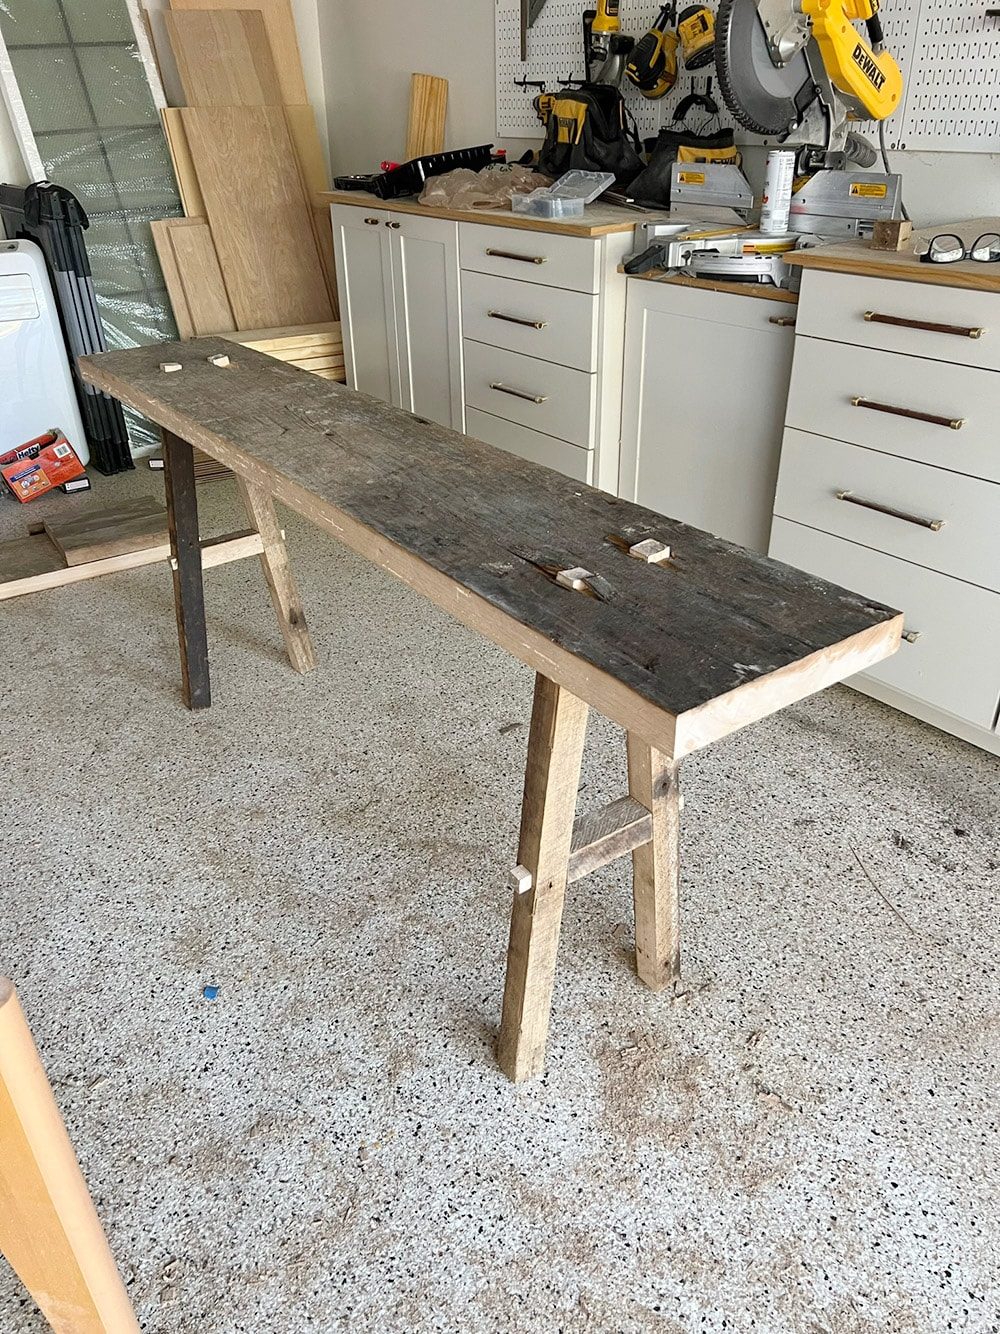
The smaller cross pieces are also attached with a mortise and tenon joint, built the same way. We decided to center ours on the legs, which made them ~5.5″ long in the center—11.25″ long total, and 13″ off the ground.
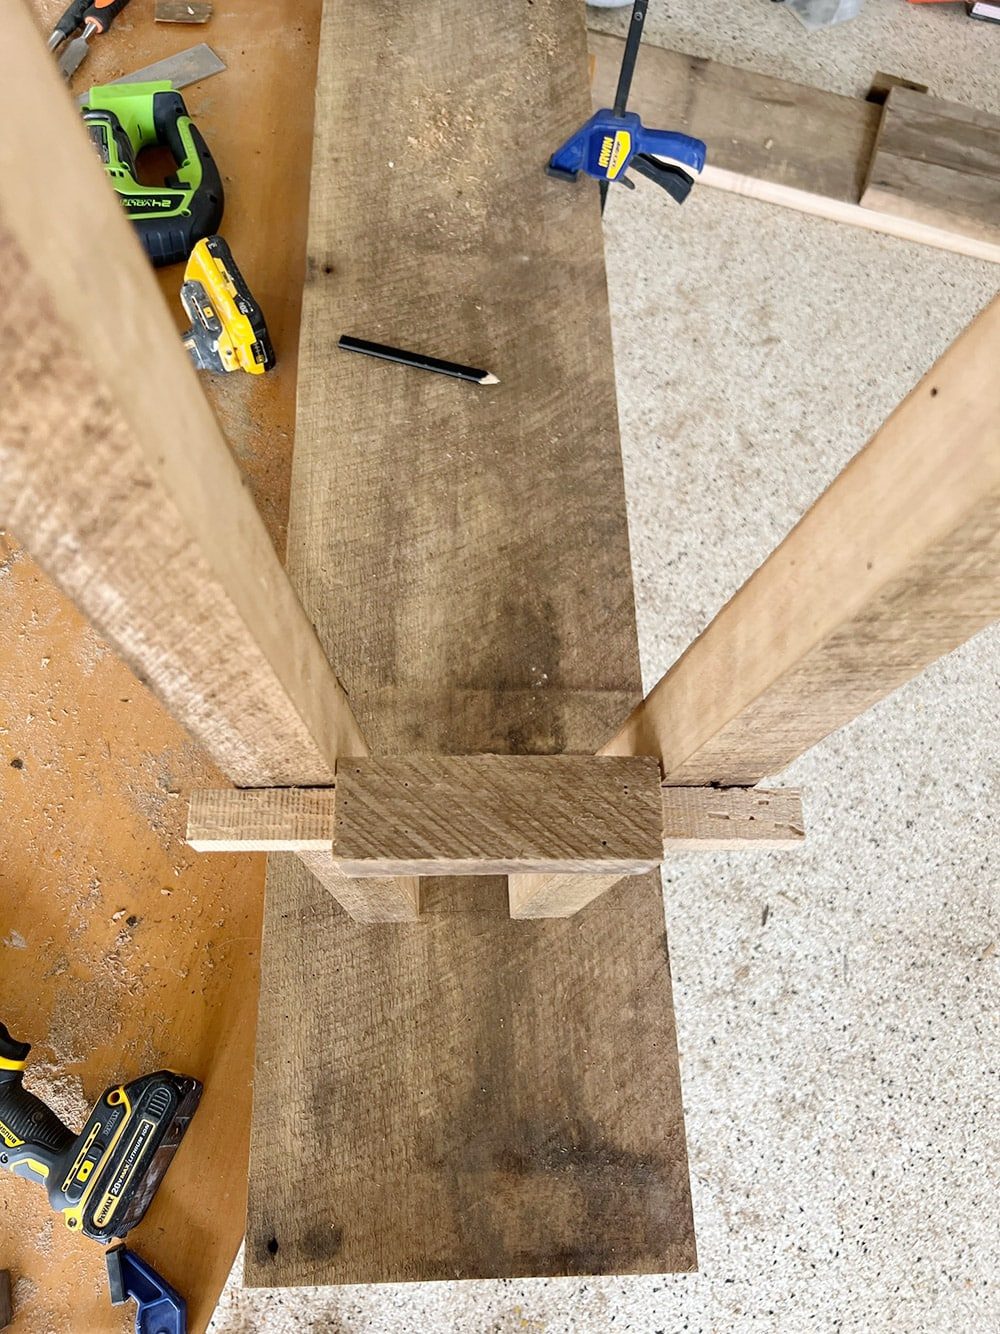
This step is essentially plenty of small adjustments using a multi-tool and chisel to make everything fit together.
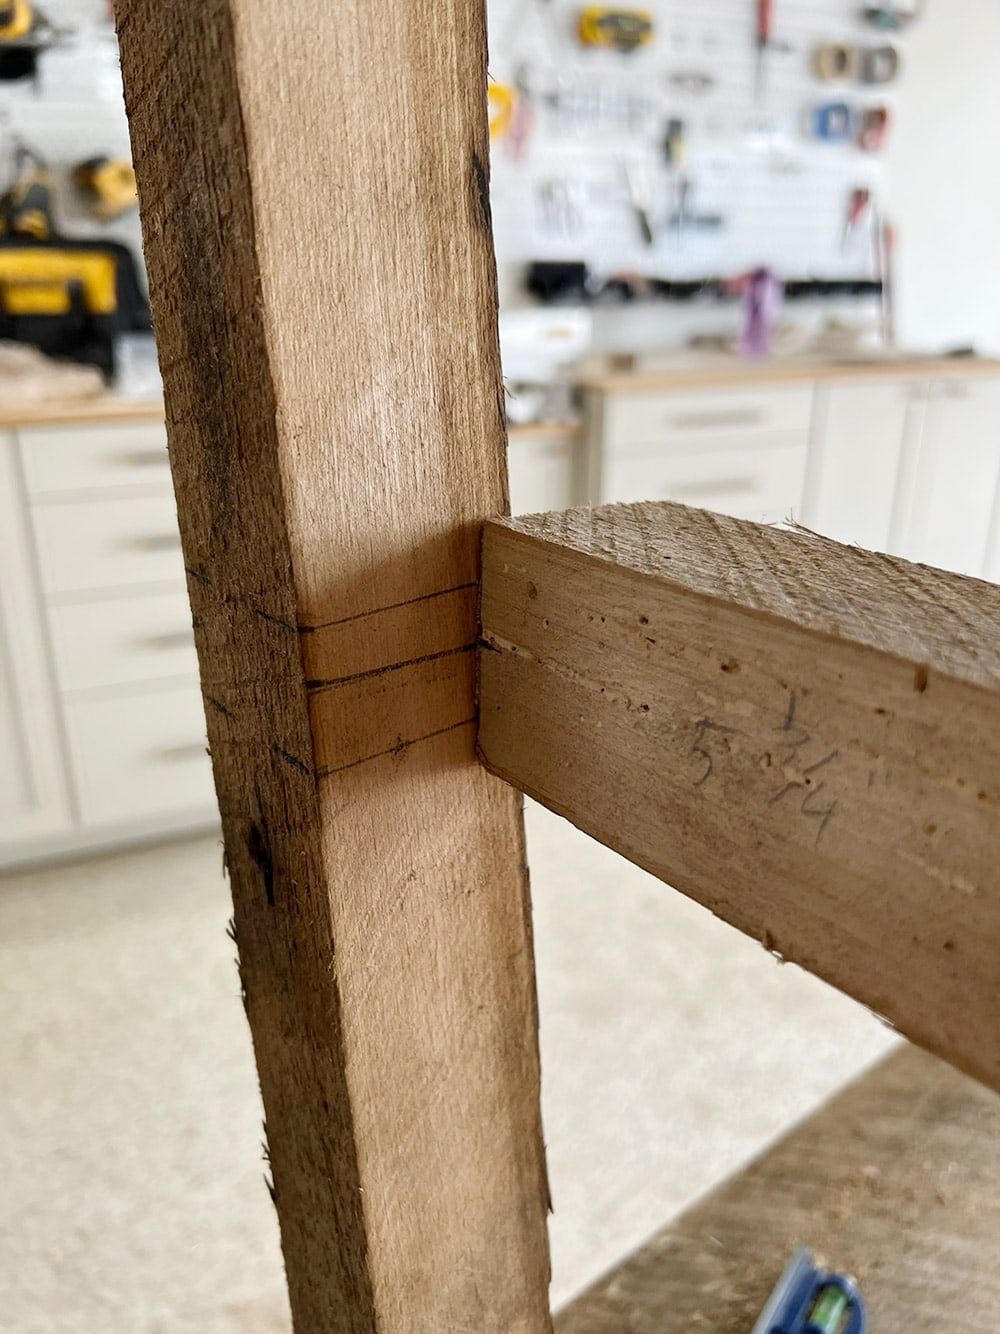
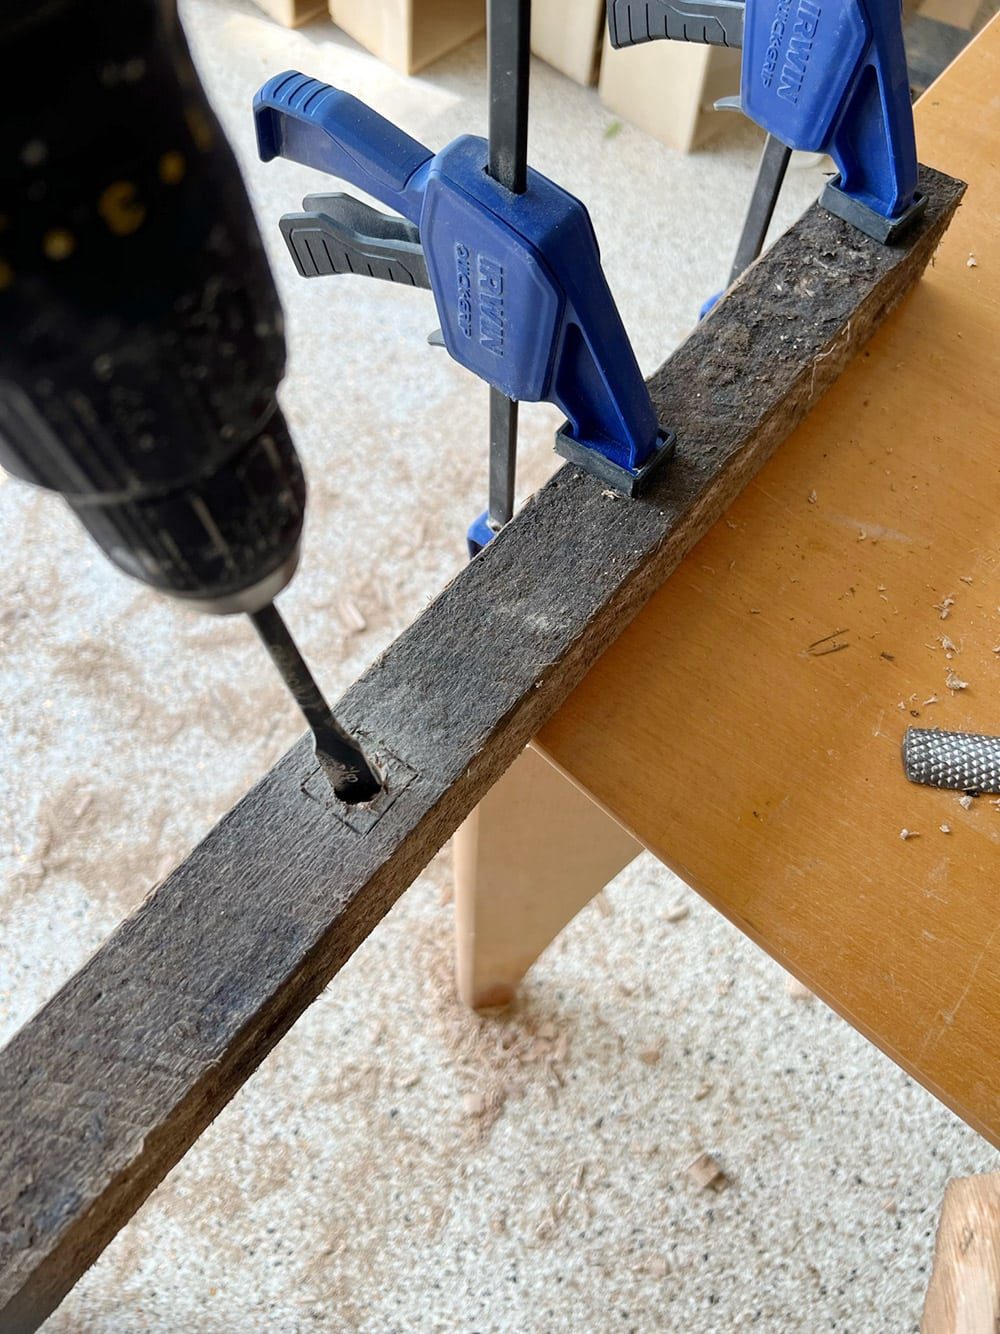

Final test fit…
Step 4: Glue together
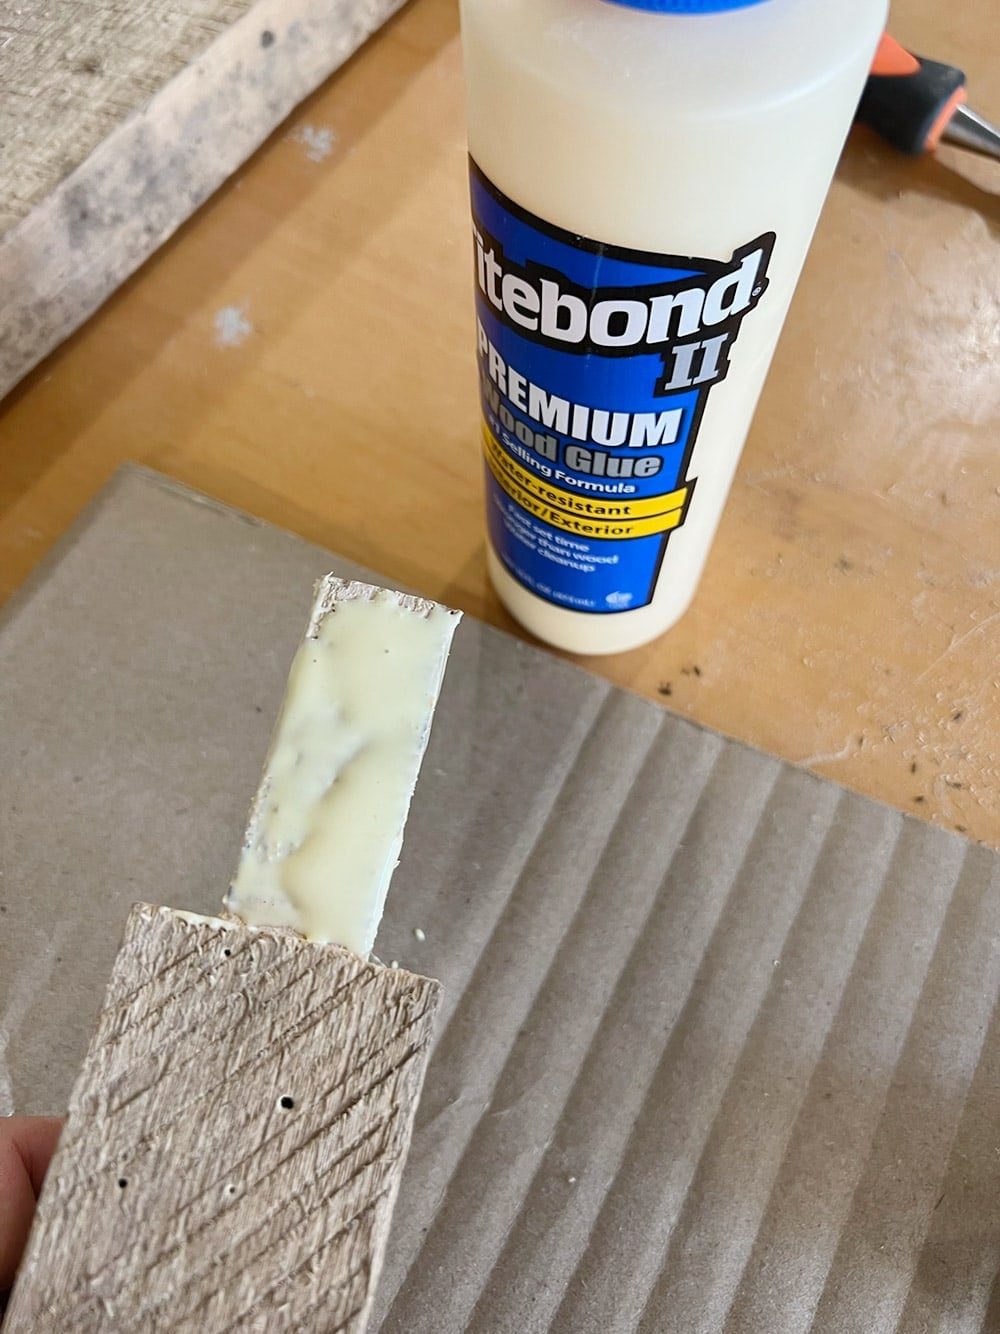
Once all of the pieces were cut and fit together, we applied wood glue to the joints to secure them. No screws or nails needed!

Step 5: Clean up edges
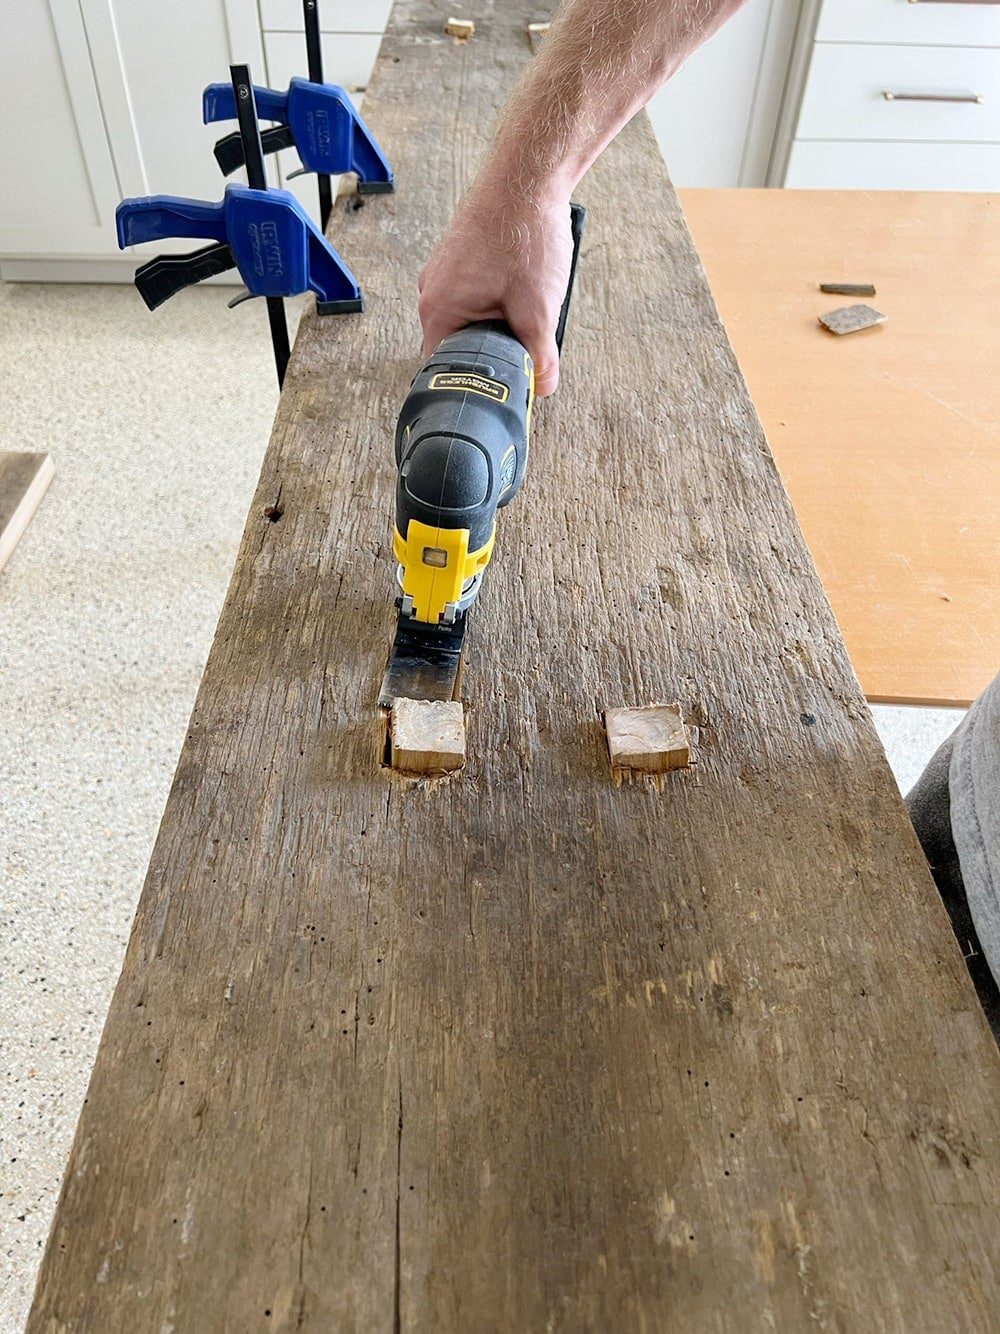
The top of the tenon joints were cut down with a multi-tool to sit flush with the table top.
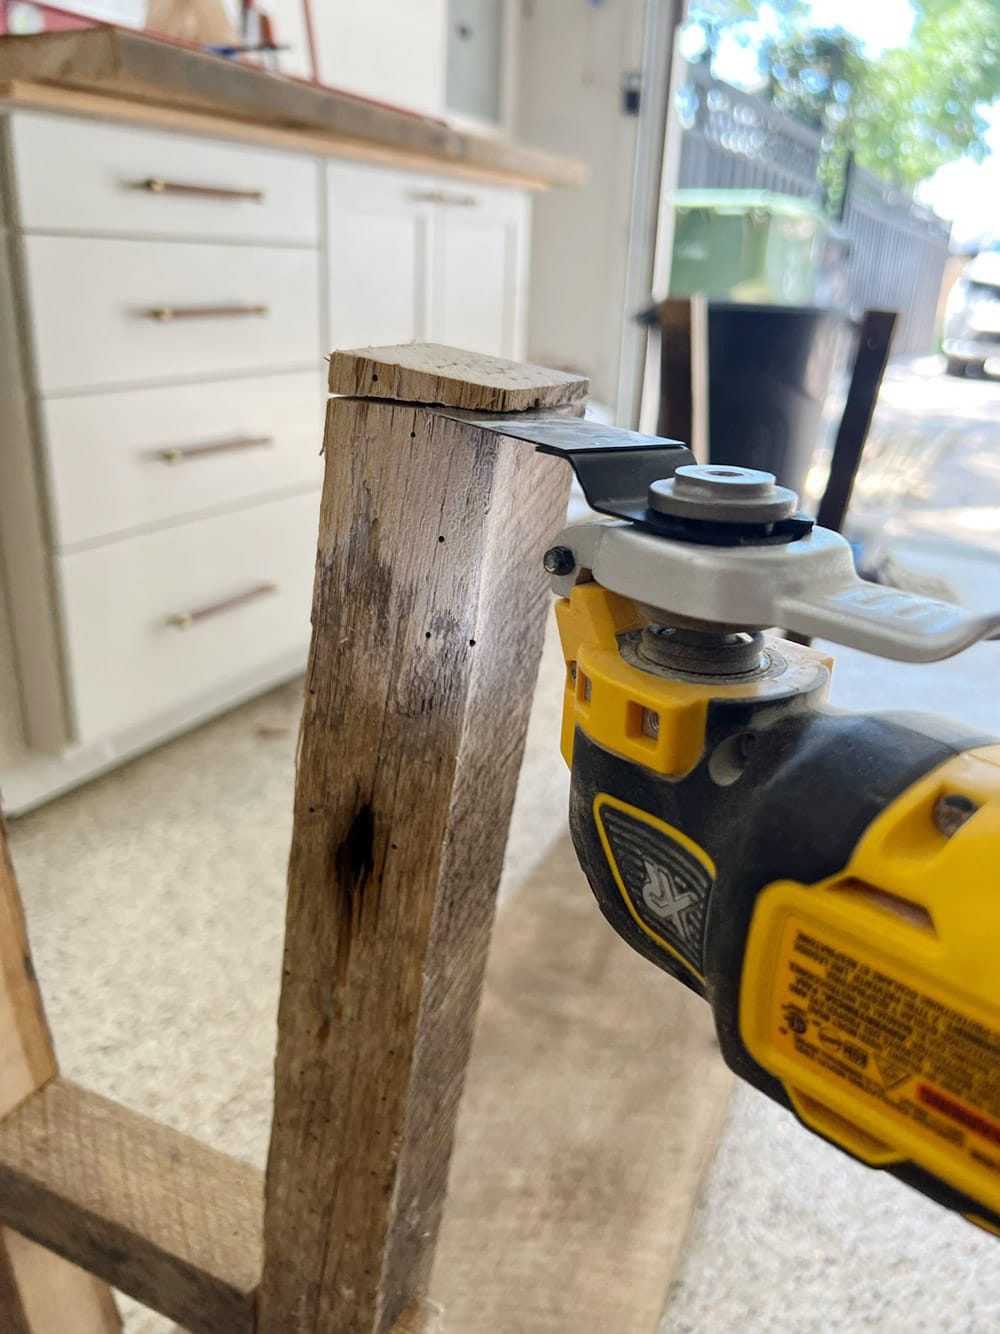
Finally, the bottom of the legs were trimmed to sit flat on the ground. This was done using a level and multi-tool.

And our table was (almost) complete!
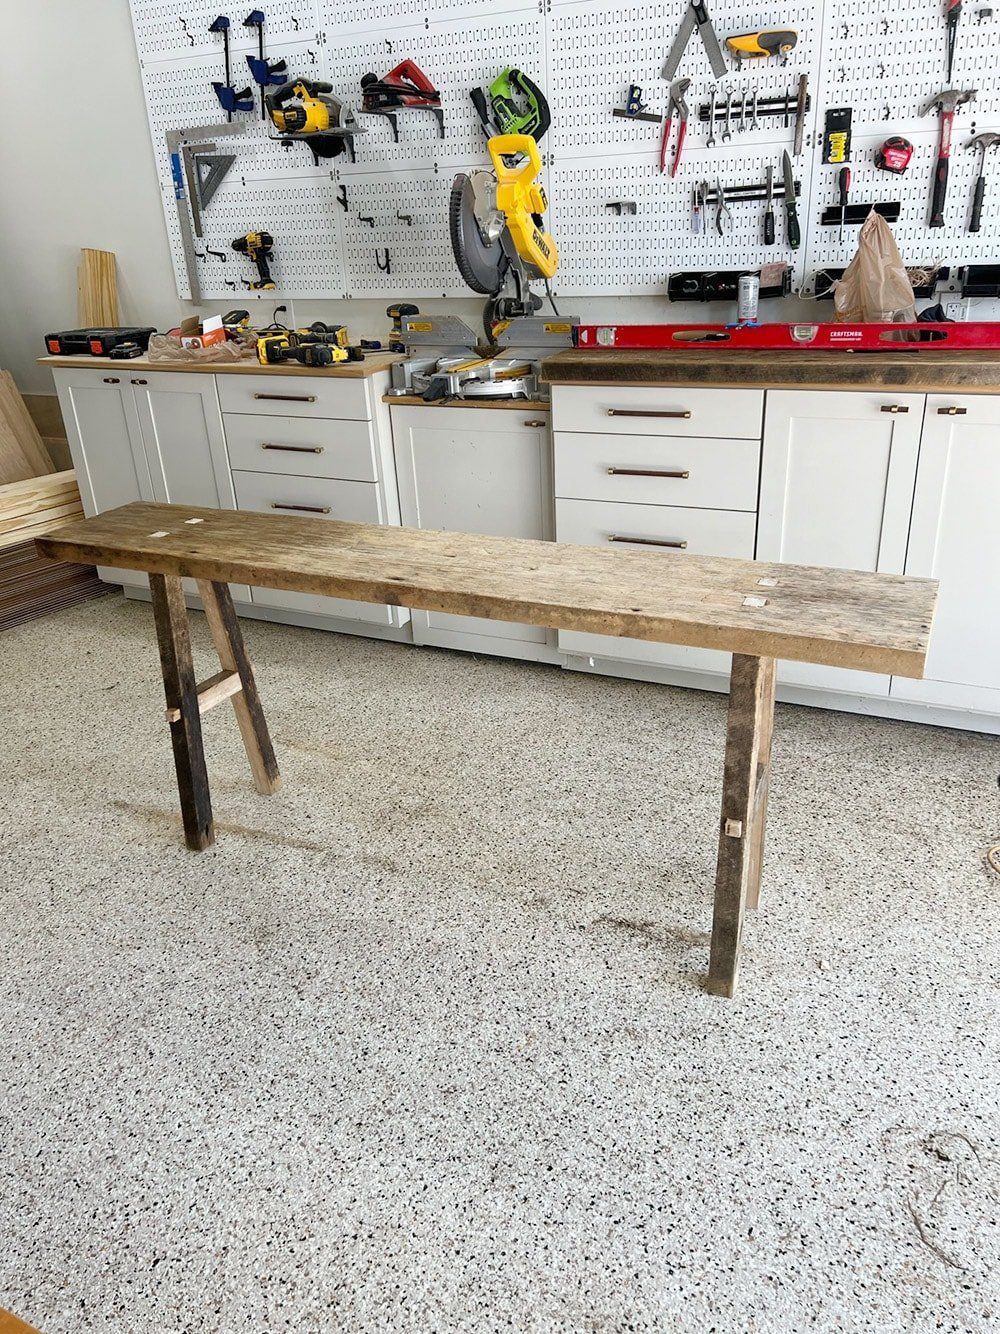
Step 6: Sand and seal
If you are using new wood, make sure to follow my DIY aged wood technique!
Our reclaimed wood was stained dark on one side, so we planed down the surface to even it out.
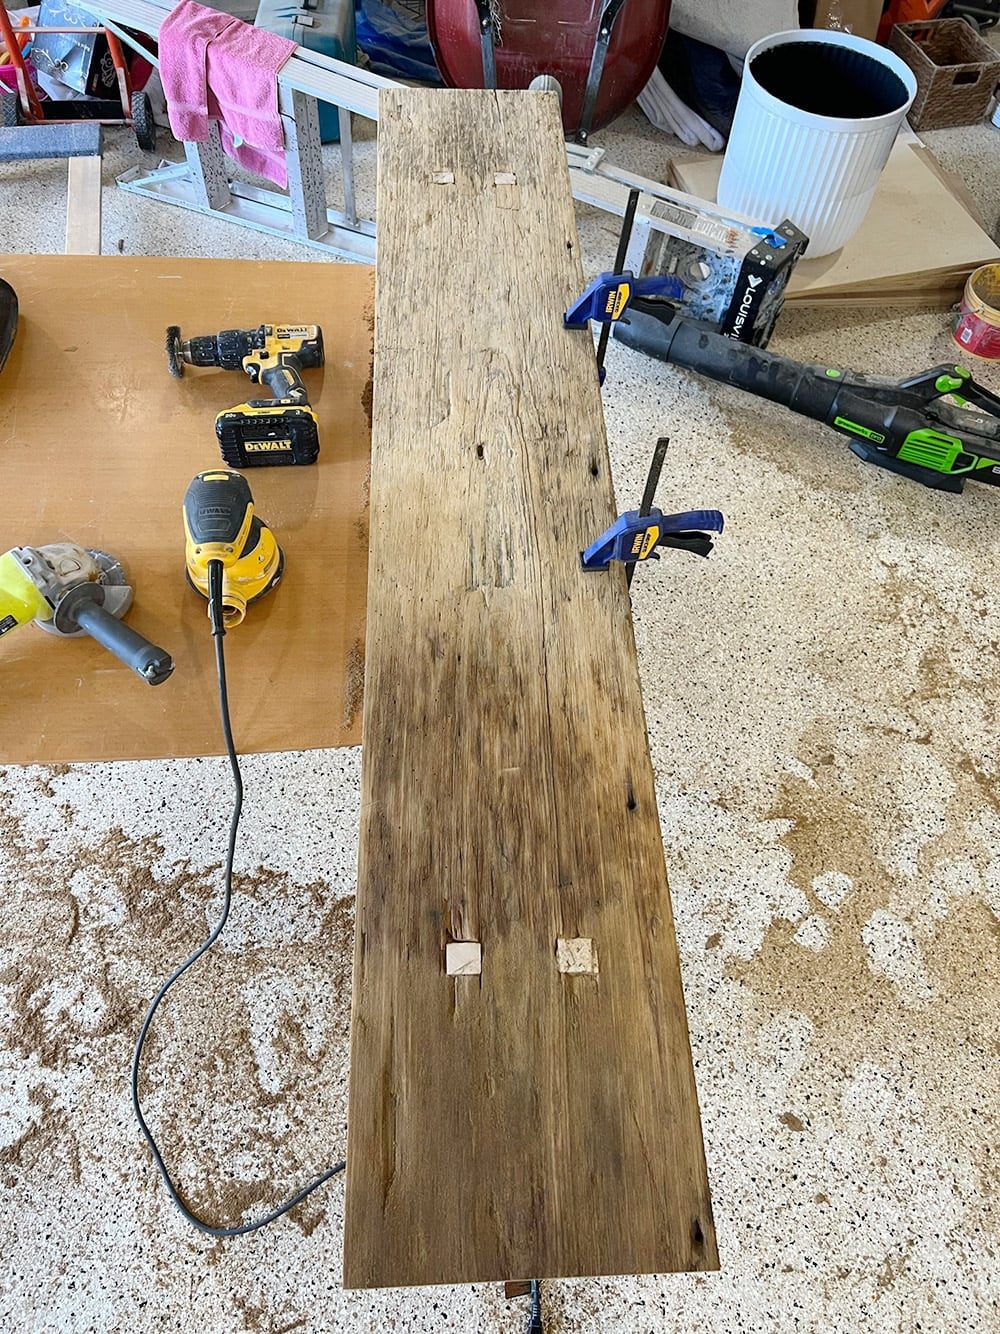
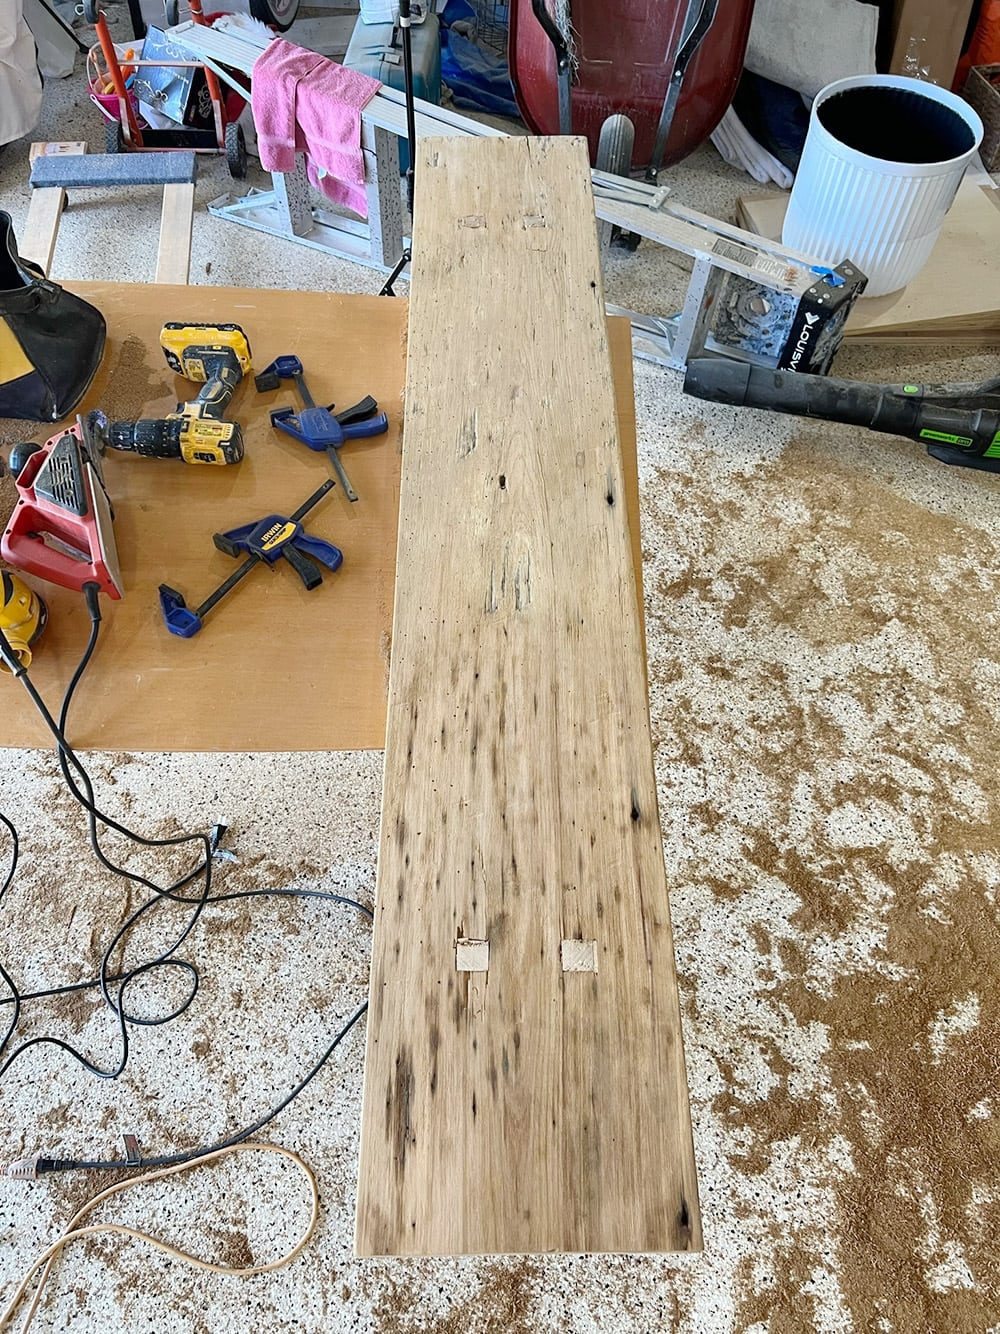
Smoothing the sharp edges is a critical step, as it is key for a realistic aged look. We weathered down the edges using a circular bit on our multi-tool, then rounded them off with an orbital sander (be prepared for a mess!)

Finally, the table was sealed with matte polycrylicto protect the surface. This is how it looks in place!
Reveal

While the joinery took some time, this process is straight forward and you do not need to be an expert DIYer to try this at home.

I think using real reclaimed wood was worth the extra cost. It saved a ton of time vs trying to make the wood appear aged, and there is still nothing quite like authentic worn wood.

This is a project I can see us repeating more in the future. The beauty and simplicity of this design can work in so many settings, and the style of this piece is timeless. Here is the smaller table we made for the living room:

Next week, I'll share how we DIY'd this large arched mirror—yes, you read that right! I cannot wait to share how unfussy it is. Make sure you are following me on Instagram to see it first!