How to Limewash Walls
How to limewash walls: a detailed step-by-step tutorial with tips and tricks. Transform your walls with this fun and classic technique!
If you are considering limewash paint for your next DIY project, this post has got you covered! Keep reading to find out how we transformed our walls with this subtle and sophisticated old-world technique.
Supplies List
- Limewash
- Primer (if needed)
- Block brush
- Paint tray

Prepping walls for Limewash
Limewash paint can be applied directly over breathable surfaces such as brick, cement, stucco and plaster. Previously painted surfaces should be primed first for best results. Limewash can be applied on smooth or textured walls, but we decided it was worth it to skim coat our textured walls first to create a smooth and even canvas. We then used Color Atelier's Mineral Primer, per their recommendation.

FYI: You can see how limewash looks on textured walls inthis postfrom I Spy DIY.
How to Limewash walls
There are different approaches to applying limewash, and no one “right way” to do it. Fortunately, it is easy to work with and pretty forgiving.
After watching several YouTube videos, we decided to start on one side of the room and quickly work our way around the room to keep a 'wet edge' and avoid overlapping dry areas.
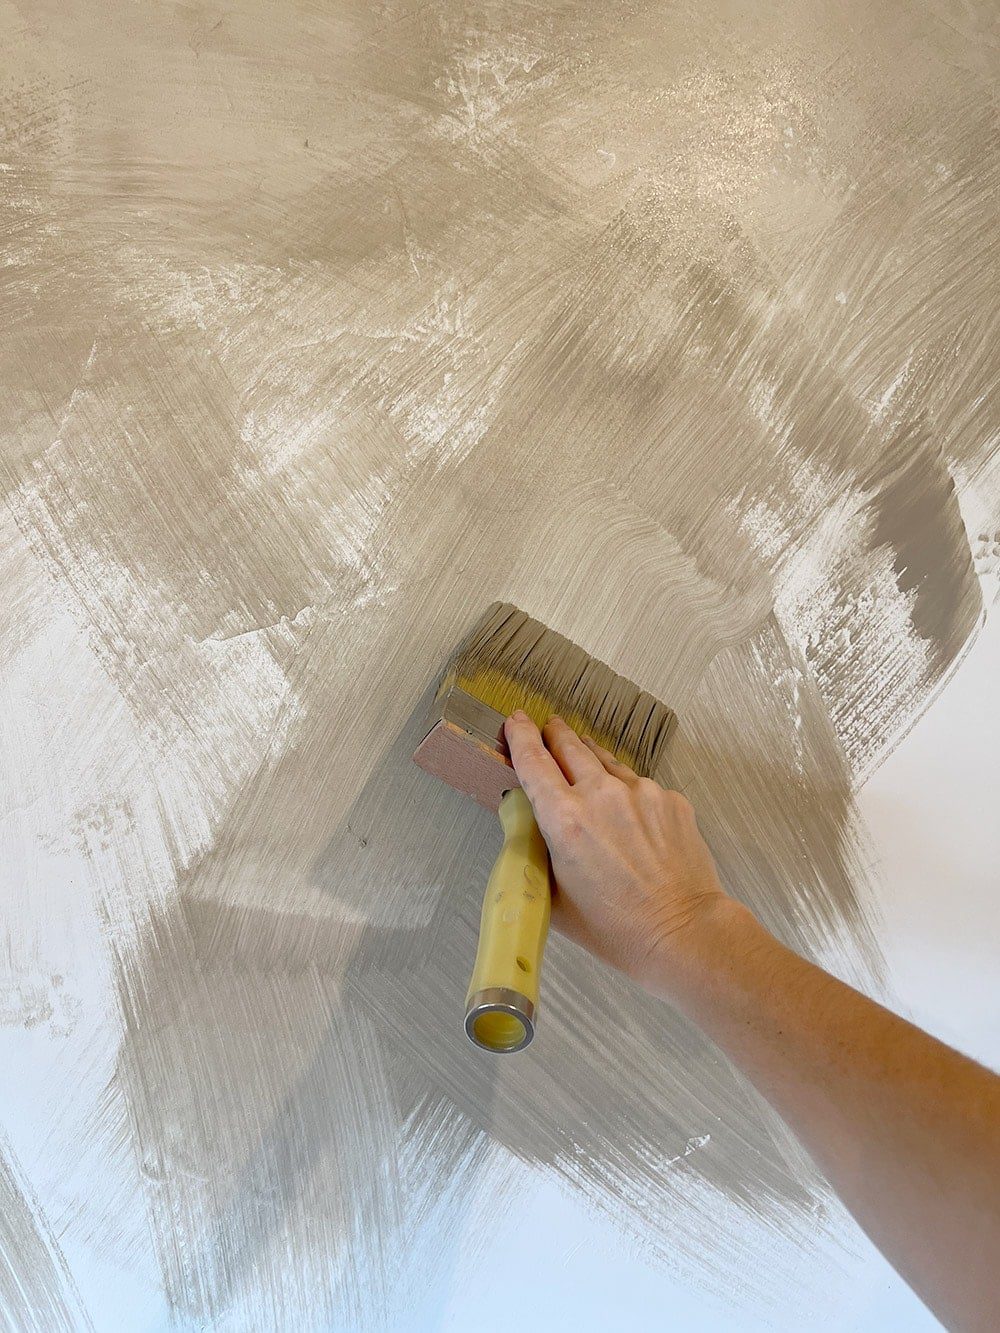
Using a block brush, create random and multi-directional strokes, working your way outwards from the center. Some people like to create several large 'clouds' and blend them together, while others use short strokes and work from one side to the other.
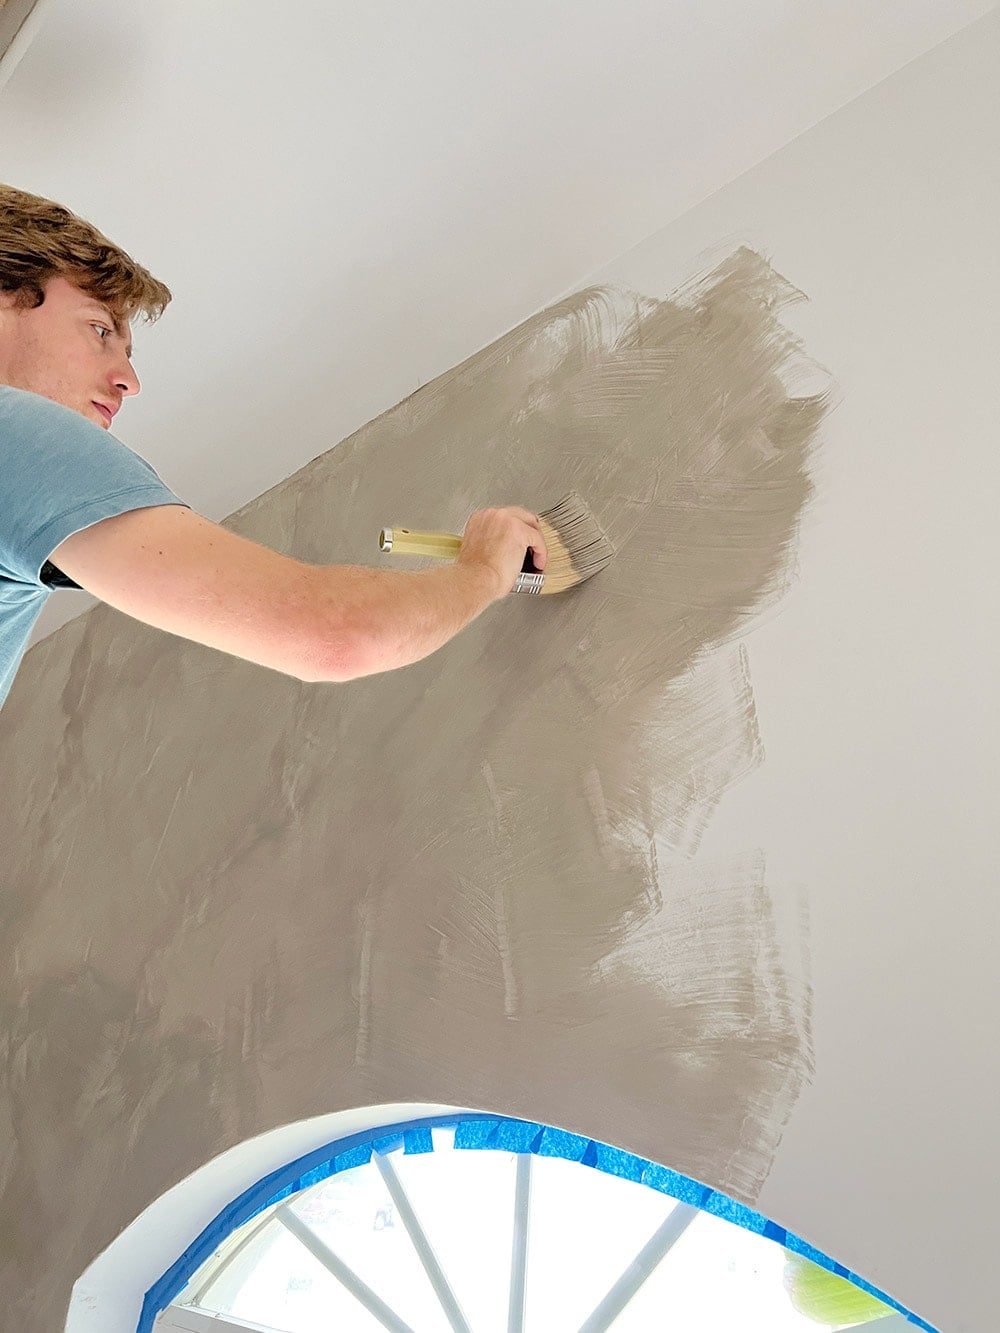
We tried a combination of different techniques, using medium-sized strokes as well as curved motions, which was my favorite. It creates more organic movement and a cloud-like appearance.

Limewash applies quite easily—and more fun than regular paint! We finished the first coat on this entire wall in 30 minutes.

When starting on a new wall, use your brush to carefully cut in along the edge and smooth outwards. You want to be careful to avoid leaving brush marks on the adjacent wall, as that will be harder to fix later.

You want to avoid touching up the wall after it has dried, as those areas will dry darker. We overlapped in some spots and those areas were noticeable after it had dried.

Limewash will become lighter as it dries, and since it is quite thin, it will not cover the entire wall on the first coat (at least on a smooth primed wall). It will look like a hot mess at first, but do not worry! That is what the second coat is for.


We also limewashed the ceiling because I thought the room would feel more intentional and finished (and cozier) I am glad we did.


Applying a second coat of limewash
Typically, two coats of limewash is all you need—but you can always add a third if you are not happy with the results. We did not dilute either coat with water, but that is an option if you'd like to create more color variation.
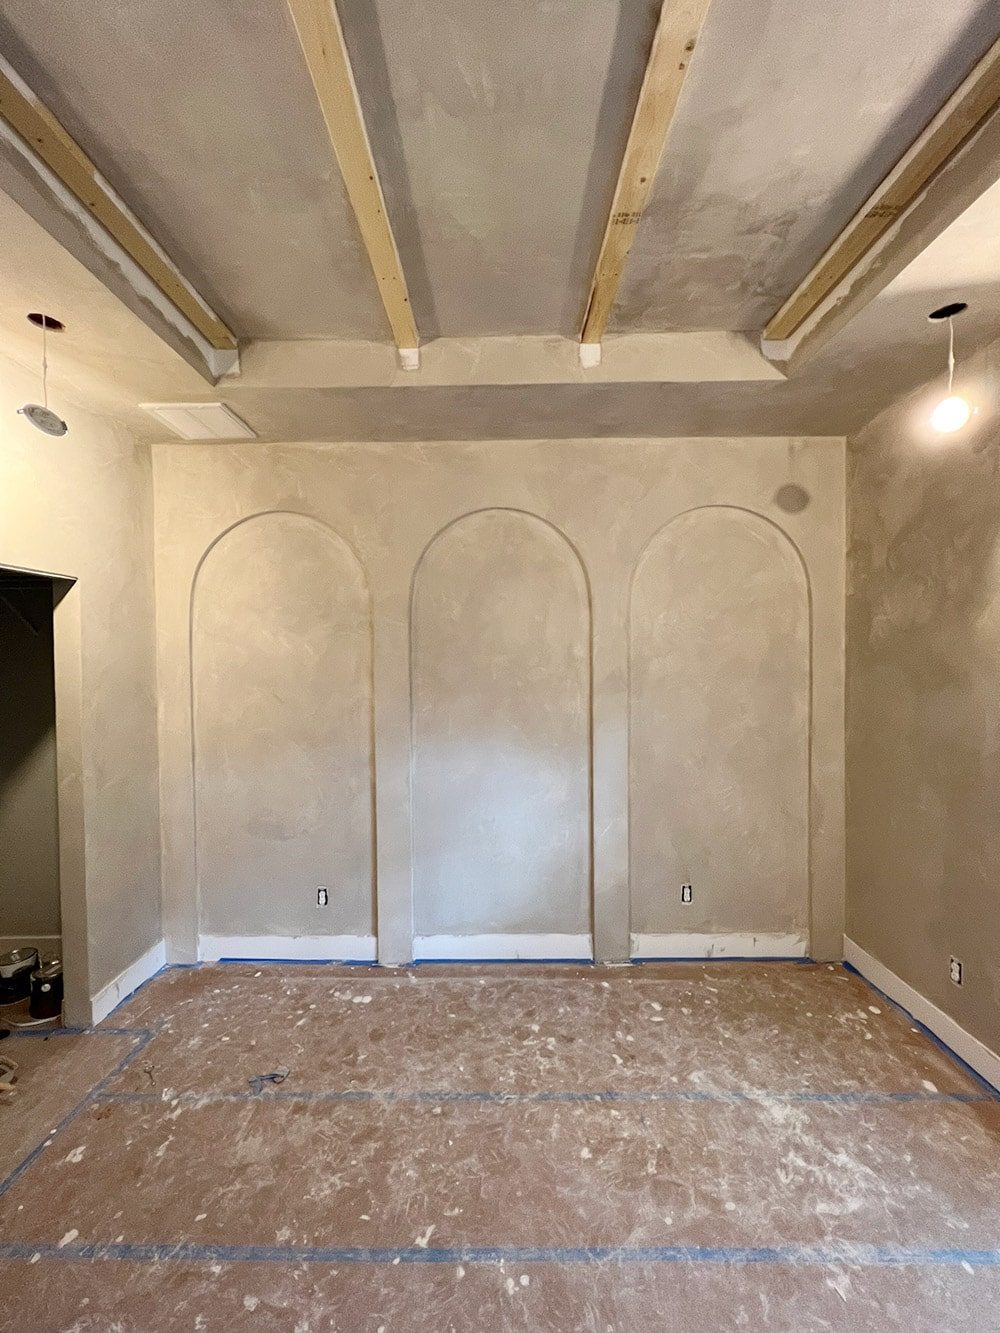
I was a little nervous after watching the first coat dry, but fortunately the second coat changed everything.

The coverage was much better on the second coat, and we applied it relatively thick to make sure none of the underlying wall showed through.

It immediately went from bad-paint-job, to soft and subtle. Exactly what I had hoped for!

If you prefer a subtler look, the key is to coat the wall completely and blend well. Be careful for areas with thinner coverage and visible brush strokes. It is important to have a quality brush with finer bristles.

The left wall has one coat, the right wall has two (still drying).
We covered the entire room—ceiling included, to make it feel more finished and 'cave-like'. We also primed and limewashed the switch plates, AC vents and lights so they would not stand out as much.

Finally, I painted the doors and trim in a tone-on-tone contrasting color: Sherwin Williams Moth Wing. Lucas gave the old bifold doors a makeover using our DIY Plank door technique.

Limewash Bedroom Reveal
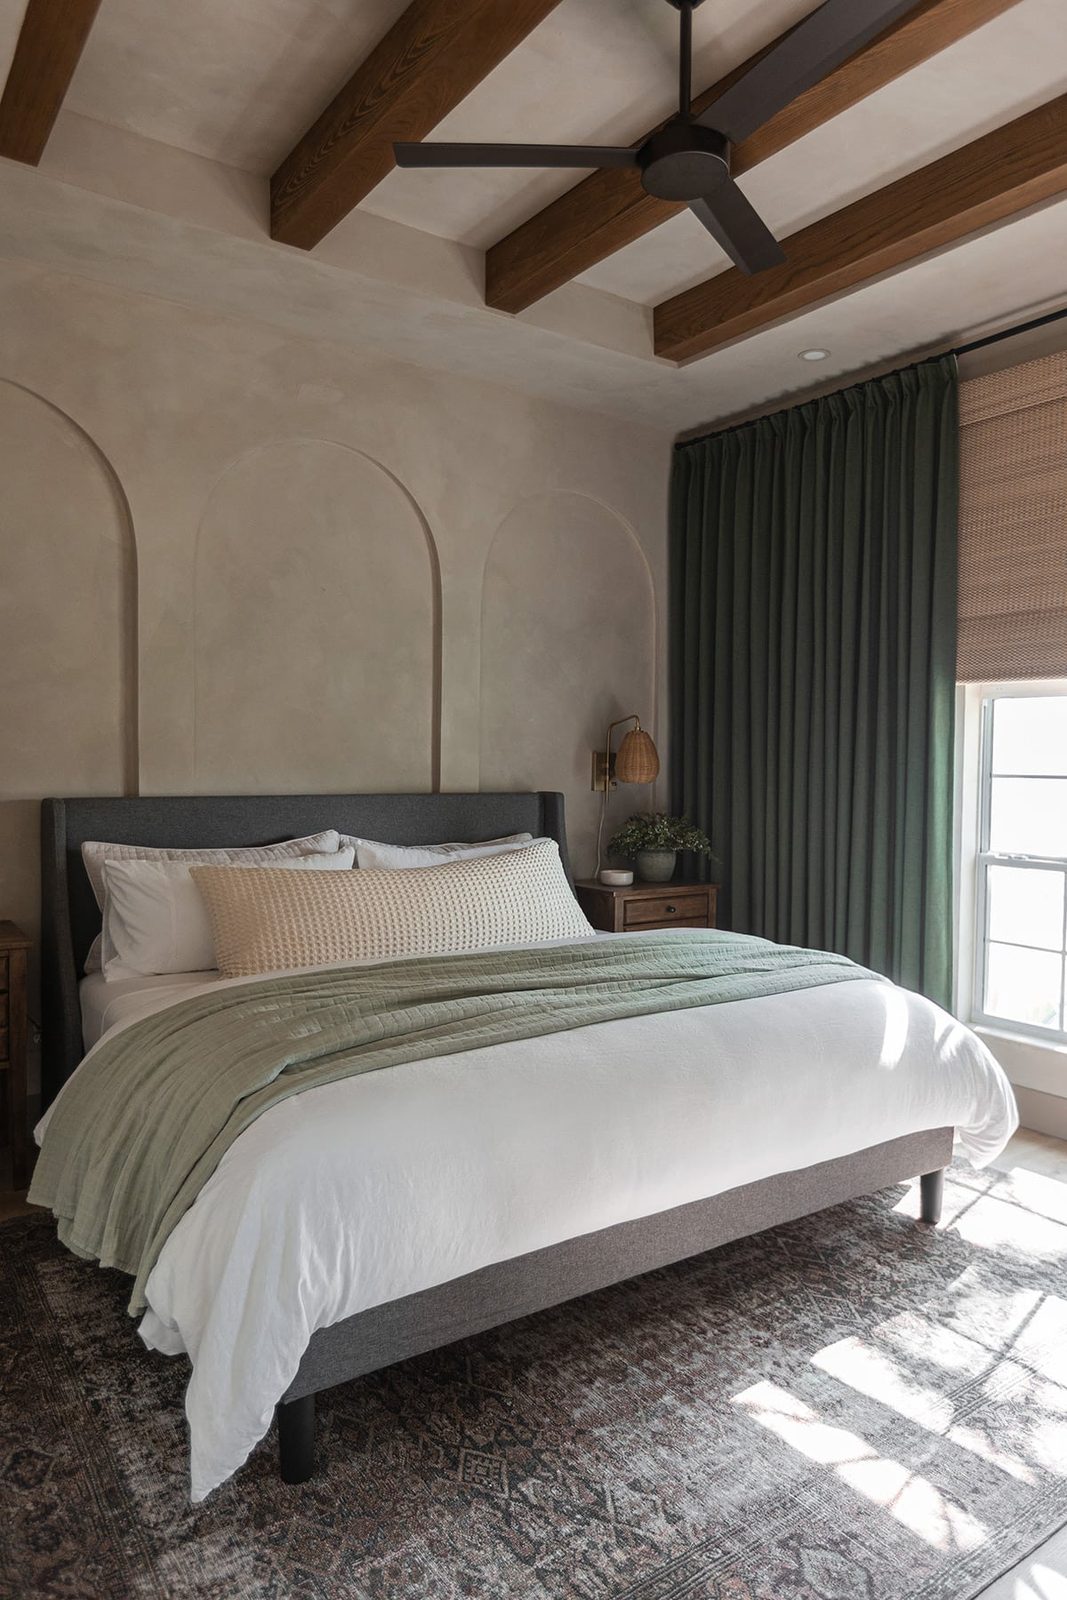
This is how it turned out!

I ended up buying WAY too much limewash… we only used about a gallon of our 5 gallon bucket! Guess we need to find another room (or four) to use it in 😉

Update: this is how it looks after theDIY ceiling beams:

And look at our Modern Mediterranean Bedroom Revealwith links to sources!
Q&A
What is limewash?
The painting technique actually dates back to the Roman empire and is traditionally created from limestone that is been crushed, burned, and mixed with water to make a lime putty, which is then colored with natural pigments.
How is limewash different from Venetian Plaster or Roman Clay?
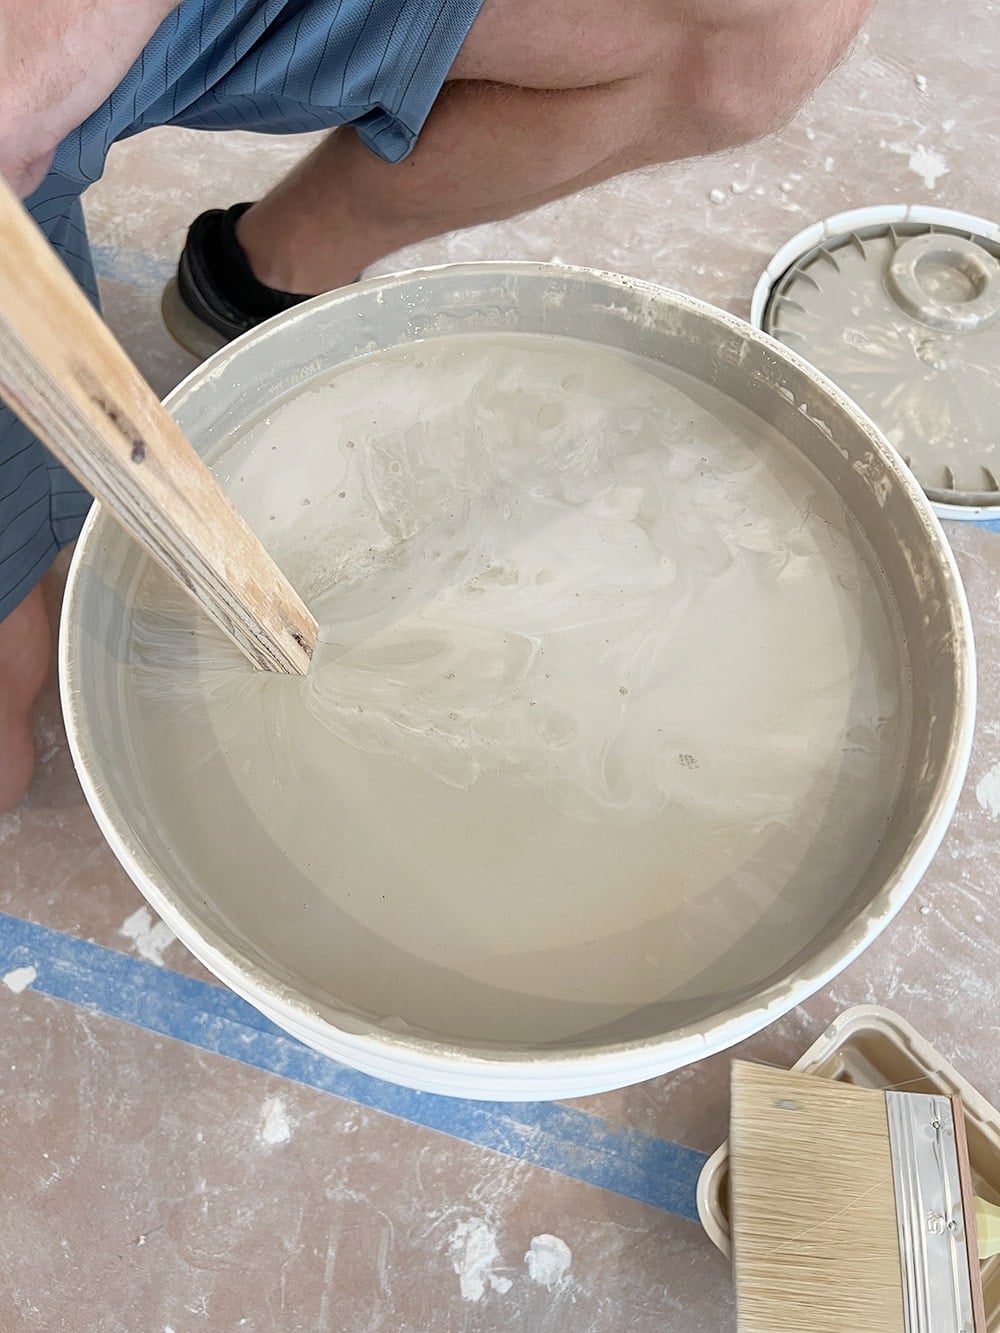
Limewash has a consistency of watered-down paint (similar to whole milk). It applies easily with a large brush, and leaves walls with a suede patina finish.
Both Venetian Plaster and roman clay are much thicker, and applied with a putty knife or trowel. They are best used on smooth surfaces, and create a stone-like appearance that can be matte or polished.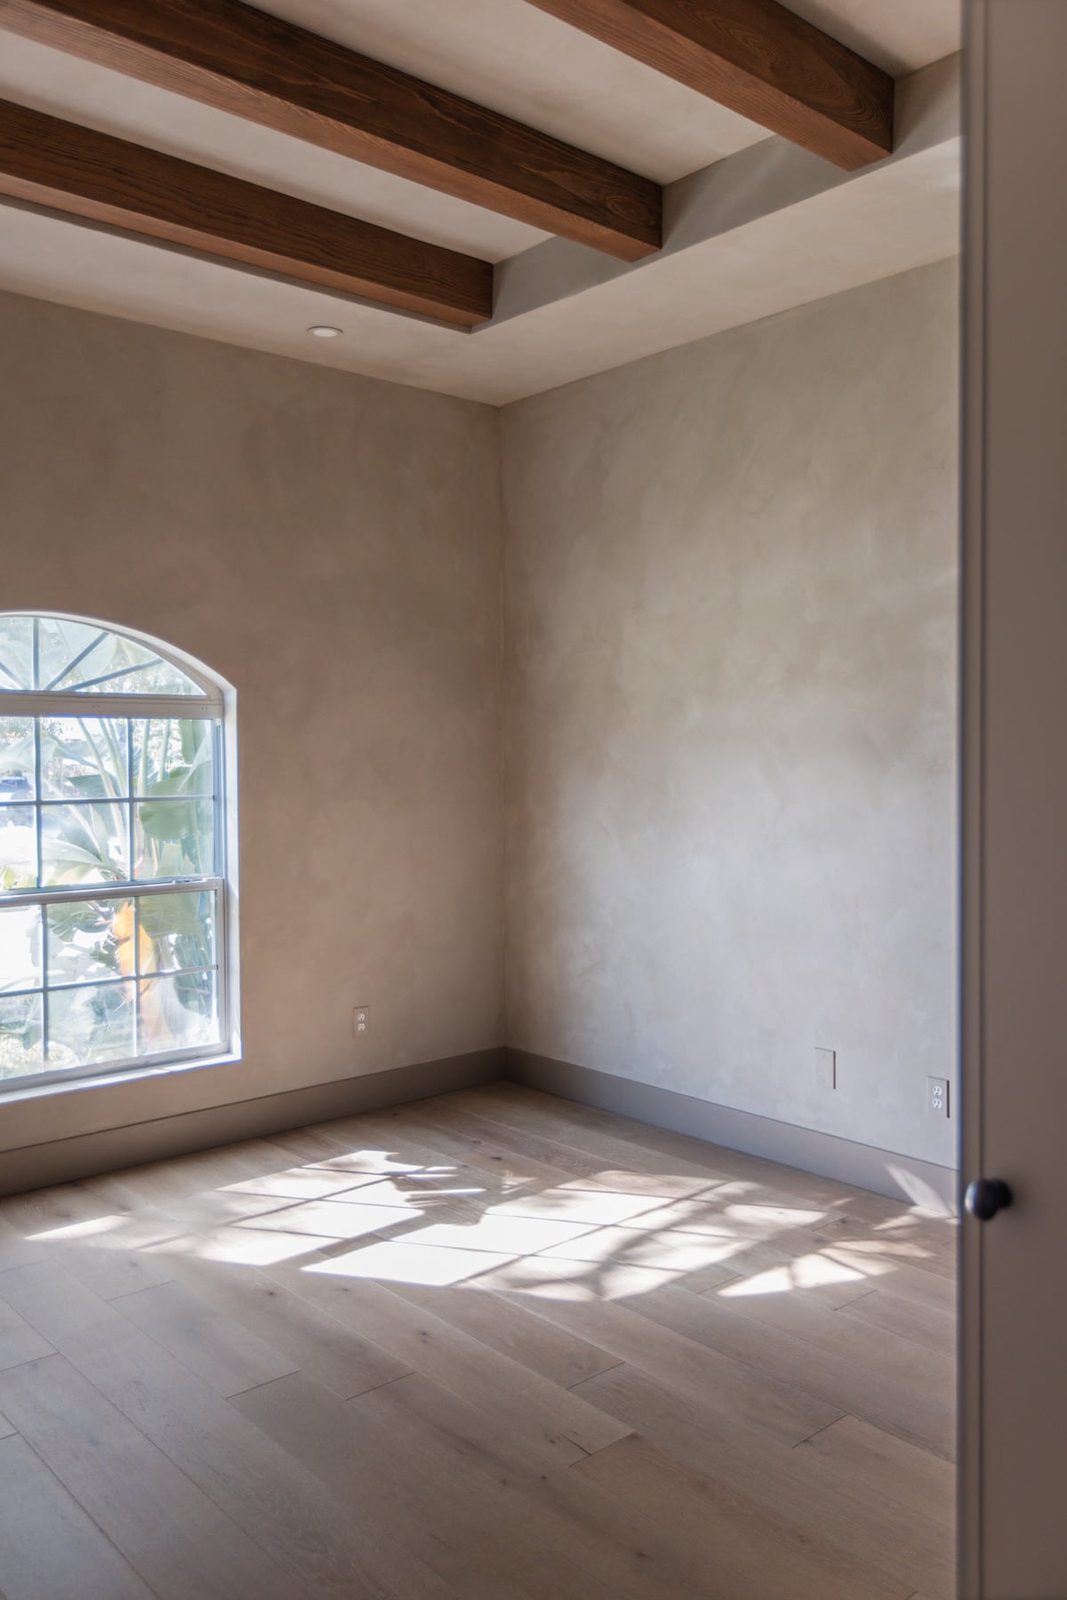
How do you clean limewashed walls?
A gentle wipe-down with mild soap and warm water is recommended. You do have to take extra care not to overdo it, as this natural substrate does not cure and harden like latex paint. However, the organic movement and color variation lends itself to concealing any stains/dirt quite well. If too much limewash is removed, you can lightly re-coat the area with a diluted mix and feather it out to blend.
Do you need to seal limewash walls?
Not necessarily. For higher traffic areas like kitchens and bathrooms, a clear matte sealer is a good idea to protect the finish and make it wipeable. I opted to skip this for our guest bedroom.
Can you paint over limewash?
Yes! Limewash does not add any texture to your walls, and you can easily repaint them in the future. Just make sure to use a water-based primer first.
Which limewash should I use?
There are several companies who manufacture lime wash or “lime paint” products. Portola Paints, Romabio, Color Atelier, JH Wall Paints and Vasari are some of the more recognizable brands available in the US. I used the more affordable Vasari lime paint from Lowe's on another bedroom project and it turned out great! Any of these reputable brands are fine choices—take a look at their gallery/customer photos and read through their FAQ before deciding.
For this room, I chose Color Atelier after studying examples of their product in real life on their IG, finding the right color, and because I waited until the last minute and it was quick and easy to purchase 😉 You can order directly from their website, but it was a better deal on Amazonafter shipping.
Fun holiday content coming up next 🙂