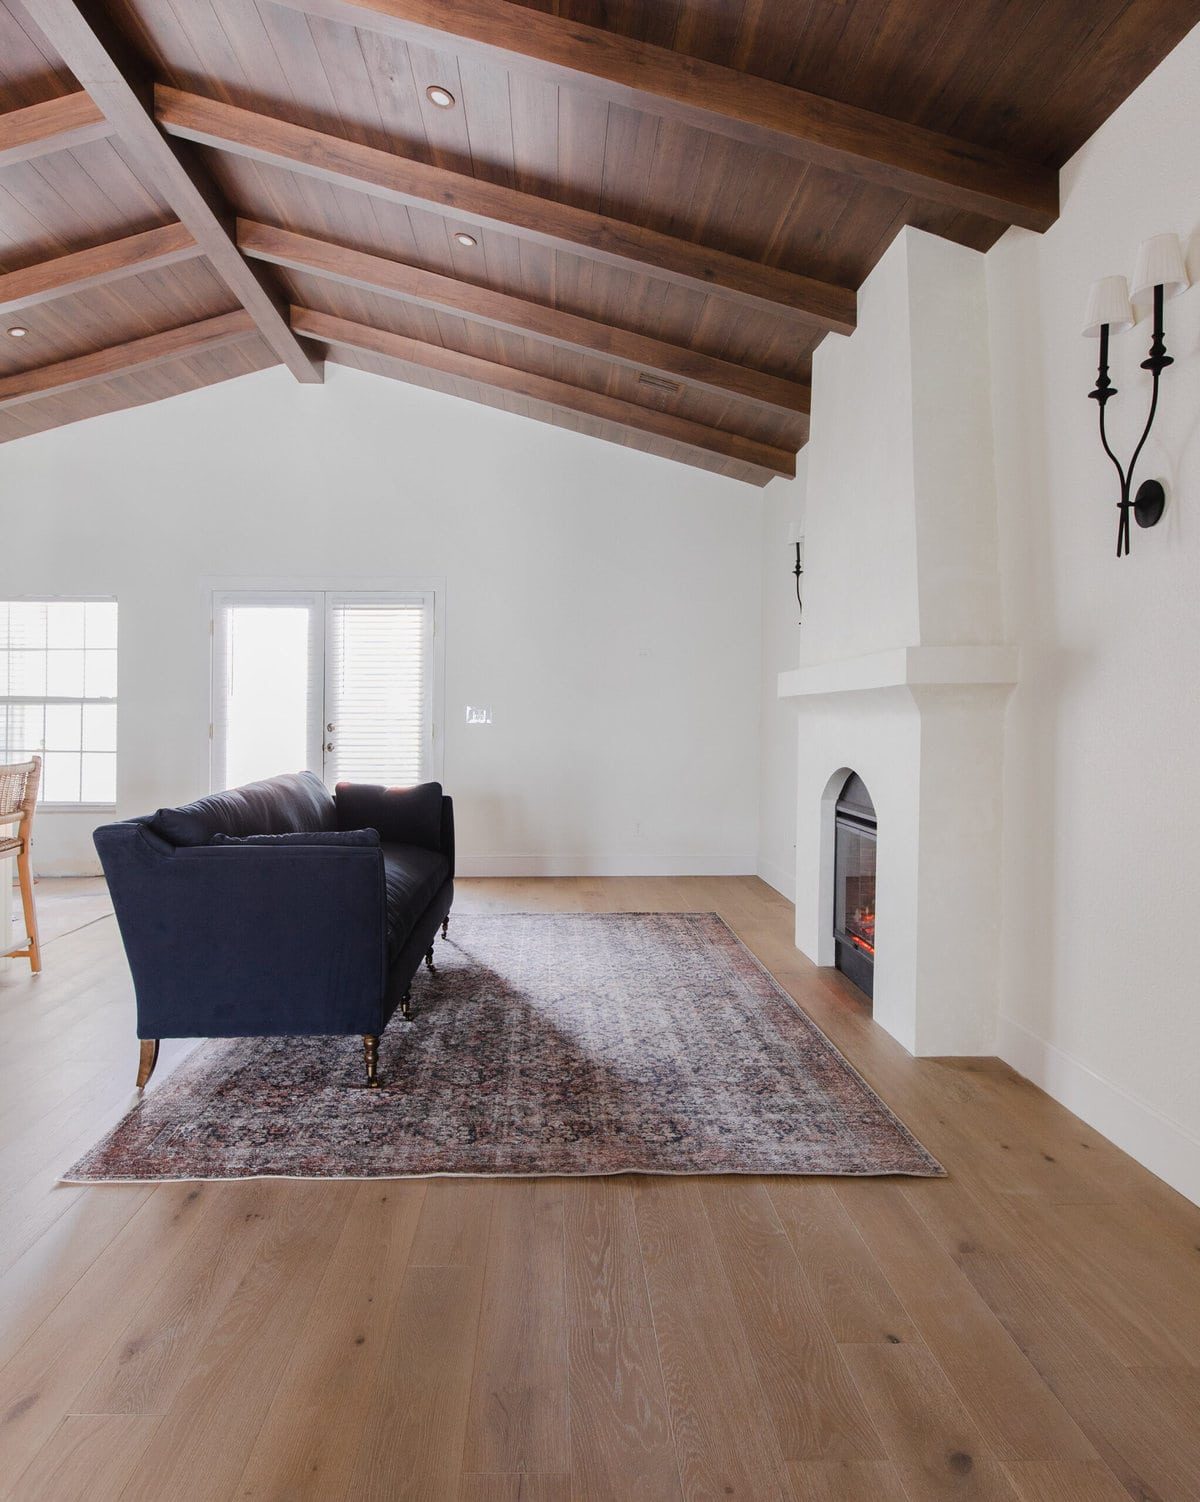
Hacienda Minimalist Mediterranean Bathroom Design
A minimalist Mediterranean bathroom design and progress update. Featuring wood-look tile, microcement walls and organic elements.

Ready for another new project? Today I am excited to spill all the details on our third (and final) bathroom at the Hacienda Hideaway. Let us dive right in to the design plans!
Before
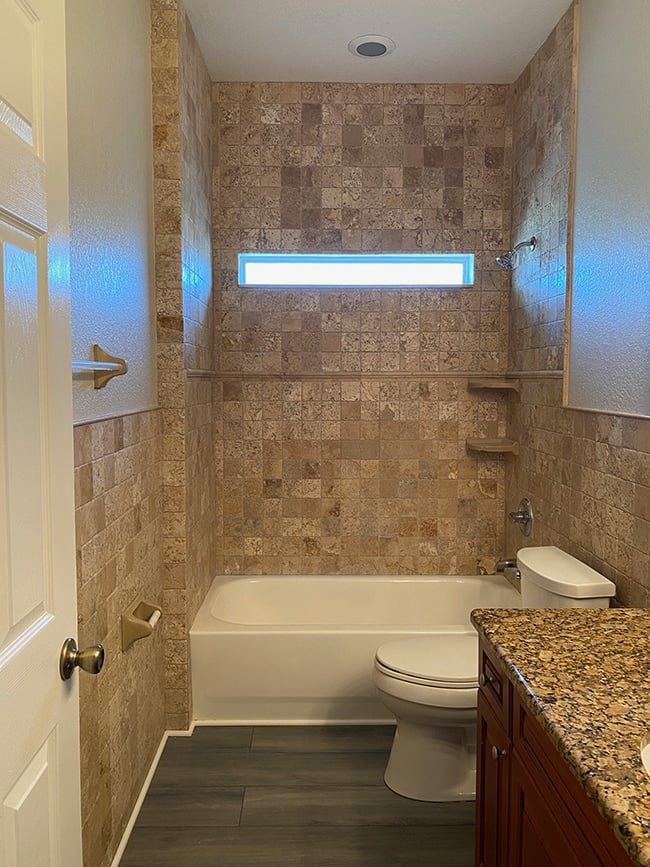
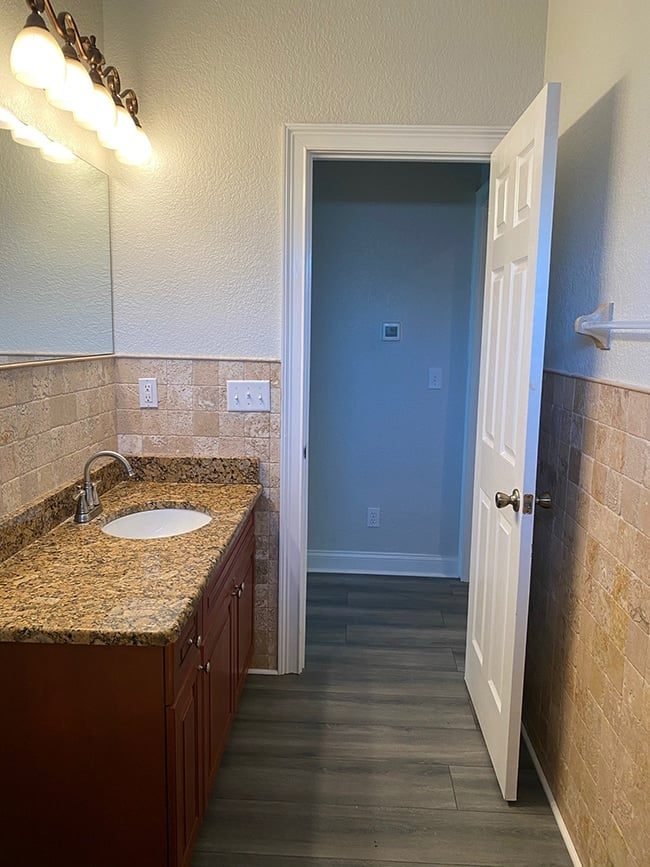
This hall bathroom will be shared by two bedrooms (up to six guests), and will likely get the most traffic. It is your typical bathroom layout—vanity, toilet, shower/tub combo along the back wall.
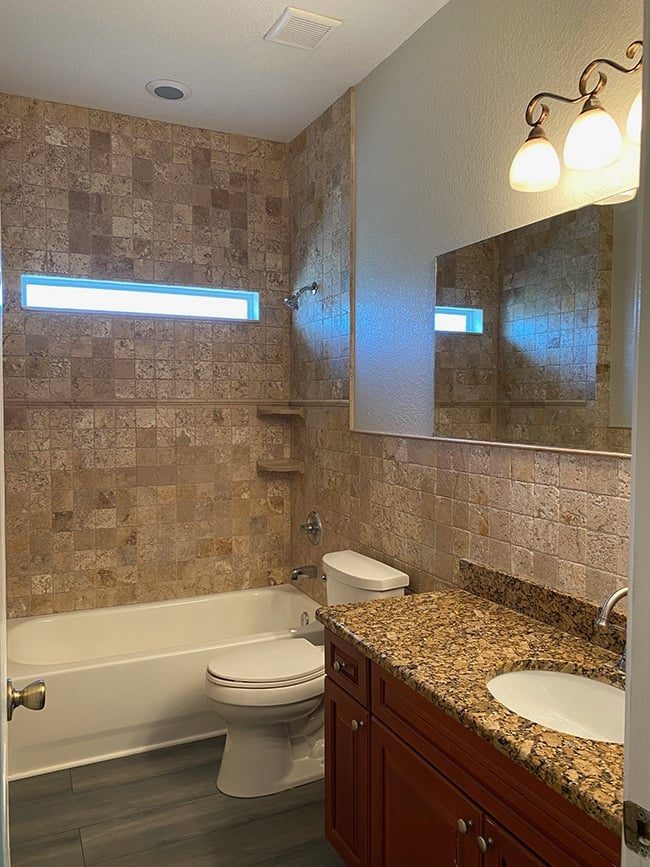
It also had the exact same materials used throughout the house—brown travertine tile, cherry wood vanity with speckled granite, and the signature flip-house gray walls and vinyl plank floors.
Design Plan
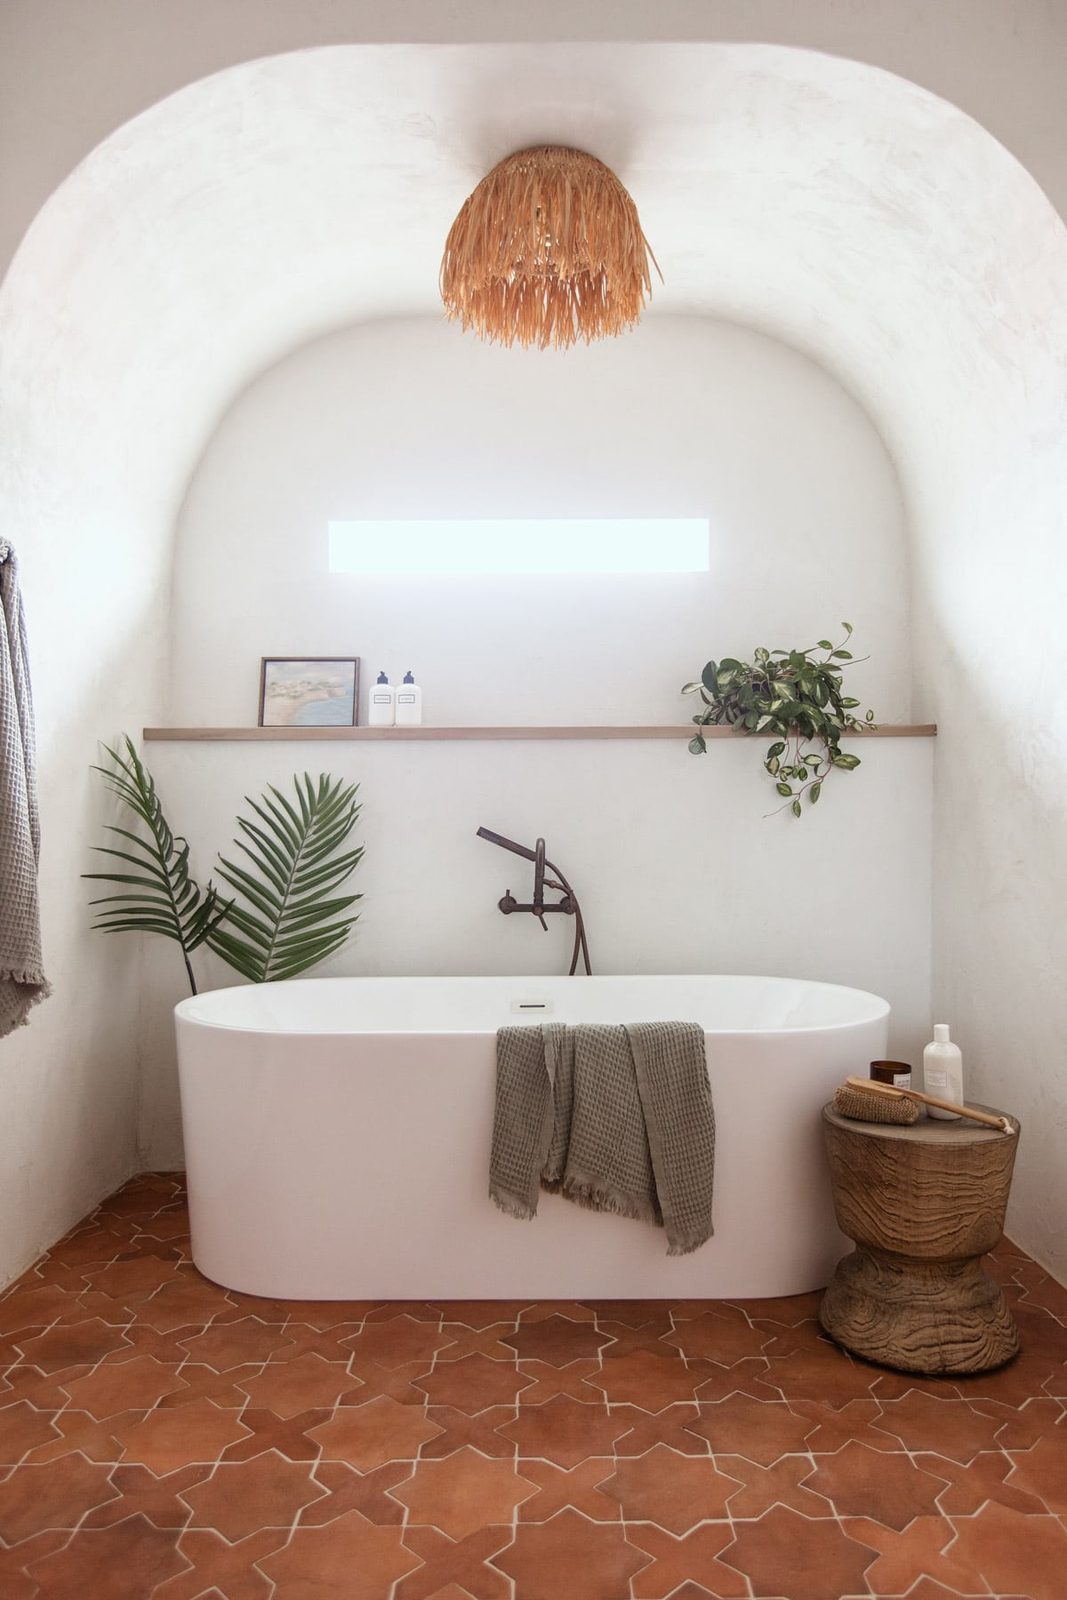
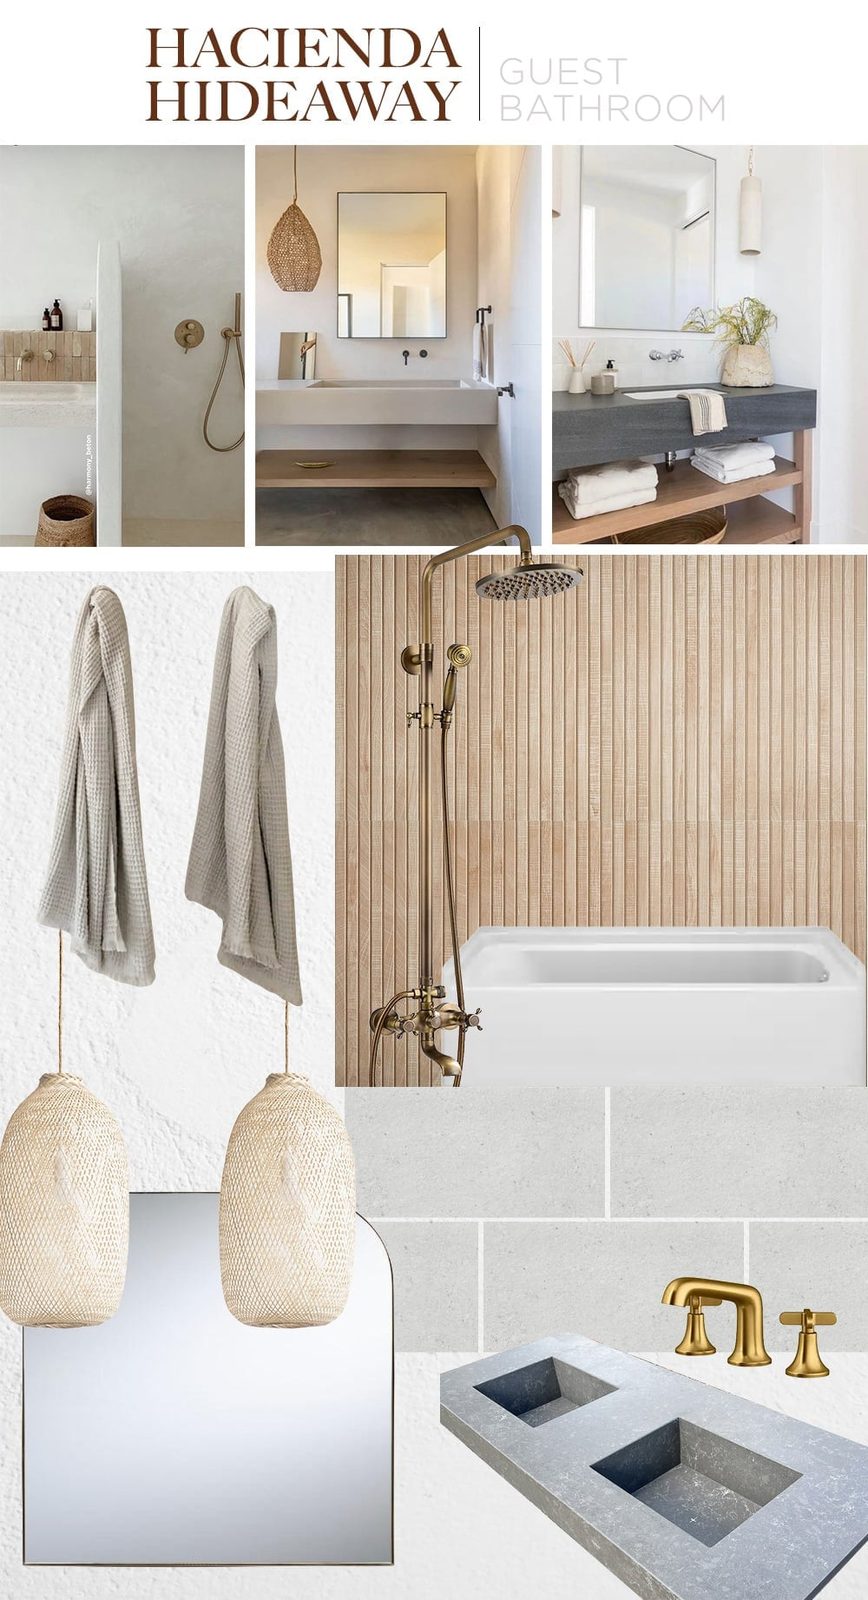
In keeping with the overall Mediterranean design style of the house, this bathroom will lean slightly more minimalist. Similar to the primary bathroom, it will feature microcement walls and organic elements like wood and woven textures.
I came up with the idea of a DIY built-in vanity, with a curved partition and a floating shelf—all covered in microcement for a seamless and minimalist look.
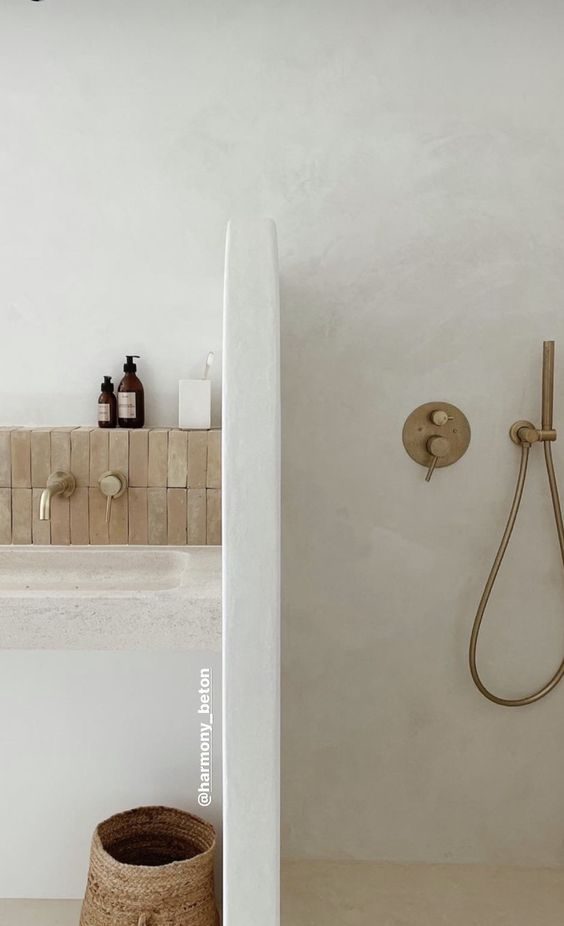
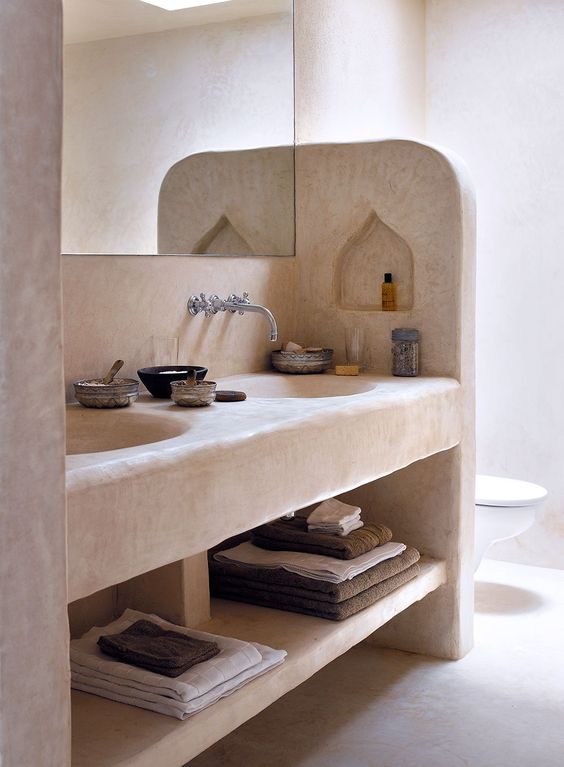
I found an installer who could fabricate a custom quartz countertop with double integrated sinks.
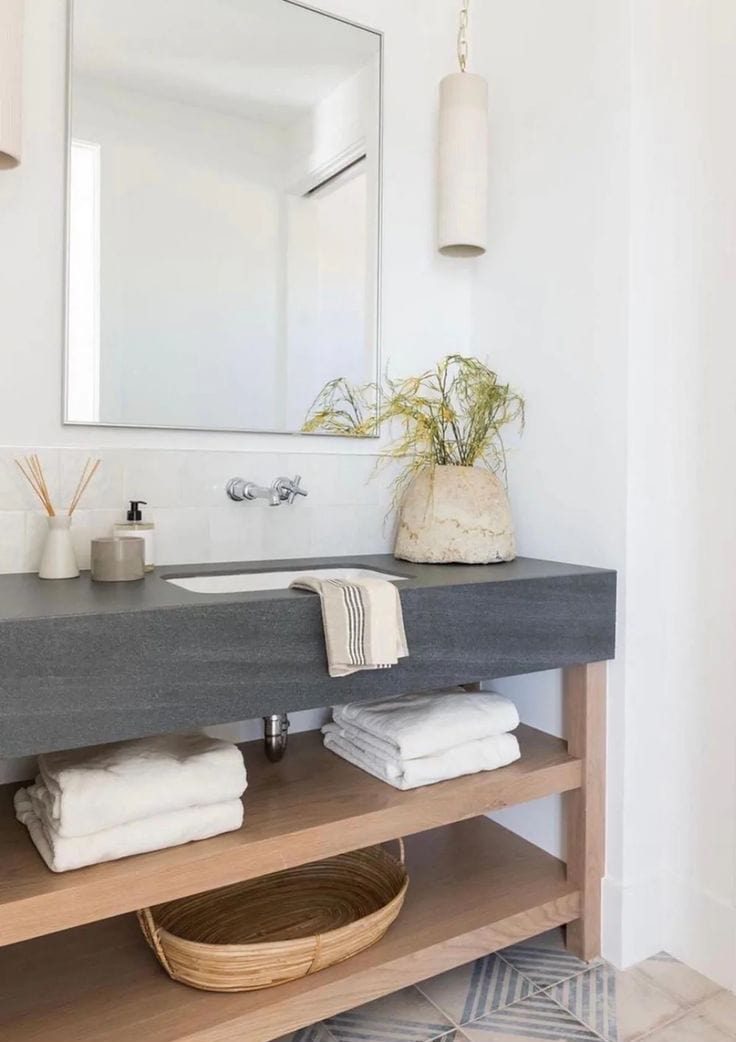
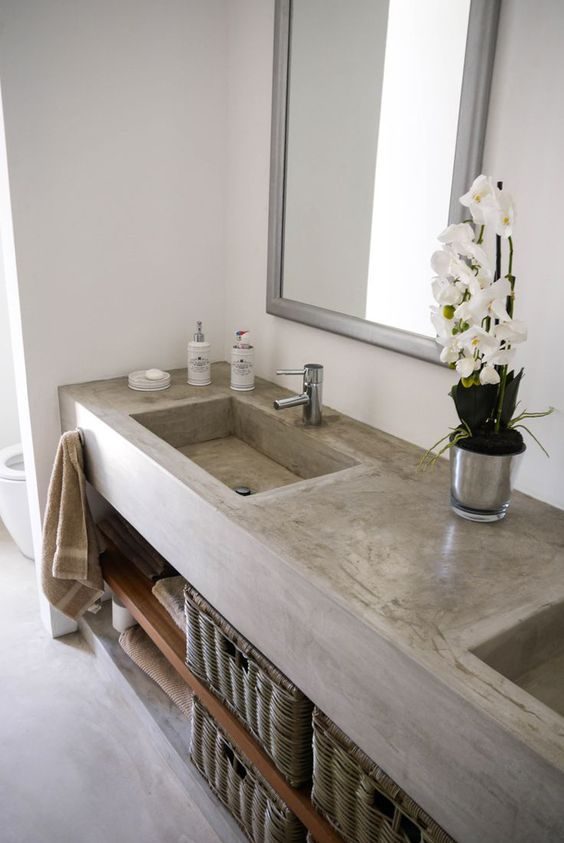
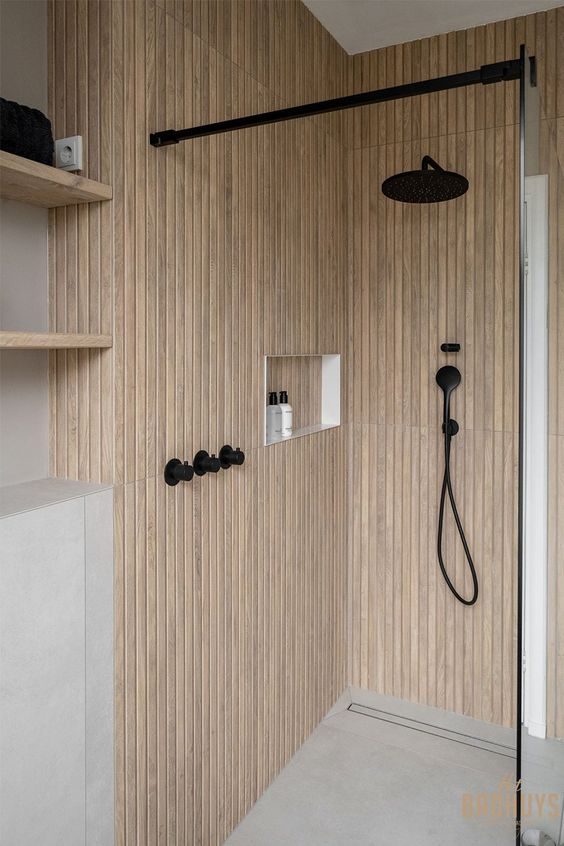
I ordered handmade woven pendant lights, and sourced my dream “wood” shower tile for a spa-like feel:

Here is what I came up with:
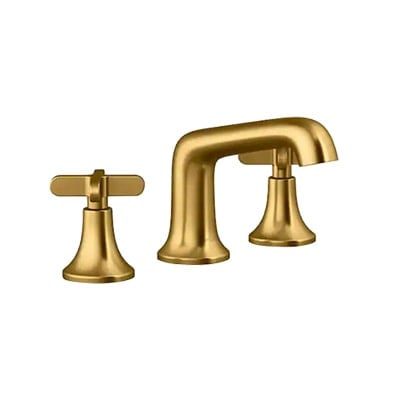
You can click below to shop the sources directly:



Progress
Demo started last fall, but the renovation was put on hold to focus on other projects. We originally planned to save the tub, but it was damaged during demo…

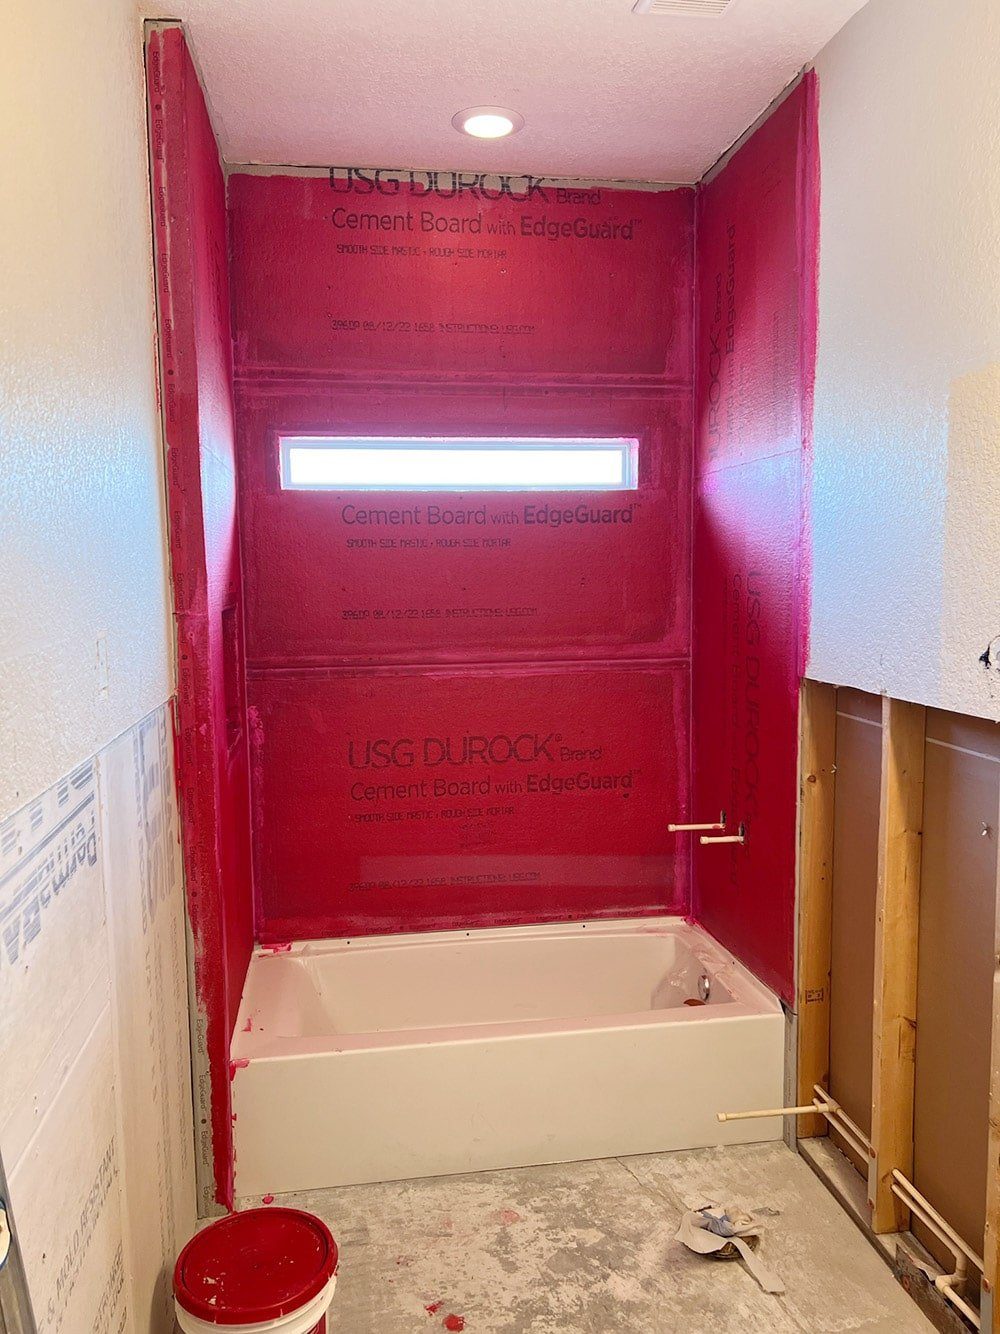
The shower walls were rebuilt with cement board and waterproofed, and our new tub was installed.
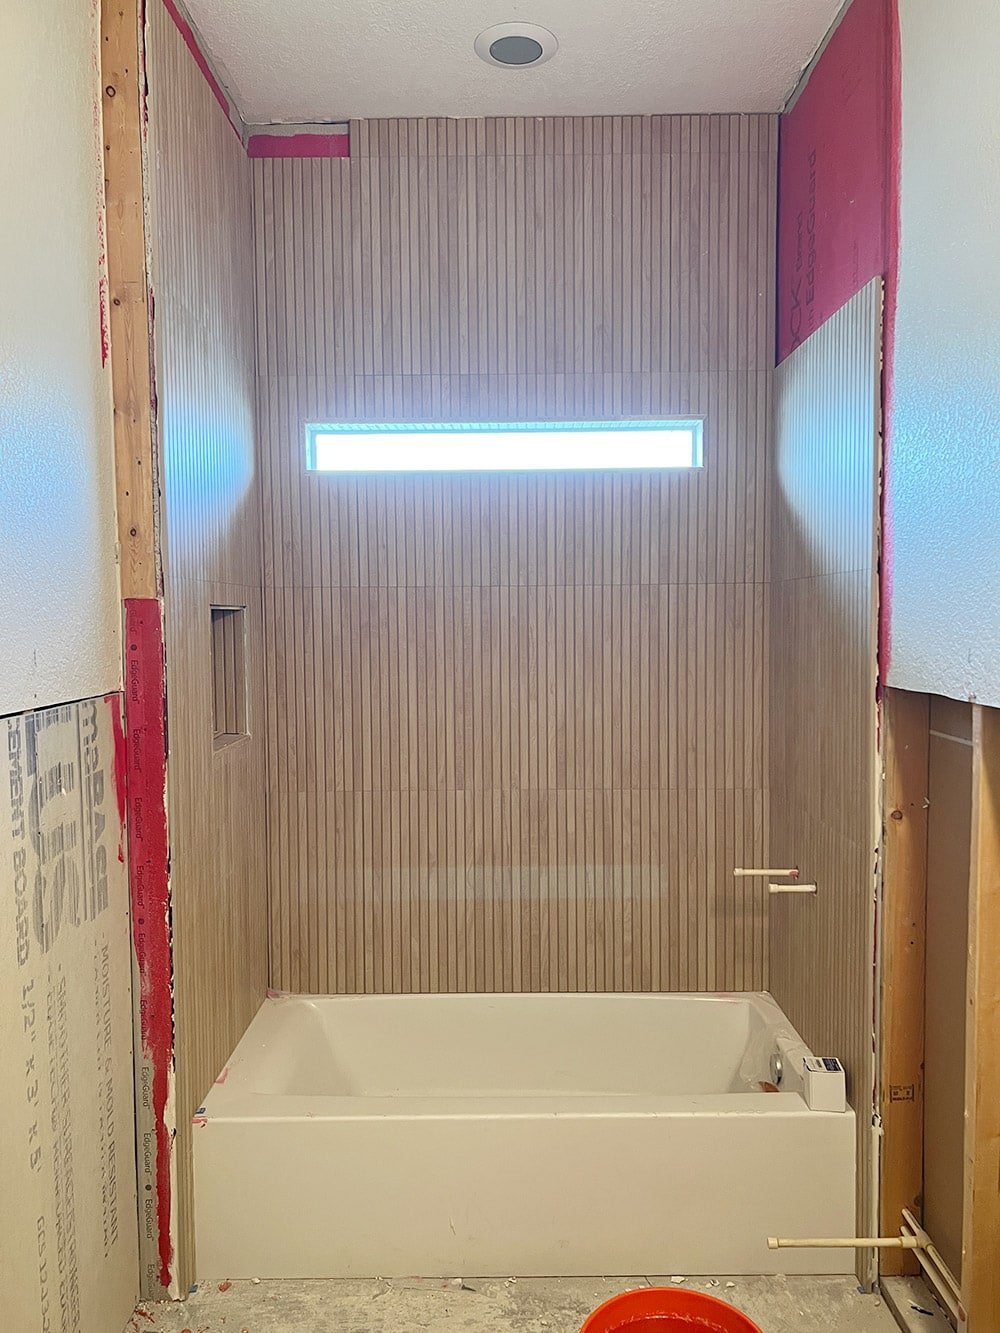
I went back and forth on the design many times, until I spotted this wood-look tile and immediately had to have it. Unfortunately it is now on backorder (I heard it will not be back until next year!) and I am so glad I jumped on it while I could. You can enter your email address on Wayfair to be notified when it restocks!

We were more than happy to hire this tile job out to the pros! It did not look like a fun time…
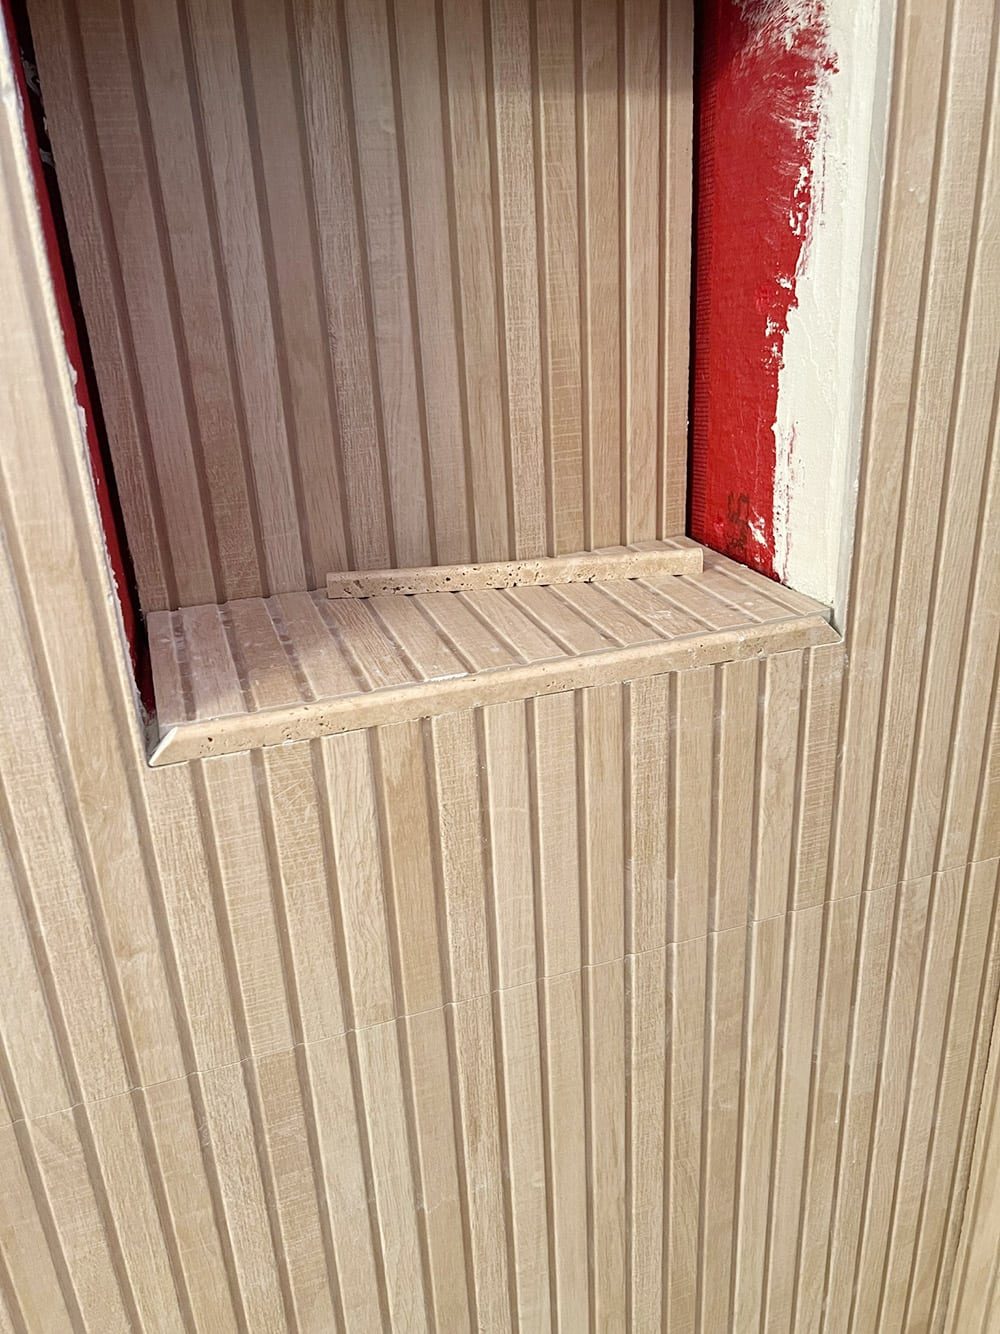
The one bummer about this tile is that there is no coordinating edge trim. After several failed attempts and running all around town trying to find a solution, we finally found this matching travertine pencil trim:
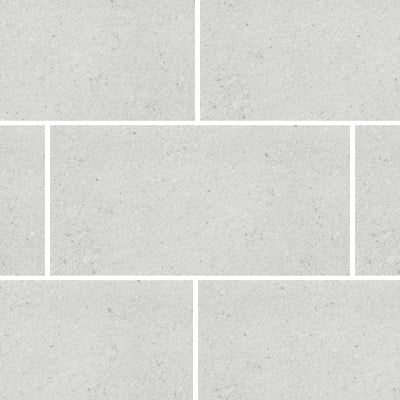
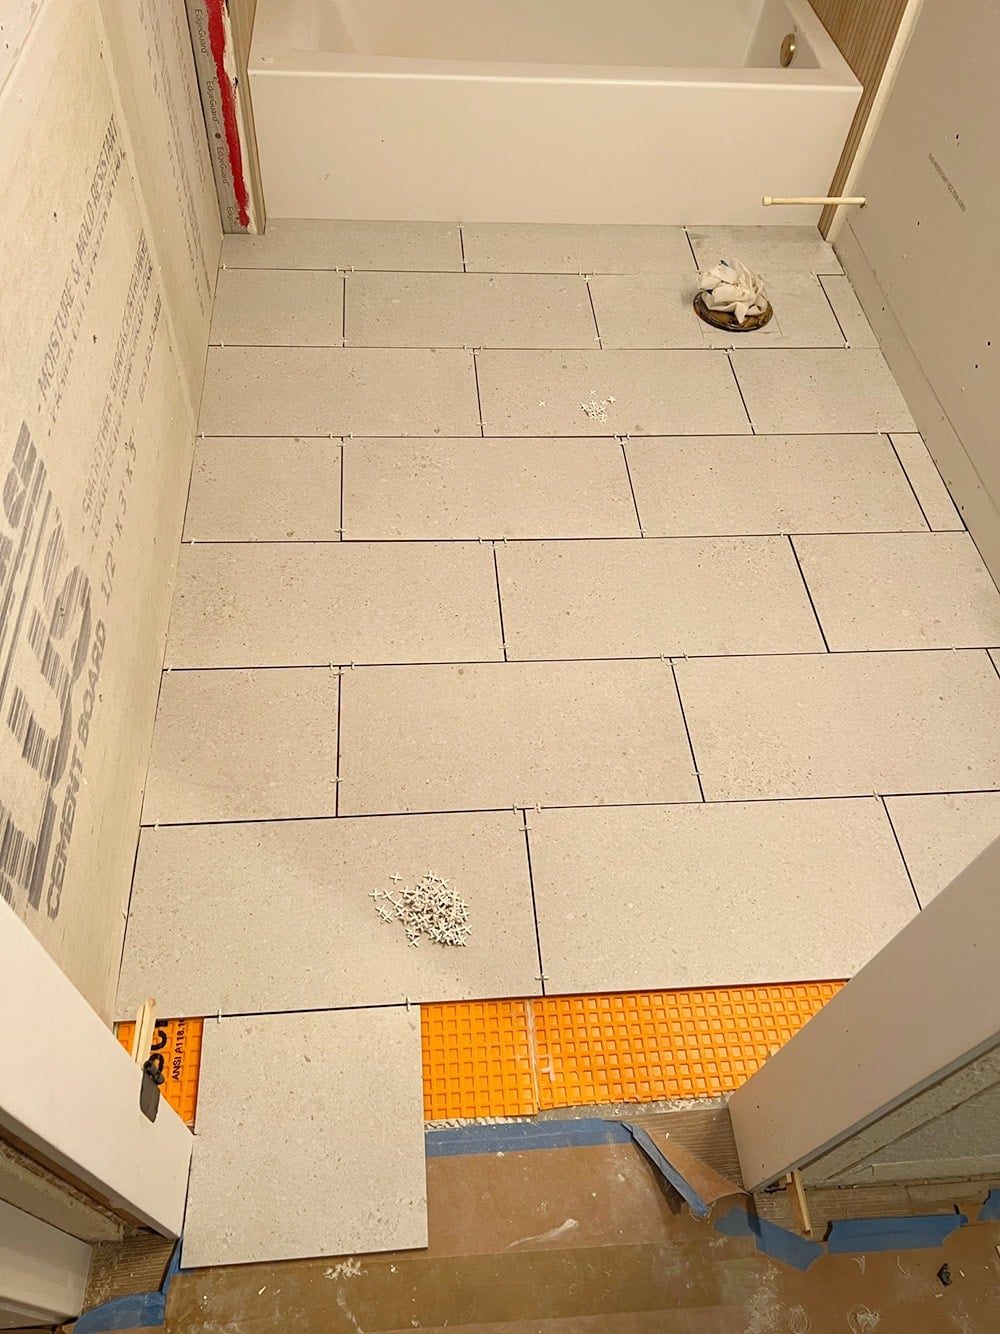
Since the shower tile will be the focal point in the room, I kept the floors unfussy with these matte porcelain 12×24″ tiles. They almost feel like a mix between concrete and natural stone, and the soft gray will balance out the warm tones of the tile, pendants and gold accents.
After the tile installation was complete, it was time to move onto the vanity! I will not get into the nitty gritty how-to in this post, but it was a unfussy build using leftover 2×4's and a 2×8'.
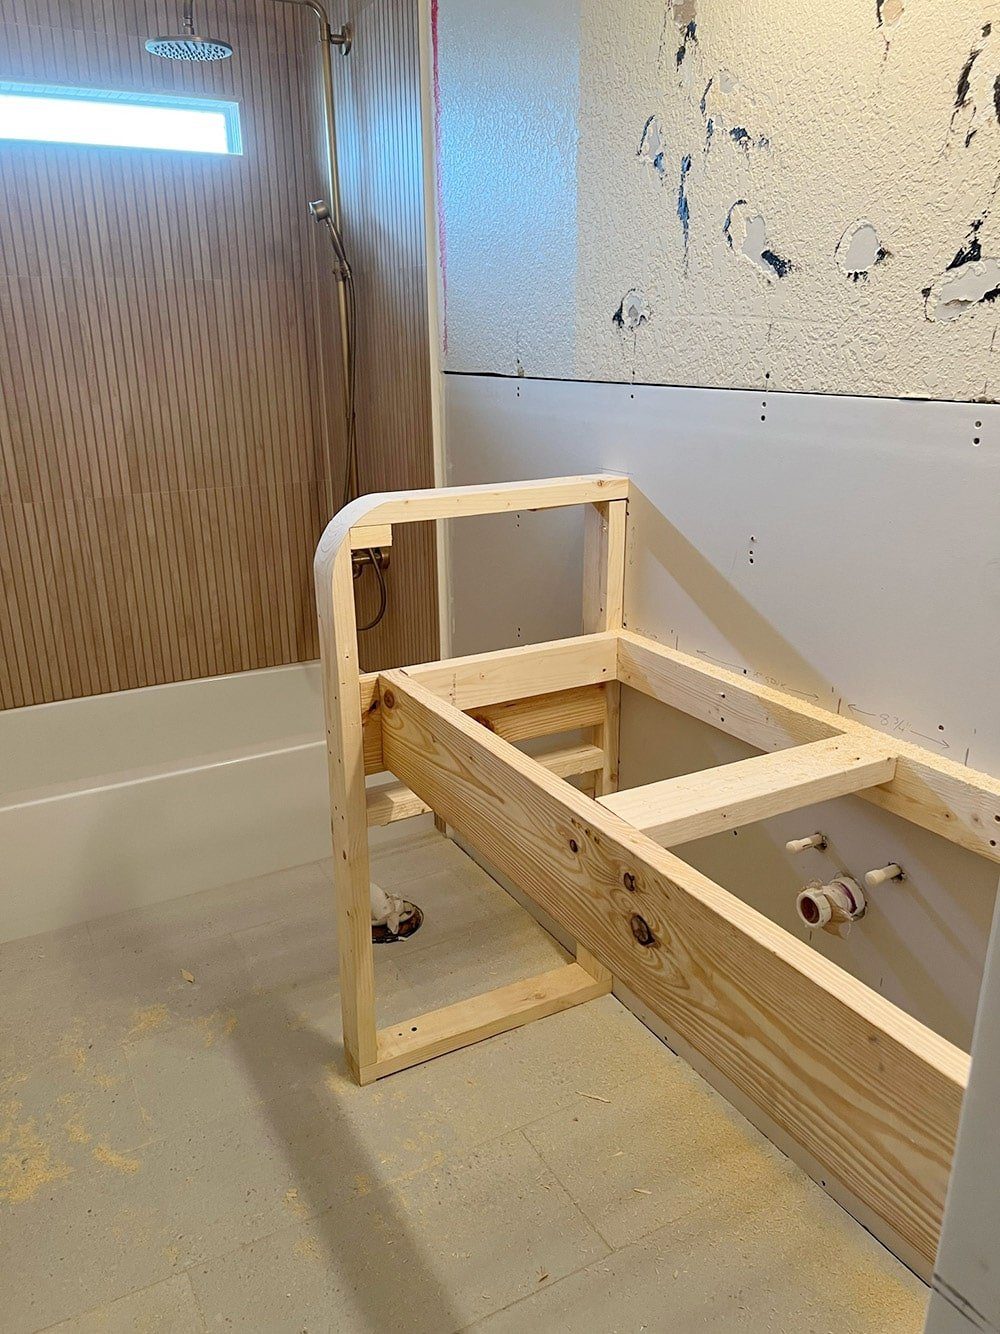
Would you be interested in a tutorial post on this? Let me know in the comments!
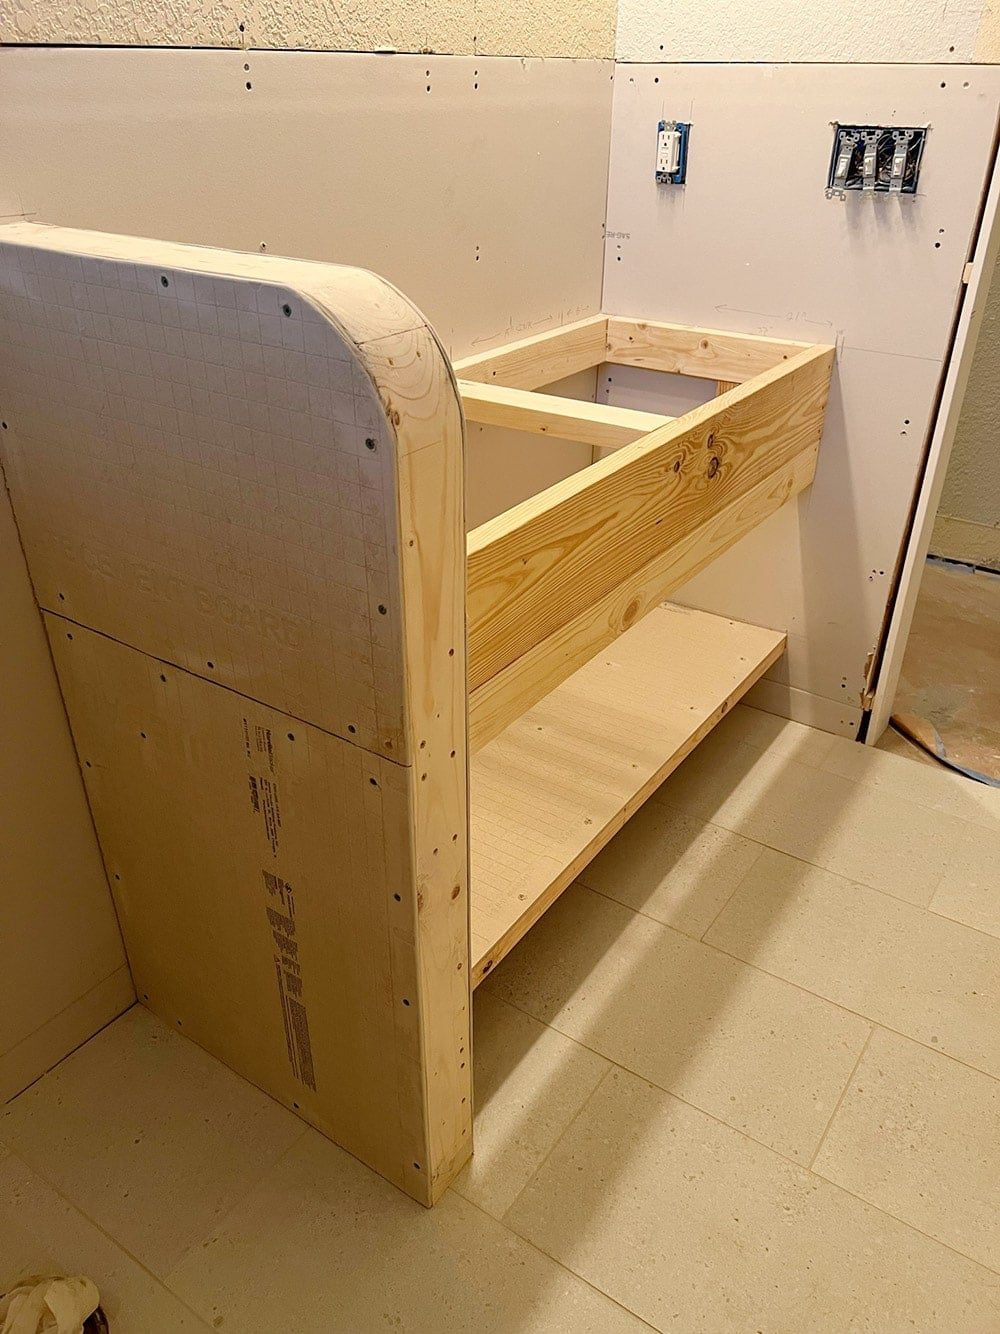
After the vanity was built, we added waterproofing and had our custom quartz counter installed. Our fabricators did an memorable job—it is well suited!
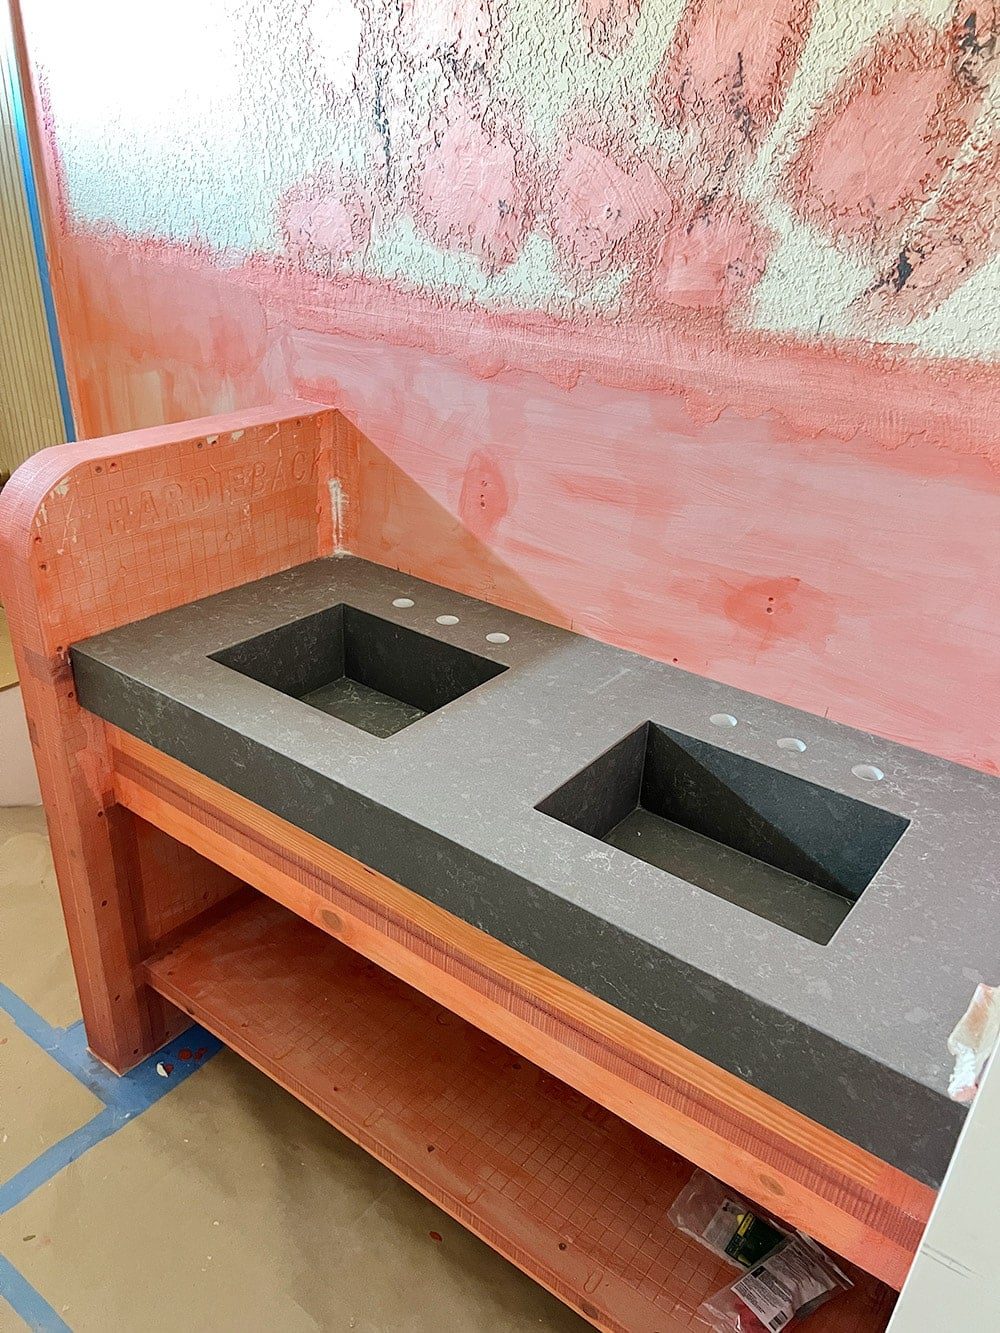
Finally, Lucas spent the last few days covering all of the walls and vanity with microcement. We used the same product from mymicrocement tutorial, but without any color packets added.

We also decided to make the finish smoother this time around, compared to the more rustic primary bathroomwalls.
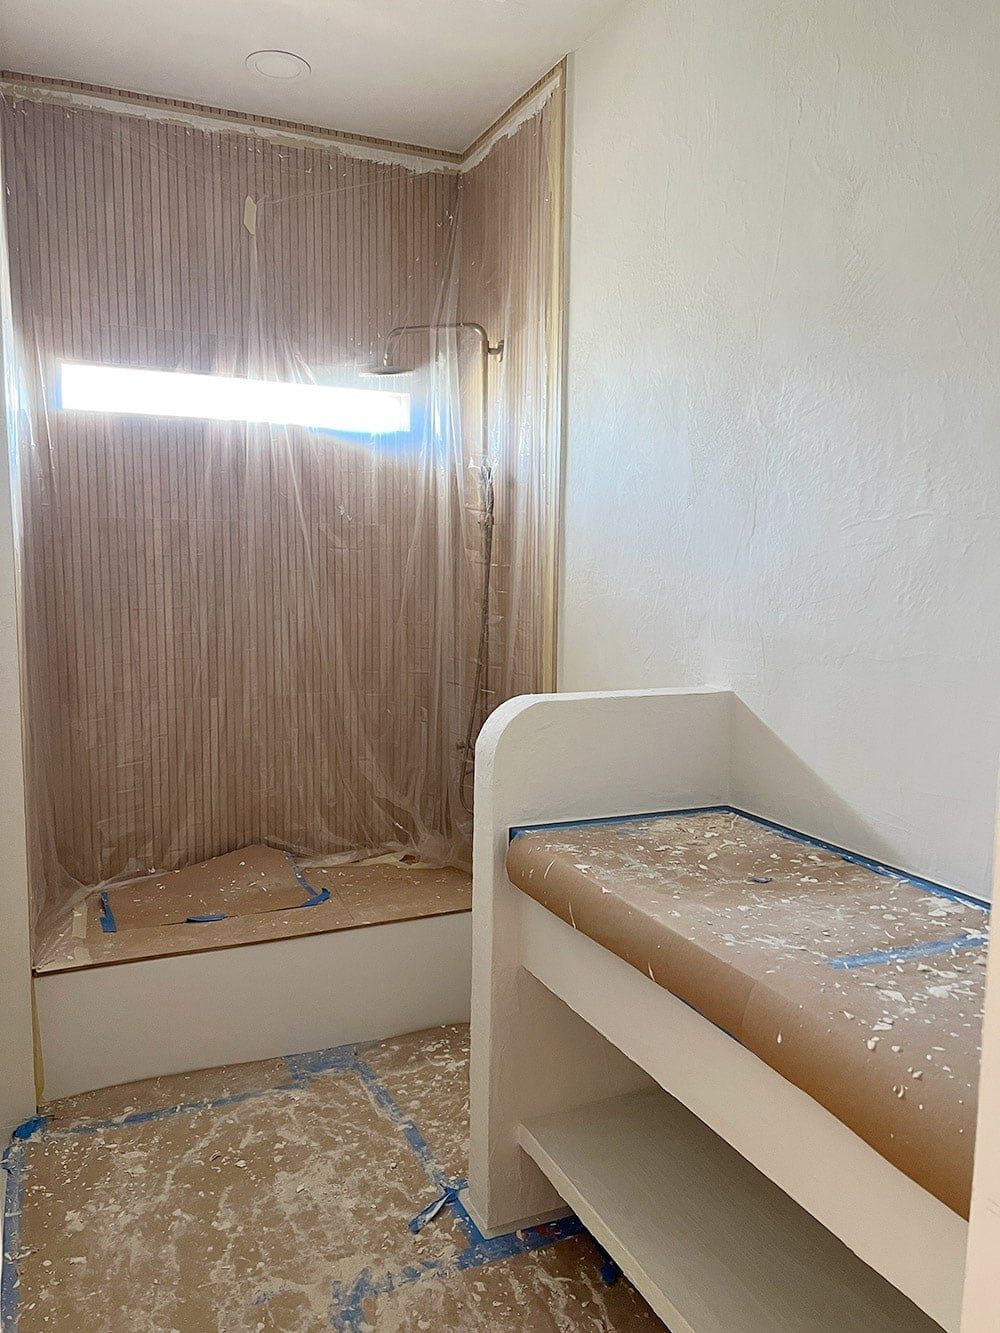
And that brings us to today. Lucas added a final touch-up coat of microcement yesterday, and now we are ready for the final plumbing and finishing touches.
I am waiting on a custom ordershower curtain expected to arrive in 3-4 weeks, so as soon as it is here, I can photograph this space and reveal it!
In the meantime, I'll be sharing progress updates on my Instagram stories—make sure you are following me there so you do not miss out!