DIY Board and Batten Walls
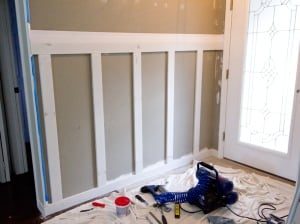
How to install board and batten walls in any room! A unfussy, beginner-friendly tutorial with helpful tips and tricks.
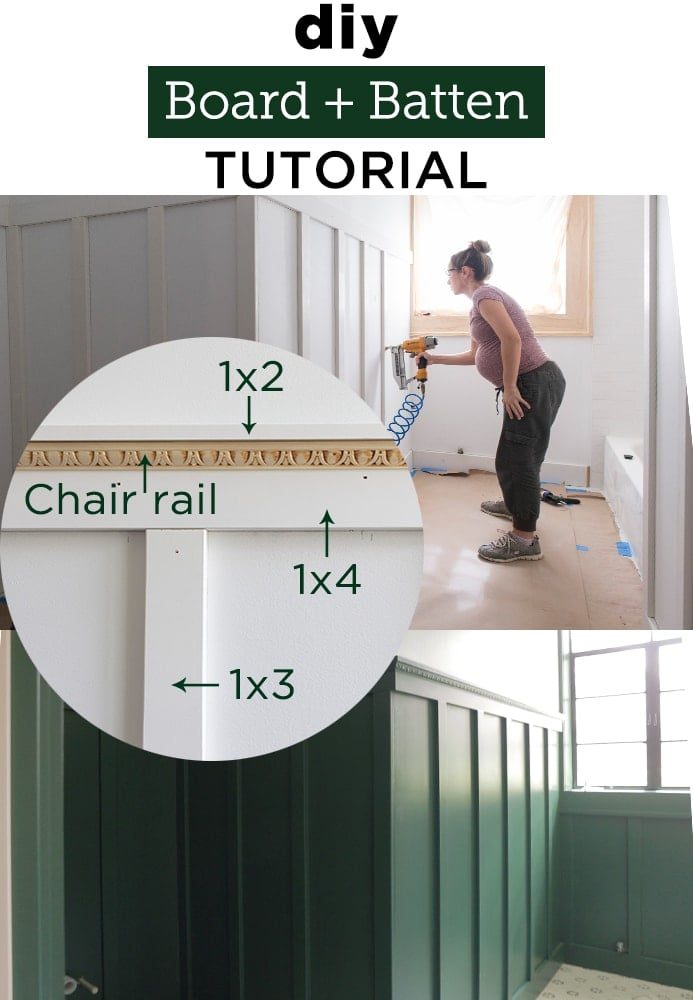
This post is part of a paid collaboration with Lowe's Home Improvement. All opinions are my own.
Kicking off the week with our latest project at The Riverside Retreat, and one of my favorite easy DIY projects: board and batten! Watch the timelapse tutorial below:
As you know I have done my fair share of wainscoting/wall molding treatments over the years, and I would have to say this board & batten technique is the most beginner-friendly (aka, my recommendation for all you first timers out there!)
We have been slowly working on the main bathroom at the Riverside Retreat over the summer, and are now finally at the finishing stages—see the Befores and read all about our plans in the bathroom design post.
Update: You can see the finished room in the Main Bathroom Reveal post!
There are many ways to approach board and batten walls depending on the look you want, but for this beginner level tutorial, I opted to choose the most budget-friendly and easiest to work with materials. Here is what we used:
Board and Batten Materials
- 1×6 primed MDF (baseboard)
- 1×4 primed MDF (top board)
- 1×3 primed MDF (battens)
- 1×2 primed MDF (top ledge)
- (Optional) chair rail molding (to add a little detail)
- Caulk, spackle, liquid nails, paint
We needed four 8' lengths of each material to wrap around the room, except for the 1×3 vertical battens—we used 19 of those. Total materials cost including paint: under $300 for the whole room.
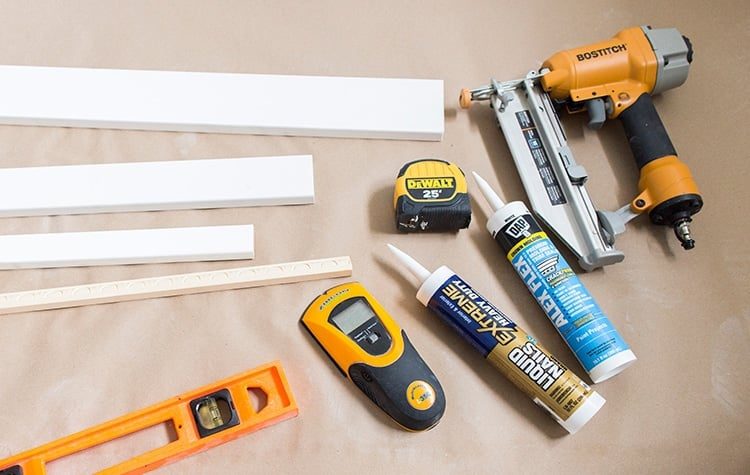
Tools
- Miter saw
- Nail gun (we used 2″ nails) and air compressor (or cordless nailer)
- Stud finder
- Level
- Tape measure
How to install board and batten
Step 1: Remove and replace existing baseboards
Our walls were new, so we did not have any old baseboards to remove. We opted to use 1×6″ for our baseboards, but you can also use a 1×4″ (personally, I think taller looks nicer!)
Choose a wall to begin and measure to find the length of your baseboard. Keep in mind that you will want to miter both edges for a clean 45º joint (you do not have to miter, but it looks more professional this way).
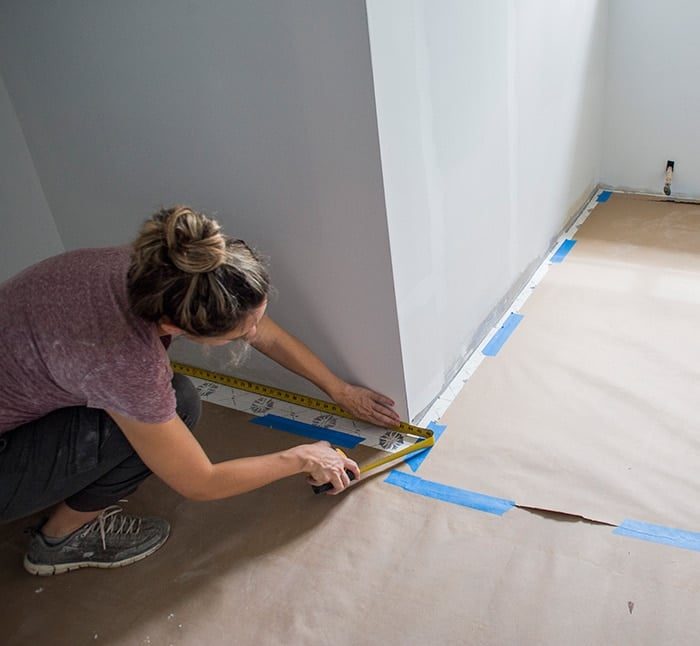
A quick test fit to make sure it lines up with the edge of the wall…
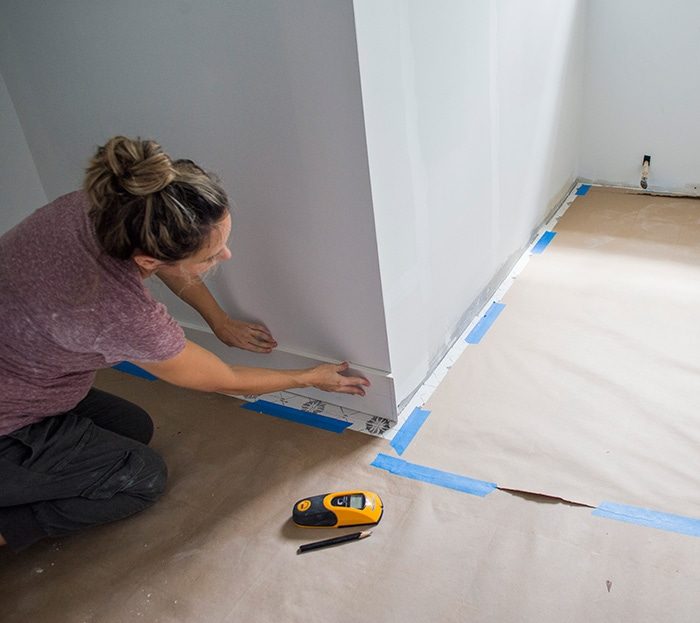
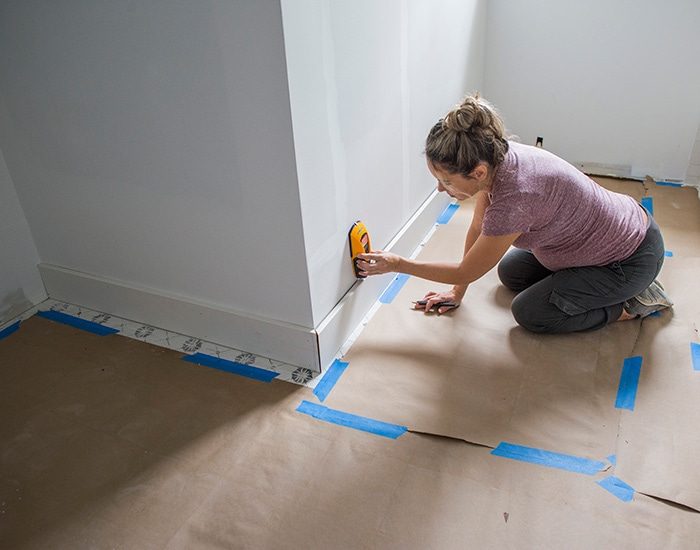
Now, take your stud finder and mark along the wall (or baseboard) at each stud. You want to make sure the baseboards are attached securely to the wall.

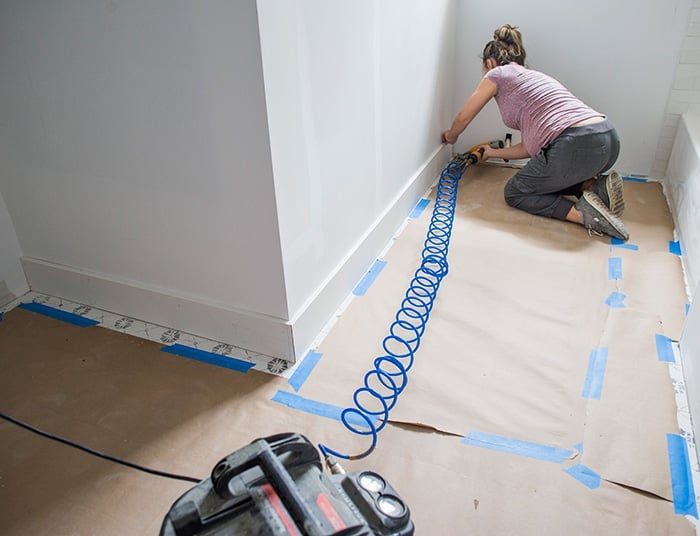
Once the stud locations are marked, grab your nail gun (either 16ga or 18ga) and nail along your marks (I used two nails per stud to be safe). Your nails should be long enough to go through the MDF, drywall and into the studs (2″ is plenty).

Repeat the same process (measure, miter, mark studs & nail) on the next wall.
Do not worry if your miter joints are not well suited (it happens a lot, especially with older houses/crooked walls). You'd be amazed at what a little spackle and caulk can do.
Step 2: Attach the top horizontal board
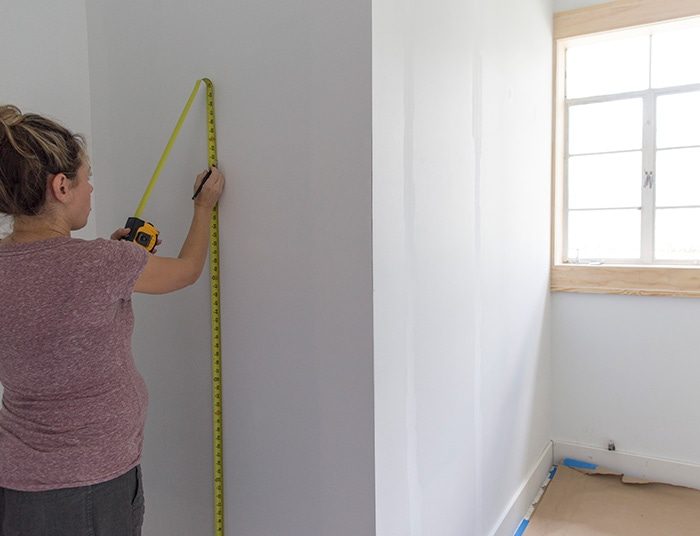
Once you've put all the baseboards in, it is time to move onto your top horizontal piece. First, decide how high you want your molding. This is 100% a personal choice and there is no right or wrong answer, but I prefer taller molding (especially since our ceilings are 9' high) so I went with a total height of 5 1/2″ feet.
Go ahead and mark the wall where you want the bottom of your horizontal piece to rest. I marked a few different places just in case (your floors will not always be level, especially if they are tile).
Now, place your level on your mark and draw an even horizontal line.
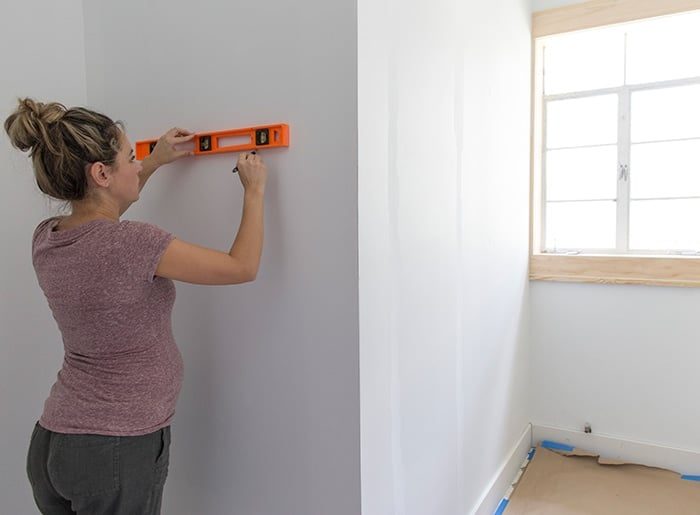
Continue the line all the way around the walls. By the time I got to the window, my line was more than 1/2″ off from my original mark, but a level line is more important than matching the distance to the floor!

Next, grab your 1×4 and repeat the same steps you took for the baseboards (measure, miter, mark studs & nail to the wall). Make sure the bottom is even with your level line.
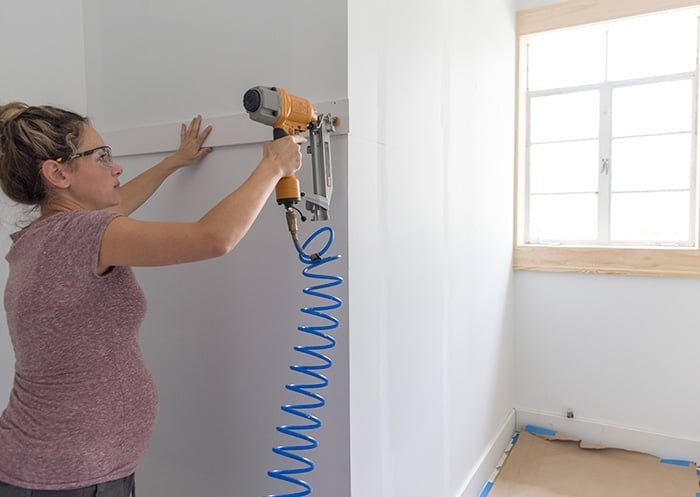
Repeat until all top horizontal pieces are in.

Step 3: Attach the vertical battens
Now you are ready for the battens! Before attaching these, it is important to assess the whole room and plan out your spacing. This is to ensure you are avoiding any obstacles or funky spacing issues, since each wall will be a different size.
We worked out our spacing to avoid the main outlet near the door, which ended up falling at around a 13″ gap between boards.

Fortunately for us, we were able to achieve similar spacing on the other walls for a uniform look (it ranged between ~11.5-13″ around the whole room). Aim for consistent spacing, but calculate your measurements by wall, not by room!

For example, this wall was 58″ wide. To get the spacing as close to 13″ as possible, we needed to add five battens—each batten is 2.5″ wide for a total of 12.5″. Subtract the width of all the battens from the width of the entire wall (58 – 12.5 = 45.5). Then divide that by the number of spaces between battens, which would be four. 45.5 divided by 4 = 11.375″. Close enough!

You will not notice the different spacing of each wall if it is off by less than a couple inches, but you can always adjust where the battens start and end (they do not need to begin along the edge of the wall or in a corner!)
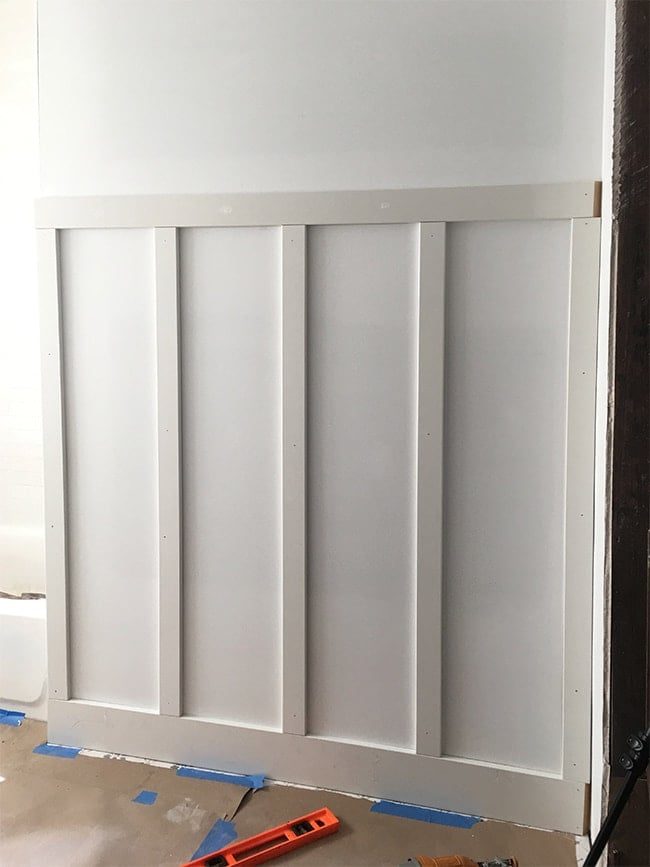
Our largest spacing was underneath the window, but I promise you will never notice the difference (especially after the toilet is installed).

Before you do any cutting, make sure to measure for each batten where you plan to attach it, because the height will not be consistent throughout the room (unless you are special and your floors are perfectly level!)

I like to use liquid nails for reinforcement, since the boards do not usually end up in studs.
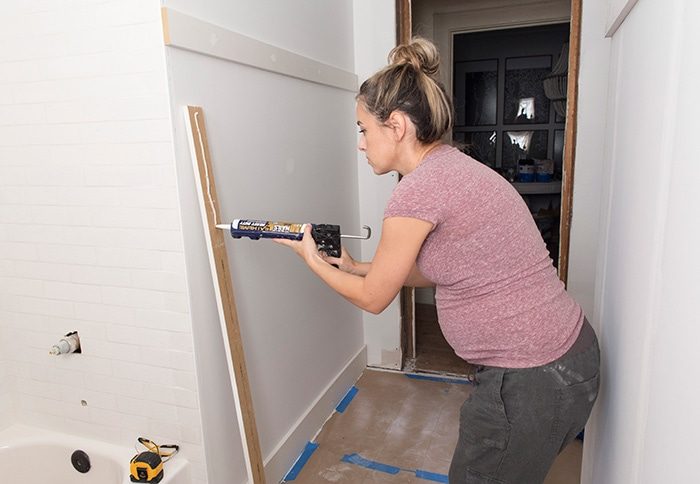
The wonderful thing about MDF is that it is semi flexible which allows it to bend around walls that are not straight or have imperfections (so no huge gaps to fill unlike wood) AND the edges are smooth, no splinters or sanding required (also unlike wood). Not to mention you never have to worry about bowed/warped boards, and it is a fraction of the cost.
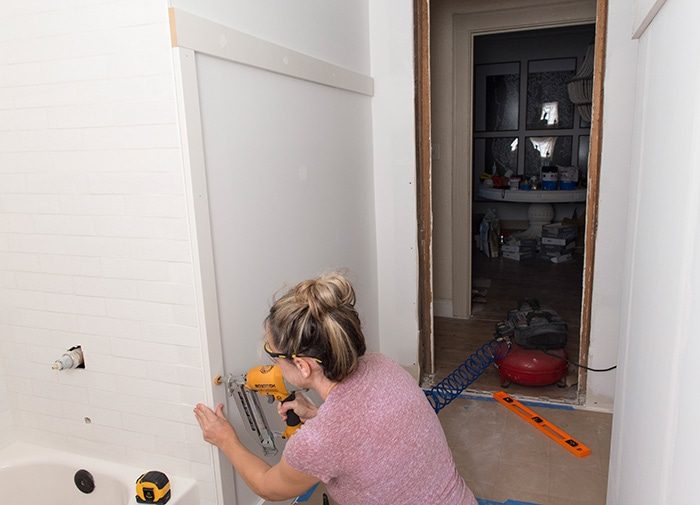
I used 3-4 nails per batten and they went up so easy. Once the first is in, measure across horizontally and mark where the next board should go (remember the spacing will be different for each wall).
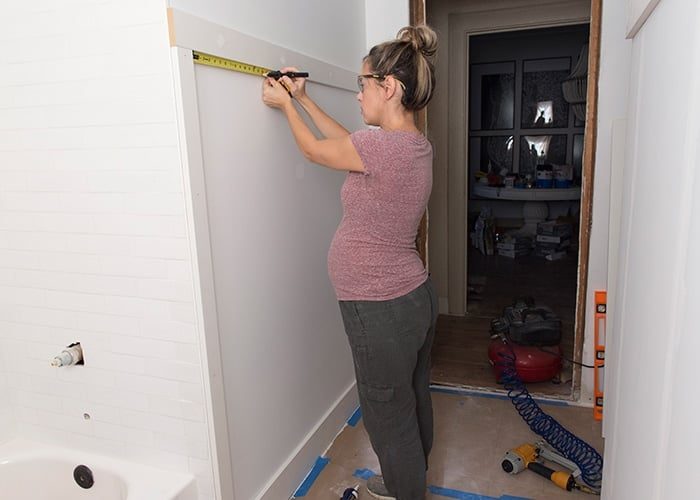
I made a mark both at the top and bottom, measured and cut the next batten, and did a test fit to be safe:

Before gluing and nailing, make sure to double check with your level (this is an important step!)
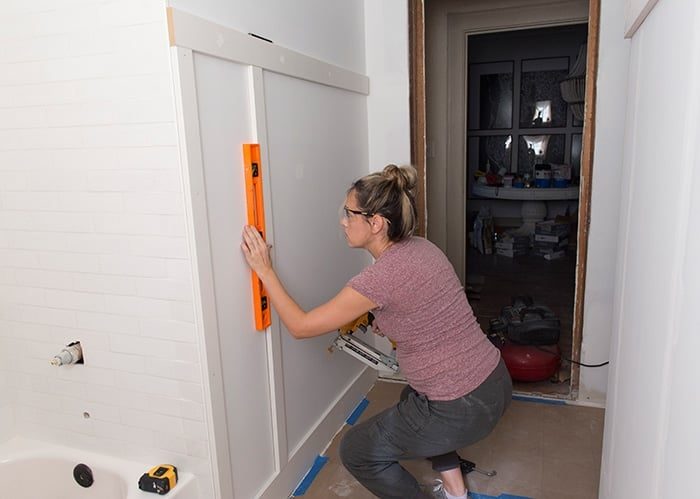

Repeat with the next batten (mark, measure, cut, glue, level, nail).

This part goes by fast!
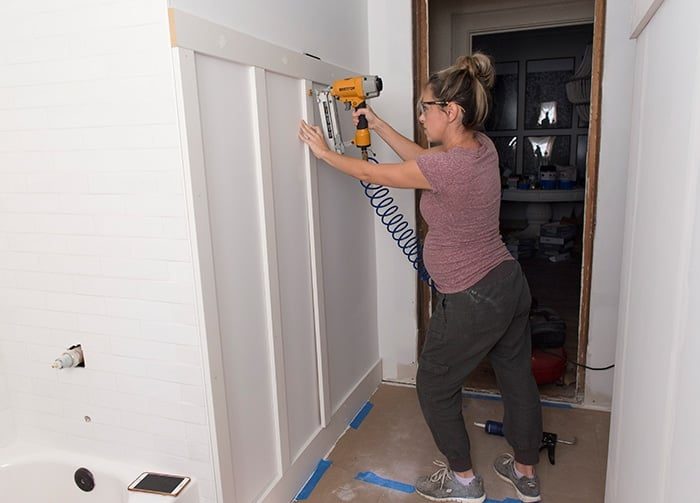
Step 4: Install the top ledge
Once all the battens are up, it is time to add the top ledge. This part is optional, but I think it makes the molding look more finished (plus it is so cheap and easy to add!)
Grab a ladder (or a taller person) and measure the width of your first wall. You will want to miter the corners of these just like the baseboards and 1×4's.
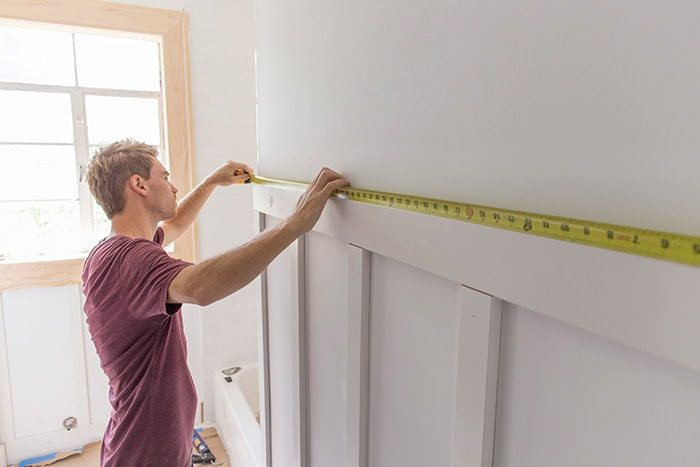
Apply a generous line of liquid nails along the back.
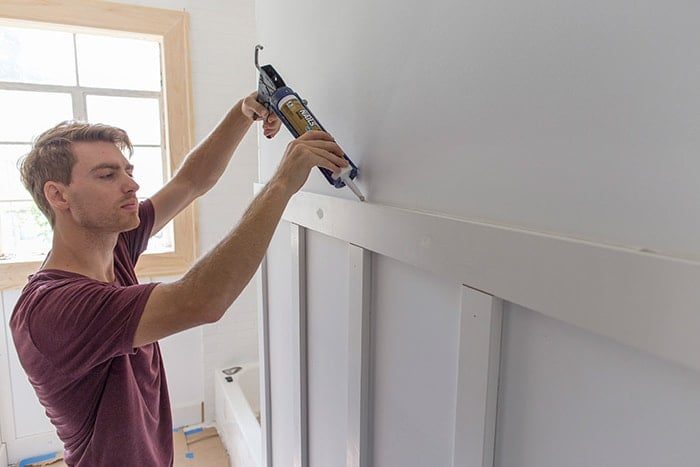
Set your ledge in place. Happy face optional.
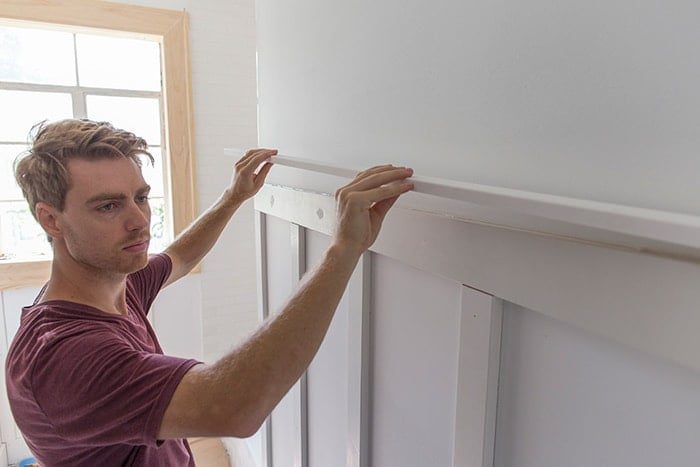
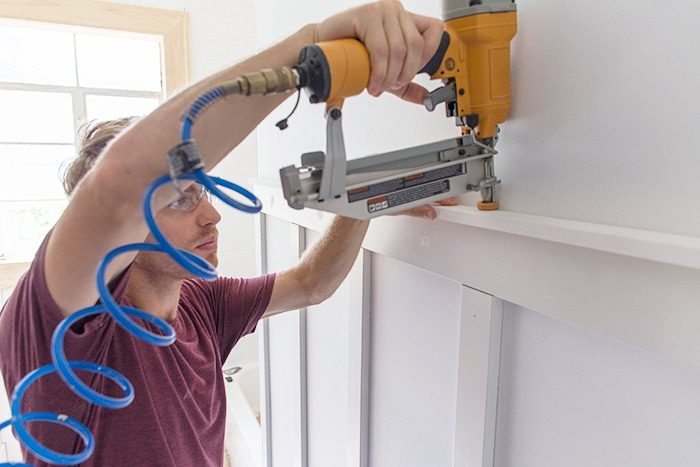
Nail down at several points along the ledge, being careful to aim towards the back so your nail does not end up coming through the front. It can be a bit tricky to get the tip of the gun flat against the molding, but you can always hammer the nail down later if it does not fully countersink (we had to do this a few times).
Here is a closeup of the mitered edges in the corners (we had to come back and do the wall on the right another day because we were waiting on our door trim to be installed).

On the opposite side where the wall ended, we made unfussy straight cuts.
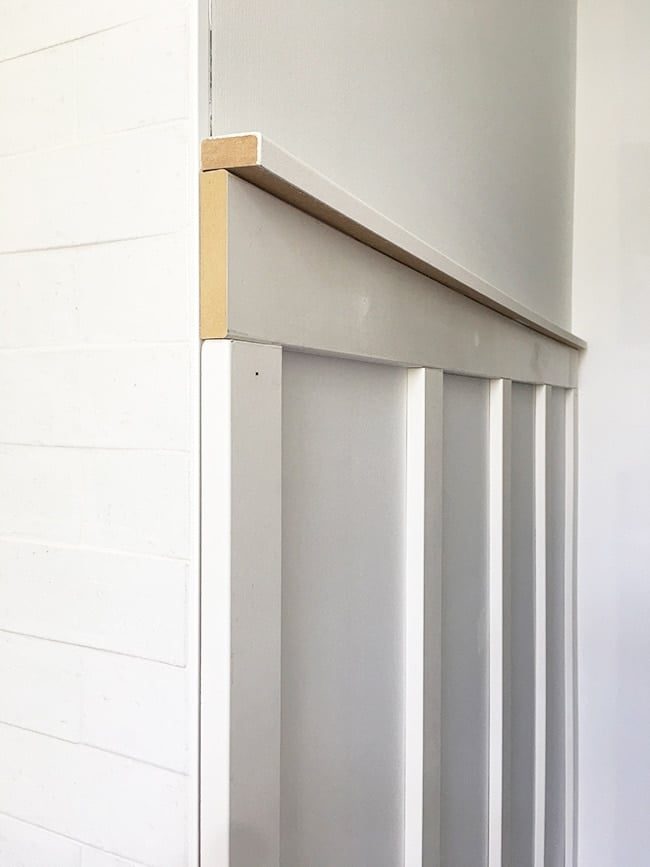
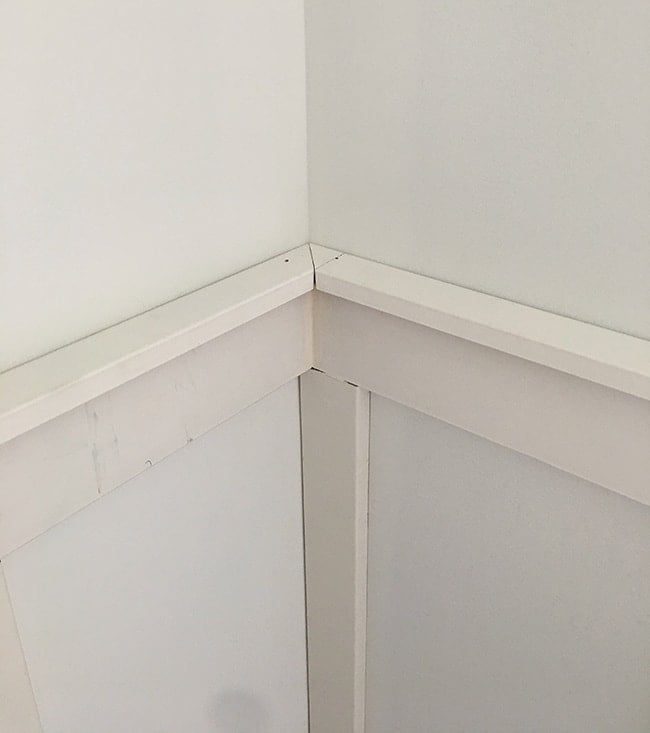
Carry the ledge all the way around the room. Here is an inside joint from above:
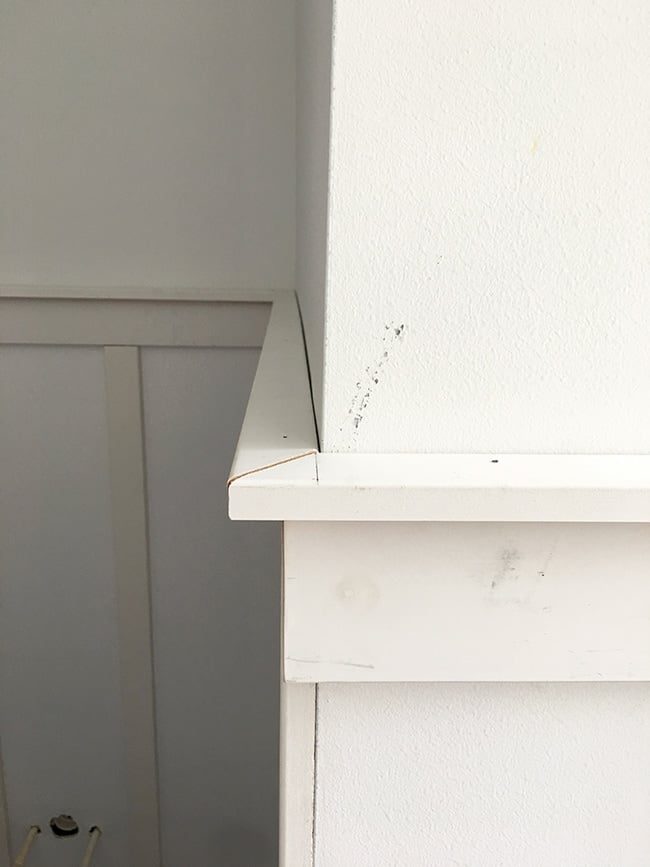
And an outside joint:
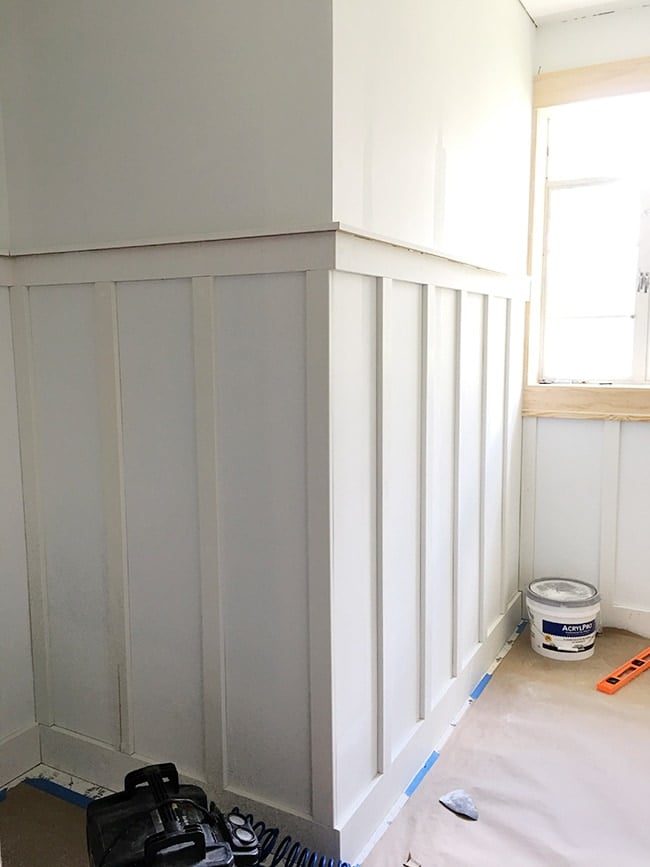
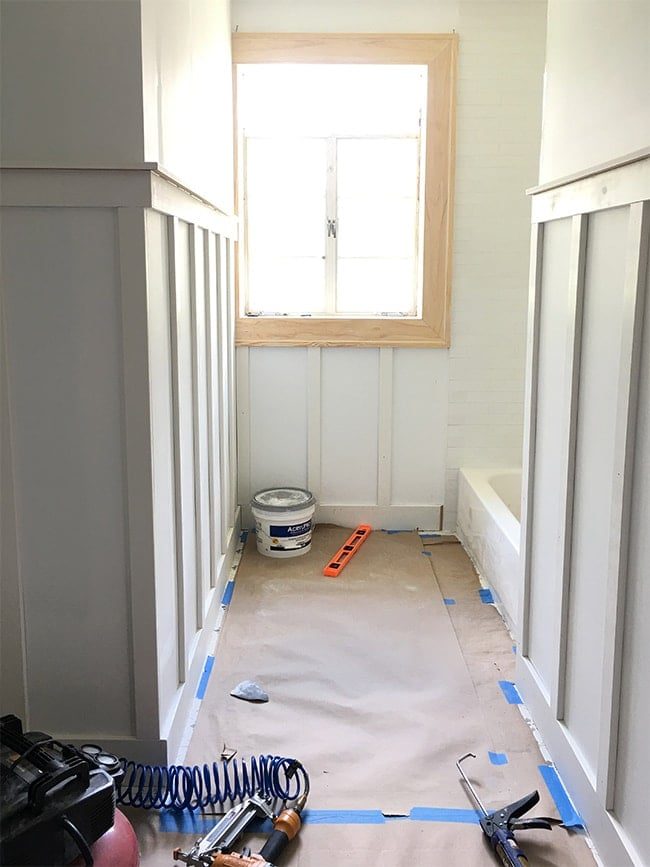
Almost there!
Step 5: Add decorative chair rail (optional)
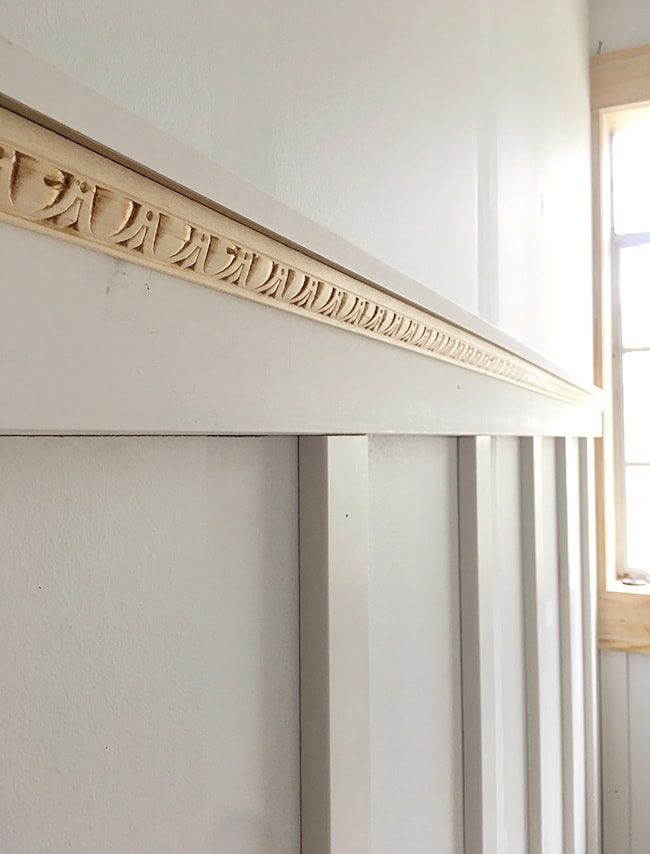
Most people stop here, but The choice was to take it a step further and add some fancy chair rail molding (I am all about those extra details).
This was measured/mitered/nailed up the same way as the top ledge. We used a decent amount of liquid nails so we would not have to use as many finish nails.
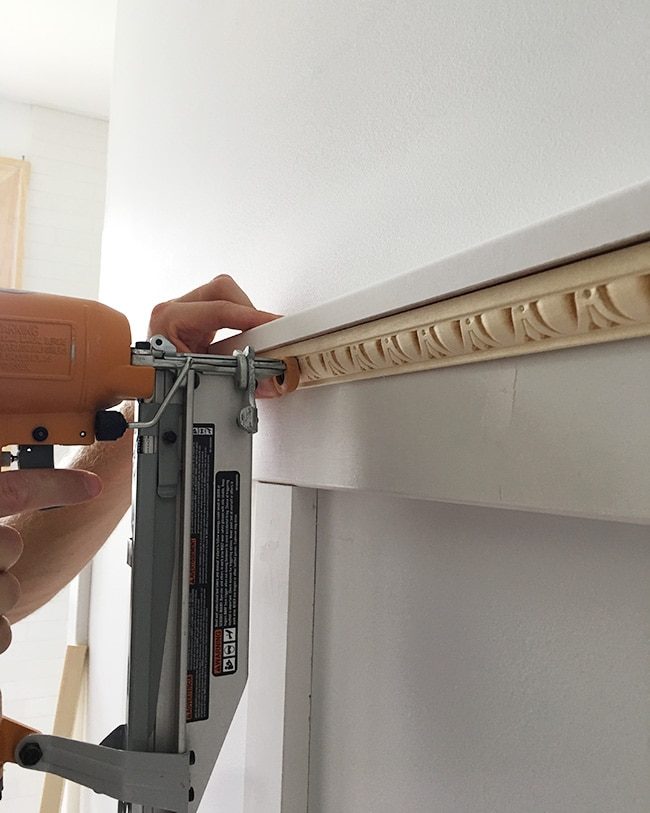
Pro tip: nail into a flat/smooth area if possible, which will make the hole much easier to spackle and sand.
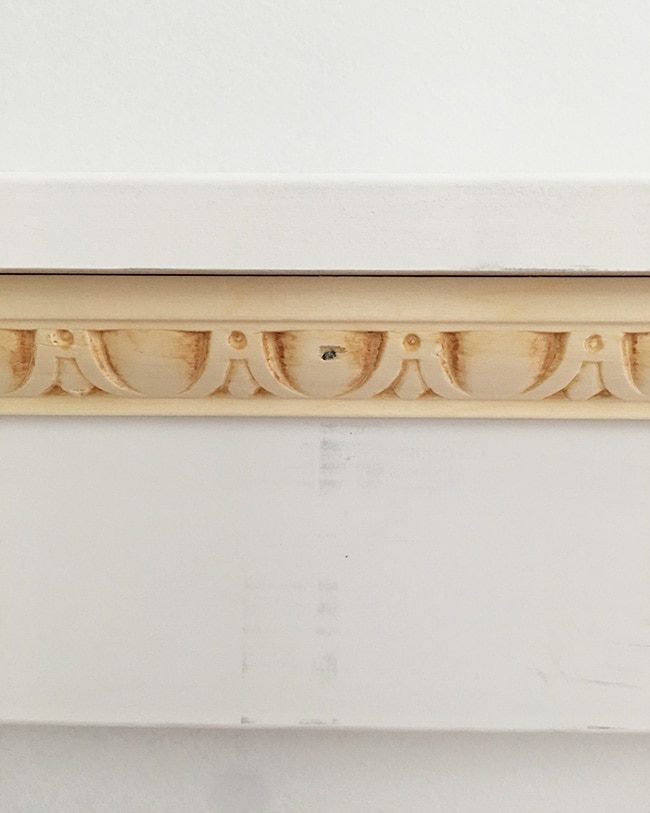
A quick little diagram for reference:

Step 6: Spackle, caulk & sand
Put your power tools away because the hardest part is done! Time to spackle those nail holes…

And caulk allllll the seams (the most time consuming and my least favorite part)…
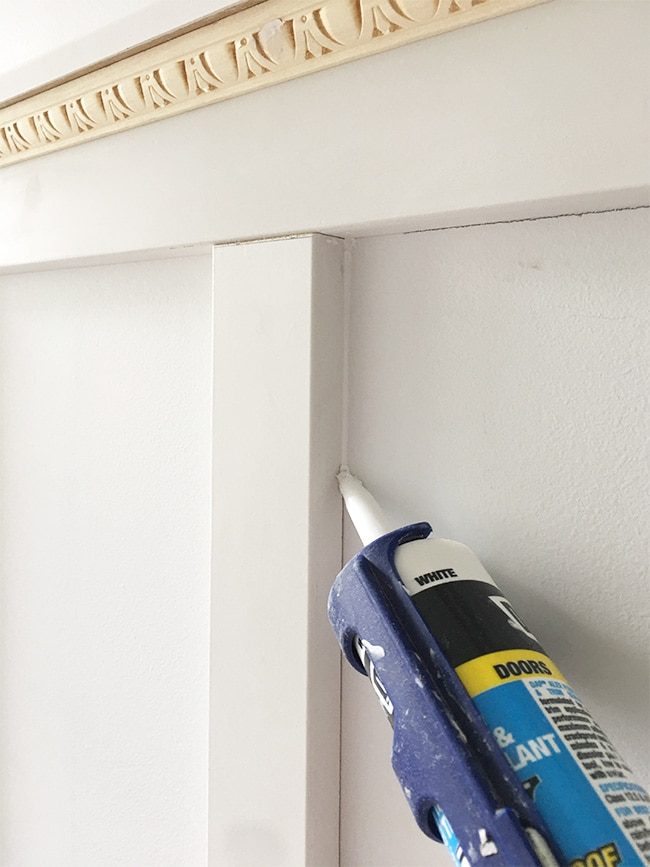
Give those time to dry, use a sanding sponge to get all the spackle nice and smooth, then move on to the last phase.
Step 7: Paint
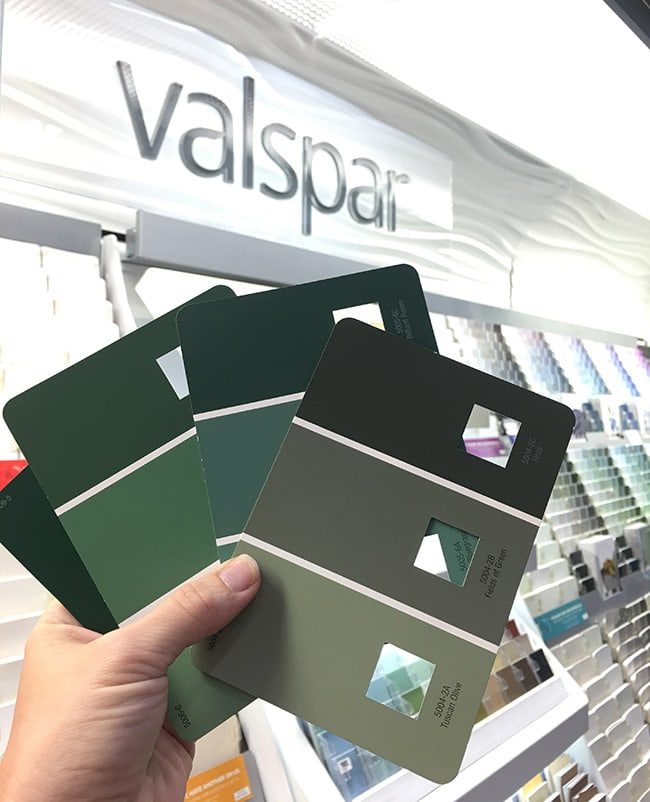
I picked up a handful of green samples to try out at home (do NOT skip this step—the more samples, the better!) I actually had to go back to Lowe's for more because they looked so different on my walls vs in store. These are all Valspar colors (and take this photo with a grain of salt, because I promise they look different in person and in your own home):

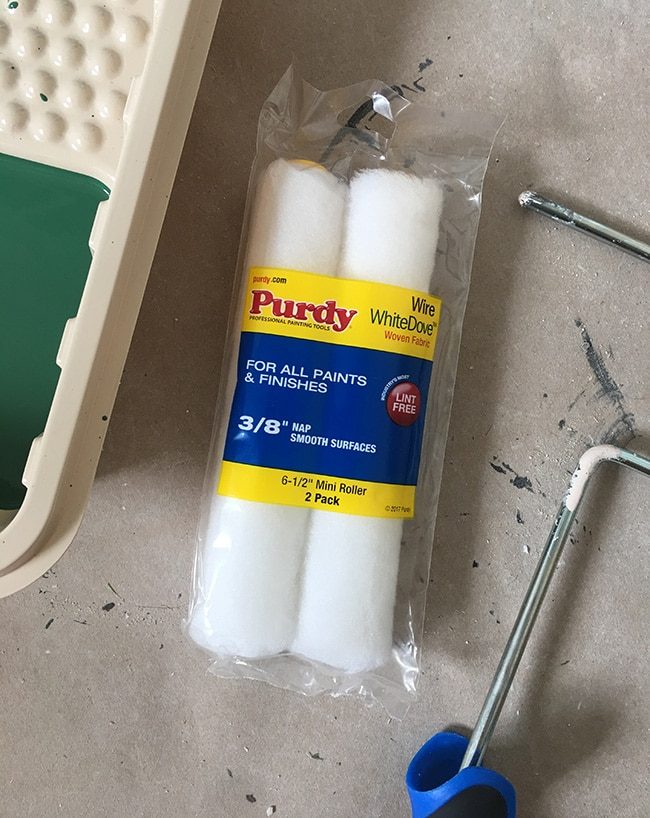
I was glad I went back for more samples, because the last one (Wilderness) ended up being the winner! I bought a gallon in satin (more durable for bathrooms than flat or eggshell) along with these Purdy rollers. I normally use foam rollers, but those tend to leave roller marks if your paint has any amount of sheen, and I could not risk that with satin paint.
Moment of truth…

Even during the first coat I could tell it was well suited!
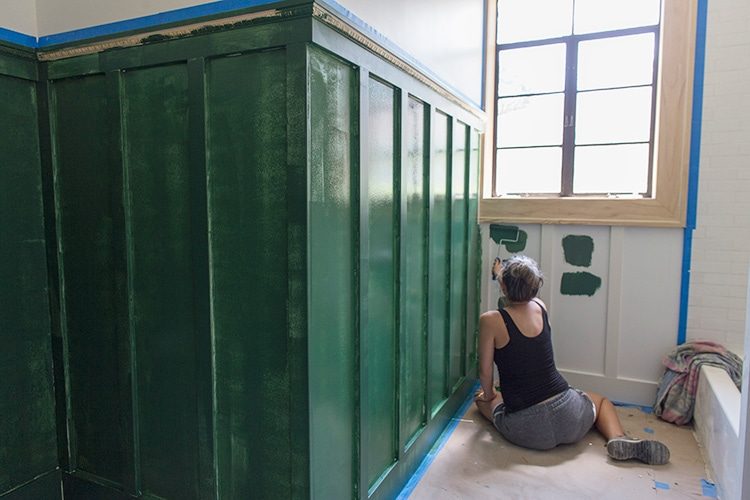
Painting went by fast. The roller covered 95% of the surface area and left no roller marks.
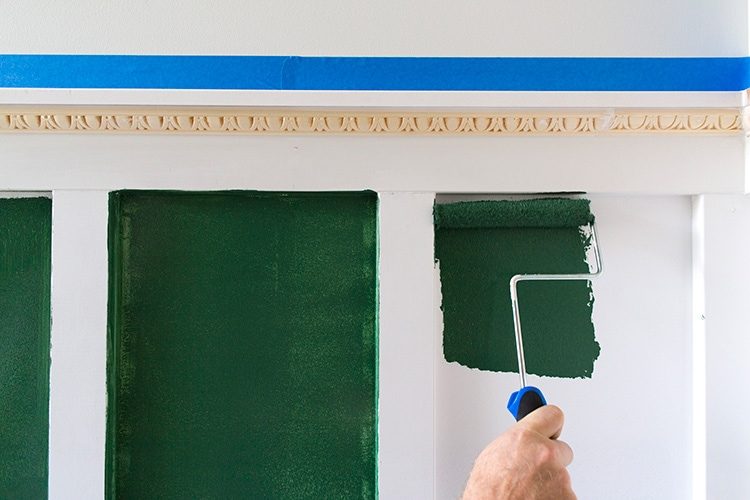
We used my favorite short angled brush for all the little details.
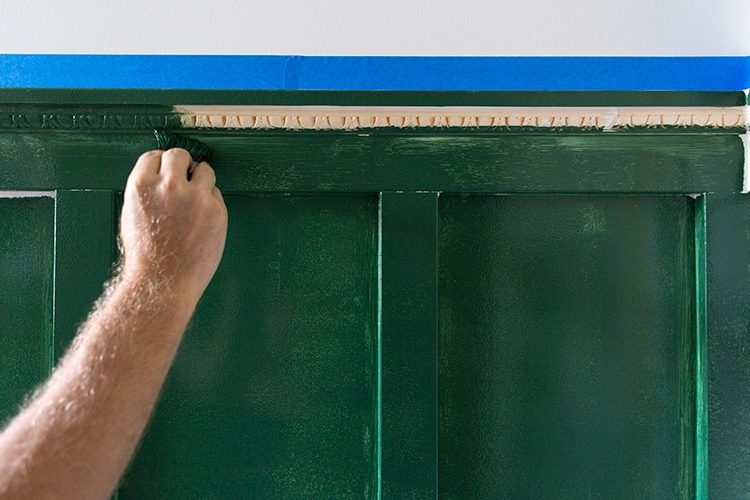
Paint with a sheen takes more coats to cover vs flat (especially over primed MDF), so we ended up needing two full coats plus a bunch of smaller touchups.
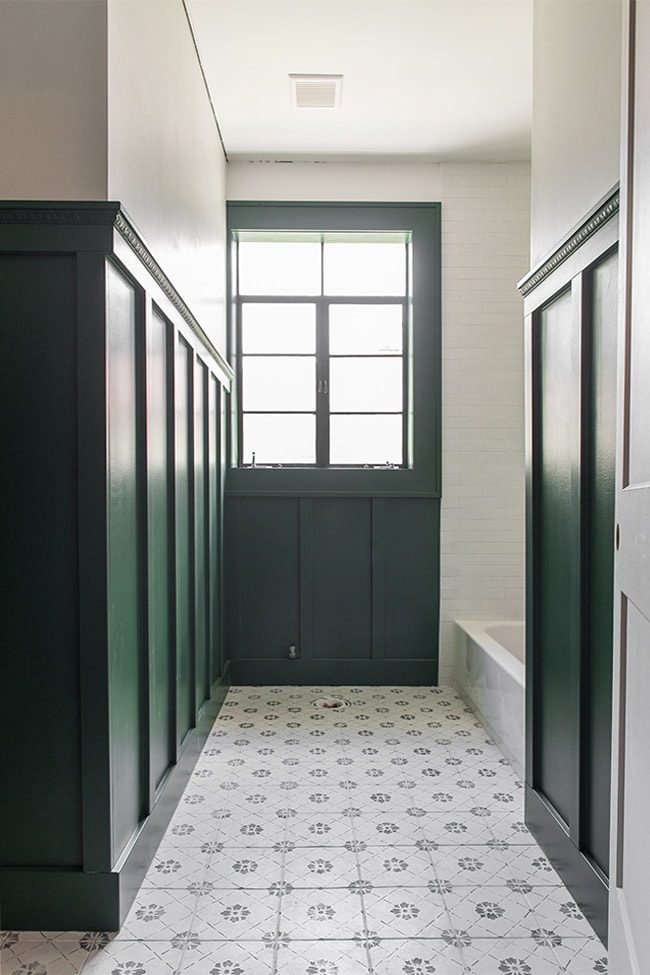
The door trim was painted green too, but I am still debating on whether to paint the door green or white (it is just primed right now).
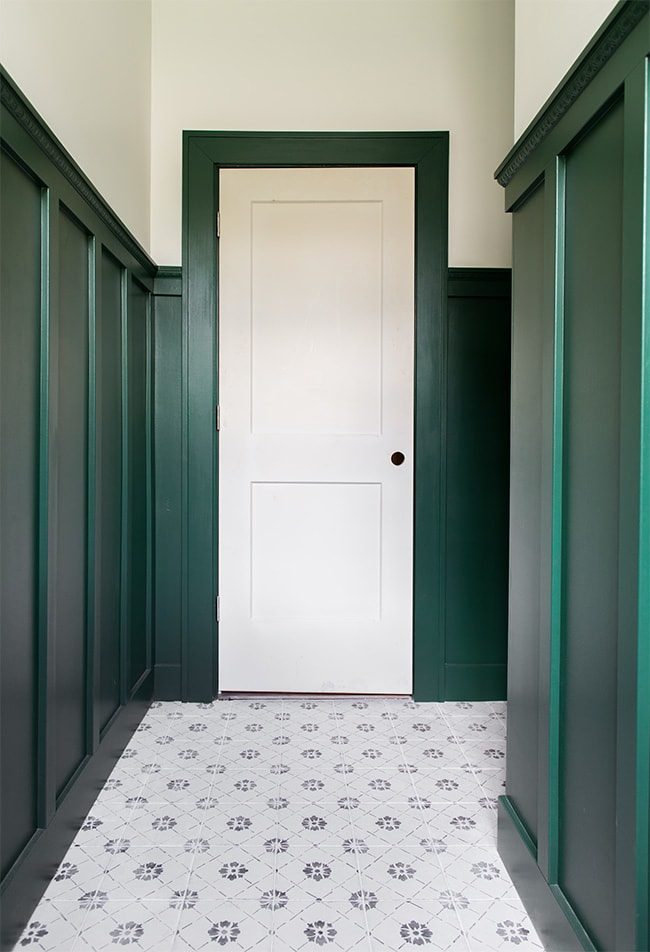
So in love with this Valspar Wilderness. Depending on the wall/time of day, it ranges from an emerald green to an olive green to a deep mossy green.

Once we get our lights installed, the color will be even more dynamic. Looking forward to seeing how that looks later this week.
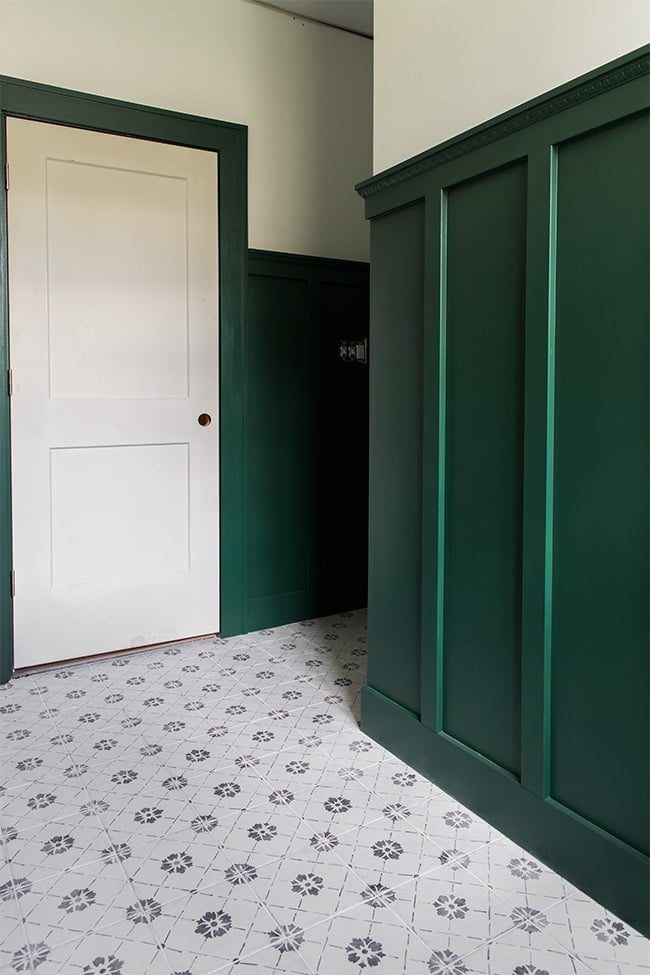
We still have quite a bit to do in here—crown molding, finish the door, install the vanity/faucet, lighting, toilet, hang the mirror and artwork and shower curtain and all the last minute details by the end of this week.
But we are pretty excited about making it this far!
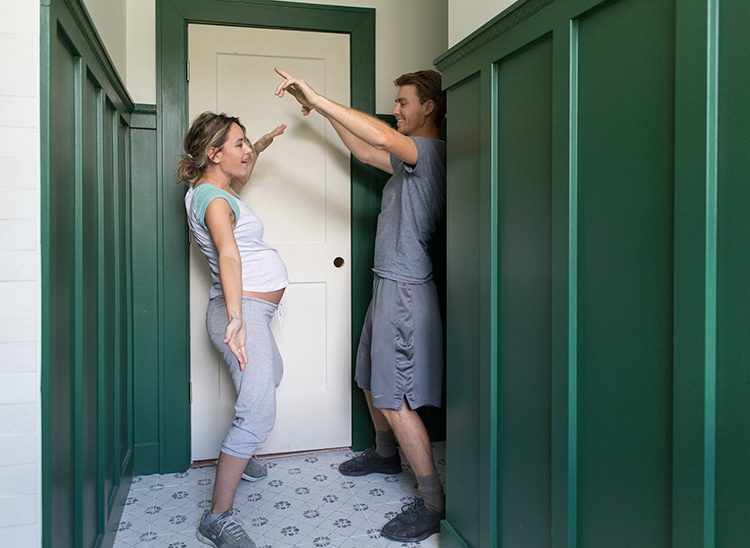
Hopefully this tutorial gives you the confidence to give board and batten a shot, no matter your skill level or experience. You will be surprised at how unfussy and straightforward it is! If I can do it 8.5 months pregnant in the hottest Florida summer days, I know you can too 😉
- Remove and replace existing baseboards
Use a 1×6″ as your baseboard, miter the edges and nail into the studs
- Attach the top horizontal board
Determine your desired height, mark a straight line along the wall using a level, and nail the board to the wall at each stud
- Attach the vertical battens
After deciding on your spacing for each wall, measure and mark each vertical batten separately. Secure to the wall using construction adhesive and finish nails
- Install the top ledge
Lay a 1×2' board flat across the top wall board, and attach with construction adhesive and finish nails
- Spackle, caulk, and sand
Spackle the nail holes and seams between boards, caulk every seam where the board meets the wall, and sand smooth once dry
- Paint
Choose a high quality satin (or semi-gloss) paint. Use a short angle brush for the detail areas, and a woven or velour roller made for smooth surfaces.
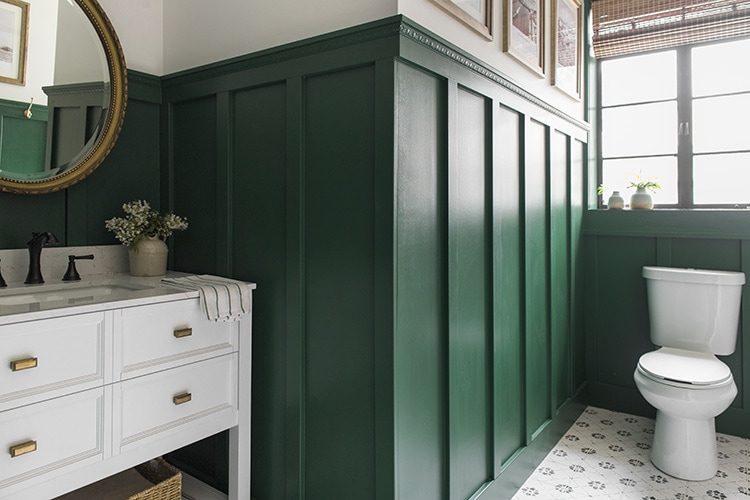
Installation Tips
- If you are installing board and batten on multiple walls, make sure to calculate the spacing by wall, to avoid any obstacles or awkward corners. You will not notice if the spacing is different!
- Measure and cut each batten separately, as most walls are not perfectly square, and the height may change.
- Use a level sure each batten is straight before nailing.
Frequently Asked Questions
Can you board and batten textured walls?
There are a few ways to approach board and batten with textured walls: cover the walls with thin hardboard first, skim coat the walls to make them smooth, or live with the texture if you do not mind it. Personally, I think it is absolutely worth the extra effort to smooth your walls so the installation looks professional. Adding hardboard is the quickest way, and I show you how to do it in thisDIY square paneled walltutorial.
Can you install board and batten without removing
Standard baseboards are less than 3/4″ thick, so the battens will stick out past it and look unfinished. One approach is to miter the bottom of each batten so it tapers down to the baseboard, but I am personally not a fan of this look. If you are taking the time to do this project, I would suggest taking the extra step to remove your baseboards first.
What kind of wood do you use for board and batten walls?
Both wood and MDF are common for board and batten installation. MDF is easier to work with, smoother, and more cost-effective. Wood is solid and more durable, and ideal for wet areas, but you will need to use a high quality wood that has no knots or warping (this will increase the cost).
Can you install board and batten without a power saw?
A power saw will make the project quicker and easier, but you can also use an inexpensive miter boxto make all of your cuts.

If you like this project, look at the other popular DIY wall treatments from my Project Library!
- Unfussy panel wall molding
- Recessed (fancy) panel wall molding
- Skinny lattice wall molding
- Easy plywood shiplap