Spanish Sanctuary Jack & Jill Bathroom Layout
Revealing the design plan for our traditional, warm and organic Spanish style jack and jill bathroom!
While we tackle the primary bathroom renovation, we are also working in tandem on the jack and jill bathroom at the Spanish Sanctuary! This bathroom is shared by the two guest bedrooms upstairs, and this is how it started:
Before
In contrast to our spacious primary suite, this modest bathroom measures just 5'x13', split between two separate spaces.
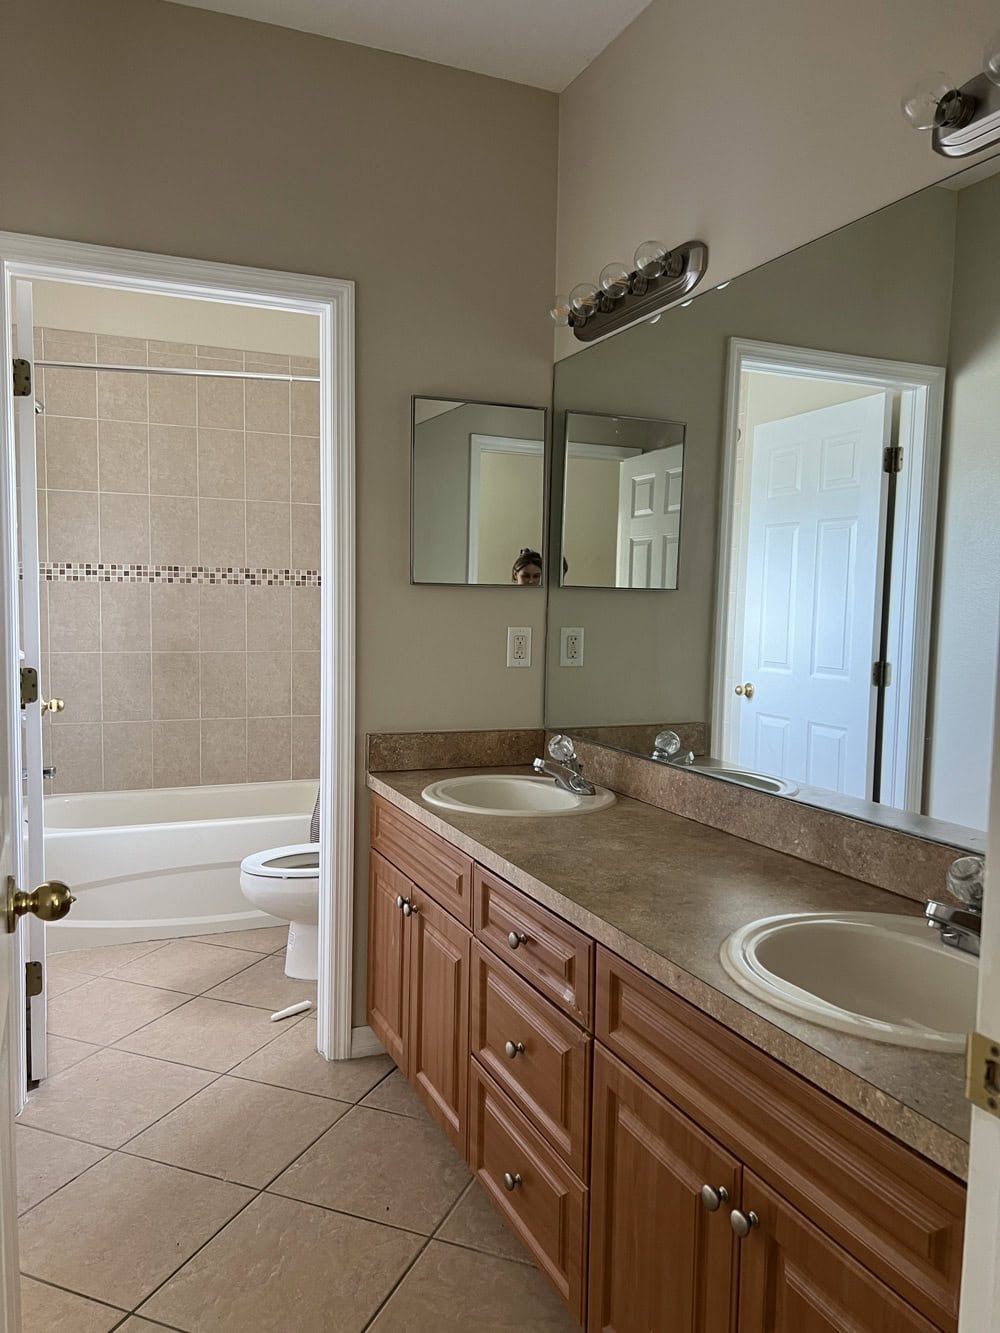
The room is accessed from the far right, as well as directly across from the vanity.
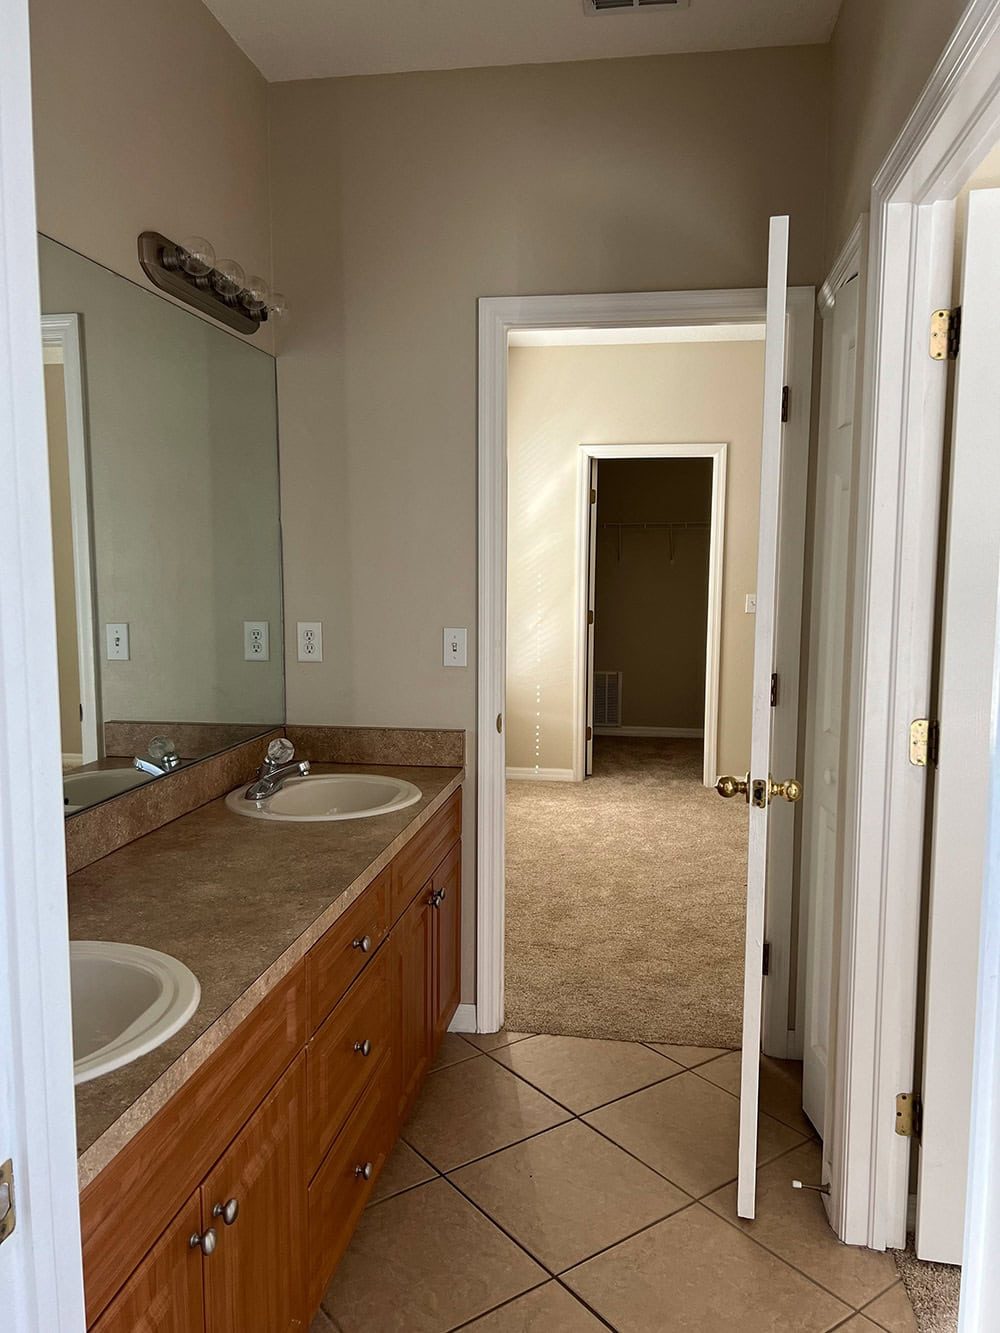
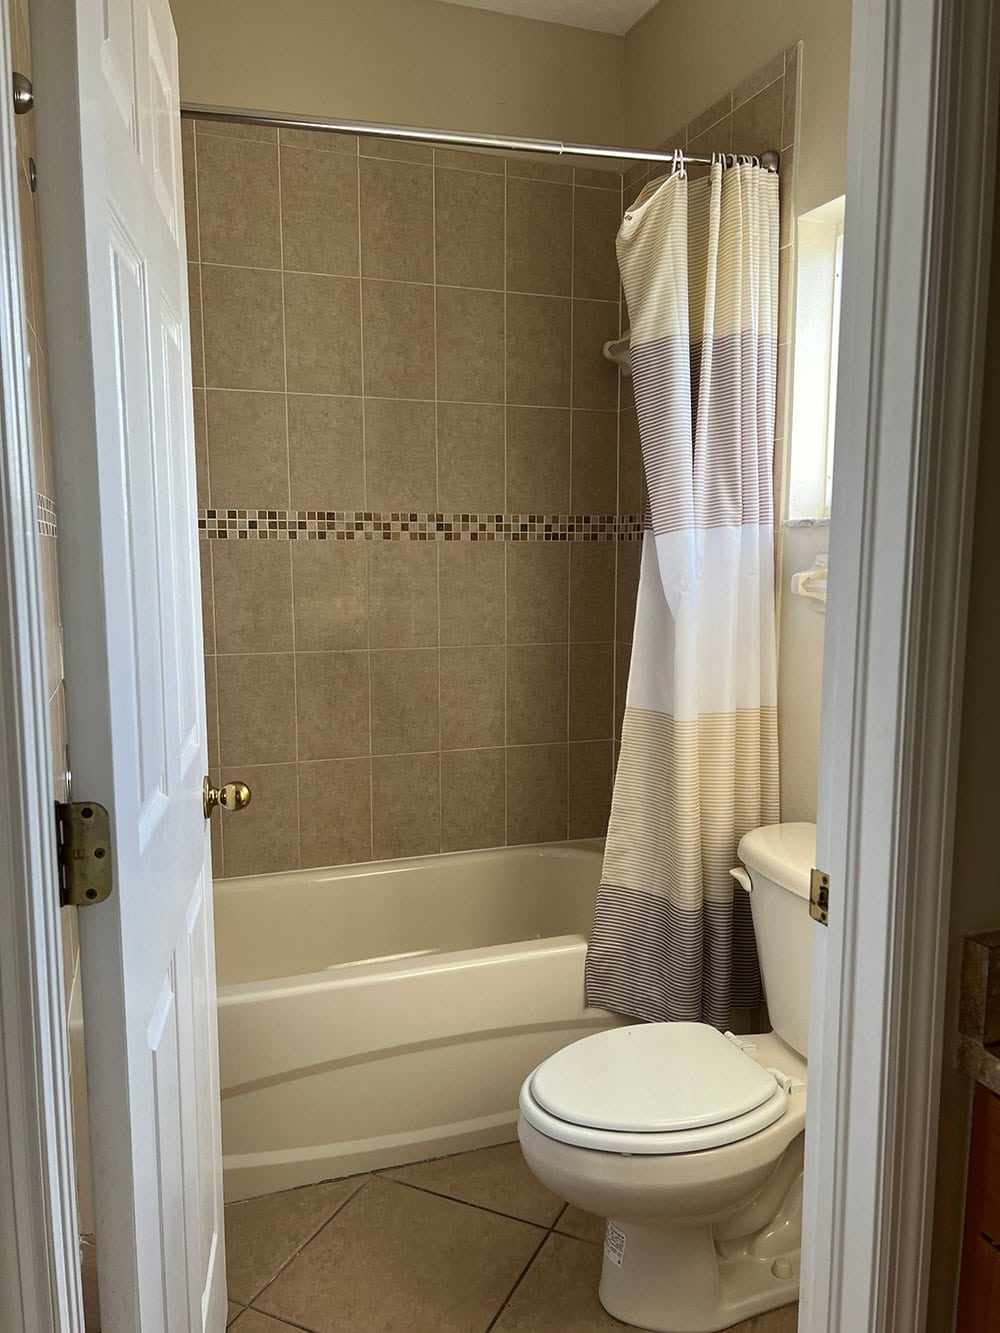
On the left, you will find the tub/shower and toilet behind another door. While tiny, this added privacy is definitely a bonus in a vacation rental setting!
This is how it looks on paper (excuse the rough sketch):

Progress
Demo was completed a few weeks ago along with patching the walls…
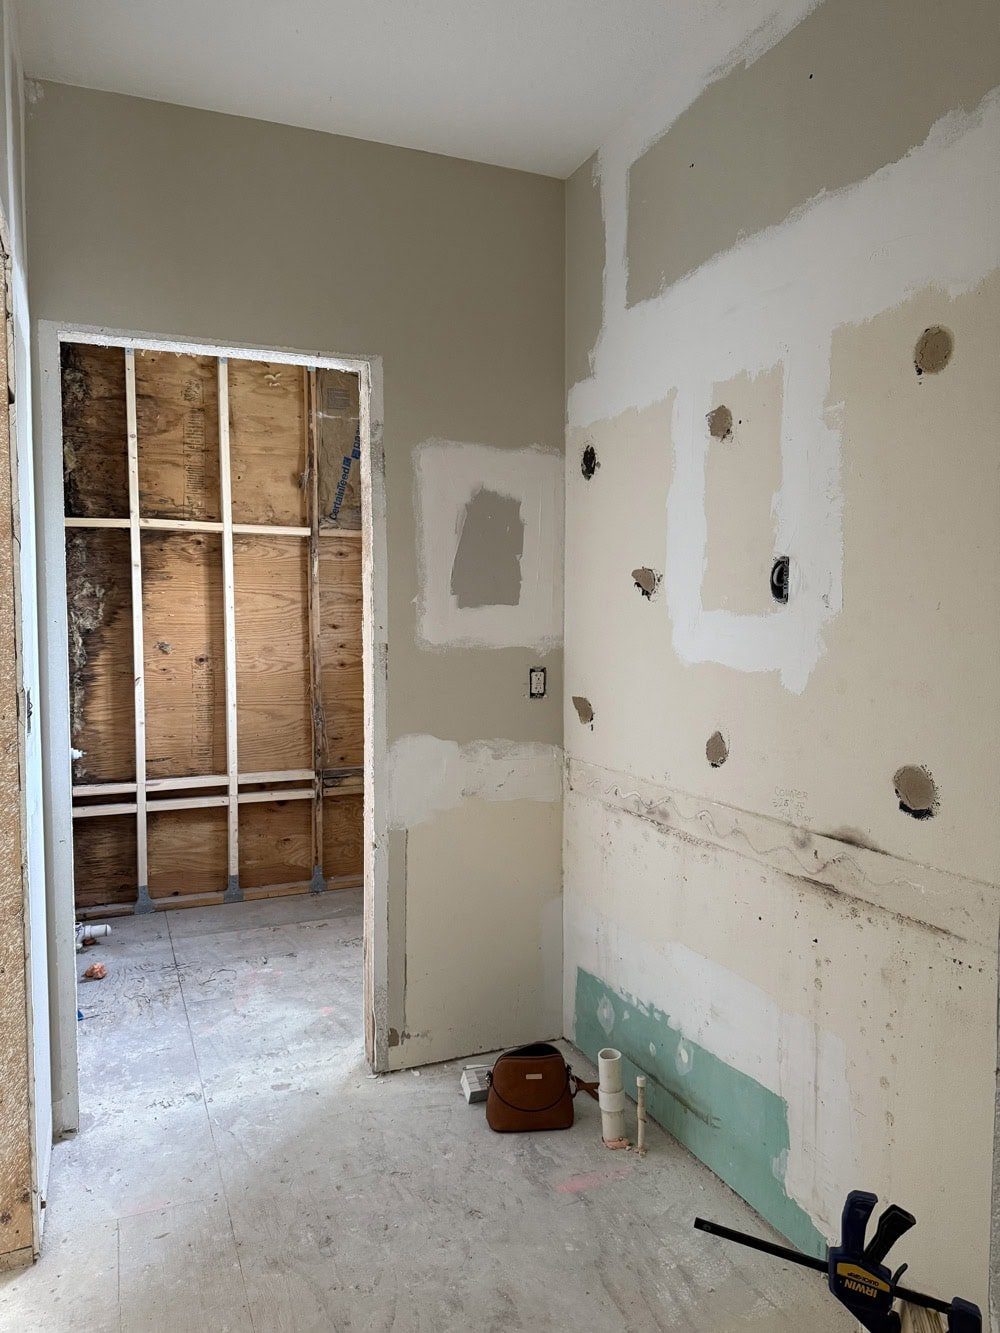
Below you can see the door leading to one of the bedrooms on the left, a linen closet in the middle, and the other bedroom entrance on the right.
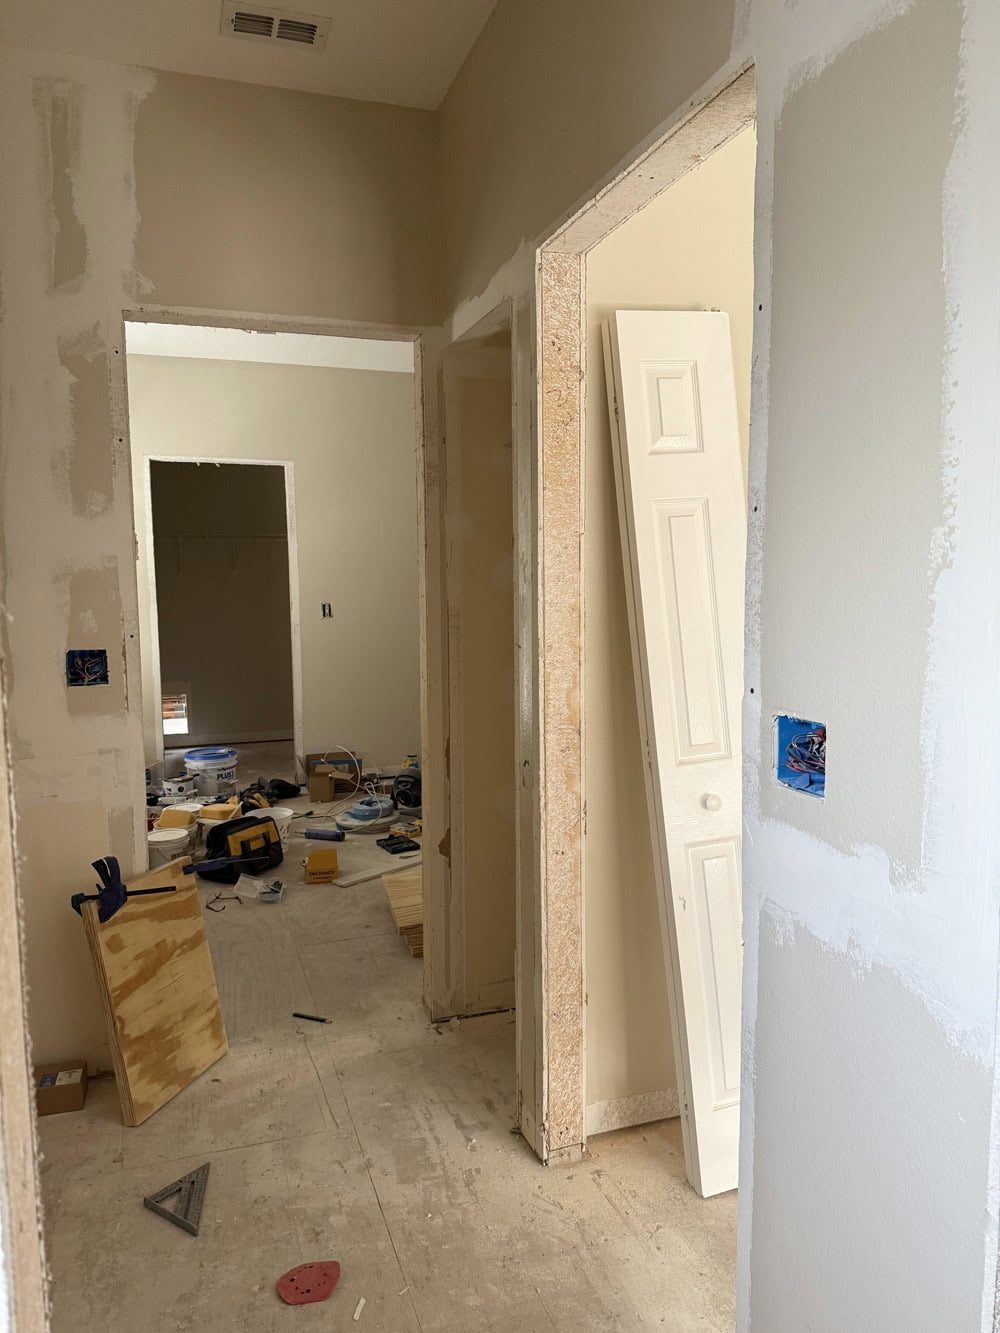
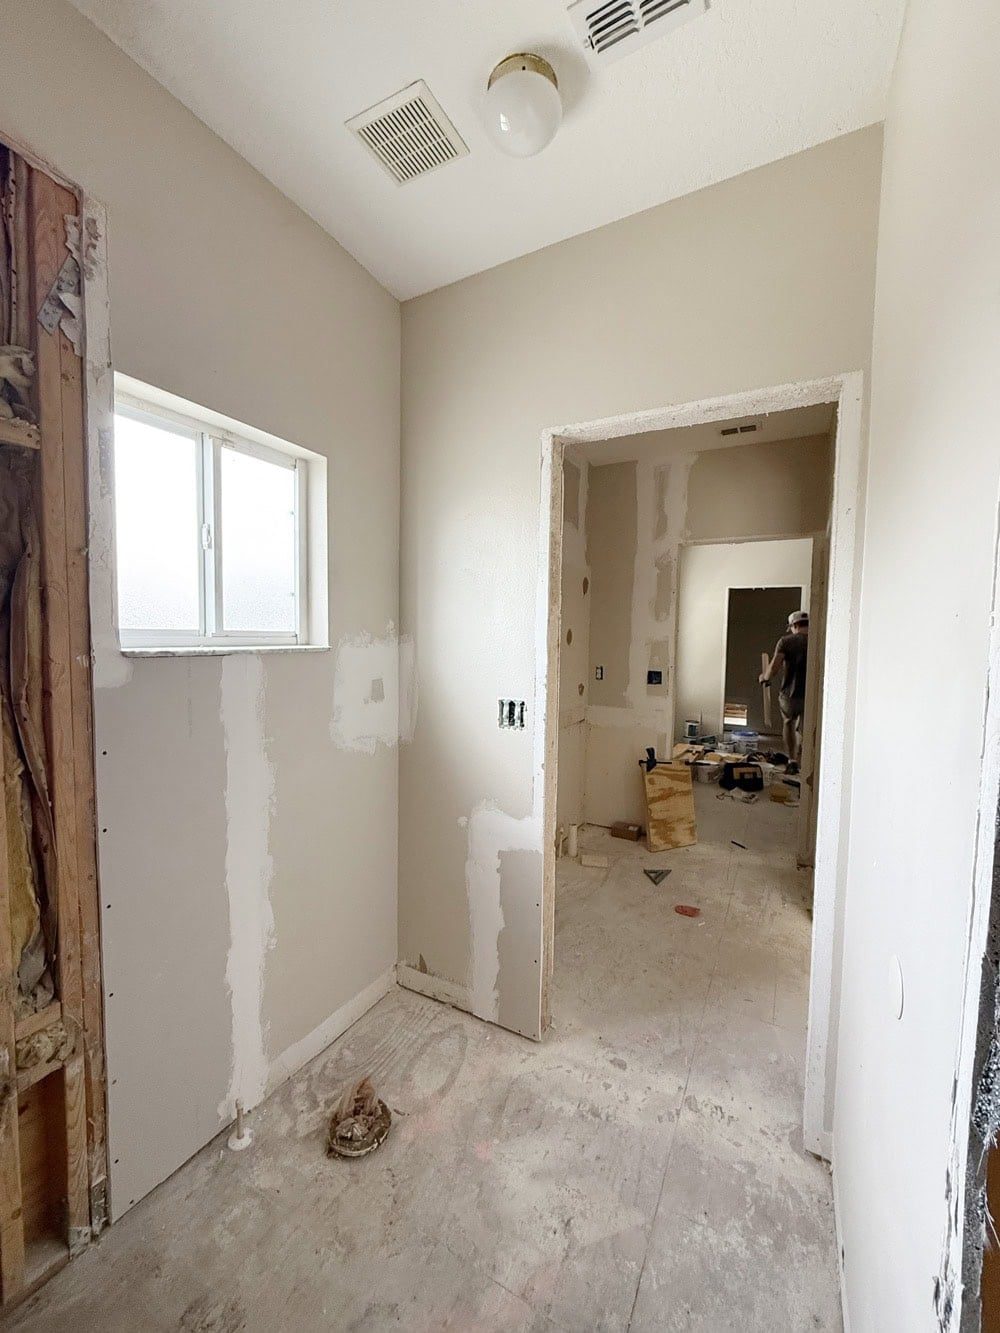
This photo was taken with a wide angle lens to capture the whole toilet room, so it looks much larger than it genuinely is!
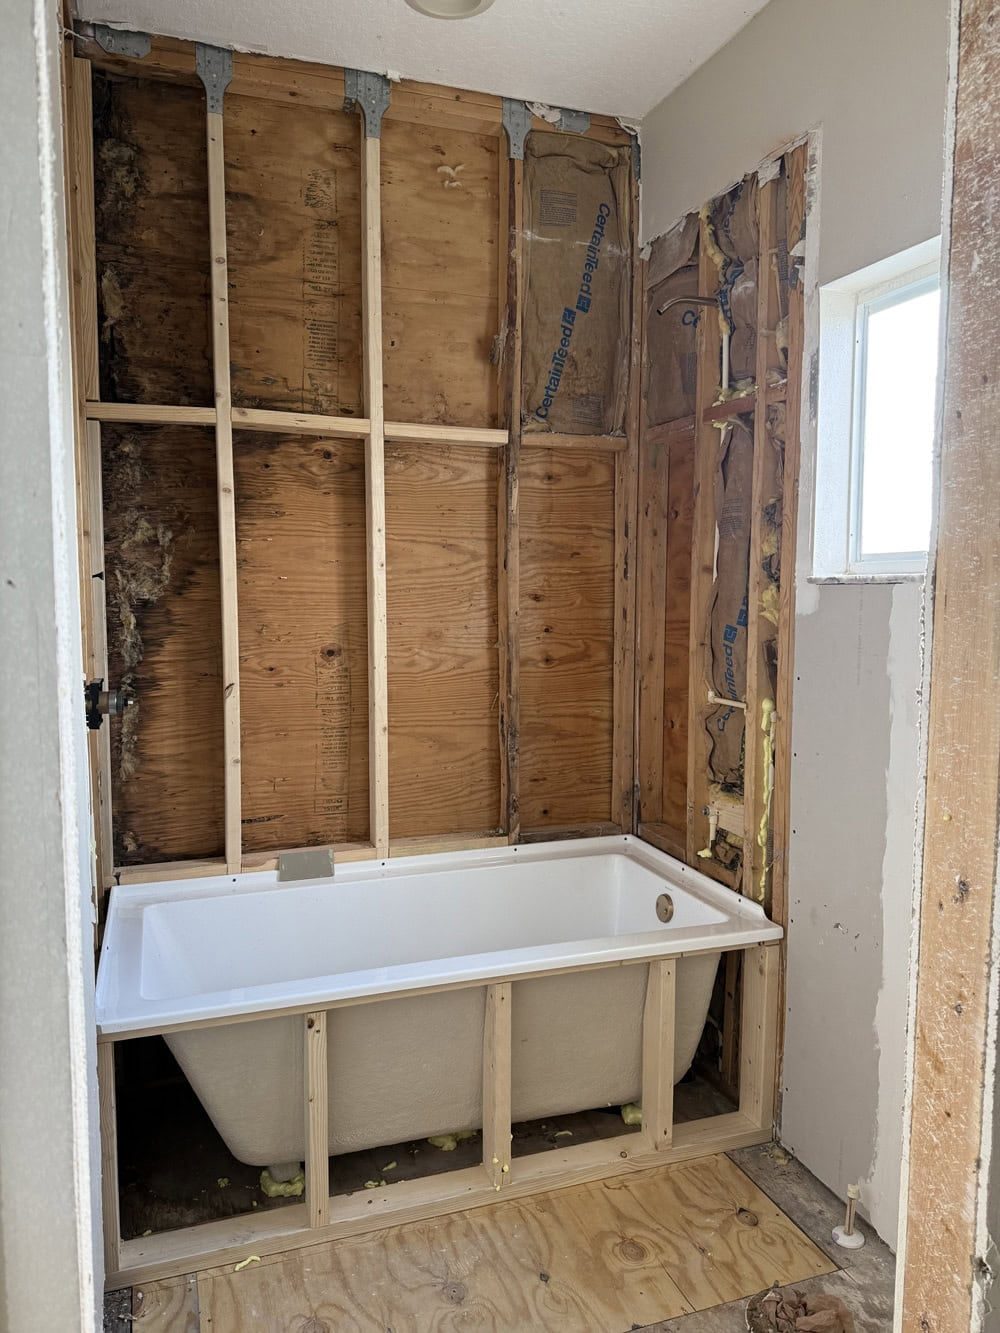
Here is our new drop-in tub and framing! We also had to replace half of the front exterior of the house after discovering an old roof leak that rotted the wood…
Design Plan
The vision for this space is a traditional, warm and organic Spanish feel. Here is what I landed on:

We will be combining rustic elements like dark stained wood beams and creamy plaster walls with classic patterned + subway tile in an earthy neutral color palette.

Let us take a closer look at the design details!
Floors
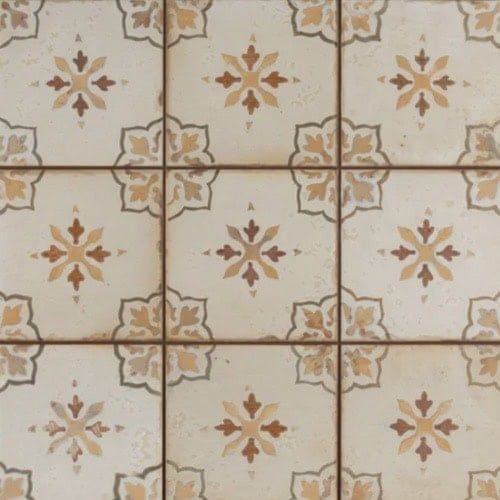
As you may know, one of the key features of traditional Spanish style design is patterned tile. A while back I shared a big roundup of Spanish inspired tile options for this house, and this one was an immediate winner:

To me, the classic pattern and terracotta tones are timeless enough so they will not feel dated in a decade. The rest of the space will be neutral and the footprint is quite small, so a fun floor tile is the well suited way to add some personality.
Walls + Ceiling
This bathroom will receive the same wall and ceiling treatment as the primary bathroom: DIY wood beam and plank ceilings, and Concretta cement plaster. We have already purchased the beams (which we will stain dark), and are currently narrowing the best option for the planks.
Update: here is the finished ceiling! You can see how we did it in my DIY wood plank and beam tutorial:
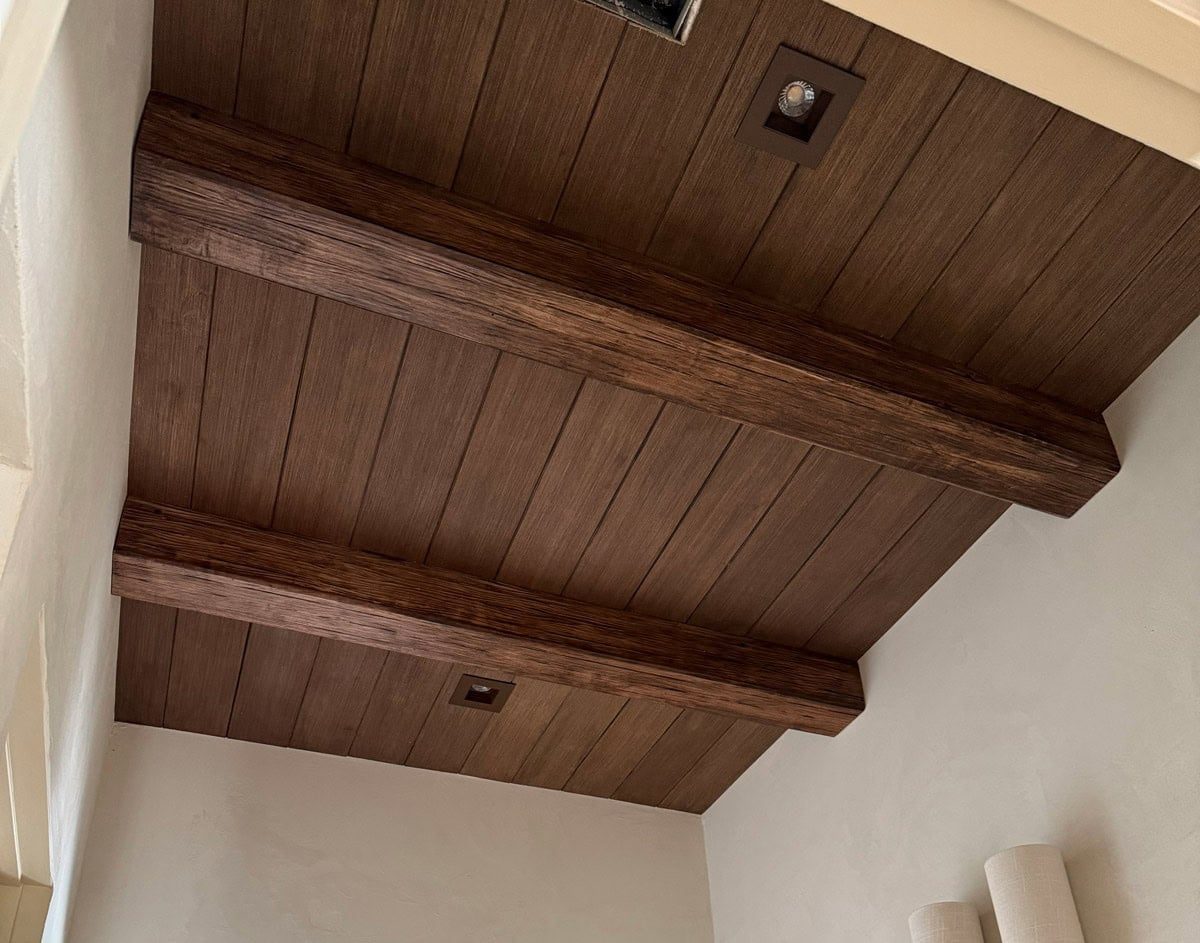
I found these dark brown anti-glare recessed lights which are such an upgrade to the standard can lights! We will be using them throughout the house.
The Concretta has been ordered and is currently in transit. You can color match it to any paint color, and I chose Sherwin Williams Neutral Ground, which is a soft khaki-white. The material and application process is the same as microcement, so I am looking forward to comparing the two products.
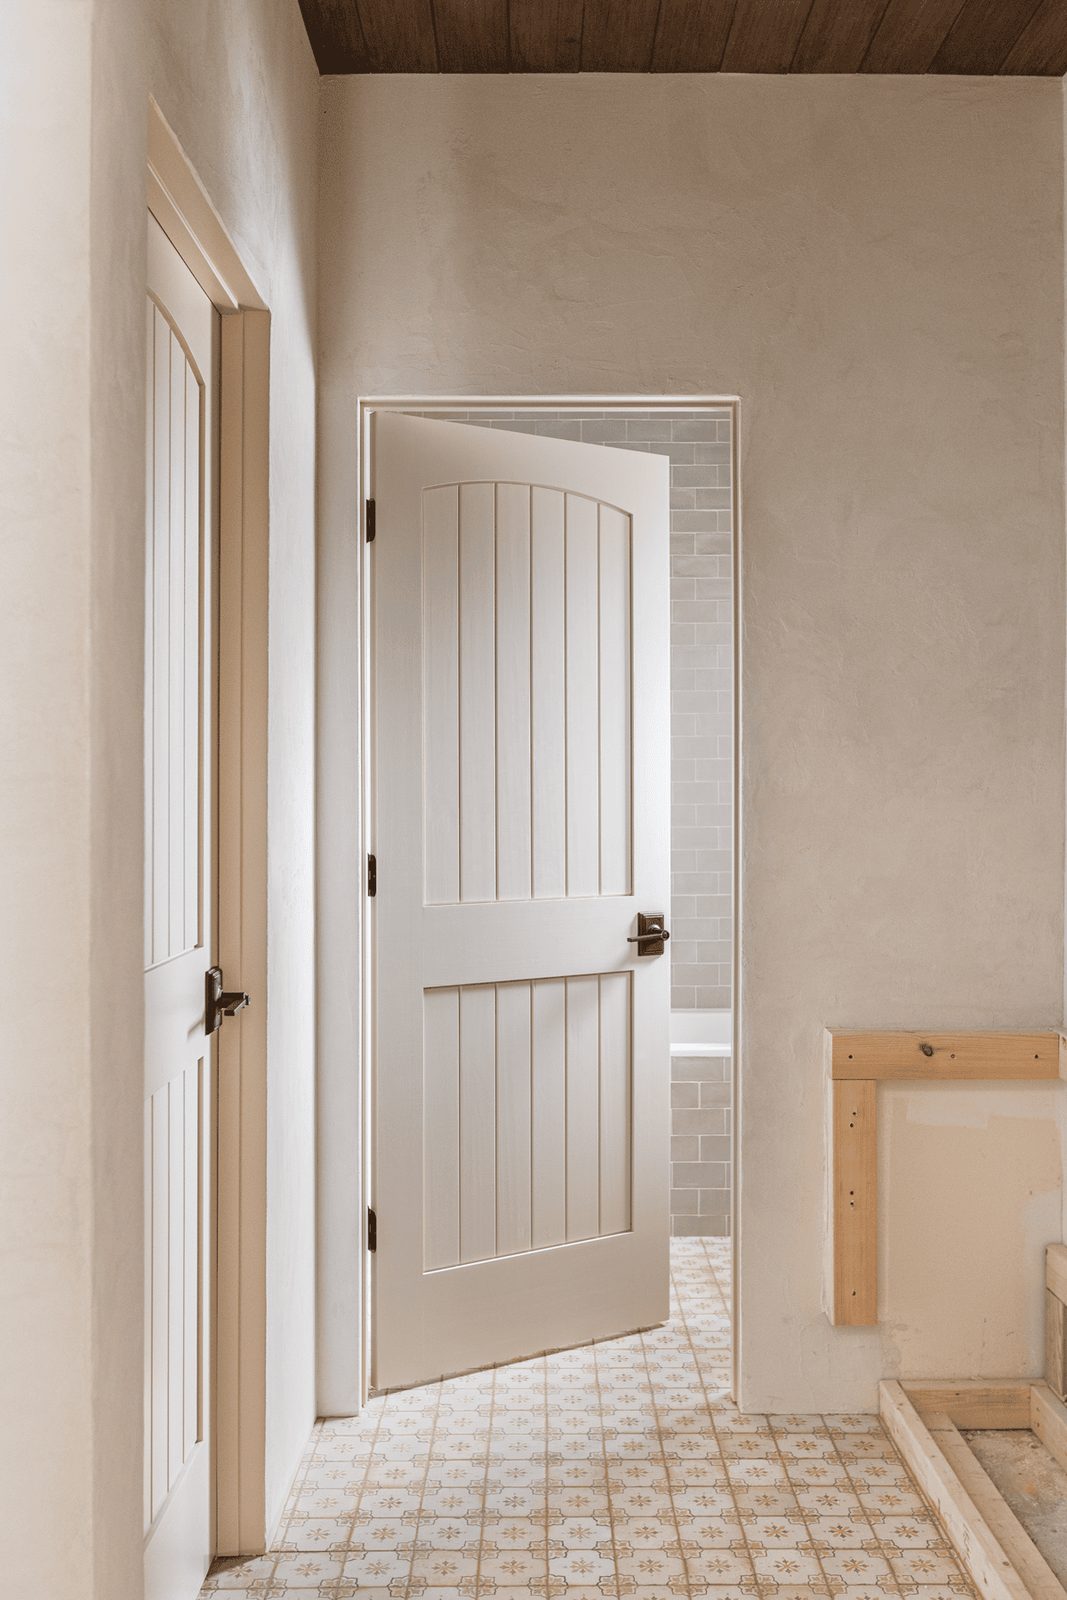
Update! After the concretta we replaced the dated doors with solid pine wood, made them frameless, and painted them Benjamin Moore Hush.
Shower/tub
For the shower walls, I chose this muted sage green 3×6″ subway tile. It looks much more saturated in the product photos compared to what I received, but I found a photo of it installed and I think it is the well suited color here:

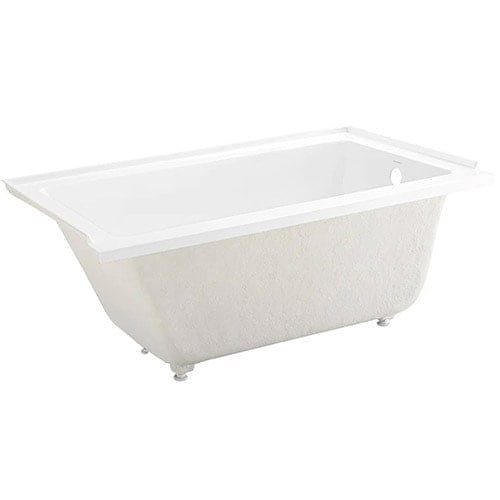
We will also be adding a single brass framed glass panel similar to the one shown above. But instead of installing a regular alcove tub, I ordered a drop-in tub so we can tile the front!

This will be my first time using this type of tub and I am excited to see how it turns out.
Vanity
The vanity will be custom built, just like our DIY V-Groove cabinets in the laundry room. I was inspired by this photo below, and love the wider v-groove spacing. We will most likely go with a full door instead of two drawers for simplicity.

The one big question is stain/paint color. I absolutely love the dark stain shown above, but it may be too much with the dark wood ceiling. I am also considering a terracotta/brown or sage green paint. Would love to hear your thoughts!
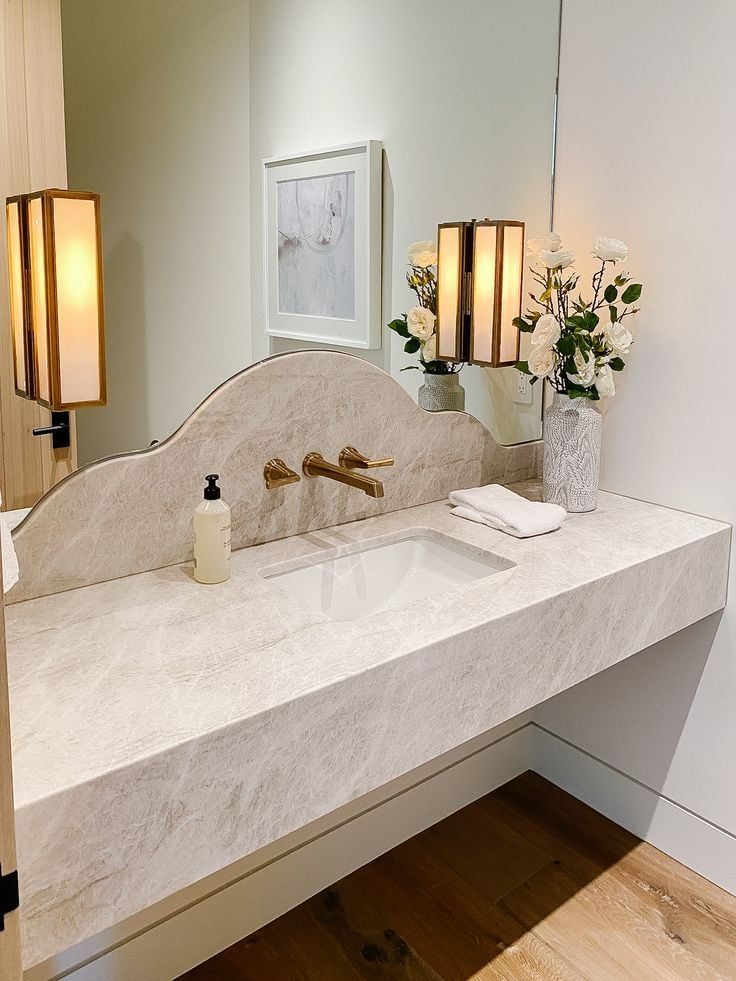
For the countertops, I am considering using either a limestone, or Taj Mahal quartzite in a leathered finish. You may recall I am also considering this for the primary bathroom, but I think it is a great fit for this space.
Faucets
As the vanity mirrors and lighting will be gold/brass, I opted to switch up the faucet finish and go with a dark bronze from Delta. It helps to keep the low profile classic design, and it is a steal at only $140.

For the shower, I chose one of my most reliable & budget-friendly go-tos. I have used this Delta Linden shower system in three different houses and have not found anything better for the price. The champagne bronze is a well composed mix of gold and silver and will look lovely against the sage green tile.

Lighting & Mirrors
This category is always the most fun to shop for! I spotted these affordable pointed arched mirrors in the well suited size and it felt like they were made for this room. They remind me of the gothic cathedrals and architecture found in Spain, and bring a timeless old world feel to the space.

This striking sconce was another immediate add-to-cart. The shape mimics the mirrors and floor tile, and it feels very regal and sophisticated.
Sources



And that should cover everything! Tomorrow I'll be sharing a video walkthrough on my Instagram stories, so make sure to tune in to see more of this space. We have got plenty of fun projects coming soon!