Spanish Sanctuary Kitchen Plans
Sharing the design plans and sources for our traditional, old world Spanish style kitchen renovation.
More than two years into this renovation, we are finally starting to make progress on the biggest transformation of all: the kitchen. We have got a lot to discuss, so settle in and find out what we have got in store!
Before
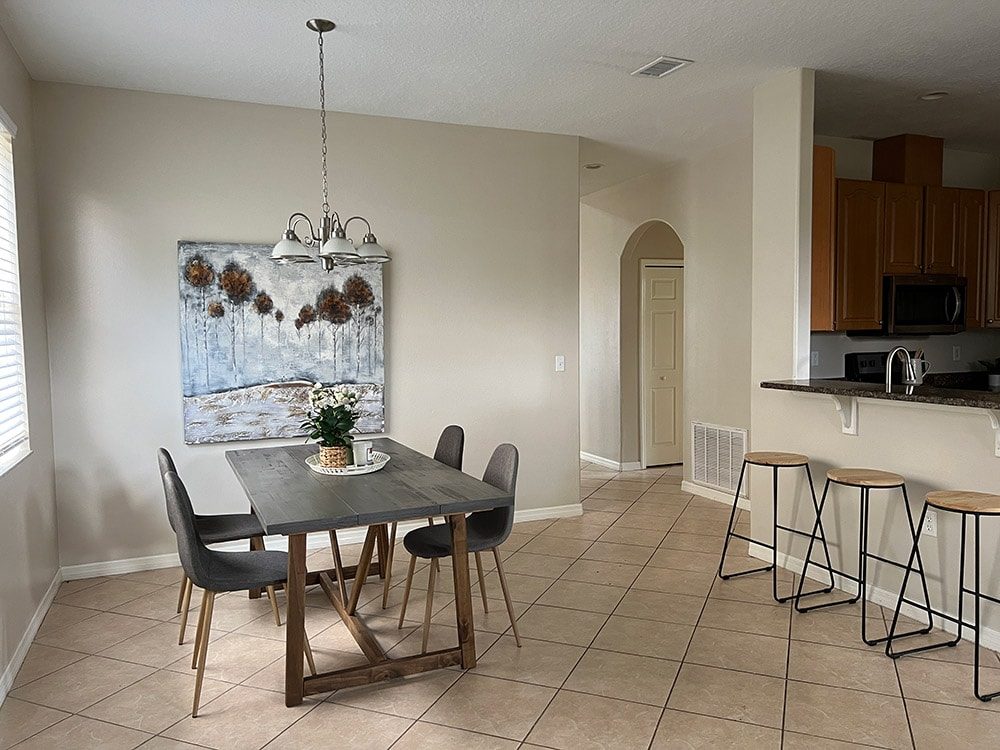
You may remember the tiny, closed off kitchen that had no business being in a 21st century 2700sq ft house.
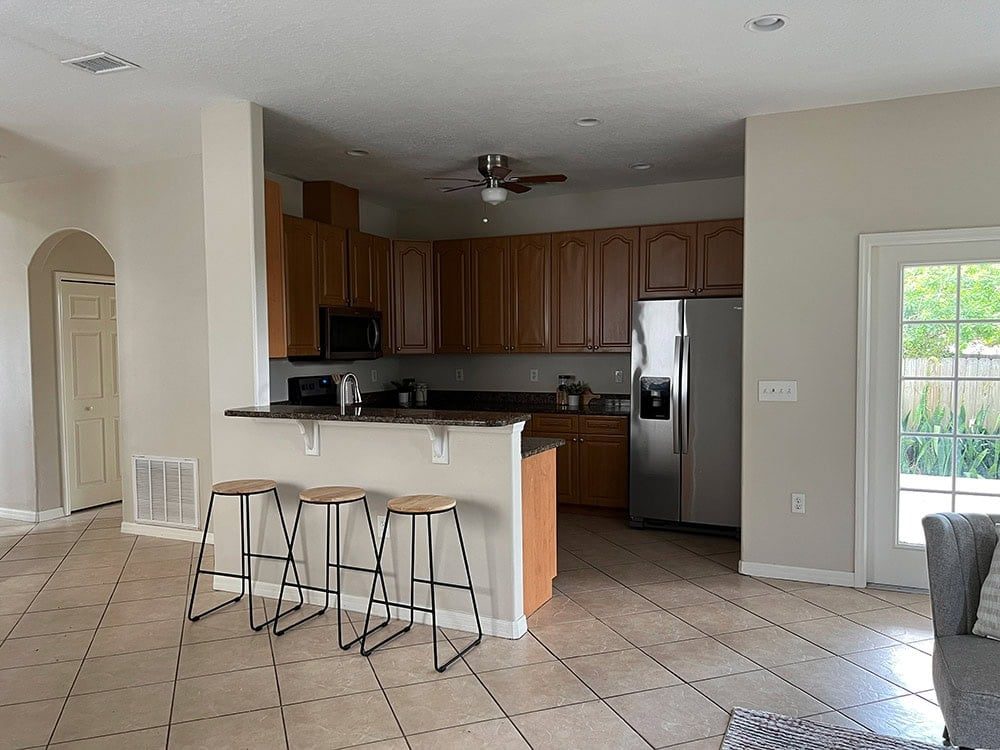
Especially when there was plenty of space to utilize around it, like this dining area…
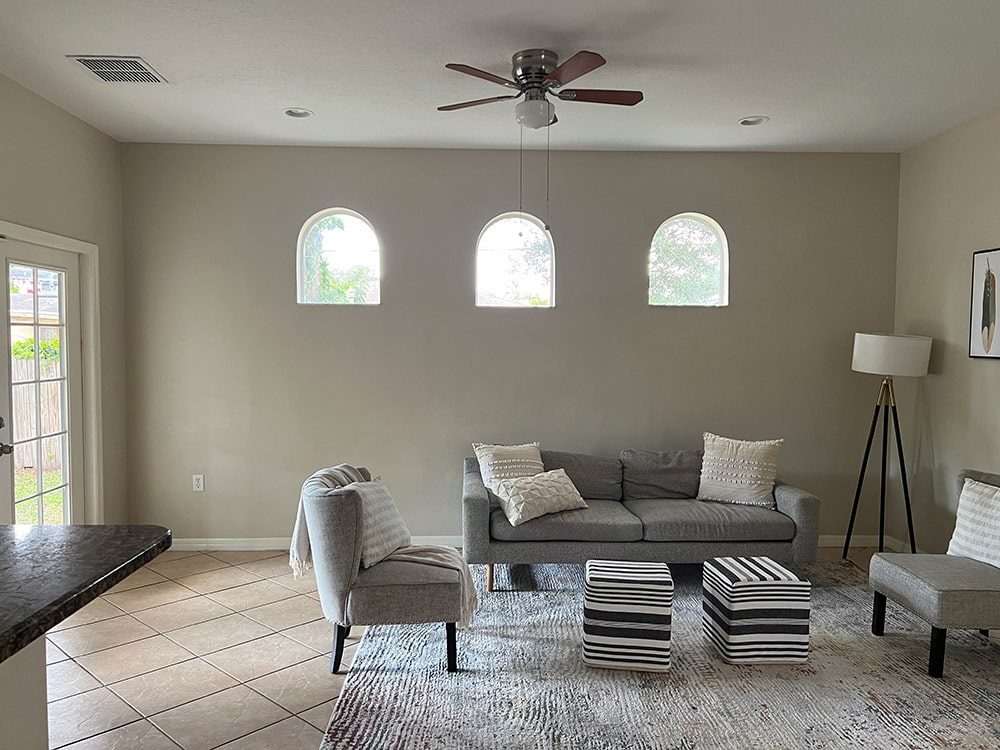
And this seating area on the other side (the second “living room” in this house).
Here is the original floor plan to give you a better sense of what we were working with. We spent too many hours to count brainstorming ideas and drawing up new plans to reconfigure the kitchen layout within the existing footprint. It was a true exercise in futility and nothing felt right.

Then one day, it clicked—what if we relocate the kitchen to the other side of the room?
Yes, this would cost us more in labor, but we could double the size of the kitchen and the difference would be night and day. This was the only solution, and a project we were finally excited to get started on.
Inspiration
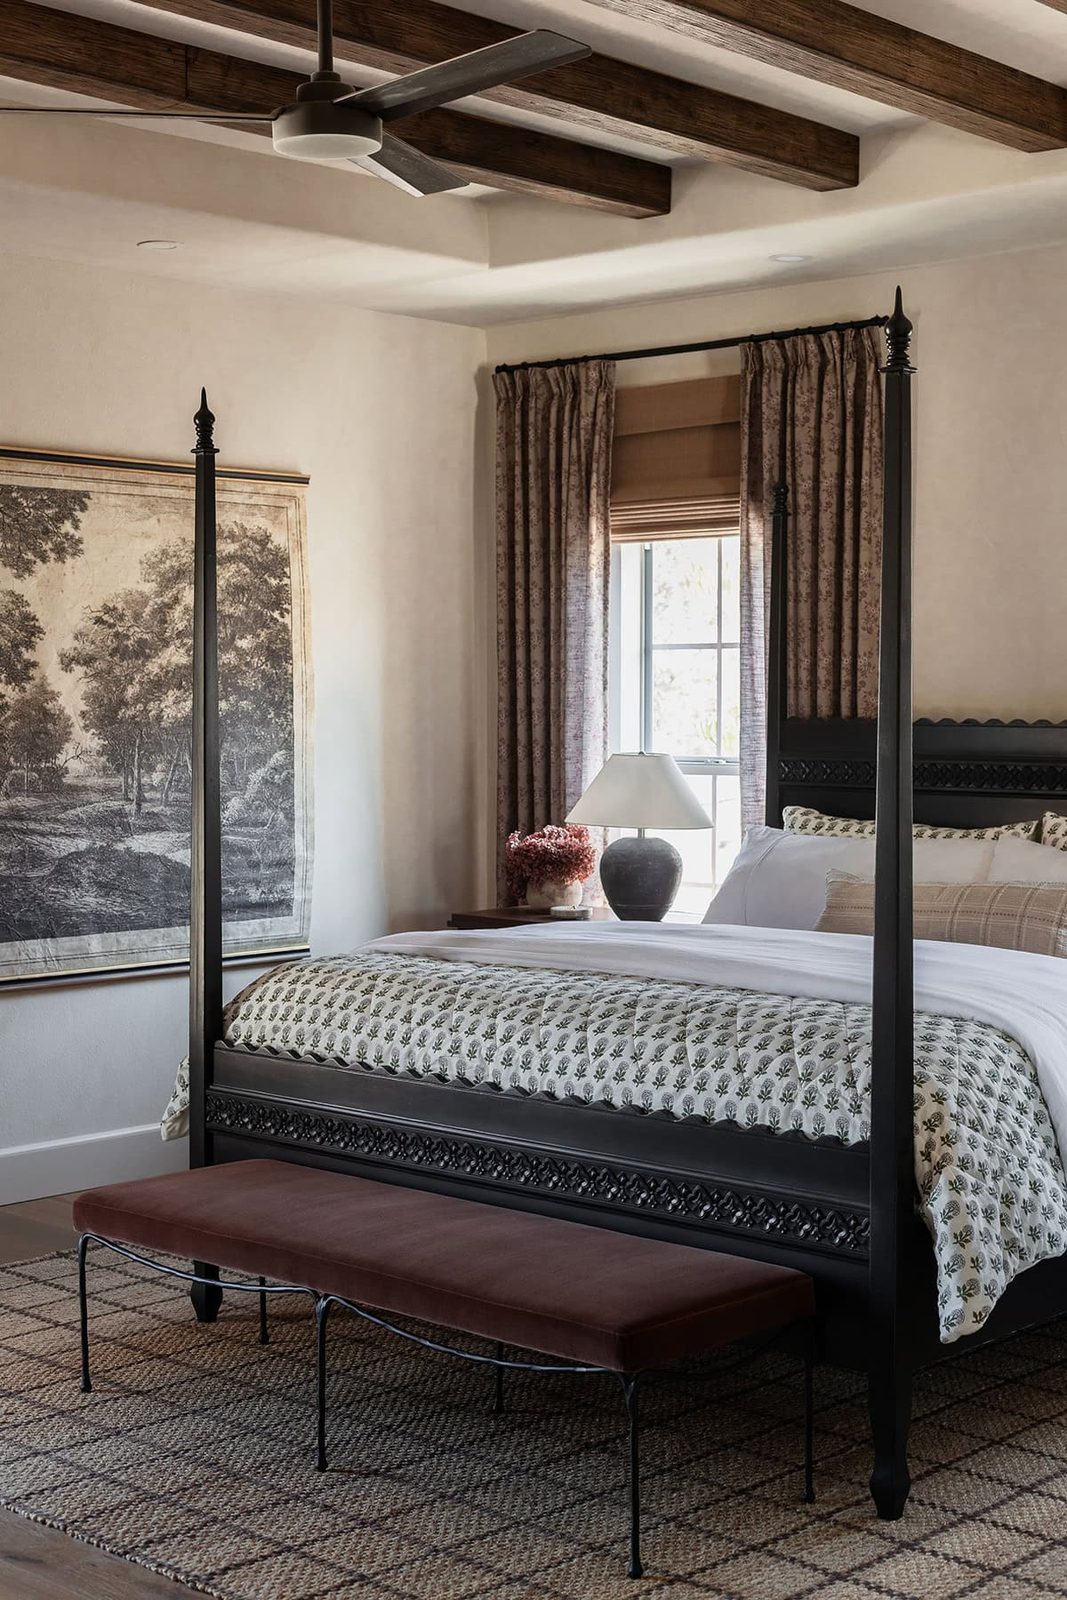
I have been dreaming about this traditional Spanish style kitchen in my head for years. Think stained wood beam + plank ceilings, terracotta tile floors, slate blue cabinetry, DIY plaster range hood, hand painted wall tile, mixed metals and dark wood accents.
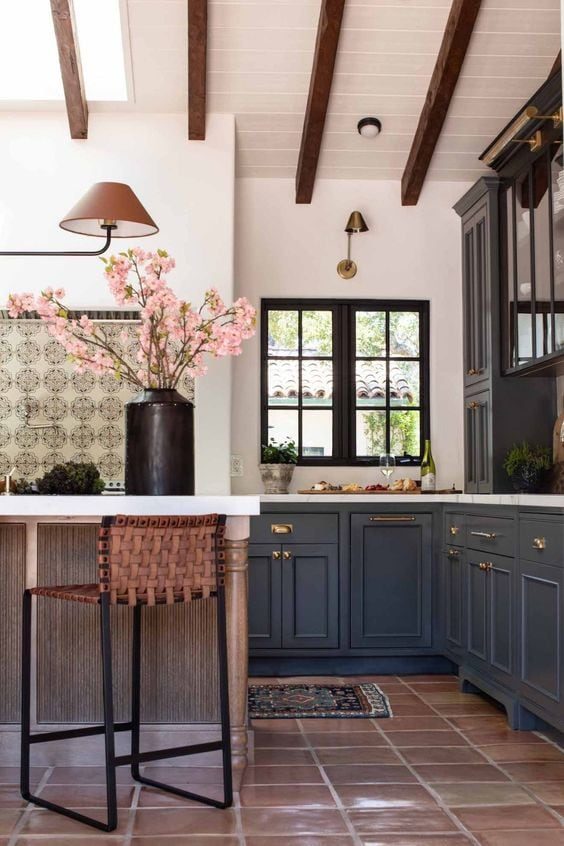
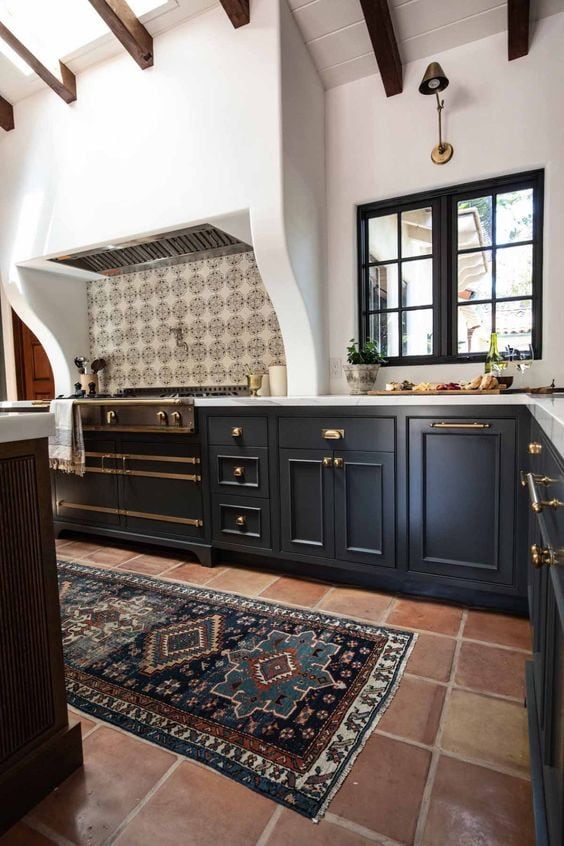
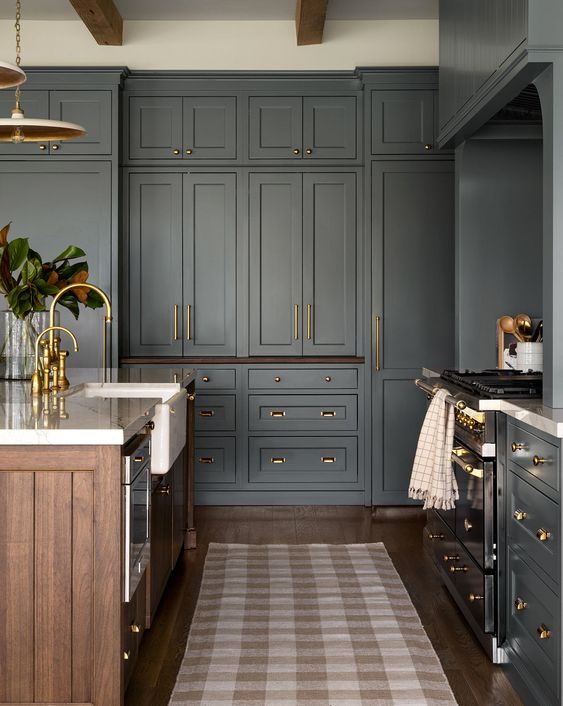

via Park & Oak, Studio McGee
As I have refined the design details over the last several months, not much has genuinely changed with the exception of the cabinet color. While I do love the slate blue, I keep getting pulled back to olive green. Green is my true love and the heart wants what it wants.
The olive color I am picturing would be muted with plenty of brown/gray undertones—perhaps something like BM Southern Vine from my olive green paint color roundup?
Let me know in the comments if you are team blue or green!
The Design Plan
Remember the original floor plan? Not anymore…

The three small arched windows felt too high and awkward before, but with a row of cabinetry underneath to balance them out, they'll feel like an intentional design feature.
There is plenty of space for an island in the center of the room, and just enough room for a 36″ stove and custom range hood.

And here is AI's version of a rendering… you will have to use your imagination here because most of it is inaccurate, but it is the best I could get it to do…

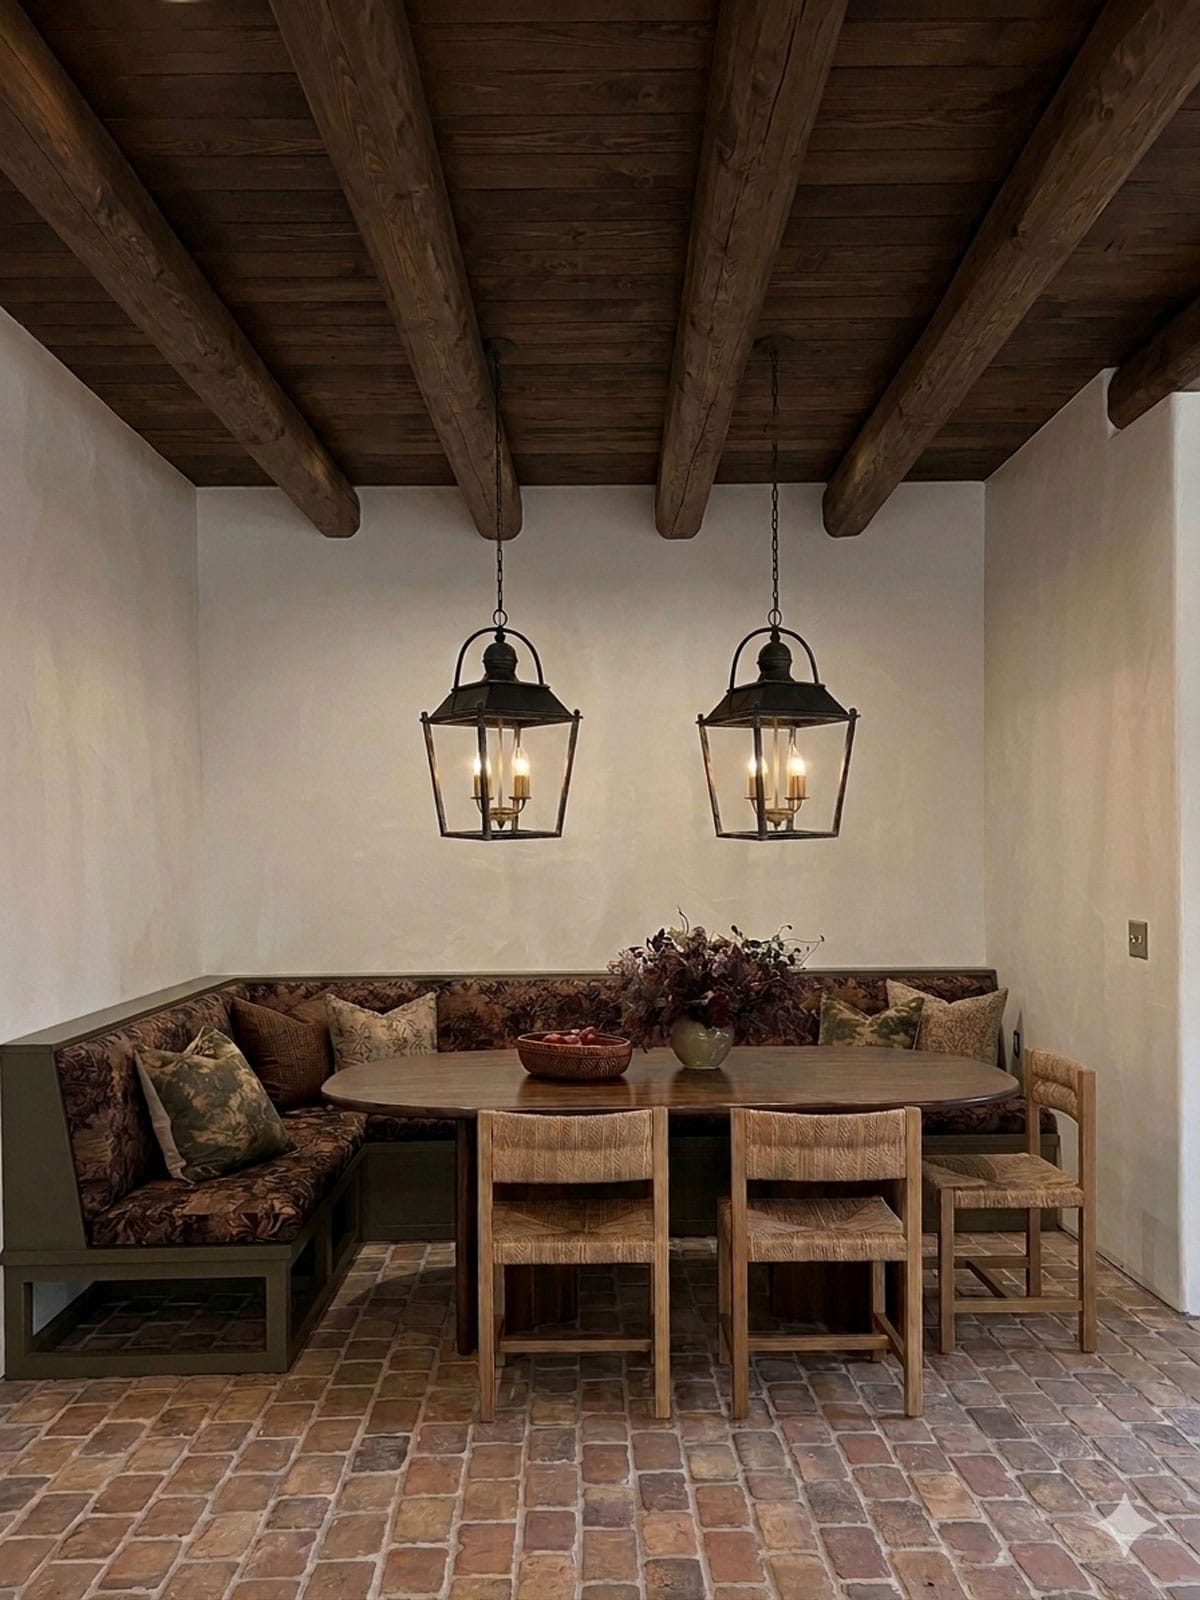
I'll share more about the banquette dining nook and seating area in another post (still working out those details!) but I managed to get a (very rough) mockup for ya:
Progress
After deciding to completely relocate the kitchen, we gutted the old kitchen and began to map out the new footprint.


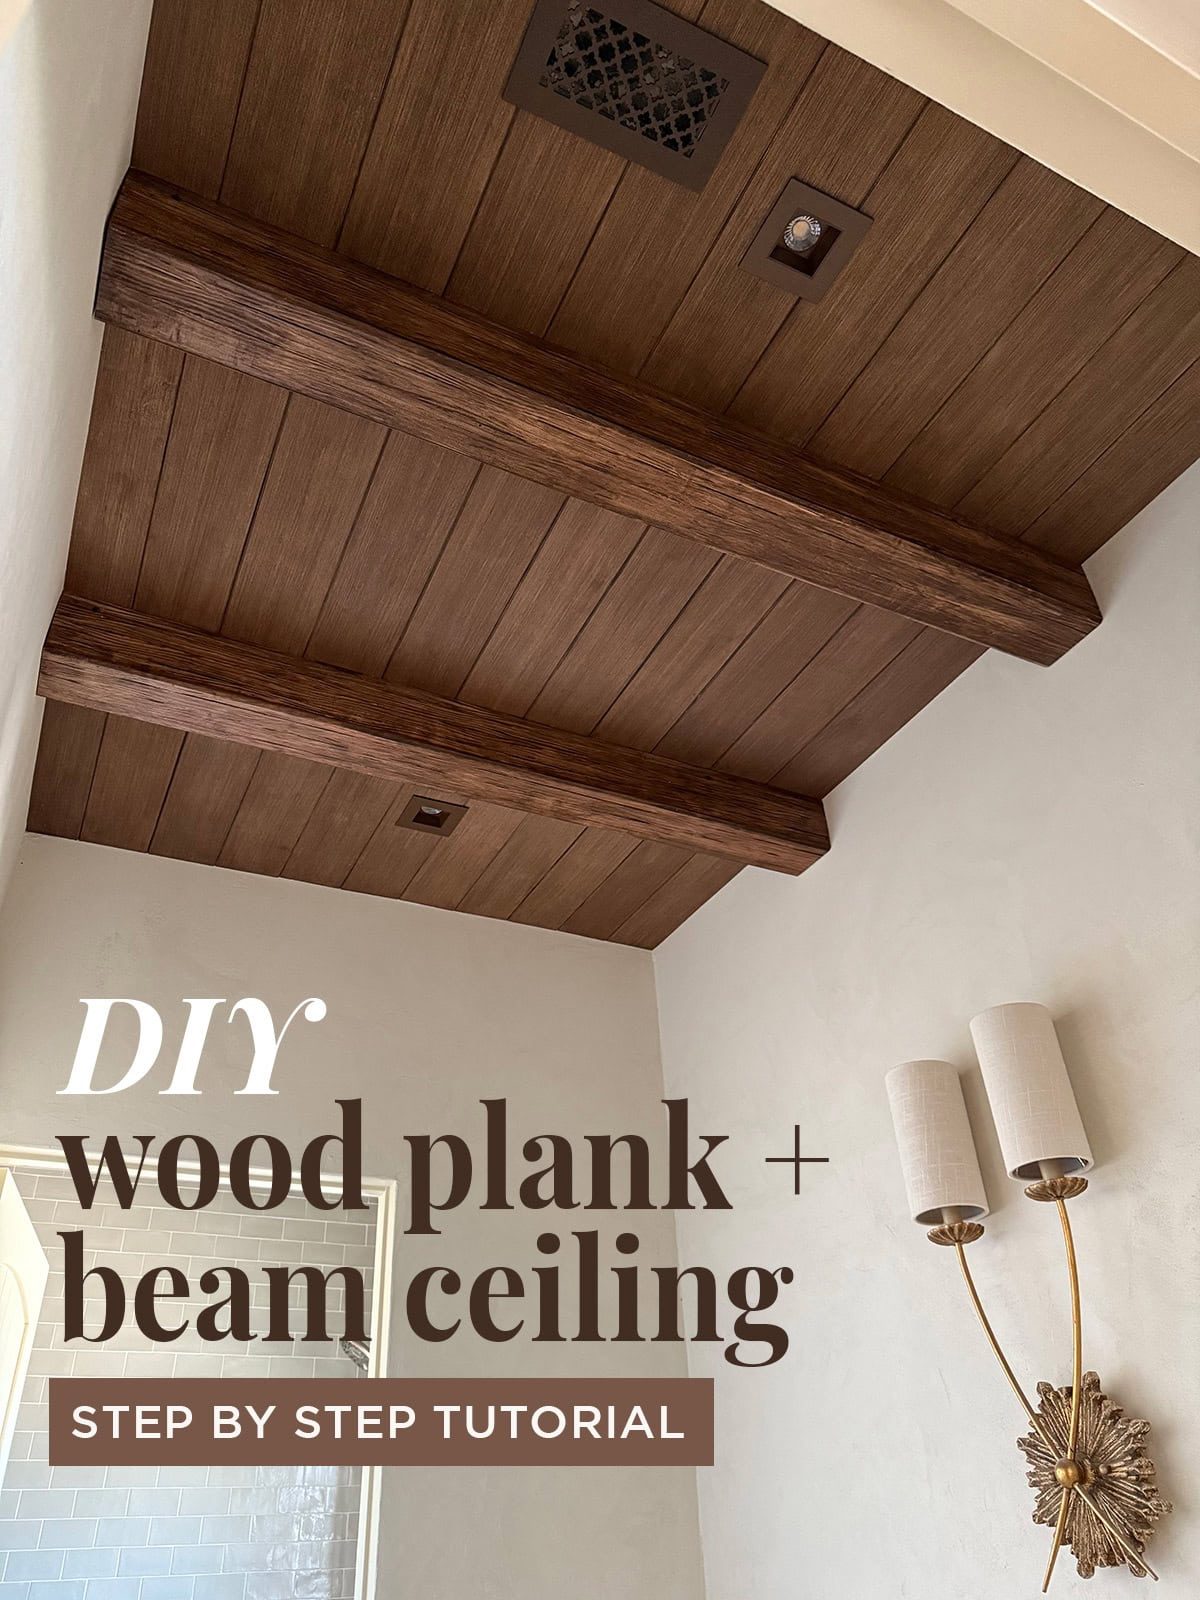
Lucas skim coated the walls in preparation for plaster, and began the process of installing the DIY ceiling beam planks.

Last week we tried a new product called Moroccan Clay on the walls. It is a plaster similar to roman clay that creates subtle movement and texture you'd find in a traditional European kitchen (you can see the finished color around the windows):
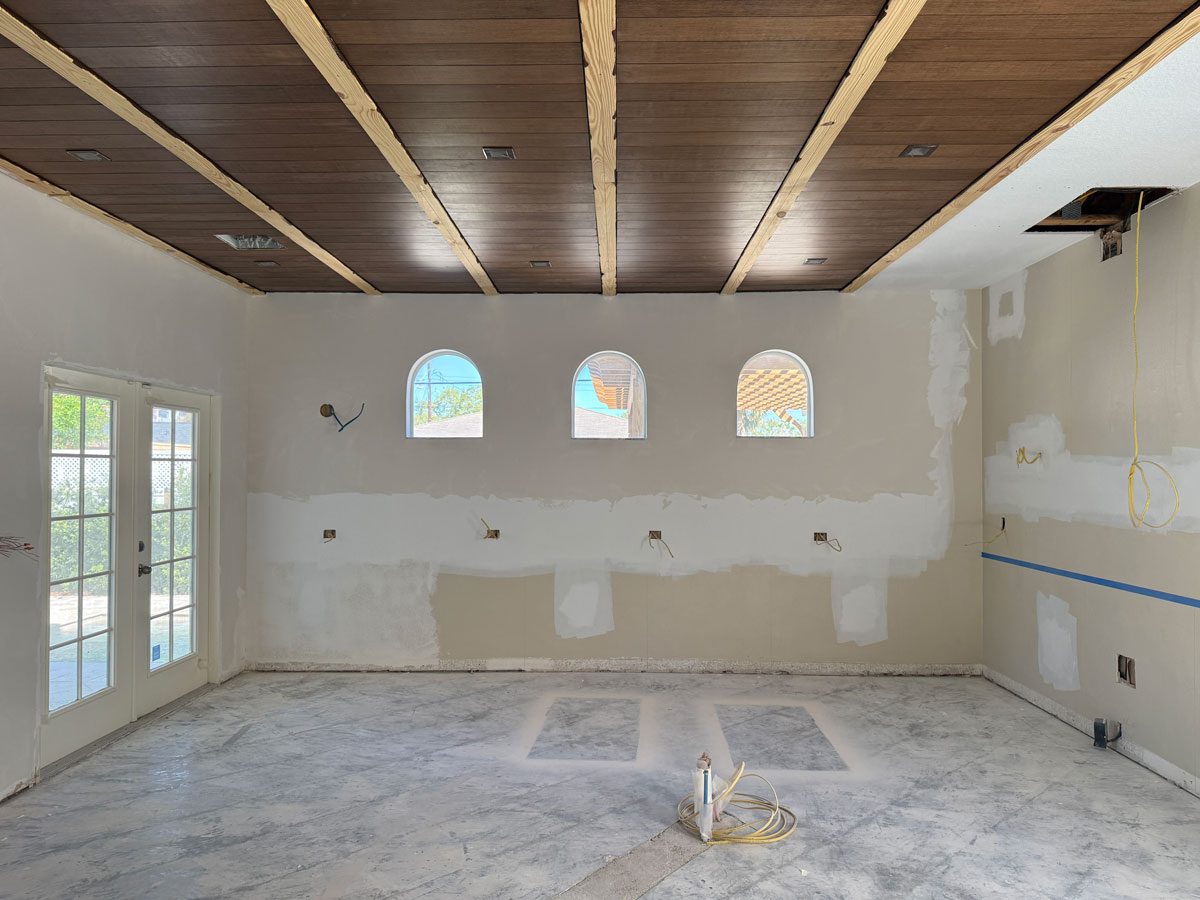

You will noticed we also added an archway at the entrance of the room to create a place for the ceiling beams to end.

The plaster walls will be sealed this week, and then we can finish the ceiling!
Design Details
As always, the goal with this project is to create a custom, thoughtful and well-designed space on the smallest possible budget. This means lots of DIY, many hours of searching and sourcing products, and being intentional about where to splurge.
Cabinetry
For this project, we considered building our own cabinet boxes and ordering the drawers/doors like we did last time for the Hacienda Hideaway. I knew I wanted v-groove style doors, and we were prepared to DIY our own like we did in our laundry roomand jack & jill bath. Ultimately, we decided to pay a little more for custom RTA cabinets to ensure a smoother, faster install.
We reached out to a few companies and chose the Cabinet Joint, as they were able to accommodate our request to make custom v-groove doors. The process has taken a lot longer than anticipated, and we are still waiting to get the order in after 4+ months of back and forth. Here the layout we landed on for the main appliance wall:

A full-height cabinet on the far left will house small appliances, extending from the countertop to the ceiling. A 36″ range will sit in the center, with a 36″ refrigerator on the right integrated with matching panels.
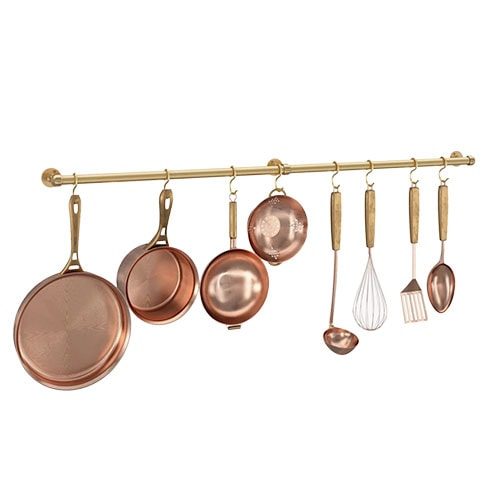
The long wall under the arched windows will have a bank of lower cabinets only. The tile backsplash will serve as a focal point spanning across the entire wall, and I am picturing a brass pot rail to display copper pots and bring in those warmer tones.

And finally, the island will contain the sink and panel-ready dishwasher.

I could not find any close examples of the cabinet color/style I have in mind, so I had AI mock up a visual of it along with the backsplash tile and range…

The large range hood will be a DIY, with rounded edges and a Moroccan Clay plaster finish to match the rest of the walls.

The island cabinets will be dark stained oak in the same v-groove style to contrast with the painted perimeter cabinets.

The Coffee Nook
Even after doubling the size of the kitchen, there was not a great spot for the microwave, and we also wanted a dedicated beverage/coffee station. I had another a-ha moment to build out a coffee nook in the unused hall closet next to the kitchen entrance:
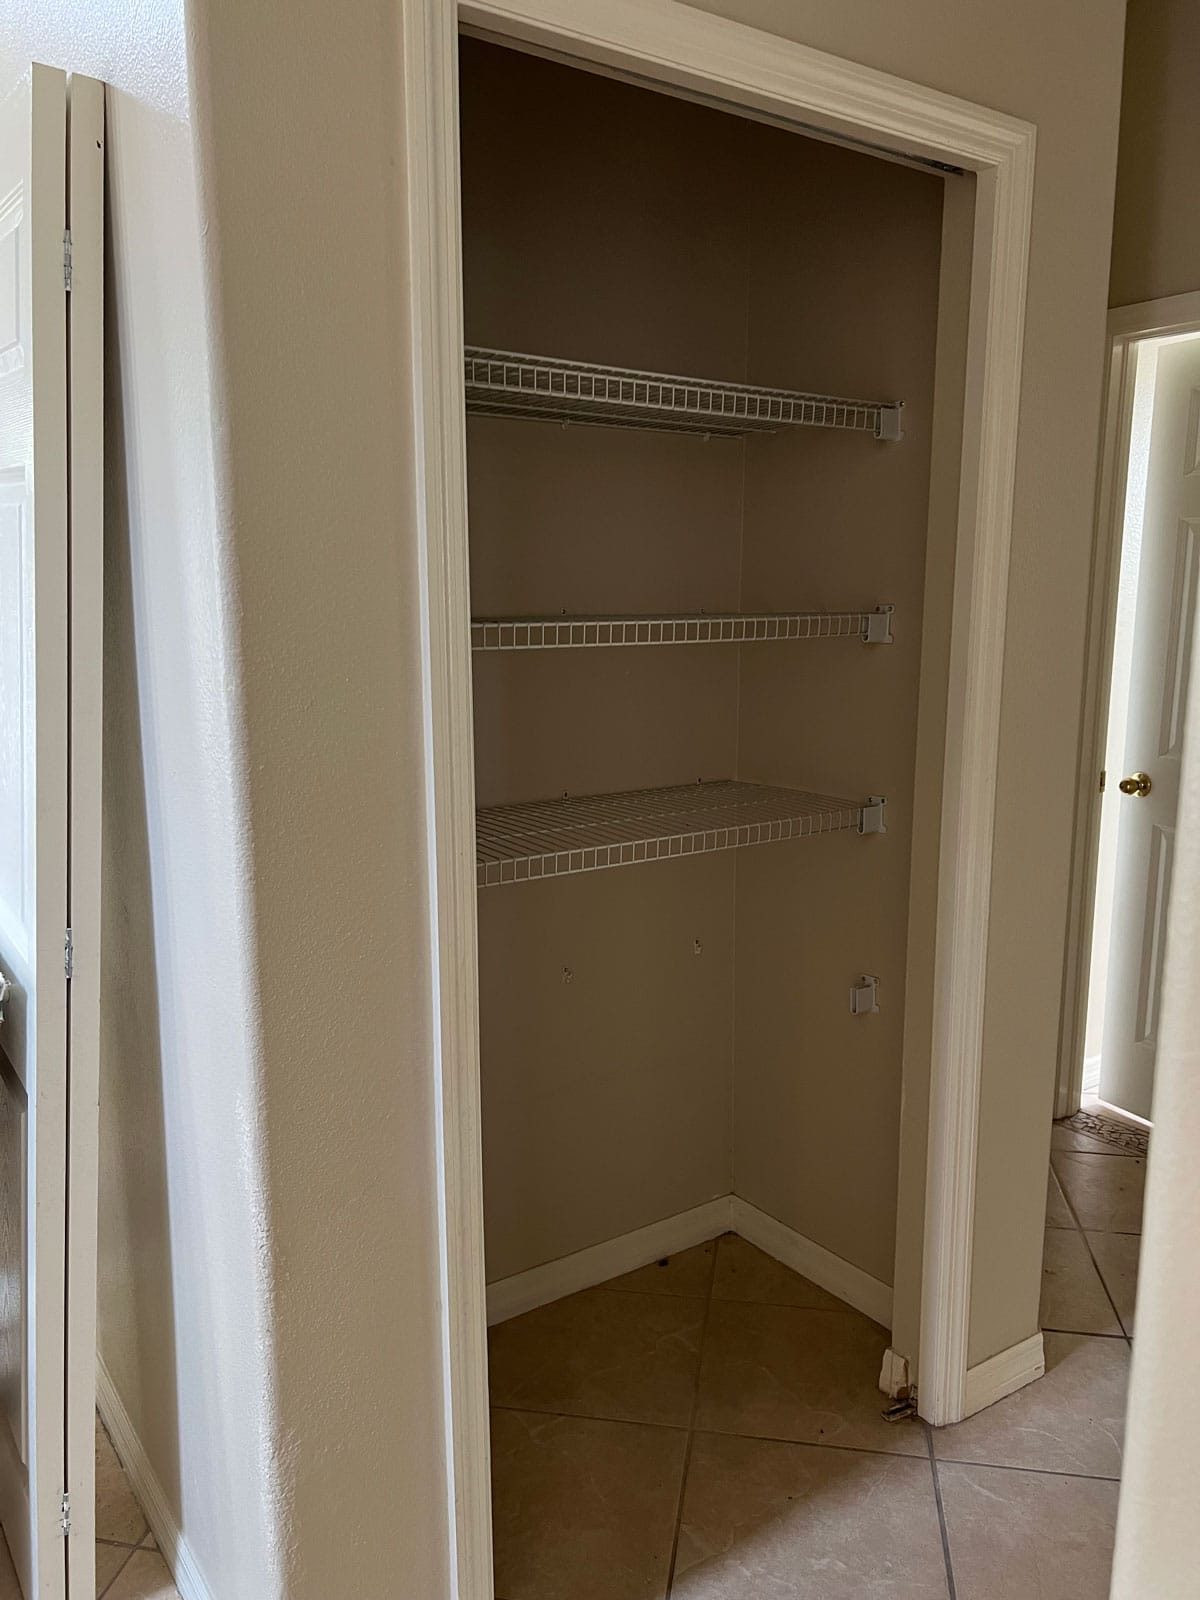
We have opened up the walls around it and now it is prepped for cabinets and tile (this is looking at it from the other side, and the kitchen entrance is to the left):

Still working on the exact design, but I am thinking about trying one of these kits to arch to the opening. We are using the same cabinetry and tile as the rest of the kitchen, and will add open shelving for cups, supplies, etc.

Here is the sketch of the cabinet setup:

We opted for a microwave drawer, which I am excited to try! Speaking of appliances…
Appliances
The choice was to use ZLINE for all of the appliances in this kitchen. We have them in our previous Hacienda Hideaway kitchen, and they have held up beautifully (durability + ease of use is key in a rental!) They are also one of the more affordable brands that offer a variety of finishes + hardware color options.

I have linked them all on my Lowe's storefront, and they are also currently all on sale (up to 30% off!)
Tile + Countertops
Tile is the real focal point of a Spanish-style kitchen. The floor tile was an easy choice for me—do these look familiar to anyone?

It is the same cobblestone-look flooring I used in the primary bathroom, but in a reddish-brown color to resemble terracotta (the color is called 'Coffee'). I initially looked into real terracotta tile, but everything I loved was way out of budget and high maintenance. This tile is porcelain so it is extremely durable, but it has a genuinely rustic and traditional look.
The search for backsplash tile proved to be more difficult, and I have spent the better part of a year trying to find something with an authentic, handmade feel. As always, budget has been the biggest hurdle, and I even went down the path of figuring out how to hand paint my own tiles. As fun as that sounds (one day!) we do not have the luxury of time, so instead I tracked down this handmade talavera tile:

At $2.20 per 4×4″ tile it is not exactly cheap, but it is the best deal on talavera I could find, and much more affordable than other handmade options. The backsplash will stretch across the entire back wall, under the range and around the patio doors, making it an integral part of the overall kitchen design. Some things are just worth spending more on, and this is one of those!
For the countertops, It helps to keep the rich look of a honed soapstone, but it is not exactly the smartest or most cost-effective option for a high traffic rental. In looking for similar alternatives, I found this Silestone quartz in a suede finish that looks interesting.

If anyone knows of any other similar low maintenance stone options, please share!
Fixtures + Hardware
Metal selection has been a tricky one for this space, and I have been wavering back and forth. As much as It helps to keep unlacquered brass (and used it in our Hacienda kitchen), I have decided against it this time. Cost is the biggest factor, and the patina is not appreciated as much in a rental. I think nickel is too cool for this space, so I am leaning towards copper/bronze for the faucet.
After spending no less than 20 hours searching every corner of the internet, the leading candidate is this oil rubbed bronze faucet, which is genuinely more bronze (or even aged copper) than the typical black color of faucets labeled “ORB”. I almost went with a copper finish, but all of the options I found were a little too bright and shiny (and sadly, real copper is out of the budget!)

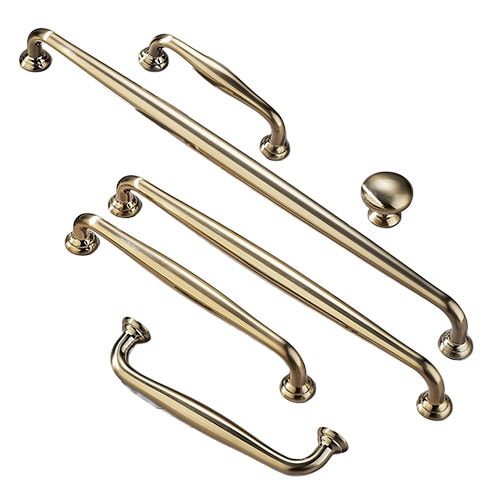
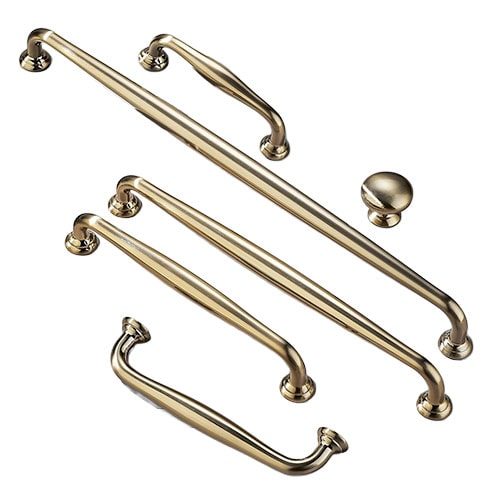
For the cabinet hardware, I am sticking with brass to match the polished brass range accents. Regular polished brass feels too new for this kitchen, so I found a handful labeled 'champagne bronze' and ordered samples to compare. I am genuinely loving the look of these in person, which are more of a muted soft brass without the bright yellow tones.
Furniture + Accents
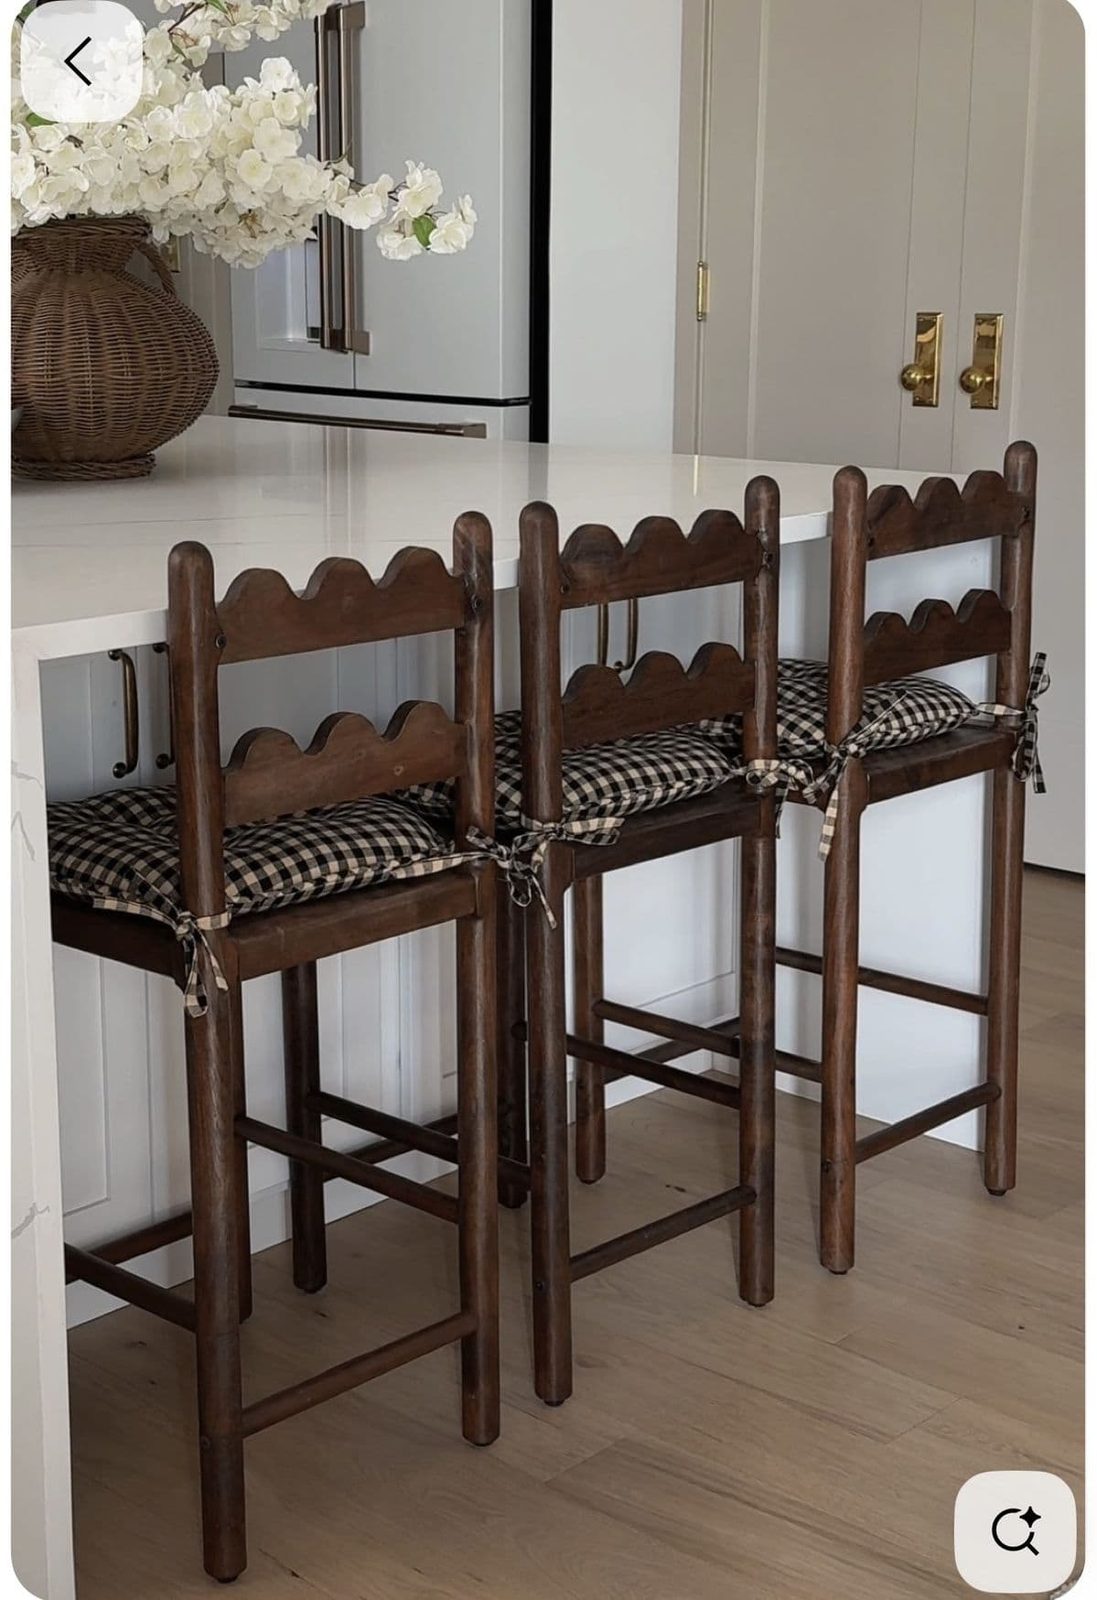
Much like the floor tile, the tarang counter stools were an instant yes as soon as they hit my radar. I have actually had them saved for a couple years and the price was lower then, but even at the current price they are a great deal for a handcrafted piece (and oh so charming!)

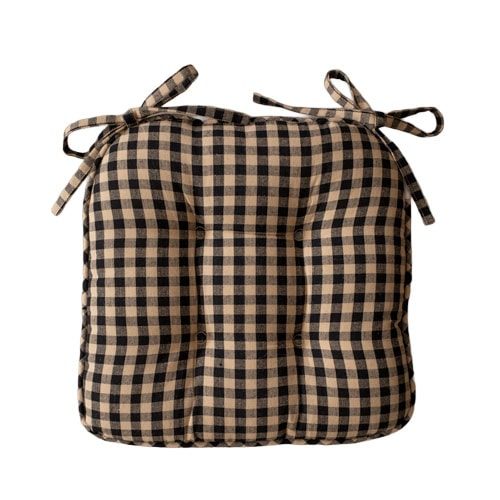
I spotted them on Pinterest with these gingham chair pads, and am loving the combo.
An old world European kitchen would not be complete without a lantern (or four) IMO, and I found these very reasonably priced wall lanterns. We are installing one on the arched window wall by the patio doors, and another to the right of the fridge. Bonus: they have coordinating lantern pendants and I am hanging two above the dining table.

And just for fun, here is an idea of how the brass pot rail with copper pots and pans would look against the tile (this would be going on the window wall though, not above the stove):
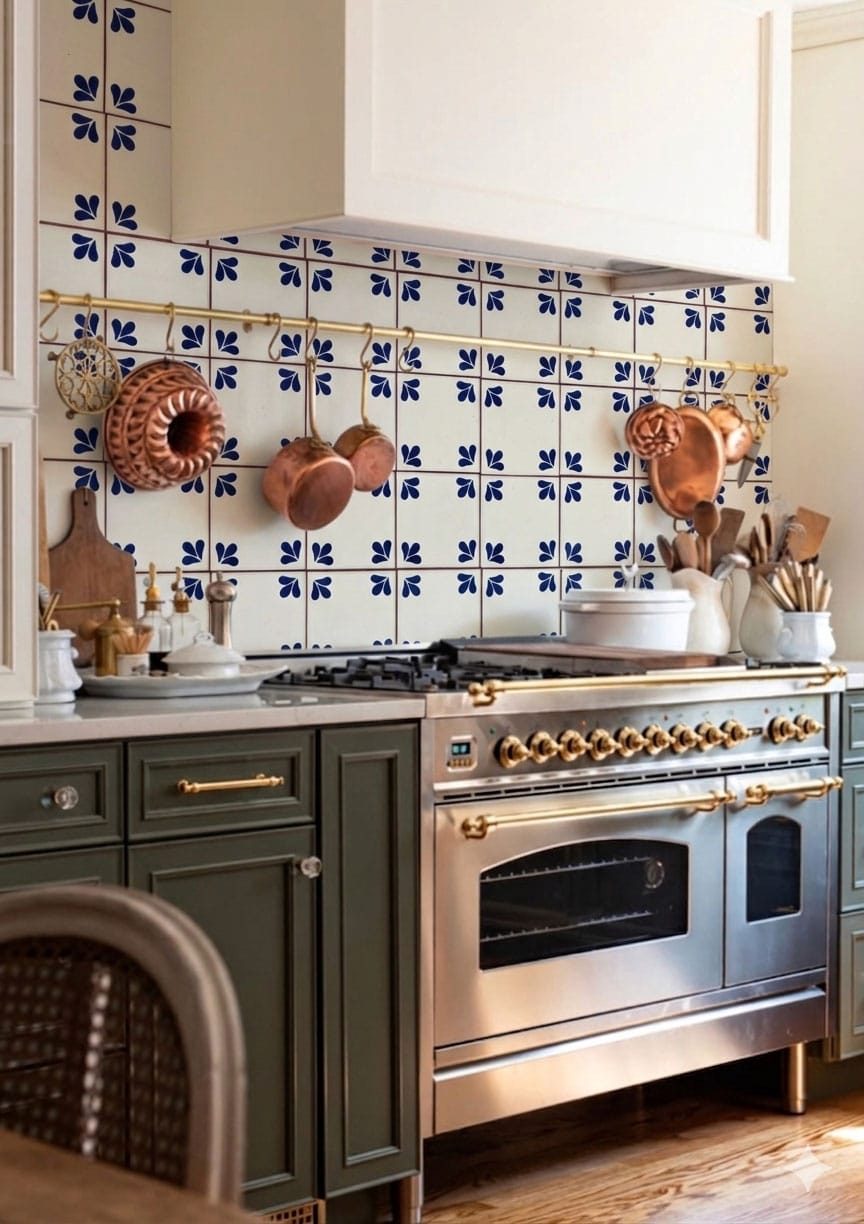
Can you just imagine the warmth and old world charm of this kitchen already?? I cannot wait to watch it all come together.
Sources
Tap on any product below to shop:





I know this was a lot to digest, so let me know if I missed anything! The design is always a work in progress, so if you have any thoughts or suggestions, I would love to hear them below 🙂